
dash mini waffle maker how to use
intro
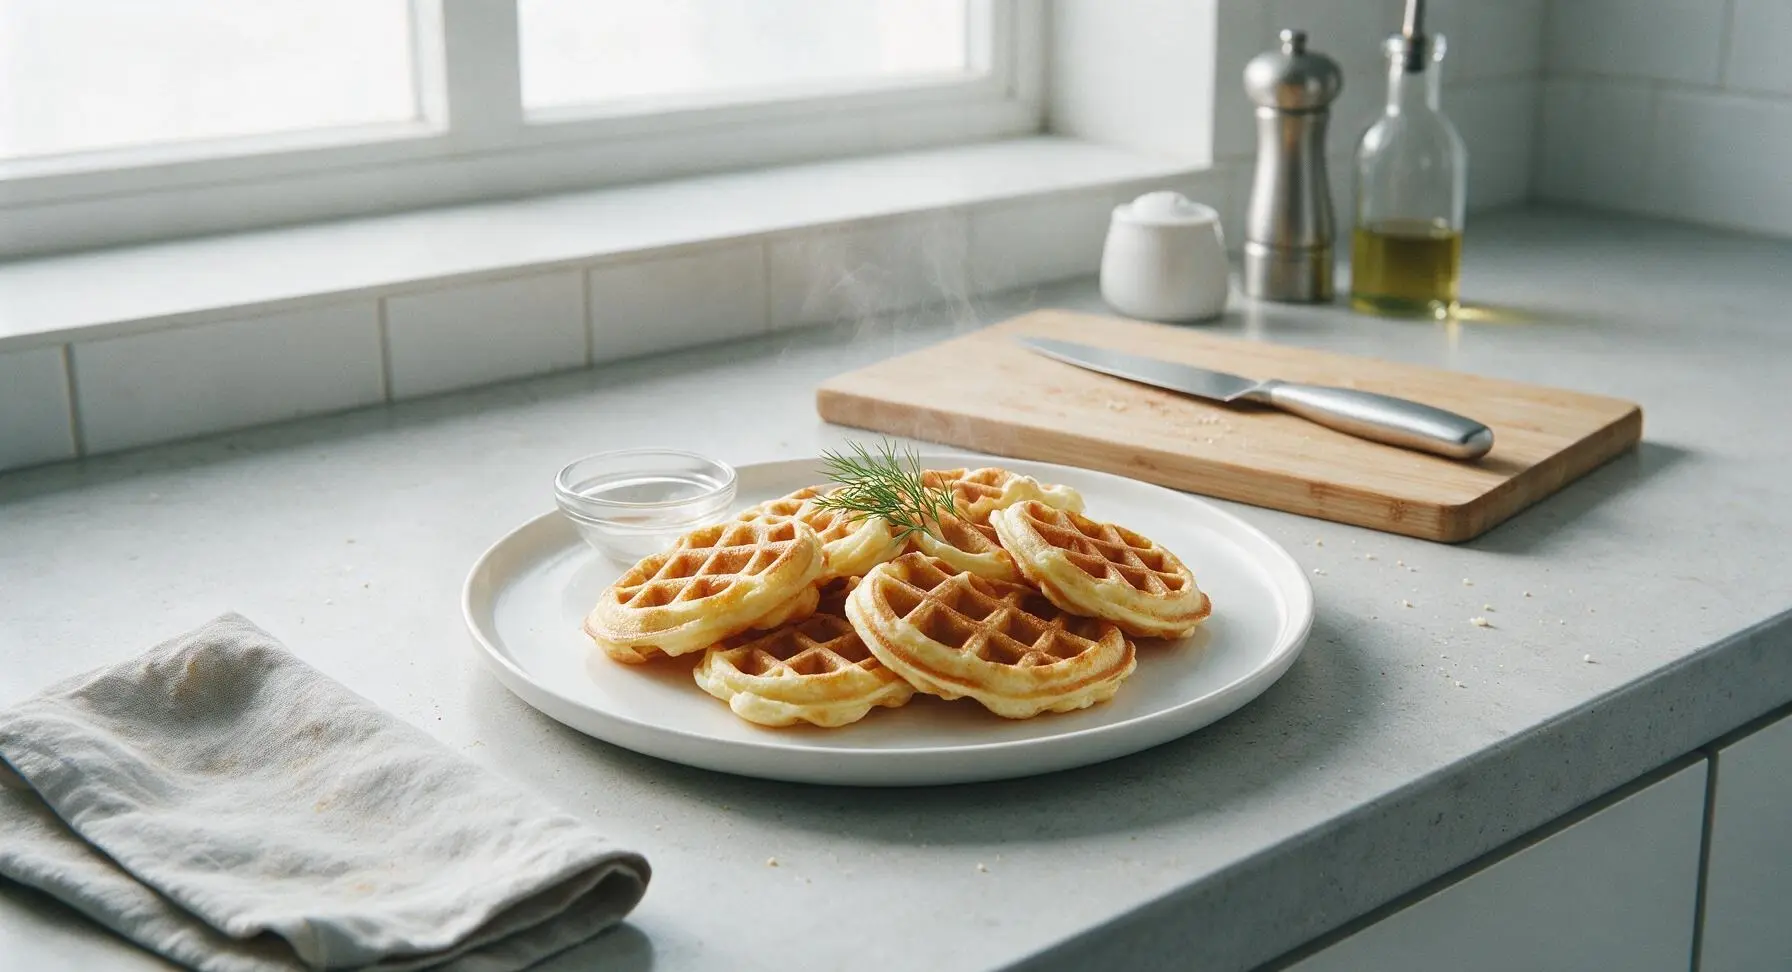
Learn to use your Dash Mini Waffle Maker to make perfect, crisp-edged, fluffy mini waffles in minutes—no fancy skills required, minimal cleanup for fast, cozy meals any time of day.
Ingredients
Steps
Prep Your Waffle Maker
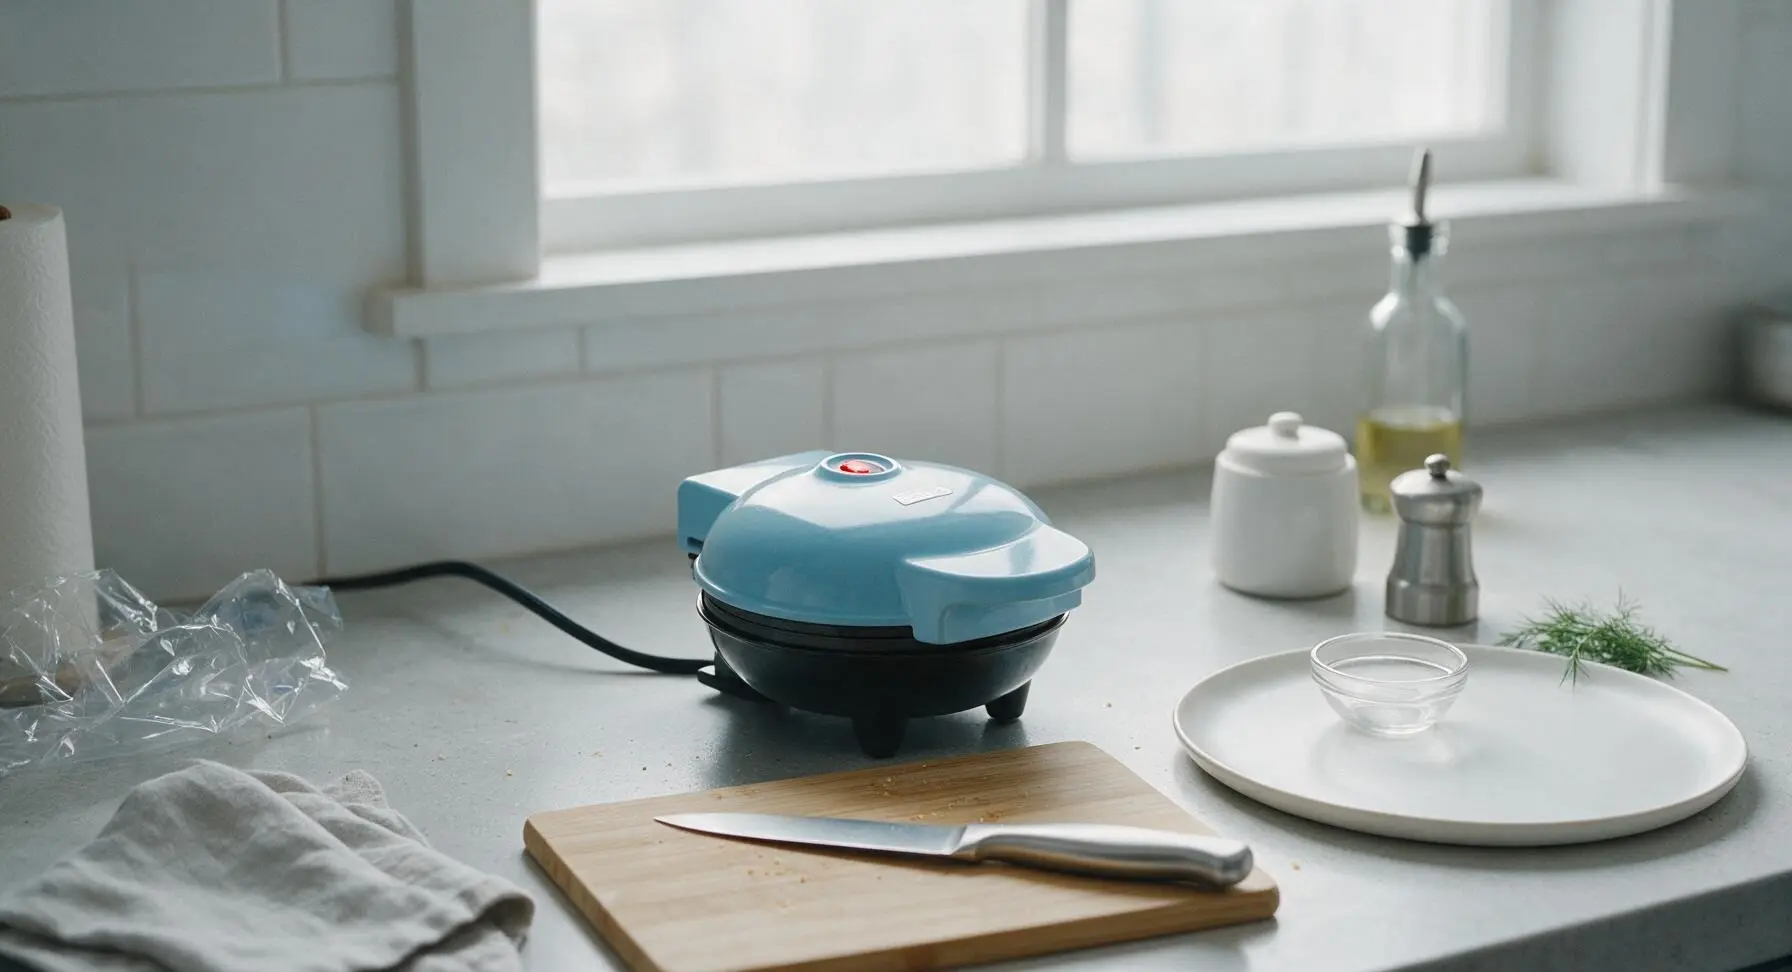
Remove all plastic packaging and protective stickers from your Dash Mini Waffle Maker. Dampen a sheet of paper towel from the countertop roll, and gently wipe both black nonstick cooking plates to remove any manufacturing residue. Close the lid, set the unit in its fixed center counter position, and plug the power cord into the nearby wall outlet. The small red indicator light on the lid will illuminate to signal the unit is receiving power.
Preheat the Appliance
Allow the closed waffle maker to preheat for 3 to 4 minutes, until the red indicator light turns off. This signals the cooking plates have reached the optimal 375°F (190°C) cooking temperature, which ensures easy waffle release and crisp, evenly cooked edges. Do not lift the lid during preheating, as this will drop the internal temperature and extend cook time.
Mix Simple Batter
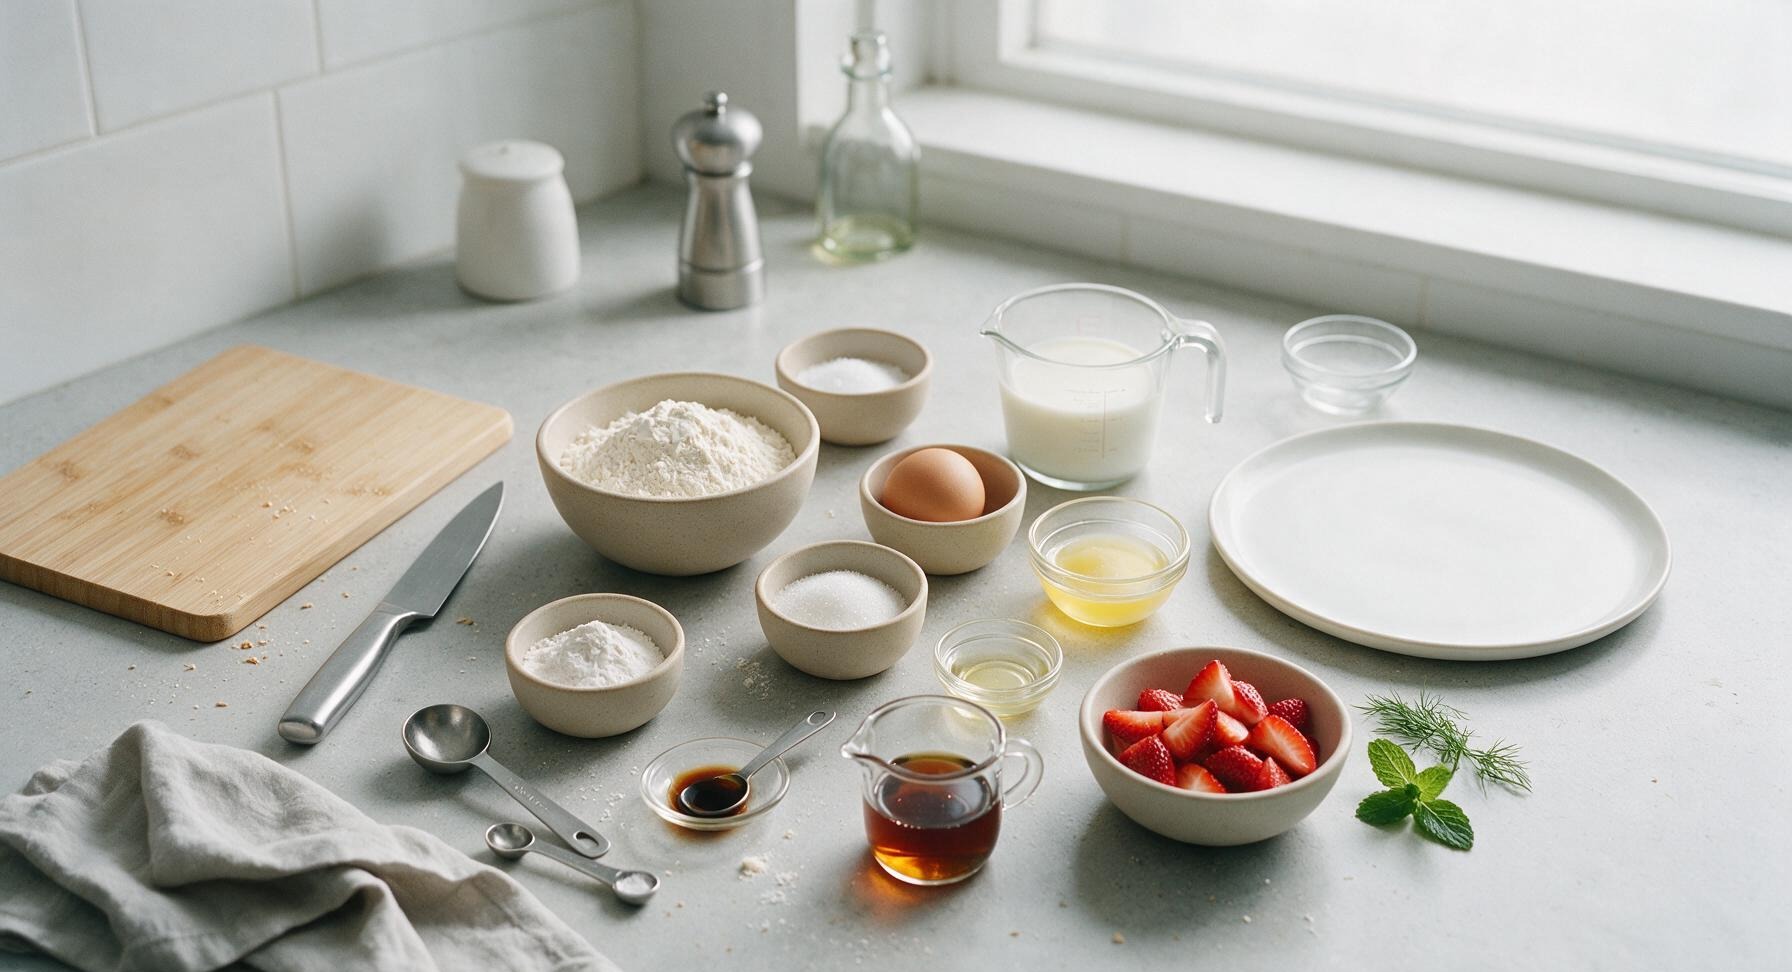
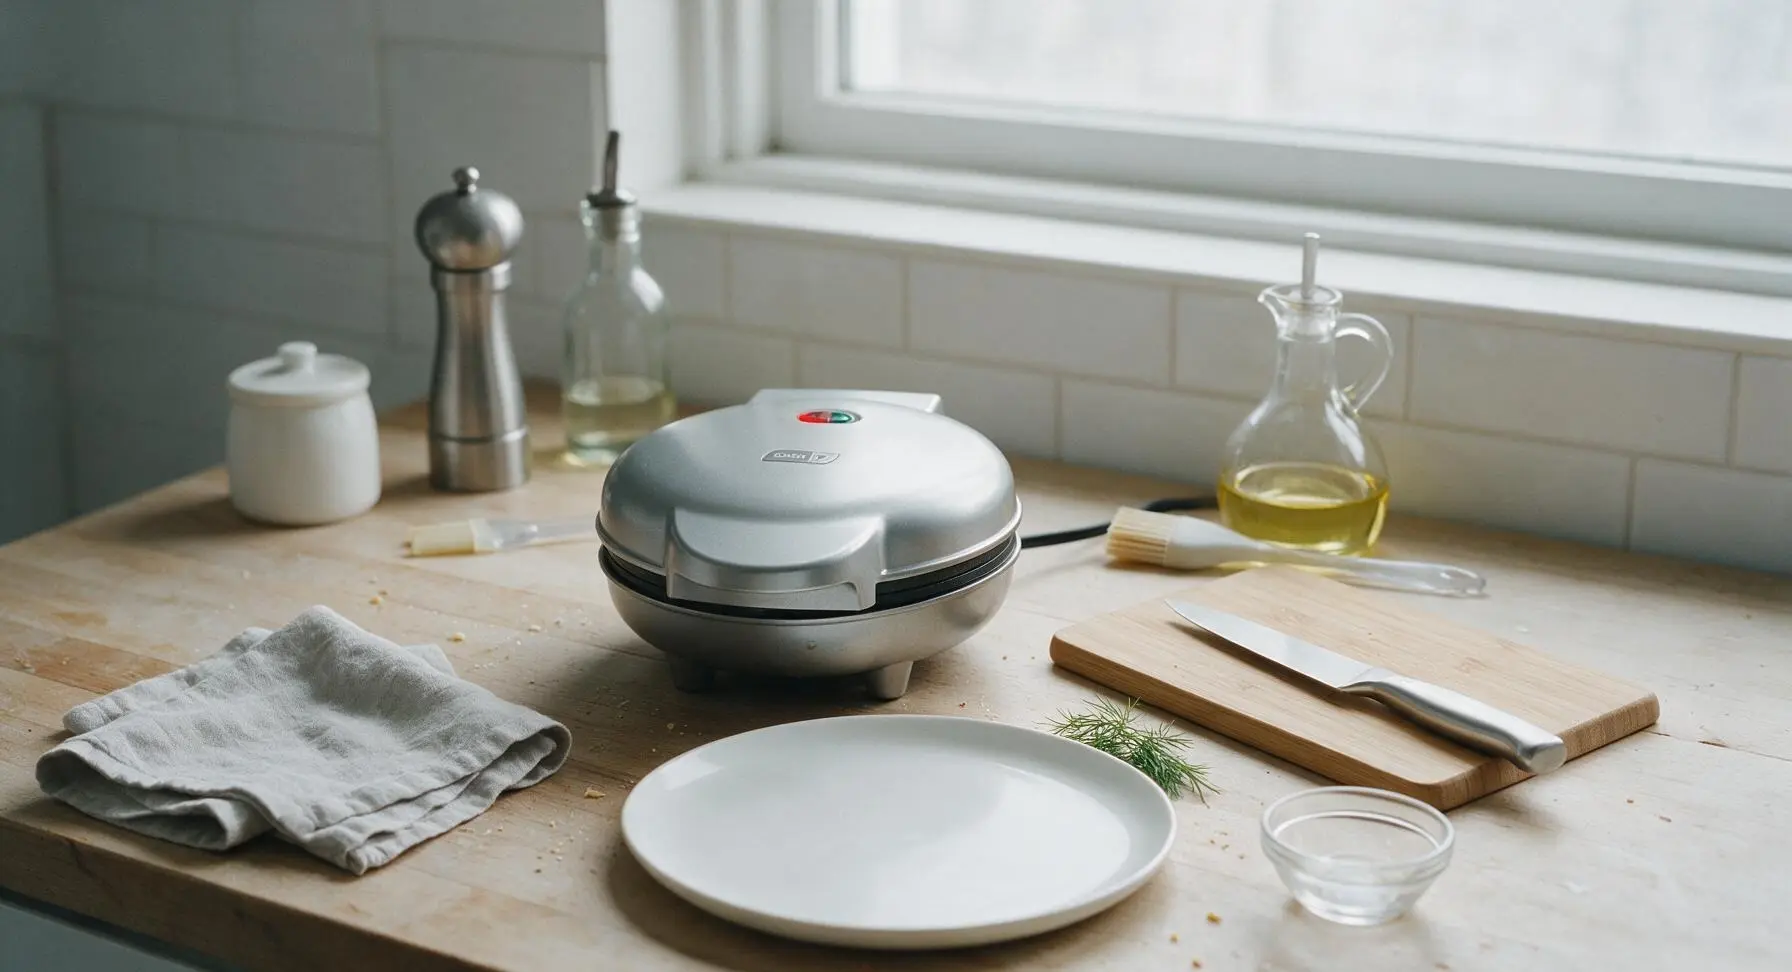
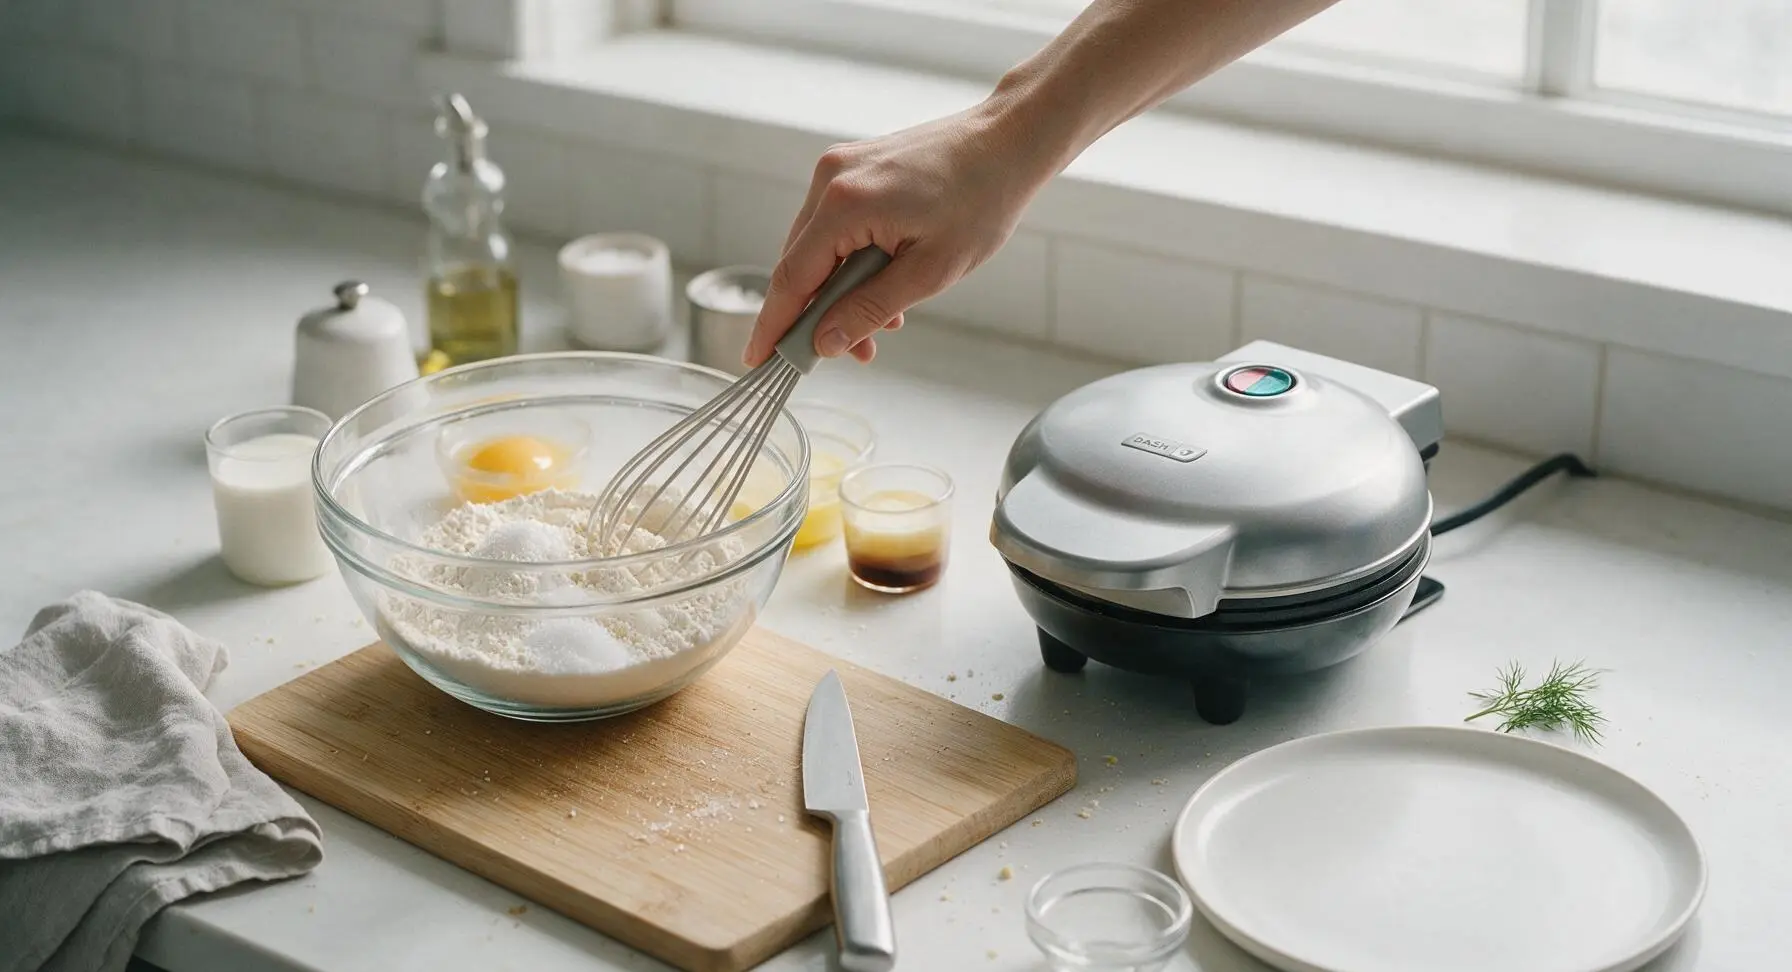
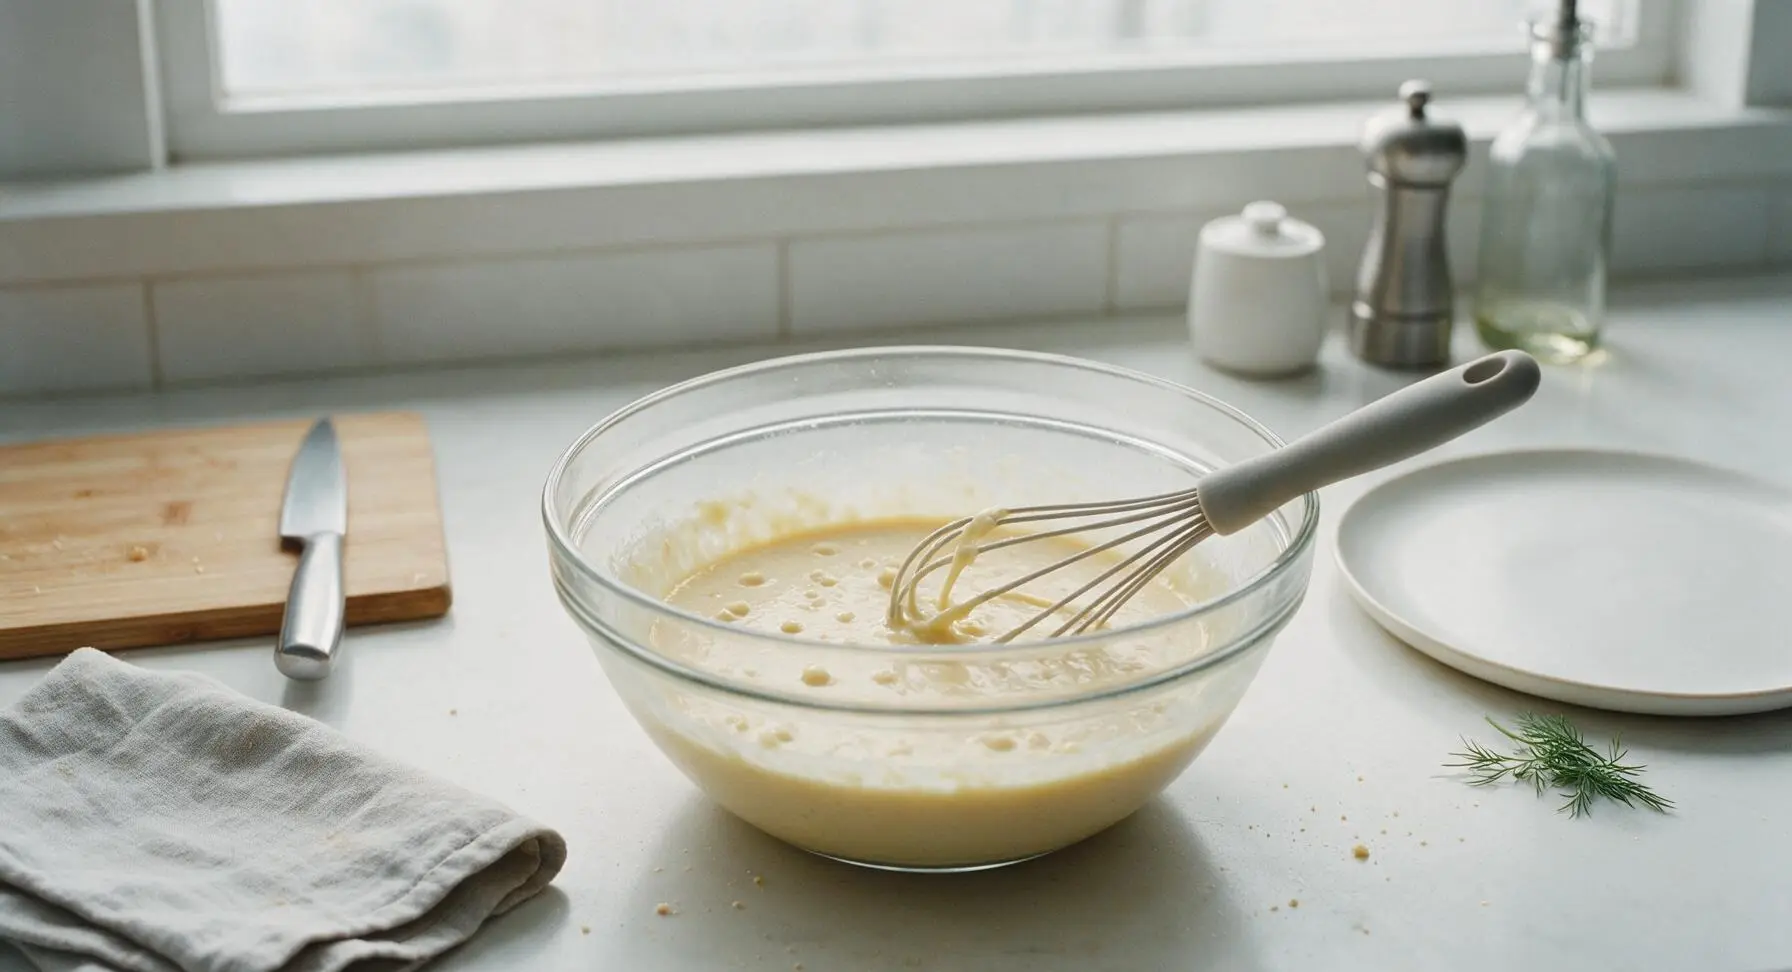
In the clear tempered glass mixing bowl, combine the measured all-purpose flour, baking powder, granulated sugar, and fine sea salt. Use the silicone whisk to stir the dry ingredients until evenly blended. Add the whole milk, lightly beaten large egg, cooled melted butter, and vanilla extract. Whisk gently just until combined—small, pea-sized lumps in the batter are completely normal, and overmixing will produce tough, dense waffles.
Grease Hot Plates
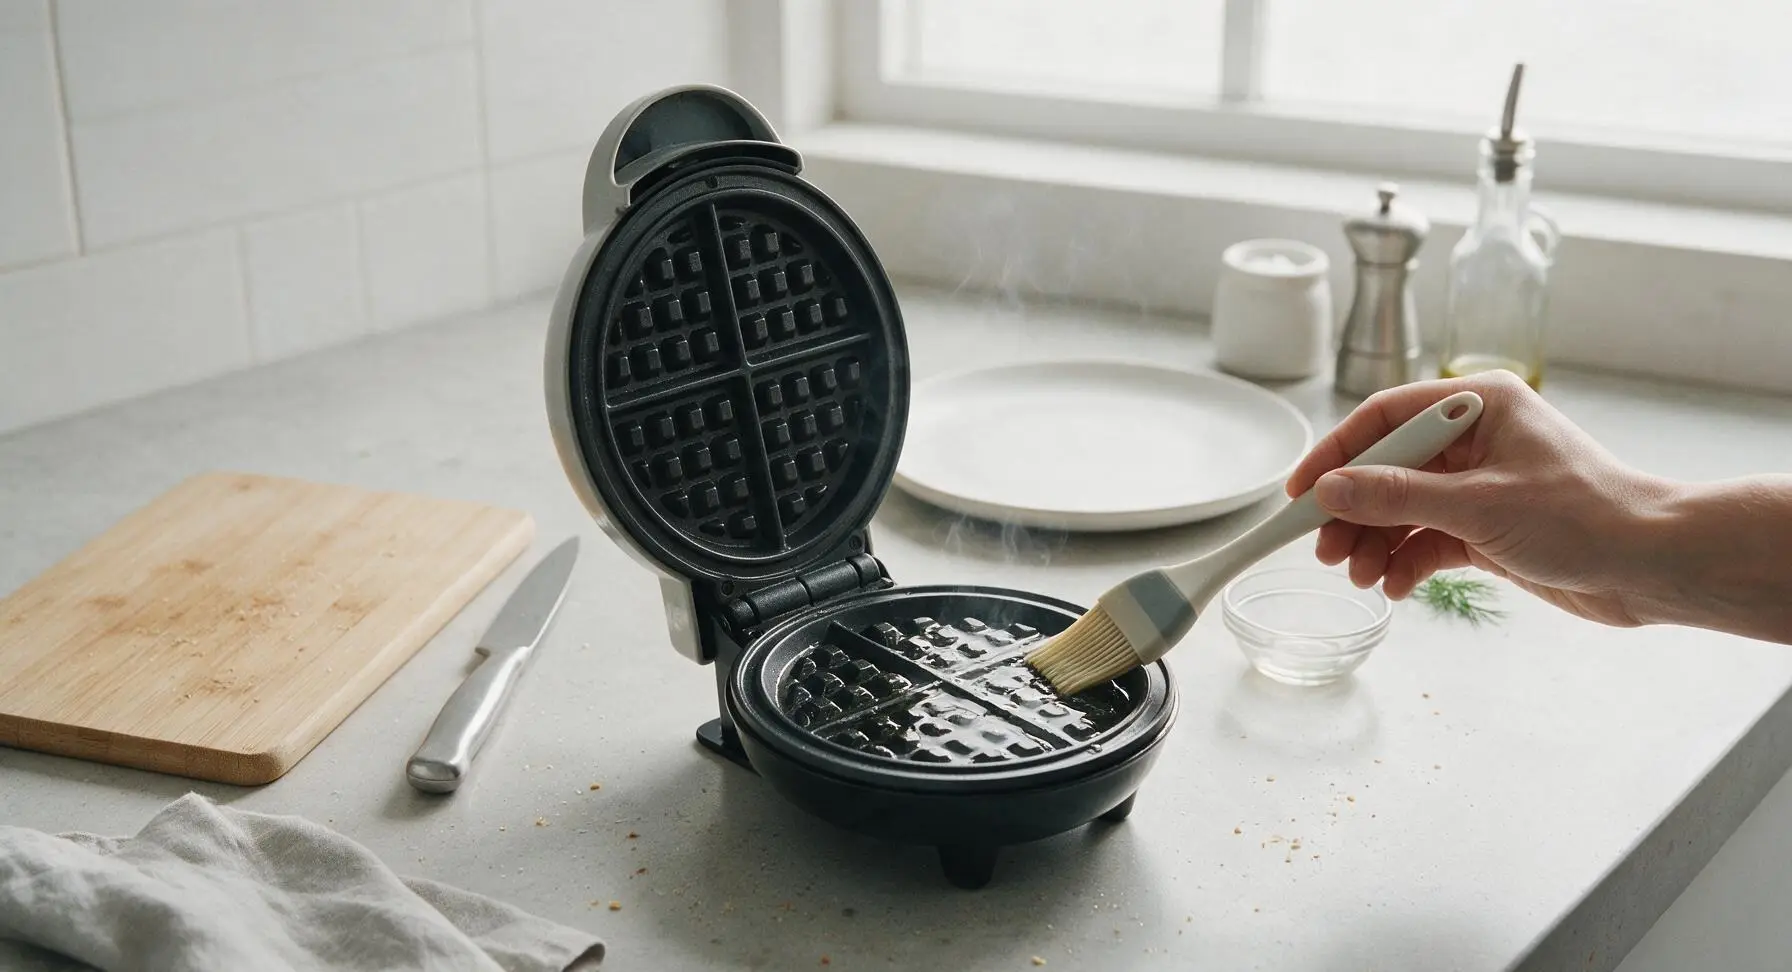
Carefully lift the waffle maker lid by its cool-touch handle to avoid burns. Lightly coat both top and bottom nonstick cooking plates with a thin layer of canola oil, applied with the silicone basting brush. Use only a thin coating—excess oil will burn, create smoke, and cause waffles to develop dark, soggy edges.
Portion Batter Correctly
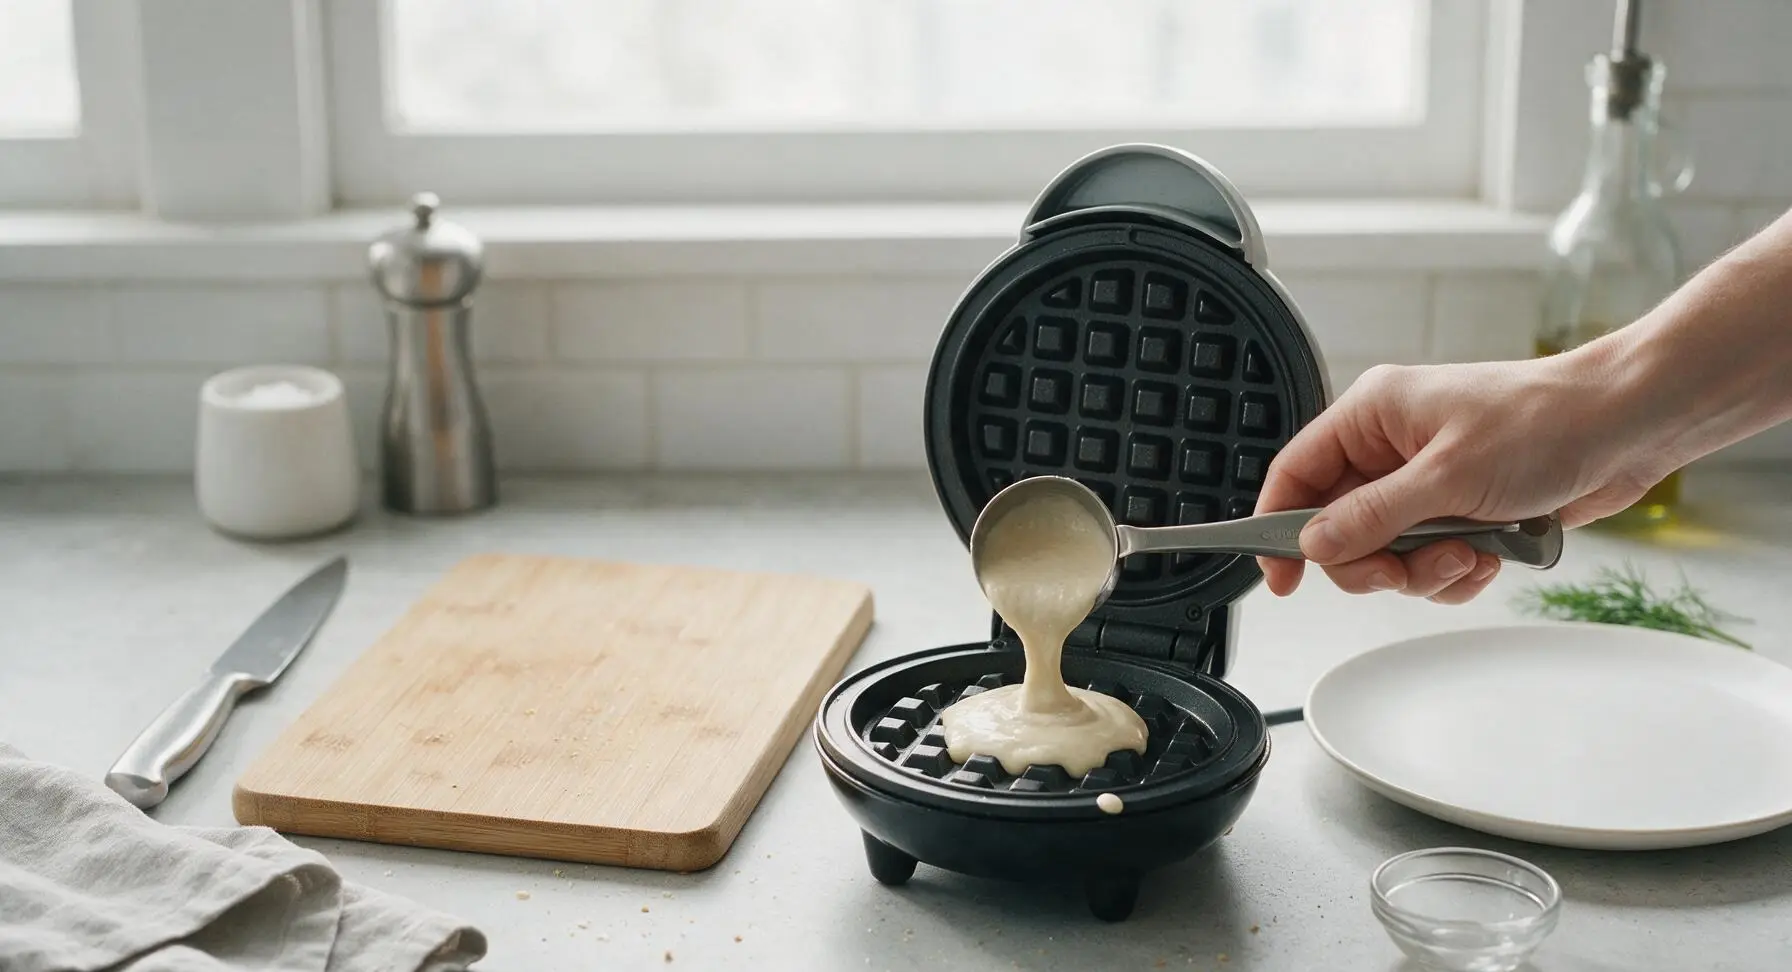
Use the stainless steel 2-tbsp measuring scoop to pour exactly 2 tablespoons of batter directly into the center of the bottom waffle plate. Do not spread the batter across the plate—it will spread evenly on its own when the lid is closed. Overfilling (using more than 2 tbsp per waffle) will cause batter to leak out the sides of the unit as it rises, creating burnt, hard-to-clean messes.
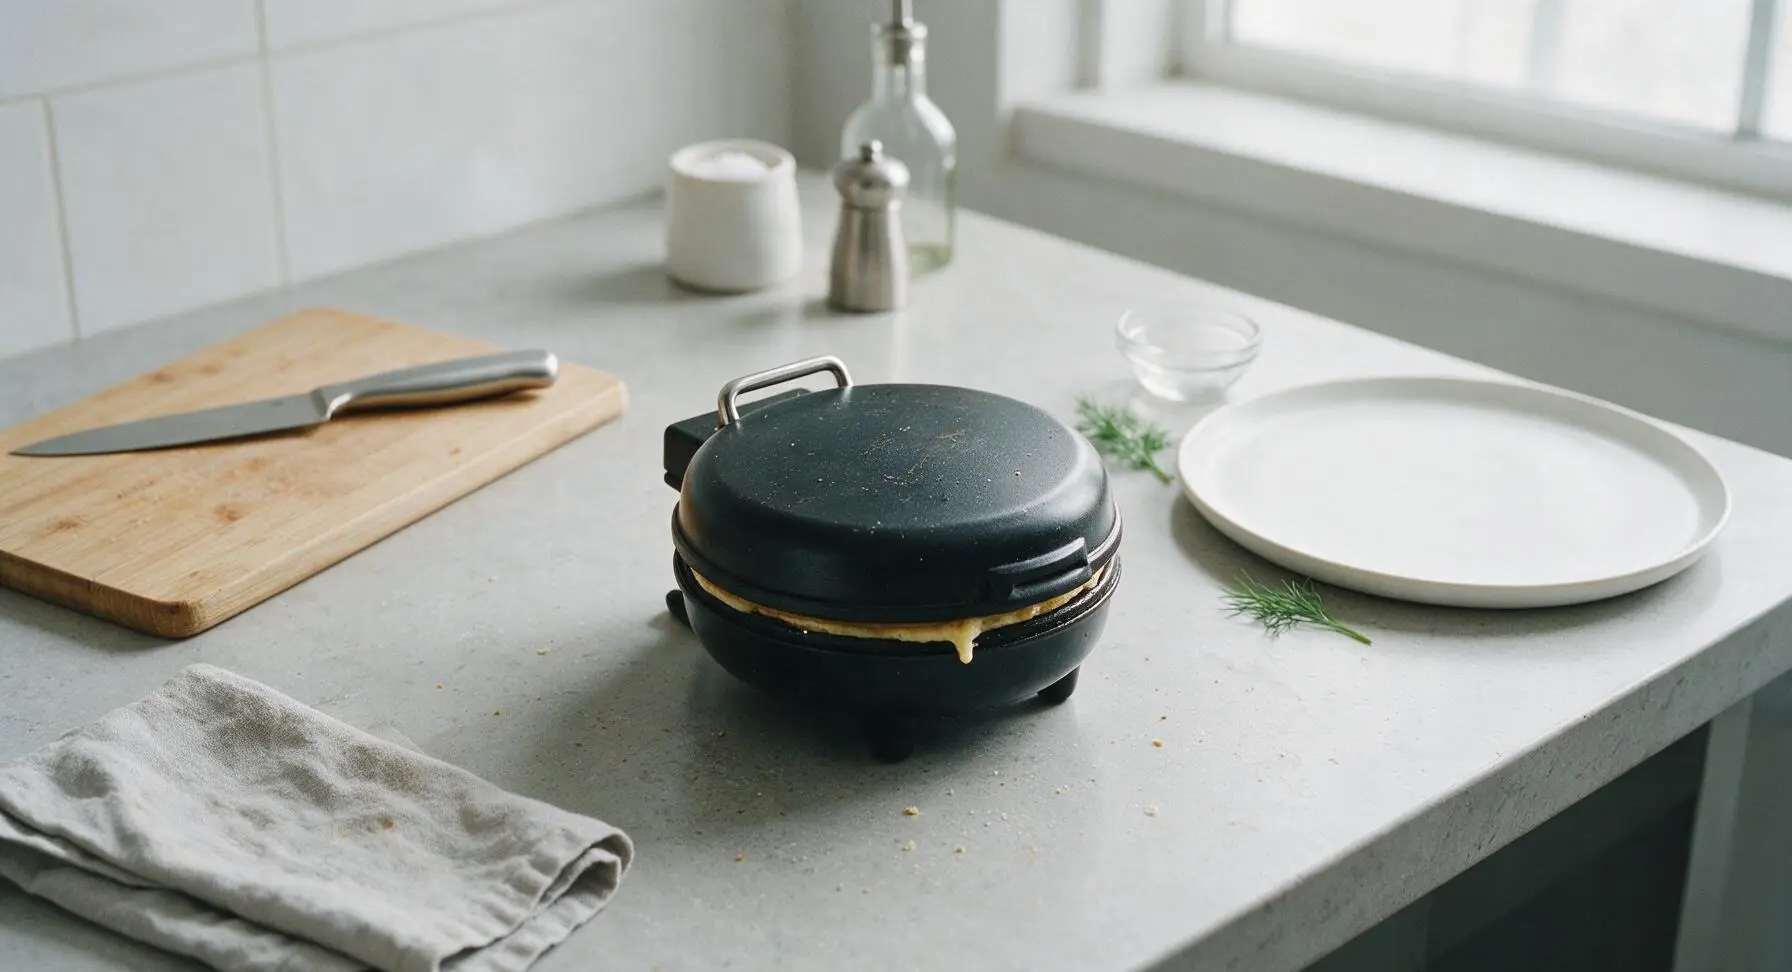
Cook Until Golden
Keep the lid closed and cook the waffle for 2 to 3 minutes, until the red indicator light turns off again and thin streams of steam stop escaping from the edges of the unit. Never press down firmly on the lid during cooking, as this compresses the waffle structure and removes the light, fluffy interior texture. For extra-crisp waffles, cook for an additional 30 seconds after the indicator light turns off.
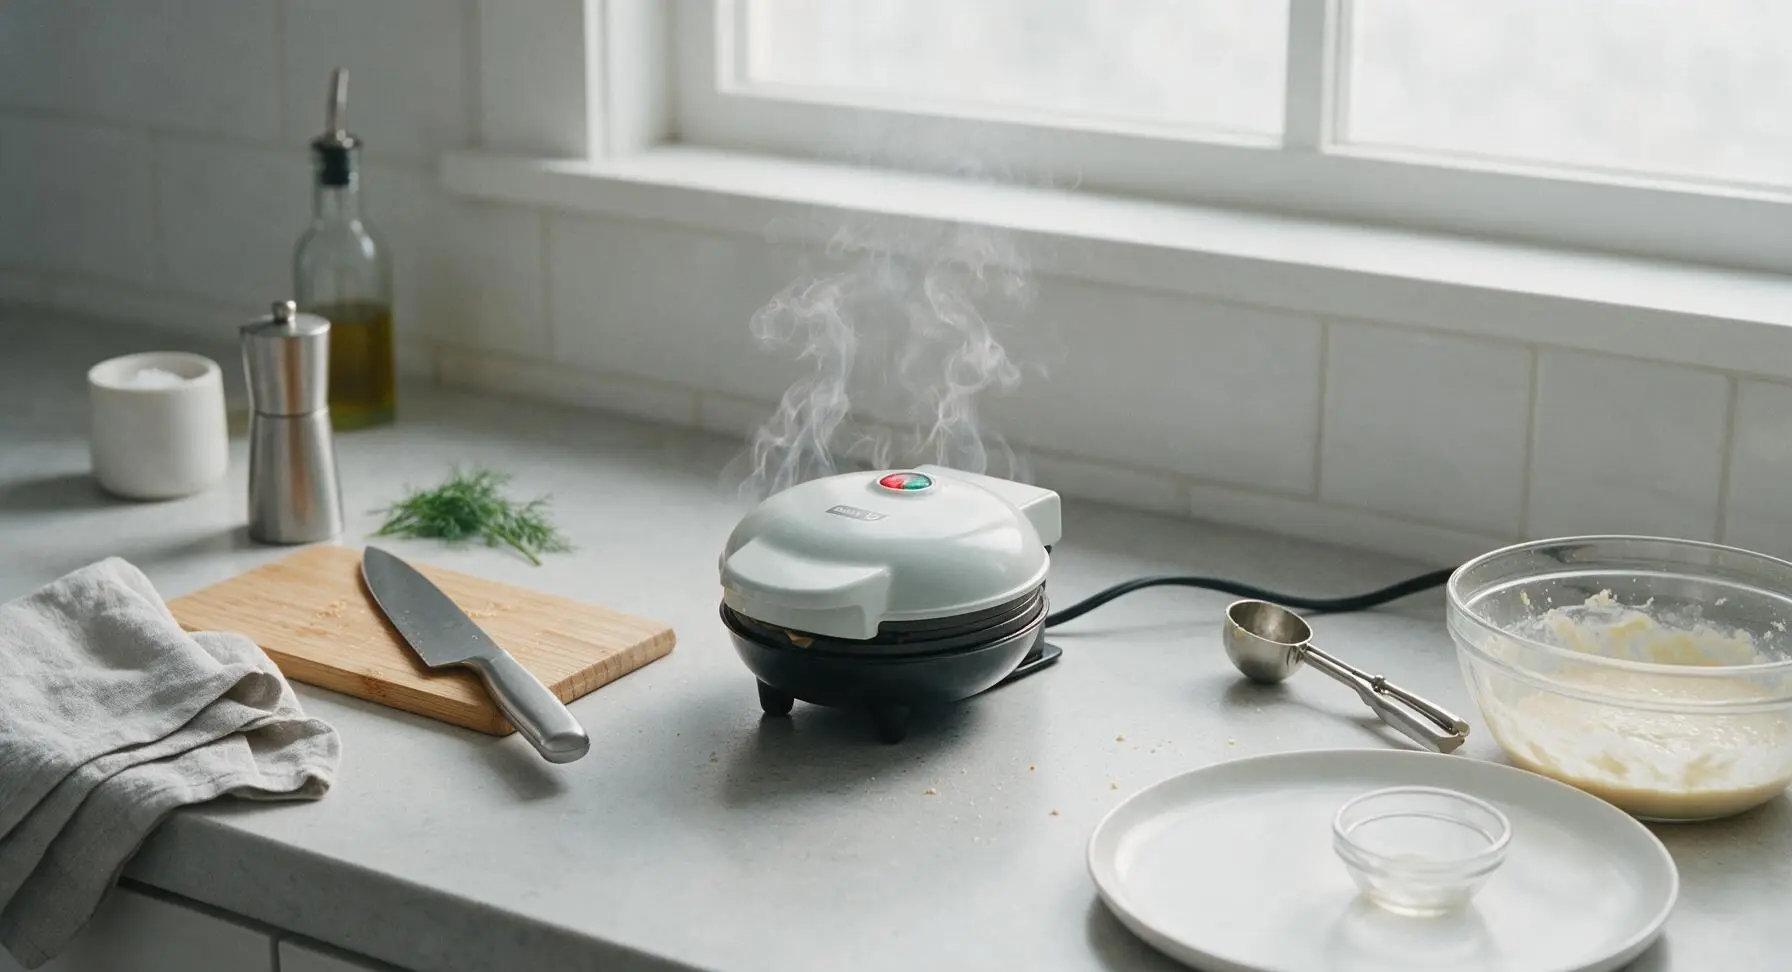
Remove and Stack Waffles
Lift the lid by the cool-touch handle once cooking is complete. Gently slide the tip of the silicone spatula under the edge of the golden waffle to lift it from the plate, then transfer it to the waiting off-white ceramic breakfast plate. Repeat the greasing, pouring, and cooking process with the remaining batter to make 4 total mini waffles, stacking them loosely on the plate as you work.
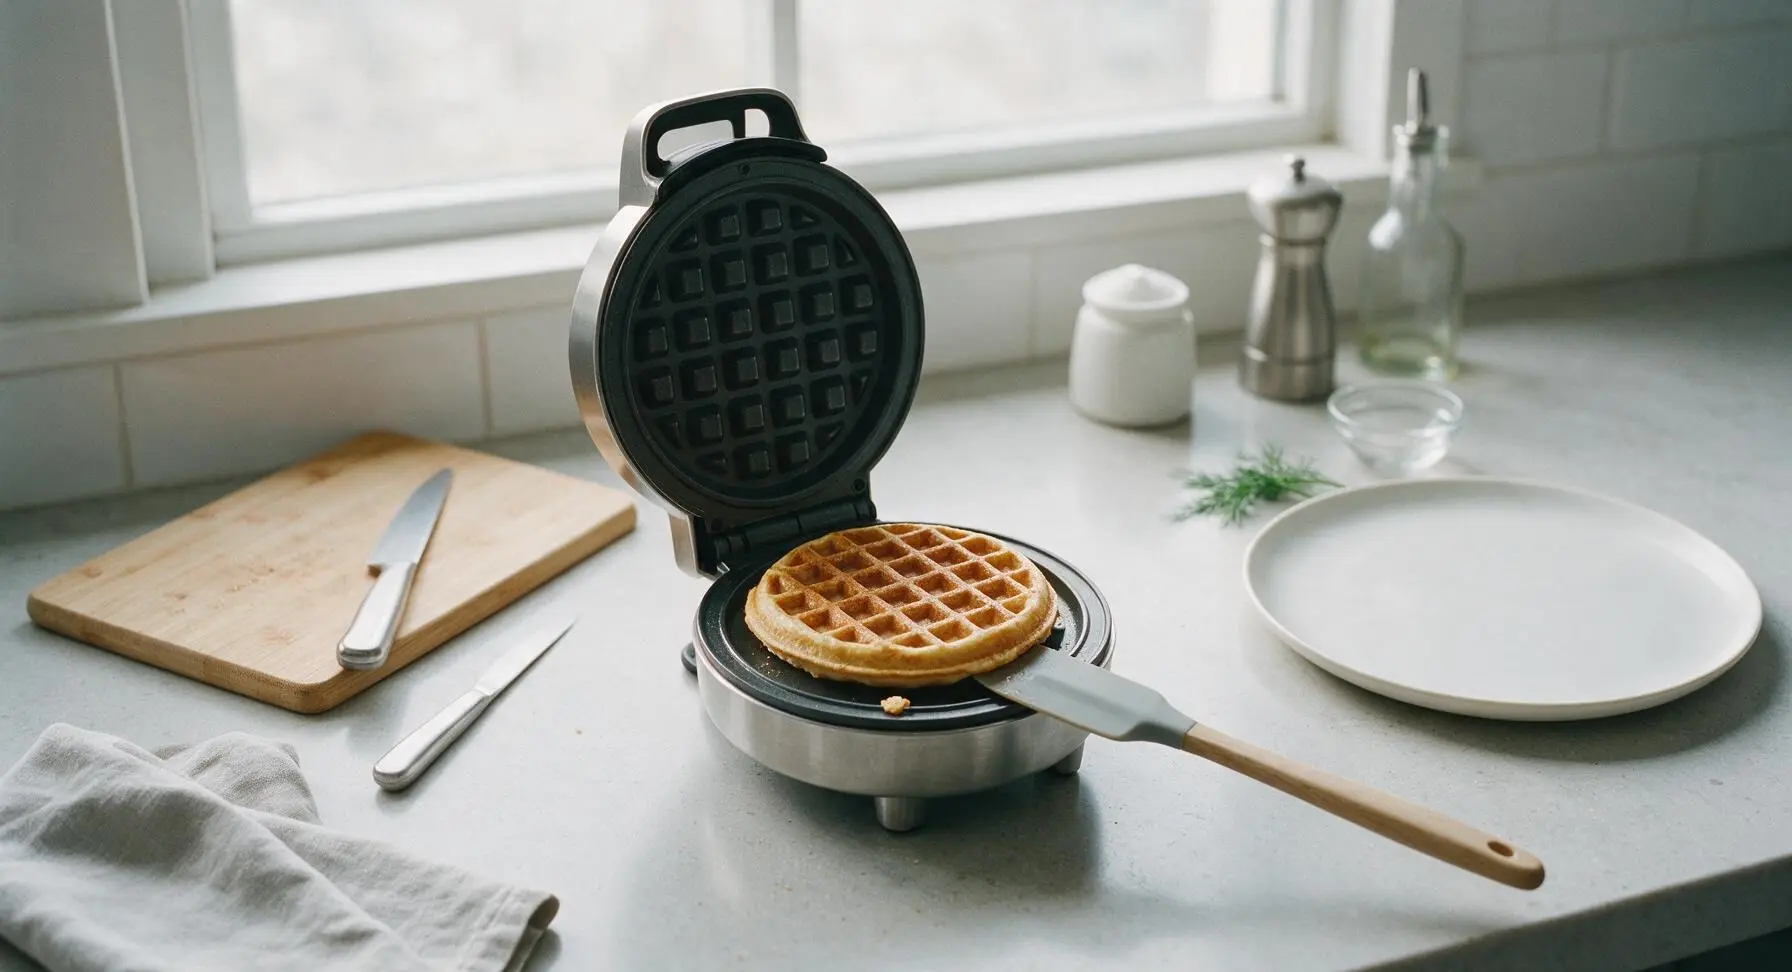
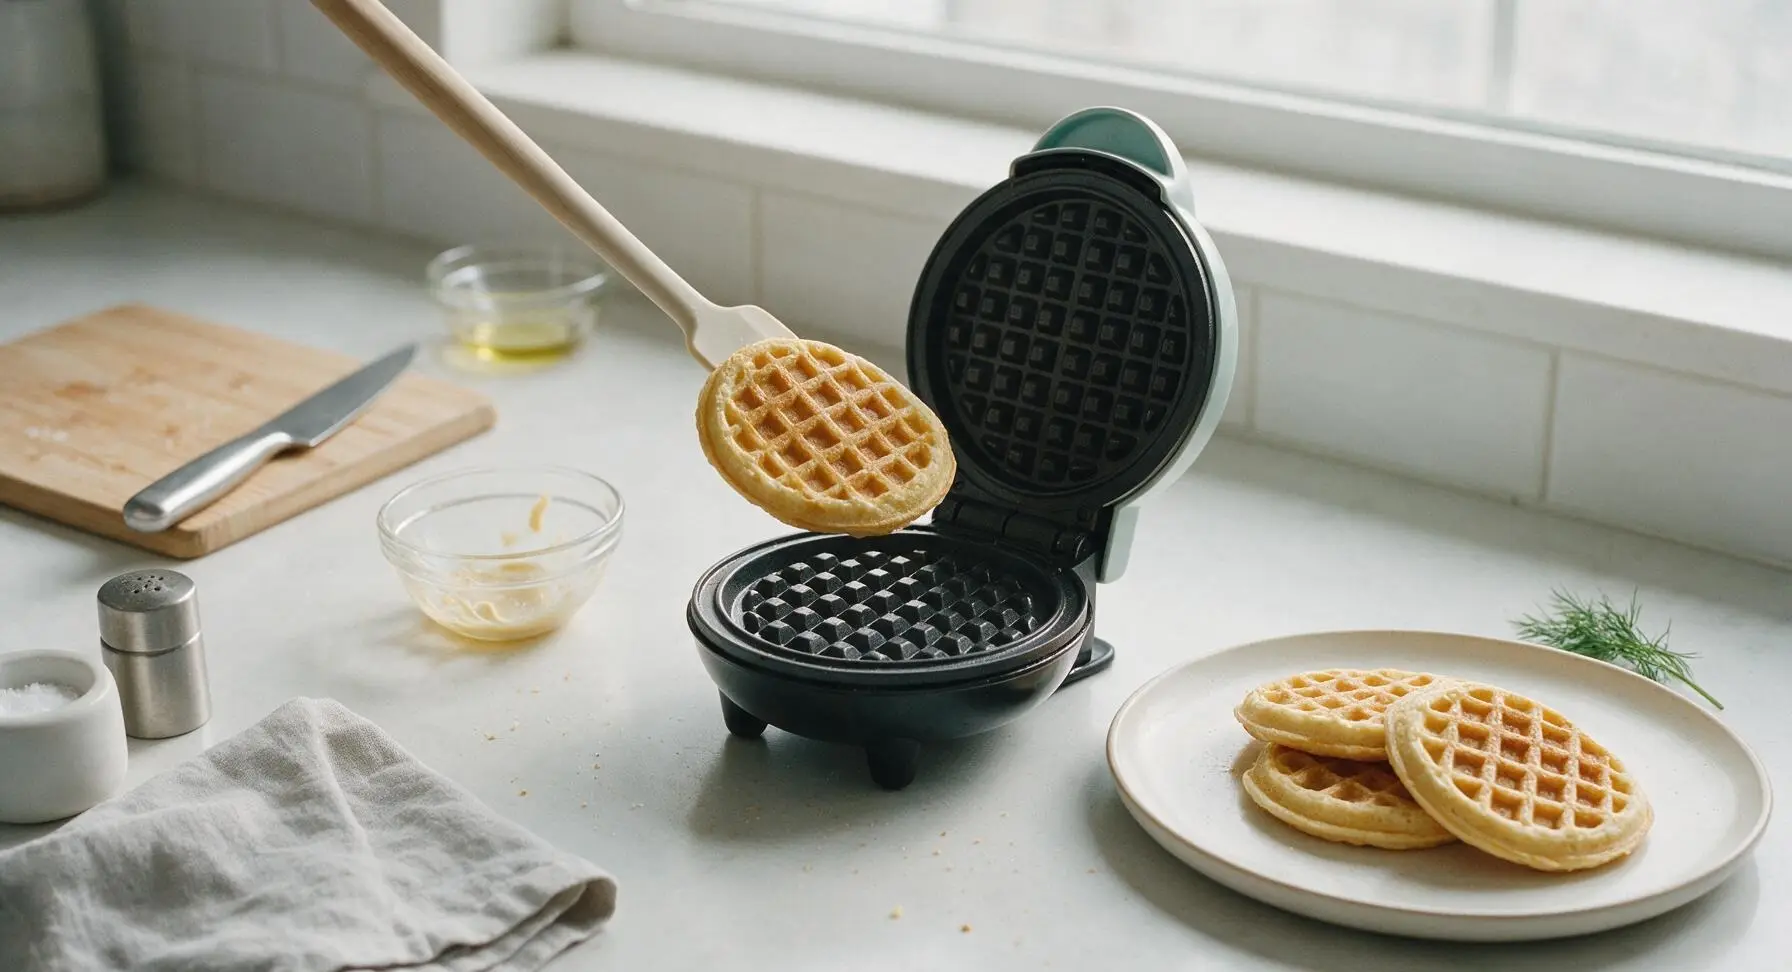
Plate and Garnish
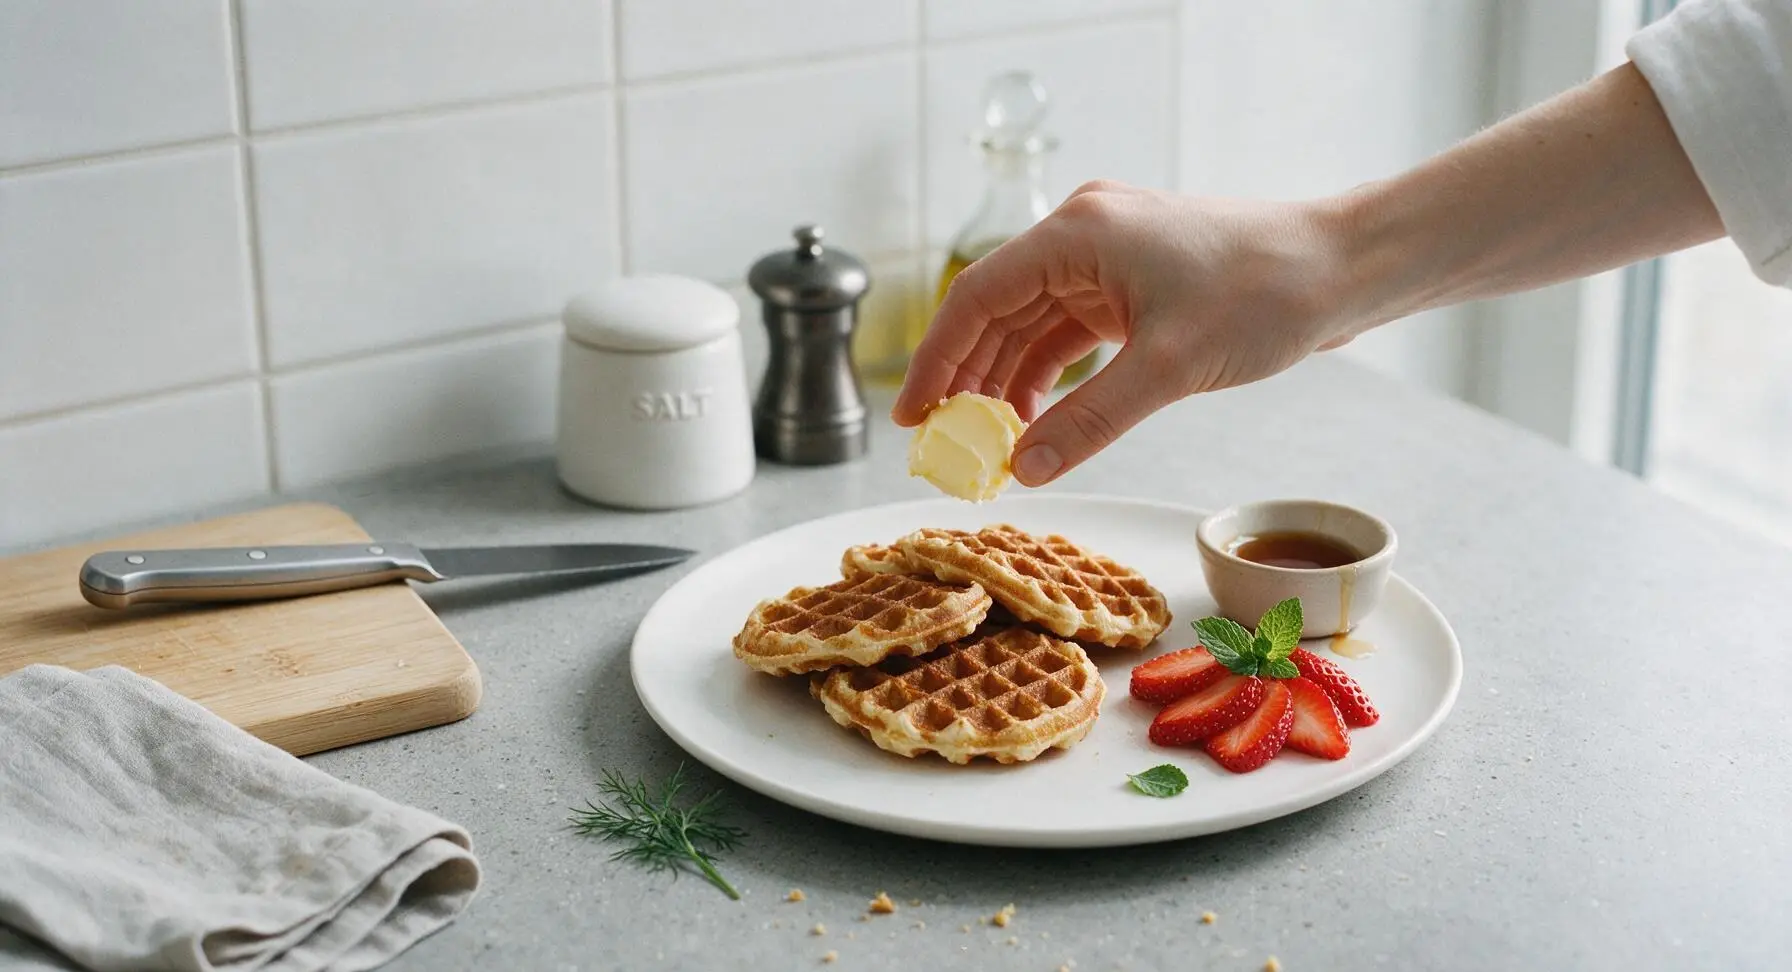
Arrange the 4 cooked mini waffles in a slightly overlapping stack on the breakfast plate. Top with a 1-tsp pat of salted butter, allowing it to melt into the warm waffle grids, then drizzle with maple syrup. Tuck sliced fresh strawberries and a sprig of mint alongside the waffles for a bright, fresh garnish. Serve immediately while waffles are hot and crisp.
Clean Unit Safely
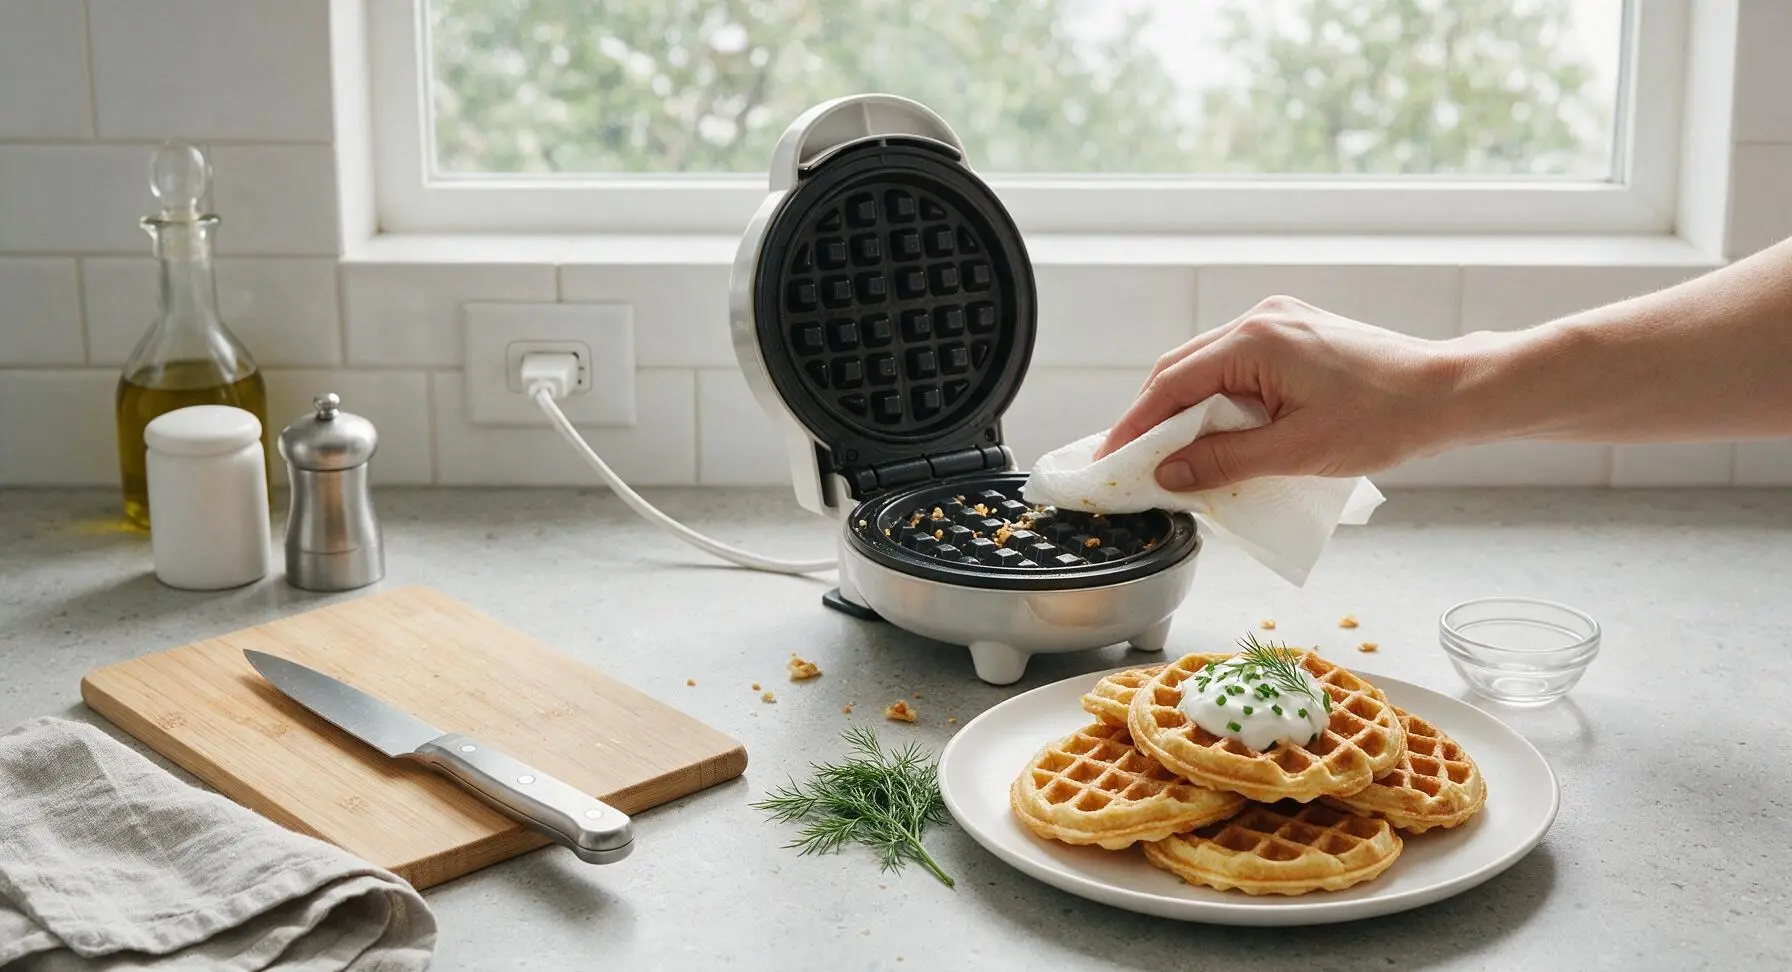
Once all waffles are cooked, unplug the waffle maker from the wall outlet and allow it to cool completely for 15 minutes before cleaning. Wipe the cooled nonstick plates with a damp paper towel to remove crumbs and residual batter, then wipe the exterior plastic with a soft, dry cloth. Never submerge the waffle maker in water, and never use abrasive scouring pads, as these will scratch and ruin the nonstick coating.
Tips
2.Wait until steam stops escaping from the lid edges before opening the maker: if you see active steam, the batter is still cooking and releasing moisture, and opening early will cause the waffle to split and stick to the top plate.
3.Avoid using nonstick spray with added lecithin on your Dash maker over time: these sprays build up a sticky residue on the nonstick plates that is hard to remove and will cause waffles to stick; use plain melted butter or plain canola oil instead.






OMG I just got my Dash mini waffle maker for Christmas and had no clue how to keep the waffles fluffy instead of dense hockey pucks! This recipe was a total game changer. My kids devoured 3 each before I even got to sit down for breakfast this morning. SO good!
Perfect for my tiny college dorm kitchen! I don’t have a ton of counter space so this mini waffle maker is all I can fit, and these waffles turn out way better than the dining hall breakfast. I even made a batch for my floor potluck last week and everyone asked for the link.
Great base recipe! I make a big batch of these every Sunday to pop in the toaster during the week for quick breakfasts before work. They hold up really well in the freezer for up to a month, which is perfect for my busy schedule. Only note is I add a tiny extra splash of vanilla for more flavor.
I swapped the all purpose flour for a 1:1 gluten free baking flour and these still came out so light and fluffy! I was worried the mini waffle maker would make them weirdly crispy or dry, but they were perfect even with my dietary swap. My husband who eats regular waffles didn’t even notice a difference.
Y’all, I’ve had my Dash waffle maker sitting in the cabinet for 6 months because I thought it was just a silly TikTok gadget. I pulled it out to make these for my grandkids this weekend and they fought over the last one! We topped them with fresh strawberries and whipped cream, it felt like a fancy brunch at home.
Just made these for the first time ever and they came out perfect on the first try! I’m a total beginner in the kitchen and have burned so many easy recipes lately, so this was a huge win. Cook time was super quick too, I was eating before my coffee even got cold.
Great recipe! I used oat milk instead of dairy and added a scoop of vanilla protein powder to the batter to make these a little more filling for post-gym breakfasts. They come out a tiny bit denser than the regular version but still taste amazing, totally satisfied my waffle craving without wrecking my macros.
These were the star of my kid’s sleepover breakfast! I set out a whole toppings bar with sprinkles, chocolate chips, syrup, peanut butter, and fruit, and all the little girls went crazy making their own mini waffles. Cleanup was so easy too, which is a win when you have 8 hyped up 8-year-olds running around.
I’ve tried so many mini waffle recipes since I bought my Dash last year, and this is by far the fluffiest one. No weird rubbery texture, no sticking to the iron, they cook evenly every single time. I made a double batch to bring to my weekly church coffee hour and everyone was raving.
Who knew you could make perfect waffles in 10 minutes? I had a random waffle craving at 10pm, pulled my mini maker out of the closet, threw the batter together, and had a perfect little snack 10 minutes later. No fancy ingredients needed, just stuff I already had in the pantry. Game changer for late night munchies.
I made these vegan by swapping the egg for a flax egg and using almond milk, and they turned out so good! I was worried they wouldn’t rise as much, but they were still fluffy and cooked perfectly in my Dash maker. Only reason I’m not giving 5 stars is I wish the recipe mentioned vegan swaps upfront.
I bring my Dash mini waffle maker camping with me (it plugs right into our portable power station!) and these waffles are the best camp breakfast ever. Way better than boring cold cereal or granola bars, and they cook so fast we don’t waste half the morning making food before we hit the trails. Even made them for our campsite neighbors last trip and they loved them.
I am literally the worst at making breakfast, my kids make fun of me because I always burn pancakes or mess up scrambled eggs. These waffles were foolproof! I followed the directions exactly, didn’t overmix, waited for the light to turn off, and they came out perfect. My kids were shocked I made something that didn’t taste burnt. Win for dad.
Made a ton of these mini waffles for our neighborhood block party last weekend, they were gone in 10 minutes! People kept coming back asking if I had more, I couldn’t believe how big of a hit they were. I made a few savory versions too with cheddar and chives mixed in, and those were just as popular as the sweet ones.
I was so sick of paying $12 for a tiny order of mini waffles at the brunch spot down the street, so I grabbed a Dash maker on sale for $10 and tried this recipe. I crunched the numbers, each batch of these costs me like $1 total! Tastes just as good, if not better, than the restaurant version. Total money saver.
I pulled out my mini waffle maker to make these for Christmas morning breakfast, and they were the perfect quick bite while we opened presents. No one had to wait around for a big breakfast to cook, we could just grab a warm waffle between opening gifts and sipping mimosas. Will definitely be making this a new holiday tradition.