
dash waffle maker

title 1
dash waffle maker
⏱️ cook time 20 minutes
🍽️ servings 4
⚡ Difficulty easy

intro

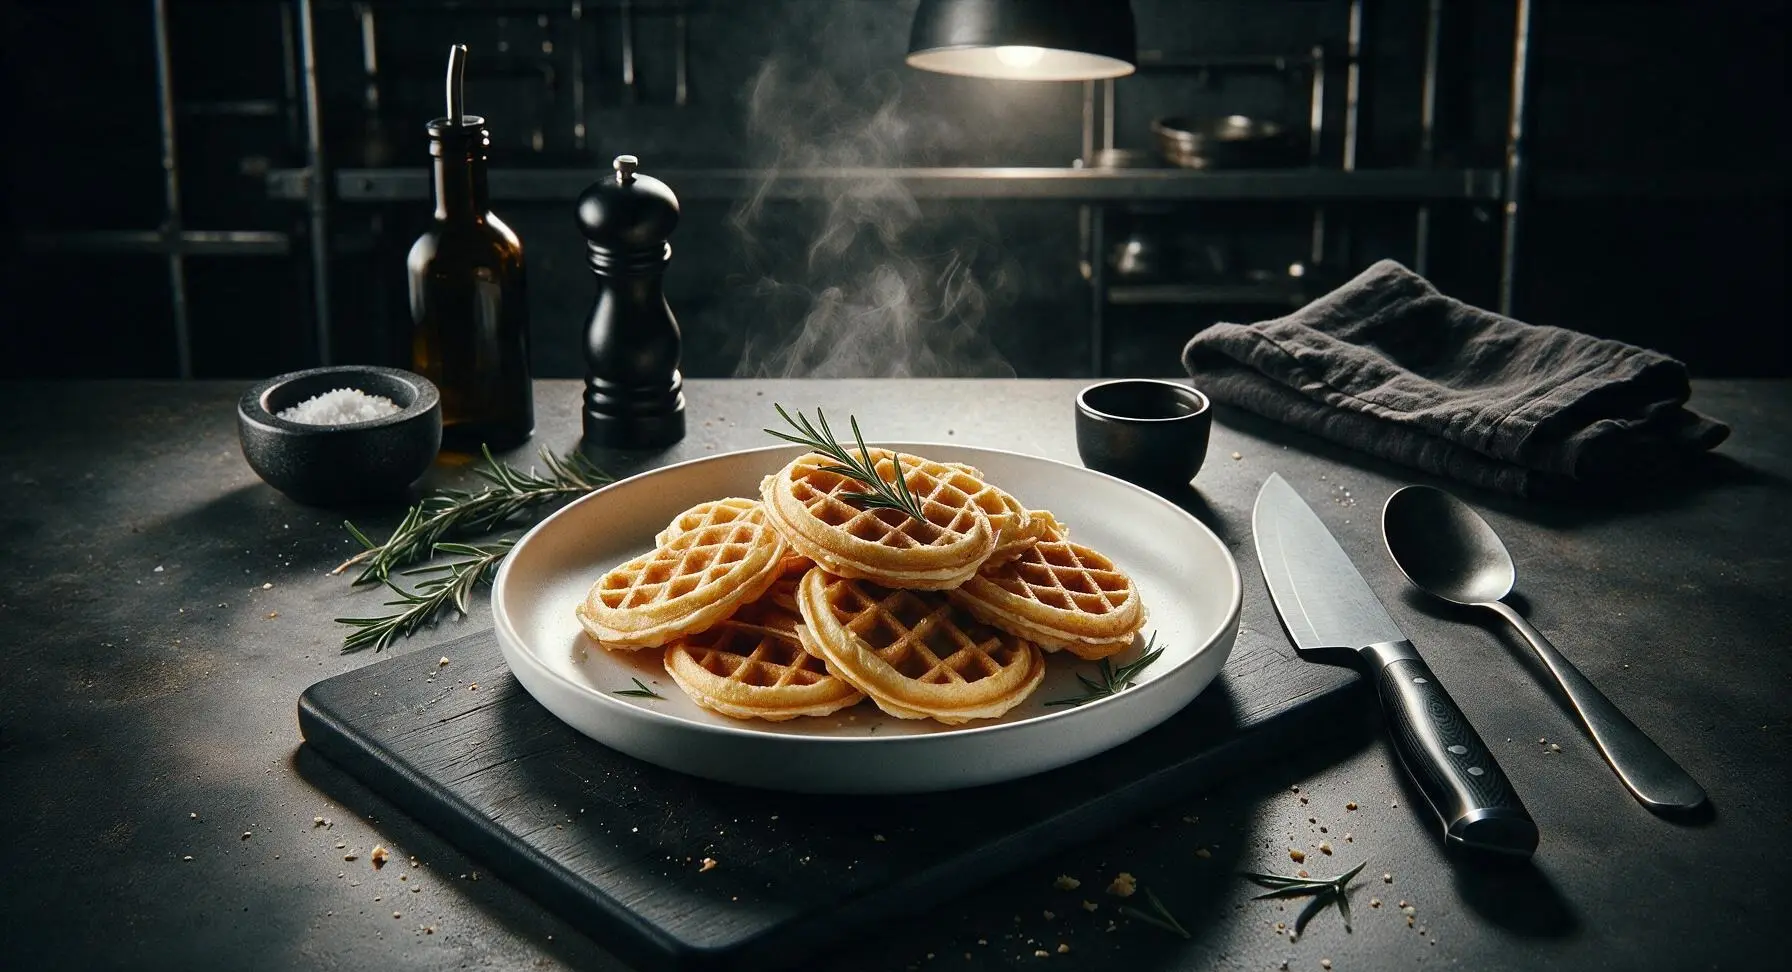
Crisp golden mini buttermilk waffles made in a Dash waffle maker, fluffy inside and ready in 30 minutes. Perfect for cozy, low-fuss weeknight meals with your favorite sweet toppings.

Ingredients
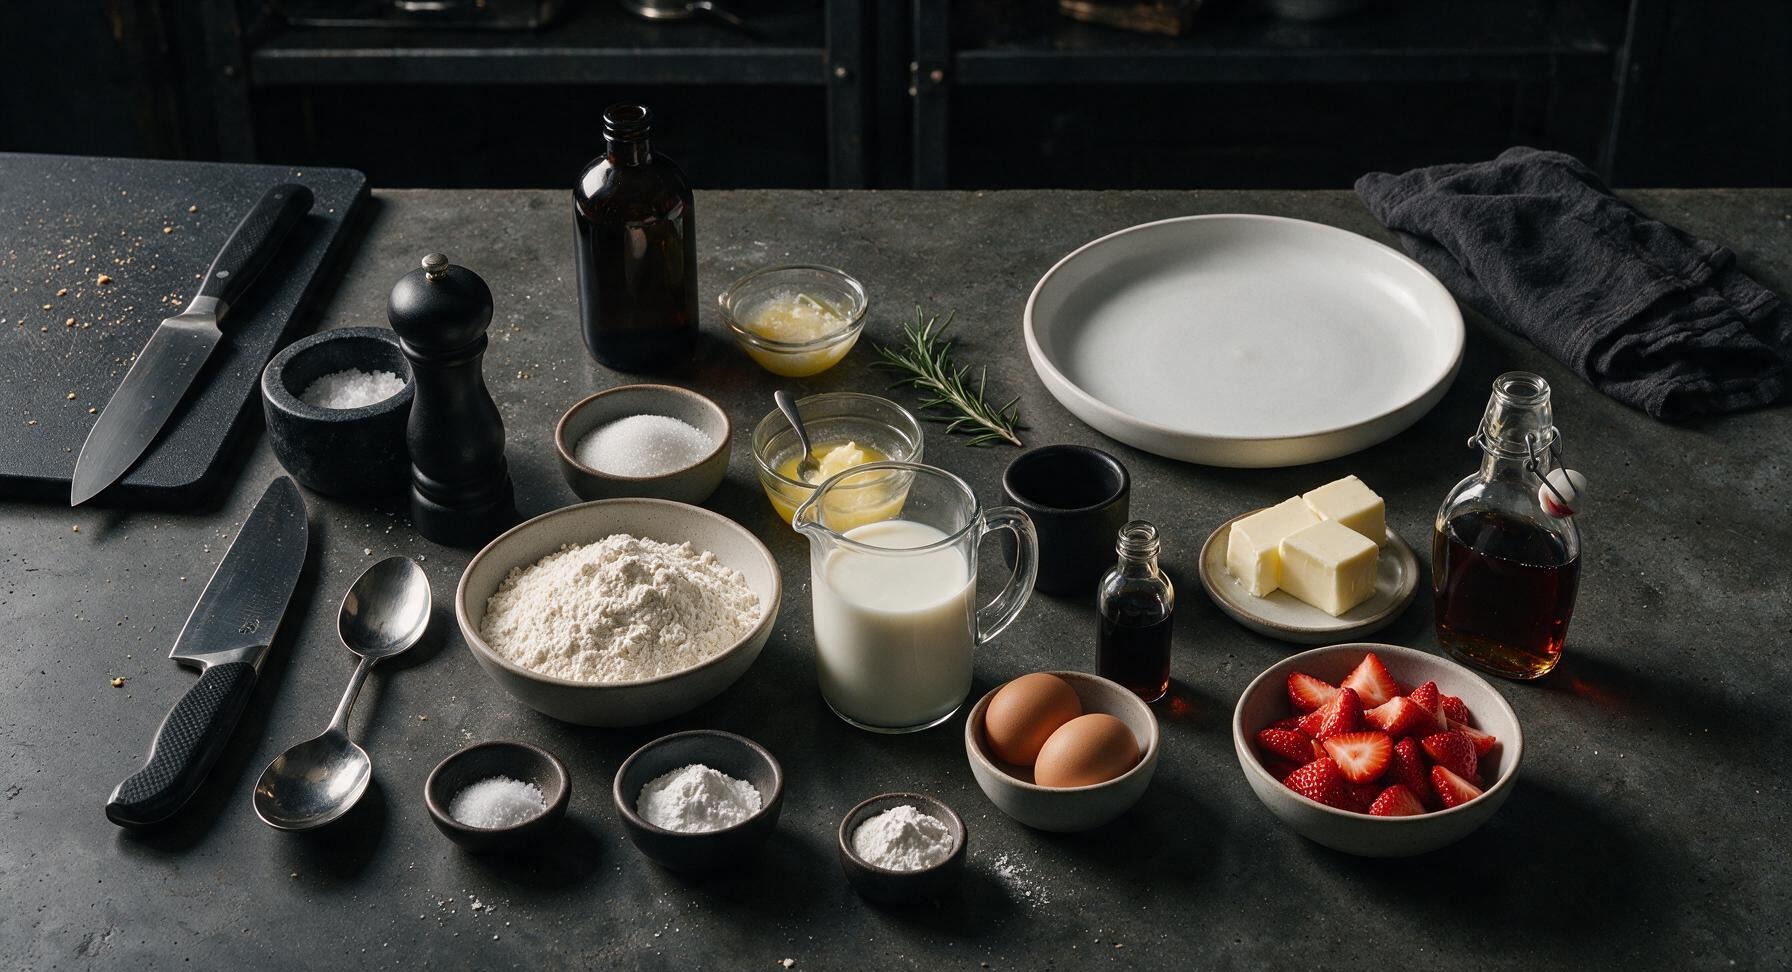
All-purpose flour 2 cups (240g)
Granulated sugar 2 tbsp (25g)
Baking powder 1 tsp (4g)
Baking soda 1/2 tsp (2.5g)
Fine sea salt 1/2 tsp (3g)
Large eggs 2 whole
Buttermilk 1 3/4 cups (420ml)
Unsalted butter, melted and cooled 1/3 cup (75g)
Pure vanilla extract 1 tsp (5ml)
Salted butter (for serving) 2 tbsp (28g)
Pure maple syrup (for serving) 1/2 cup (120ml)
Fresh strawberries, sliced (for serving) 1 cup (150g)
Powdered sugar (optional, for dusting) 1 tsp

Steps

1

Preheat the Waffle Maker

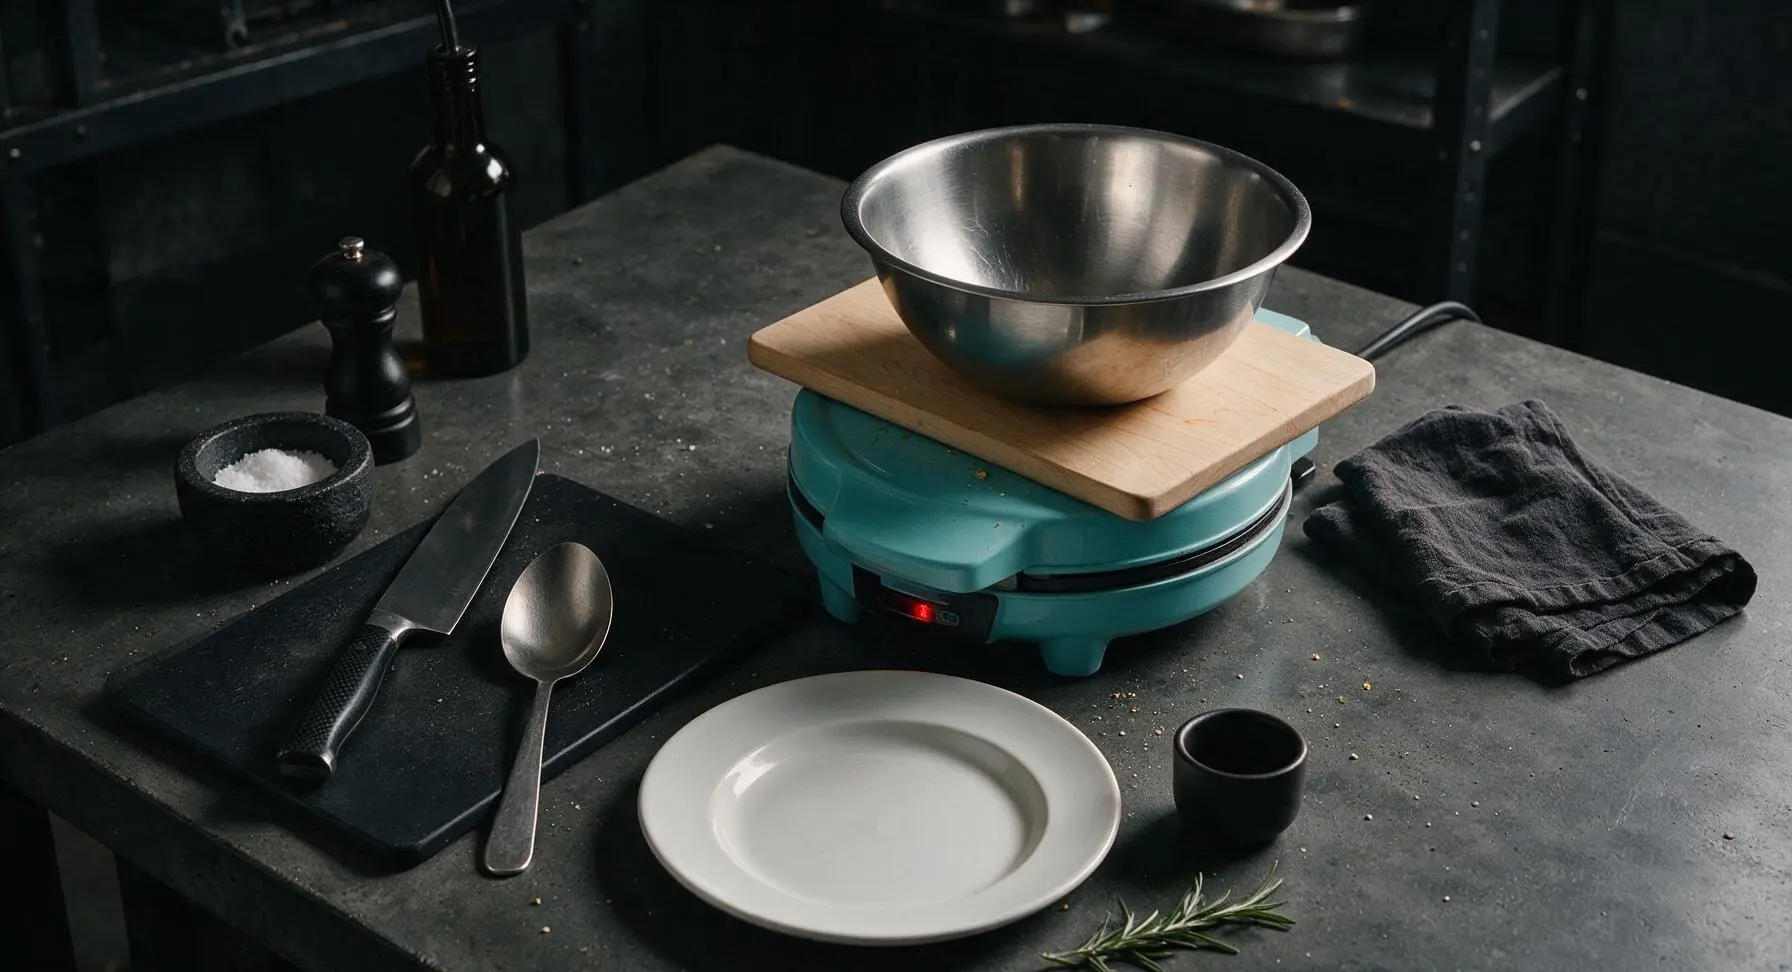
Plug in the 4-inch aqua Dash waffle maker in its fixed center-right counter position, close the lid, and let it preheat for 3-4 minutes until the red indicator light turns off, signaling it has reached the optimal 375°F cooking temperature. Grease plates only once fully preheated to prevent residue buildup and sticking.
Step 1
step1:Preheat the Waffle Maker
2

Whisk Dry Ingredients

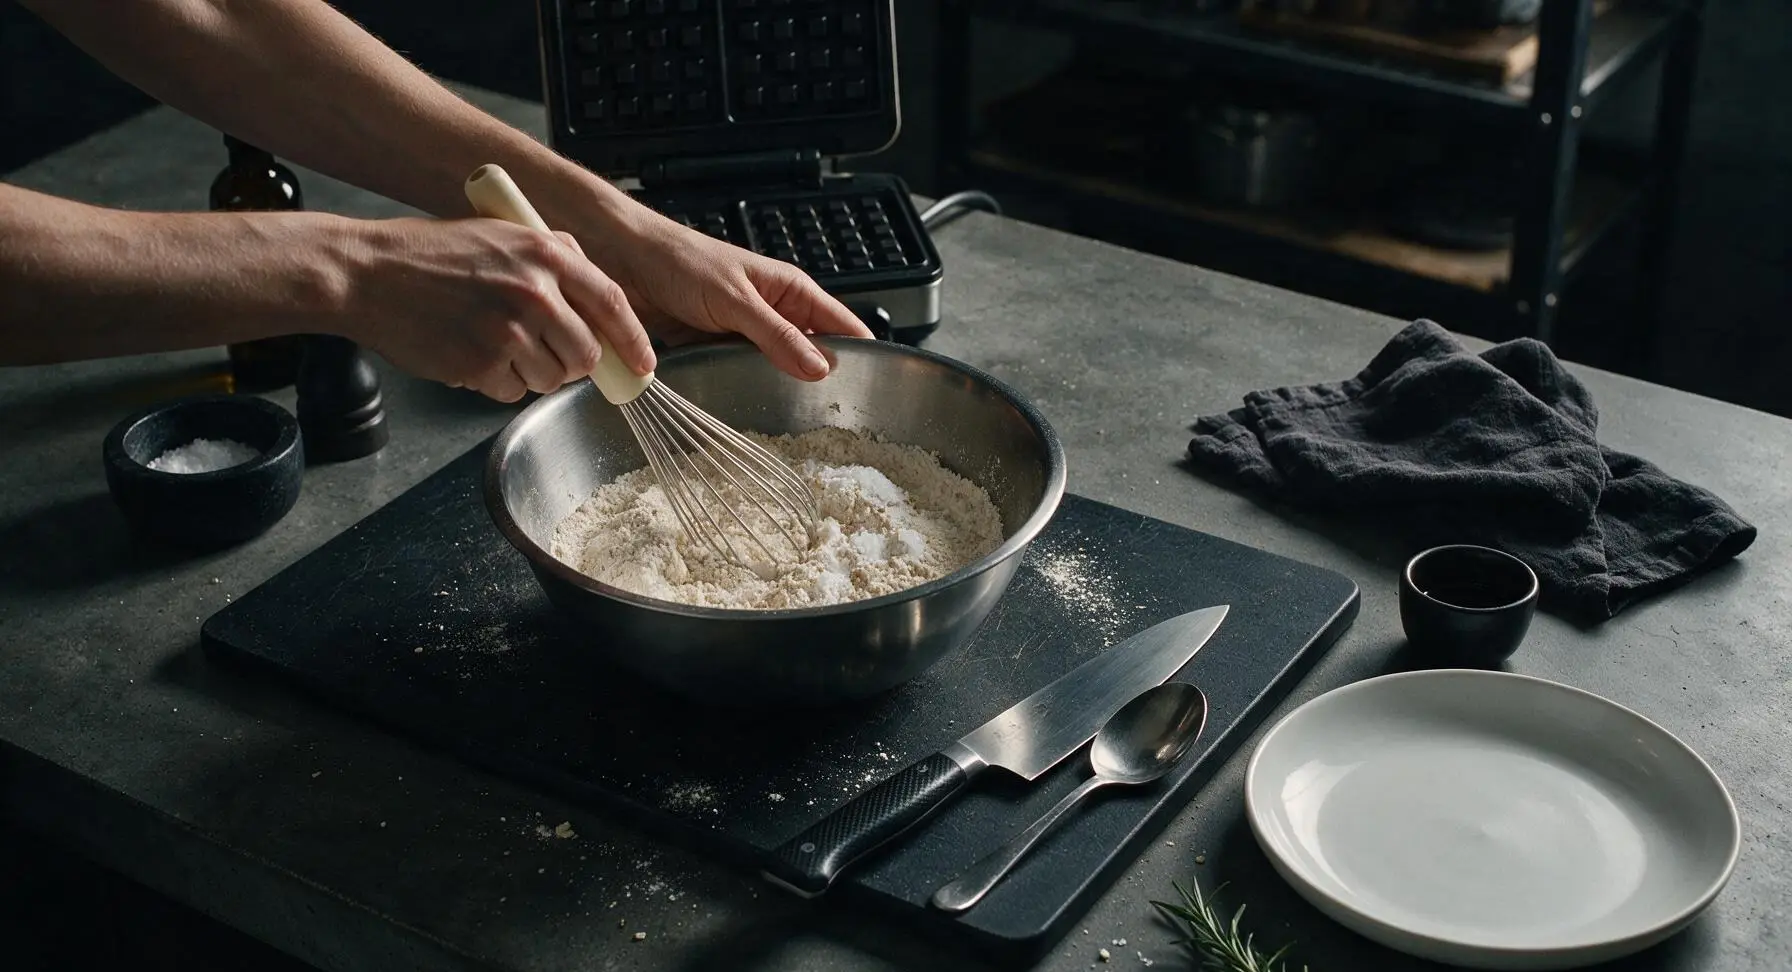
In the medium brushed stainless steel mixing bowl, combine the measured all-purpose flour, granulated sugar, baking powder, baking soda, and fine sea salt. Use the cream-handled stainless steel whisk to stir the dry ingredients for 30 seconds until evenly blended, with no concentrated clumps of leavening visible in the mixture.
Step 2
step2:Whisk Dry Ingredients
3

Combine Wet Ingredients

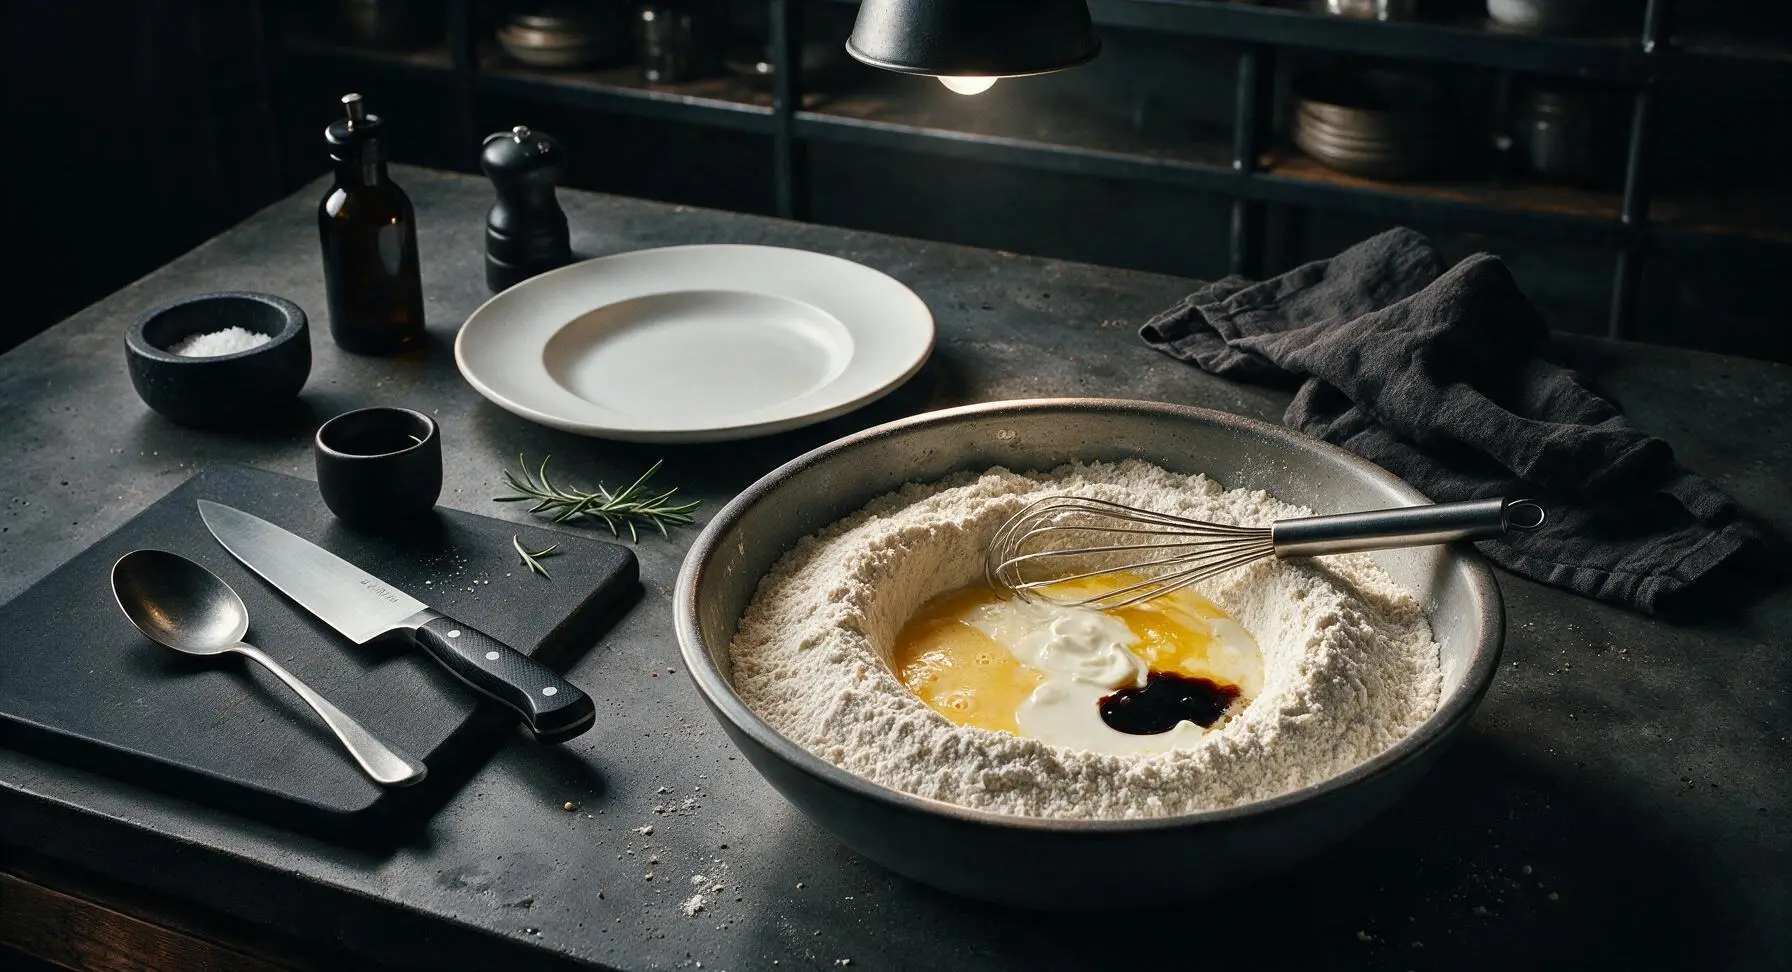
Use the silicone spatula to push the dry ingredient mixture up the sides of the bowl, creating a 3-inch wide well in the center. Pour the lightly beaten eggs, buttermilk, cooled melted butter, and vanilla extract directly into the well, taking care not to splash the dry ingredients over the bowl edges.
Step 3
step3:Combine Wet Ingredients
4

Stir to Combine Batter

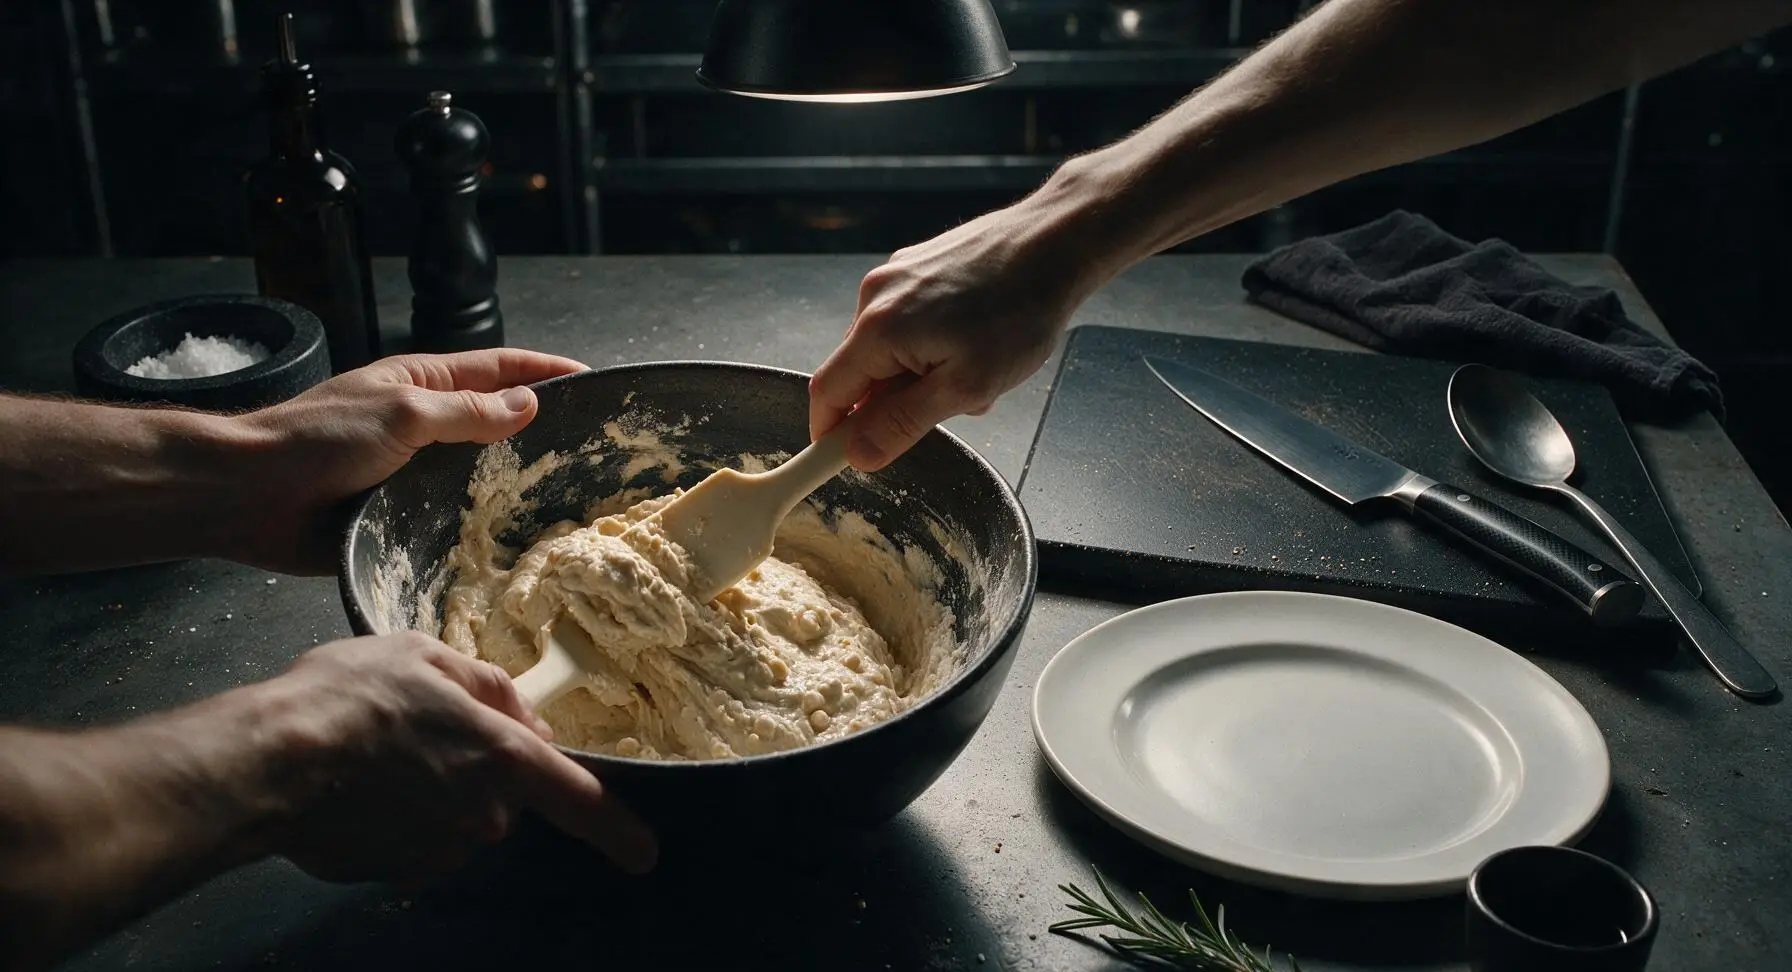
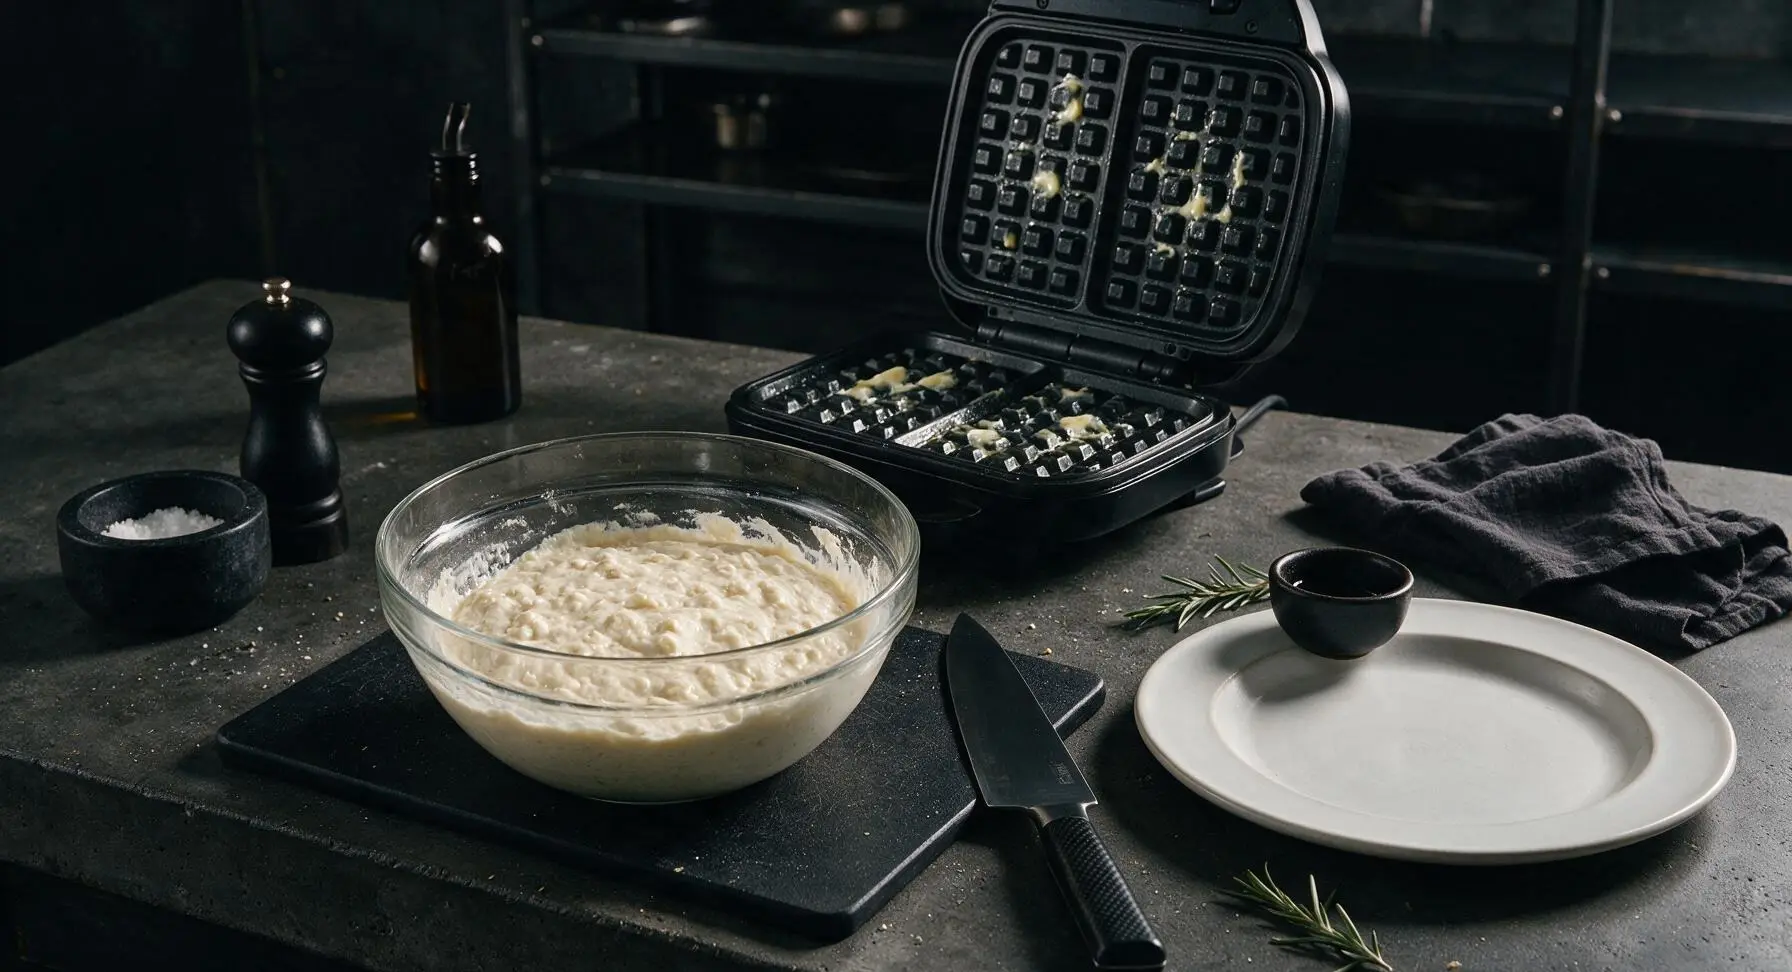
Use the cream silicone spatula to gently fold the wet ingredients into the dry ingredients, stirring only until just combined. The finished batter will be thick with small, pea-sized lumps; stop stirring as soon as no dry flour streaks remain, after about 45 seconds of total mixing. Overmixing will develop gluten and create tough, chewy waffles. Let the batter rest for 2 minutes, then dab a small amount of melted butter on the corner of the paper napkin tucked under the cutting board to lightly coat the preheated waffle maker plates.
Step 4
step4:Stir to Combine Batter
Step 4
step4:Stir to Combine Batter
5

Pour and Cook Waffles

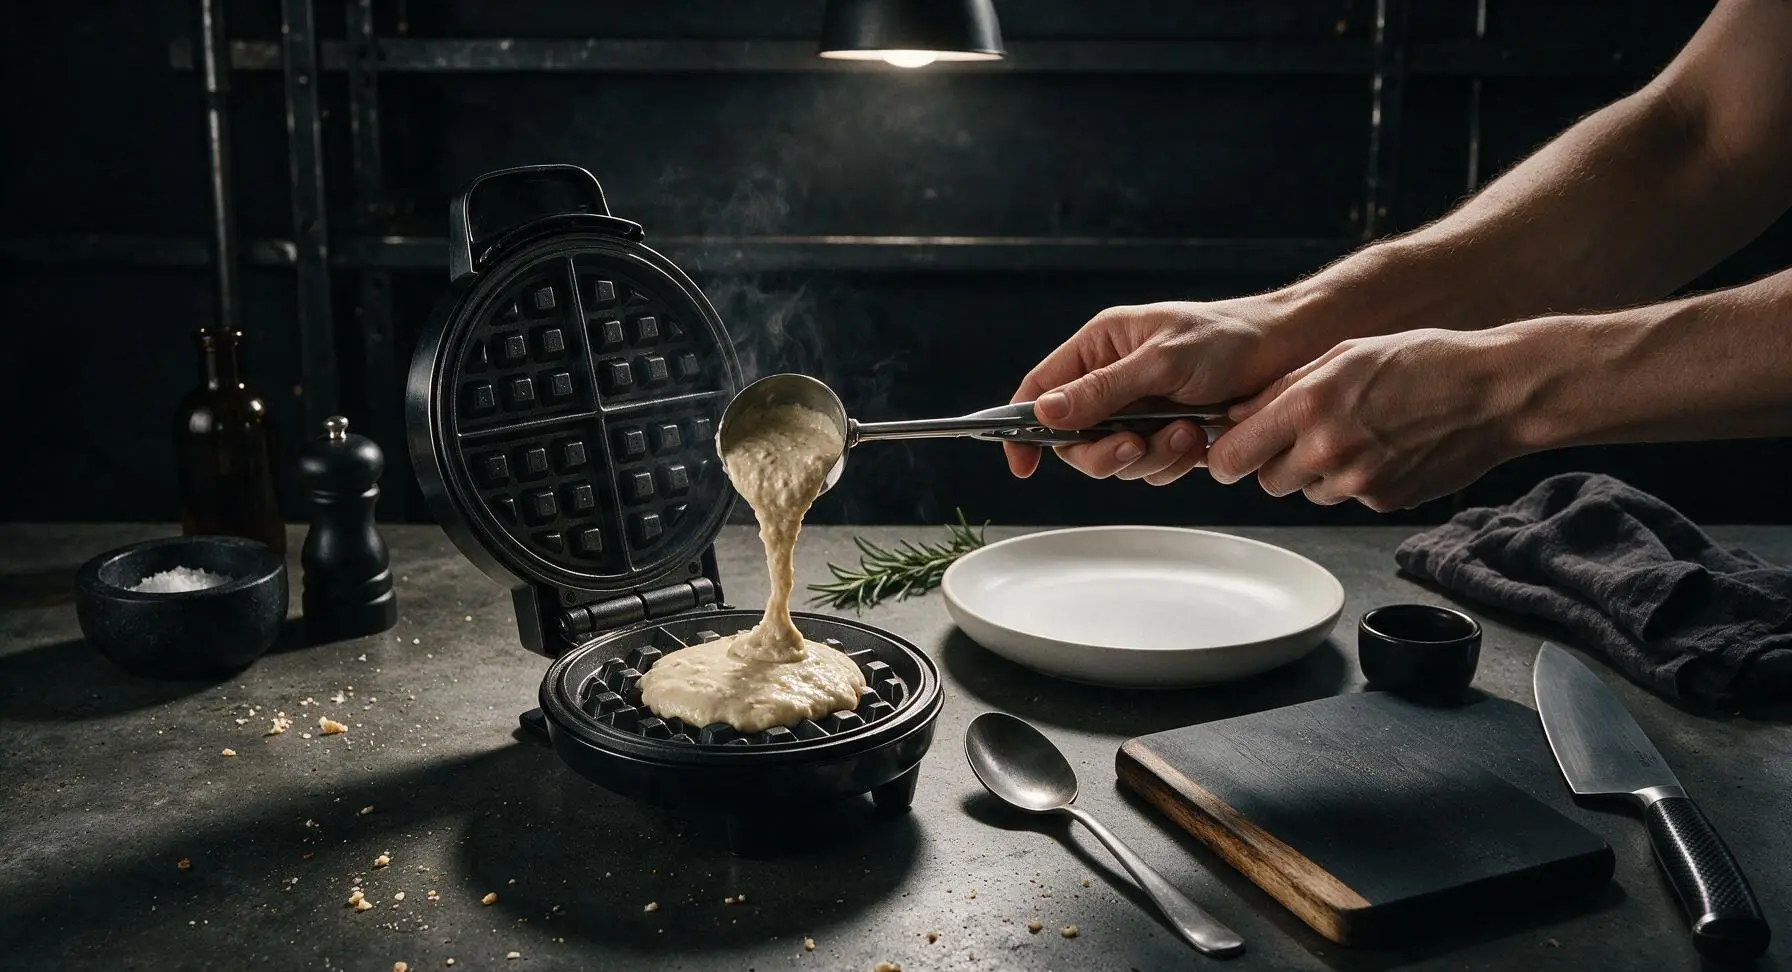
Use the polished 1/4 cup stainless steel batter scoop to measure exactly 1/4 cup of batter, pouring it directly into the center of the preheated, greased lower waffle plate. Close the lid gently (do not press down firmly to flatten the waffle) and cook for 2.5 to 3 minutes, until thin wispy steam stops escaping from the waffle maker edges. Do not open the lid before 2 minutes of cook time, as this will cause the waffle to split and stick to the plates.
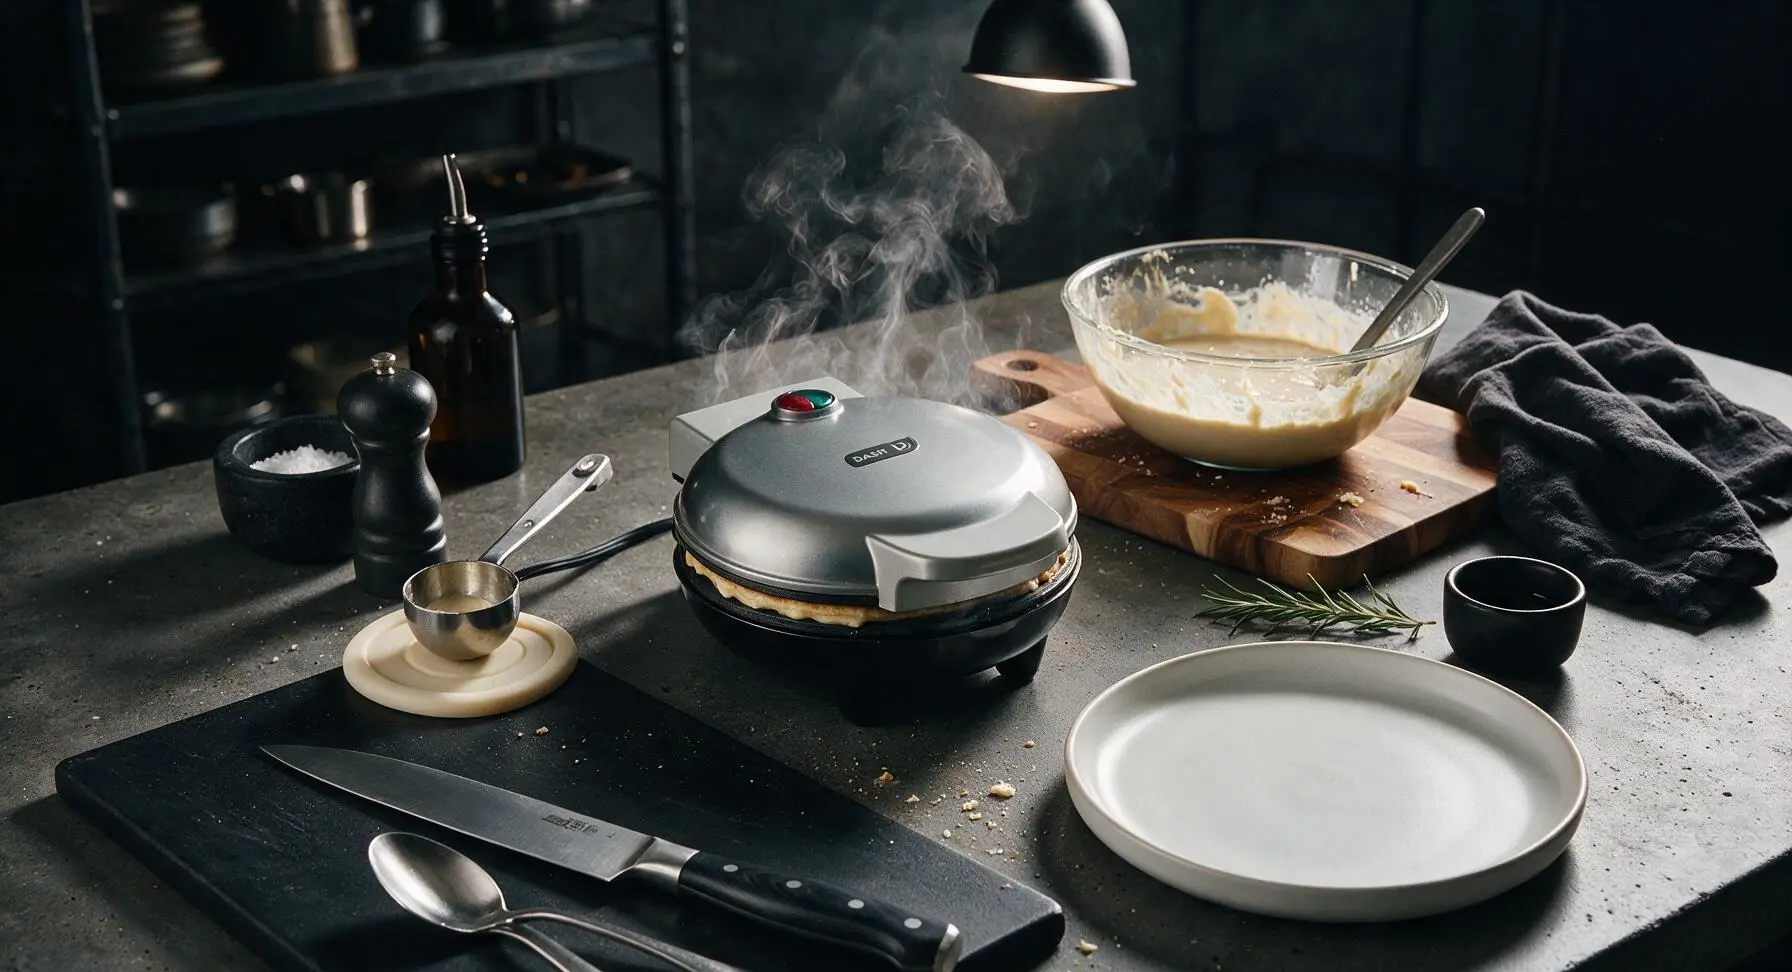
Step 5
step5:Pour and Cook Waffles
Step 5
step5:Pour and Cook Waffles
6

Remove Cooked Waffle

When steam stops escaping from the waffle maker, open the lid and use the tip of the silicone spatula to gently lift the cooked waffle from the plates, transferring it loosely to the matte cream ceramic dinner plate. Repeat the scooping, pouring, and cooking process with the remaining batter, stacking cooked waffles loosely on the plate to avoid trapping steam that would soften crisp edges. This recipe yields 8 total 4-inch mini waffles.
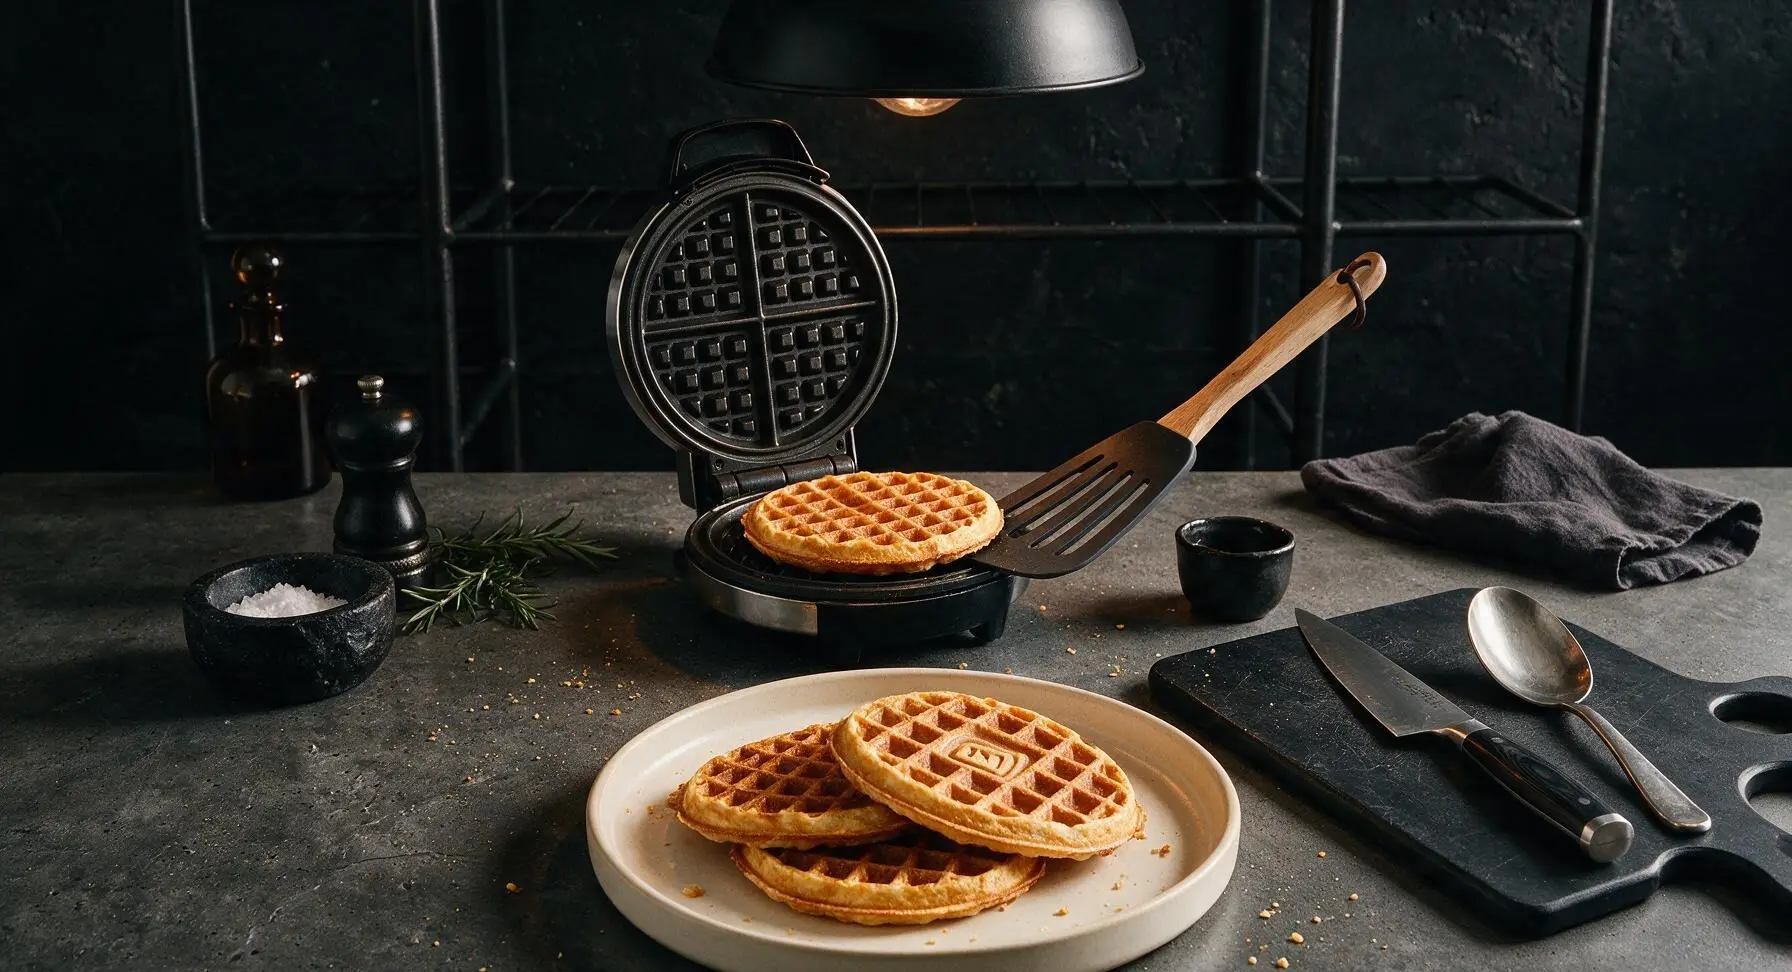
Step 6
step6:Remove Cooked Waffle
7

Plate and Garnish Waffles

Once all waffles are cooked, arrange the full stack of 8 waffles on the center of the matte cream ceramic dinner plate. Top the stack with a pat of salted butter, a generous drizzle of maple syrup, fanned sliced fresh strawberries, and a light dusting of powdered sugar if desired. Serve immediately while the waffles are hot and crisp.
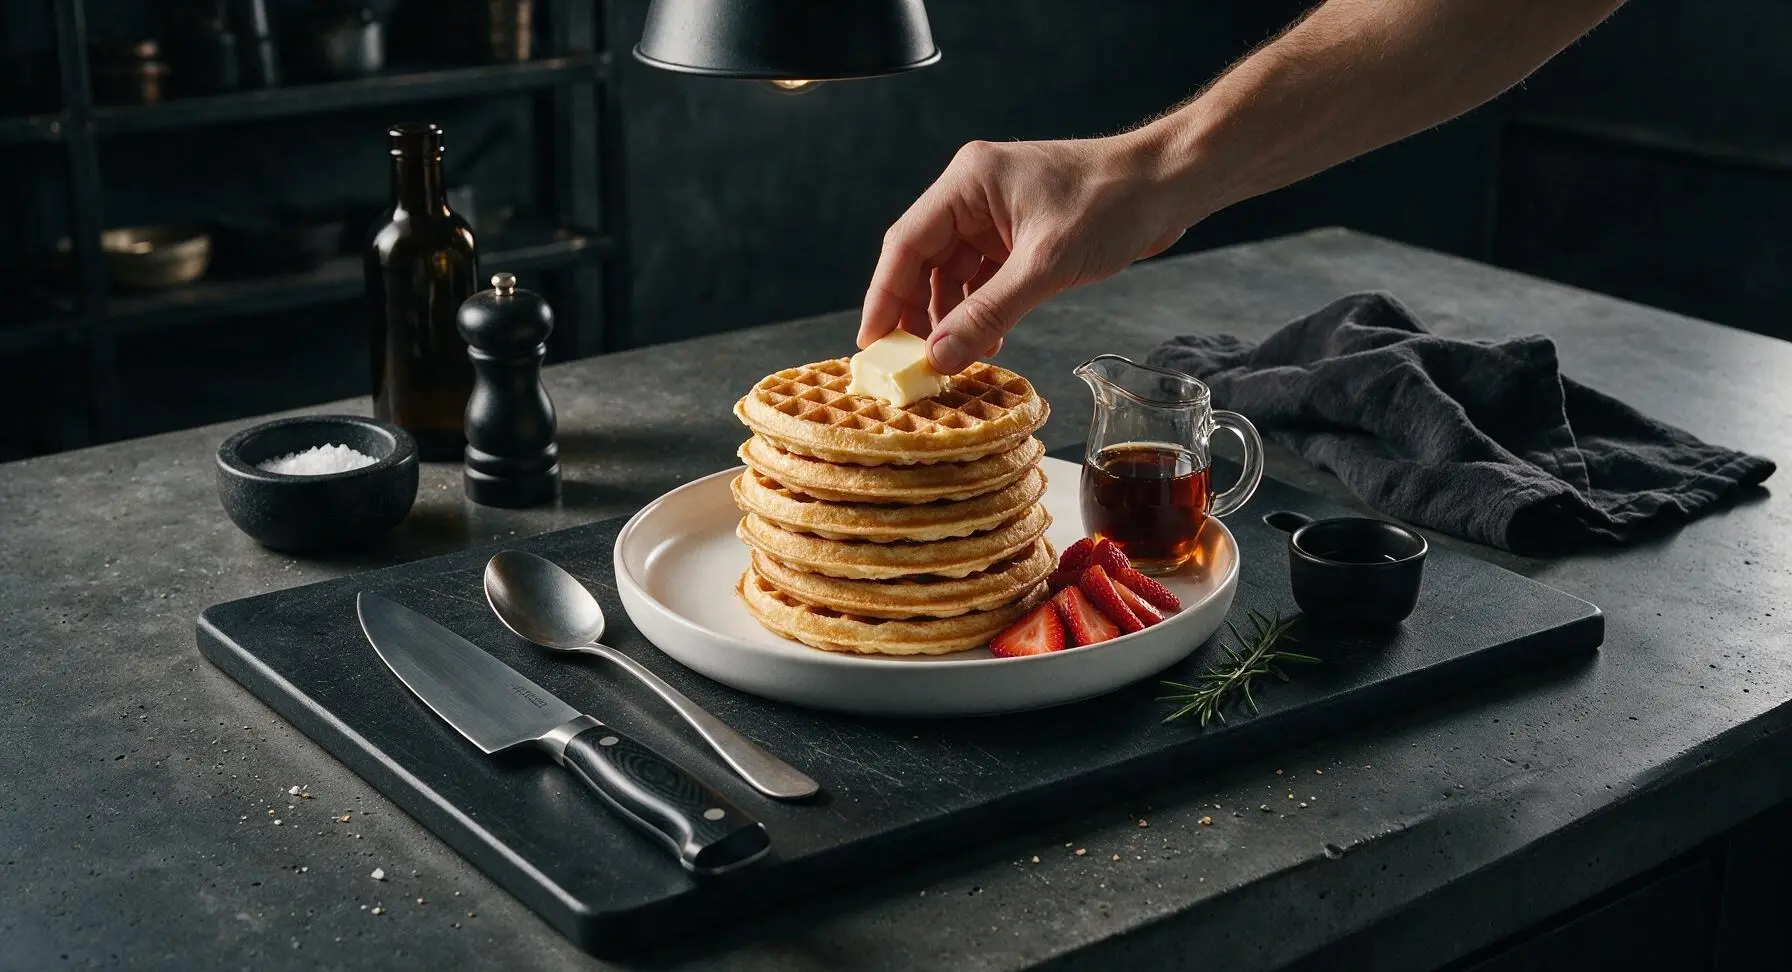
Step 7
step7:Plate and Garnish Waffles

Tips

1.Don’t overmix the batter: Small, pea-sized lumps are completely normal and desirable, as over-stirring develops gluten in the flour that leads to tough, dense waffles instead of light, fluffy interiors. Stop folding as soon as you no longer see dry white flour streaks in the bowl.
2.Wait until steam stops escaping before opening the waffle maker: If thin white steam is curling from the edges of the Dash unit, the waffle is still releasing moisture and not fully cooked. Opening the lid early can cause the waffle to tear, stick to the plates, or turn out pale and soggy instead of crisp and golden.
3.Avoid pressing the waffle maker lid down while cooking: Squeezing the lid closed firmly compresses the waffle, pushing out air and creating a thin, dense final texture instead of a light, fluffy waffle with deep, crisp grid pockets. Close the lid gently and let the waffle cook undisturbed.


✨ You May Also Like

Breakfast
🍜 United States

Crisp-edged, fluffy lard griddle cakes are a nostalgic homestyle staple, with rich savoriness from rendered lard, perfect topped with maple syrup or savory gravy.

⏱️ 25 minuteBreakfast ★ 4.8
Breakfast
🍜 United States

Flaky, buttery homemade buttermilk biscuits smothered in creamy, peppery pork sausage gravy: a beloved, hearty Southern American comfort food classic.

⏱️ 35 minuteBreakfast ★ 4.8
Breakfast
🍜 United States

Golden, custardy brioche stuffed with sweet cream cheese and fresh berries, pan-fried to crisp perfection. An indulgent, cozy breakfast perfect for slow weekend mornings.

⏱️ 30 minuteBreakfast ★ 4.7
Breakfast
🍜 United States

Flaky, buttery Southern-style biscuits stuffed with savory salty country ham, a portable, satisfying classic perfect for casual on-the-go meals.

⏱️ 25 minuteBreakfast ★ 4.8
Breakfast
🍜 United States

Iconic puffy baked pancake popularized in Seattle, with crisp golden edges and soft custardy center, served warm with classic sweet toppings.

⏱️ 35 minuteBreakfast ★ 4.6
Breakfast
🍜 United States

Fluffy, golden pancakes studded with juicy peak-summer mixed berries, drizzled with maple syrup for a bright, comforting, crowd-pleasing family breakfast.

⏱️ 25 minuteBreakfast ★ 4.7

dash waffle maker:Frequently Asked Questions

1.How much batter should I pour per waffle in my Dash mini waffle maker? ▾
A standard Dash mini waffle maker holds roughly ¼ cup of batter per waffle. Pour the batter directly in the center of the preheated, lightly greased plate—no need to spread it, as closing the lid will distribute it evenly. Overpouring causes messy overflow down the sides of the maker, while using too little leads to thin, lopsided waffles that don’t hold their shape.
2.Why won’t my waffles get crispy, even when I follow the ingredient measurements? ▾
Soggy waffles usually come down to two common missteps. First, make sure your waffle maker is fully preheated (wait for the indicator light to shut off) before pouring batter—cold irons steam instead of crisp the batter. Second, don’t open the lid too early; wait until steam stops escaping from the edges, about 3-4 minutes per batch. For extra crisp, hold finished waffles on a wire rack in a 200°F oven.
3.Can I substitute regular milk for buttermilk if I don’t have any on hand? ▾
Absolutely! Make a quick homemade buttermilk swap by pouring 1 tablespoon of white vinegar or lemon juice into a 1-cup measuring cup, then topping it with regular low-fat or whole milk to the 1-cup line. Let it sit 5 minutes until it curdles slightly, then use it exactly as you would store-bought buttermilk for that same tangy, tender crumb. Avoid thin, watery plant milks like unsweetened almond milk for best results.
4.How do I keep waffles warm and crispy while I cook the full batch? ▾
Never stack hot waffles directly on a plate, as trapped steam will turn them soggy in minutes. Instead, arrange cooked waffles in a single layer on a wire rack set over a baking sheet, and hold them in a 200°F oven while you cook the rest. This lets air circulate around every waffle, keeping exteriors crisp and interiors fluffy until you’re ready to serve.
5.Do I need to grease my Dash waffle maker even if it has a non-stick coating? ▾
Yes, a light greasing is still recommended even for non-stick Dash models to get that perfect golden, crispy edge and prevent sticking. Use a pastry brush to coat both plates lightly with melted unsalted butter, or give them a quick spritz with neutral cooking spray before pouring each batch. Skip heavy greasing, which will make waffles greasy instead of light and crisp.
6.Can I make this waffle batter ahead of time for busy weekday mornings? ▾
You can pre-mix all the dry ingredients in an airtight container and store them in the pantry for up to 1 month for ultra-fast prep. For pre-mixed full batter, store it covered in the fridge for up to 24 hours, but add a tiny pinch of extra baking soda right before cooking, as leavening loses power over time and will lead to flat, dense waffles.
7.What’s the ideal cook time for these waffles in a standard Dash mini waffle maker? ▾
For perfectly golden, crispy waffles, cook each batch for 3 to 4 minutes total. Resist the urge to peek before the 3-minute mark, as opening the lid early can cause half-cooked waffles to split and stick to the plates. You’ll know they’re done when the steady stream of steam from the maker’s edges slows almost to a stop, and the waffle pulls away easily.
8.Can I freeze leftover waffles for quick, easy meals later? ▾
Definitely! Let cooked waffles cool completely to room temperature first, then arrange them in a single layer on a baking sheet and freeze for 1 hour until solid. Transfer them to a labeled freezer bag with small squares of parchment paper between each waffle to prevent sticking, and store for up to 3 months. Reheat straight from frozen in a toaster for crispy, fresh results.
9.Why did my waffles turn out dense and tough instead of light and fluffy inside? ▾
Dense, tough waffles almost always come from overmixing the batter. When you combine wet and dry ingredients, stir only until there are no large patches of dry flour left— a few small lumps are totally normal and expected. Overstirring develops excess gluten in the flour, which leads to chewy, heavy waffles instead of that soft, fluffy interior you want.
10.What toppings pair best with these classic buttermilk waffles? ▾
The mild, tangy buttermilk base pairs beautifully with all your favorite cozy sweet toppings. Go classic with a pat of salted butter and warm maple syrup, or mix it up with fresh berries, vanilla whipped cream, a dusting of powdered sugar, cinnamon apple compote, a drizzle of chocolate hazelnut spread, or even a small scoop of vanilla ice cream for a fun treat.
11.Can I add mix-ins like chocolate chips or blueberries to this batter? ▾
Absolutely! Fold ½ cup of your favorite mix-ins—mini chocolate chips, fresh blueberries, chopped pecans, or even rainbow sprinkles—into the batter right after you finish combining wet and dry ingredients. Be gentle as you fold to avoid overmixing, and note that juicy berries may add 30 seconds or so to your total cook time per waffle.
12.How many mini waffles does this recipe make, and can I double it for a crowd? ▾
This base recipe makes roughly 8 to 10 4-inch mini waffles, which is perfect for 2 to 3 servings. If you’re cooking for a larger group, you can easily double all the dry and wet ingredients. Just be careful not to overmix the doubled batter, and keep finished waffles warm in the oven as you cook so every batch stays crisp and ready to serve.

Comments (12)

2 days ago

OMG these are SO good!!! I’ve had my tiny Dash waffle maker for 6 months and every batch I made before came out soggy no matter what I did. Followed this recipe exactly, cooked for 3 minutes per waffle, and they were perfectly crispy even when I loaded them up with strawberries and whipped cream. My kids begged for seconds before they even finished their first one! Total game changer for weekend breakfasts.

yesterday

Wait did you spray the iron with nonstick? I keep having mine stick even when I spray :(

yesterday

Great tip about the 3 minute cook time! For anyone dealing with sticking, make sure your iron is fully preheated before pouring batter in—if it’s not hot enough, the waffle will stick even with nonstick spray. A light coating of melted butter instead of spray also works beautifully!

3 days ago

Super easy recipe, came together in 10 minutes flat. I didn’t have buttermilk so I did the milk + vinegar trick and it worked perfectly. Only thing is my first waffle overflowed a little out of my Dash, so I scaled back to 1/4 cup batter per pour and that was the sweet spot. Crispy on the outside, fluffy inside, 10/10.

2 days ago

So glad the buttermilk substitute worked for you! Great call on the 1/4 cup batter measurement for the standard Dash mini—those irons are smaller than full size, so it’s easy to overpour! That tip will help so many other readers, thanks for sharing.

1 week ago

Made these for my roommate’s birthday brunch last weekend and everyone was asking for the recipe! I added a teaspoon of cinnamon to the batter and it gave such a cozy warm flavor. Held up great even when we set out a toppings bar with syrup, Nutella, banana slices, and chopped pecans. Will be making these on repeat!

5 days ago

Perfect for meal prep! I made a double batch on Sunday, froze the extra waffles, and pop them in the toaster on weekday mornings for my commute. They get just as crispy as fresh, no sogginess at all. Way better than the frozen store bought waffles I used to buy, save so much money too.

3 days ago

How long do they last in the freezer? I’ve been wanting to do this for my kids’ school breakfasts!

yesterday

Tried this for the first time today and… it’s just okay? Don’t get me wrong, the flavor is good, but mine didn’t get as crispy as the pictures show. I cooked them for 2 minutes like the recipe said, maybe my Dash runs cooler? Might try cooking them a little longer next time.

2 hours ago

I had the same issue at first! My Dash takes almost 4 full minutes to get that crispy crunch, don’t be scared to leave it in a little longer. I wait until the steam stops coming out the sides before I open it, works every time!

30 minutes ago

So sorry they didn’t crisp up for you on the first try! It’s totally normal for different Dash units to run a little cooler or hotter, so adjusting cook time to match your machine is key. The steam trick that MountainBakeDad mentioned is spot on—once the slow, steady steam stops, your waffle will be perfectly crisp. Give it another shot and let us know how it goes!

2 weeks ago

Brought these to a neighborhood potluck last week and they were gone in 10 minutes flat! I kept them warm in a low oven on a wire rack so they stayed crispy on the drive over, and people kept saying they tasted like diner waffles. Even my picky mother in law asked for the recipe, which is basically a Michelin star in my book lmao.

1 week ago

So easy even I can make it, and I burn toast half the time! Got the mini Dash for my dorm room and this recipe is perfect, doesn’t require a ton of fancy ingredients. I topped mine with peanut butter and maple syrup for a post-study snack last night, chef’s kiss.

5 days ago

Pro tip: mix the batter the night before and keep it in a mason jar in the mini fridge! Saves so much time when you’re running to 8am lectures.

3 days ago

Wait has anyone tried making these with whole wheat flour? I’m trying to eat a little more fiber but don’t want to ruin the crispiness. The regular version is amazing, I’ve made it three times already just haven’t dared swap the flour yet.

2 days ago

I swapped half the all purpose flour for white whole wheat last week and it was still so crispy! Didn’t notice a weird texture or anything, just had a nuttier flavor which I loved.

yesterday

Great question! As HealthyBakeBabe mentioned, swapping up to 50% of the all-purpose flour for white whole wheat works beautifully without sacrificing crispiness. I don’t recommend using 100% whole wheat, though—it can make the waffles dense and dry out faster.

5 days ago

These are the only waffles my husband will eat now! We used to go out for waffles every Sunday but now we make these at home for a fraction of the price. I love that the recipe doesn’t use a ton of sugar, so you can load up on sweet toppings without it being too much.

3 days ago

Love that this has become your new Sunday tradition! You’re so right about the sugar level—we kept it low so the toppings can shine, and it helps the waffles crisp up better too!

2 hours ago

Made these for my partner and our two foster dogs (don’t worry, the dogs got plain, no syrup bits!) and everyone was obsessed. The edges are perfectly crunchy, the middle is soft and fluffy, no weird aftertaste like some waffle recipes I’ve tried. 10/10 will be a staple in our house.

2 weeks ago

I’ve tried so many buttermilk waffle recipes over the years and this one is hands down the best. It’s so straightforward, no fussy steps, and the crispiness lasts even when you stack them on a plate. My grandkids go crazy for them when they come to visit, they call them ‘grandma’s fancy waffles’.

1 week ago

Oh this makes me so excited to try them! My grandkids are coming next weekend and I just got a Dash maker for my birthday, was looking for a foolproof recipe.

30 minutes ago

Who knew waffles could be this good?! I was skeptical because the Dash maker is so cheap I thought it would only make mediocre waffles, but this recipe proved me wrong. Made a batch last night for dinner (breakfast for dinner night!) and paired it with fried chicken, it was better than the restaurant version down the street. SO crispy, so flavorful, zero complaints.



