
dash waffle maker how to use
intro
Master your compact Dash waffle maker to bake golden, crispy-edged, fluffy buttermilk waffles in minutes, with simple steps for perfect results every time.
Ingredients
Steps
Preheat Waffle Maker
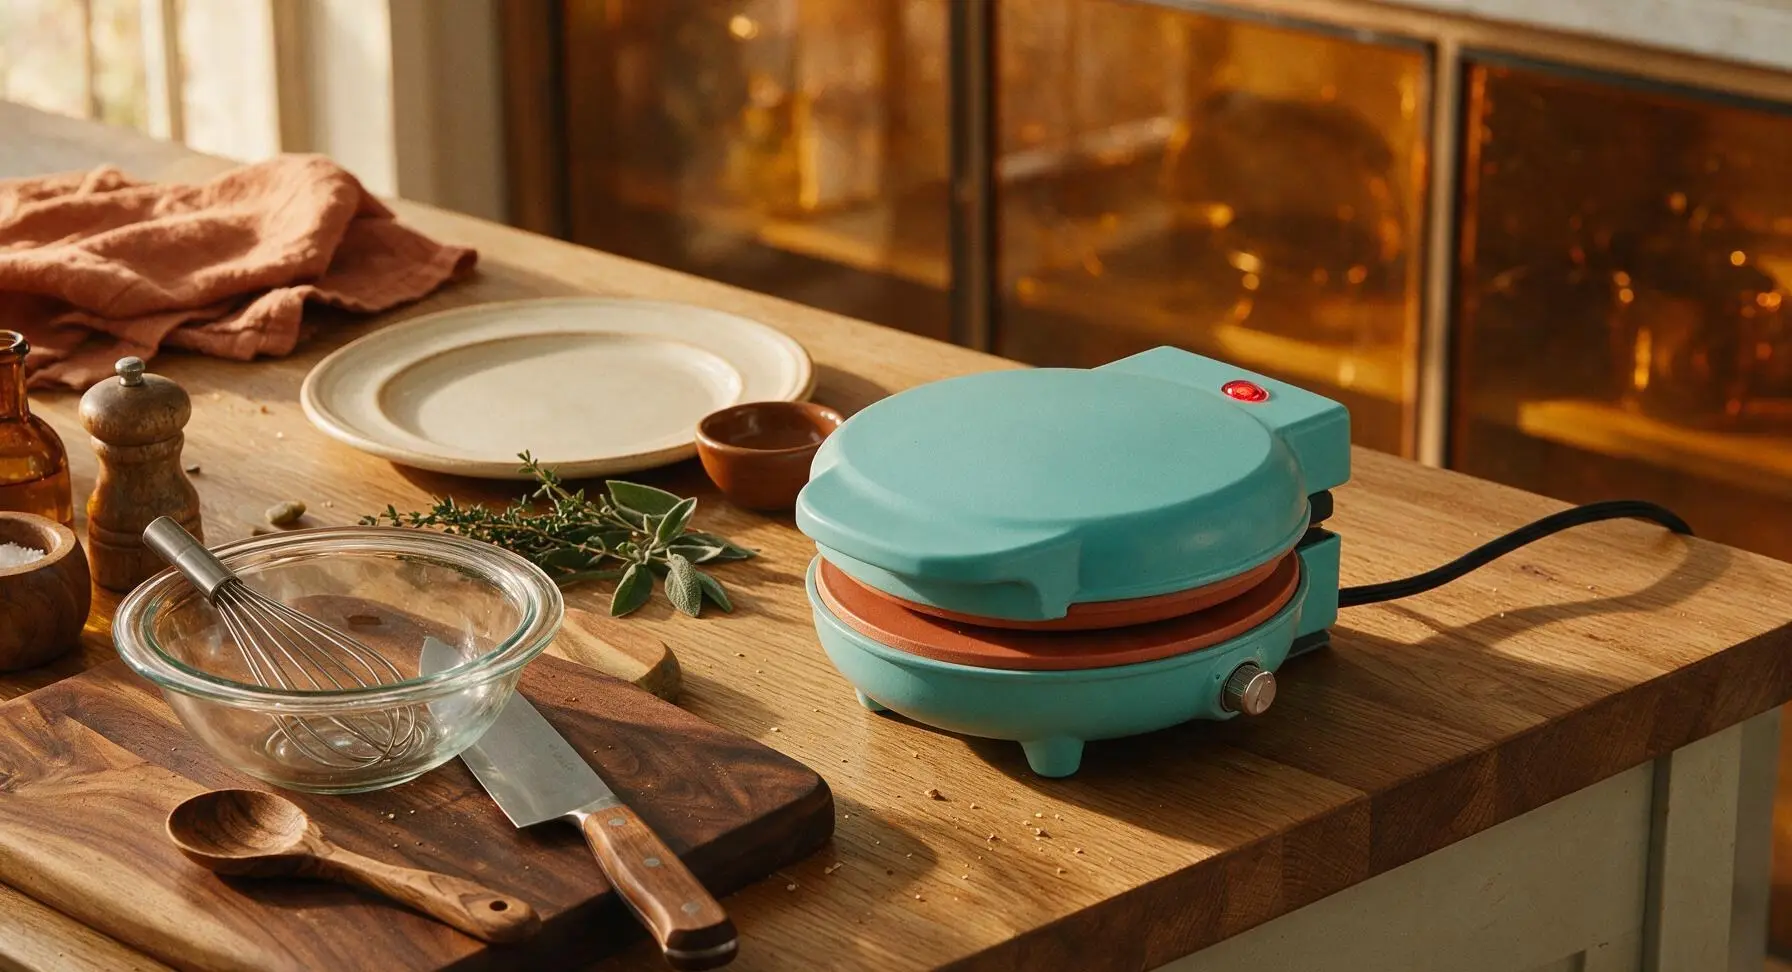
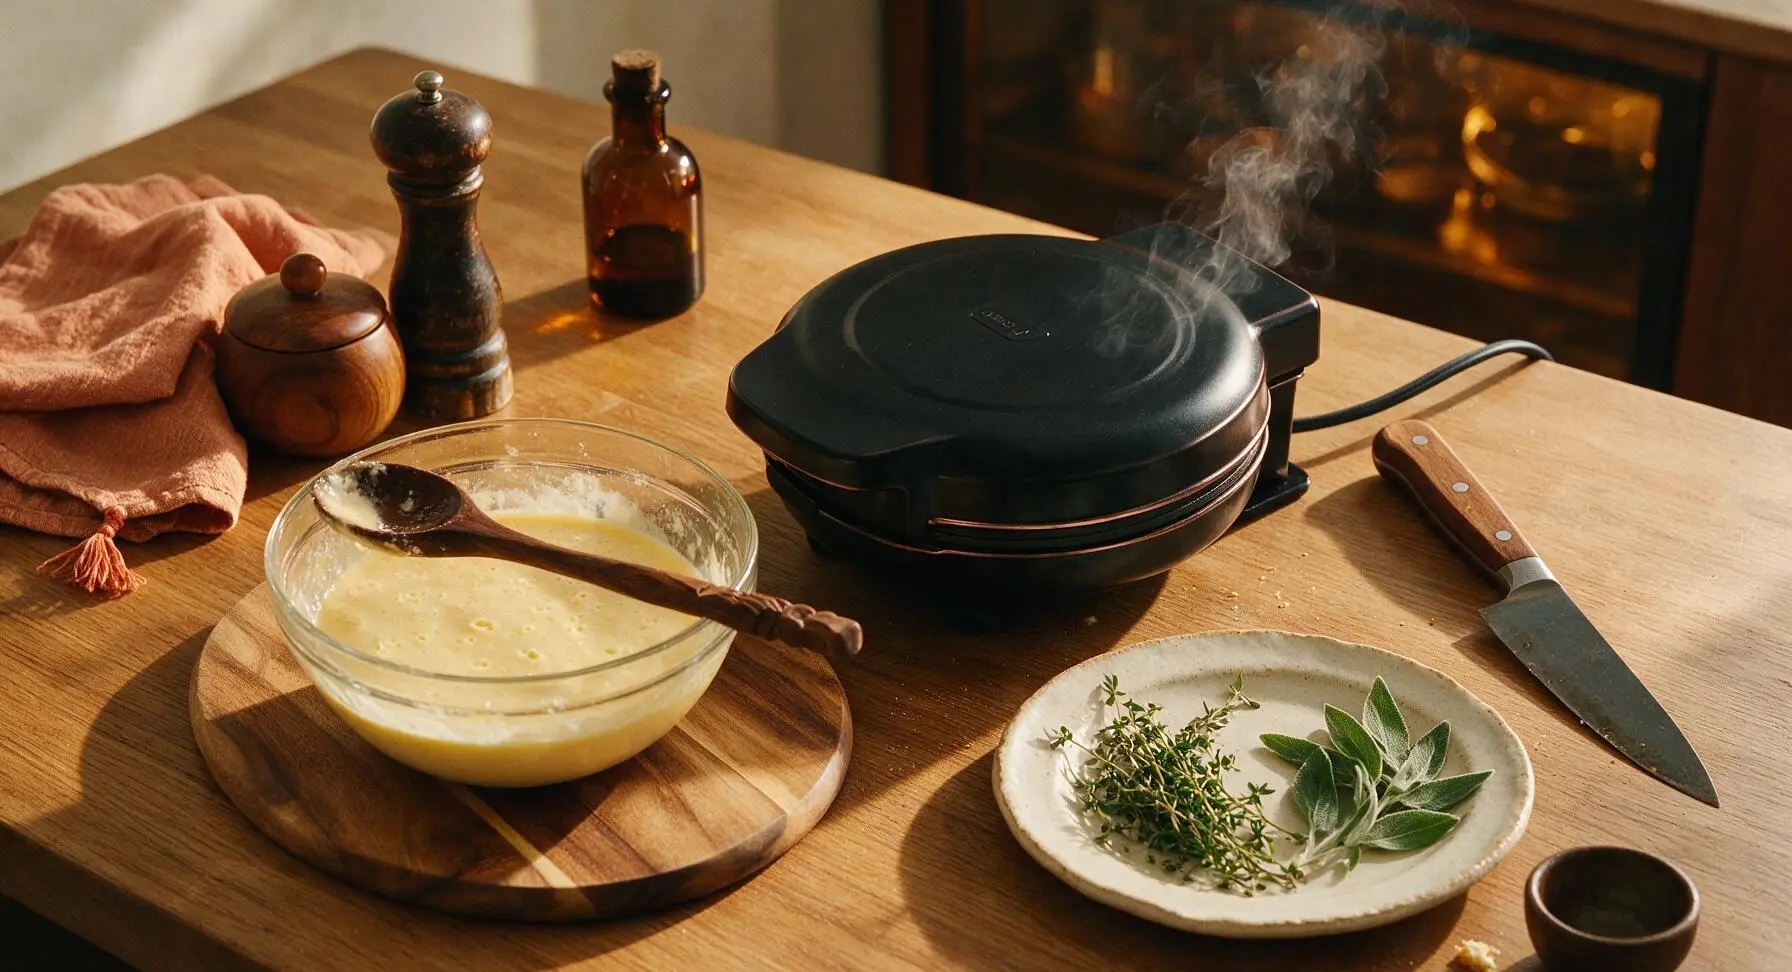
Set your aqua Dash mini waffle maker in its stable fixed position on the dry countertop. Close the lid firmly, then plug the black power cord into a nearby grounded wall outlet. The red indicator light on the top of the unit will illuminate to signal it is heating. Wait 3–4 minutes until the indicator light turns off, which means the cooking plates have reached the optimal 375°F cooking temperature. Do not open the lid during preheating, as this will release heat and extend preheat time.
Whisk Dry Ingredients
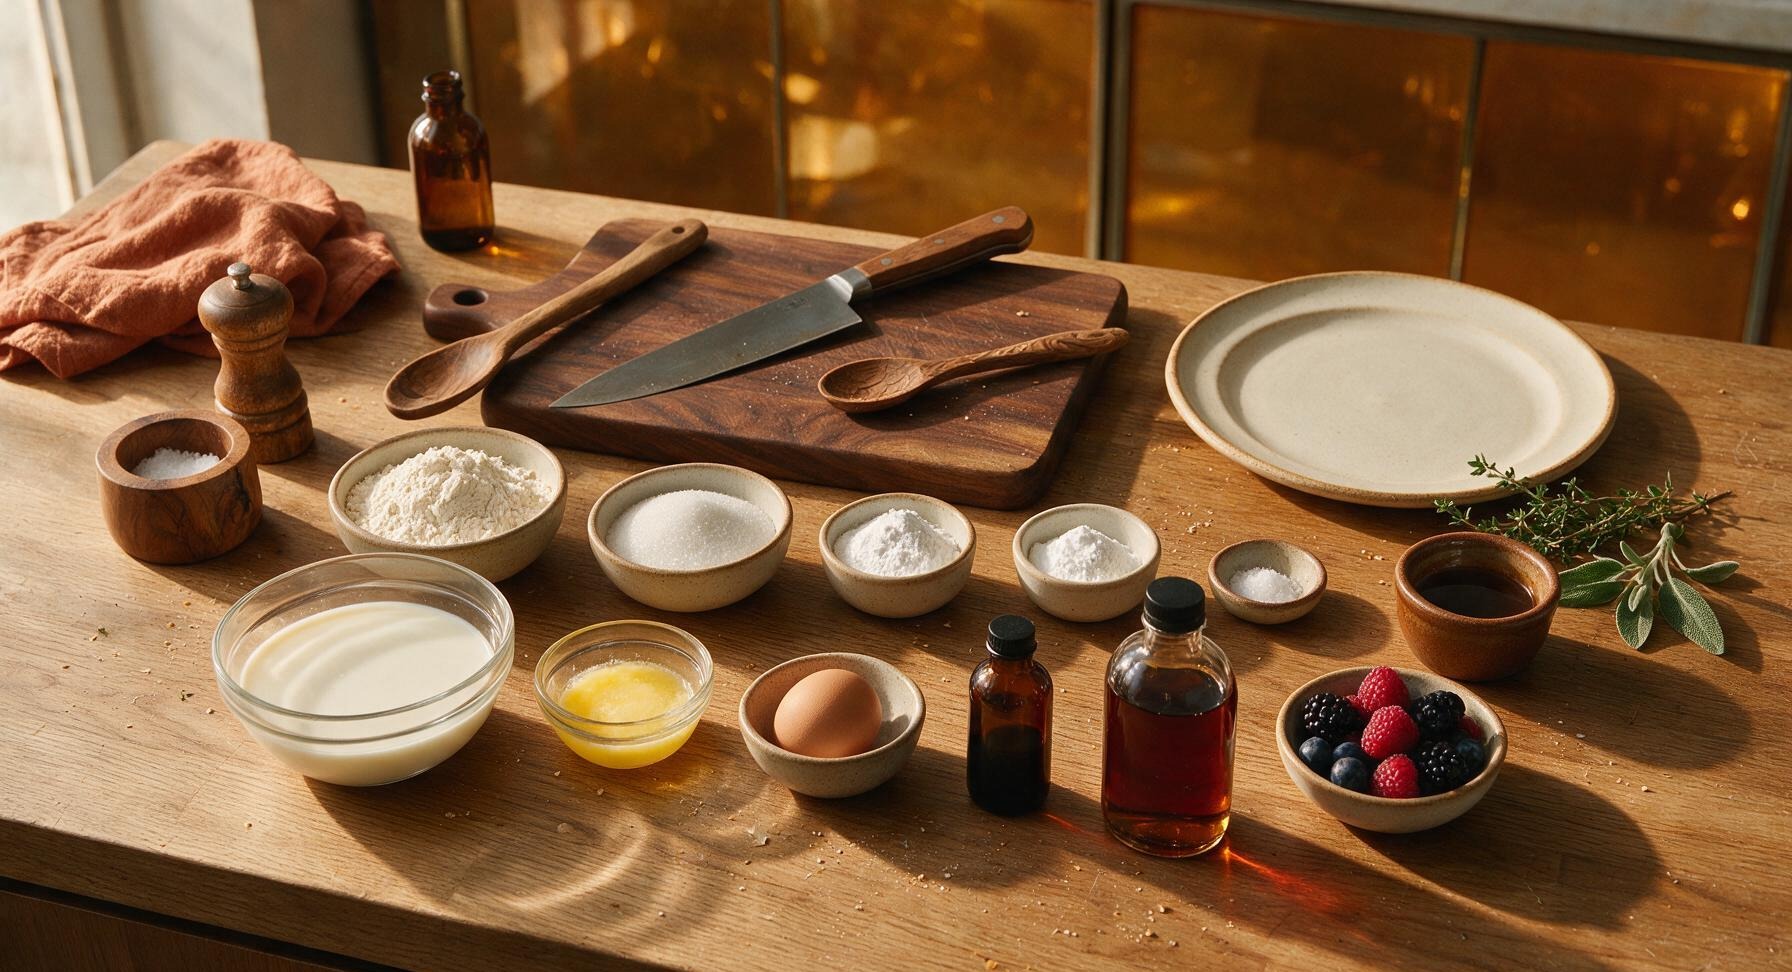
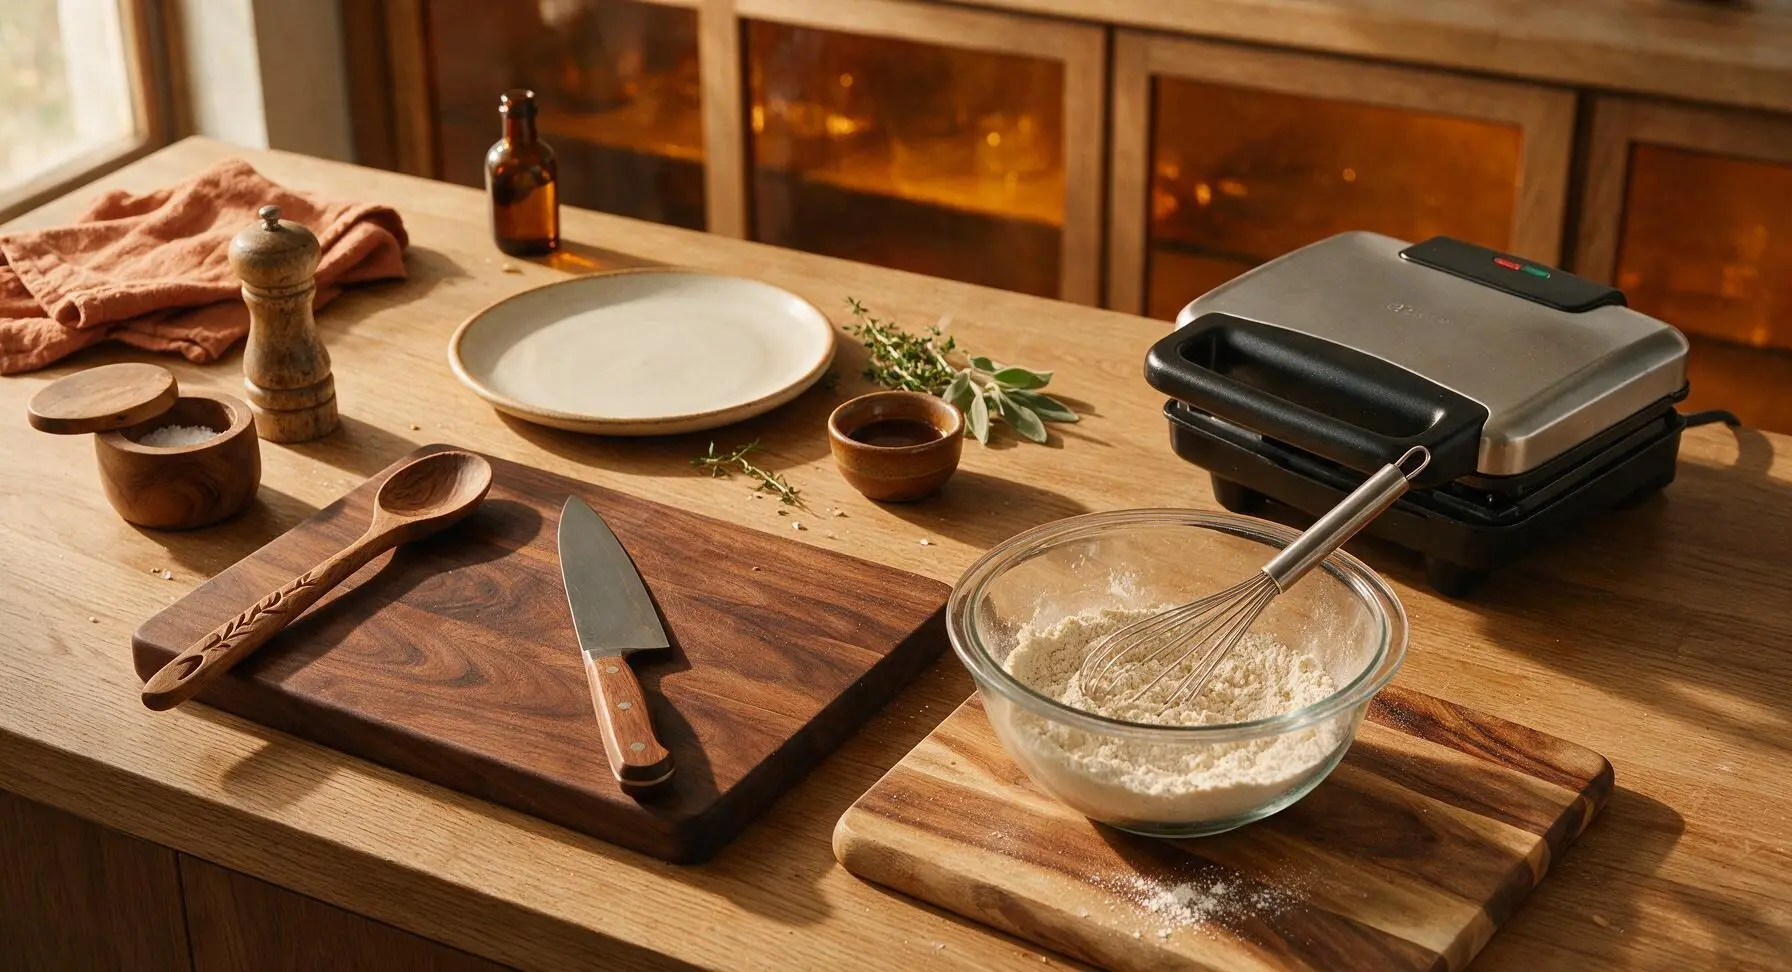
While the waffle maker preheats, add 1 cup all-purpose flour, 1 tbsp granulated sugar, 1 tsp baking powder, 1/4 tsp baking soda, and 1/8 tsp fine sea salt to the clear glass mixing bowl. Use the stainless steel wire whisk to stir the dry ingredients for 30 seconds until fully combined, with no visible clumps of leavening that could cause uneven rising.
Combine Wet Ingredients
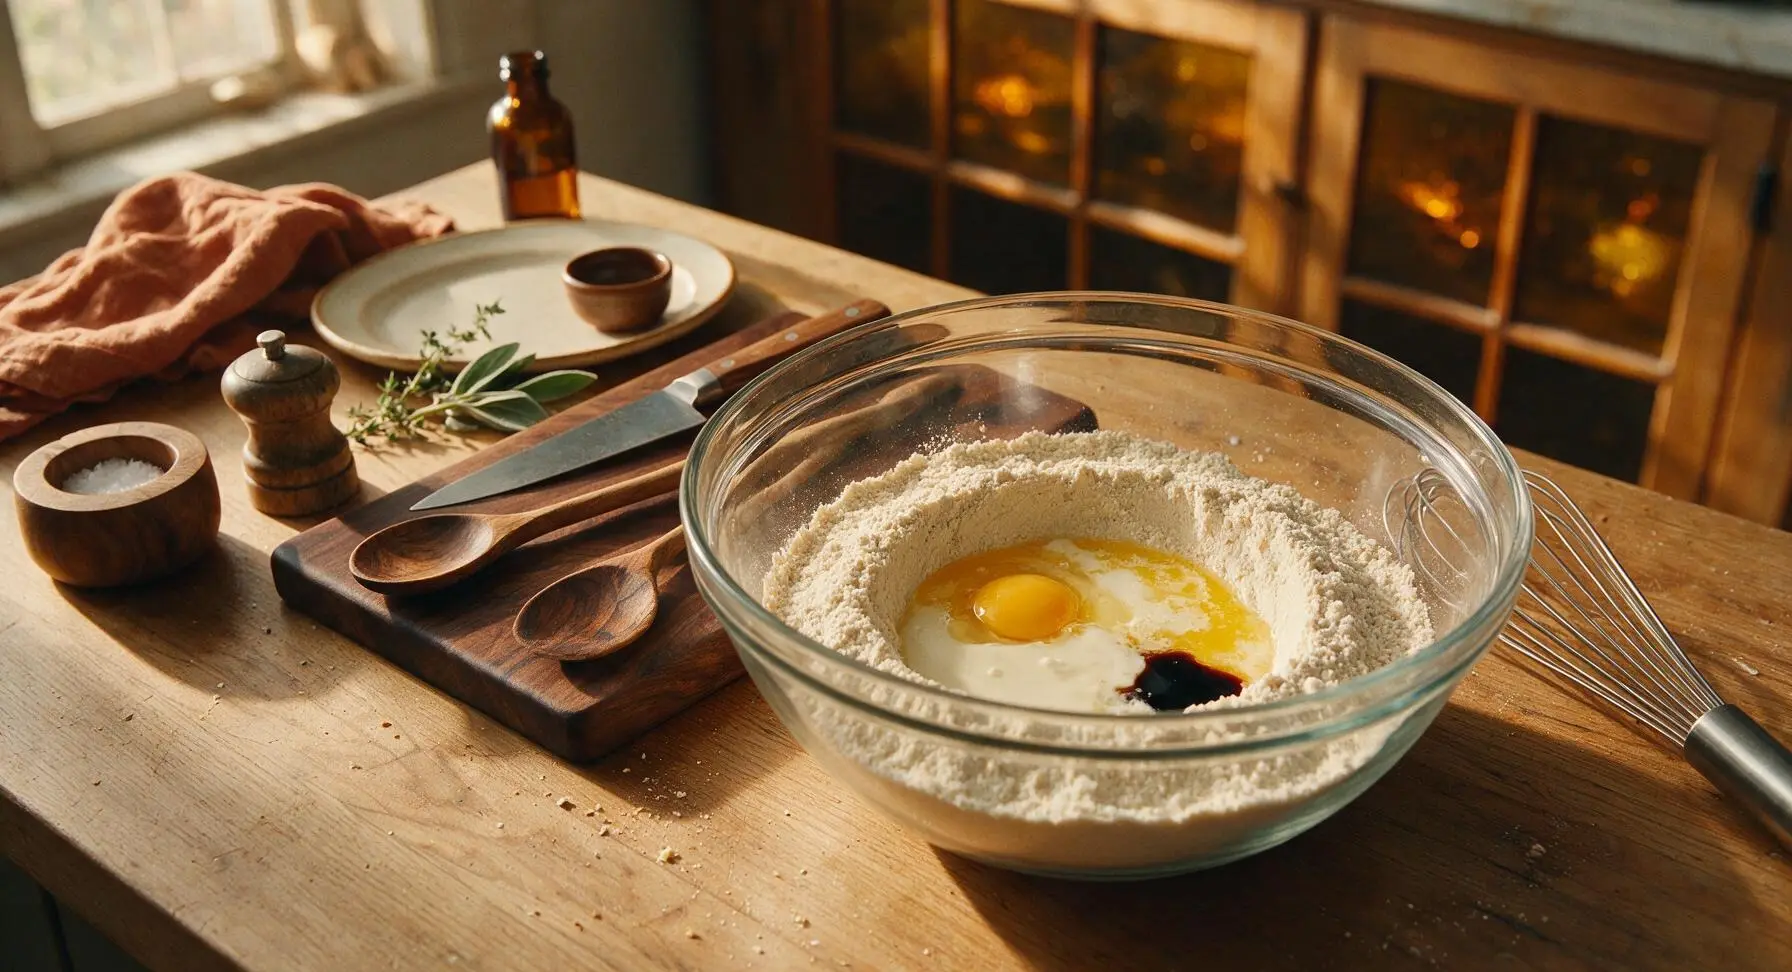
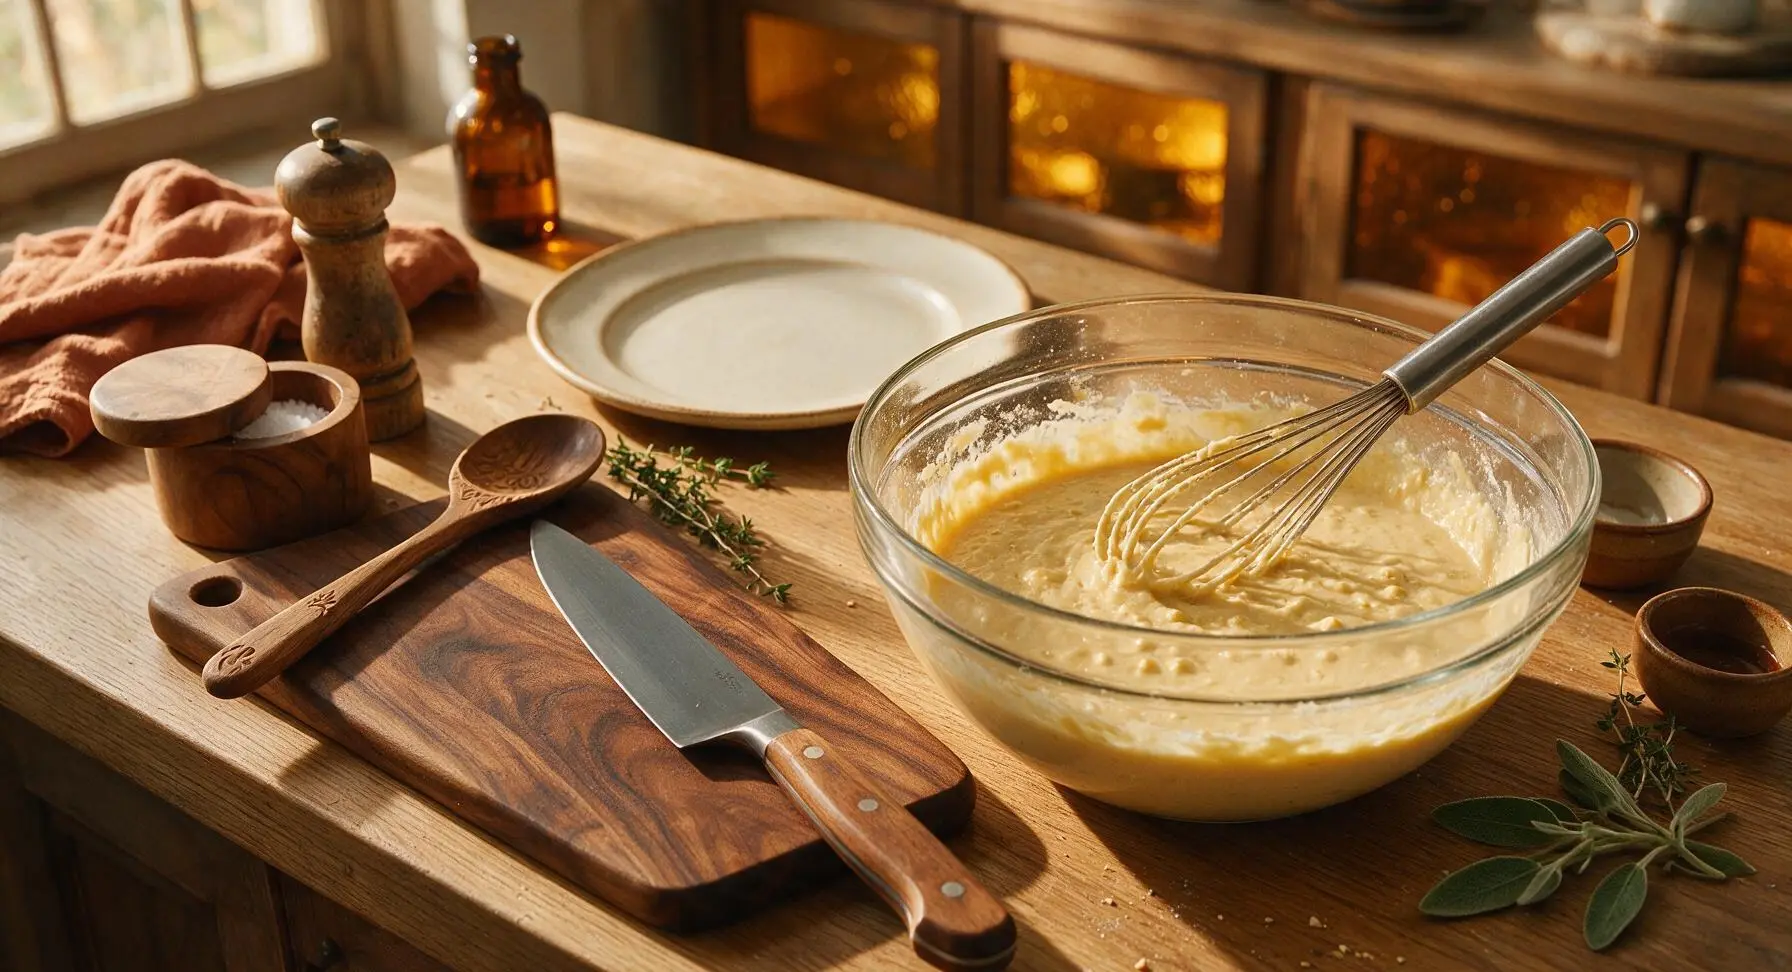
Create a small 5cm wide well in the center of the dry ingredient mixture. Add 1 lightly beaten large egg, 3/4 cup buttermilk, 2 tbsp cooled melted unsalted butter, and 1/2 tsp vanilla extract into the well. Whisk slowly at first to draw dry ingredients into the wet center, then stir just until no large dry flour streaks remain. Stop mixing immediately once the batter comes together—small, pea-sized lumps are normal and will produce tender waffles; overmixing develops gluten and creates tough, dense waffles.
Prep Cooking Surface
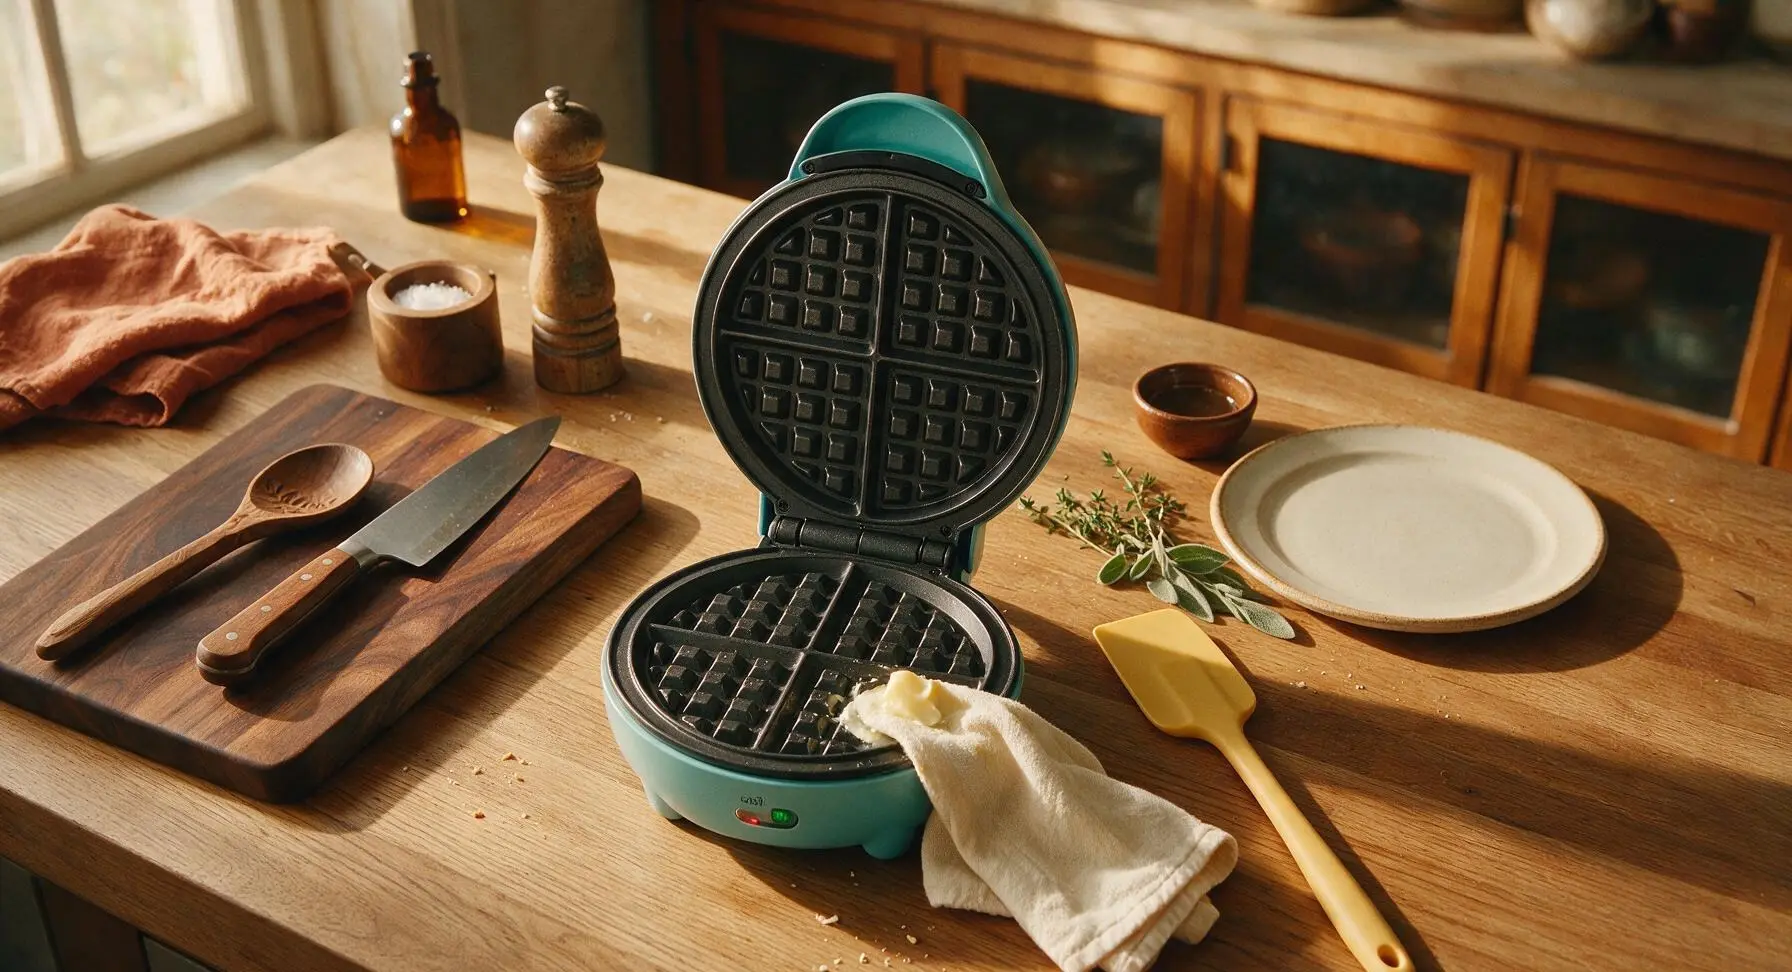
Once the Dash waffle maker’s indicator light turns off (signaling it is fully preheated), dab a tiny amount of butter on the corner of the folded cream cotton kitchen towel to lightly wipe the top and bottom non-stick plates if this is your first time using the unit. For regular use, the non-stick coating will release waffles easily without extra grease. Set the butter-yellow silicone spatula within easy reach next to the waffle maker, and position the cream stoneware breakfast plate nearby to hold cooked waffles.
Pour Batter Center
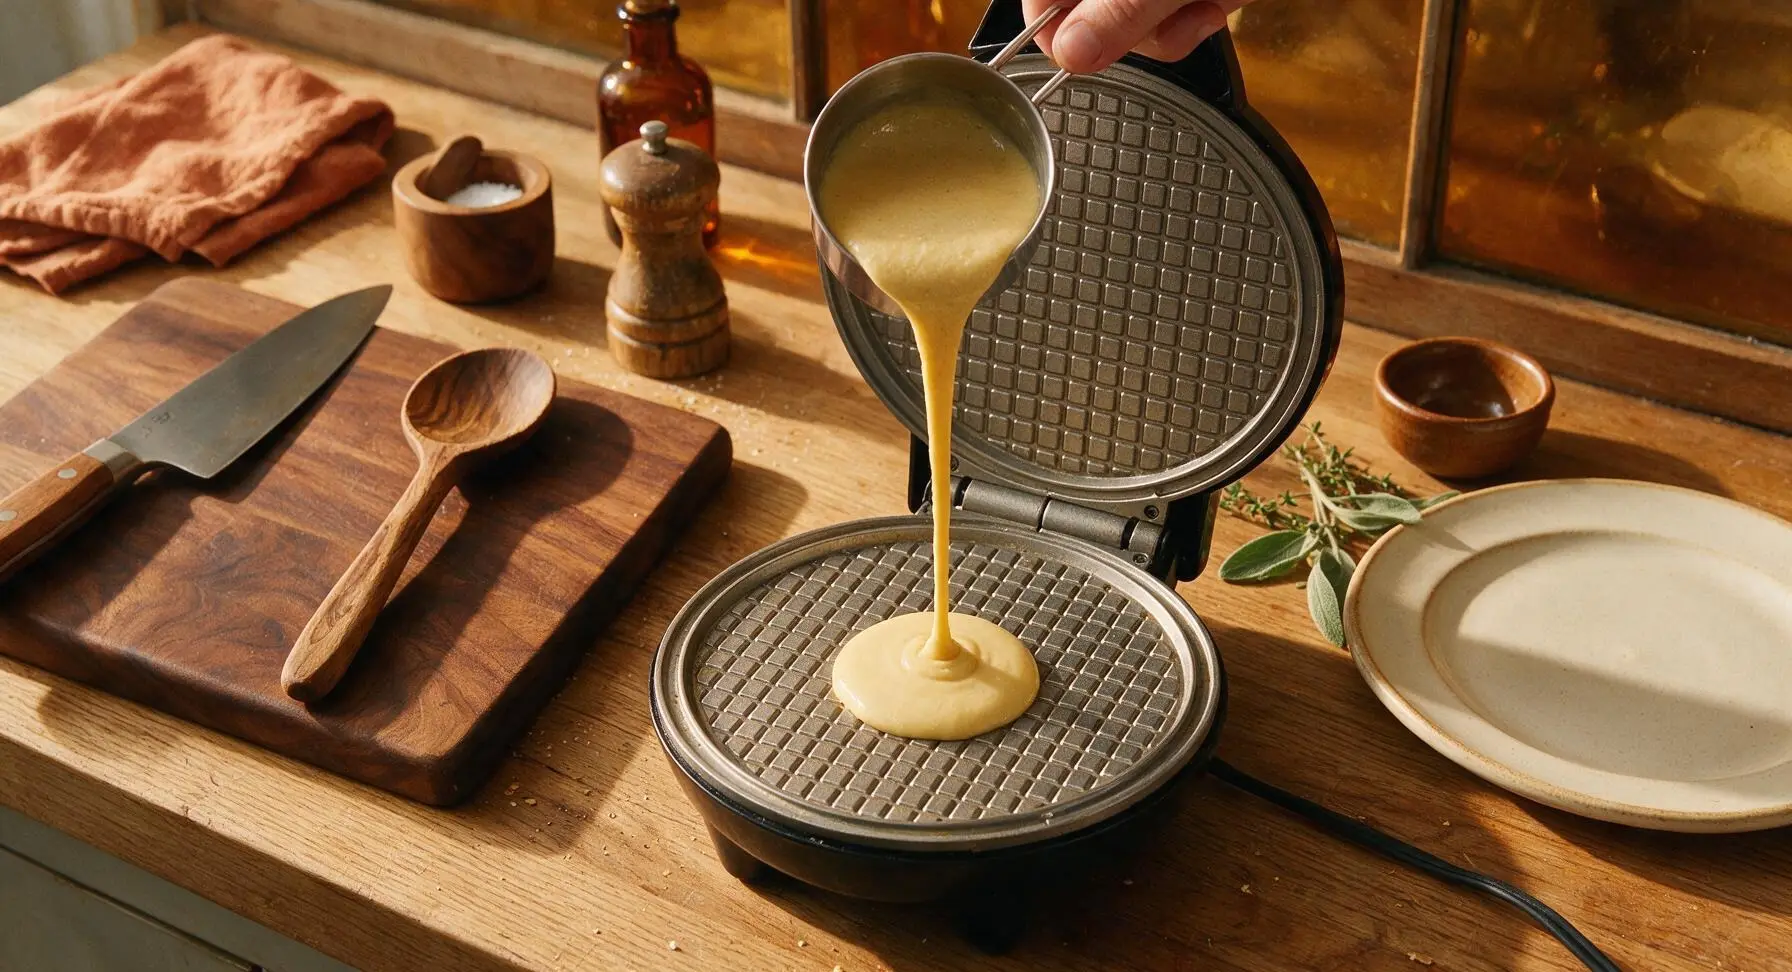
Scoop exactly 1/4 cup of waffle batter using the 1/4 cup stainless steel measuring cup. Pour the batter slowly directly into the center of the bottom waffle plate. Do not spread the batter across the plate—it will spread evenly on its own when you close the lid. Never use more than 1/4 cup of batter, as the compact Dash cooking surface has minimal overflow space.
Cook Waffle Fully
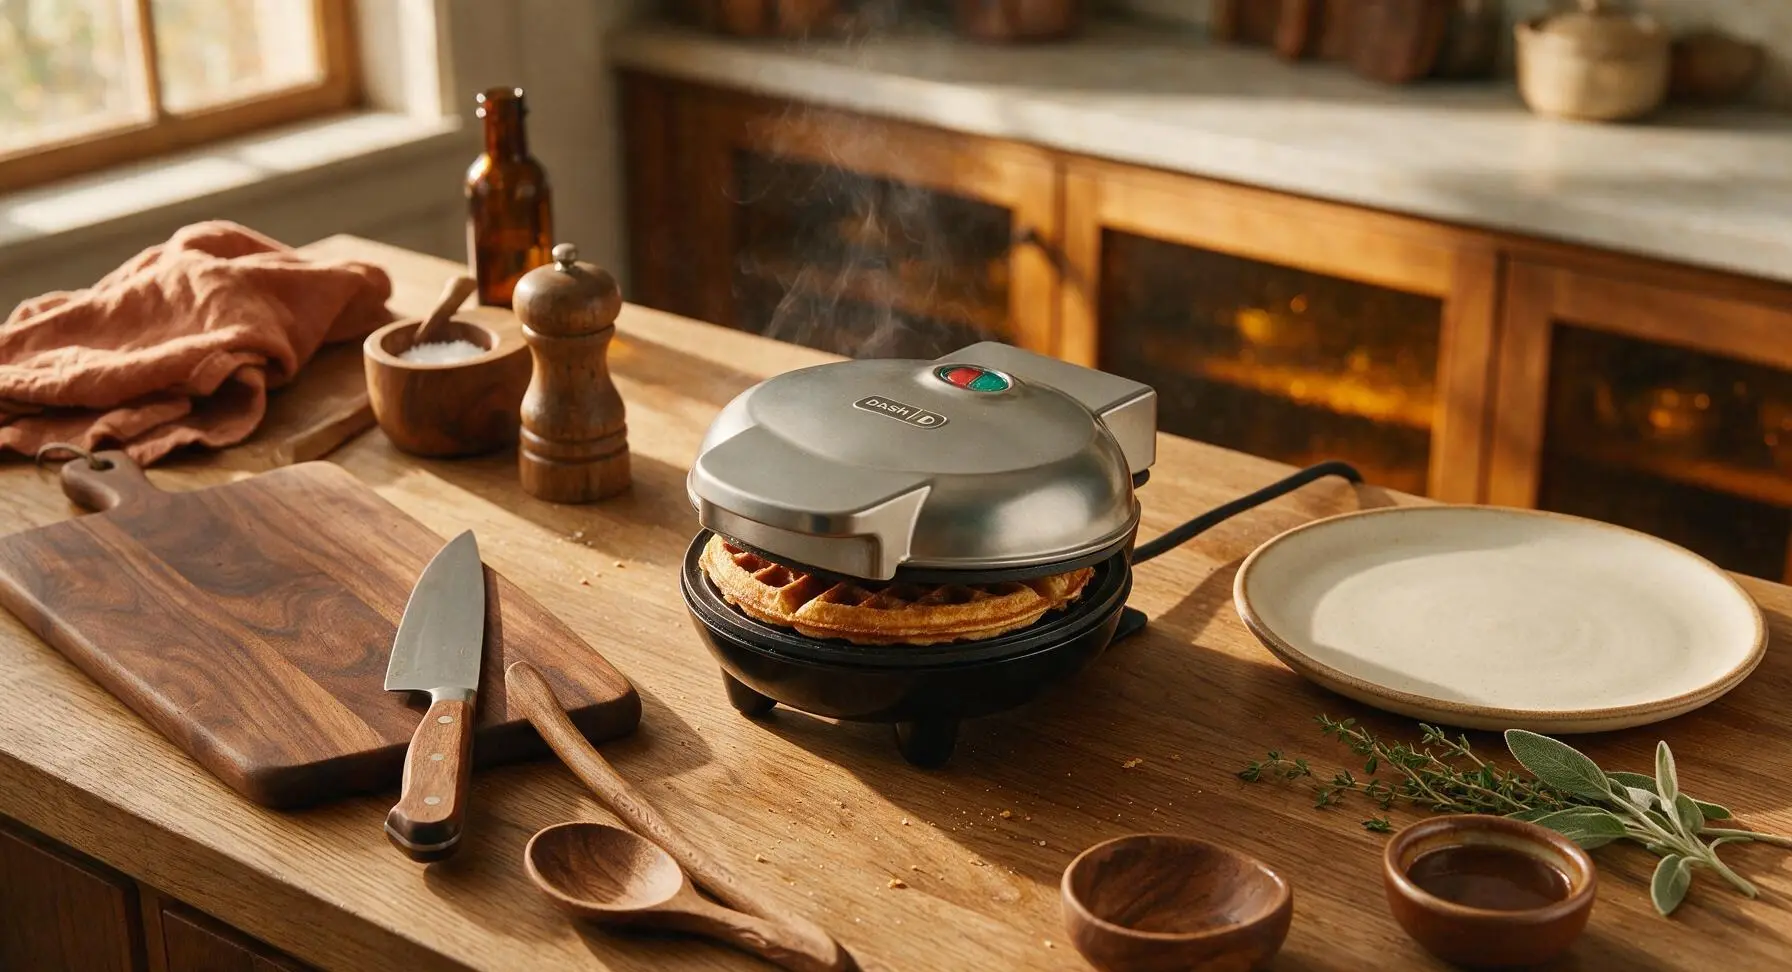
Close the waffle maker lid gently—do not press or clamp the lid down forcefully, as this will squeeze batter out the sides and create dense, flat waffles. Set a mental timer for 3 minutes. Do not open the lid during the first 2 minutes of cooking, as this will cause the partially set waffle to split and stick to the top plate. The waffle is done when the indicator light turns back on, thin streams of steam stop escaping from the unit’s seams, and the waffle is deep golden brown with crisp edges, approximately 3–3.5 minutes total cook time.
Remove Cooked Waffle
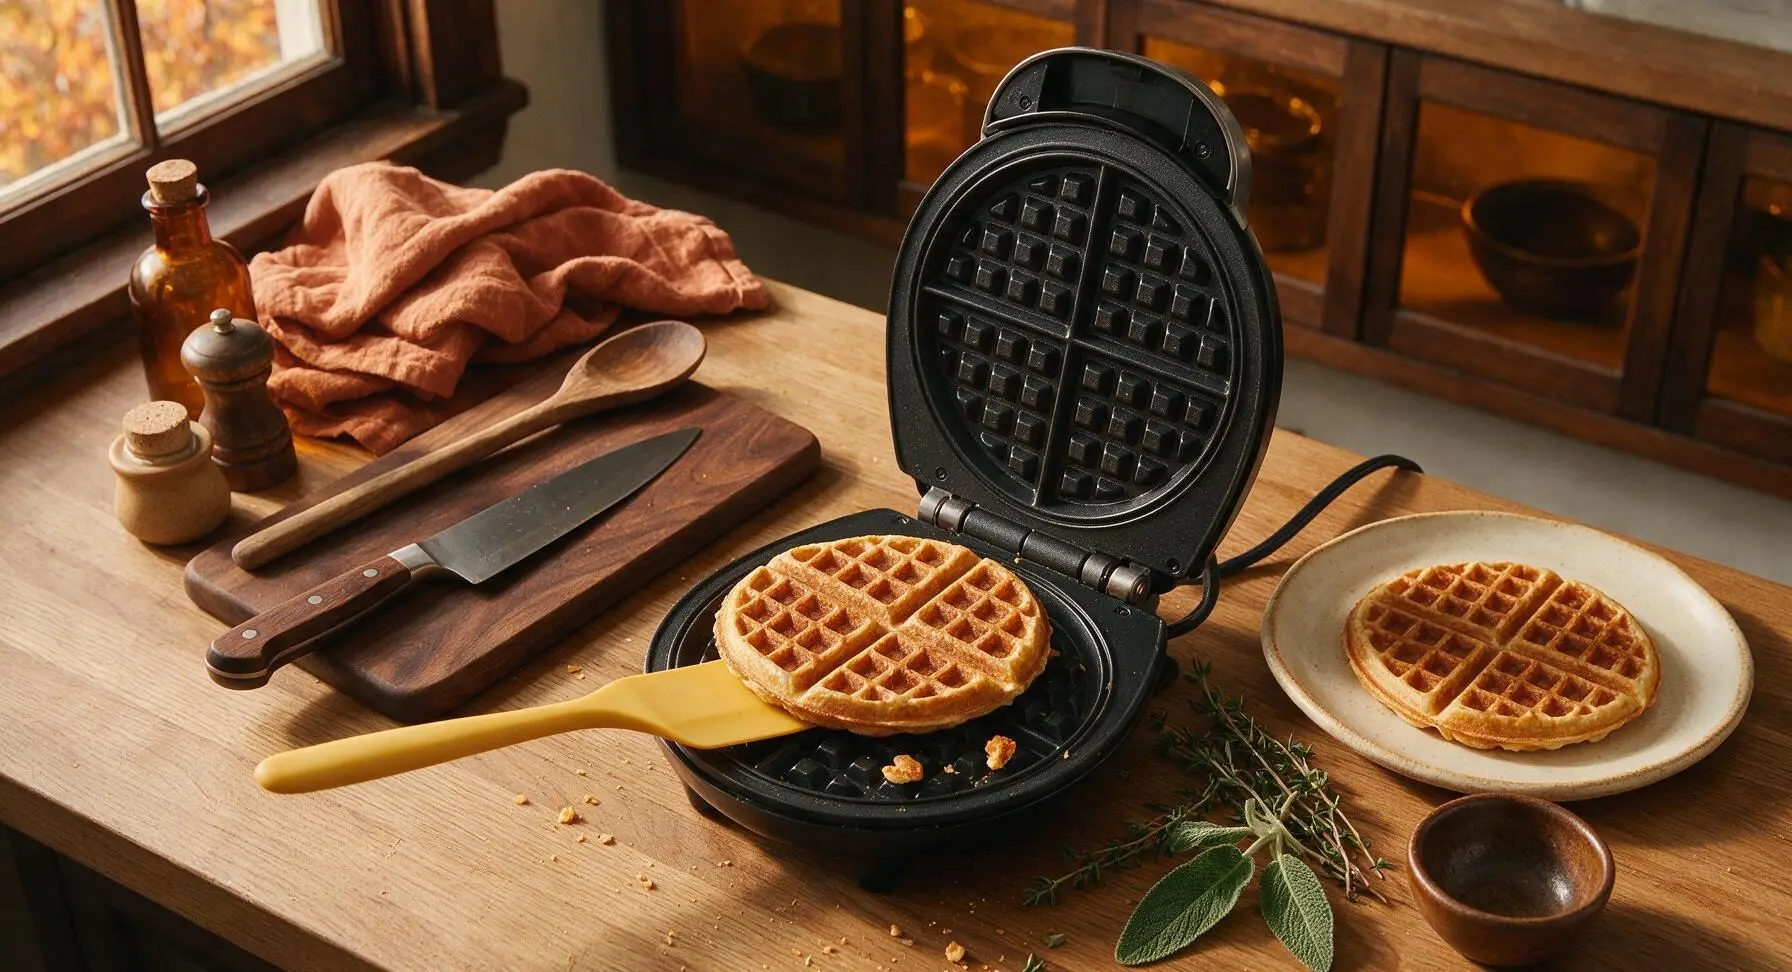
When the waffle is fully cooked, lift the lid open completely. Use the flexible butter-yellow silicone spatula to gently lift the edges of the waffle away from the non-stick plate, then slide the waffle out onto the waiting cream stoneware breakfast plate. Never use metal forks, knives, or tongs on the non-stick plates, as these will scratch the coating and ruin its non-stick properties over time. Repeat the batter pouring and cooking process with the remaining batter to make 4 total mini waffles.
Serve and Clean Up
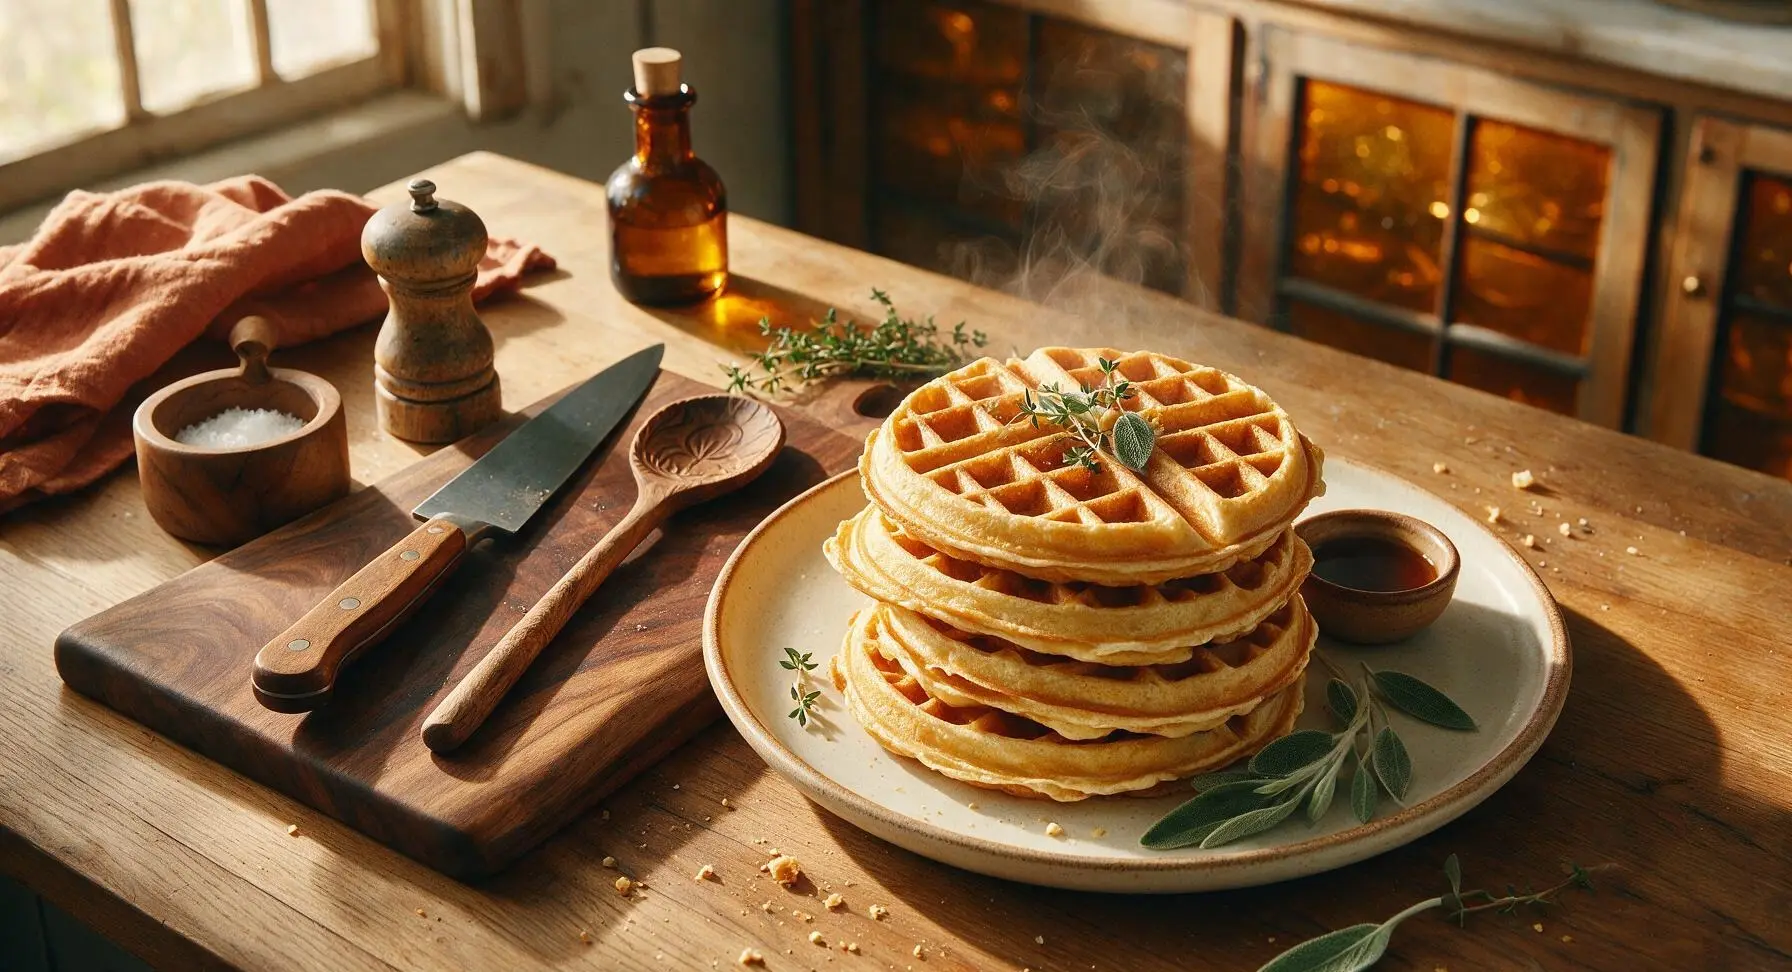
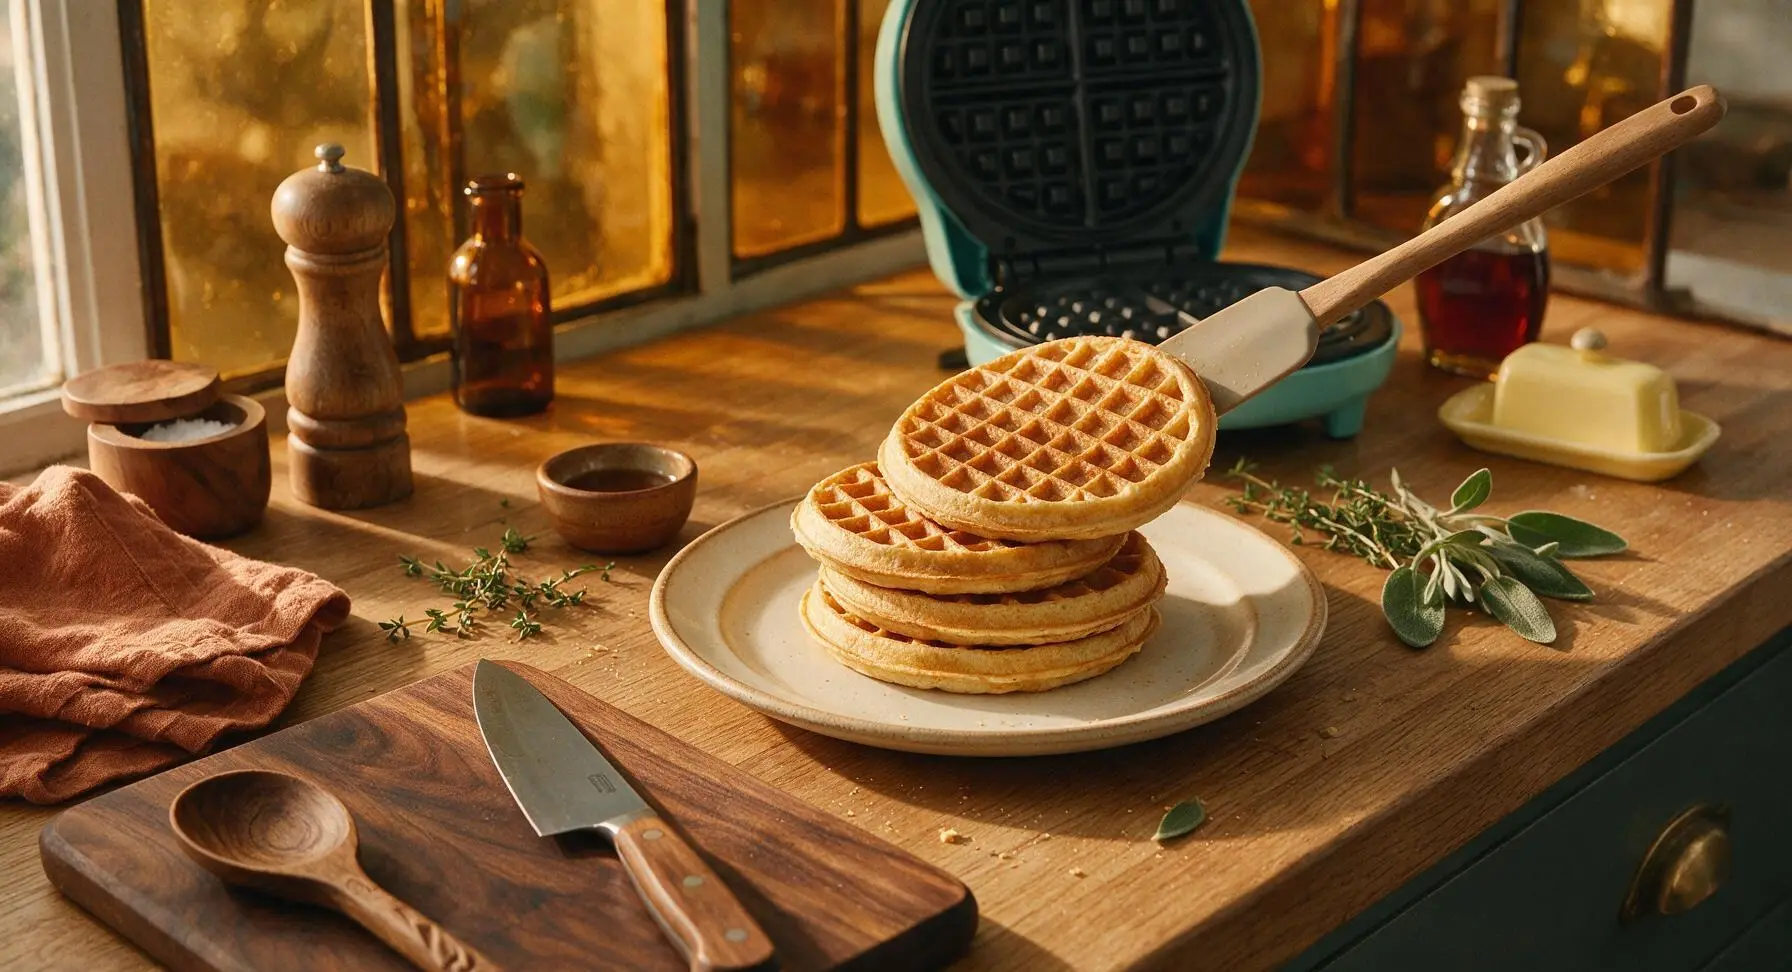
Stack all finished waffles on the cream stoneware plate. Top with a small pat of butter, a light drizzle of maple syrup, and fresh berries if desired. Serve immediately while the waffles are hot and crisp, as they will soften quickly as they cool. Once all waffles are cooked, unplug the Dash waffle maker and allow it to cool completely (approximately 30 minutes) before wiping the plates clean with a soft damp cloth.
Tips
2.Resist the urge to peek at your waffle before the 2-minute cook mark: the waffle’s tender crumb structure is not fully set early in cooking, and opening the lid will cause the waffle to tear, stick to the top plate, and cook unevenly.
3.Skip the abrasive scouring pads when cleaning your Dash waffle maker: the non-stick plates are not removable on most mini models, so once the unit is fully cool, simply wipe plates down with a soft damp cloth to preserve the non-stick coating for years of use.






OMG I just got my mini Dash waffle maker for my birthday and had no clue the buttermilk ratio could make such a difference! These came out SO fluffy, my 3 and 5 year old devoured them before I even got syrup on the table. Total game changer for busy school mornings, 10/10.
Super easy recipe, only note is my Dash took a full 4 minutes per waffle instead of the 3 I saw mentioned? Maybe my machine runs cool? Either way, flavor was perfect, crisp outside fluffy inside. Brought a batch to my office potluck last week and people were begging for the link.
These freeze SO well! I made a double batch on Sunday, popped them in the toaster all week for quick breakfasts, and they taste just as fresh as the day I made them. Who knew the tiny Dash could crank out waffles good enough for meal prep?!
Bought the $10 Dash waffle maker from Target on a whim for my dorm and this recipe is foolproof. I don’t even have a mixing bowl, I whisk the batter in a big solo cup lmao. 15 minutes total from grabbing the ingredients to eating, no fancy tools needed. Absolute win for a broke college kid.
I swapped the all purpose flour for a 1:1 gluten free blend and these still came out amazing! I was worried the tiny Dash wouldn’t cook them all the way through but they were perfectly fluffy, no gritty texture at all. My celiac kid was over the moon to have waffles that don’t come from a frozen box. Only reason it’s not 5 stars is I wish there was a quick note about GF swaps in the main recipe, but it’s easily adaptable!
I’ve had my Dash for 2 years and always made waffles that came out rubbery, turns out I was overmixing the batter! Followed this recipe to a T, left a few lumps, and they were the fluffiest waffles I’ve ever made. My partner said they’re better than the diner down the street. Win!
Made these for my girls’ brunch last weekend and everyone was raving. Topped them with fresh strawberries, whipped cream, and a little drizzle of maple syrup, looked like something out of a food magazine. So easy even after a couple mimosas lmao
As a dad who burns 90% of breakfast foods, these were shockingly hard to mess up. The non-stick on the Dash works so well I didn’t even need extra spray, no burnt bits, no stuck waffle chunks. My kids gave me two thumbs up (which is basically a Michelin star in our house).
Great base recipe! I added a teaspoon of cinnamon and a handful of chopped pecans to the batter and it was chef’s kiss. Perfect for a post-hike breakfast after a cold morning on the trails. Only knock is I wish the recipe made more, the mini Dash makes pretty small waffles!
Just moved into my first apartment and the Dash was the first kitchen thing I bought. This recipe is so straightforward, no weird ingredients I had to run to three stores for. Buttermilk, flour, eggs, stuff I already had! Saved me from spending $15 on diner waffles every weekend.
Got the Dash waffle maker as a white elephant gift last Christmas and thought it would be a gimmick I used once and stored away. Boy was I wrong! This recipe makes the lightest, fluffiest buttermilk waffles, I use it at least once a week now. Even my grandkids ask for them when they come visit.
I add a scoop of vanilla protein powder to the batter and it works perfectly, no weird chalky aftertaste. Great high protein breakfast to meal prep for my early morning clients, doesn’t leave me crashing by 10am like frozen waffles do.
Okay I was skeptical because the Dash is so tiny, but these waffles are SO much better than the big bulky waffle iron I had in college that took up half my cabinet. Crisp edges, soft middle, perfect buttermilk tang. 10/10, already sent the recipe to my whole group chat.
The buttermilk tang in these is unreal! I’ve tried so many waffle recipes that are just bland and sweet, but these have that perfect classic diner flavor that pairs so well with real maple syrup. No more sad boxed mix for me.
Really good recipe! My only note is I wish it specified how much batter to pour per Dash waffle—my first one overflowed a little and made a mess, but once I used 1/4 cup it was perfect. Flavor was 10/10 though, my boys ate 3 each.
I’ve been making waffles for 40 years and I have to say, this is the best buttermilk waffle recipe I’ve tried for a small waffle maker. No fancy tricks, just solid, reliable, fluffy waffles every single time. Worth saving for sure.
Total win! Total cost for the whole batch was like $2, way cheaper than buying frozen waffles or going out for brunch. The 15 minute cook time is no joke, I made these before work this morning without even rushing.
Got this waffle maker for my teen’s birthday because they kept begging for waffles, and this recipe was the first thing we made together. They were so proud of how they turned out, we’re already planning to do a waffle bar for their next friend sleepover.
Solid base recipe! I added a pinch of cayenne and some shredded cheddar to the batter for a savory twist and it was insane, paired great with fried chicken for a lazy weekend dinner. The texture was perfect even with the add-ins. Knocked one star off because I would’ve loved a couple savory variation ideas in the post, but the base is so solid it’s easy to tweak!