1.What kind of pan do I need to make authentic Detroit-style pizza at home?
▾
You don’t need a fancy specialty blue steel Detroit pizza pan to nail this recipe! A 10x14 inch dark metal square baking pan with 1-inch high sides works perfectly. Skip thin, flimsy light aluminum pans, since they won’t retain enough heat to create that signature crispy, caramelized cheese edge everyone loves.
2.Can I use all-purpose flour instead of bread flour for the crust?
▾
Stick with bread flour for the classic chewy, airy focaccia-like crumb—it has 12-14% protein content that builds the strong gluten structure needed to support the thick crust’s light texture. If you only have all-purpose flour, add 2 tablespoons of vital wheat gluten per 2 cups of AP flour to boost protein and match bread flour’s performance.
3.How warm does my water need to be to properly activate the instant dry yeast?
▾
Aim for water between 105–110°F (40–43°C)—that’s the ideal sweet spot for instant yeast to wake up and create the light air pockets that make the crust so fluffy. Water that’s too cold leads to slow, uneven rise and dense crust, while water over 120°F will kill yeast entirely, so a quick thermometer check is worth it.
4.Why does Detroit-style pizza have sauce on top of the cheese instead of under it?
▾
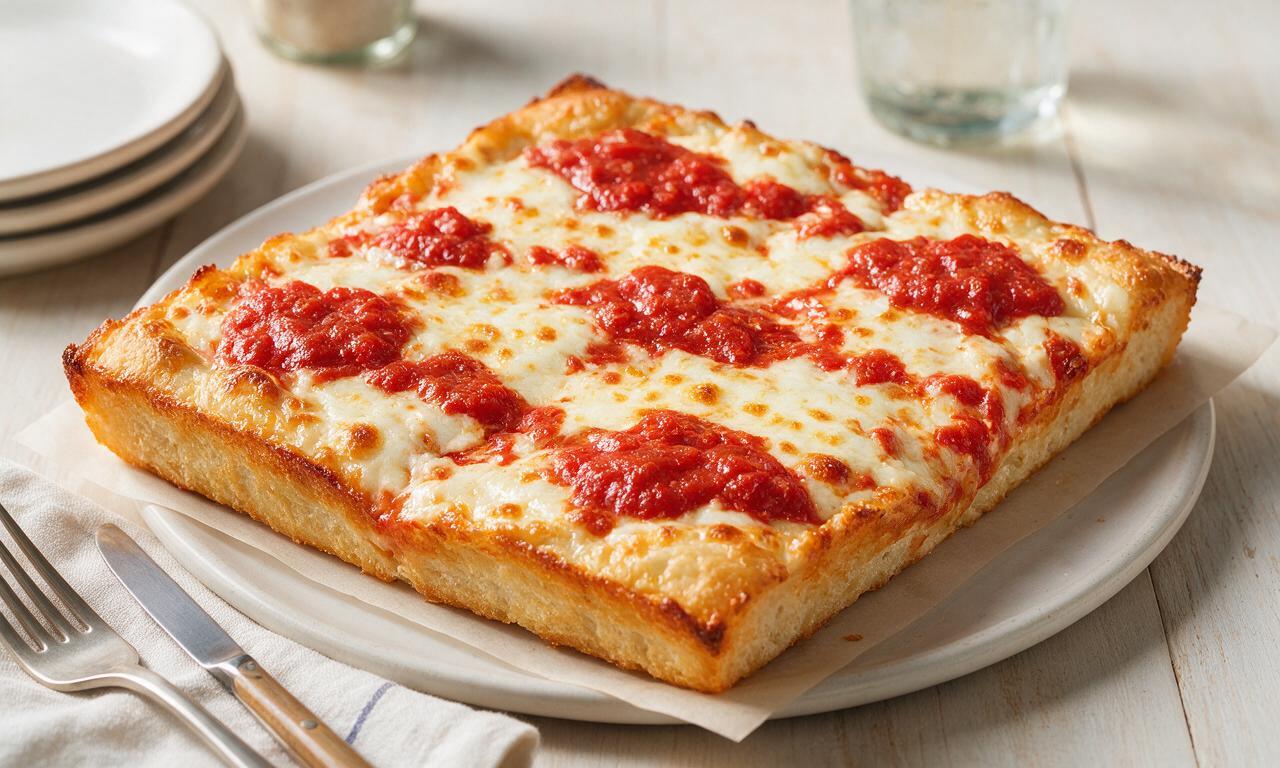
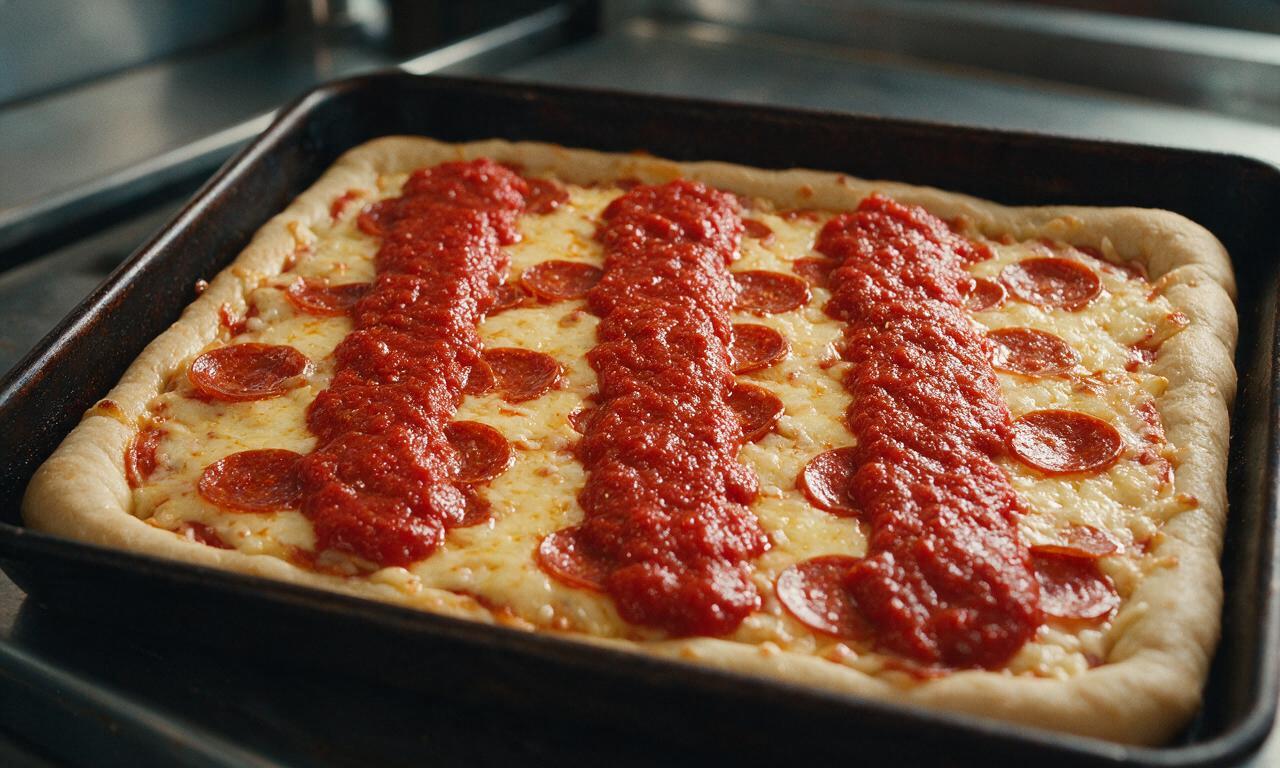
That signature dolloped top sauce serves two key purposes! First, it keeps high-moisture tomato sauce from seeping into the soft dough and making the crust soggy during high-heat baking. Second, it creates bright, tangy flavor bursts against rich, melted cheese, instead of melding into a uniform, less dynamic layer between crust and cheese.
5.How long do I need to let the Detroit-style pizza dough rise?
▾
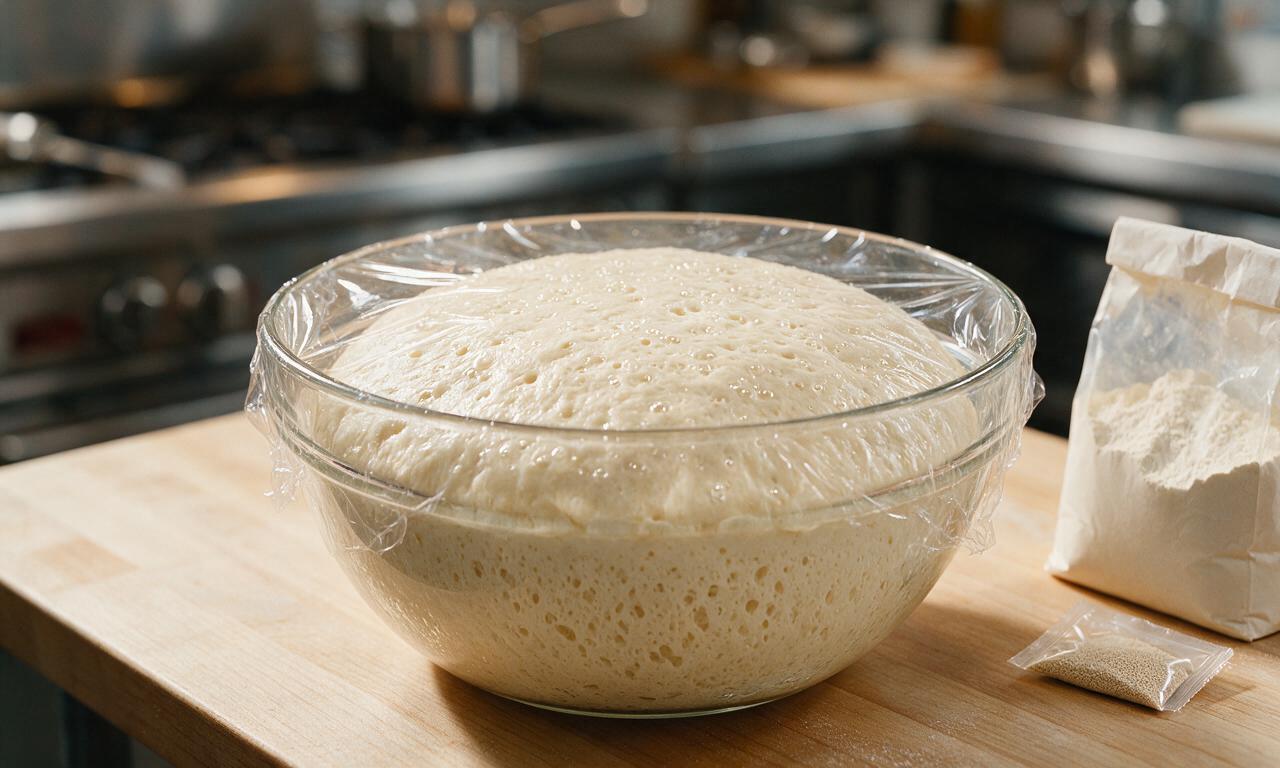
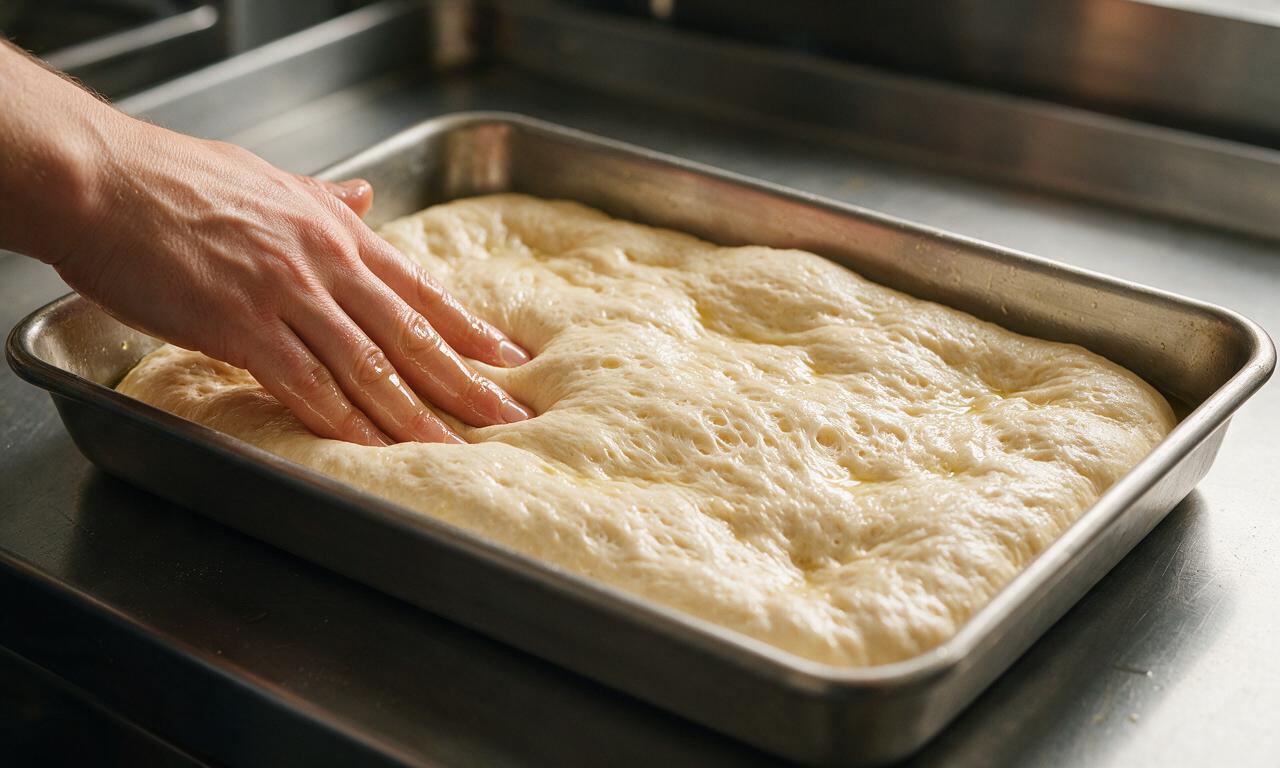
For the best light, focaccia-like texture, plan for two rises: first, a 1-hour bulk rise at room temperature right after mixing your dough, then a second 30-minute rise after you press the dough into your oiled pan. For even deeper, nuttier crust flavor, do the second rise covered in the fridge for 12-24 hours before baking.
6.How much extra-virgin olive oil do I need for the pan, and can I skip it?
▾
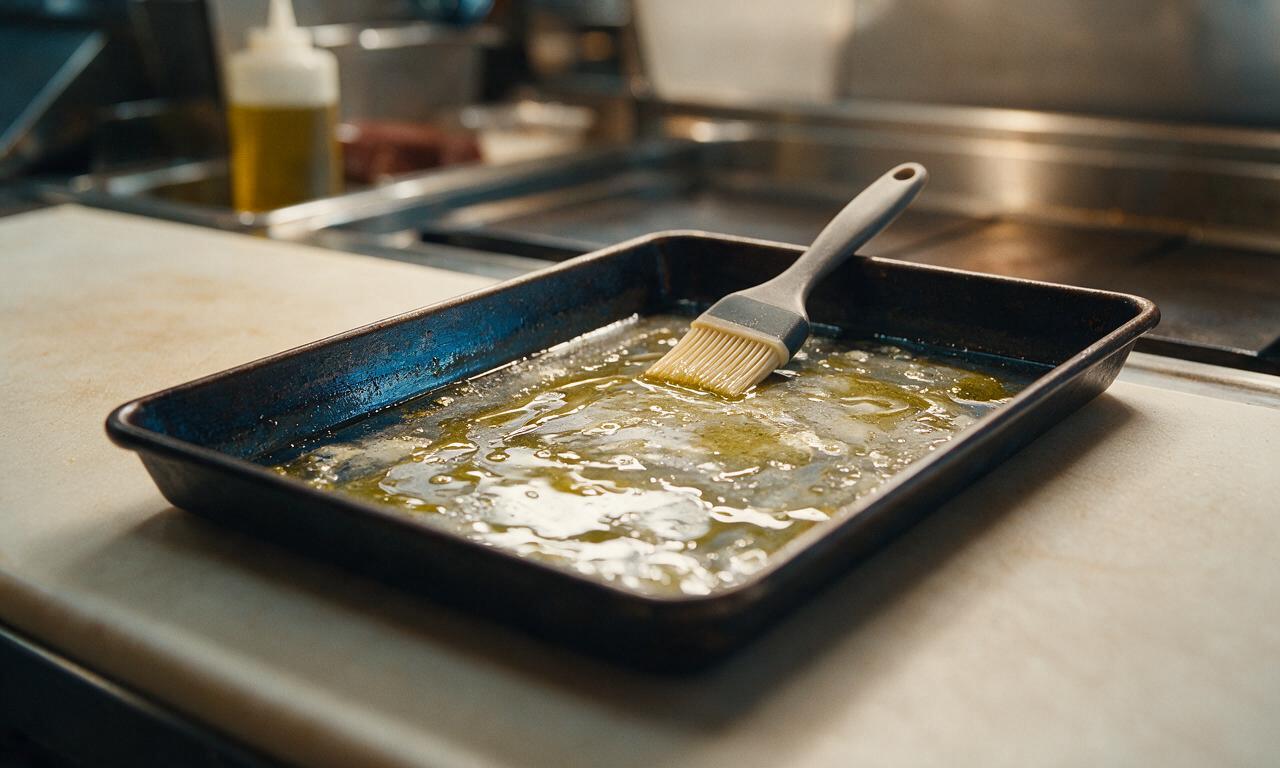
Don’t skip the olive oil! Use about 2 tablespoons of extra-virgin olive oil to coat the entire pan bottom and ½ inch up the sides. That oil doesn’t just prevent sticking—it fries the bottom and edges of the crust as it bakes, creating that iconic crispy, golden, slightly fried crust texture that defines the style.
7.Why is the cheese spread all the way to the edges of the pan?
▾
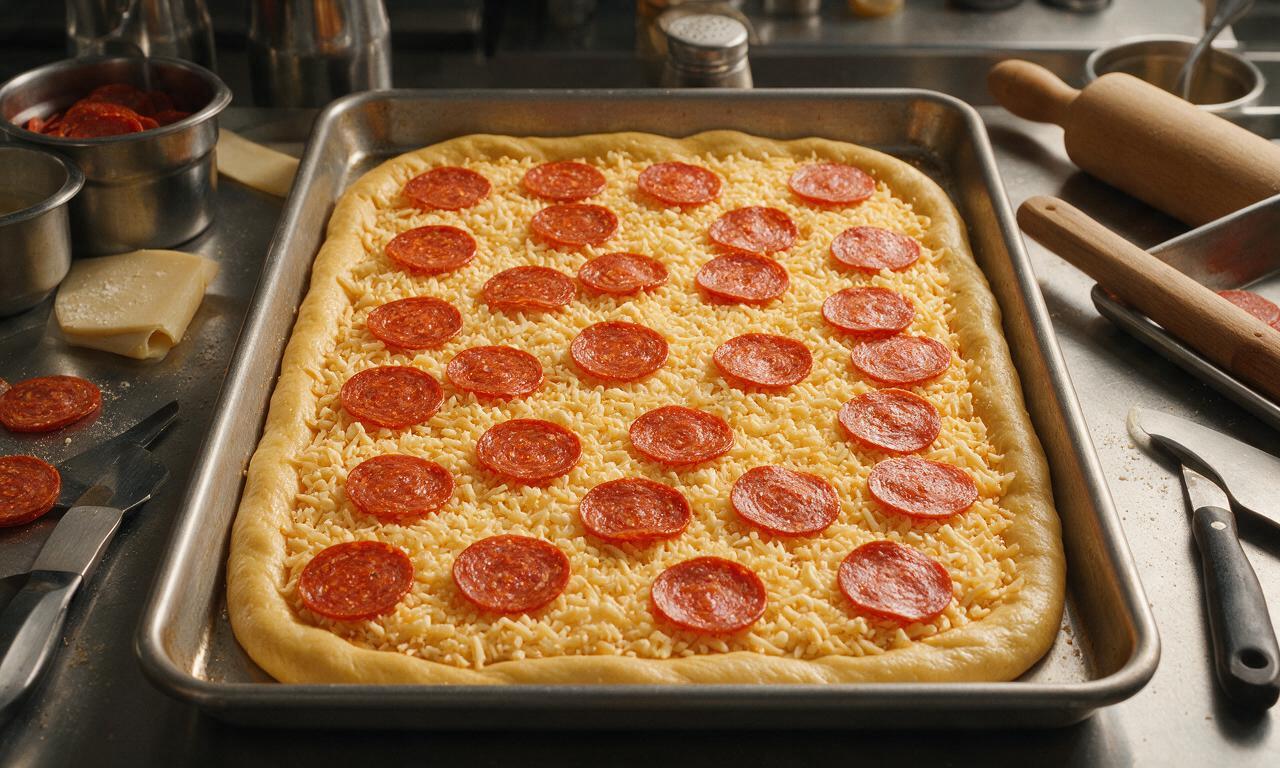
That edge-to-edge cheese is non-negotiable for classic Detroit-style pizza! As cheese melts in the high oven heat, it runs right up against the hot oiled pan sides, creating that crispy, lacy, caramelized frico cheese edge that’s one of the style’s most beloved, craveable traits. Stopping cheese short leaves you with plain, boring crust edges.
8.What type of cheese works best for authentic Detroit-style pizza?
▾
Low-moisture, whole-milk mozzarella cut into small ¼-inch cubes is the classic pick. Skip pre-shredded mozzarella, which has anti-caking coatings that prevent smooth melting and crisp edge formation. For traditional depth, swap 20% of the mozzarella for mild Wisconsin brick cheese, the original cheese used in Detroit pizzerias.
9.My dough keeps shrinking back when I try to press it into the pan—what’s going wrong?
▾
That’s a totally common issue, no need to stress! It means the gluten in your high-protein bread flour dough is tight from handling. Just stop, cover the dough loosely, and let it rest for 10-15 minutes to let the gluten relax. After that short rest, it will press out easily to fill the whole pan without springing back.
10.How do I keep the bottom of my Detroit-style pizza from getting soggy?
▾
Two easy tricks fix soggy crust every time! First, preheat your oven for a full 20 minutes so the hot, oiled pan hits the dough immediately when it goes in, crisping the bottom fast. Second, stick to thick, spaced sauce dollops instead of spreading sauce in a solid layer, so excess moisture doesn’t seep into the crust.
11.Can I make the pizza dough ahead of time for meal prep?
▾
Absolutely! Mix your dough with bread flour, instant yeast, warm water, kosher salt, and olive oil, then let it complete its first 1-hour room temperature rise. Tuck it into a sealed, lightly oiled container, and it will keep in the fridge for up to 3 days. Slow cold fermentation actually creates deeper, more complex crust flavor than same-day dough.
12.What oven temperature gives the best results for Detroit-style pizza?
▾
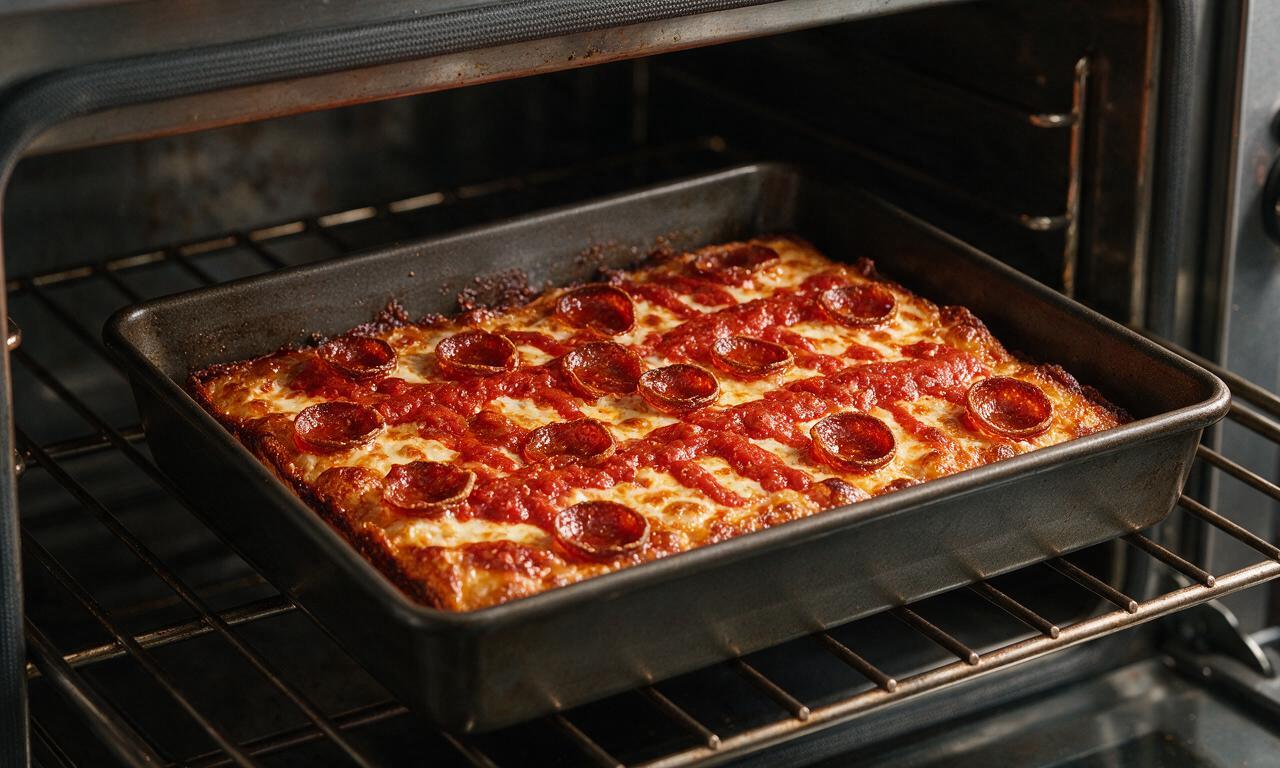
Crank your oven to 475°F (245°C) for the most authentic results. That high heat mimics the commercial deck ovens used in original Detroit pizzerias, cooking the thick crust fast enough to keep the inner crumb light and airy while crisping the bottom crust and caramelized cheese edges perfectly in 12-15 minutes.
13.Where do I place pizza toppings so they don’t slide off or burn?
▾
Heartier, cookable toppings like pepperoni, crumbled cooked sausage, or sliced mushrooms go directly on the dough before you add the edge-to-edge cheese, so they stay anchored and cook through. Delicate toppings like fresh basil, grated parmesan, or hot honey go on right after baking, so they don’t burn or wilt in the high heat.
14.How much kosher salt do I need for the dough, and can I substitute table salt?
▾
Use 1 ½ teaspoons of kosher salt per 3 cups of bread flour to season the crust evenly without making it too salty. If you only have table salt, cut that measurement in half—table salt is much denser and saltier by volume, so using the same amount will over-salt your crust and even slow yeast activity.
15.Why is my crust dense instead of light and focaccia-like?
▾
Dense crust almost always traces back to one of three simple fixes: your water was too cold to properly activate the instant yeast, you cut rise times short before the dough could build light air pockets, or you used low-protein all-purpose flour without added gluten that can’t trap the air yeast produces. Start with a quick water temp check!
16.How do I get the whole pizza out of the pan without it sticking or breaking?
▾
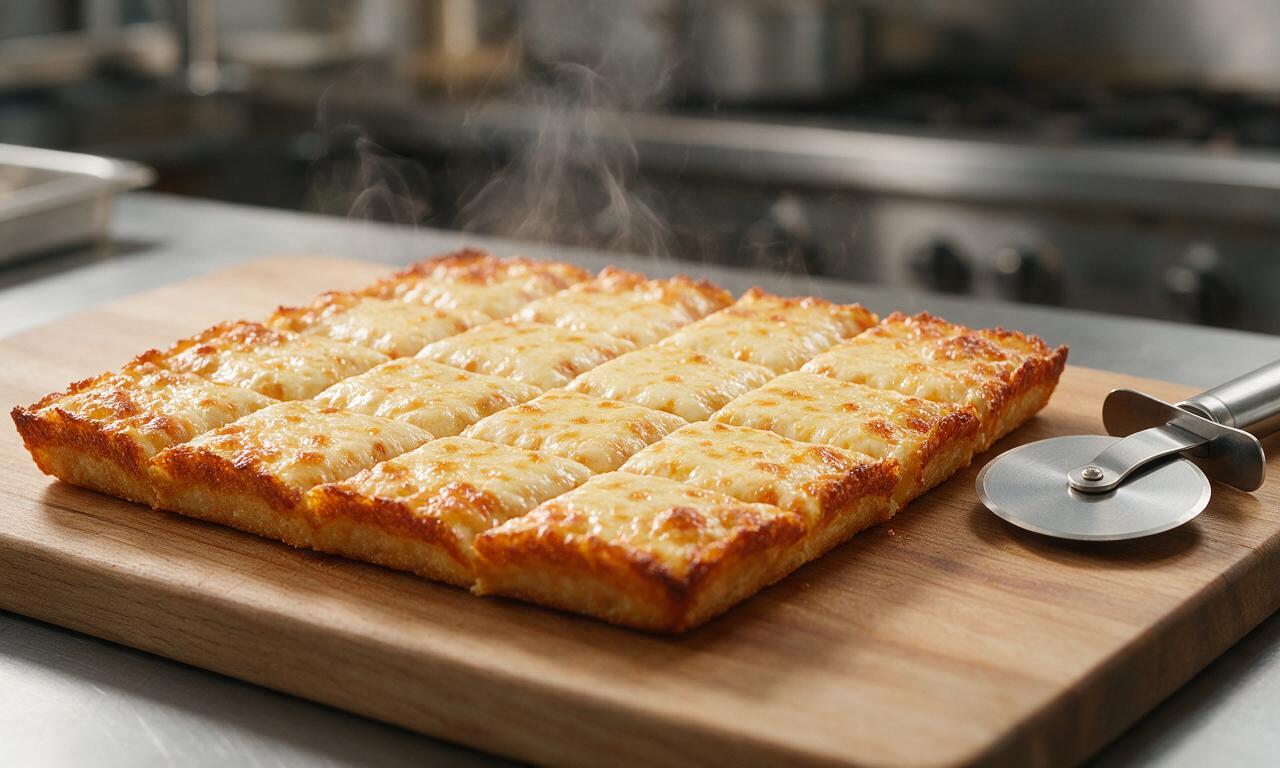
As soon as you pull the pan out of the oven, run a thin, stiff offset spatula around the entire pan edge before the melted cheese cools and hardens and sticks. Let the pizza rest for 3 minutes in the pan, then slide the spatula under the full crust to lift it out onto a cutting board to slice into clean squares.
17.Is instant dry yeast interchangeable with active dry yeast for this recipe?
▾
They aren’t a straight 1:1 swap! Instant dry yeast mixes directly into your dry flour and salt with no pre-soaking, which makes it faster for this recipe. If you only have active dry yeast, proof it in your warm water for 5 minutes until foamy before mixing, and use 25% more yeast to match the recipe’s rise time.
18.Can I freeze leftover Detroit-style pizza, and what’s the best way to reheat it?
▾
Absolutely! Wrap leftover slices tightly in plastic wrap and a layer of foil, and they’ll keep in the freezer for up to 2 months. Skip the microwave—it turns the crispy crust soggy and rubbery. Instead, reheat slices on a baking sheet in a 400°F oven for 6-8 minutes, until cheese is bubbly and the crust crisps back up.
19.How thick should my tomato sauce be for topping Detroit-style pizza?
▾
Use a thick, bright, tangy sauce rather than thin, runny marinara. Start with crushed tomatoes, drain off any excess watery liquid, then season simply with a pinch of salt, garlic powder, and dried oregano. Thick sauce stays put in those signature top dollops without seeping down to make the light, airy crust soggy as it bakes.







OMG this is the first Detroit-style pizza I’ve ever made that actually tastes like the ones I get at my local spot when visiting family in Detroit! The crispy cheese edges? *Chef’s kiss* My whole family devoured it in 10 minutes flat at our Sunday dinner. Only thing I messed up was stretching the dough too thin the first go-around, but the second batch was perfect. Game changer recipe!!
Made this for my kids’ after-school soccer team potluck last week and every single parent asked for the recipe! I was worried the 2 hour total time would be too much for a weeknight, but I prepped the dough during naptime and it came together so fast once the kids were home. The crispy pepperoni cups are my favorite part, 10/10!
SO good. I’ve tried 4 other Detroit-style recipes online and this is the only one that gets that signature crispy, frico crust edge right. I used a blend of mozzarella and white cheddar like the recipe said and it was perfect. No notes, will be making this every Friday from now on.
I was intimidated because this is marked medium difficulty, but it was way easier than I thought! I don’t have the official Detroit-style square pan so I used my 9x13 metal baking pan and it still turned out great. My only complaint is I wish I’d made double, my roommate ate half the pan before I even got a second slice.
Has anyone tried making this with a 1:1 gluten free flour blend? I’m dying to make Detroit-style pizza for my husband who’s celiac, but I don’t want to waste ingredients if the texture won’t turn out right. The recipe looks so good I can almost smell it through the screen!
Wait, did anyone else’s sauce run all over the place when they put it on top of the cheese? I followed the recipe to a T but my pizza was a little soggy in the middle. Flavor was still incredible, but I wanna nail the texture next time.
Made this for our college football watch party last weekend and it was gone before halftime. I did half classic pepperoni and half veggie with bell peppers and mushrooms, and both versions were a hit. The thick crust holds up to all the toppings so much better than thin crust takeout. Will be making this for every game day this fall!
I sliced up the leftover pizza and froze individual slices for quick work lunches this week, and they reheat perfectly in the toaster oven! The crust stays crispy, no soggy microwave mess. 10/10 for meal prep, this is going into my regular rotation.
Pro tip from a Wisconsin native: add a little bit of brick cheese if you can find it! It melts so much smoother than straight mozzarella and gives it that authentic tangy Detroit-style flavor I remember from growing up visiting family in Michigan. This recipe is already perfect, that just kicked it up a notch for me.
I was shocked how fluffy the crust got! I’ve always struggled to get pizza dough to rise right, but the step-by-step instructions for the dough were so easy to follow. 2 hours total time felt so fast for how fancy this pizza looks, I felt like a professional chef pulling it out of the oven.
This was really good! I added a sprinkle of red pepper flakes and a drizzle of hot honey after baking, and it was chef’s kiss. My only tiny note is I wish the recipe had a note about how high to stack the pepperoni so it gets those crispy cups, but I figured it out after the first few slices. Will definitely make again.
I used my cast iron square skillet instead of a baking pan and it worked like a charm! The heat retention made the bottom crust extra crispy, just like the restaurant versions. 10/10, no need to buy a special pan if you already have cast iron.
My kids loved it!!! I have two super picky eaters who turn their nose up at almost every homemade meal I make, and they both asked for seconds (and thirds!) of this pizza. I didn’t even tell them it wasn’t delivery, they thought I ordered from their favorite spot. Total mom win.
Made this for my partner for our at-home date night last weekend and they said it was better than any pizza we’ve had at a fancy restaurant downtown. We paired it with a caesar salad and some garlic bread, and it felt like a fancy meal for a fraction of the price. 10/10 will be our new date night staple.
SO good. I’ve been chasing that perfect crispy Detroit-style crust for years and this recipe finally delivered. The butter in the pan? Genius. That’s the secret I was missing all this time. No more takeout pizza for me, I’m making this at home from now on.