
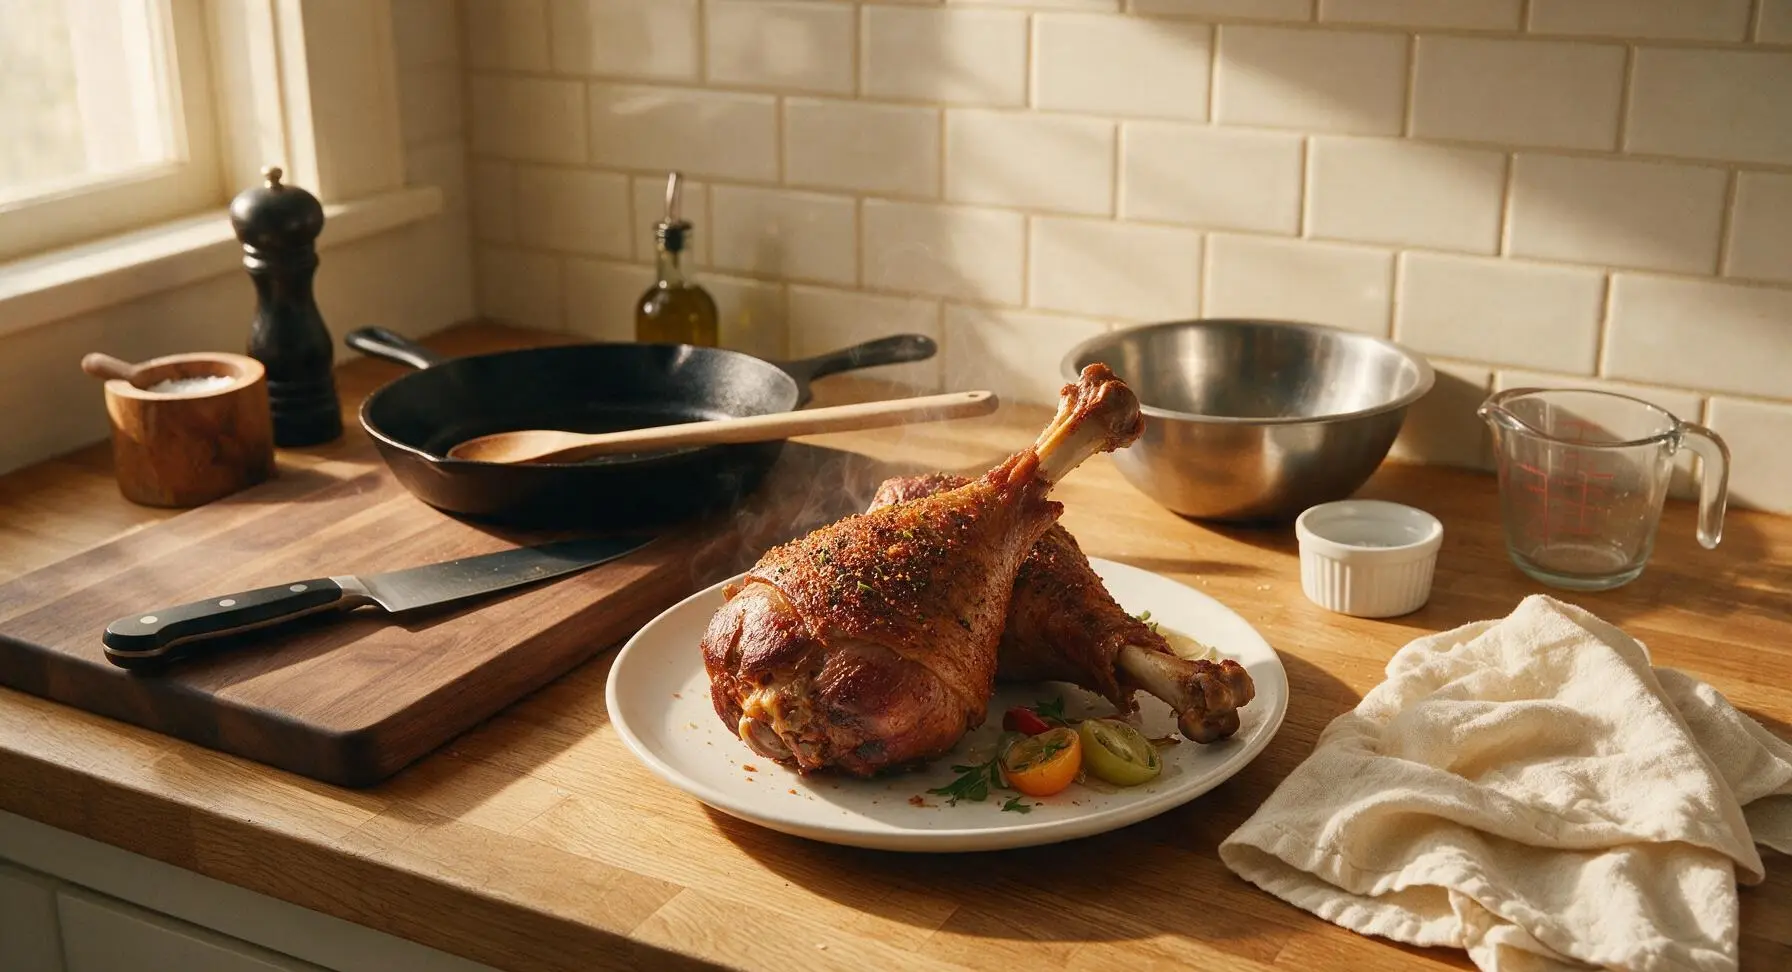
Disney Turkey Leg

title 1
Disney Turkey Leg
⏱️ cook time 2 hours 30 minutes
🍽️ servings 4
⚡ Difficulty medium

intro

Jumbo, smoky, fall-off-the-bone tender Disney-style turkey legs with crispy seasoned skin, an exact copycat of the iconic theme park treat fans line up for.

Ingredients
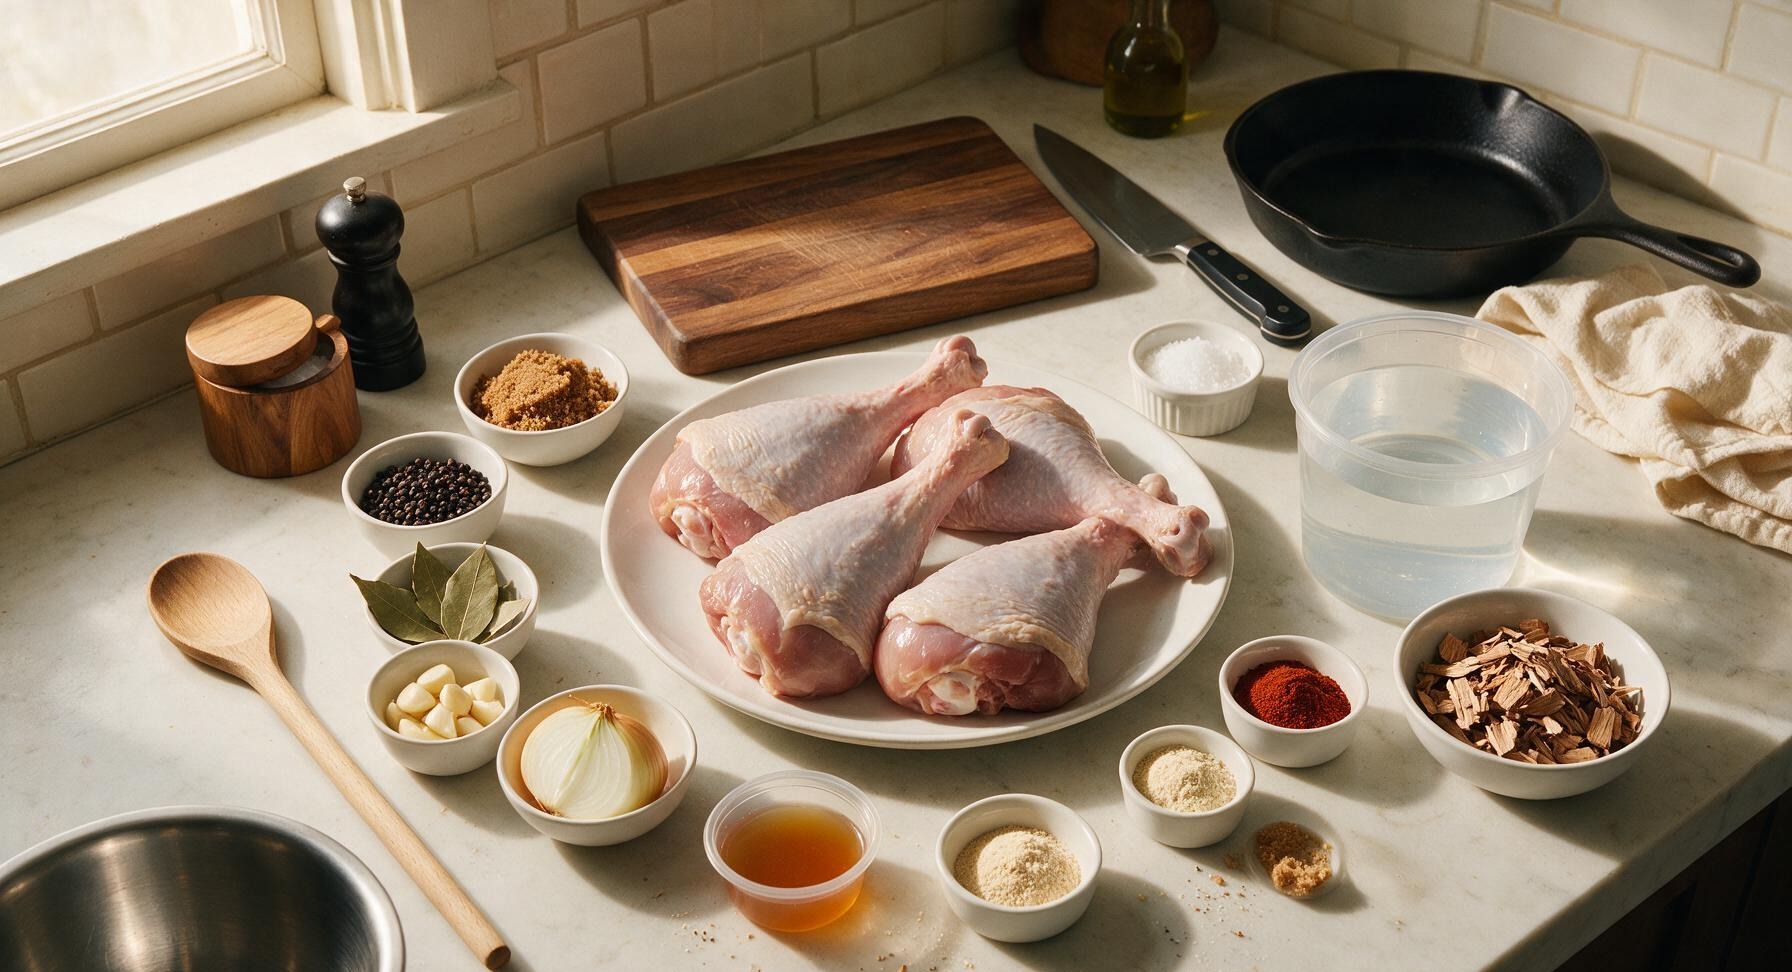
Jumbo bone-in skin-on turkey legs 4 (1.5 lbs / 680g each)
Kosher salt 1 cup
Dark brown sugar 3/4 cup
Whole black peppercorns 2 tbsp
Bay leaves 4
Garlic cloves, crushed 8
Large yellow onion, quartered 1
Apple cider vinegar 1/2 cup
Cold water 1 gallon
Smoked paprika 2 tbsp
Garlic powder 1 tbsp
Onion powder 1 tbsp
Coarse ground black pepper 1 tsp
Light brown sugar 1 tsp
Hickory smoking chips 2 cups

Steps

1

Make the Brine Base

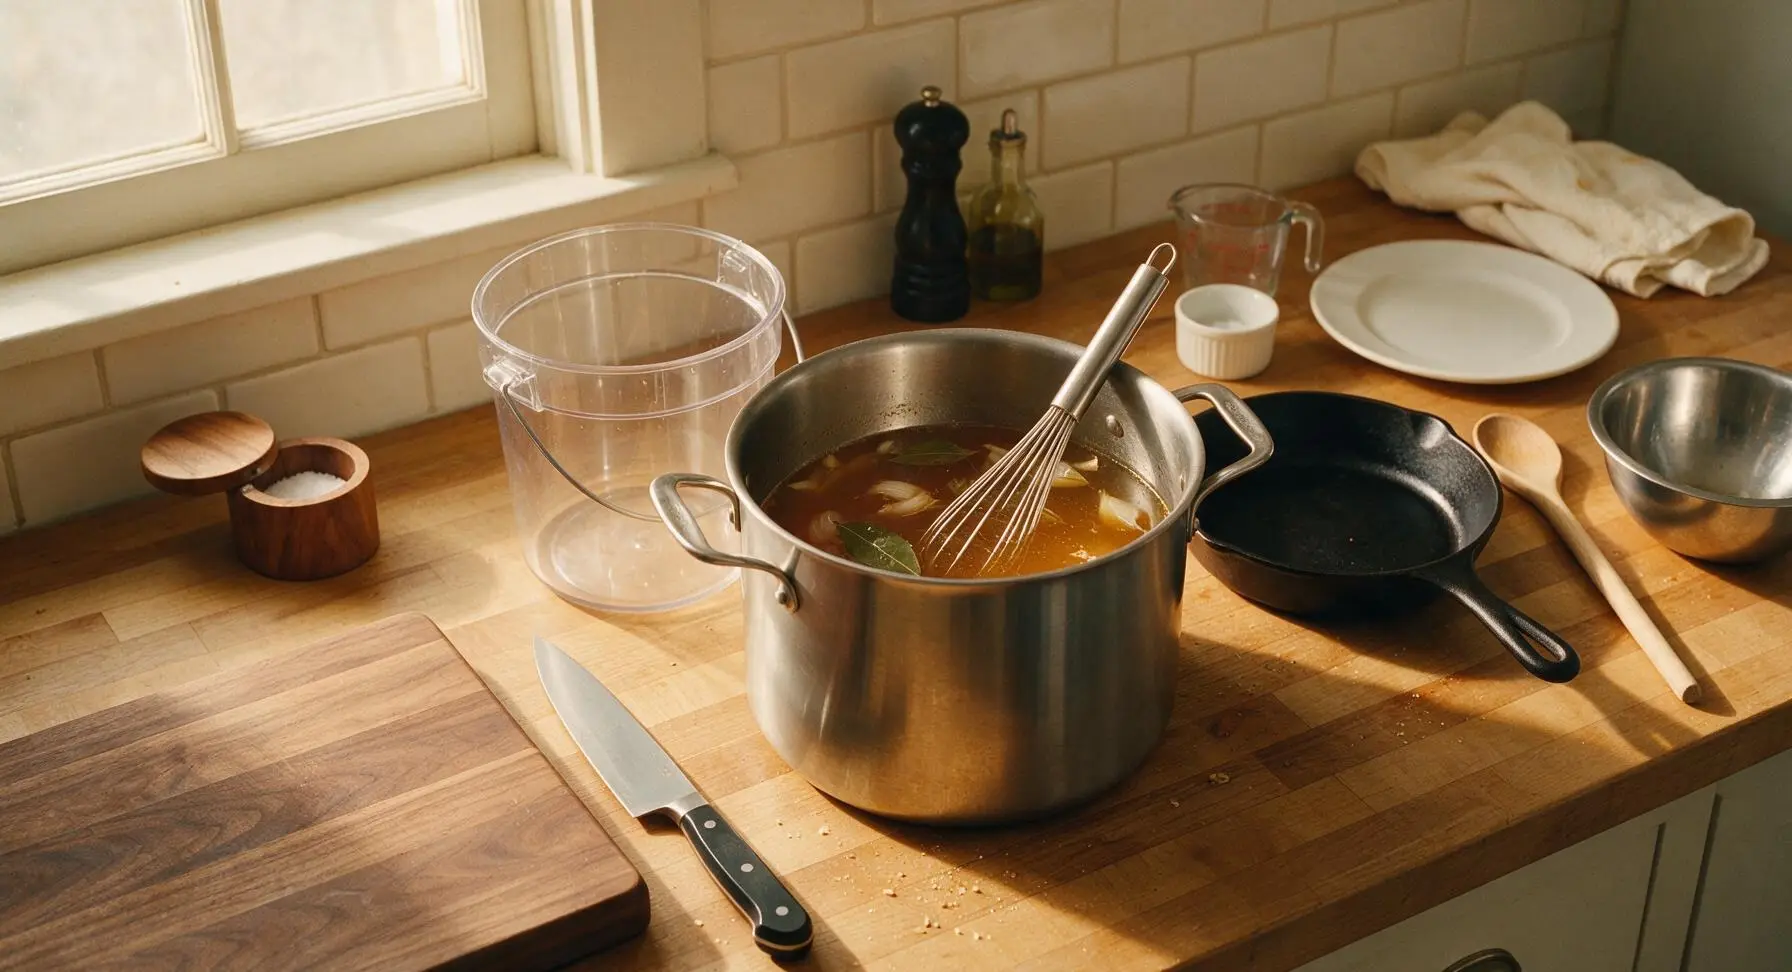
Place the 8-quart brushed stainless steel stock pot on the counter, add 4 cups of water, 1 cup kosher salt, 3/4 cup dark brown sugar, 2 tbsp whole black peppercorns, 4 bay leaves, crushed garlic, and quartered onion. Heat over medium heat, stirring with the stainless steel whisk until salt and sugar fully dissolve, about 5 minutes. Do not bring the mixture to a boil. Remove from heat and stir in the remaining 12 cups cold water and 1/2 cup apple cider vinegar to cool the brine to room temperature (70°F/21°C).
Step 1
step1:Make the Brine Base
2

Brine the Turkey Legs

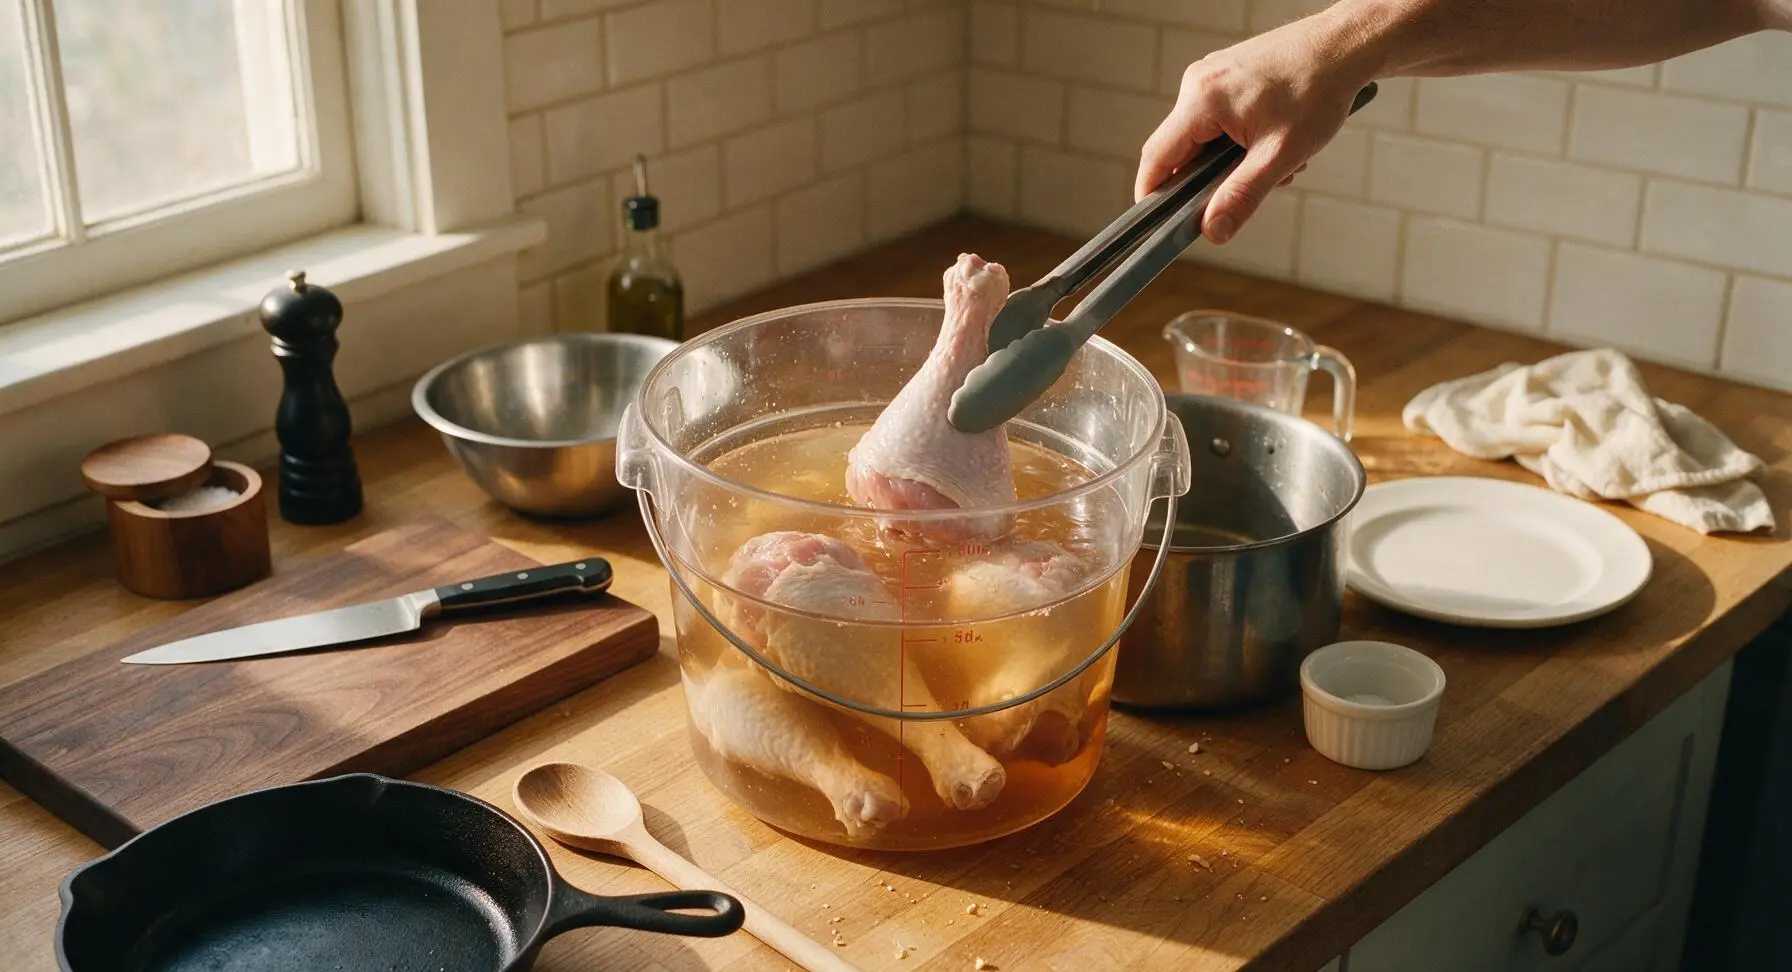
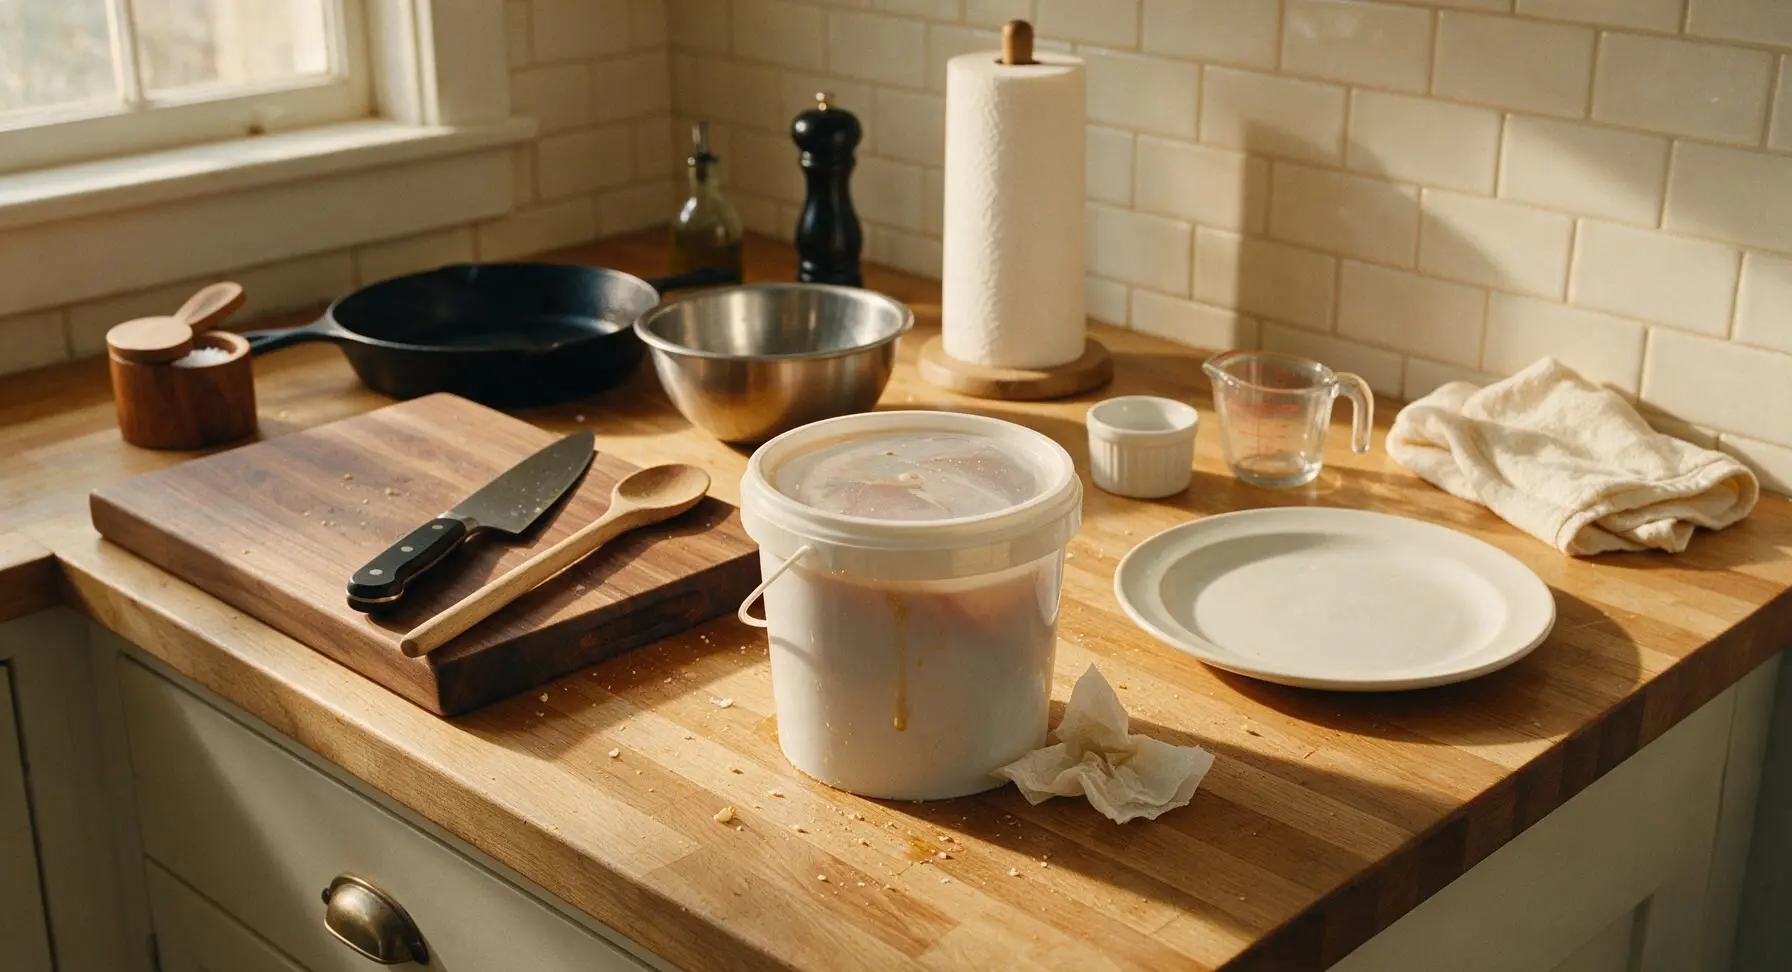
Pat the raw turkey legs lightly dry with paper towels from the counter roll, then submerge them fully in the cooled brine inside the 5-gallon brining bucket. Seal the bucket with its snap-on lid, and refrigerate for 12–16 hours. Ensure no parts of the legs float above the brine line; weigh legs down with a small plate if needed to keep fully submerged. Do not brine longer than 18 hours, as meat will become overly salty.
Step 2
step2:Brine the Turkey Legs
Step 2
step2:Brine the Turkey Legs
3

Prep Rub and Legs

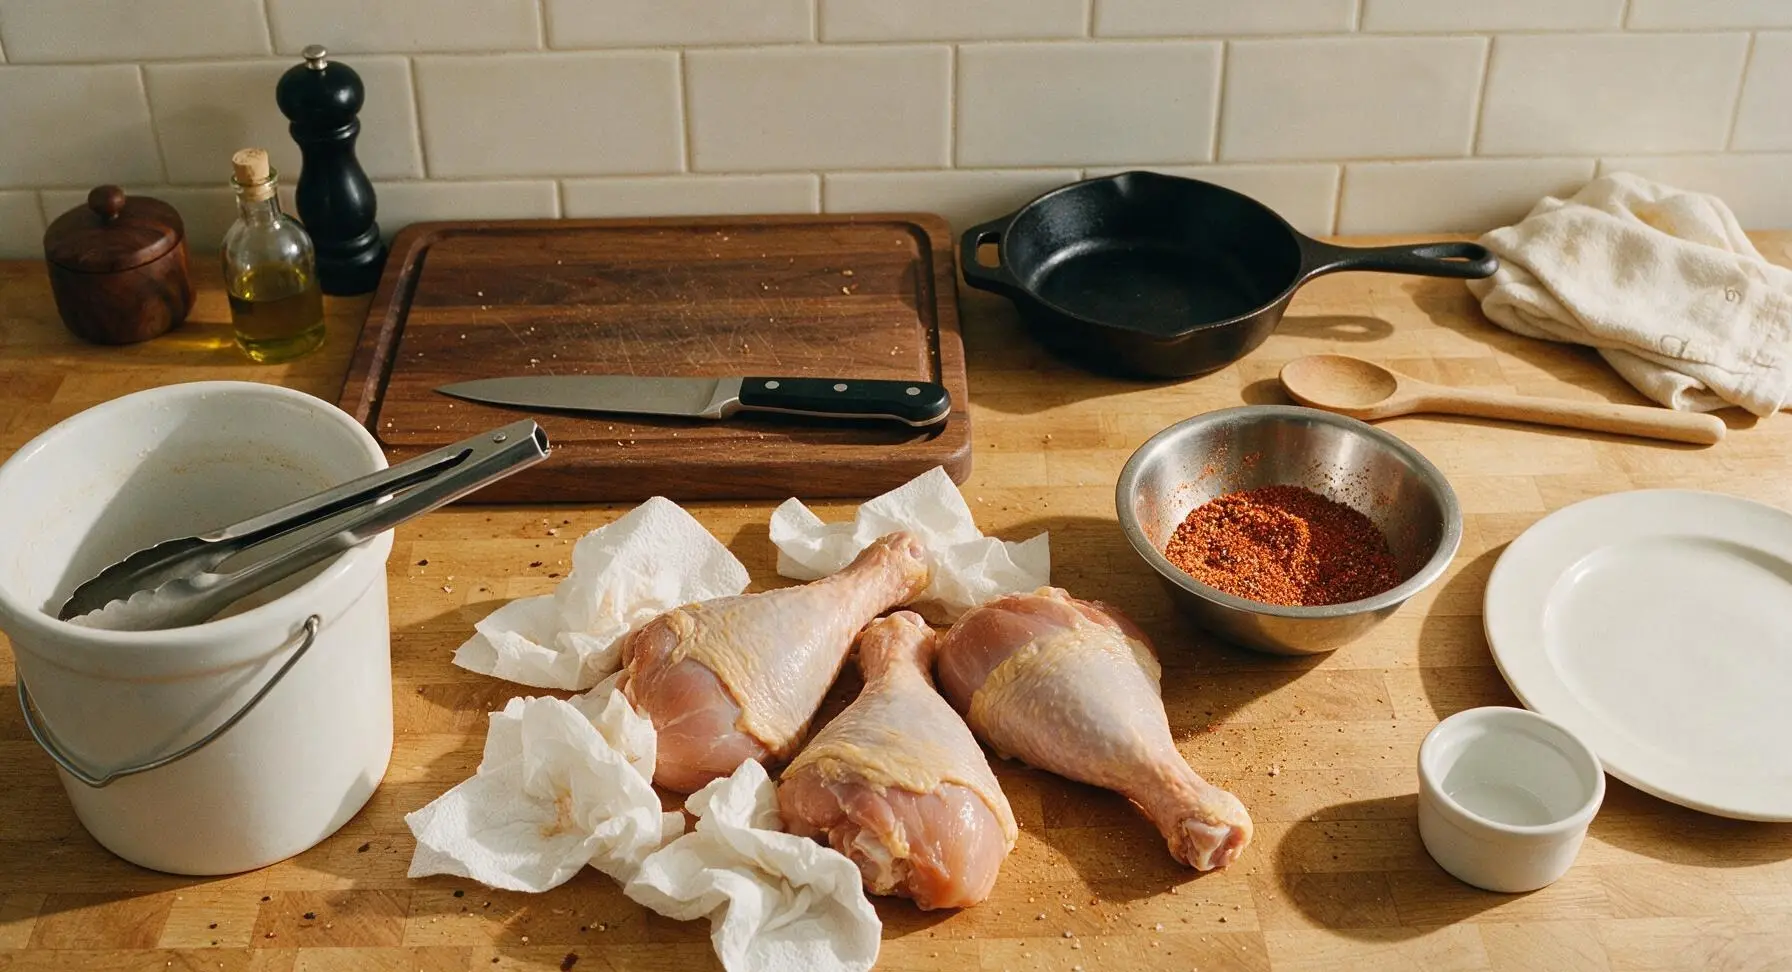
After brining, remove turkey legs from the brine using the tongs, discard the used brine and spent aromatics. Pat legs completely dry on all sides with fresh paper towels (thoroughly dry skin is critical for crispiness). In the small stainless steel mixing bowl, combine 2 tbsp smoked paprika, 1 tbsp garlic powder, 1 tbsp onion powder, 1 tsp coarse black pepper, and 1 tsp light brown sugar, stirring until evenly mixed.
Step 3
step3:Prep Rub and Legs
4

Season the Turkey Legs

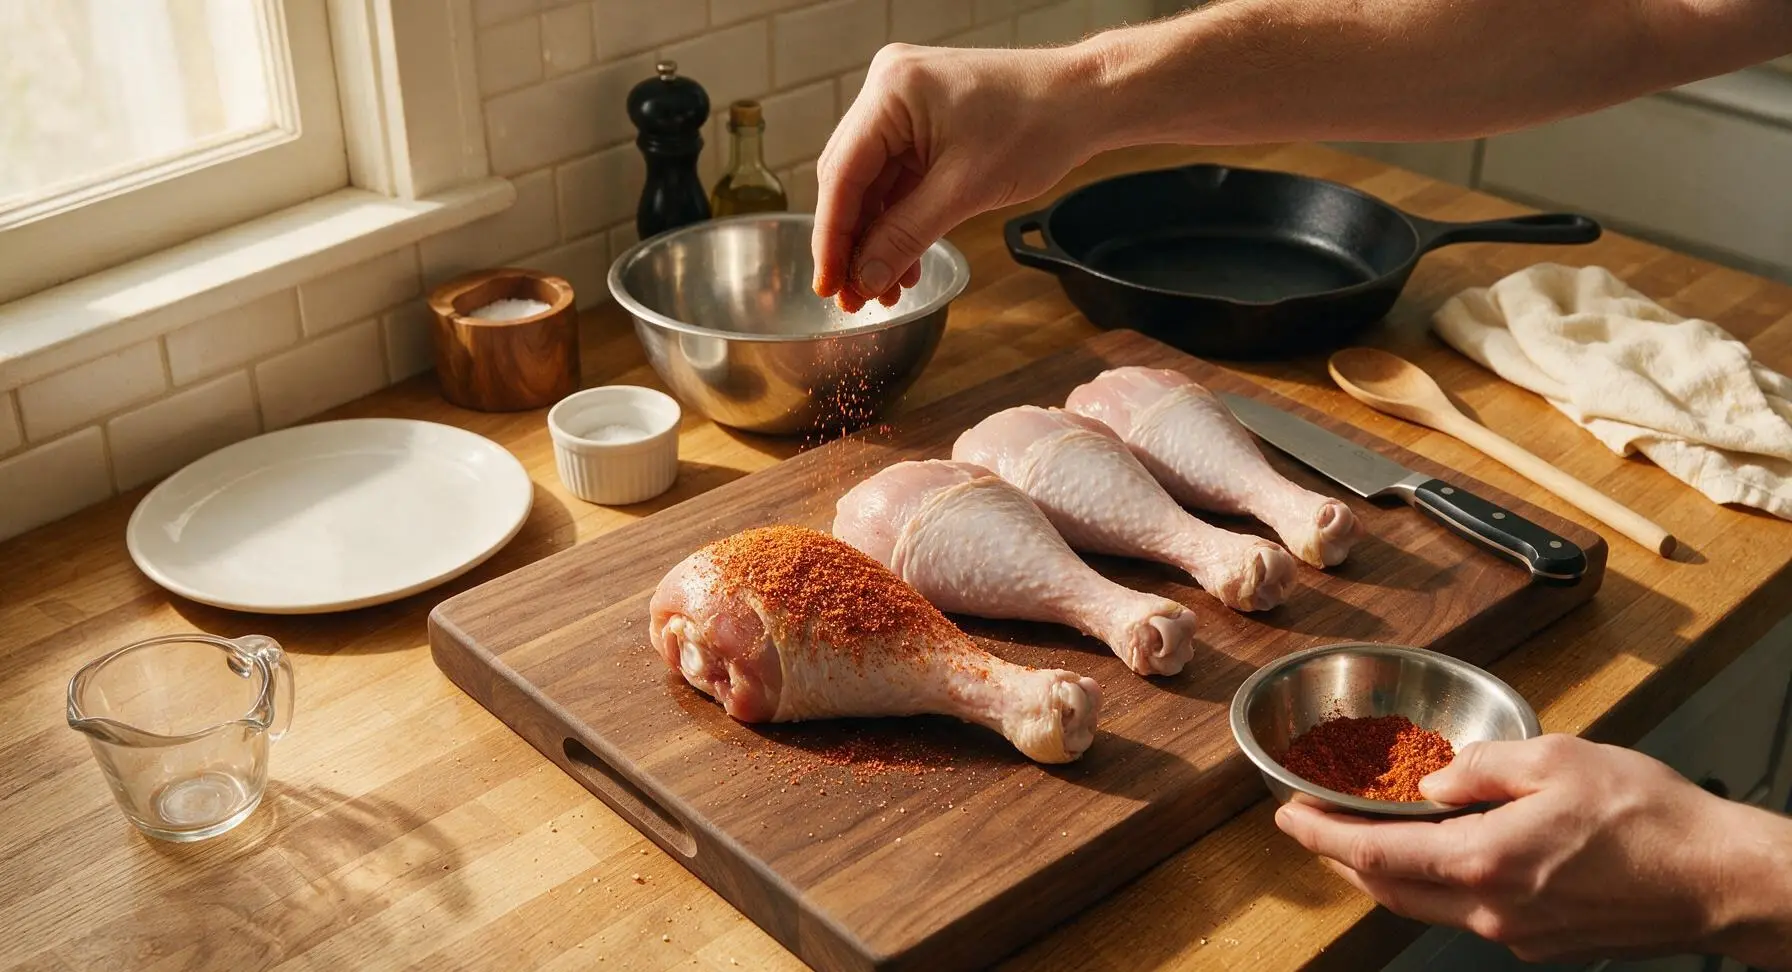
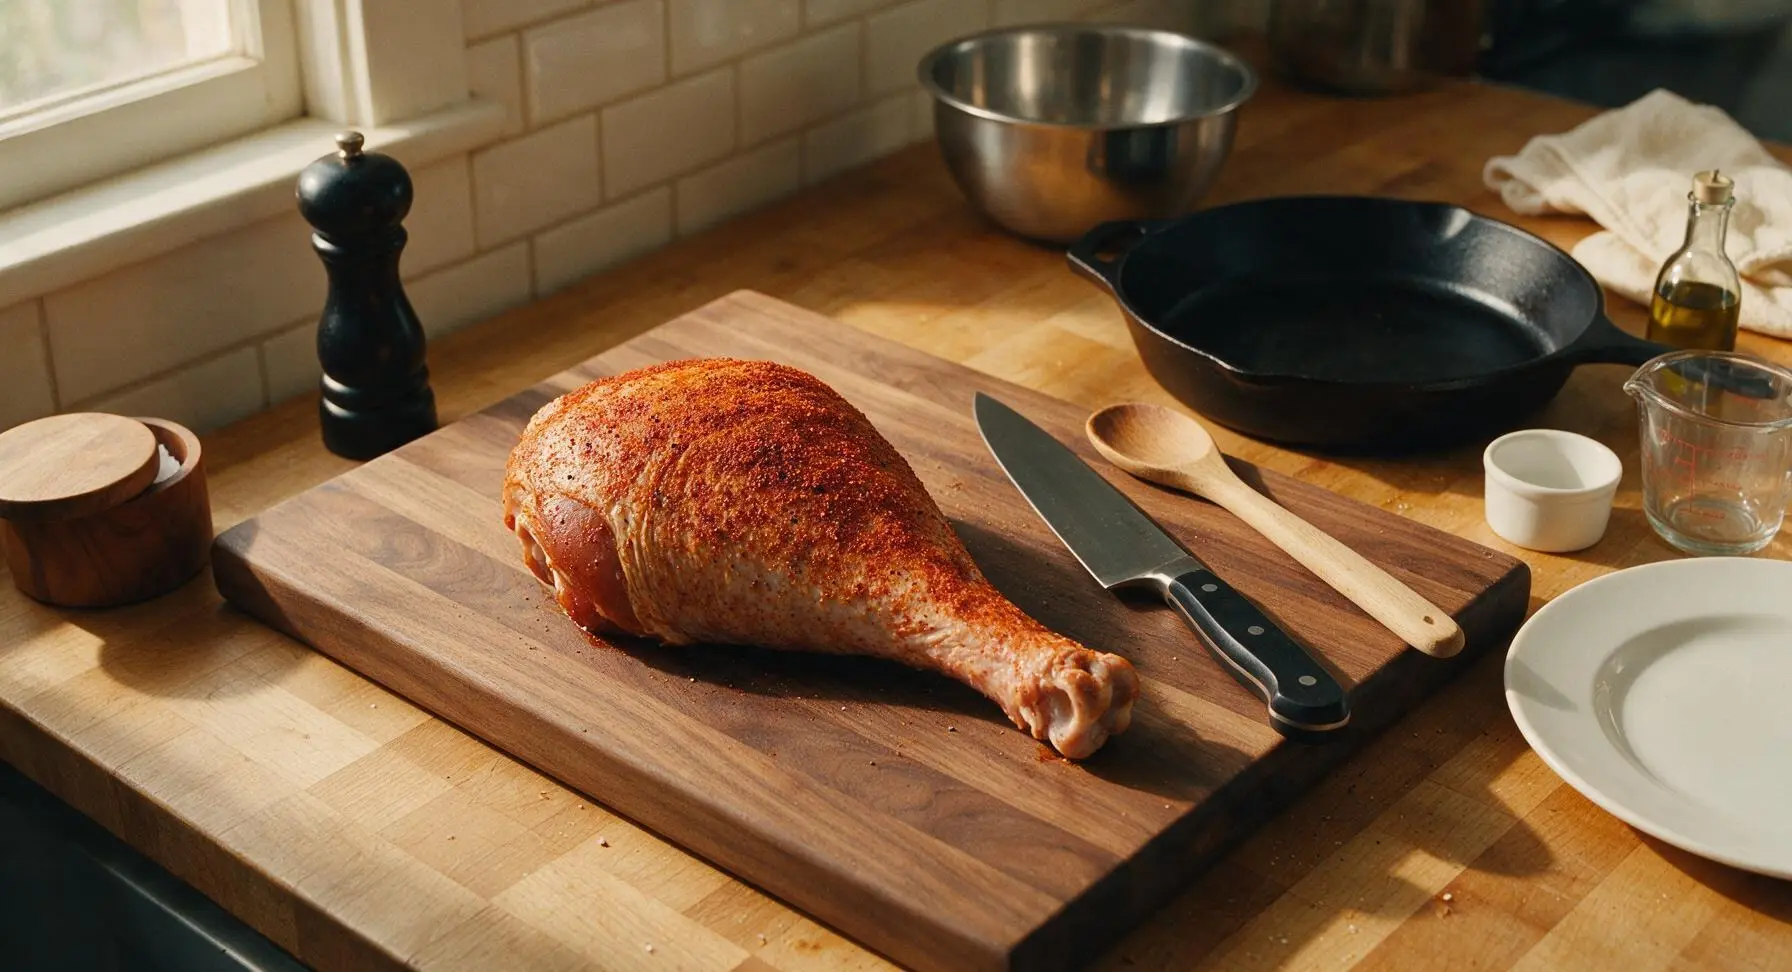
Sprinkle the dry rub evenly over every surface of the dried turkey legs, pressing gently so the rub adheres to the skin. Do not rub the seasoning in too hard, as this can tear the delicate turkey skin. Let seasoned legs rest at room temperature for 30 minutes before grilling to allow seasoning to set and meat to warm slightly for even cooking.
Step 4
step4:Season the Turkey Legs
Step 4
step4:Season the Turkey Legs
5

Prep Grill for Smoking

Preheat a charcoal kettle grill to 275°F (135°C) set up for indirect cooking. Soak 2 cups of hickory wood chips in water for 15 minutes, then drain and add directly to the hot coals. Place an aluminum drip pan under the indirect heat side of the grill to catch rendered fat. Wait until thin, wispy blue smoke rises from the coals before adding turkey—thick white smoke indicates incomplete combustion and will make meat taste bitter.
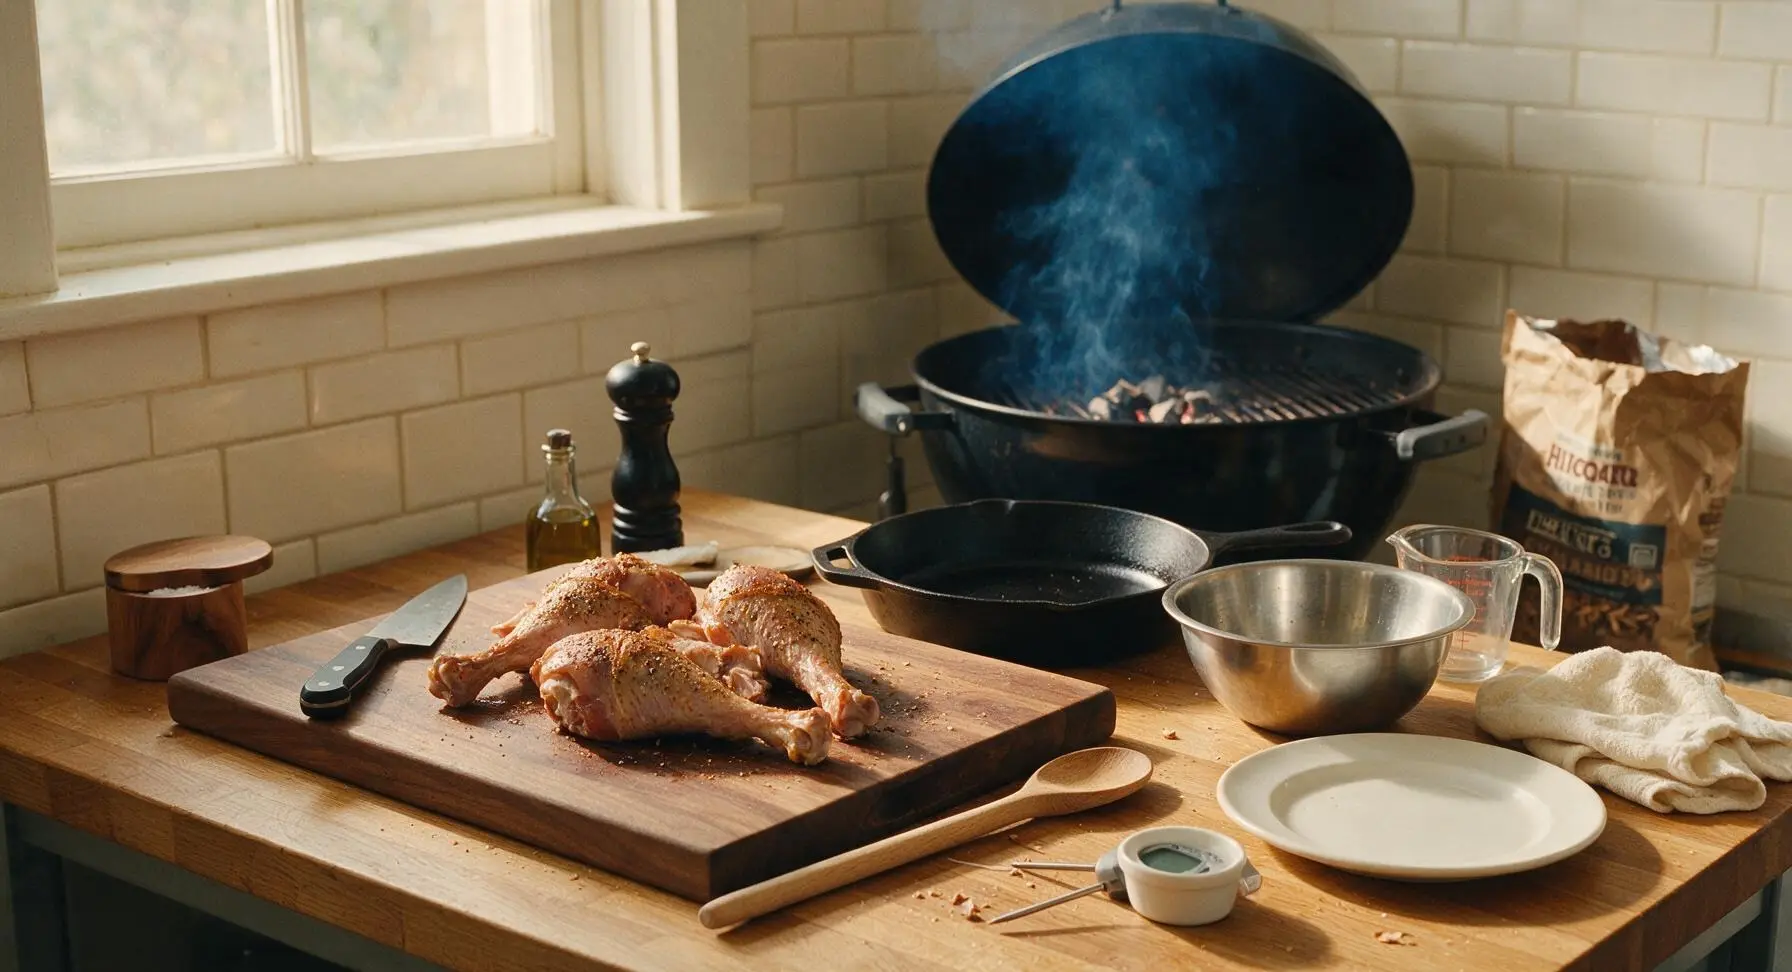
Step 5
step5:Prep Grill for Smoking
6

Slow Smoke the Legs

Arrange seasoned turkey legs on the indirect heat side of the grill grate, skin-side up. Close the grill lid, and maintain a steady internal grill temperature of 275°F (135°C) for 2 hours, adding a handful of drained hickory chips every 45 minutes to maintain consistent light smoke. Avoid opening the lid unnecessarily, as this drops grill temperature and lets trapped smoke escape.
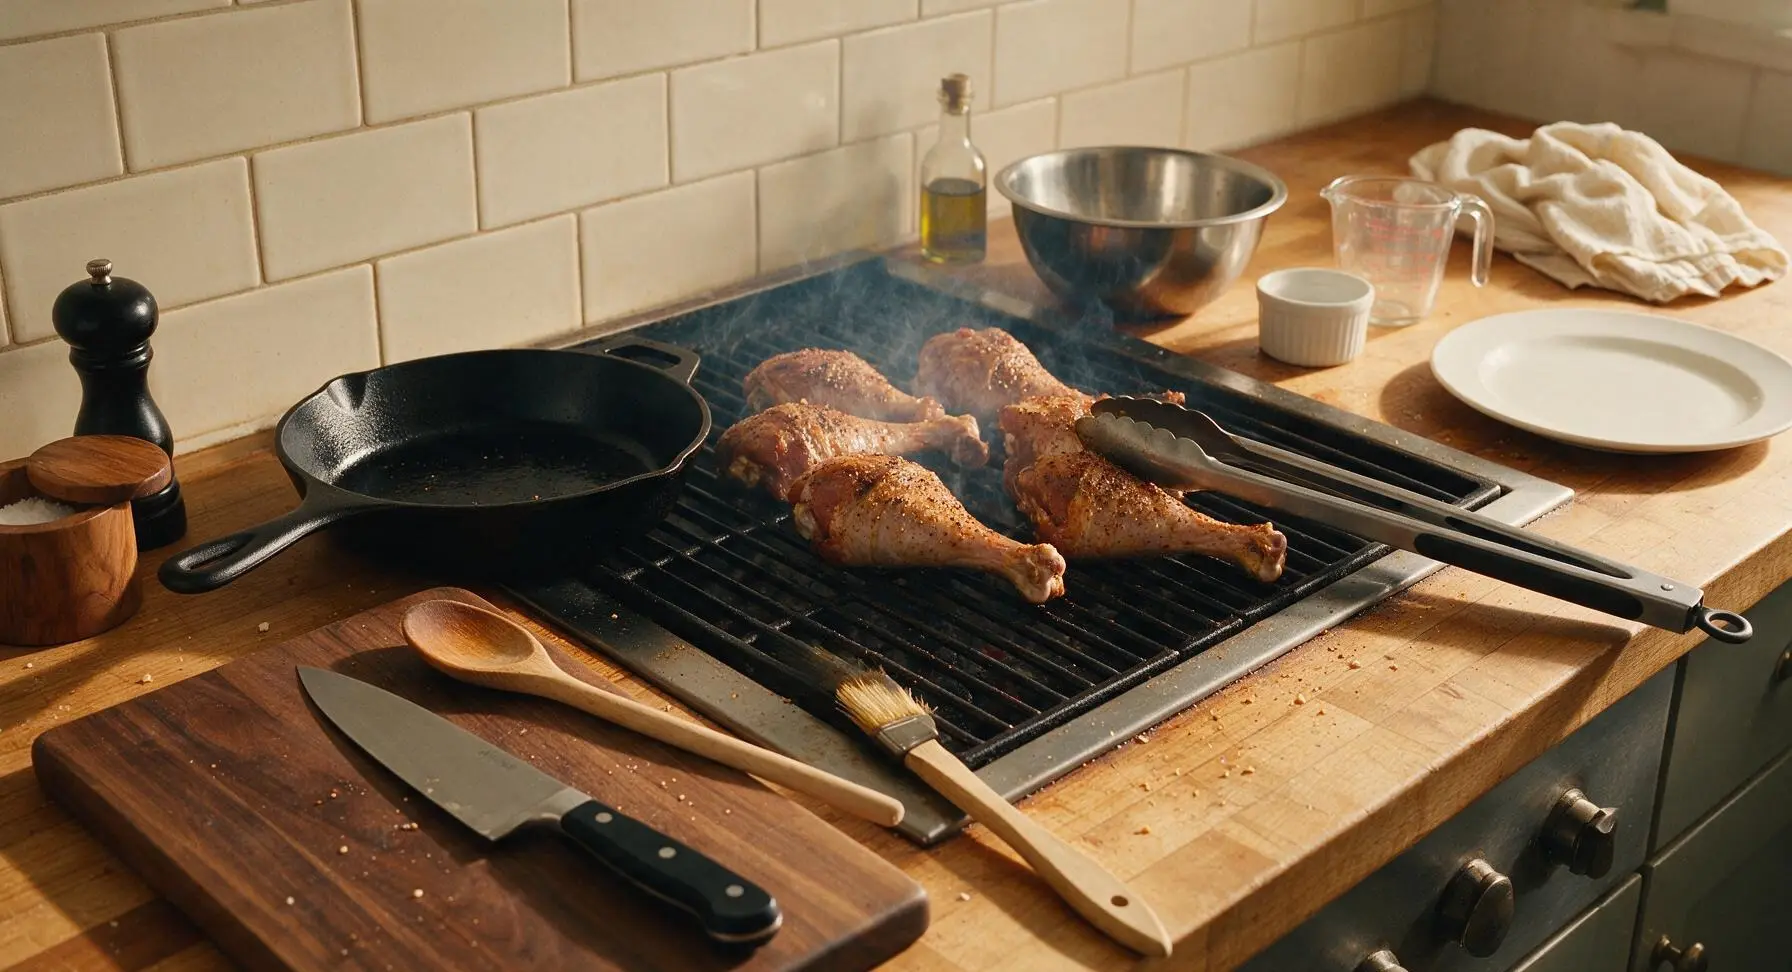
Step 6
step6:Slow Smoke the Legs
7

Check Doneness and Crisp

After 2 hours of smoking, use the digital instant-read thermometer to check the internal temperature of the thickest part of each leg, taking care not to touch the bone (this gives a false high reading). The turkey is safely done when it reaches 165°F (74°C). For extra crispy skin, move legs directly over the hot coals for the last 3–5 minutes of cooking, watching carefully to prevent burning. The skin will turn deep golden amber and feel crisp to the touch when ready.
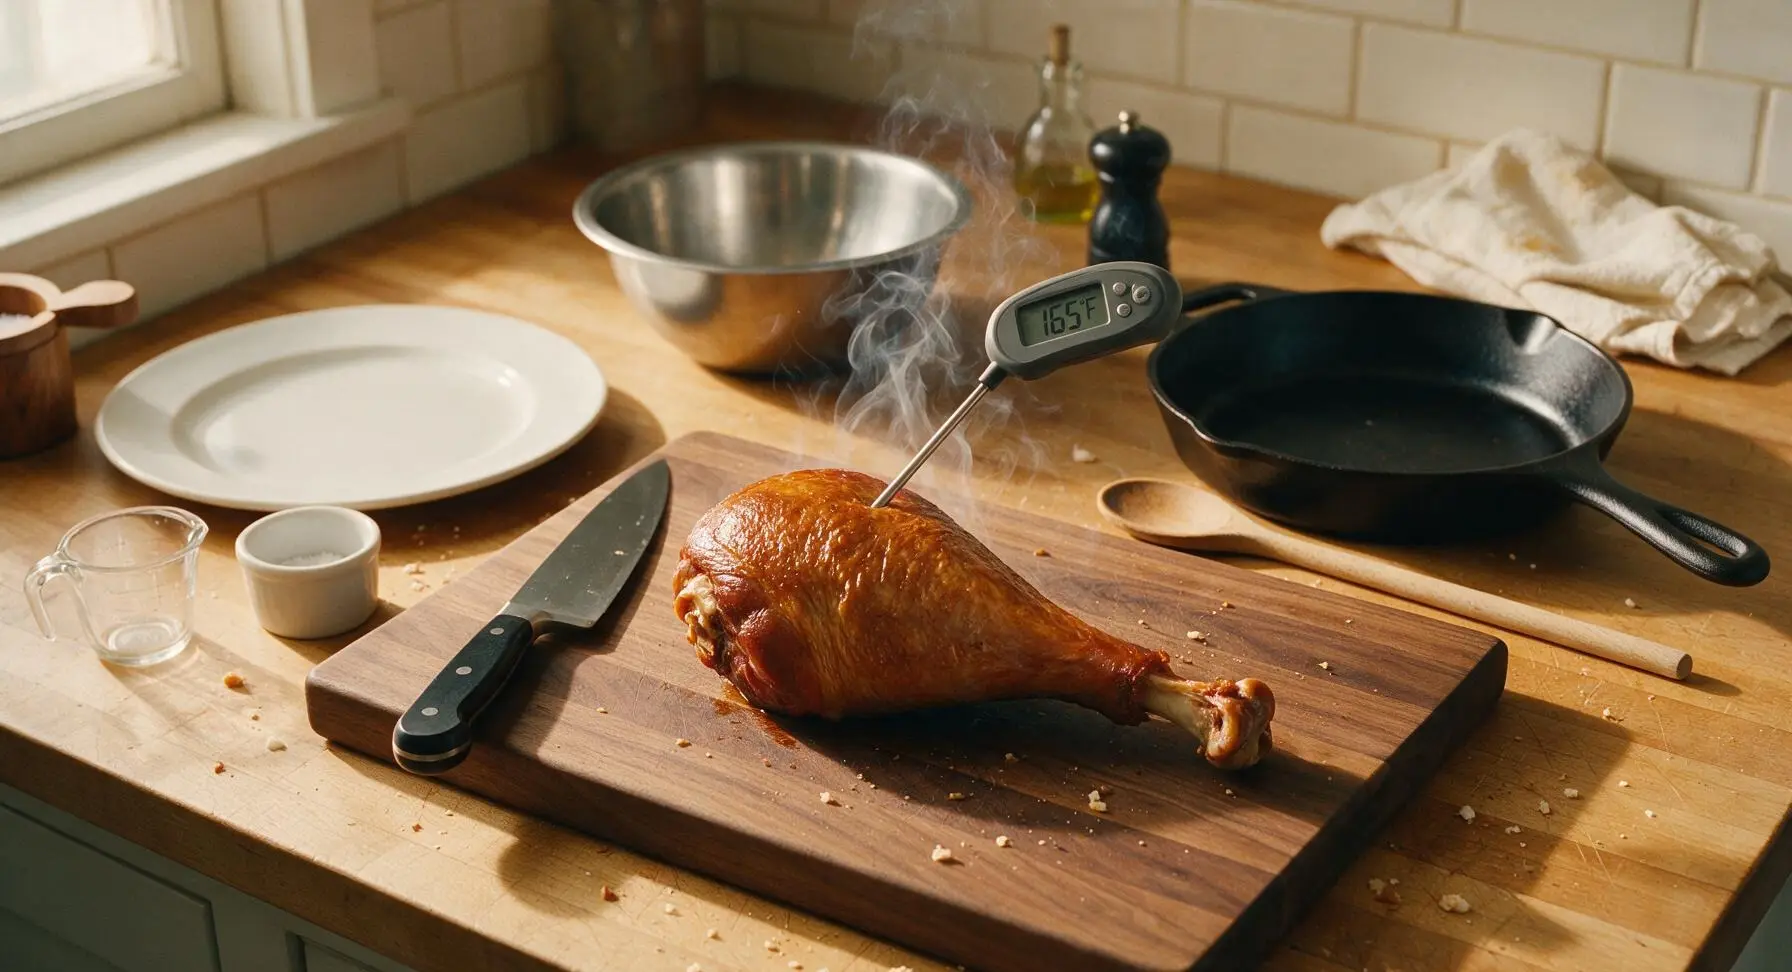
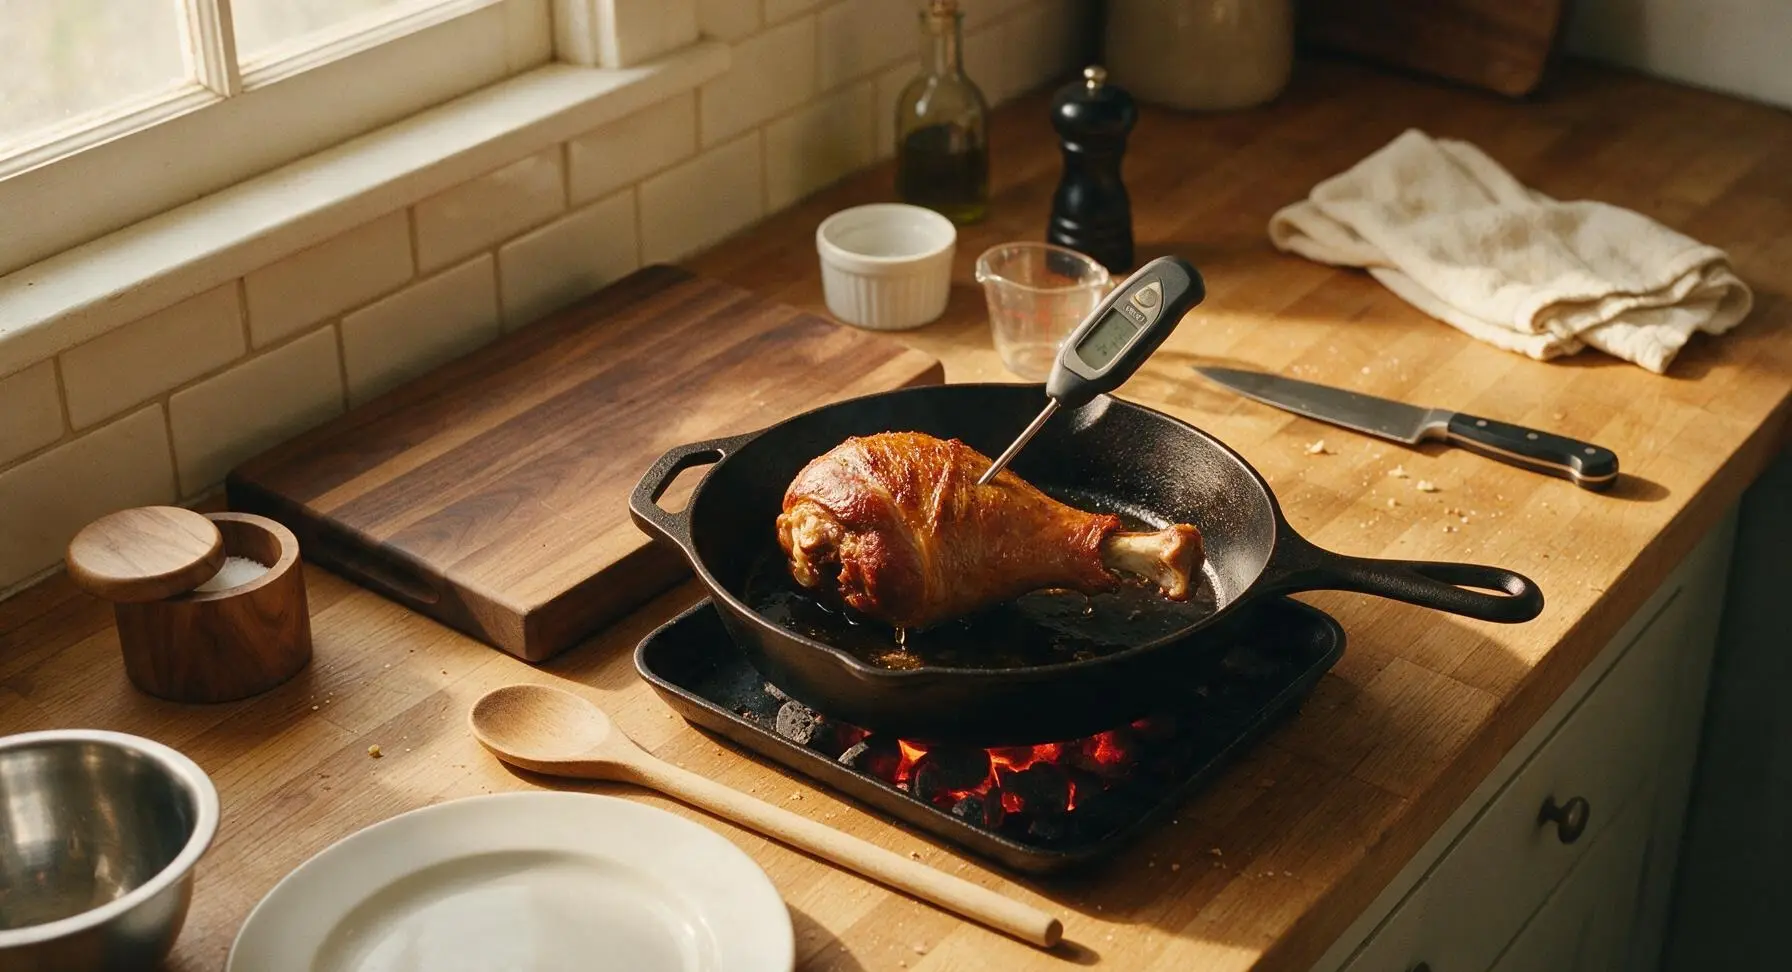
Step 7
step7:Check Doneness and Crisp
Step 7
step7:Check Doneness and Crisp
8

Rest and Serve

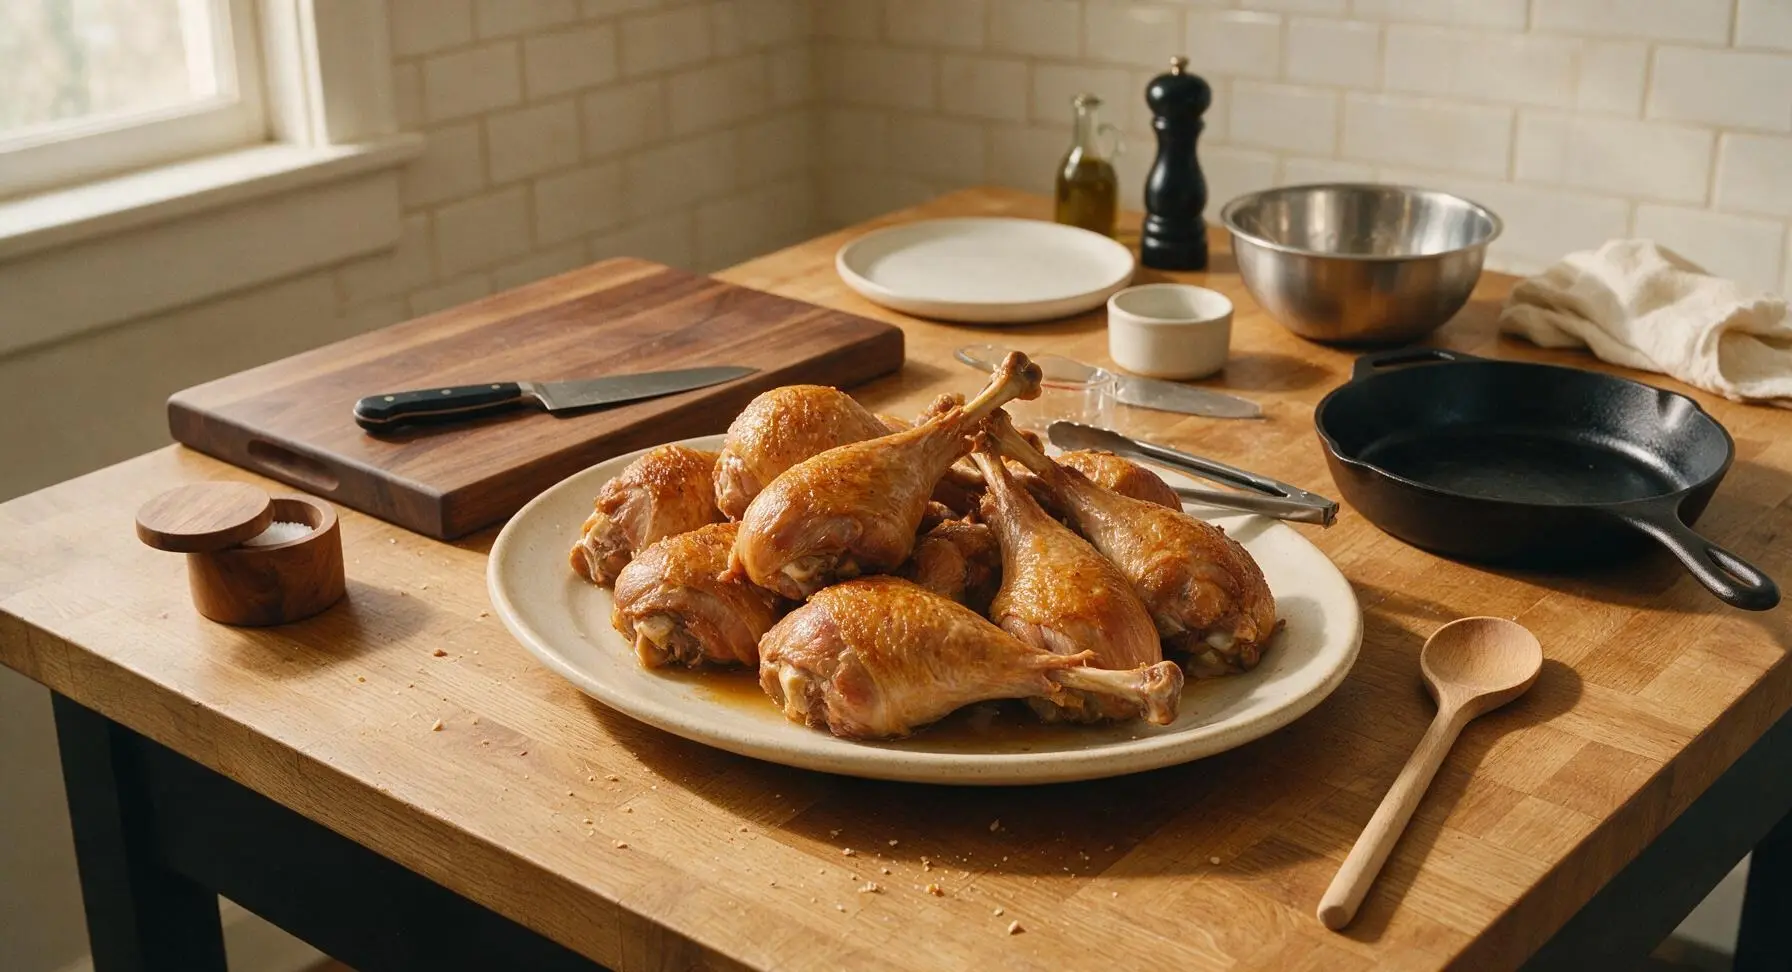
Use the tongs to transfer fully cooked turkey legs to the large matte cream stoneware serving platter. Let rest for 10 minutes to allow meat juices to redistribute—do not cut into legs immediately, as this will cause flavorful juices to run out and leave meat dry. Serve immediately for that classic, handheld Disney park experience.
Step 8
step8:Rest and Serve

Tips

1.Always pat turkey legs completely dry after brining—any remaining surface moisture will steam the skin instead of letting it render and crisp, leading to rubbery, chewy skin instead of the iconic crispy crackle found on Disney park turkey legs.
2.Stick strictly to the 275°F low-and-slow cooking temperature. Higher heat will dry out the outer meat before the center cooks through, and will burn the dry rub before hickory smoke can penetrate the meat to build that signature deep, smoky flavor.
3.Resist the urge to over-brine. The 12–16 hour brine window is calibrated to produce juicy, evenly seasoned meat; brining longer than 18 hours breaks down meat proteins excessively, resulting in mushy texture and unpleasantly salty meat.


✨ You May Also Like

BBQ & Grilling
🍜 United States

Tender, melt-in-your-mouth beef brisket with a crisp, spiced bark, slow-smoked to deep smoky perfection, the iconic centerpiece of Texas backyard barbecue.

⏱️ 12 hours BBQ & Grilling ★ 4.4
BBQ & Grilling
🍜 Korea

Tender, sweet-savory marinated beef short ribs, a beloved Korean BBQ staple with caramelized, slightly charred edges and deep umami flavor, perfect for outdoor summer gatherings.

⏱️ 4 hours 2BBQ & Grilling ★ 4.8
BBQ & Grilling
🍜 United States

Juicy grilled beef patties topped with smoky homemade chili, melted cheddar, and tangy pickles on toasted brioche buns for a hearty, flavor-packed handheld meal.

⏱️ 40 minuteBBQ & Grilling ★ 4.7
BBQ & Grilling
🍜 United States

A sweet, smoky, tangy BBQ sauce brightened with peak-season dark cherries, ideal for glazing grilled ribs, chicken, pork, or summer roasted veggies.

⏱️ 35 minuteBBQ & Grilling ★ 4.7
BBQ & Grilling
🍜 United States

Rich, smoky, slightly sweet homemade bourbon BBQ sauce with deep caramel notes, ideal for glazing grilled ribs, chicken, and burgers at cookouts.

⏱️ 25 minuteBBQ & Grilling ★ 4.7
BBQ & Grilling
🍜 United States

Iconic Alabama-style BBQ featuring tender hickory-smoked chicken slathered in tangy creamy white sauce, a beloved regional Southern cookout staple.

⏱️ 3 hoursBBQ & Grilling ★ 5

Disney Turkey Leg:Frequently Asked Questions

1.How large do my turkey legs need to be to match the iconic Disney park version? ▾
Look for jumbo bone-in, skin-on turkey legs that weigh 1.5 to 2 pounds each—this is the same oversized cut Disney uses. Skip smaller 1-pound or less grocery store legs, as they cook much faster and won’t deliver that hearty, generously portioned bite fans line up for. Opt for unbrined legs if you can, to fully control your brine flavor.
2.Do I really need to brine the turkey legs, and how long should I brine them? ▾
Yes, brining is non-negotiable for that juicy, seasoned-through Disney texture. Mix your kosher salt, dark brown sugar, crushed whole black peppercorns, bay leaves, and cold water, then fully submerge legs for 12 to 24 hours in the fridge. Shorter brine times won’t penetrate the thick jumbo leg meat, leading to bland, dry bites even with perfect cooking.
3.How do I get that signature smoky Disney flavor without a fancy commercial smoker? ▾
You don’t need expensive equipment to nail that classic smoky taste! Add 1 to 2 tablespoons of hickory liquid smoke to your brine, or tuck a foil packet of soaked hickory wood chips on your gas or charcoal grill. Roast legs low and slow at 325°F after brining to let that smoke flavor infuse evenly into the tender meat.
4.Why does my turkey skin turn out soggy instead of crispy like the park version? ▾
Soggy skin almost always traces back to excess surface moisture right before cooking. After pulling legs from the brine, pat them completely dry with paper towels, then let them air dry on a wire rack in the fridge for 1 to 2 hours before seasoning. Skip wet basting mid-cook, as that softens skin and prevents that crisp, crackly bite.
5.Can I make these turkey legs in a slow cooker instead of the oven or grill? ▾
You can absolutely use a slow cooker for ultra-tender meat, but you’ll need a quick final step for crispy skin. Cook brined legs on low for 4 to 5 hours until fall-off-the-bone tender, then transfer to a baking sheet and broil 2 to 3 minutes (watching closely!) to crisp skin. Skip high-heat slow cooking, as it makes meat tough and stringy.
6.What seasoning mix gives the exact classic Disney turkey leg flavor? ▾
The iconic flavor balances savory, warm, and subtly sweet notes—no fancy, overcomplicated spice blends required. After brining, rub dried legs with a light coating of dark brown sugar, kosher salt, and freshly cracked black pepper. Skip heavy spices like paprika or garlic powder that overpower the simple taste; the brine’s bay leaves add that subtle earthy park-style depth.
7.How do I tell when the turkey legs are done without drying the meat out? ▾
Use an instant-read meat thermometer inserted into the thickest part of the leg, away from the bone, to hit an internal temperature of 165°F. For that perfect fall-off-the-bone texture, let legs rest 10 minutes, where carryover cooking will bring them to 175°F. Don’t rely on cook time alone—jumbo legs vary in thickness, so temp checks prevent dry, overcooked meat.
8.Can I make these turkey legs ahead of time and reheat them for a party? ▾
Absolutely! Let cooked legs cool completely, then wrap tightly in plastic wrap and aluminum foil to freeze for up to 3 months, or store in the fridge for 3 days. To reheat, wrap in foil and bake at 325°F for 20 to 25 minutes until warmed through, then broil for 1 minute to re-crisp the skin for that fresh-from-the-park texture.

Comments (4)

3 days ago

OMG, I made these for my kid’s 10th birthday party this weekend and every single guest was asking for the recipe! They taste EXACTLY like the giant turkey legs we get at Disney World, no joke. I was nervous the brine would be too fussy since I’m not a super experienced cook, but the steps were totally straightforward even for medium difficulty. 2.5 hours cook time was totally worth it, the meat was fall-off-the-bone juicy. SO good, will be making these for our summer cookouts too!

2 days ago

Wait did you do the full overnight brine like the recipe says? I’m making these for a work potluck next week and wondering if I can cut the brine time down a little without losing that classic Disney flavor!

yesterday

So glad these were such a hit at your kid’s birthday party, that makes our day! Quick note for Jake too—we really recommend doing the full overnight brine to get that iconic juicy, savory Disney flavor, but if you’re crunched for time, a 4 hour brine will work in a pinch, just make sure to give the legs a good rub with the full seasoning blend before cooking to amp up the flavor!

1 week ago

Game changer for my weekly meal prep! I was worried giant turkey legs would be too heavy for weekday lunches, but these reheat so well in the air fryer—skin gets crispy again, meat doesn’t dry out at all. Took the full 2 and a half hours to cook on Sunday, and I had enough protein for 4 days of lunches plus a dinner portion for my partner. Way cheaper than booking a Disney trip just to get my turkey leg fix, ha!

yesterday

Took my family to Disneyland last month and my youngest has been begging for those giant smoked turkey legs nonstop ever since. Found this recipe and gave it a shot last night, and he screamed ‘IT TASTES LIKE DISNEY!’ mid-bite. Only tiny issue was my first batch came out a little saltier than I remembered from the park, I probably overdid it with the seasoned salt when I did my rub. Still a massive hit at our family dinner though, even the picky eater ate a whole serving!

30 minutes ago

That reaction from your son is exactly what we love to hear! If the salt level was too high for your taste next time, cut the seasoned salt by 1/2 teaspoon and make sure you’re rinsing all the brine off completely before patting the legs dry and putting them in the oven—that’ll help cut down on excess salt so it matches that perfect park flavor.

2 days ago

Brought these to our neighborhood block party this past weekend and people were literally lined up to get a piece! I smoked them on my pellet grill instead of using the oven for the last hour of cook time and it added such a nice deep, smoky flavor that tasted even closer to the actual Disney park version. My only heads up is make sure you grab a big enough baking sheet—these things are massive just like the real ones, I had to rearrange my whole oven rack to fit two legs at once!

yesterday

Oh that pellet grill swap is genius! I was planning on making these for our 4th of July cookout and I’ve been trying to figure out how to work them into my smoker rotation, definitely stealing that tip. Can’t wait to give the recipe a go!



