
dreamlight valley waffles
intro
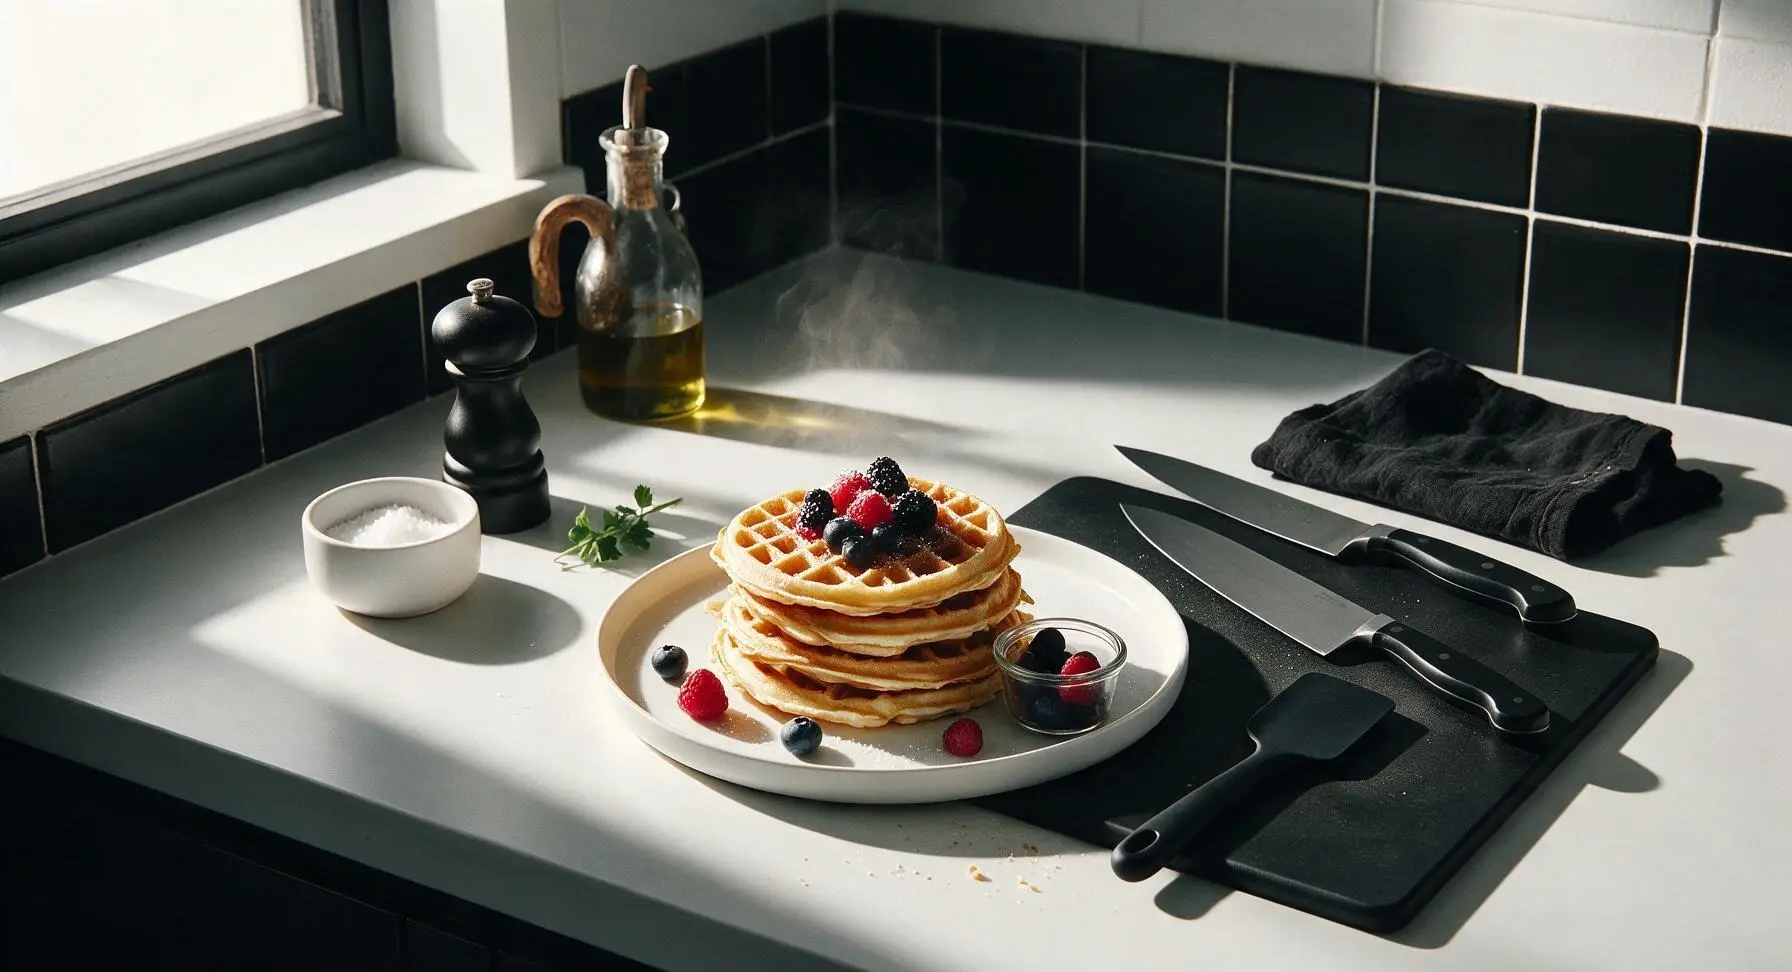
Fluffy, crisp-edged golden waffles inspired by Disney Dreamlight Valley, light and tender inside, topped with fresh berries and sparkling sugar for a whimsical, cozy breakfast treat.
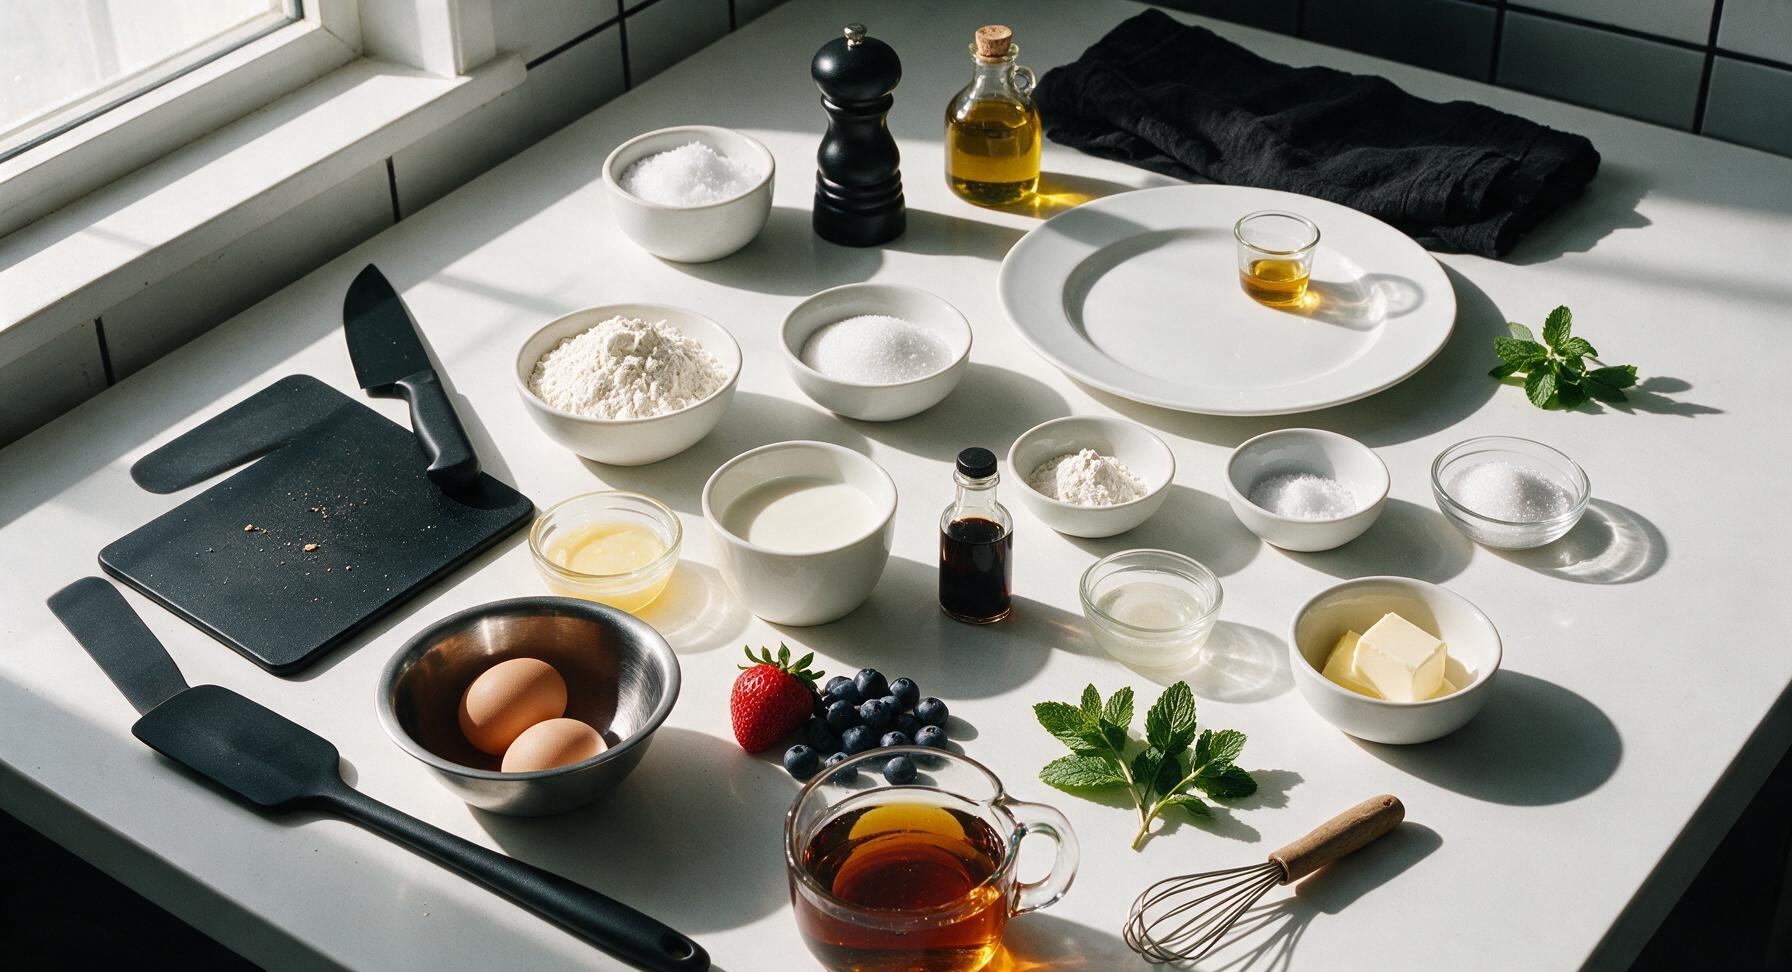
Ingredients
Steps
Preheat Waffle Maker
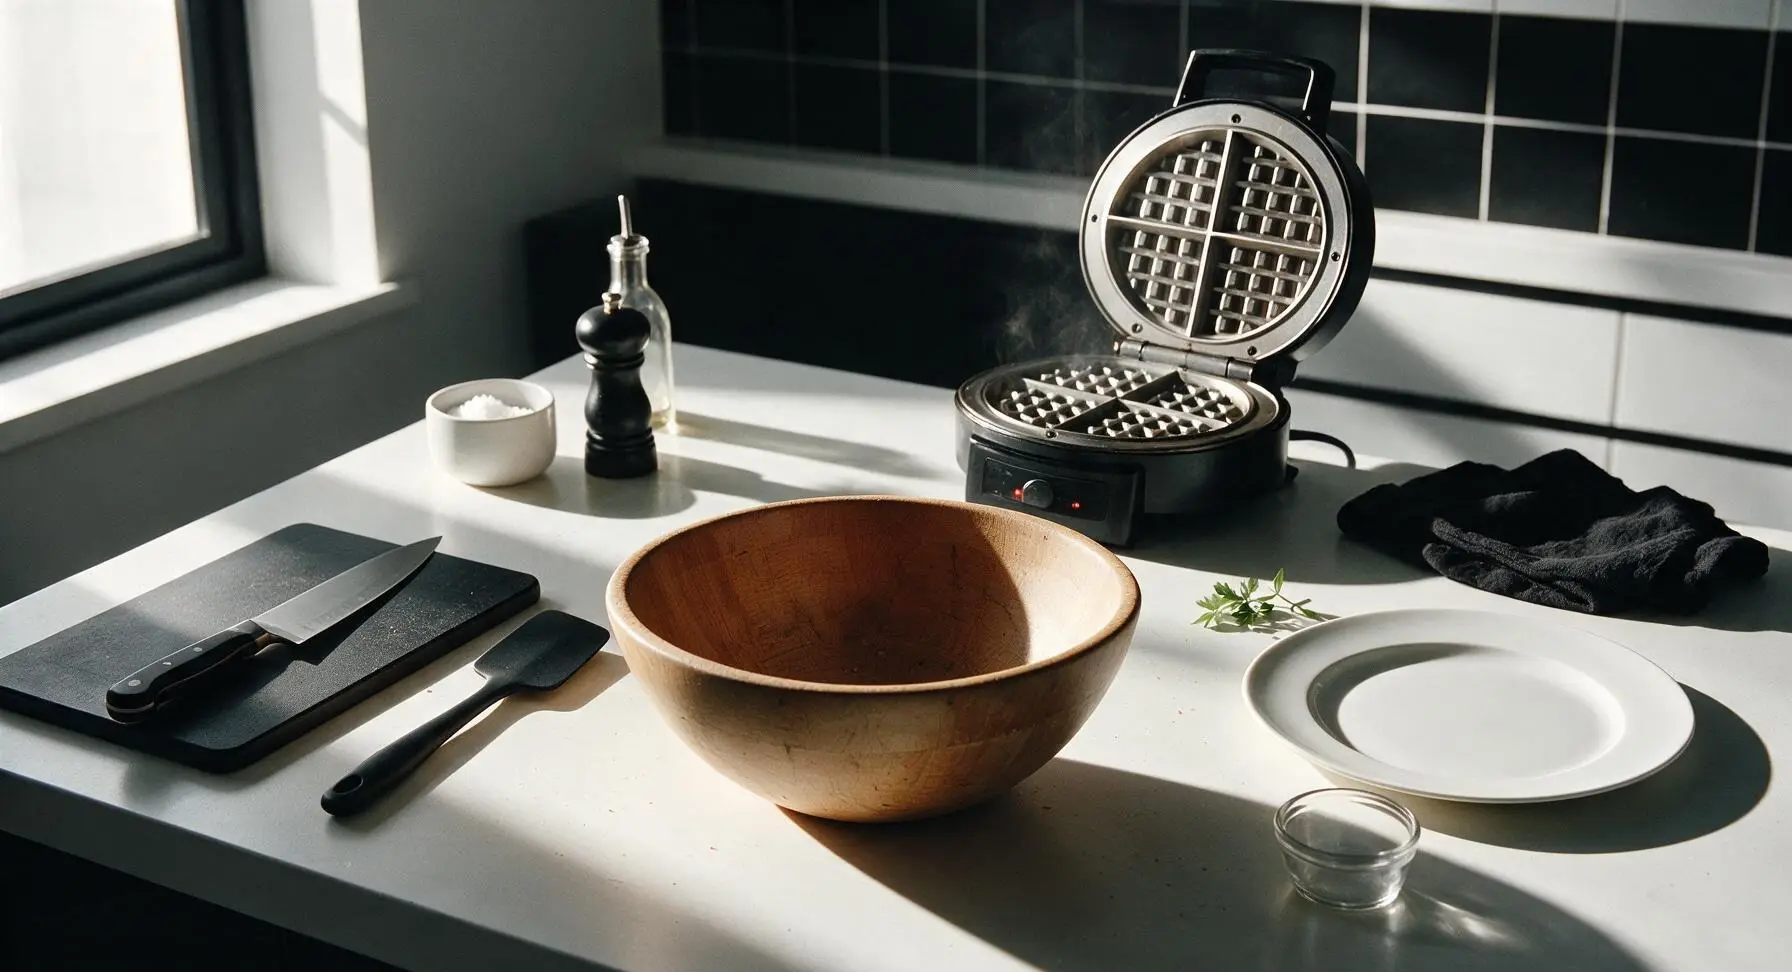
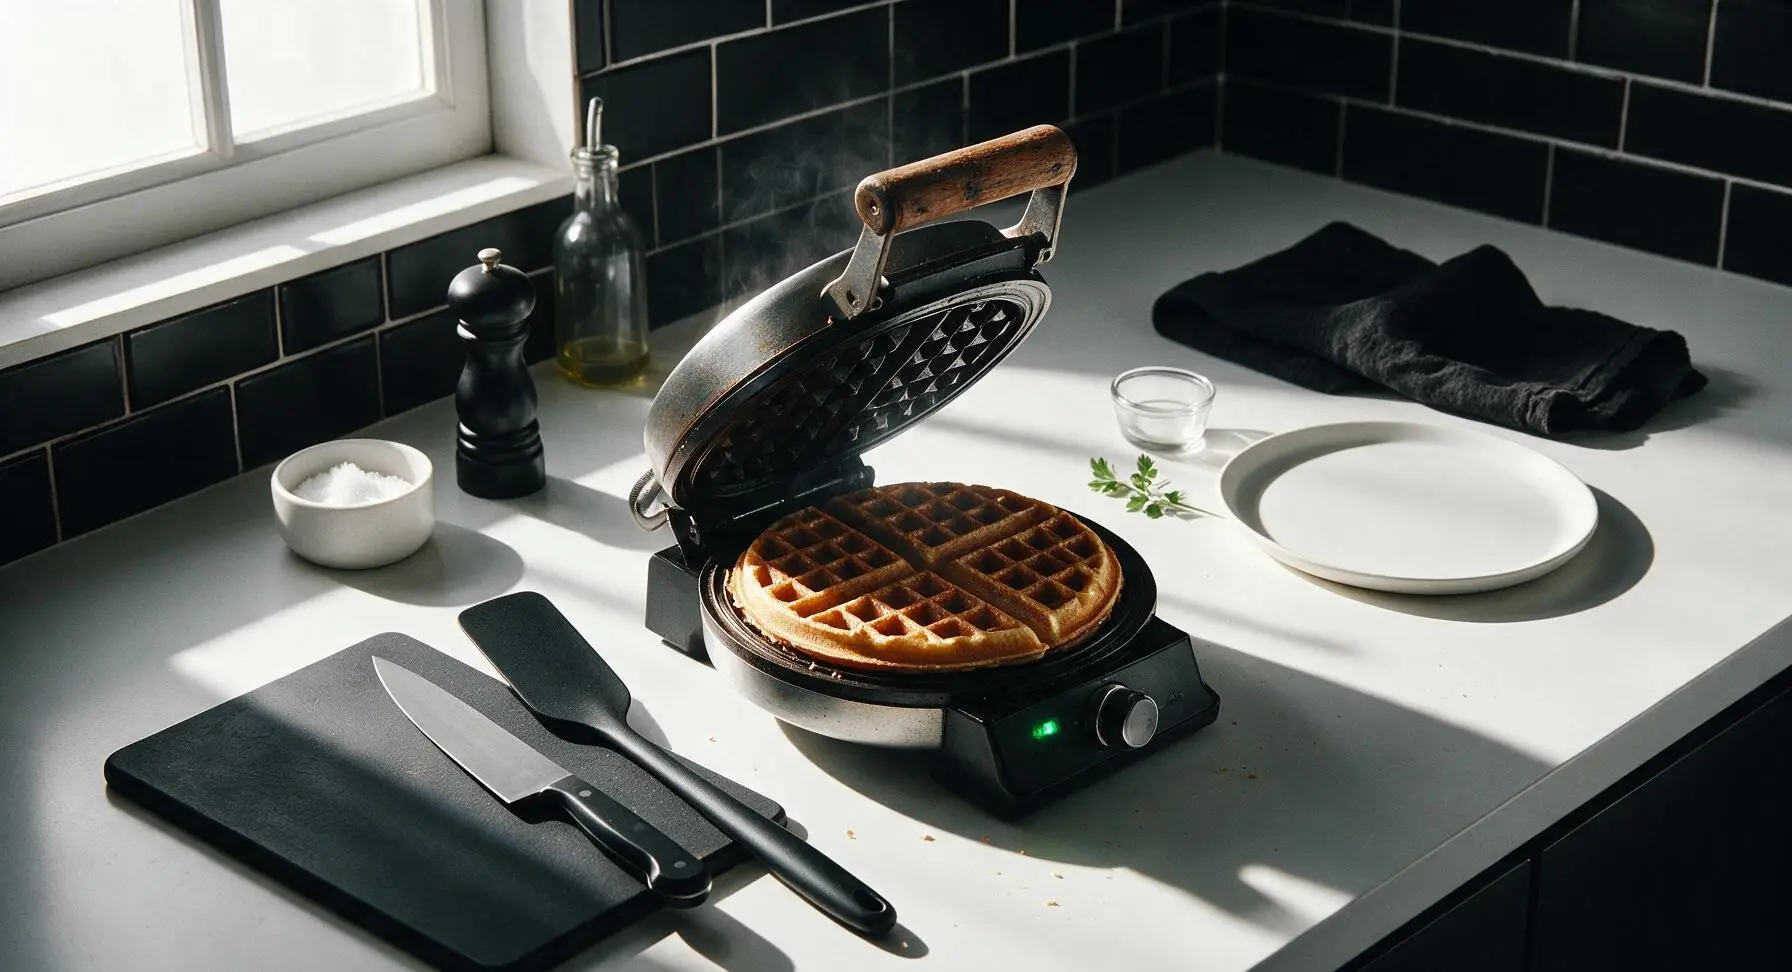
Plug in the matte black non-stick rotating waffle maker at its fixed back-right counter position, and preheat to medium-high heat (375°F / 190°C). Wait 3-4 minutes until the built-in ready indicator light signals it is fully heated. Lightly coat the top and bottom waffle grids with non-stick cooking spray to prevent sticking.
Mix Dry Ingredients
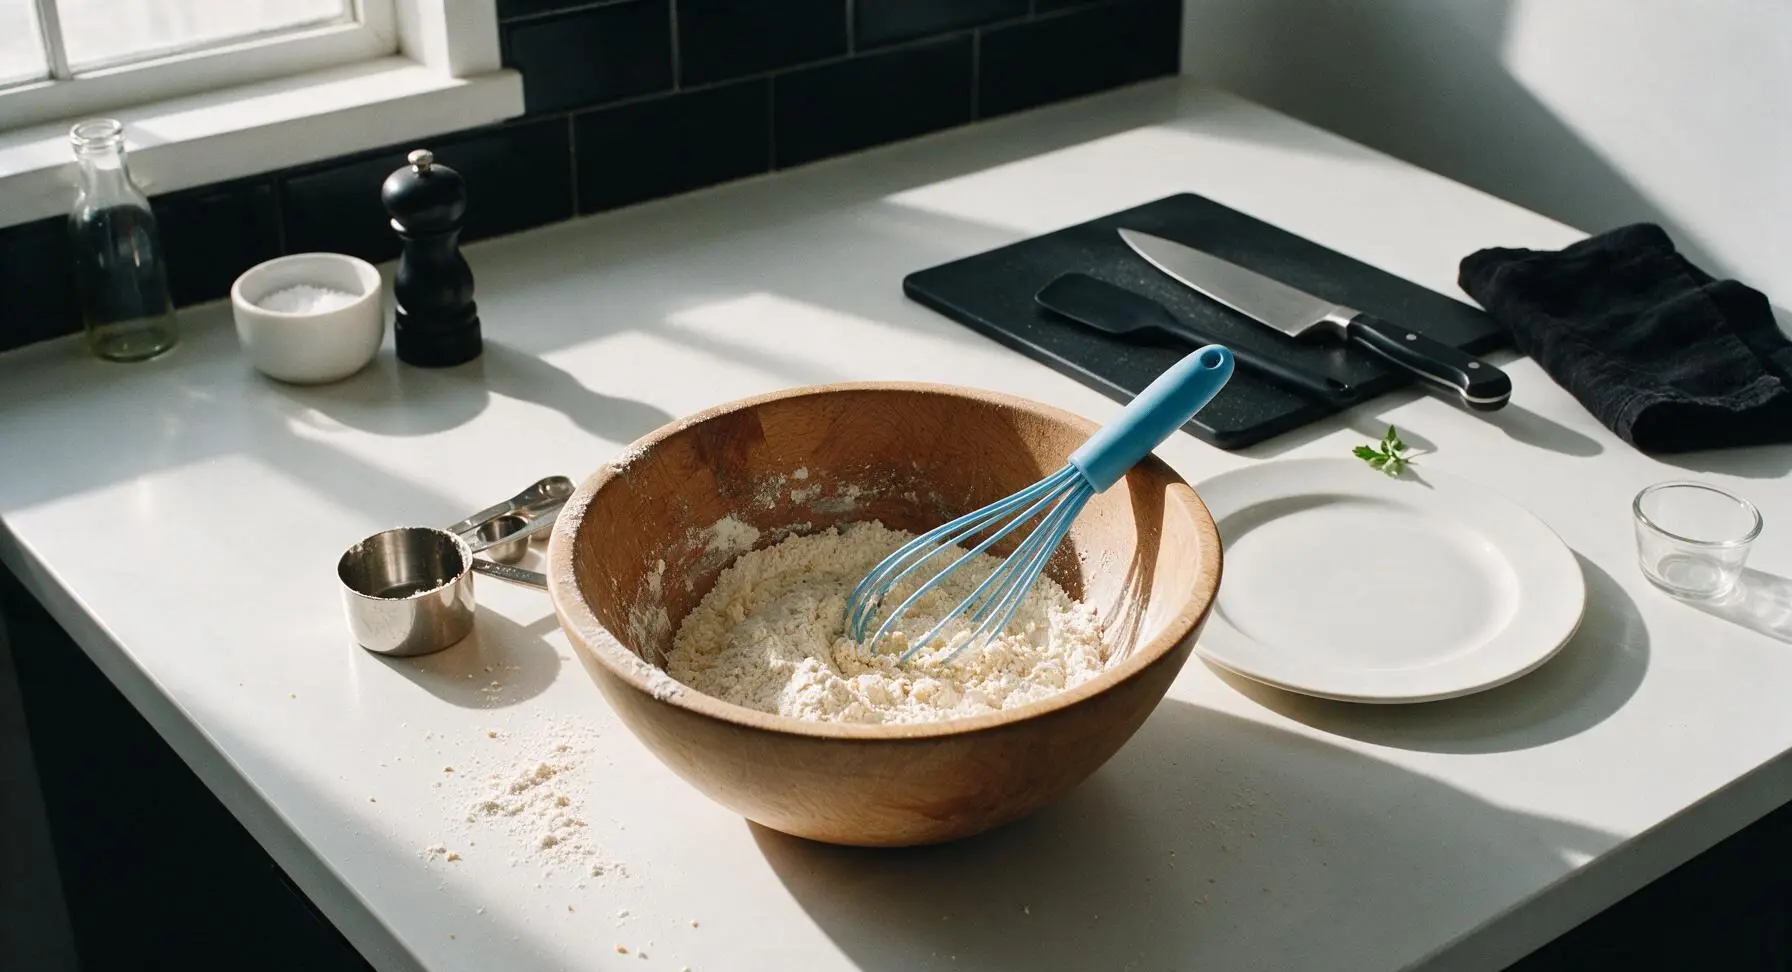
Add 2 cups all-purpose flour, 3 tablespoons granulated sugar, 1 tablespoon baking powder, and 1/2 teaspoon fine sea salt to the large beech wood mixing bowl. Use the sky-blue handled silicone whisk to stir the dry ingredients together for 30 seconds until fully combined, with no visible clumps of baking powder remaining.
Add Wet Ingredients
Create a 4-inch wide well in the center of the combined dry ingredients in the beech mixing bowl. Crack 2 large eggs directly into the well, then pour in 1 3/4 cups whole milk, 1/3 cup cooled melted unsalted butter, and 1 teaspoon pure vanilla extract. Take care not to splash liquid over the bowl edges.
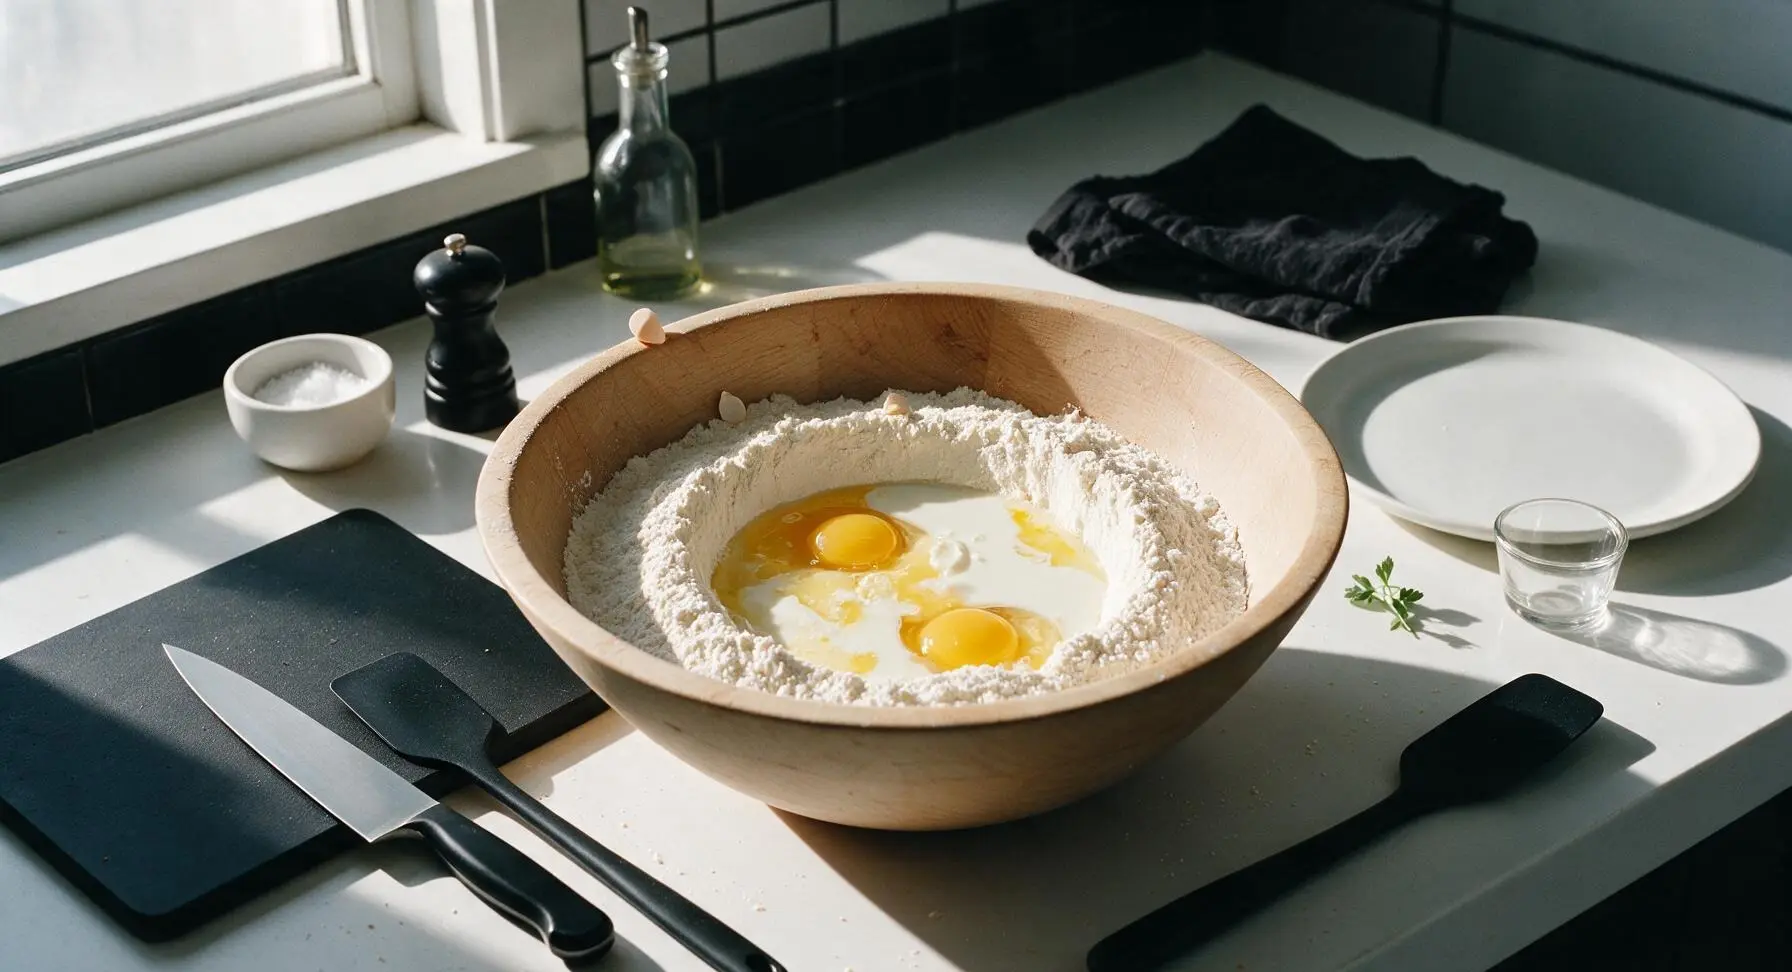
Mix Smooth Batter
Use the sky-blue silicone whisk to gently stir the wet ingredients into the surrounding dry ingredients, mixing just until no large dry flour clumps remain, approximately 45 seconds. The batter will be slightly lumpy—do not overmix, as overmixing develops gluten and leads to tough, dense waffles. Stop stirring as soon as you no longer see pockets of dry flour.
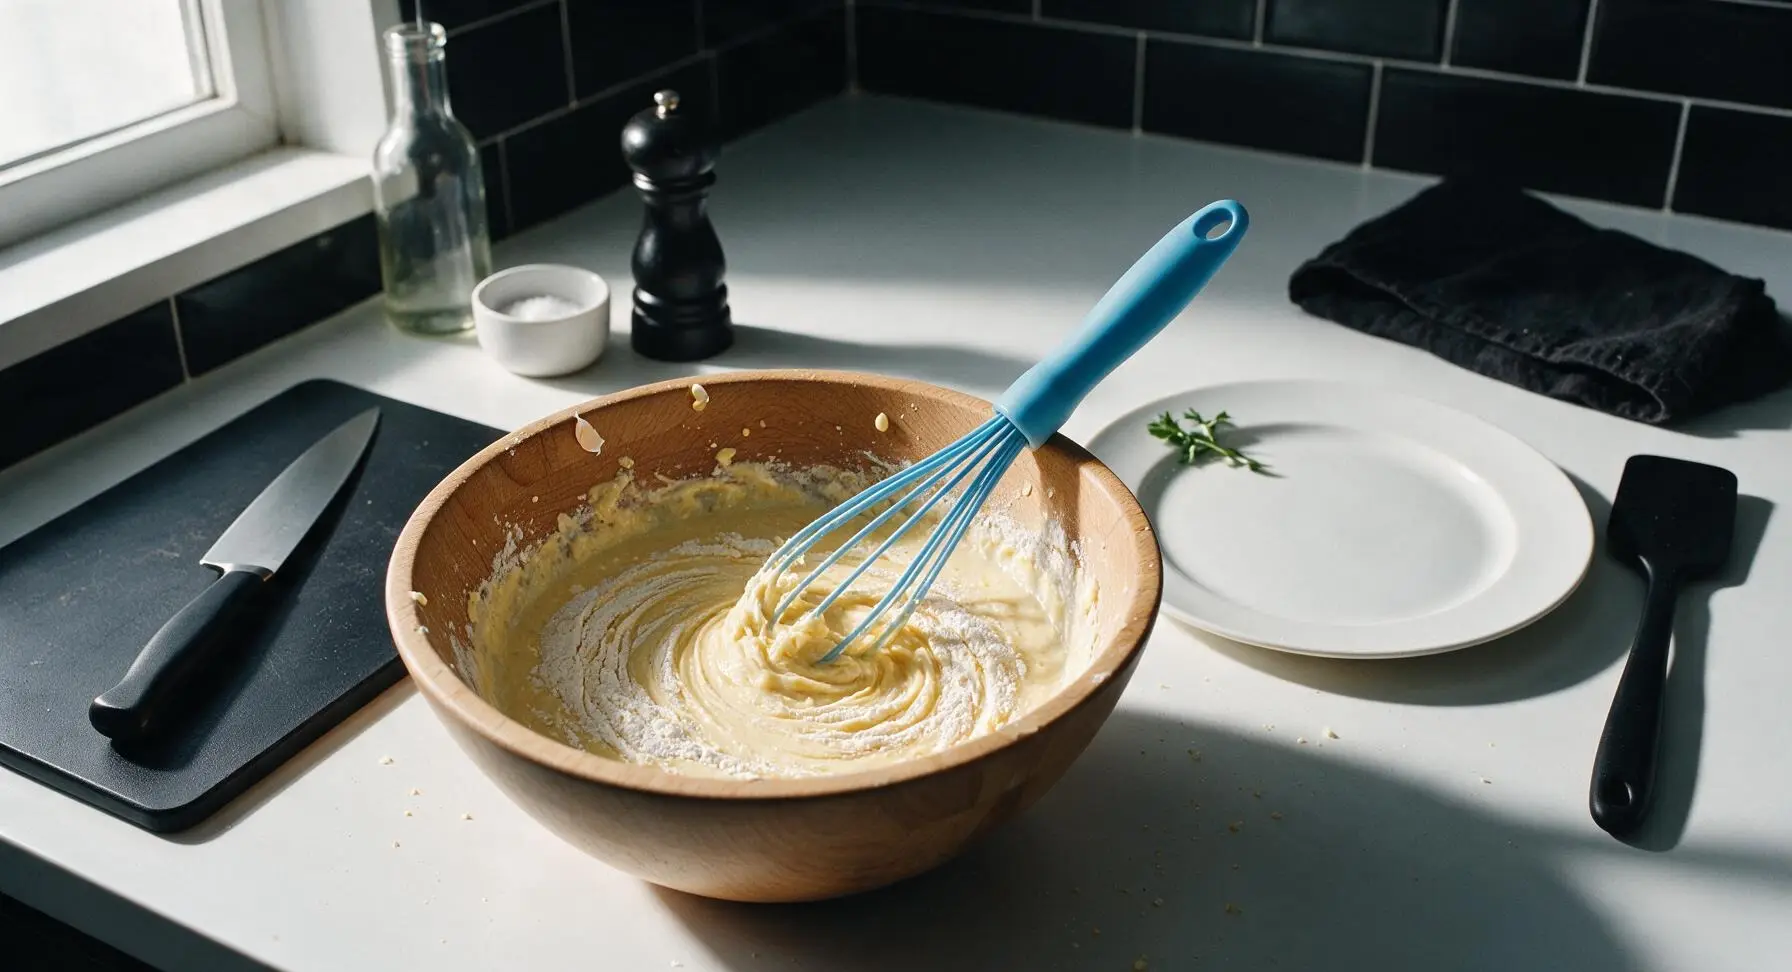
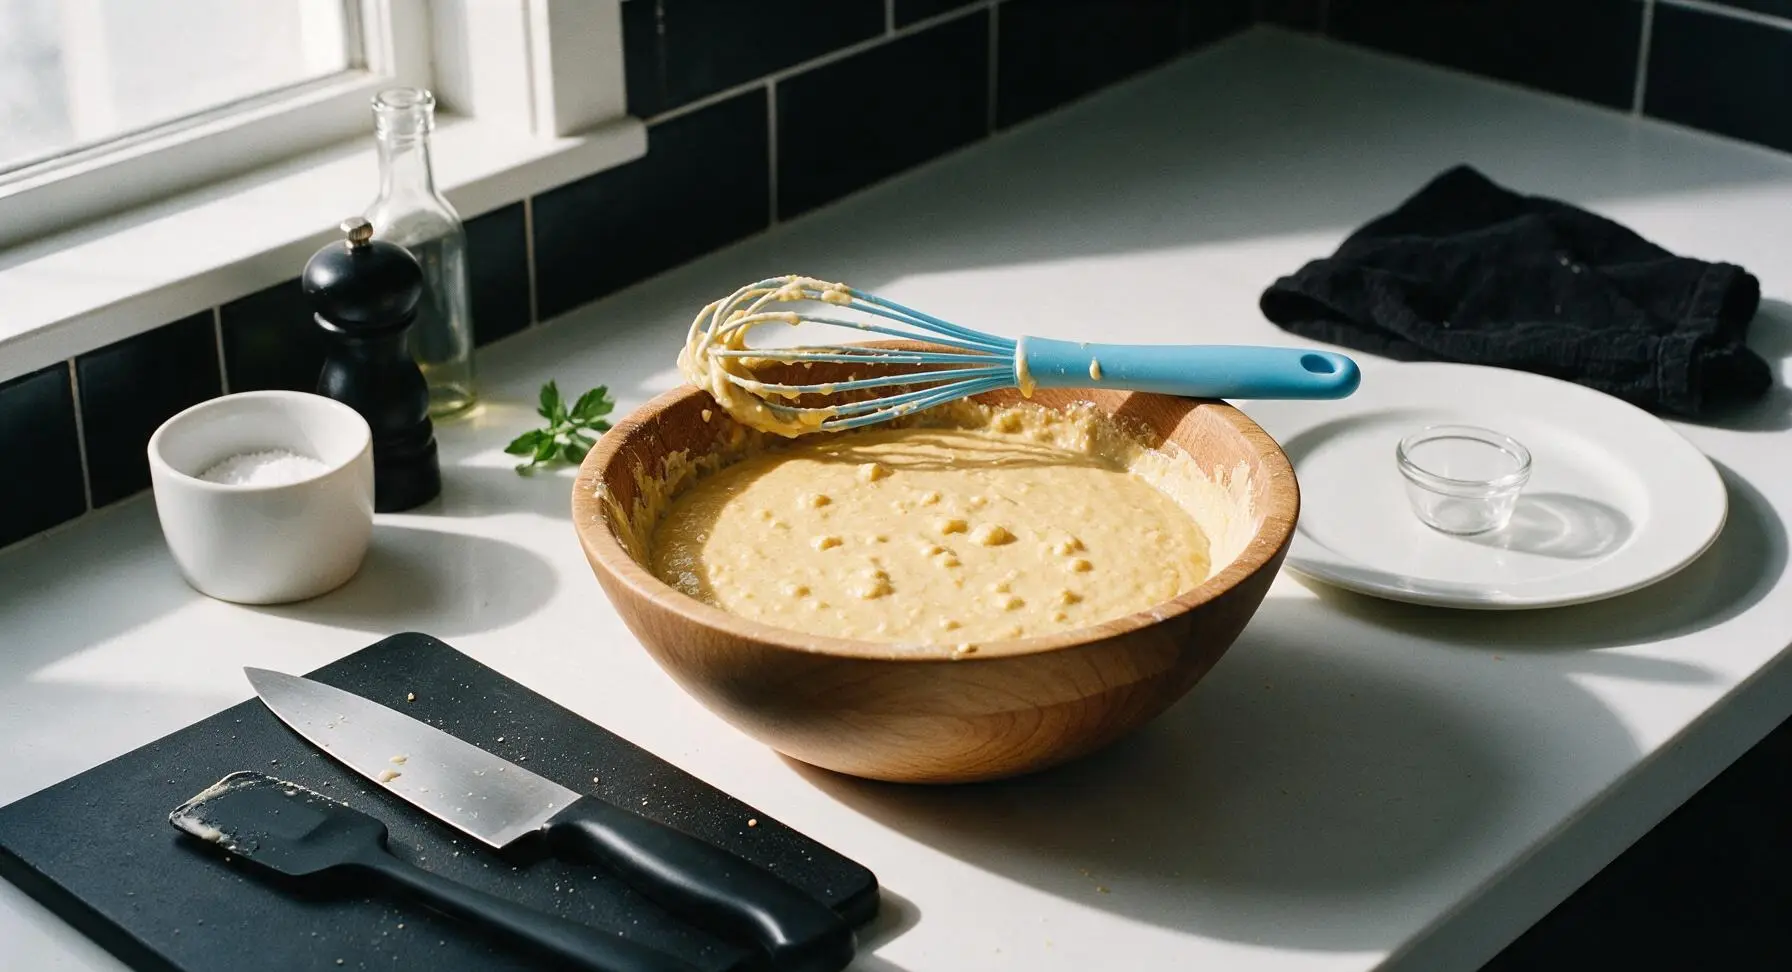
Cook Golden Waffles
Pour 3/4 cup of batter evenly into the center of the preheated waffle maker grids. Close the lid, flip the rotating waffle maker to distribute batter evenly, and cook for 3 to 4 minutes, until the waffle is deep golden brown and crisp on the outside, and no visible steam escapes from the waffle maker edges. Do not open the lid early, as this will cause the waffle to split and stick.
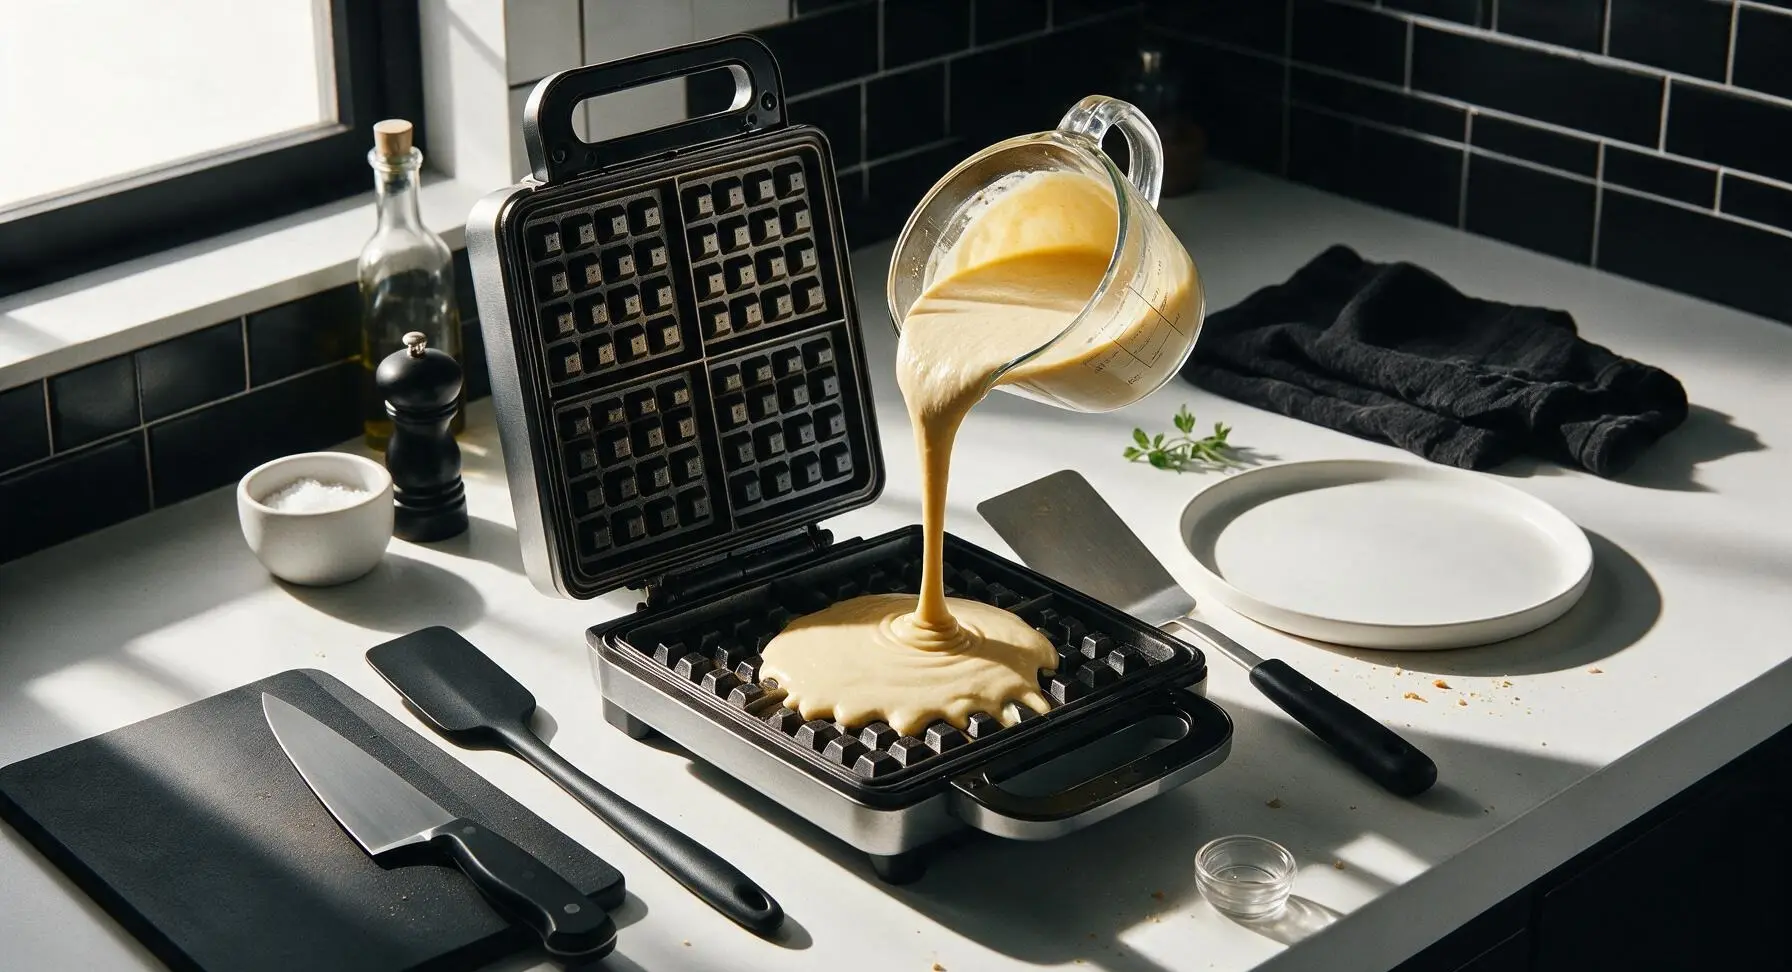
Remove Cooked Waffles
Use the offset metal spatula to gently lift the cooked waffle from the grids, taking care not to tear the crisp edges. Transfer the waffle directly to a matte cream ceramic serving plate positioned at center counter. Repeat the cooking process with remaining batter to make 4 total waffles, stacking them loosely on the plate if not serving immediately to keep edges crisp.
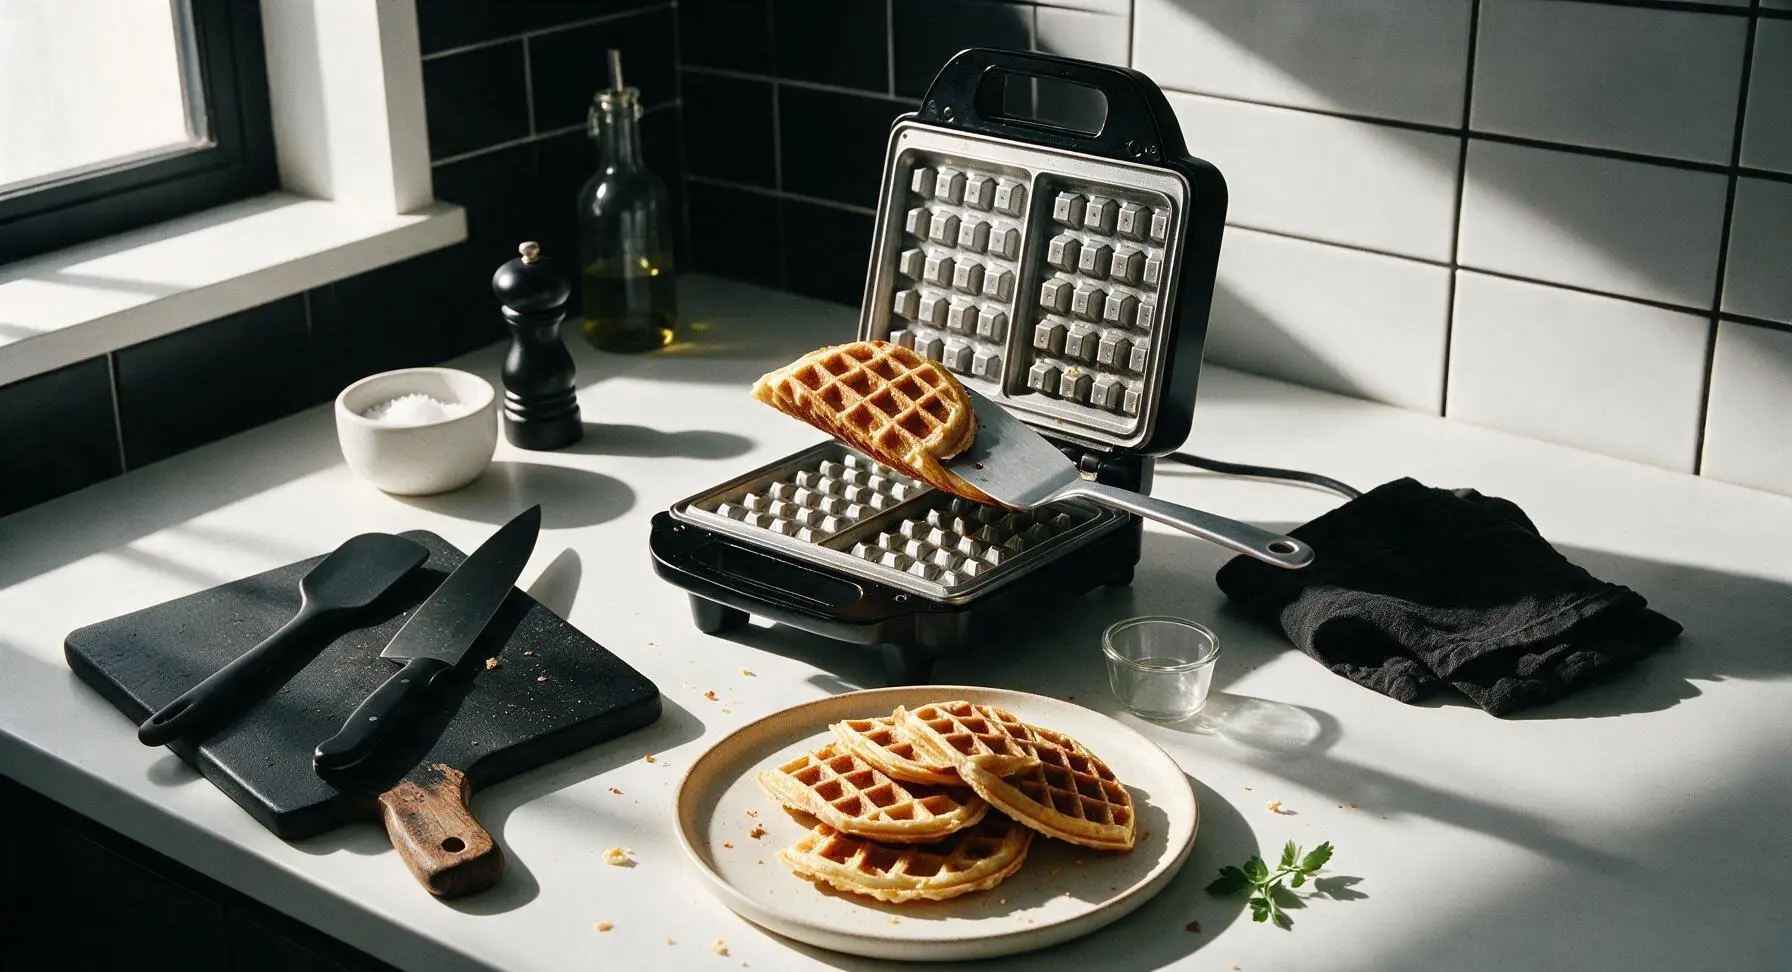
Plate and Garnish
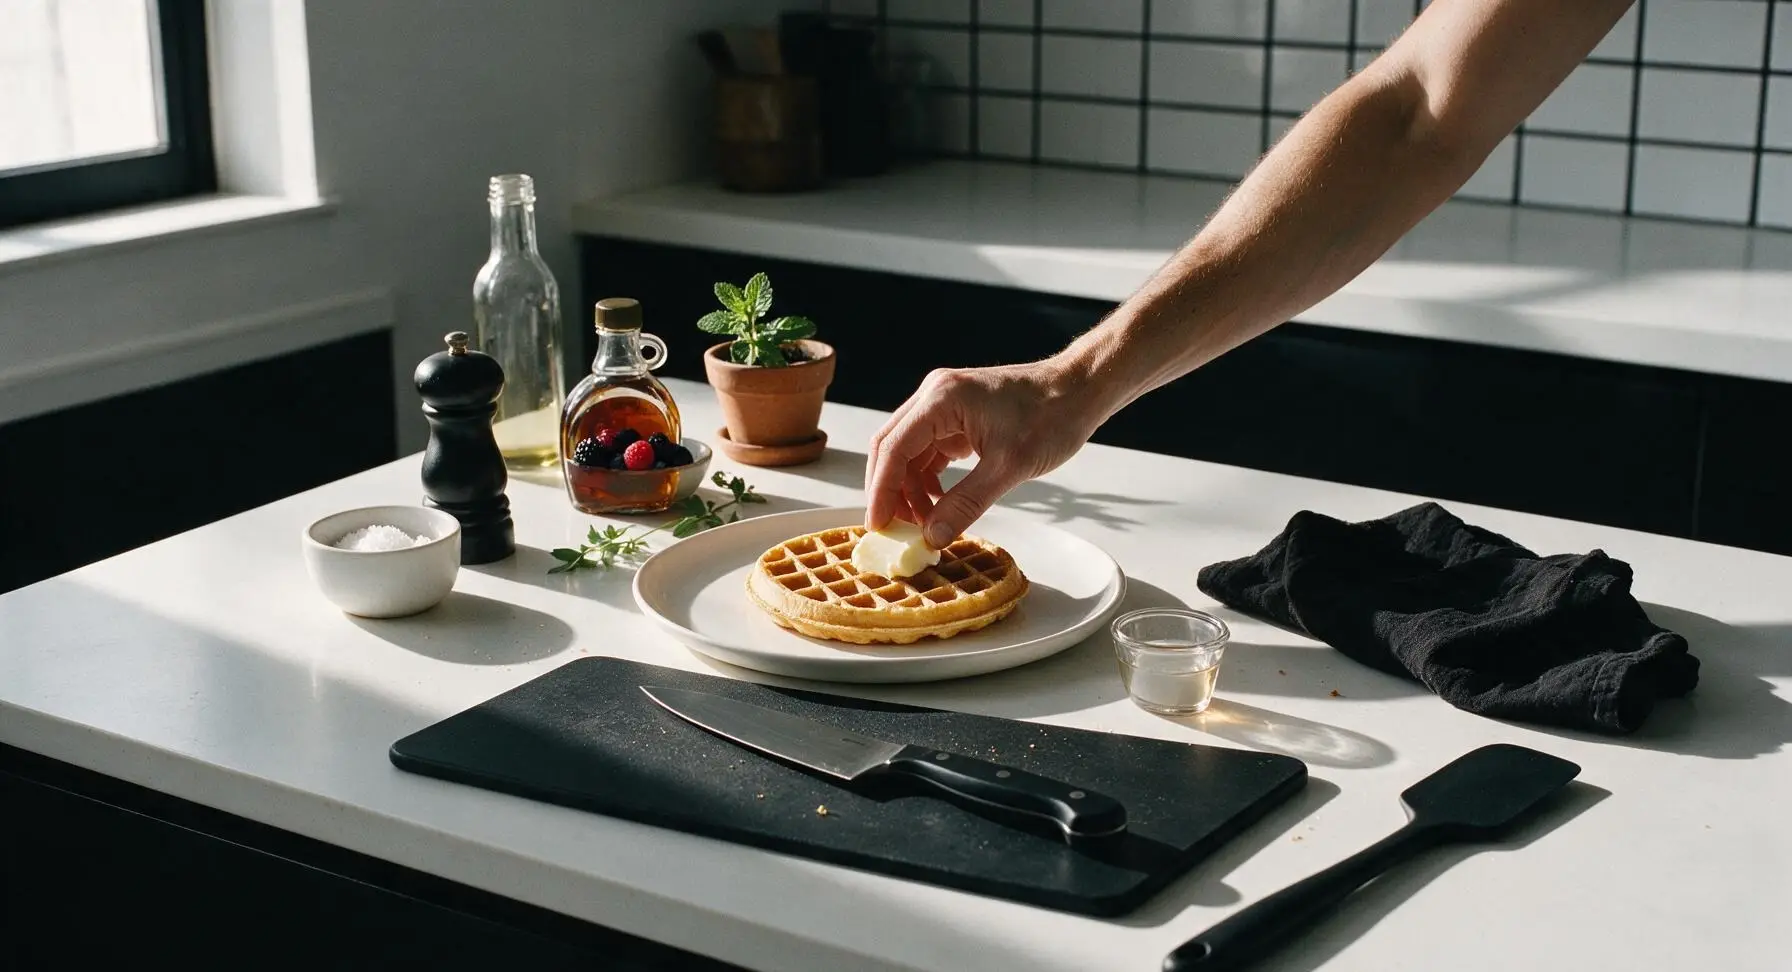
Place one warm waffle on each matte cream ceramic plate. Top each waffle with a 1/2 tablespoon pat of salted butter, letting it melt slightly into the grid indentations. Drizzle 2 tablespoons of maple syrup over the waffle, letting it pool naturally in the grid pockets. Arrange 1/4 cup of fresh mixed berries at the 10 o'clock edge of the waffle, add a small mint sprig, and dust with a pinch of sparkling sugar for that signature Dreamlight Valley magical glow.
Tips
2.Resist the urge to overmix the batter: small, pea-sized lumps are ideal, as overstirring develops gluten in the flour, resulting in tough, chewy waffles instead of light, fluffy centers with crisp, caramelized edges.
3.Wait until no more steam escapes from the waffle maker edges before opening the lid: opening early releases trapped heat and can cause the half-set waffle to stick to the grids or split apart, ruining its classic crisp grid shape.






OMG these Dreamlight Valley waffles are such a game changer! My 7 year old is obsessed with the game and begged me to find a copycat recipe, and this one did NOT disappoint. 15 minute cook time is perfect for busy school mornings, we topped ours with sprinkles and whipped cream just like in the game. SO good, even my picky toddler ate two whole waffles!
Super easy recipe even for someone who burns toast 90% of the time! I made these in my tiny dorm waffle maker between study sessions, they came out crispy on the outside, fluffy on the inside. Way better than the dining hall waffles, will be adding these to my weekly meal prep rotation.
Made these for our weekly Disney Dreamlight Valley co-op night with friends and everyone went crazy for them! I served them with a little spread of toppings: fresh berries, chocolate chips, maple syrup, even some cookie butter. Everyone asked for the recipe before they left, total potluck win.
These were really good! I swapped in a 1:1 gluten free flour blend because of my celiac and they turned out almost perfect, just a tiny bit crumbly. Next time I’ll add an extra egg to help bind them, but overall super tasty and way easier than I expected.
Whoa, these taste exactly like the waffles we had at Disneyland last spring! I didn’t think a 15 minute at home recipe could nail that fluffy, buttery flavor but this hit every note. My partner already asked me to make them again for Father’s Day brunch next month.
Made a double batch of these on Sunday and froze the leftovers for quick breakfasts all week! They reheat perfectly in the toaster, no sogginess at all. 10/10, way healthier than the frozen waffles from the grocery store and my kids think they’re getting a special treat every morning.
Okay, full transparency, I’d never made waffles from scratch before in my life. I always thought they were super hard and required fancy equipment, but these were so easy! My only mistake was spraying my waffle iron a little too much so the first one was a little greasy, but the rest came out perfect. Can’t wait to experiment with different add-ins next time!
Brought these to my neighborhood block party over the weekend and they were gone in 10 minutes flat! So many neighbors came up to ask where I found the recipe, I told them it’s my new go-to for every event from now on. Even the local firefighter who stopped by said they were the best waffles he’d ever had. 10/10, no notes.