
drumstick
intro
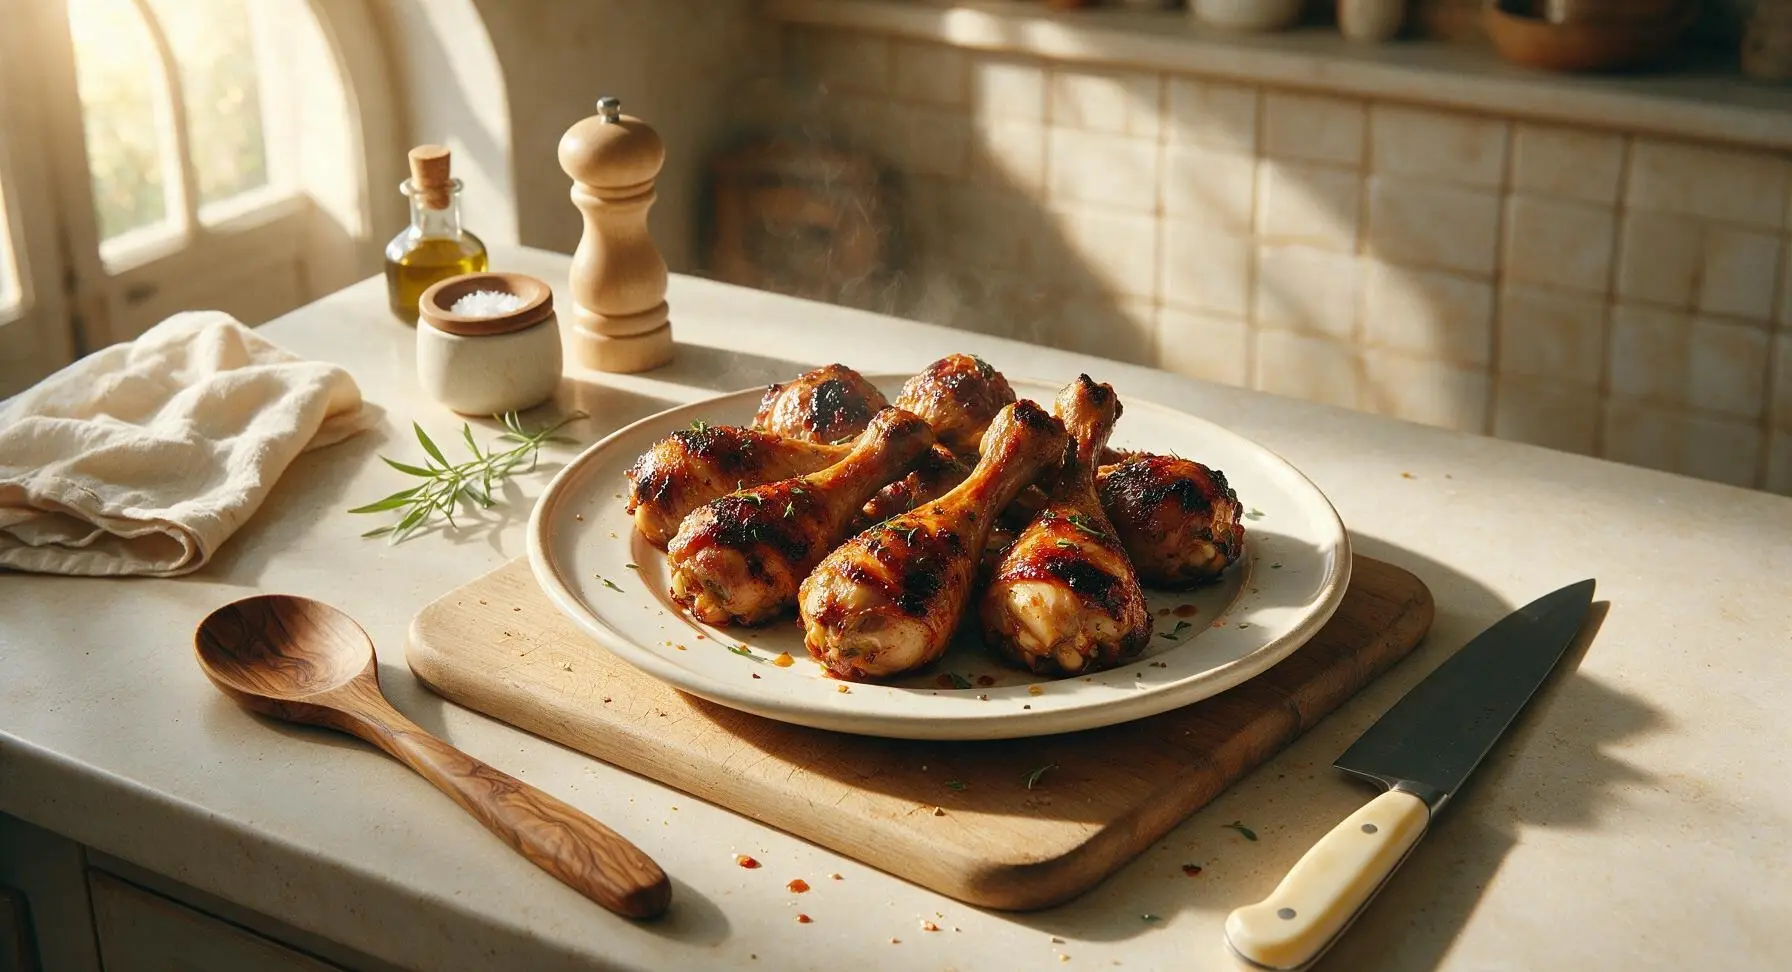
Juicy, fall-off-the-bone tender grilled chicken drumsticks with crispy smoky skin and sticky caramelized BBQ glaze, perfect for casual summer outdoor gatherings.
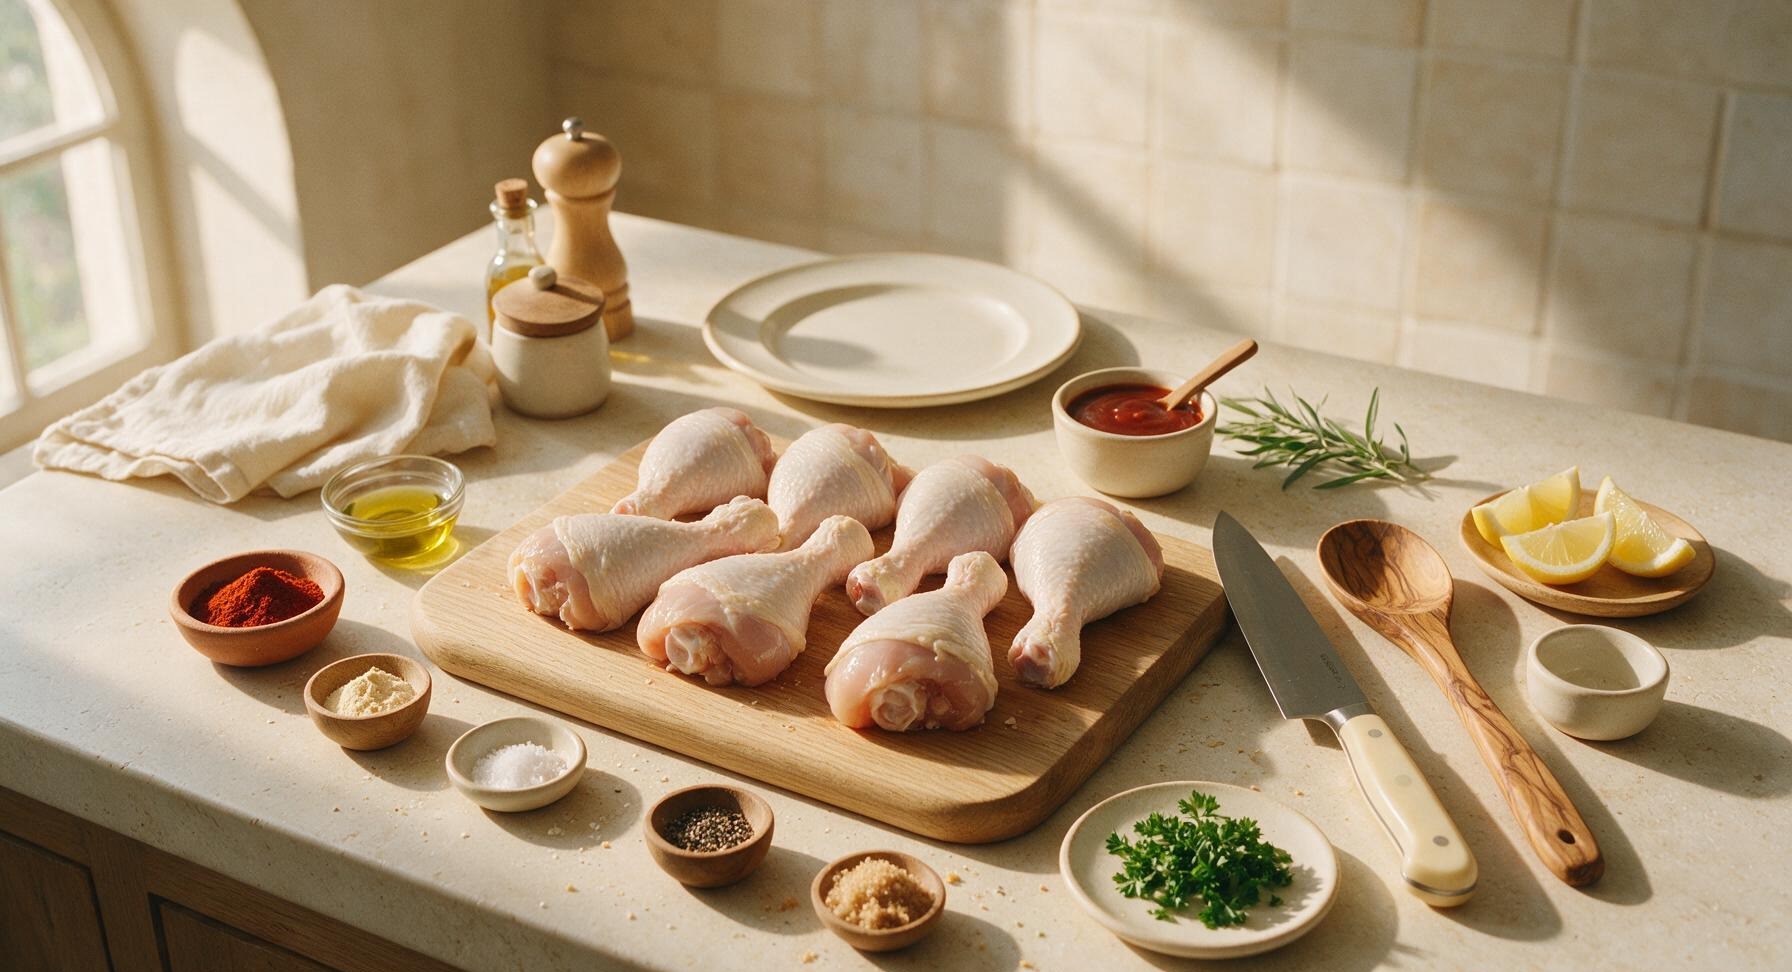
Ingredients
Steps
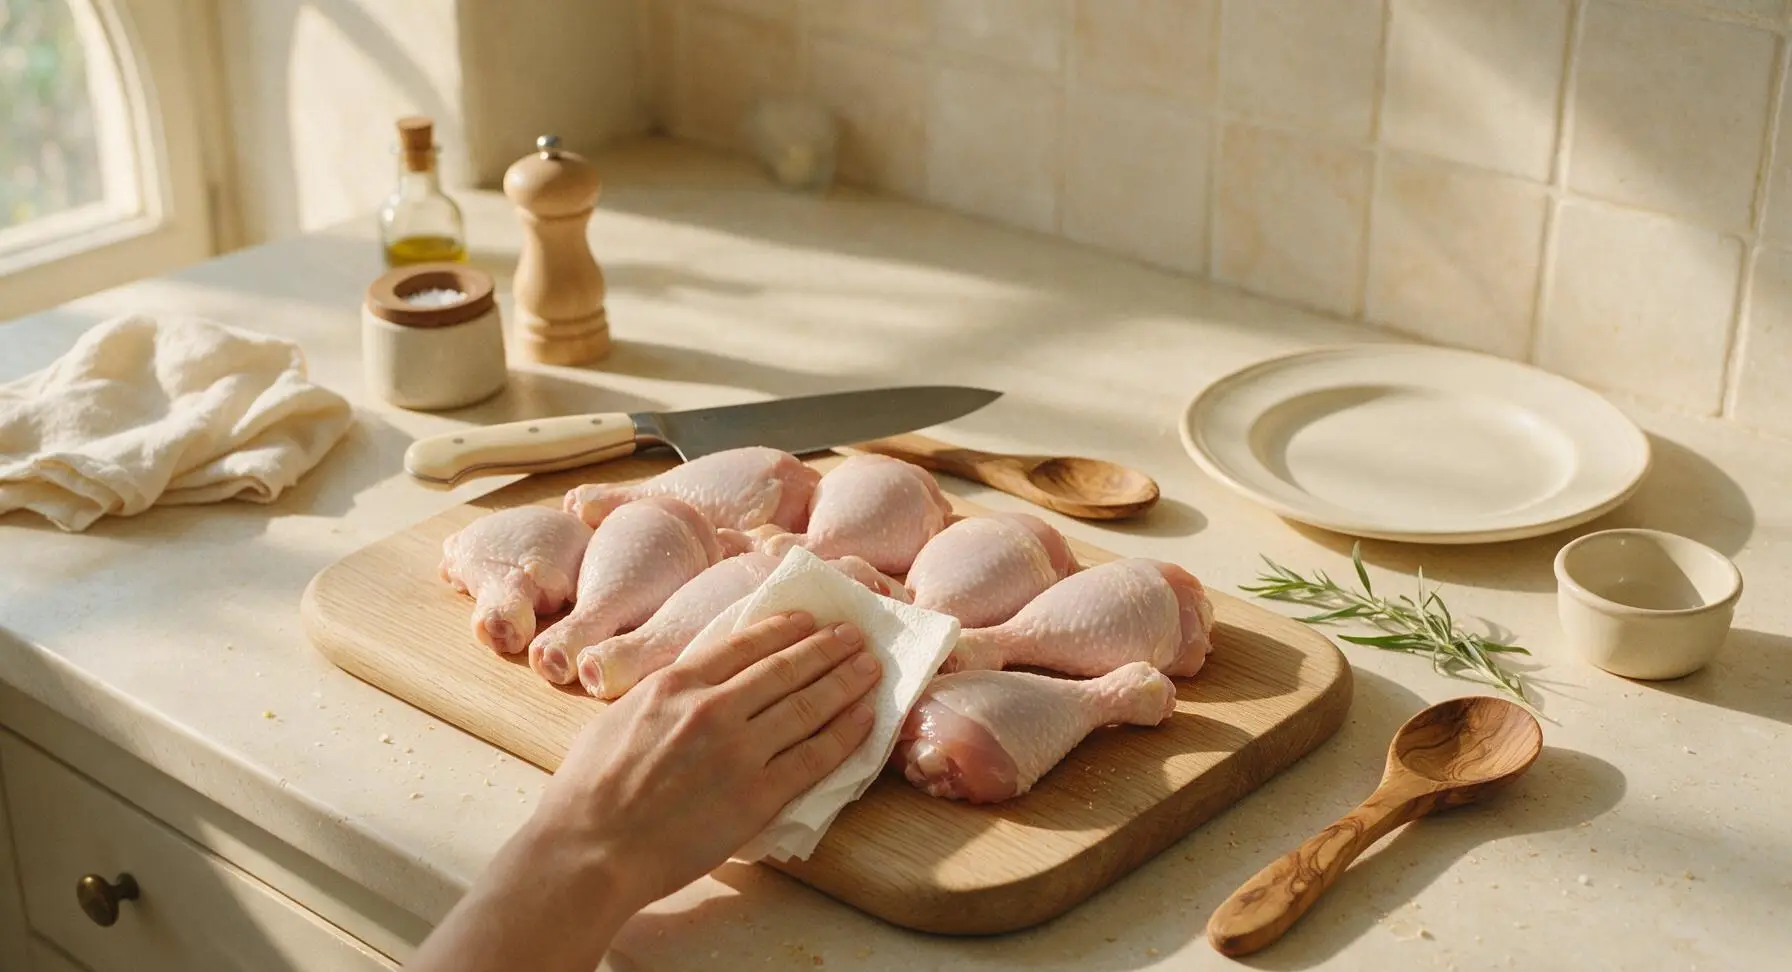
Pat Drumsticks Dry
Remove chicken drumsticks from packaging and arrange in a single layer on the acacia wood cutting board. Use disposable paper towels to pat every surface of each drumstick completely dry, removing all excess moisture to ensure crispy grilled skin. Use the chef knife to trim any loose, hanging pieces of skin or fat, leaving the majority of skin intact to cover the meat. Discard used paper towels immediately after handling raw chicken.
Mix Spice Rub
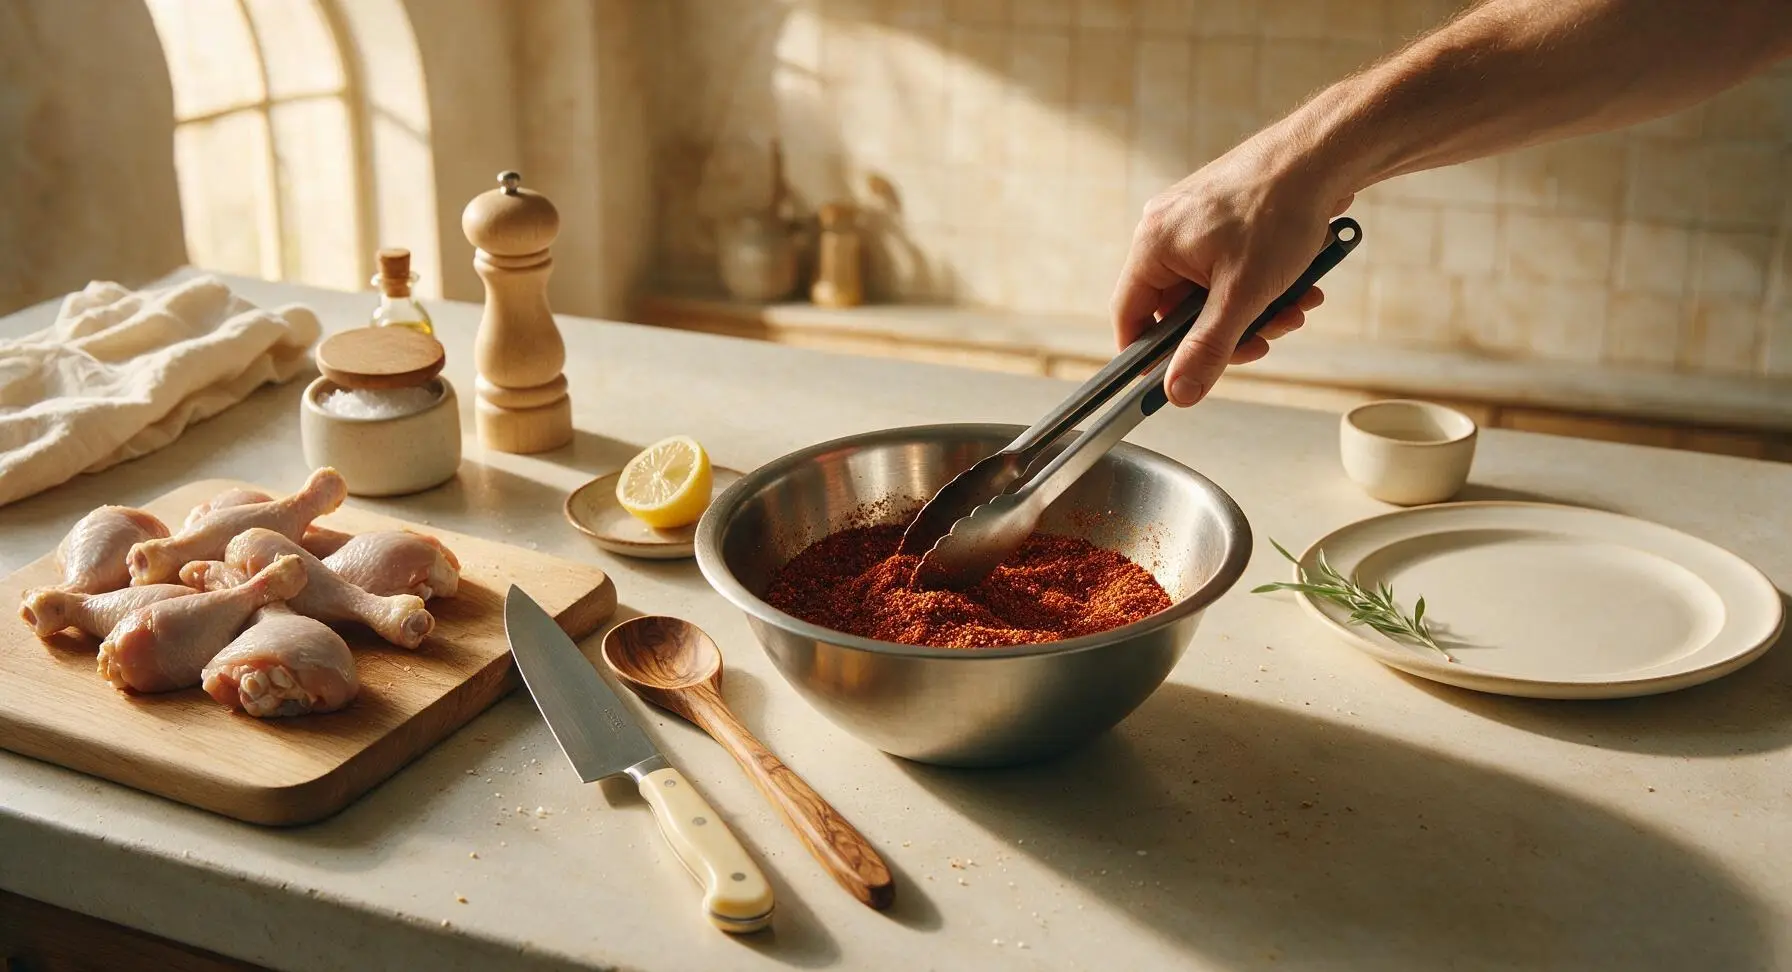
In the brushed stainless steel mixing bowl, combine 2 tbsp smoked paprika, 1 tbsp garlic powder, 1.5 tsp kosher salt, 1 tsp freshly ground black pepper, and 1 tbsp light brown sugar. Stir the mixture with the handle of the BBQ tongs until fully uniform, breaking up any clumps of brown sugar until the rub is a consistent deep reddish-brown color with no visible separate spice patches.
Coat with Spice Rub
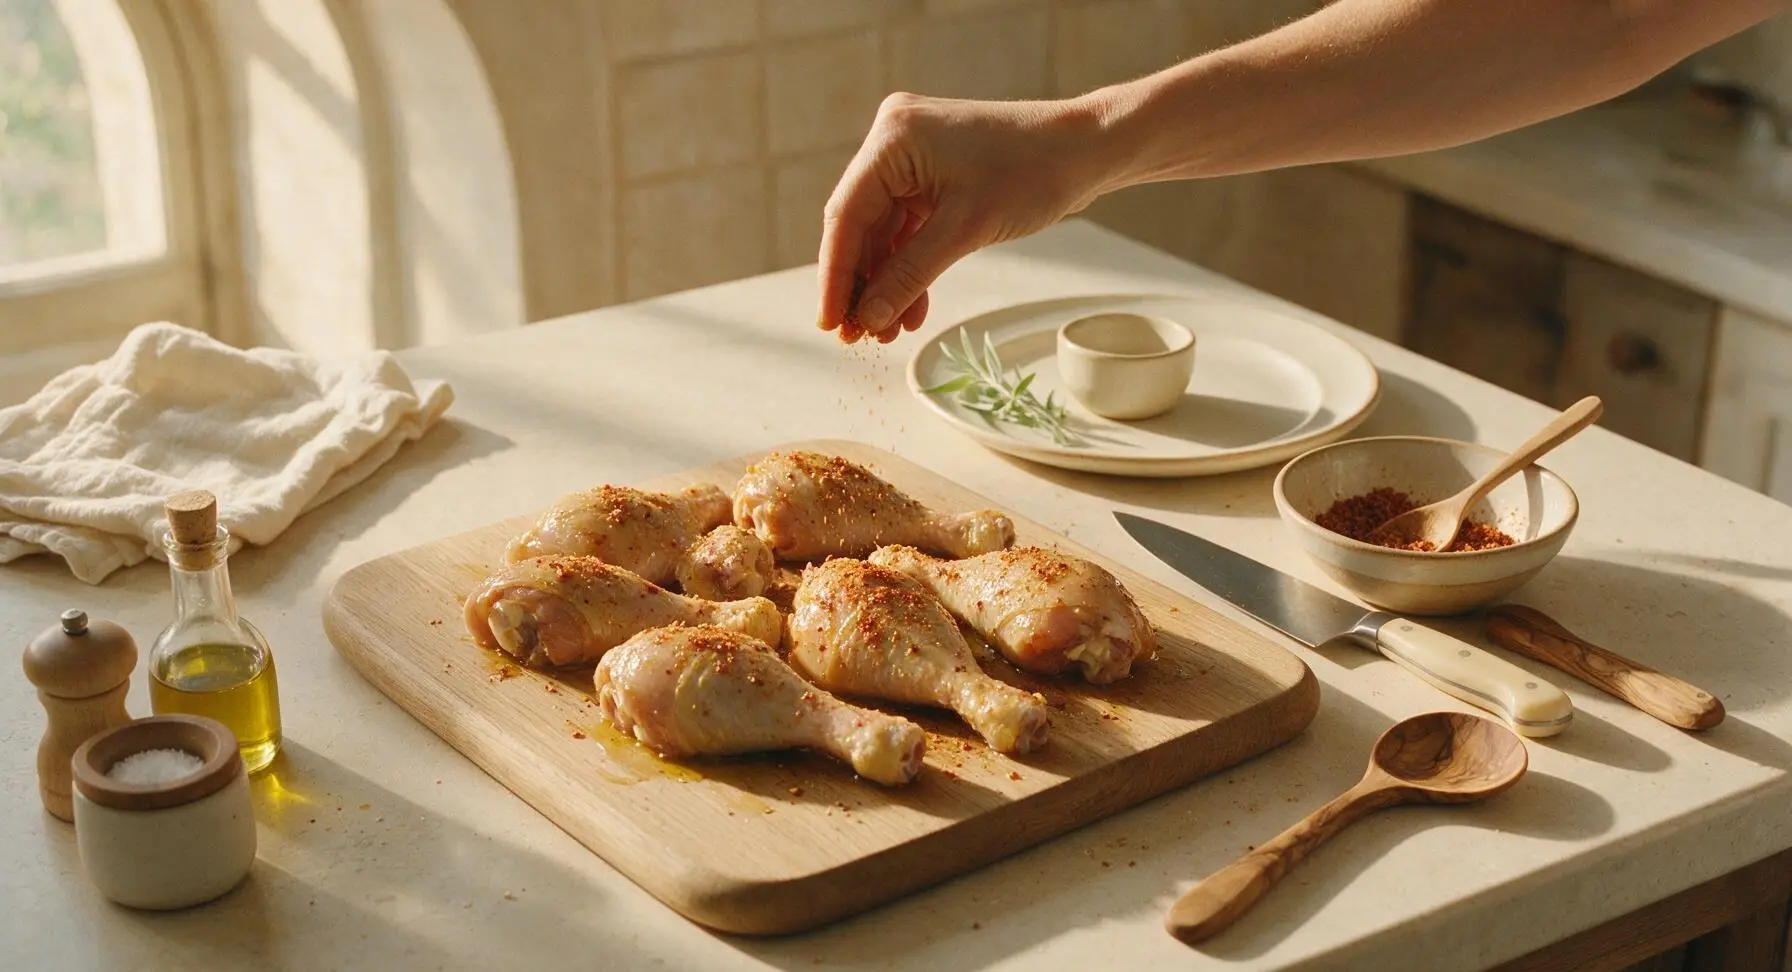
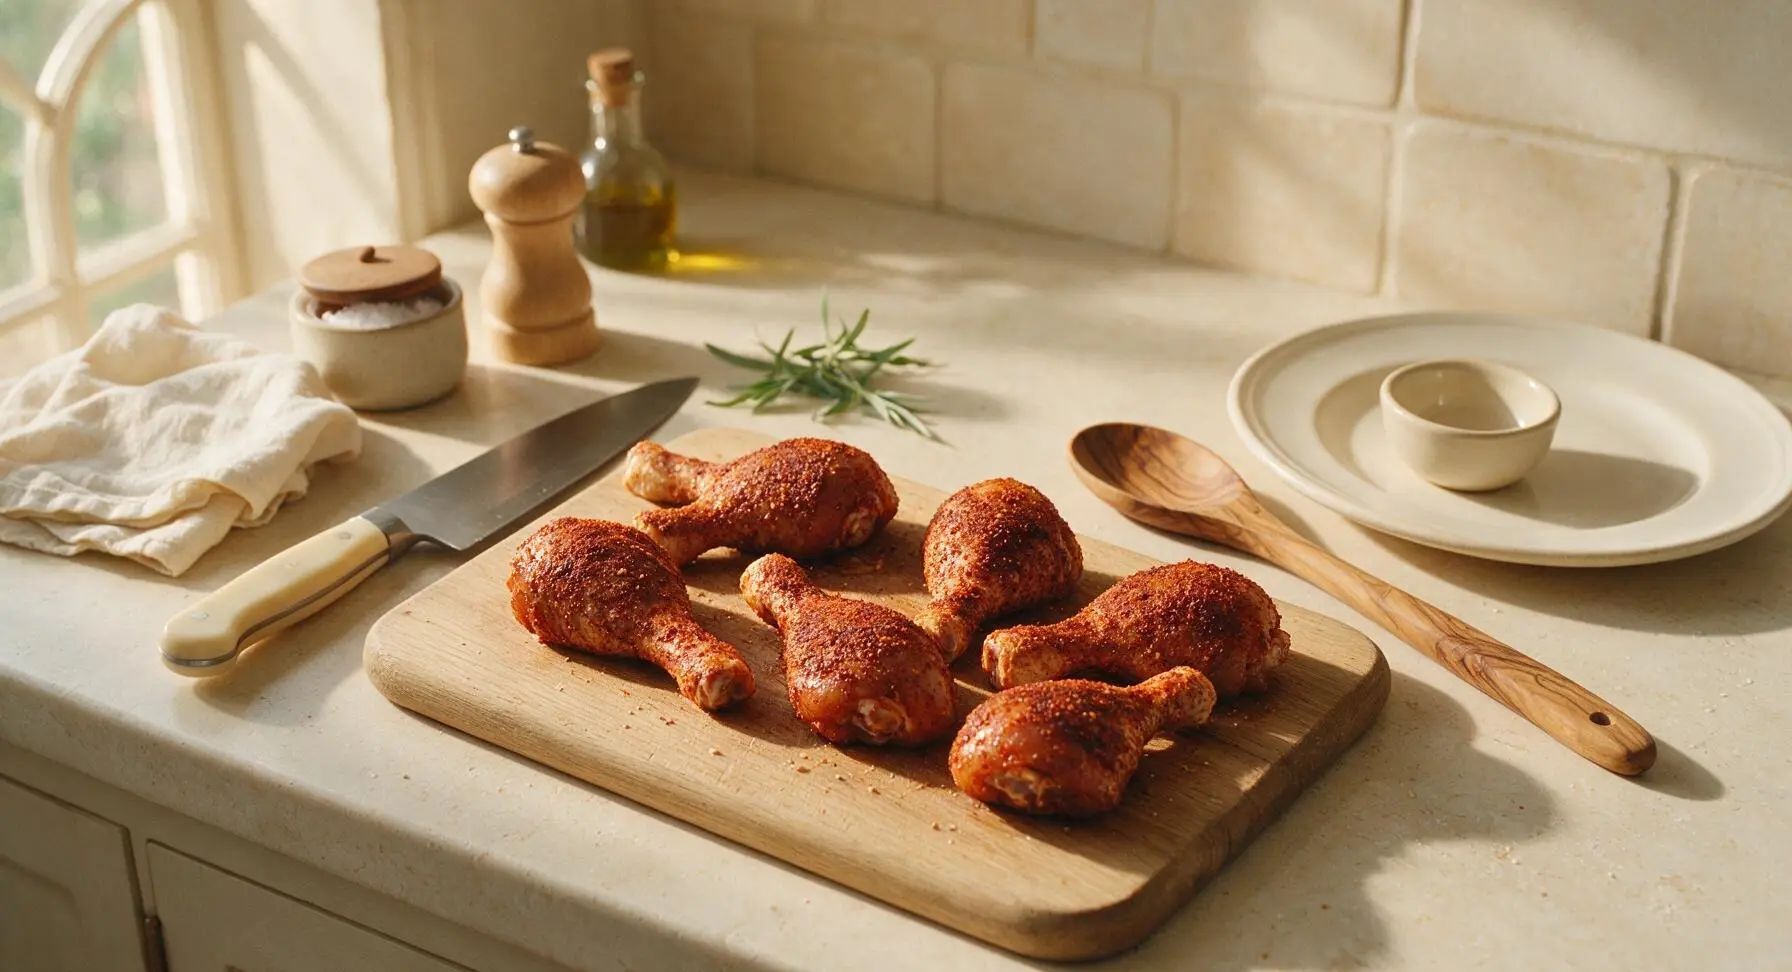
Drizzle 2 tbsp olive oil over the dried drumsticks on the cutting board, toss to coat every piece lightly. Sprinkle the mixed spice rub evenly over all sides of the drumsticks, using clean hands to press the seasoning into the skin and crevices around the bone. Ensure every drumstick has a thin, even coating of rub with no bare patches of skin. Let seasoned drumsticks rest 10 minutes at room temperature while preheating the built-in grill to medium-high (200C / 400F), placing the aluminum foil drip tray on the cool side of the grill grates to catch rendered fat and prevent flare-ups.
Grill Over Indirect Heat
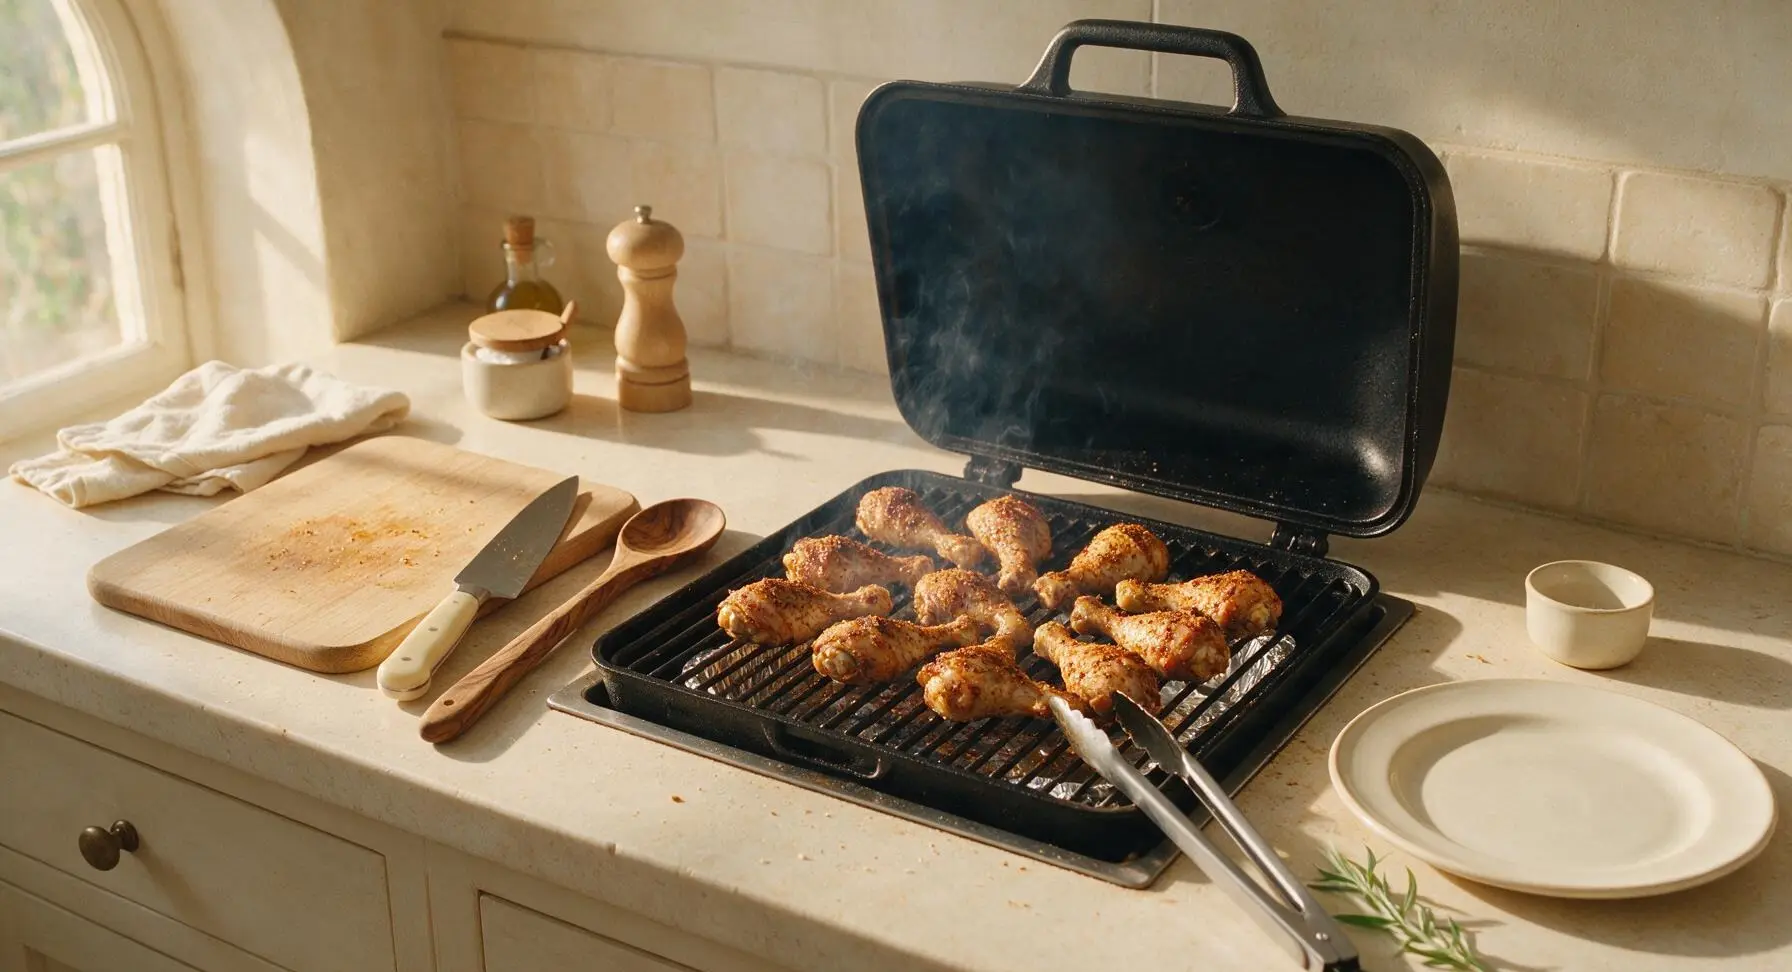
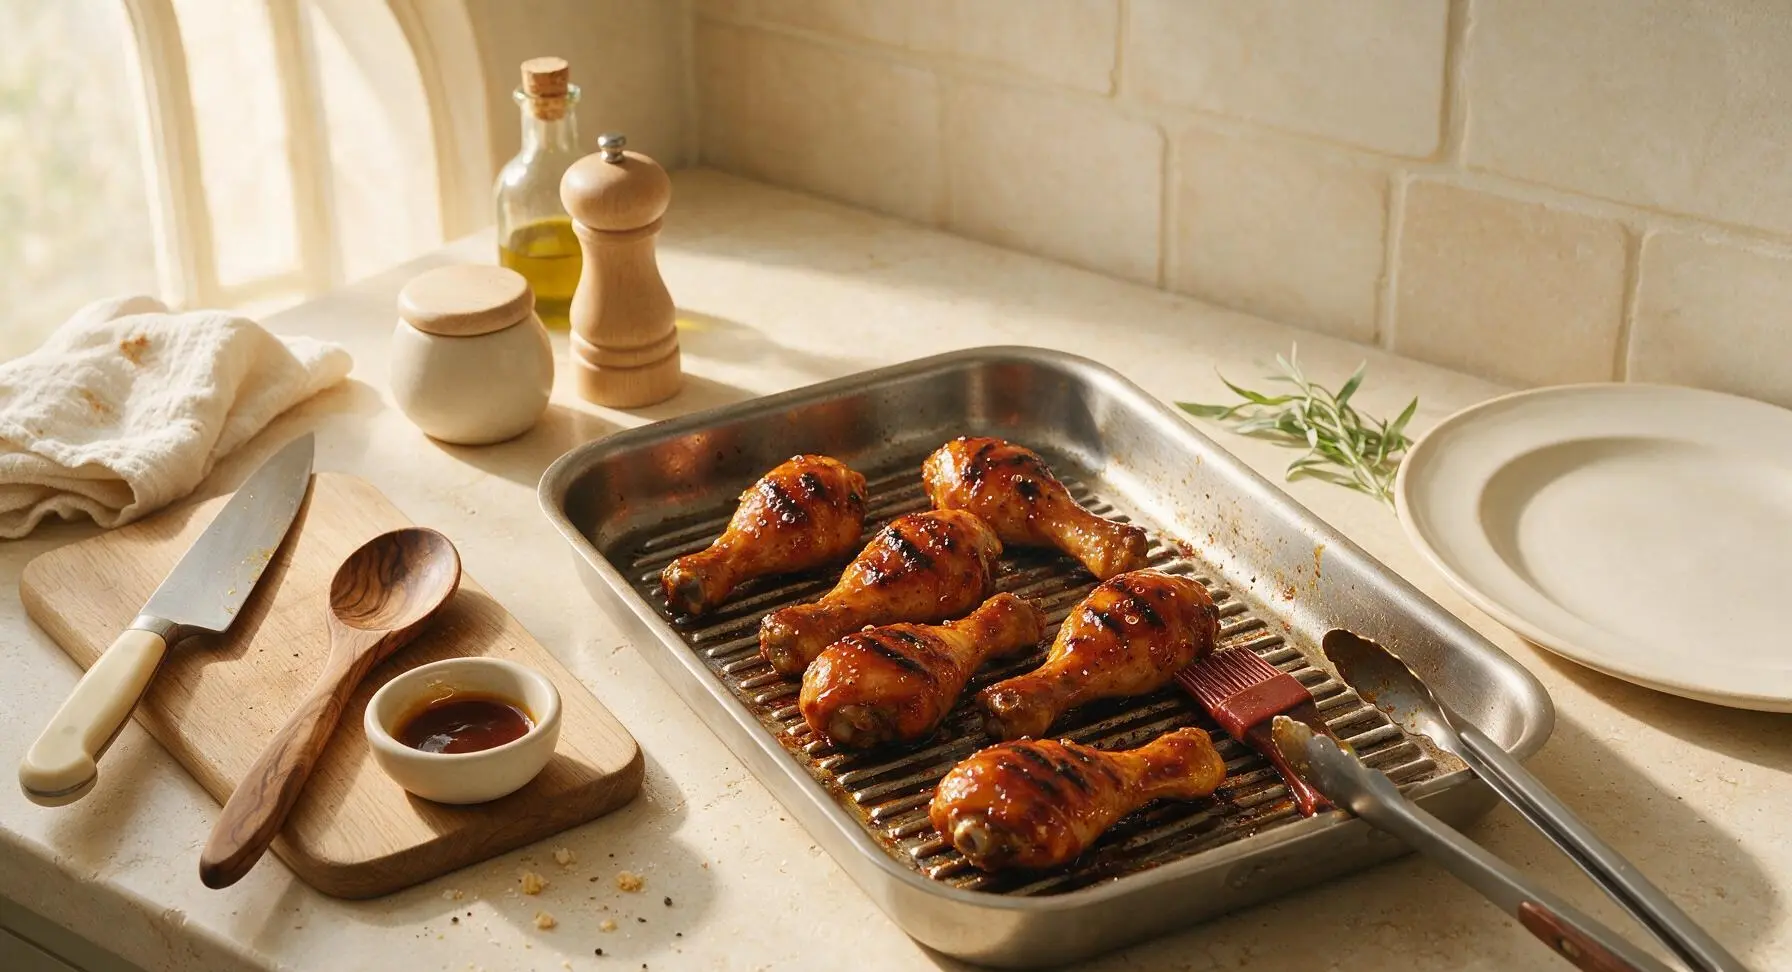
Use the BBQ tongs to arrange seasoned drumsticks on the preheated grill directly over the aluminum foil drip tray (indirect heat zone, no direct flame under the chicken). Close the grill lid and cook for 20 minutes, turning each drumstick once halfway through cooking with the tongs. Maintain a steady grill temperature of 200C / 400F, adjusting burners as needed to avoid flare-ups from rendered fat. The skin will turn deep golden and crisp as fat renders out during this cook time.
Check Doneness Temperature
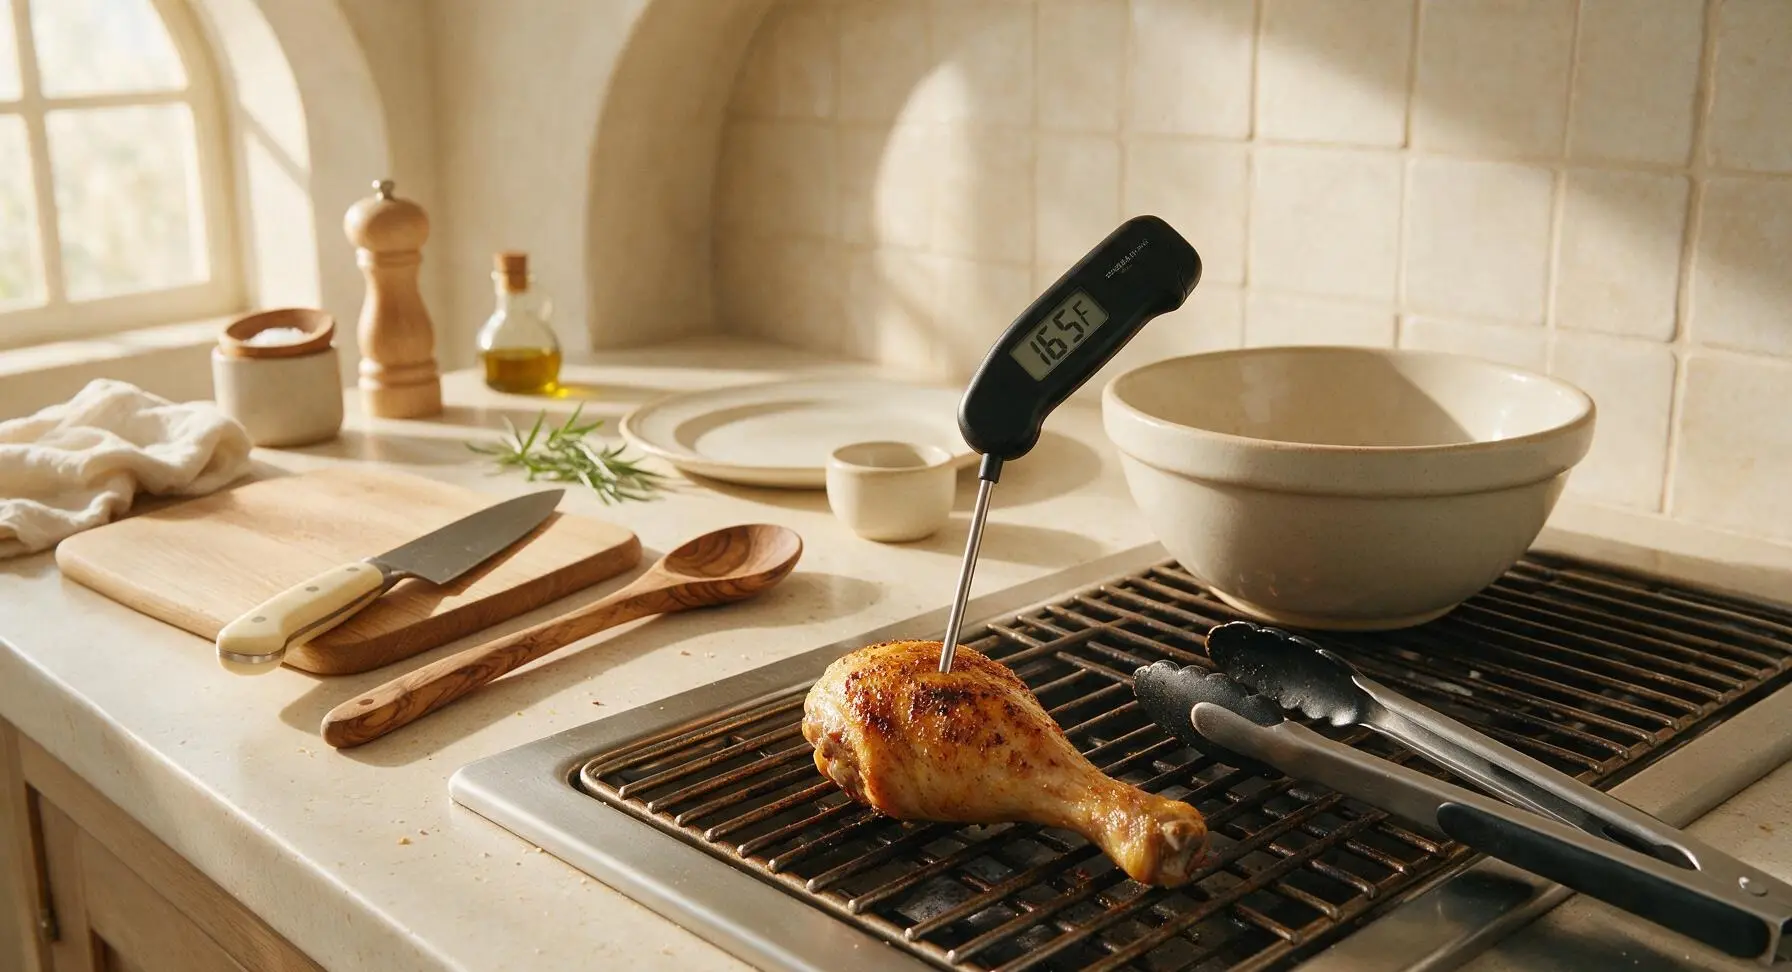
After 20 minutes of indirect cooking, pick up the matte black instant-read meat thermometer and insert the probe into the thickest part of the largest drumstick, taking care not to touch the bone (which gives an inaccurate high reading). Drumsticks are ready for glazing when the internal temperature reads 75C / 165F, with crispy deep golden skin. If the temperature is lower, close the lid and cook for 5 additional minutes before rechecking.
Apply BBQ Glaze
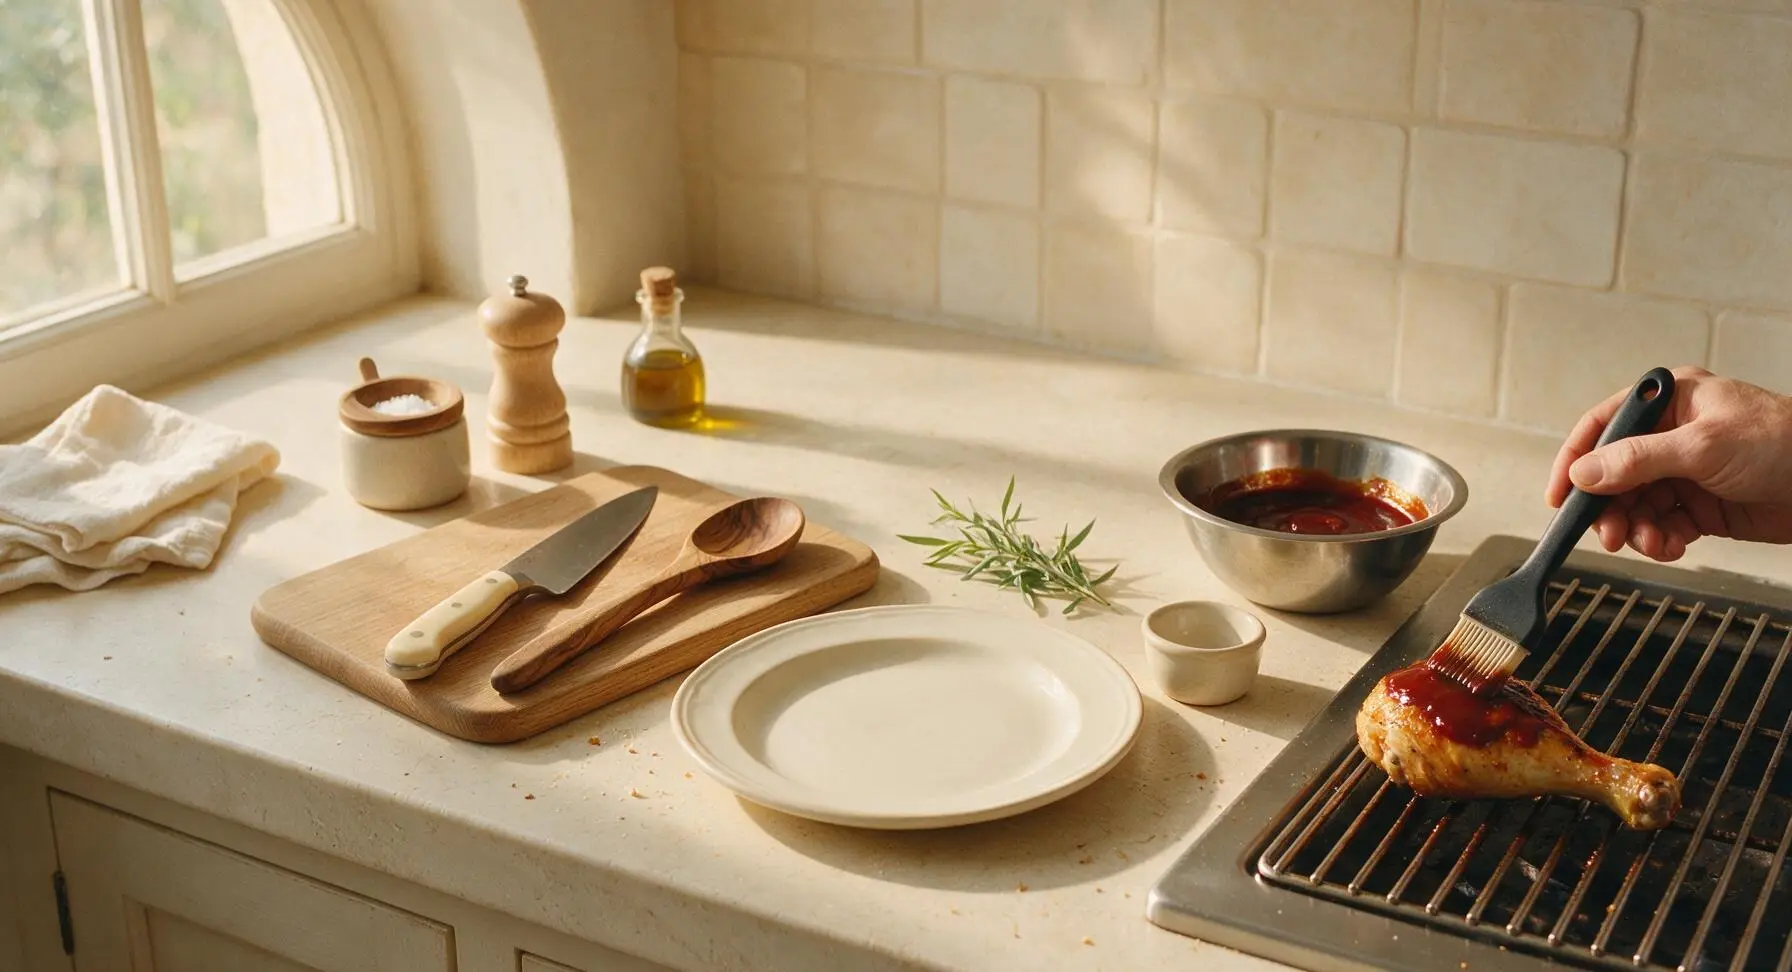
Pour 120ml (1/2 cup) of tangy BBQ sauce into the now spice-empty stainless steel mixing bowl (no need to wash it first, leftover spice will add extra flavor to the glaze). Use the silicone basting brush to coat all sides of each drumstick with a thin, even layer of sauce. Move glazed drumsticks to the direct heat side of the grill for 2-3 minutes per side, turning with the BBQ tongs, until the glaze bubbles and caramelizes into a sticky, glossy deep amber coating. Watch closely to avoid burning the sugary sauce, which will turn bitter if charred.
Rest and Garnish
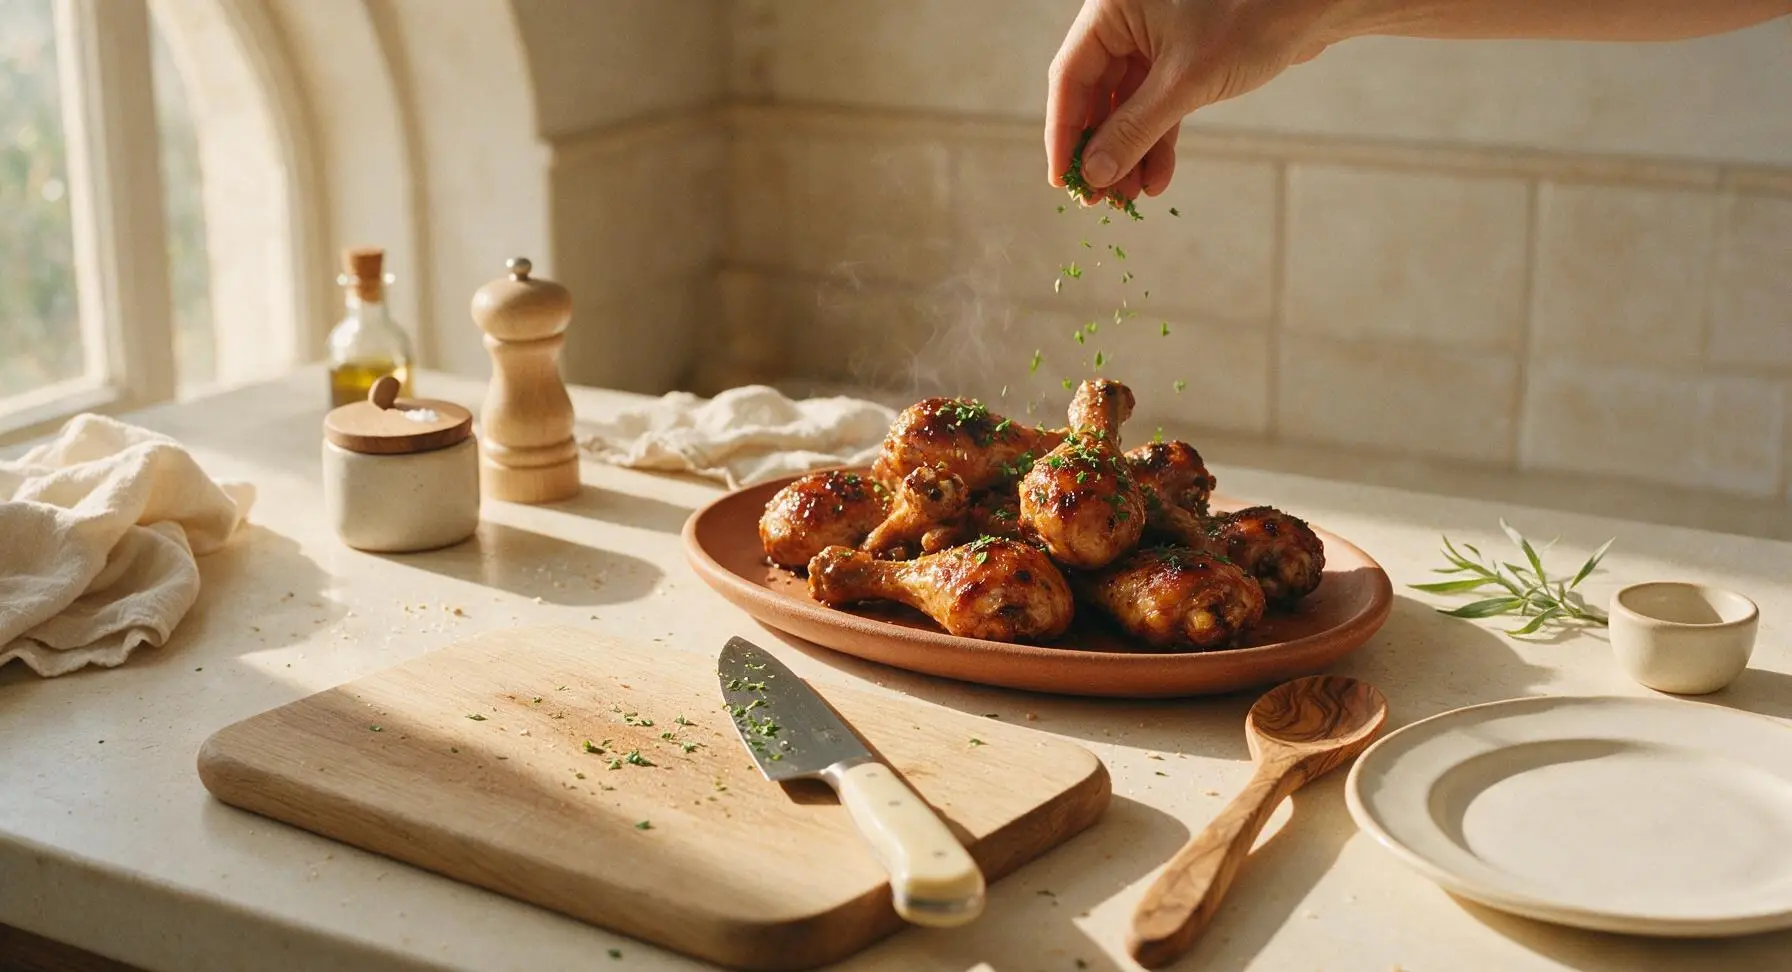
Use the BBQ tongs to transfer finished glazed drumsticks from the grill to the fixed matte terracotta serving platter. Let drumsticks rest for 5 minutes to allow muscle fibers to relax and juices to redistribute. While the chicken rests, quickly wipe the surface of the acacia cutting board with a clean paper towel, then use the chef knife to finely chop 2 tbsp of fresh curly parsley on the clean board surface. Sprinkle the chopped parsley evenly over the rested drumsticks, then tuck cut lemon wedges around the platter edge for squeezing over top before serving.
Tips
2.Use the two-zone grilling method (indirect heat first, direct heat only for glazing) to cook chicken evenly all the way through without burning the spice rub or sugary BBQ sauce, which chars quickly over high direct heat.
3.Let cooked drumsticks rest for a full 5 minutes before serving: this allows the hot, tight muscle fibers to relax and reabsorb juices, so every bite stays moist instead of having flavorful juice run out onto the platter when you take the first bite.






OMG these sticky smoky drumsticks were an absolute hit at our backyard cookout this weekend! I doubled the recipe because we had 8 people over, and every single last one got eaten. The smoky flavor is perfect, not too overpowering, and that sticky glaze had everyone licking their fingers. My 7 year old asked for seconds before he even finished his first! SO easy to throw together too, I was shocked it only took 25 minutes total. 10/10 will be making these all summer long.
Total game changer for quick weeknight dinners! I usually struggle to find protein my whole family will eat that doesn’t take an hour to make, but these drumsticks checked every box. The glaze caramelized perfectly on the grill, and even my super picky teen said these are “restaurant good”. I served them with corn on the cob and coleslaw, super easy summer meal. Only note: I’d recommend lining your grill grates with a little foil if you don’t want sticky residue to scrub off later!
I made a big batch of these for my weekly meal prep and they held up so well! I was worried the sticky glaze would get soggy in the fridge, but they tasted just as good reheated in the air fryer for 3 minutes at lunch time. Perfect smoky to sweet ratio, no weird overpowering liquid smoke taste like some grilled chicken recipes have. My only tiny gripe is that the glaze is a little sticky to get off my meal prep containers, but that’s 100% a me problem for not using glass. Will definitely add this to my regular rotation!
Brought these to our neighborhood potluck last night and I got so many recipe requests! People kept coming back to the table to ask who made the chicken. The best part? It was so low effort I didn’t even stress about getting it ready after work. I did add a tiny pinch of cayenne to the glaze for a little heat, and it was chef’s kiss. 100% making these for our 4th of July party too.
First time grilling chicken ever and these turned out AMAZING! I was so nervous I’d undercook them or burn the glaze, but the 25 minute cook time was totally spot on for my grill. The smoky flavor is incredible, I didn’t even need fancy wood chips, I used a little smoked paprika like the recipe said and it was SO good. My roommate said these are better than the ones we get at our local BBQ joint. Can’t wait to make these for my parents when they visit next month!