
dry rub for ribs

title 1
dry rub for ribs
⏱️ cook time 3 hours 30 minutes
🍽️ servings 4
⚡ Difficulty easy

intro

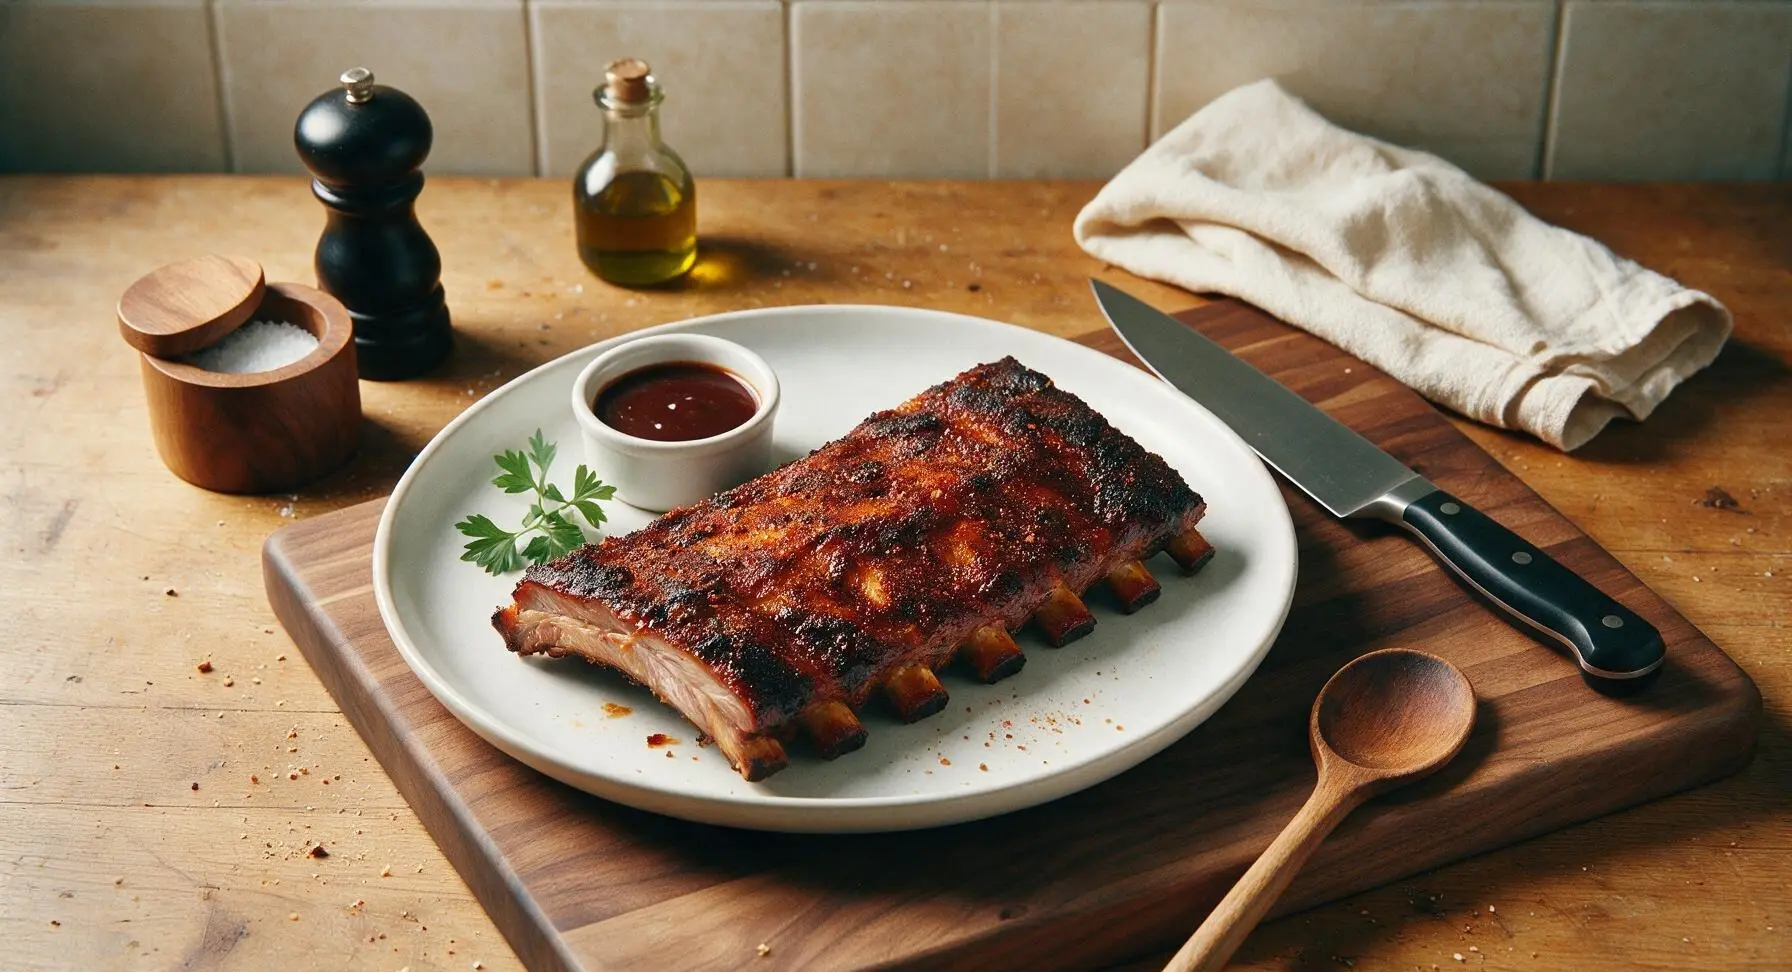
This smoky, perfectly balanced dry rub creates a caramelized, crisp bark on ribs, with layers of sweet, savory, and gently spicy flavor ideal for low-and-slow cooking.

Ingredients
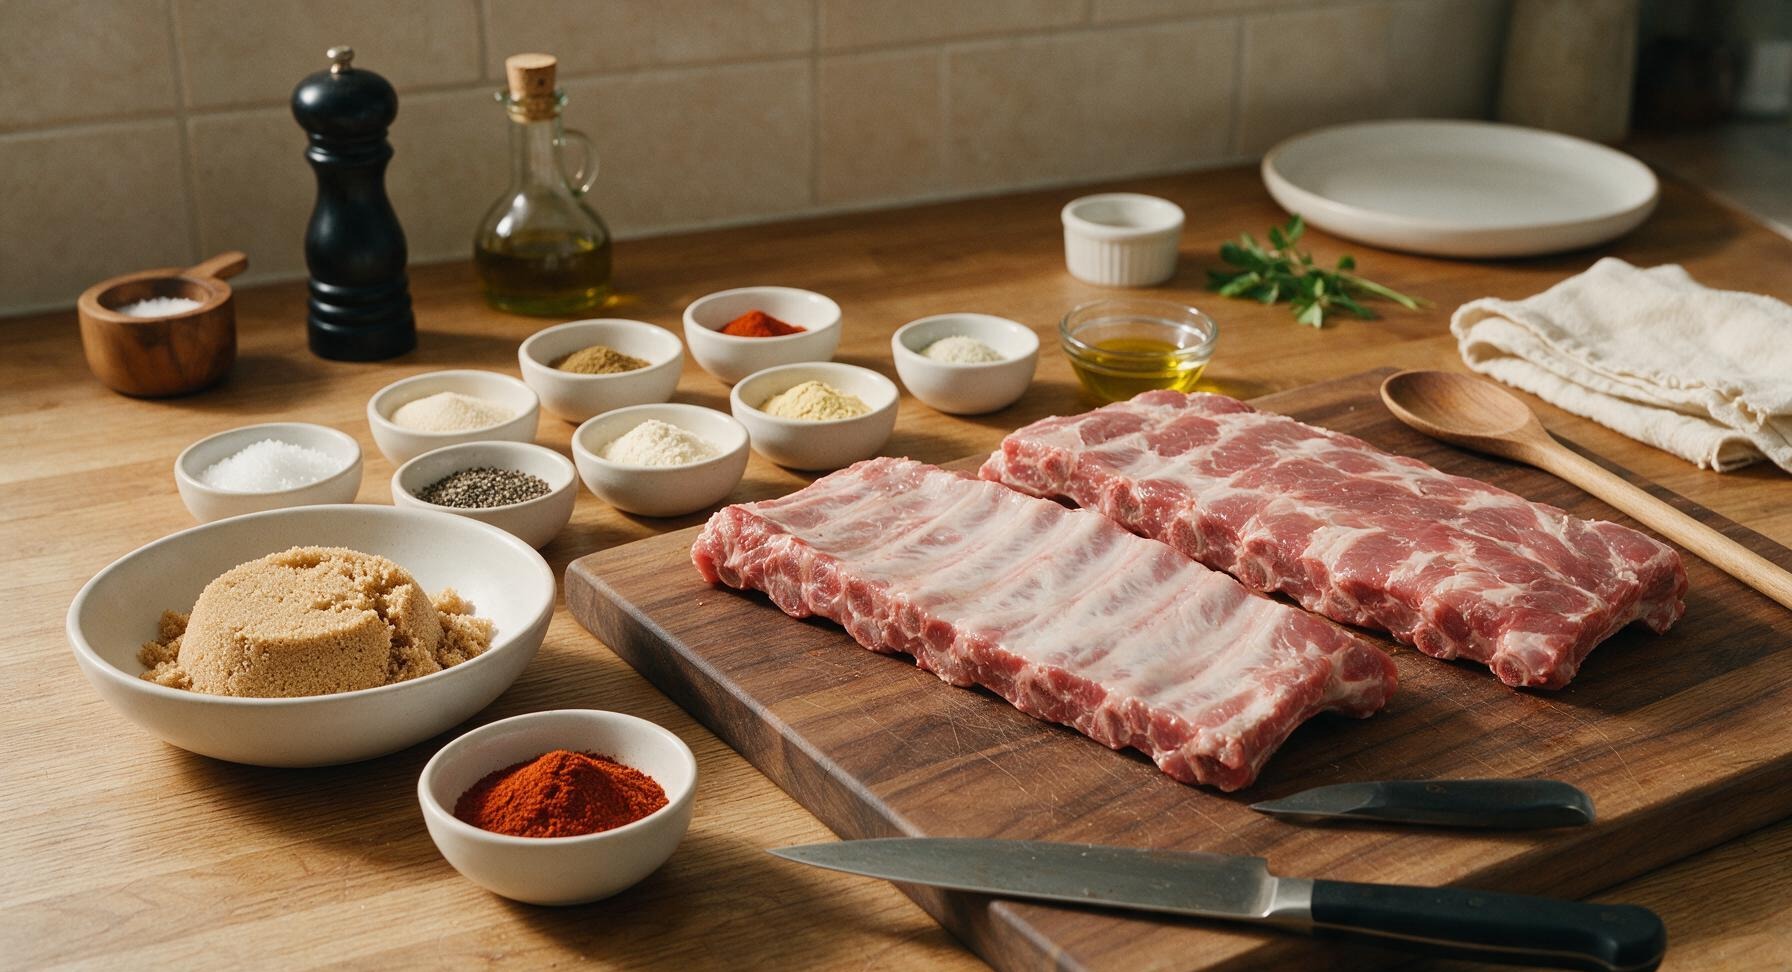
St. Louis-style pork spare ribs 2 racks (approx 2.2kg total)
Light brown sugar (packed) 1/2 cup
Smoked paprika 3 tbsp
Kosher salt 2 tbsp
Freshly cracked black pepper 1 tbsp
Garlic powder 1 tbsp
Onion powder 1 tsp
Ground cumin 1 tsp
Dry mustard powder 1 tsp
Cayenne pepper 1/2 tsp
Celery salt 1/2 tsp

Steps

1

Measure All Rub Ingredients

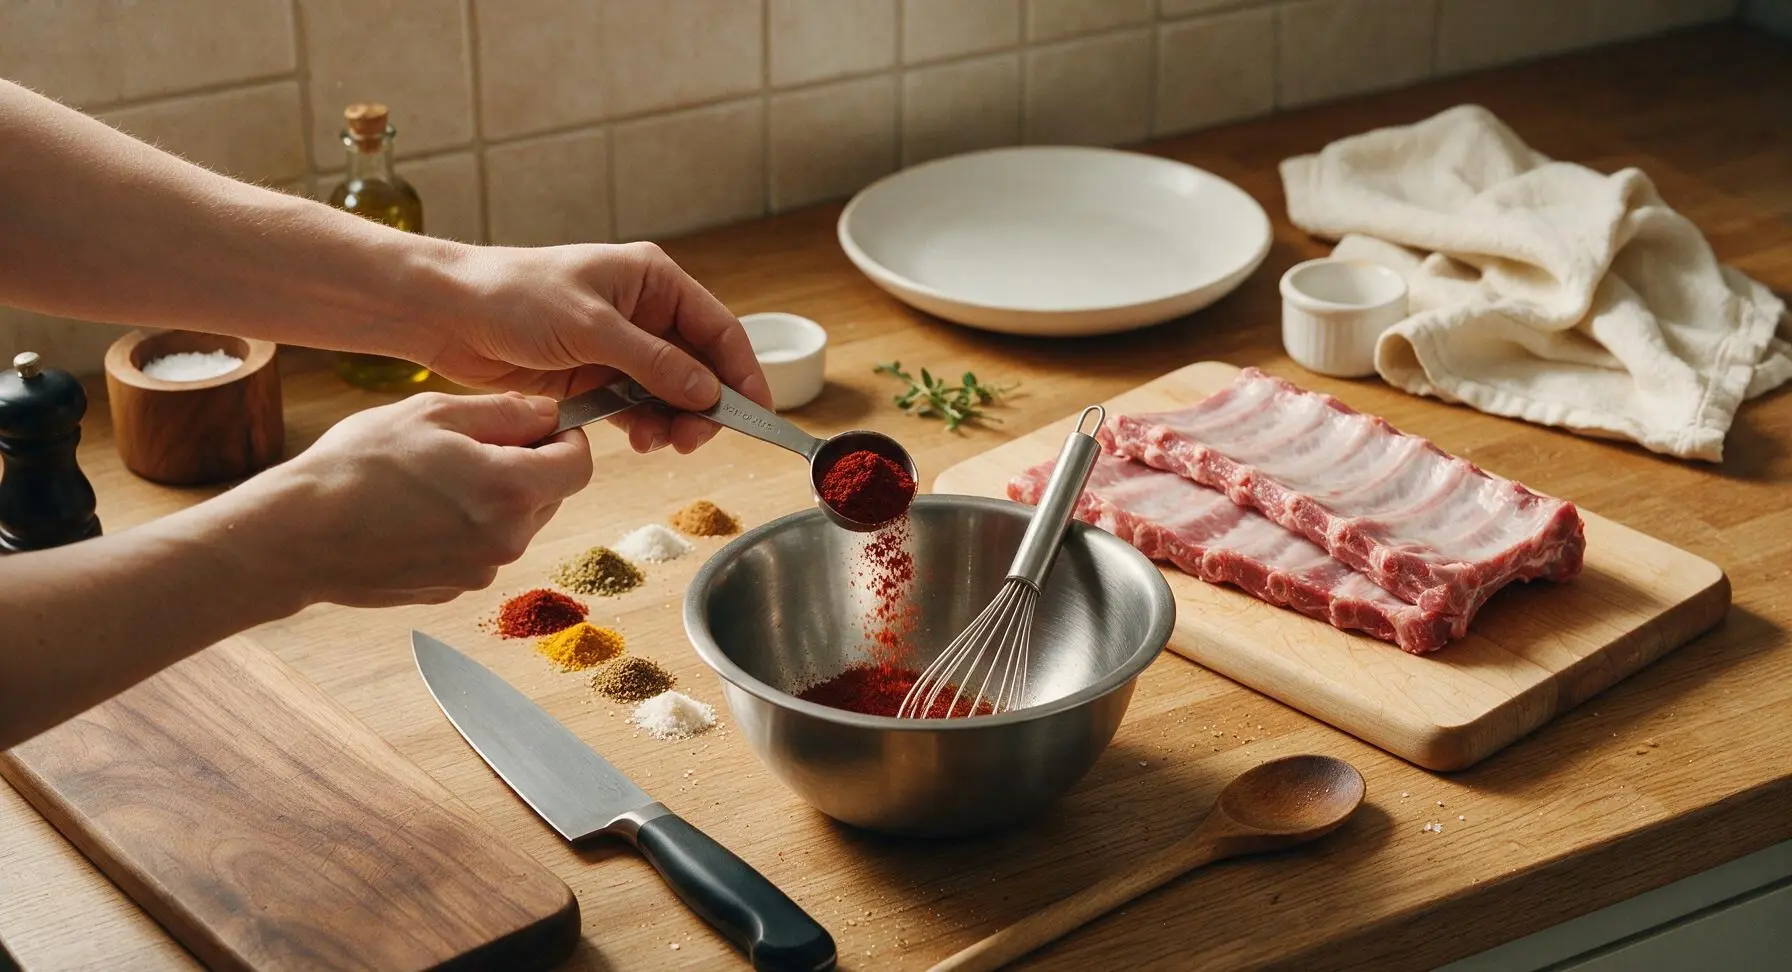
First, set the rib racks on the maple cutting board. Using the stainless steel measuring spoons, portion each rub ingredient directly into the brushed stainless steel mixing bowl: 1/2 cup packed light brown sugar, 3 tbsp smoked paprika, 2 tbsp kosher salt, 1 tbsp freshly cracked black pepper, 1 tbsp garlic powder, 1 tsp onion powder, 1 tsp ground cumin, 1 tsp dry mustard powder, 1/2 tsp cayenne pepper, and 1/2 tsp celery salt. Break up any hard clumps of brown sugar with clean fingertips as you add it to the bowl to prevent dry lumps in the finished rub.
Step 1
step1:Measure All Rub Ingredients
2

Whisk Rub Until Uniform

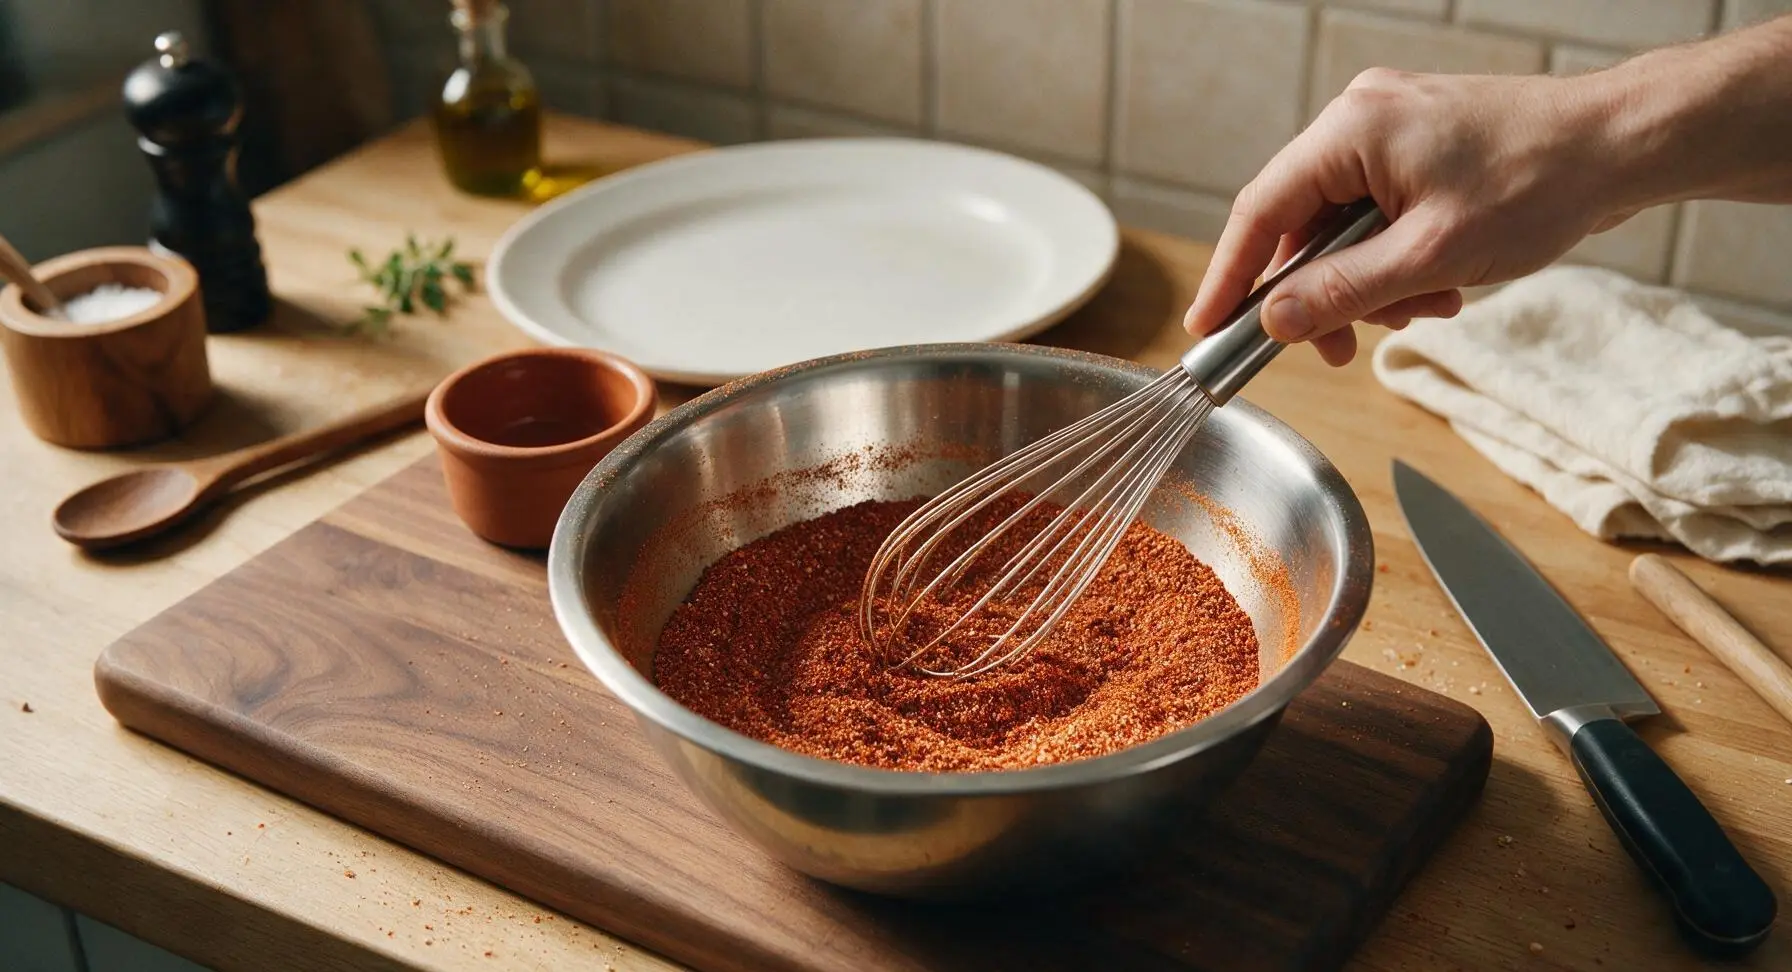
Use the 18cm stainless steel mini whisk to stir all measured ingredients together for 45-60 seconds, working to break up any remaining brown sugar clumps until the mixture is a consistent rich reddish-brown color, with no streaks of separate spices visible. Scoop 2 tablespoons of the fully mixed rub into the unglazed terracotta ramekin and set it aside for last-minute touch-ups after applying the main coat.
Step 2
step2:Whisk Rub Until Uniform
3

Trim Rib Racks Properly

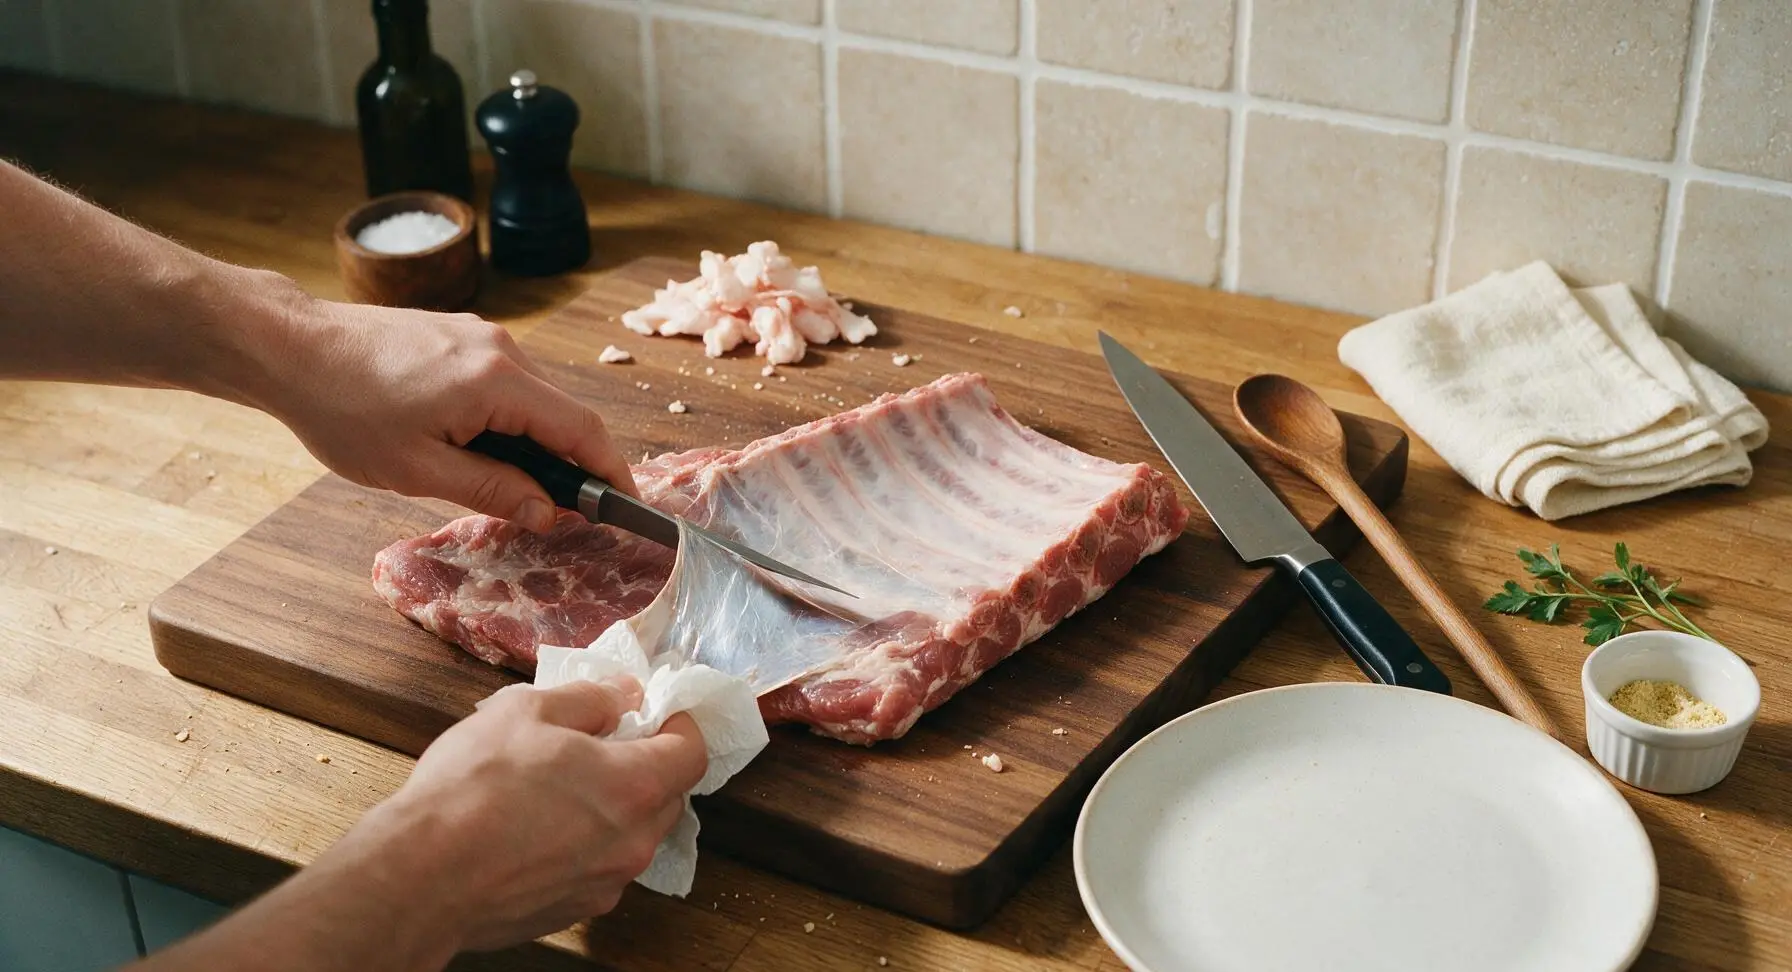
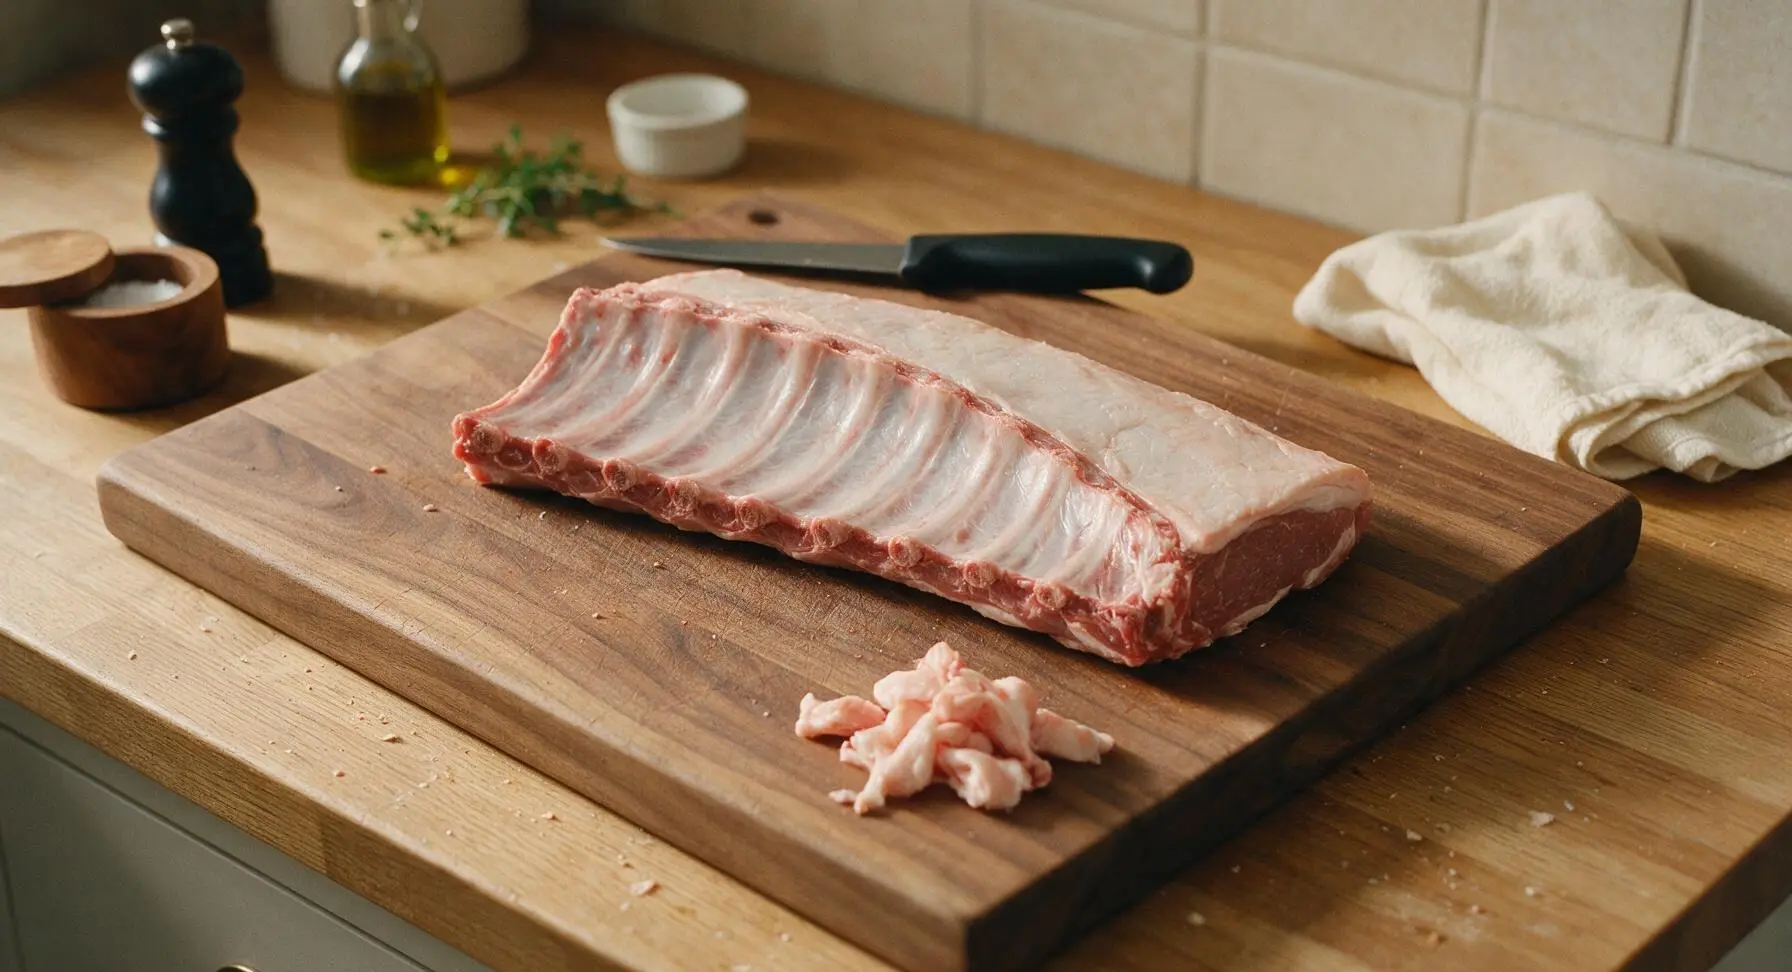
With the rib racks resting bone-side up on the maple cutting board, use the stiff boning knife to trim any loose, dangling fat pieces from the rack edges, leaving a uniform 1/8-inch thick fat cap on the meaty side. Next, remove the tough papery silver skin membrane from the bone side: slip the tip of the boning knife under the membrane at the narrow end of the rack, grip the loose edge with a crumpled paper towel for traction, and pull the membrane off in one smooth, continuous sheet. Discard trimmed fat and membrane scraps.
Step 3
step3:Trim Rib Racks Properly
Step 3
step3:Trim Rib Racks Properly
4

Pat Ribs Bone-Dry

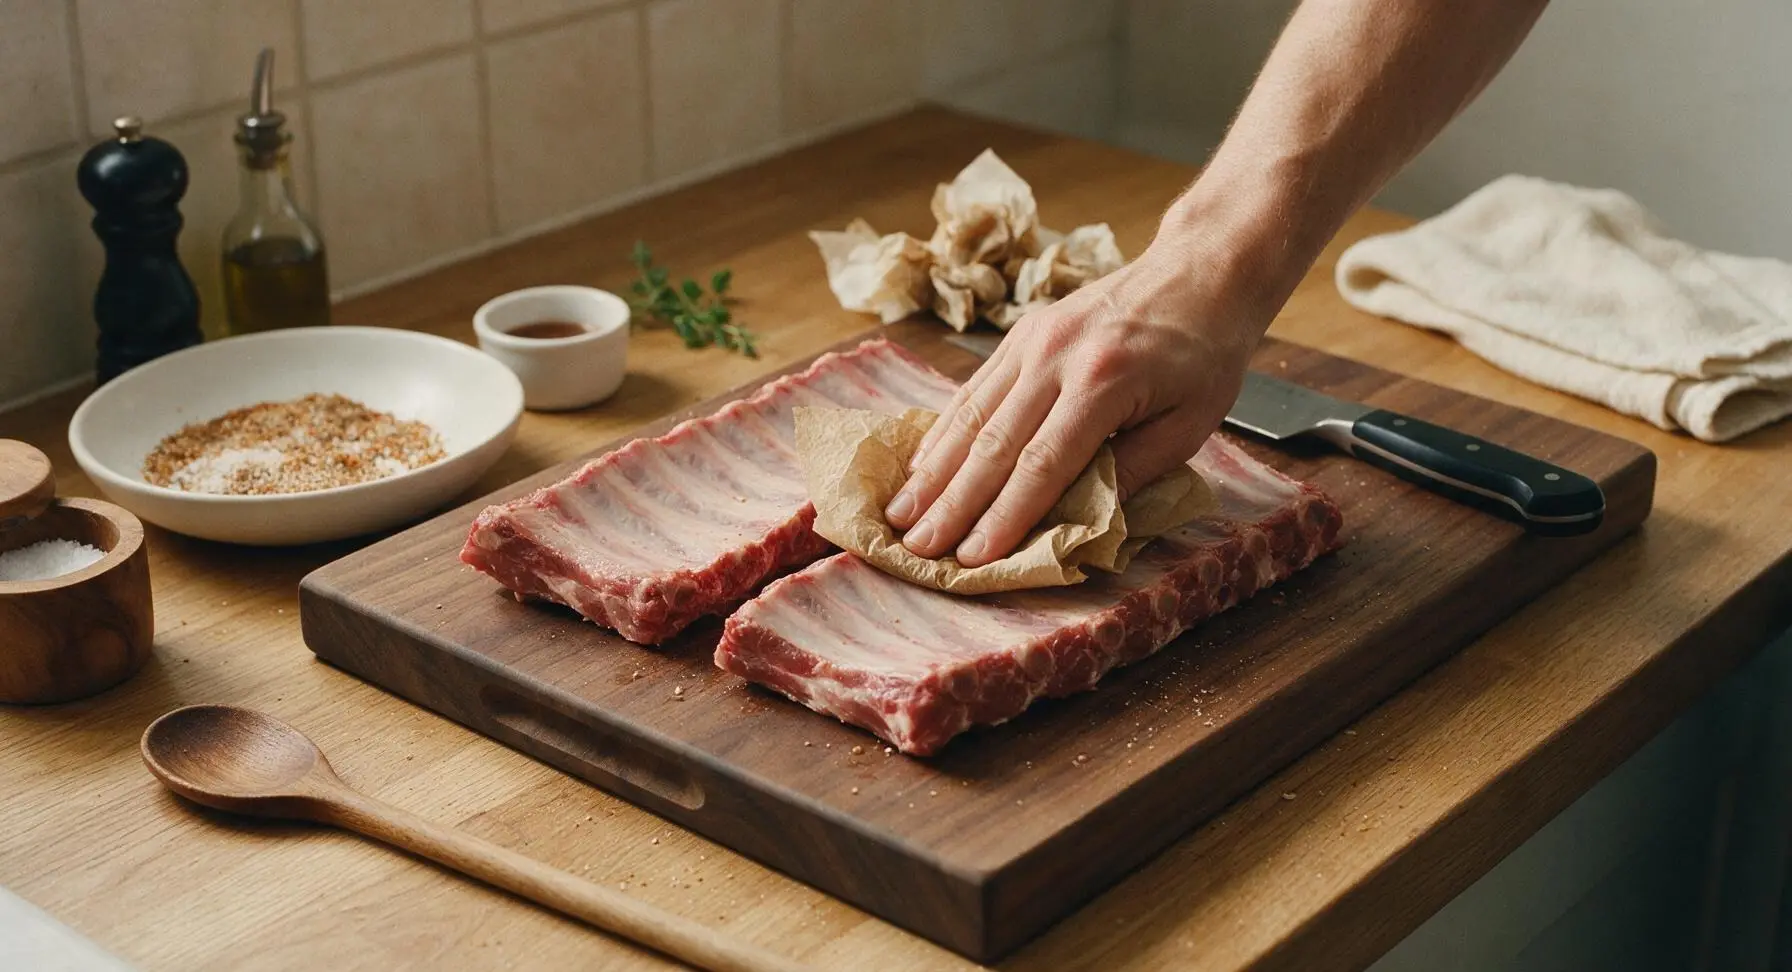
Tear sheets of unbleached paper towel from the roll on the matte black holder, and firmly pat every surface of both trimmed rib racks – meat side, bone side, and all cut edges – until no visible surface moisture remains and the paper towels come away completely dry. Dry meat is critical to help the rub adhere tightly and form a crisp, flavorful bark, rather than sliding off during cooking. Discard used paper towels out of frame.
Step 4
step4:Pat Ribs Bone-Dry
5

Apply First Rub Layer

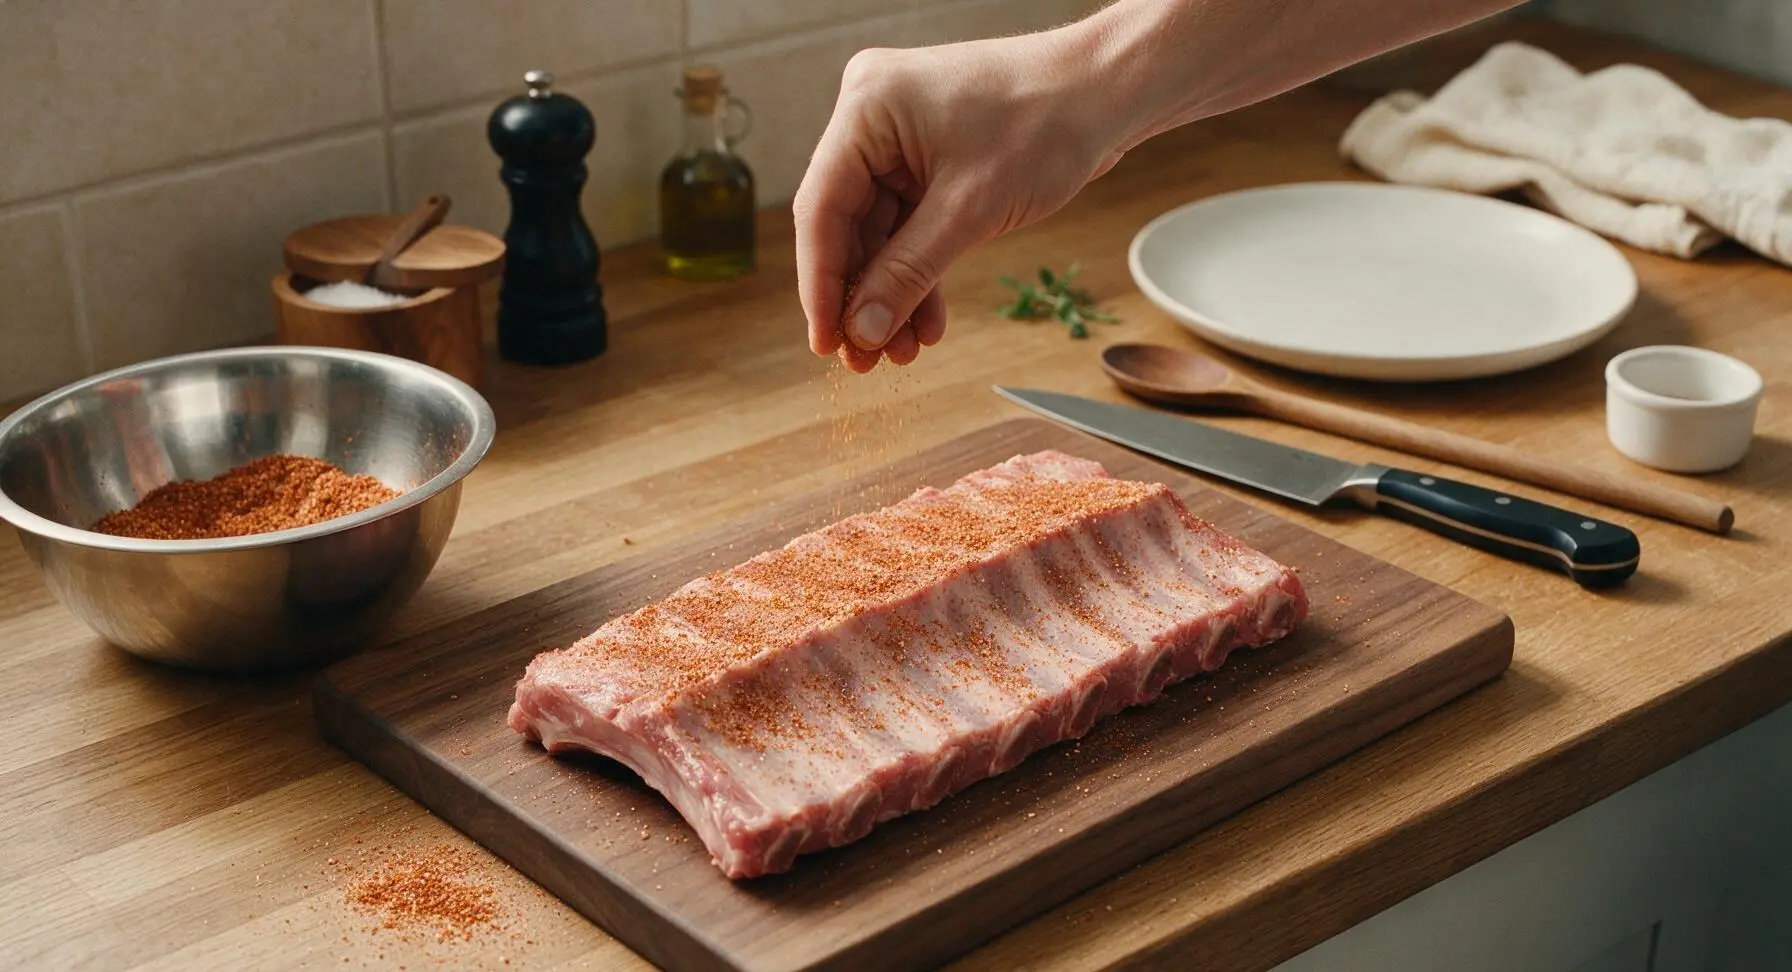
Scoop half of the mixed dry rub from the bowl, and sprinkle it evenly across the meaty top side of the rib racks, holding your hand 6 inches above the meat to create a light, even dusting instead of thick clumps. Use clean, dry hands to press the rub gently into the meat surface so it adheres, covering every inch of the top and side edges of the racks.
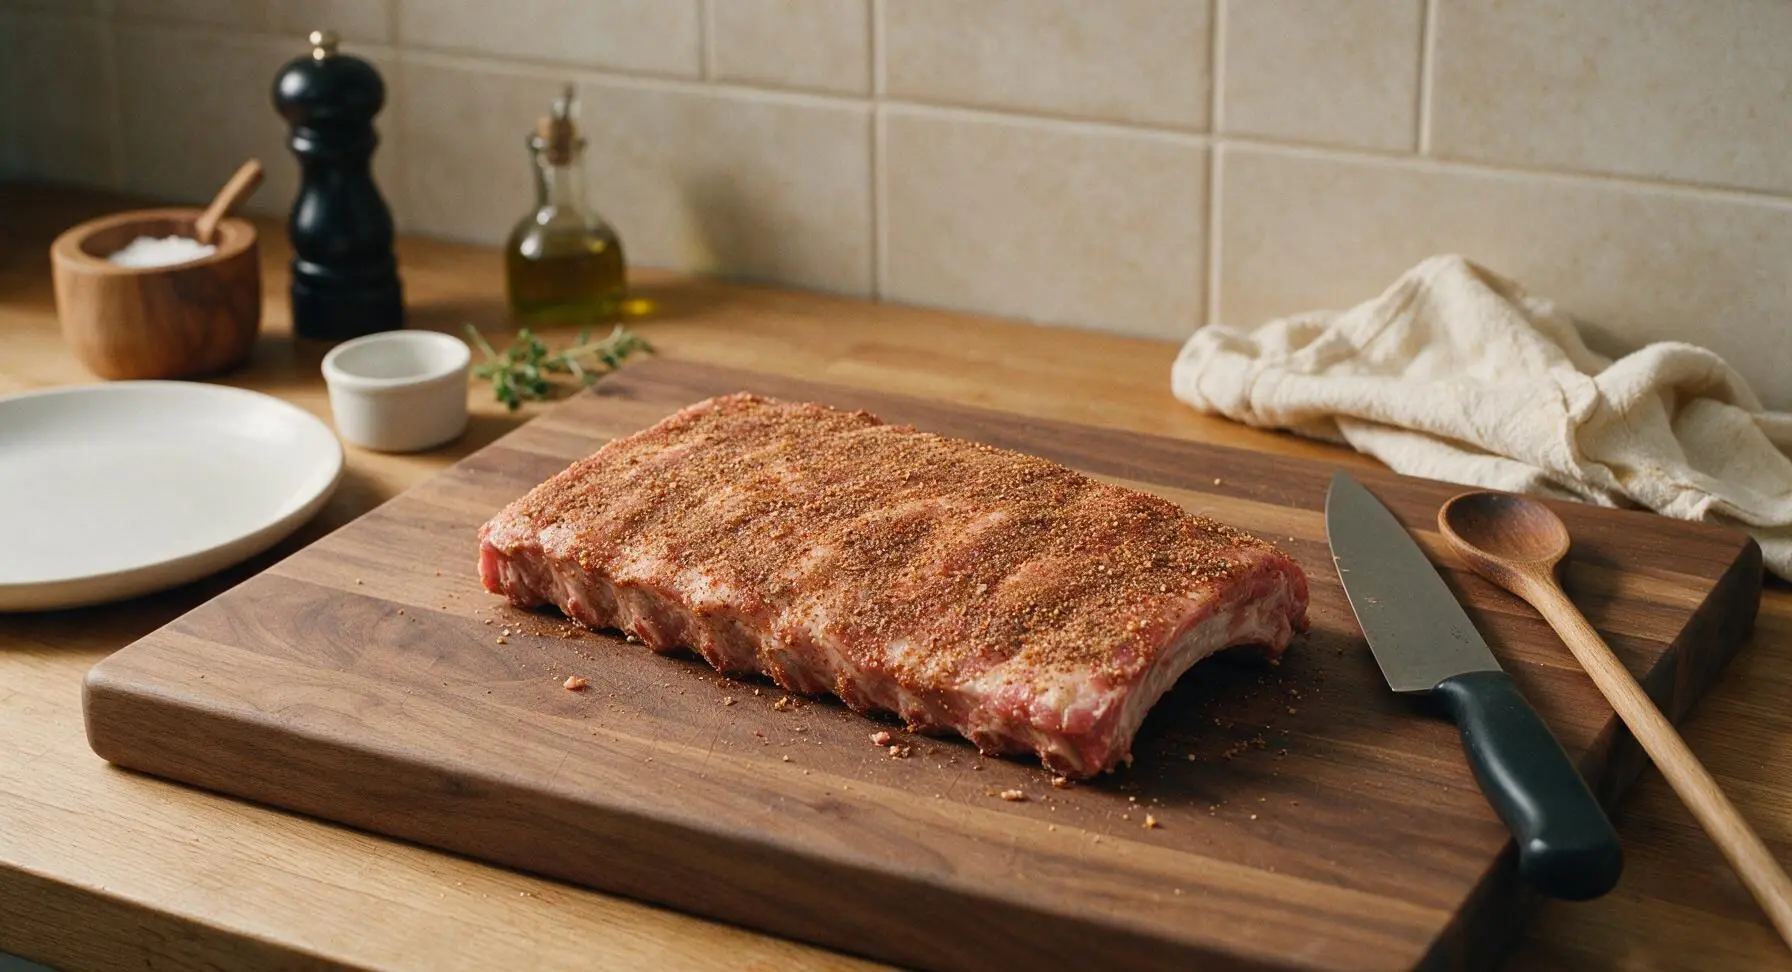
Step 5
step5:Apply First Rub Layer
Step 5
step5:Apply First Rub Layer
6

Coat Bone Side Evenly

Use both hands to carefully flip each rib rack so the bone side faces up, taking care not to scrape off the rub already applied to the meaty side. Sprinkle the remaining half of the dry rub across the bone side and all exposed edges of the racks, again pressing gently to help the rub stick. Inspect the racks to ensure no bare patches of meat remain on any surface.
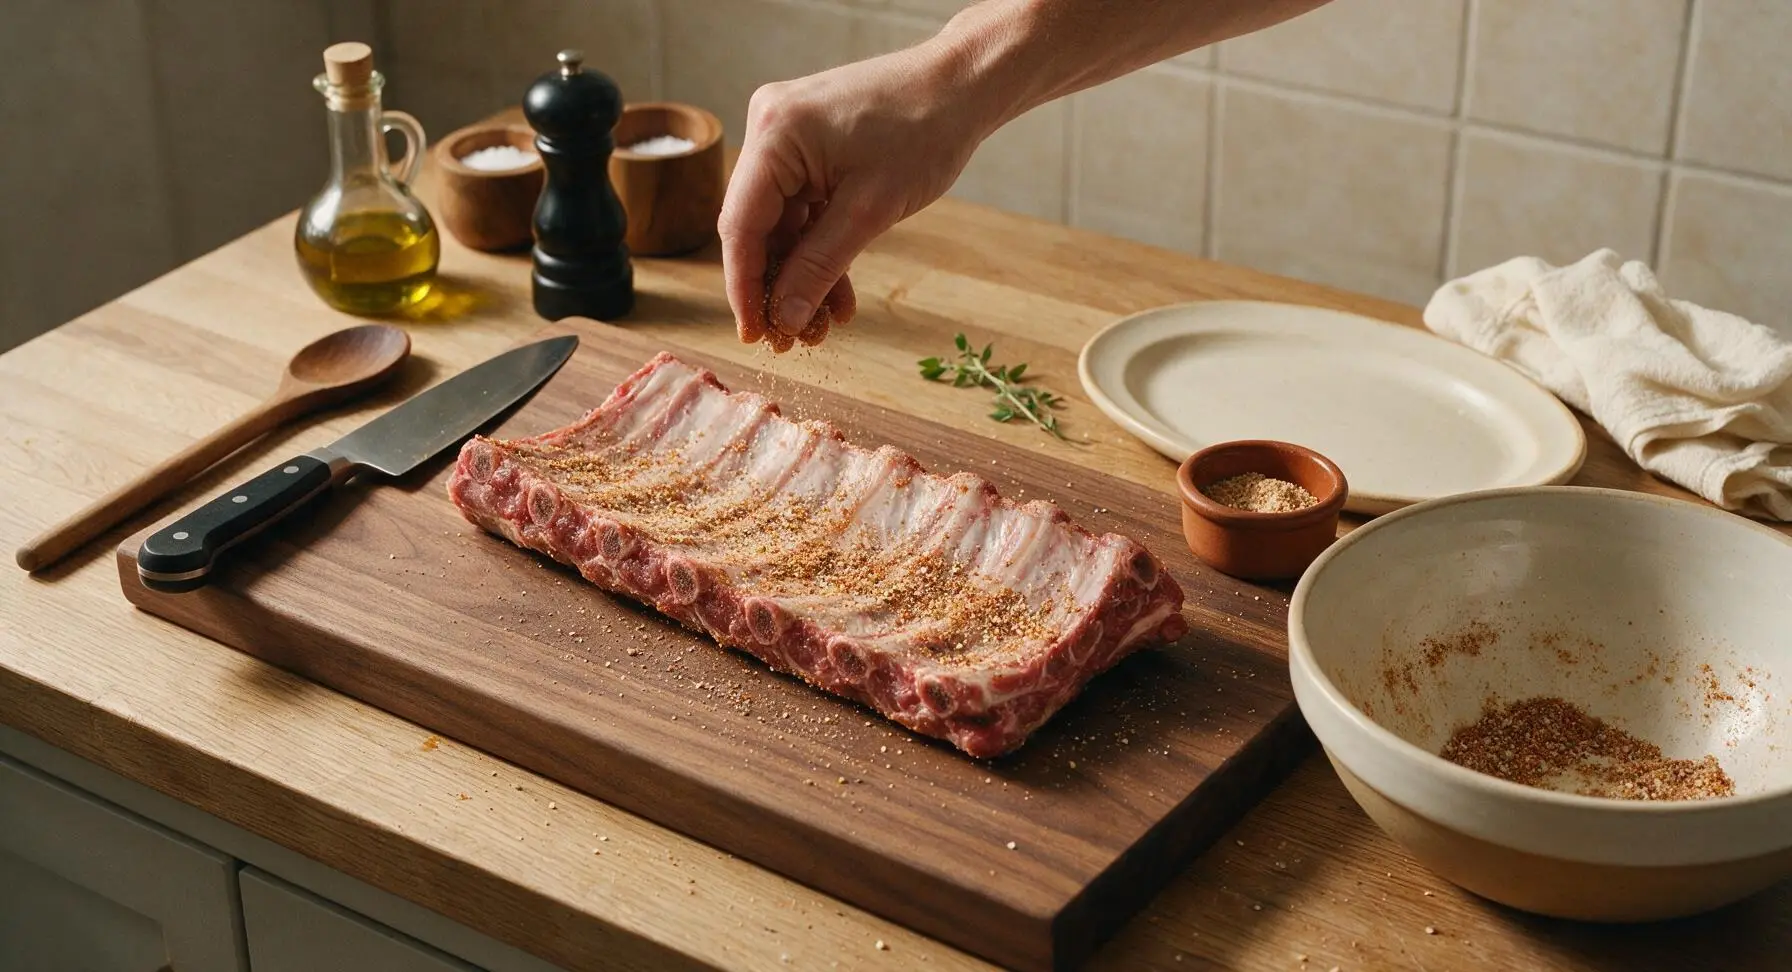
Step 6
step6:Coat Bone Side Evenly
7

Let Rub Adhere Briefly

Let the fully coated rib racks rest undisturbed on the cutting board at room temperature for 15 minutes. As the ribs rest, the salt and sugar in the rub will draw out small amounts of natural meat moisture, which dissolves the spice particles and creates a sticky, tacky layer that will not fall off during cooking. You will see the rub darken and take on a slightly wet, glossy appearance across the surface as it adheres.
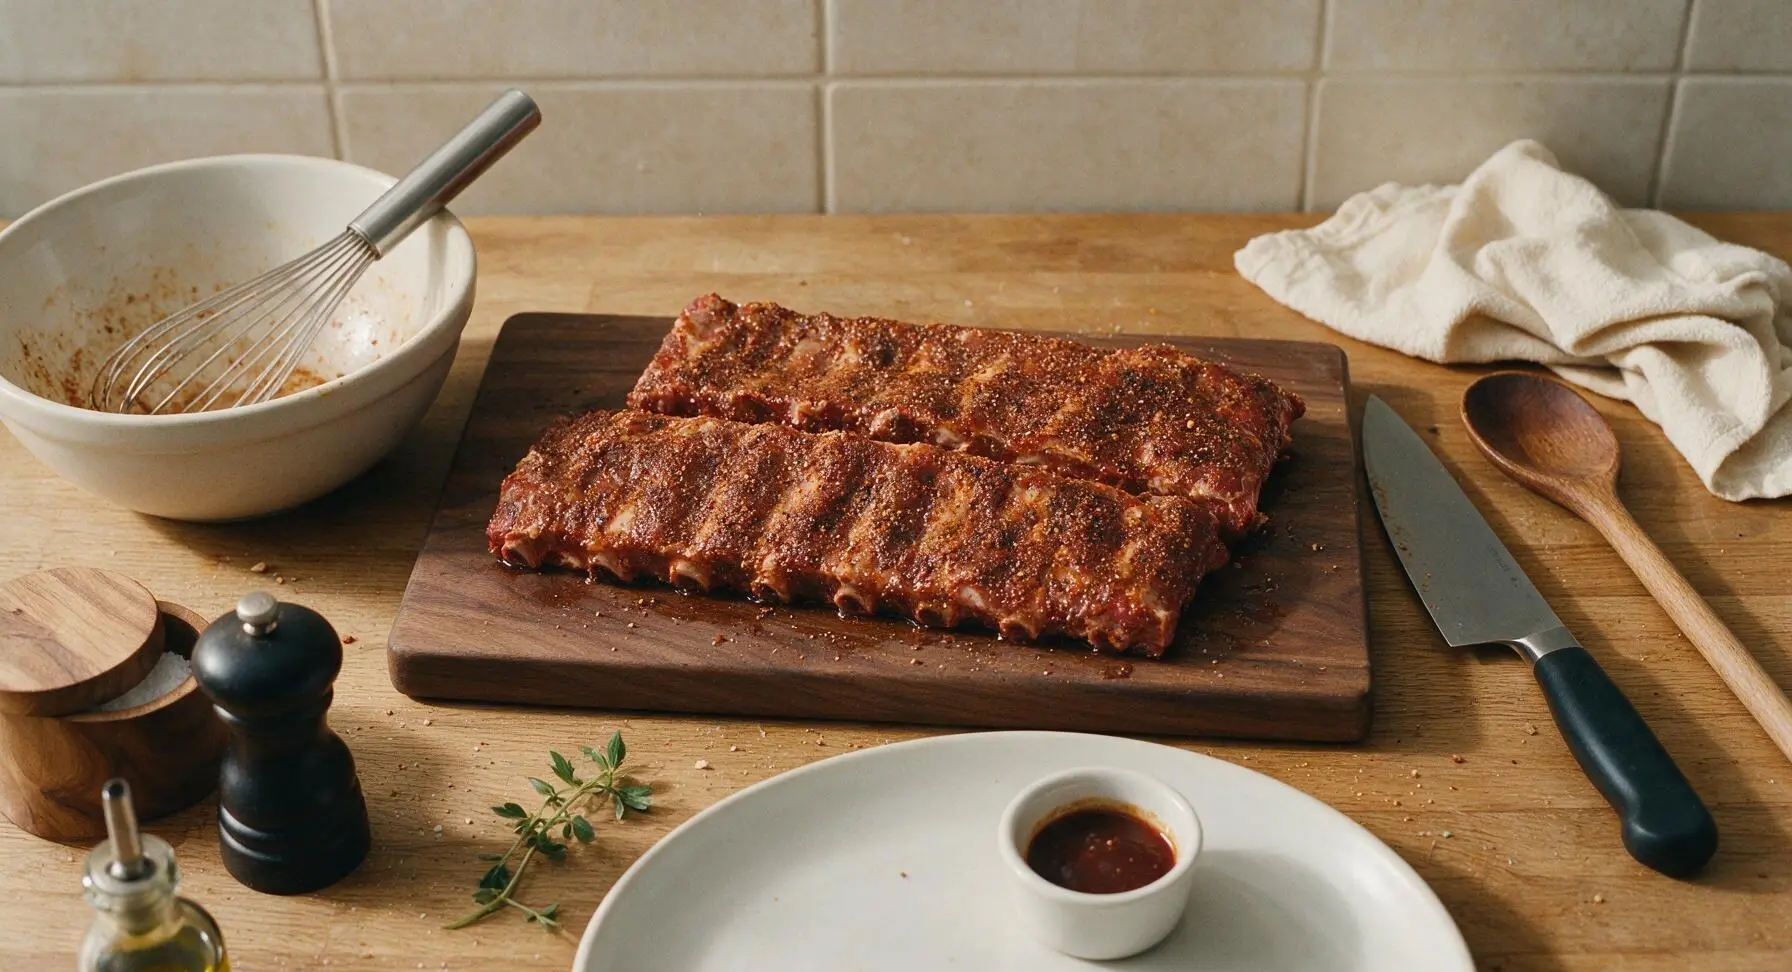
Step 7
step7:Let Rub Adhere Briefly
8

Arrange Ribs For Cooking

Carefully lift the rested, rub-coated rib racks and place them diagonally across the matte cream ceramic oval serving platter, taking care not to scrape off any of the adhered rub. Pinch small amounts of the reserved rub from the terracotta ramekin to cover any small bare spots you notice during transfer. The ribs are now fully prepped and ready for low-and-slow smoking or grilling at 225°F (107°C) for 3-3.5 hours, until the meat pulls back 1/4 inch from the bone ends and is tender to the touch.
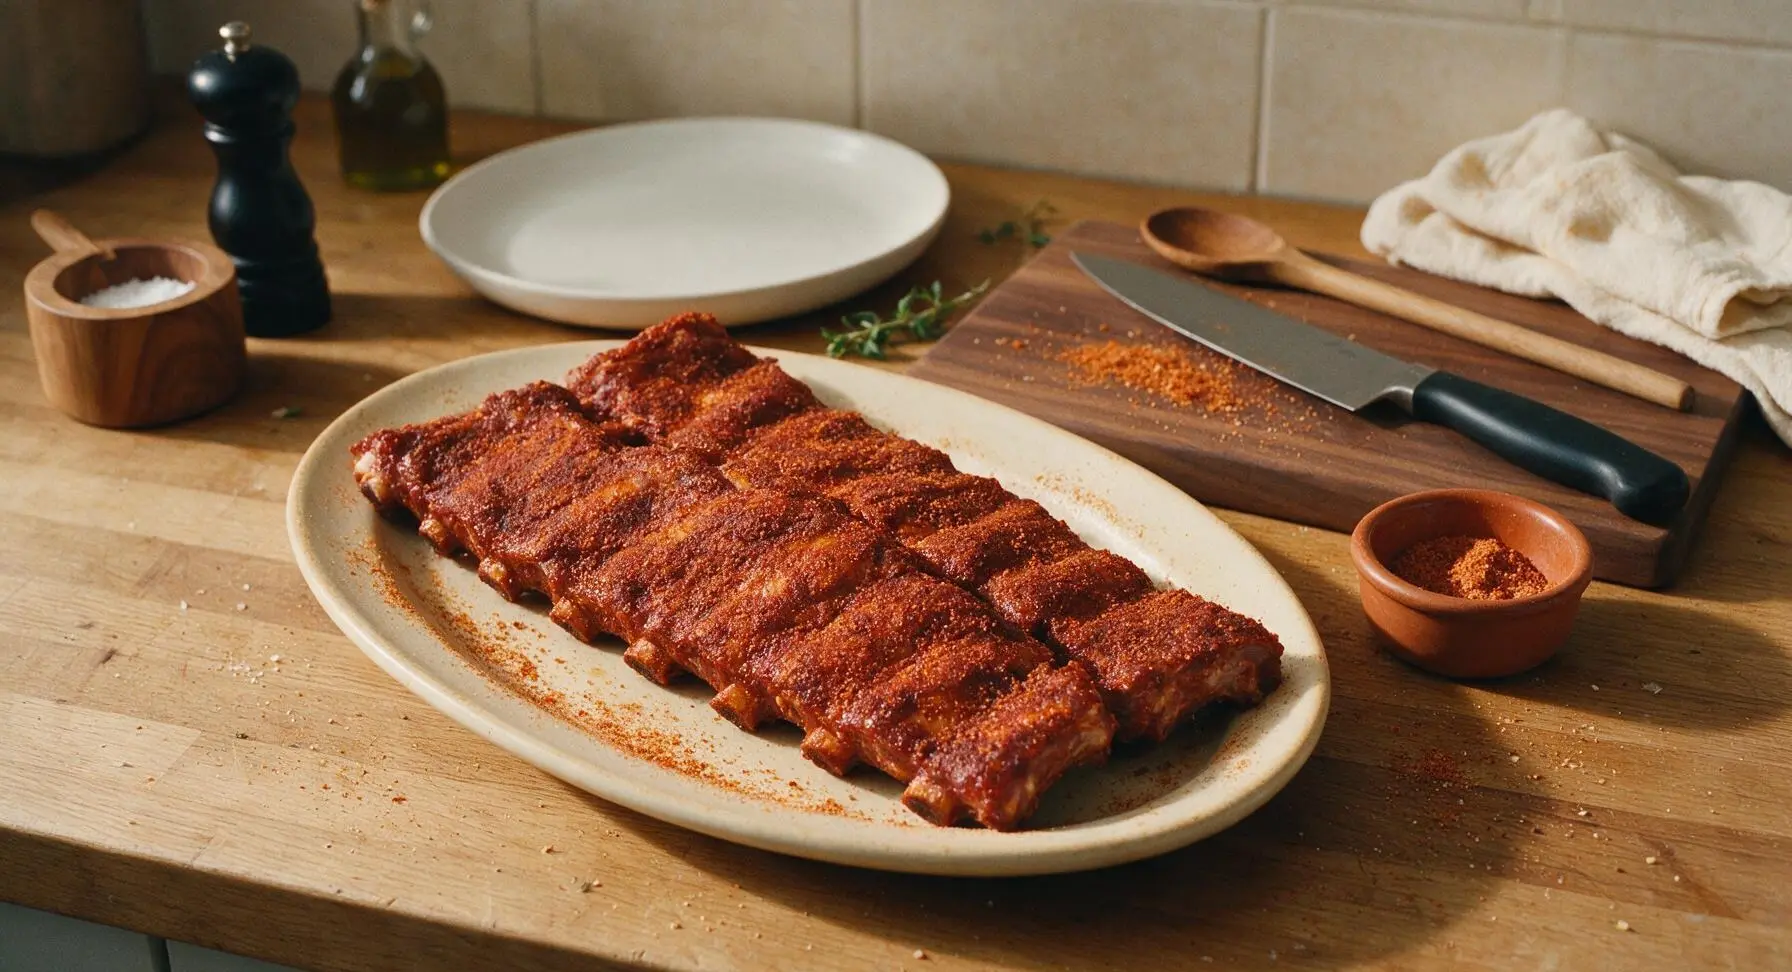
Step 8
step8:Arrange Ribs For Cooking

Tips

1.Avoid using stale, pre-ground spices older than 6 months: Old paprika, garlic powder, and cumin lose their bright, smoky aroma and taste flat or dusty, which will make the rub feel one-note even if you measure perfectly.
2.Hold your hand 6 inches above the ribs when sprinkling rub: This creates a light, even dusting instead of thick clumps that turn hard and bitter during long, low-heat cooking, rather than forming a crisp, uniform bark.
3.Adjust salt if substituting table salt for kosher salt: Table salt is nearly twice as dense as flaky kosher salt, so use only 2 tsp of table salt instead of the 2 tbsp kosher salt called for to avoid overly salty ribs.


✨ You May Also Like

BBQ & Grilling
🍜 United States

Tender, melt-in-your-mouth beef brisket with a crisp, spiced bark, slow-smoked to deep smoky perfection, the iconic centerpiece of Texas backyard barbecue.

⏱️ 12 hours BBQ & Grilling ★ 4.4
BBQ & Grilling
🍜 Korea

Tender, sweet-savory marinated beef short ribs, a beloved Korean BBQ staple with caramelized, slightly charred edges and deep umami flavor, perfect for outdoor summer gatherings.

⏱️ 4 hours 2BBQ & Grilling ★ 4.8
BBQ & Grilling
🍜 United States

Juicy grilled beef patties topped with smoky homemade chili, melted cheddar, and tangy pickles on toasted brioche buns for a hearty, flavor-packed handheld meal.

⏱️ 40 minuteBBQ & Grilling ★ 4.7
BBQ & Grilling
🍜 United States

A sweet, smoky, tangy BBQ sauce brightened with peak-season dark cherries, ideal for glazing grilled ribs, chicken, pork, or summer roasted veggies.

⏱️ 35 minuteBBQ & Grilling ★ 4.7
BBQ & Grilling
🍜 United States

Rich, smoky, slightly sweet homemade bourbon BBQ sauce with deep caramel notes, ideal for glazing grilled ribs, chicken, and burgers at cookouts.

⏱️ 25 minuteBBQ & Grilling ★ 4.7
BBQ & Grilling
🍜 United States

Iconic Alabama-style BBQ featuring tender hickory-smoked chicken slathered in tangy creamy white sauce, a beloved regional Southern cookout staple.

⏱️ 3 hoursBBQ & Grilling ★ 5

dry rub for ribs:Frequently Asked Questions

1.What makes this dry rub specifically Kansas City-style, compared to other regional rib rubs? ▾
Great question! Classic KC-style rubs are defined by their approachable balance of sweet, savory, and gentle smokiness, with no sharp tang from heavy mustard or vinegar bases like you’ll find in other regional styles. This blend uses brown sugar for caramelization and smoked paprika for deep woody notes that build that signature crisp, flavorful bark during low-and-slow cooks.
2.Why does the recipe call for St. Louis-style pork spare ribs instead of baby back ribs? ▾
St. Louis-style spare ribs are trimmed to a neat, uniform rectangular rack, with tough cartilage and rib tips removed so they cook completely evenly during long low-and-slow sessions. They have richer, more consistent fat marbling than baby back ribs, which pairs perfectly with this rub to create that melt-in-your-mouth texture and sticky, crisp bark KC ribs are famous for.
3.Should I apply the rub right before cooking, or let it rest on the ribs overnight? ▾
You’ll get great results either way, but for the deepest flavor, apply the rub 1 to 12 hours before cooking, then let the ribs rest covered in the fridge. The salt will draw out small amounts of moisture that mix with the sugar and spices to form a tacky layer that locks in flavor and helps that signature bark set perfectly as the ribs cook.
4.Why use packed light brown sugar instead of dark brown sugar or granulated sugar? ▾
Packed light brown sugar has just the right amount of molasses to add that warm, caramel sweetness KC rubs are known for, without the heavy, slightly bitter molasses punch dark brown sugar can bring during long cooks. It melts evenly at low smoking temperatures to build shiny, crisp bark, instead of burning or leaving grit like plain granulated sugar can.
5.Can I substitute regular sweet paprika if I don’t have smoked paprika? ▾
You can, but you’ll miss that core deep, woody smokiness that defines this KC-style blend. If you only have regular sweet paprika, add 1/4 teaspoon of hickory smoke powder per tablespoon of paprika to mimic that smoked note. Skip hot or sharp bitter paprika varieties, as those will throw off the rub’s gentle, balanced sweet-savory profile.
6.How much rub should I use per rack to get a good bark without over-seasoning? ▾
For a standard 2.5 to 3 pound St. Louis-style spare rib rack, use roughly 1/3 to 1/2 cup of this dry rub, applied in a thin, even layer on all sides of the rack. Don’t cake the rub on so thick it clumps; a light, consistent coating will caramelize into perfect crisp bark without making the ribs overly salty or overly sweet.
7.Why does the recipe specify kosher salt instead of regular table salt? ▾
Kosher salt has larger, irregularly shaped flakes that distribute more evenly across the rib surface than fine, dense table salt, so you won’t end up with random overly salty bites. It also dissolves more slowly during long low-and-slow cooks, penetrating the meat evenly to build savoriness all the way through, rather than sitting only on the surface.
8.Will this rub form a good bark if I cook ribs on a regular gas grill instead of a smoker? ▾
Absolutely! You can get that signature crisp, caramelized bark on a gas grill by setting it up for indirect cooking, holding a steady 225 to 250°F, and adding a small wood chip packet for extra smoke if you’d like. The sugar and spice blend will still caramelize as long as you keep temperatures low and avoid direct high heat that burns the sugar.
9.Is this rub spicy? I’m serving ribs to kids and guests who don’t like hot food. ▾
This classic KC-style rub is only gently spiced from freshly cracked black pepper, with no added cayenne, hot chili powder, or fiery peppers that would bring noticeable heat. It’s intentionally balanced to be family-friendly, leaning into warm sweet and smoky notes rather than bold heat, so it works perfectly for crowds with varying spice preferences.
10.Why use freshly cracked black pepper instead of pre-ground pepper from the spice aisle? ▾
Freshly cracked black pepper has a bright, sharp, earthy flavor that pre-ground pepper loses after months on the shelf, as its aromatic oils break down and go flat. The coarse, uneven crack also adds tiny bits of texture that help build that craggy, crisp bark, instead of the fine, dusty texture pre-ground pepper adds that can make bark feel gritty.
11.How do I keep the sugar in the rub from burning and turning bitter during the long cook? ▾
The key to avoiding burnt, bitter rub is holding a consistent cooking temperature between 225 and 275°F for your entire low-and-slow cook—sugar burns quickly at temperatures above 300°F, especially when exposed to direct flame. If you notice dark, acrid-smelling spots forming, move that section of the rack away from direct heat and spritz lightly with apple juice to cool the surface.

Comments (4)

2 days ago

OMG this rub is a total game changer! I made a full rack of ribs with it for our Sunday family dinner last weekend and even my super picky teen who swears he 'hates BBQ sauce' went back for seconds. I didn't change a single thing in the recipe, just coated the ribs the night before to let the flavors sink in, then smoked them for the full 3.5 hours per the instructions. SO good, I’m already mixing up a double batch to have on hand for our neighborhood potluck next month! Quick question though — has anyone tried this rub on chicken thighs too?

yesterday

Tried it on bone-in chicken thighs last week when I ran out of my usual poultry rub, total chef’s kiss! Just don’t go too heavy on the rub if you’re leaving it on the chicken overnight, it’s a little more concentrated on thinner cuts and can get too salty.

2 hours ago

So glad your family loved the rub, Liz! It works fantastic on chicken thighs, pork chops, and even roasted cauliflower if you want a tasty veggie option — just like SmokeJunkie92 mentioned, go a little lighter on the rub for shorter smoke or roast times to avoid over-salting. Hope the ribs are a hit at the potluck!

5 days ago

Super easy recipe even for a total BBQ newbie like me! First time ever making ribs that didn’t turn out tough or bland, which feels like a massive win. My only tiny note is I wish it had a little more kick — next time I’ll probably add an extra 1/2 tsp of cayenne to match my heat preference. Still, way better than the overpriced store-bought rub I used to grab, saved this to my go-to recipe folder for sure.

3 days ago

Great call on the extra cayenne if you love heat, Jake! A lot of folks also add a pinch of crushed red pepper flakes or a dash of hot paprika for an extra zing if you want to play around with the flavor profile. So stoked your first rib attempt turned out well — that’s what easy, approachable home BBQ is all about!

1 week ago

Brought these ribs rubbed with this recipe to our office cookout last week and people were begging me for the recipe before we even finished eating! The balance of sweet and smoky is perfect — not too sugary like a lot of KC rubs I’ve tried before that leave your teeth sticky after one bite. I let the ribs rest with the rub on for 30 minutes before putting them on the smoker and the bark came out perfect, no weird bitter spots at all. 10/10, this will be my go-to rib rub from now on.

5 days ago

Totally agree about the sugar balance! I’ve had so many KC-style rubs that taste like straight brown sugar caked on a rib, but this one lets the paprika, garlic, and cumin shine through too. I did the 30 minute rub rest as well and the bark was chef’s kiss, glad I’m not the only one who swears by that step!

3 days ago

Who knew making a homemade dry rub was this easy? I prepped a big mason jar of this on Sunday during my usual meal prep session, used it on a rack of ribs for dinner Wednesday and it tasted like something I’d pay $30 for at the fancy BBQ joint downtown. My kids loved it so much they asked if we can have ribs every Friday as our new family tradition. Worth every minute of prep, plus there’s no weird preservatives or unpronounceable ingredients like the pre-made rubs at the grocery store.



