
dutch oven chicken
intro
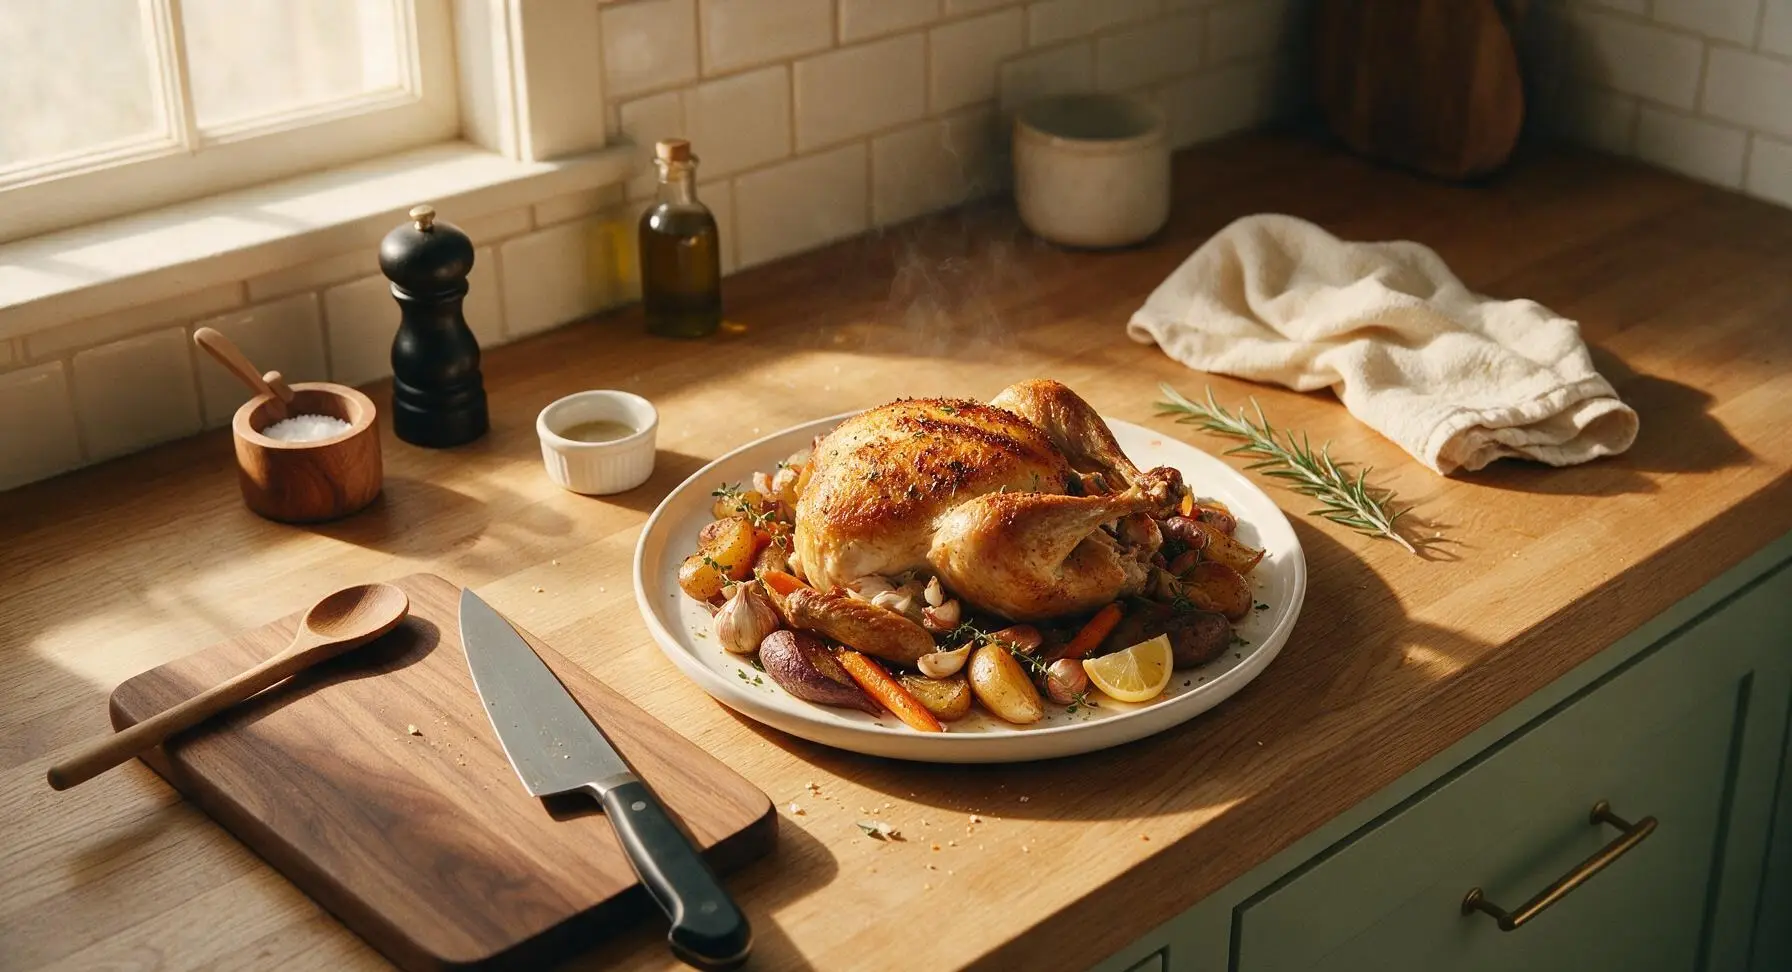
Crispy-skinned, fall-off-the-bone tender whole chicken roasted with root vegetables in a lidded Dutch oven, infused with garlic, lemon, and thyme for a cozy, low-fuss one-pot meal.
Ingredients
Steps
Prep Root Vegetables
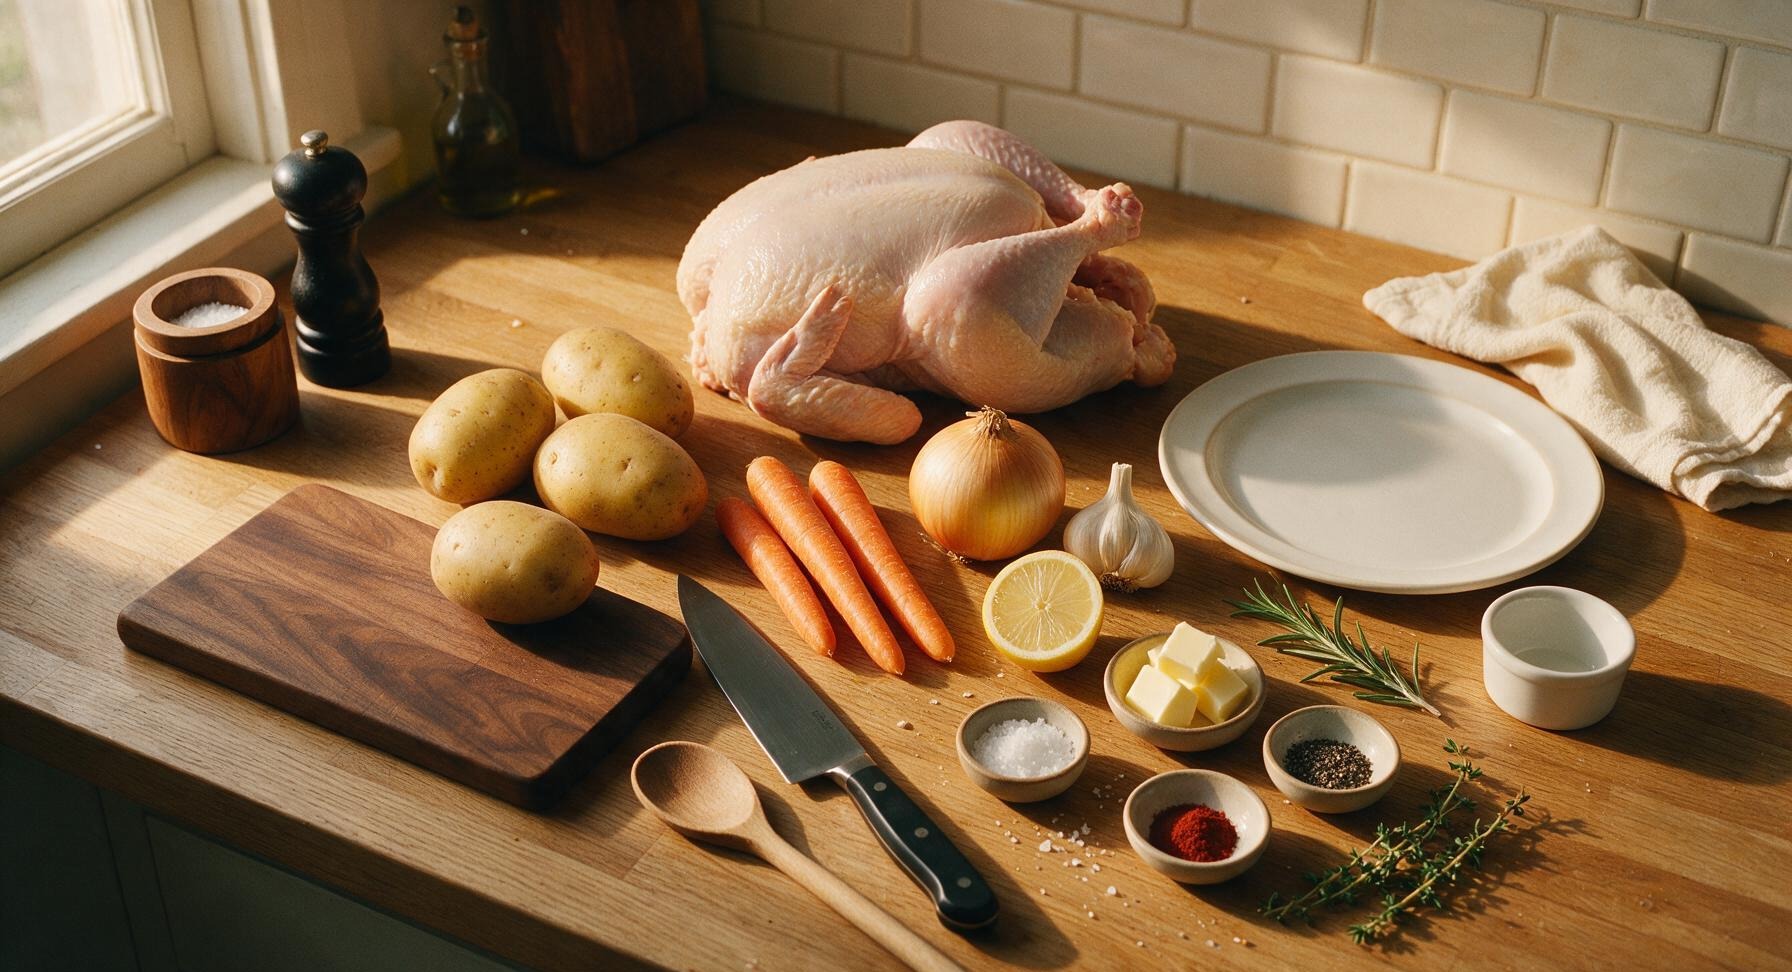
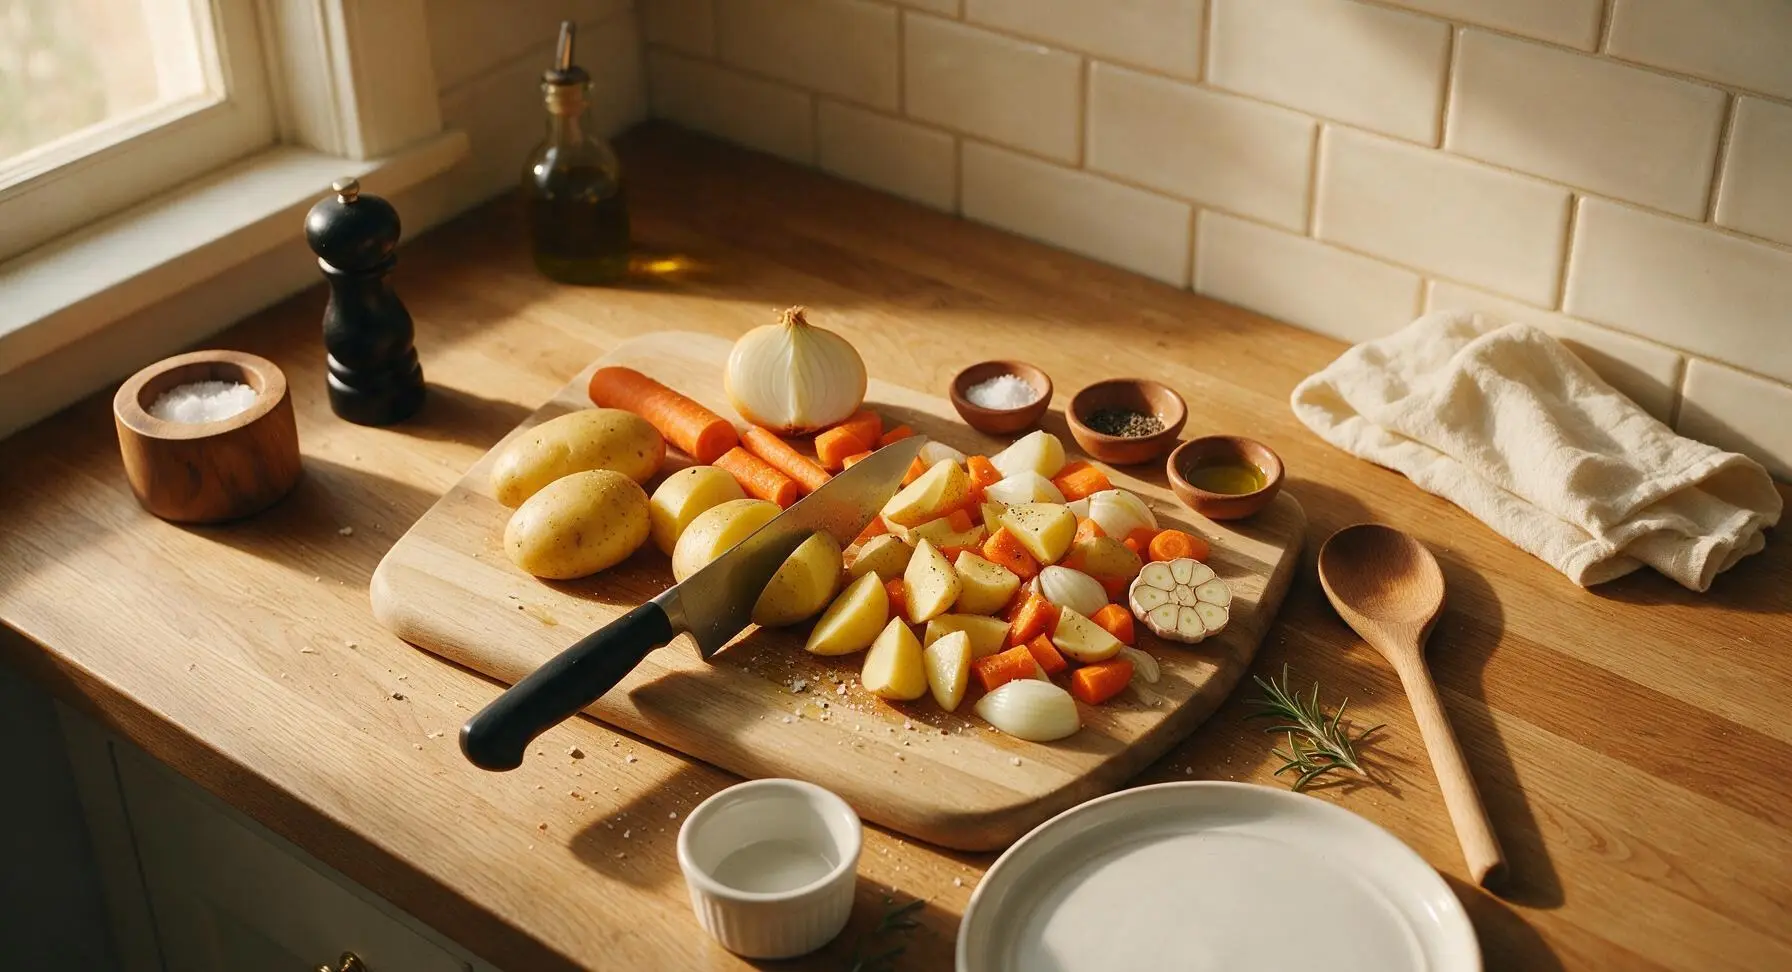
Place the scrubbed Yukon gold potatoes, peeled carrots, and quartered yellow onion on the light acacia wood cutting board. Using the 8-inch chef knife, cut potatoes into 5cm wedges, carrots into 5cm diagonal chunks, and onion into 2.5cm thick wedges. Toss cut veggies in a pile on the cutting board, drizzle with 1 tablespoon of olive oil, and season with 1/2 teaspoon salt and 1/4 teaspoon black pepper. Toss to coat evenly. Halve the garlic head crosswise, set aside with veggies.
Season the Whole Chicken
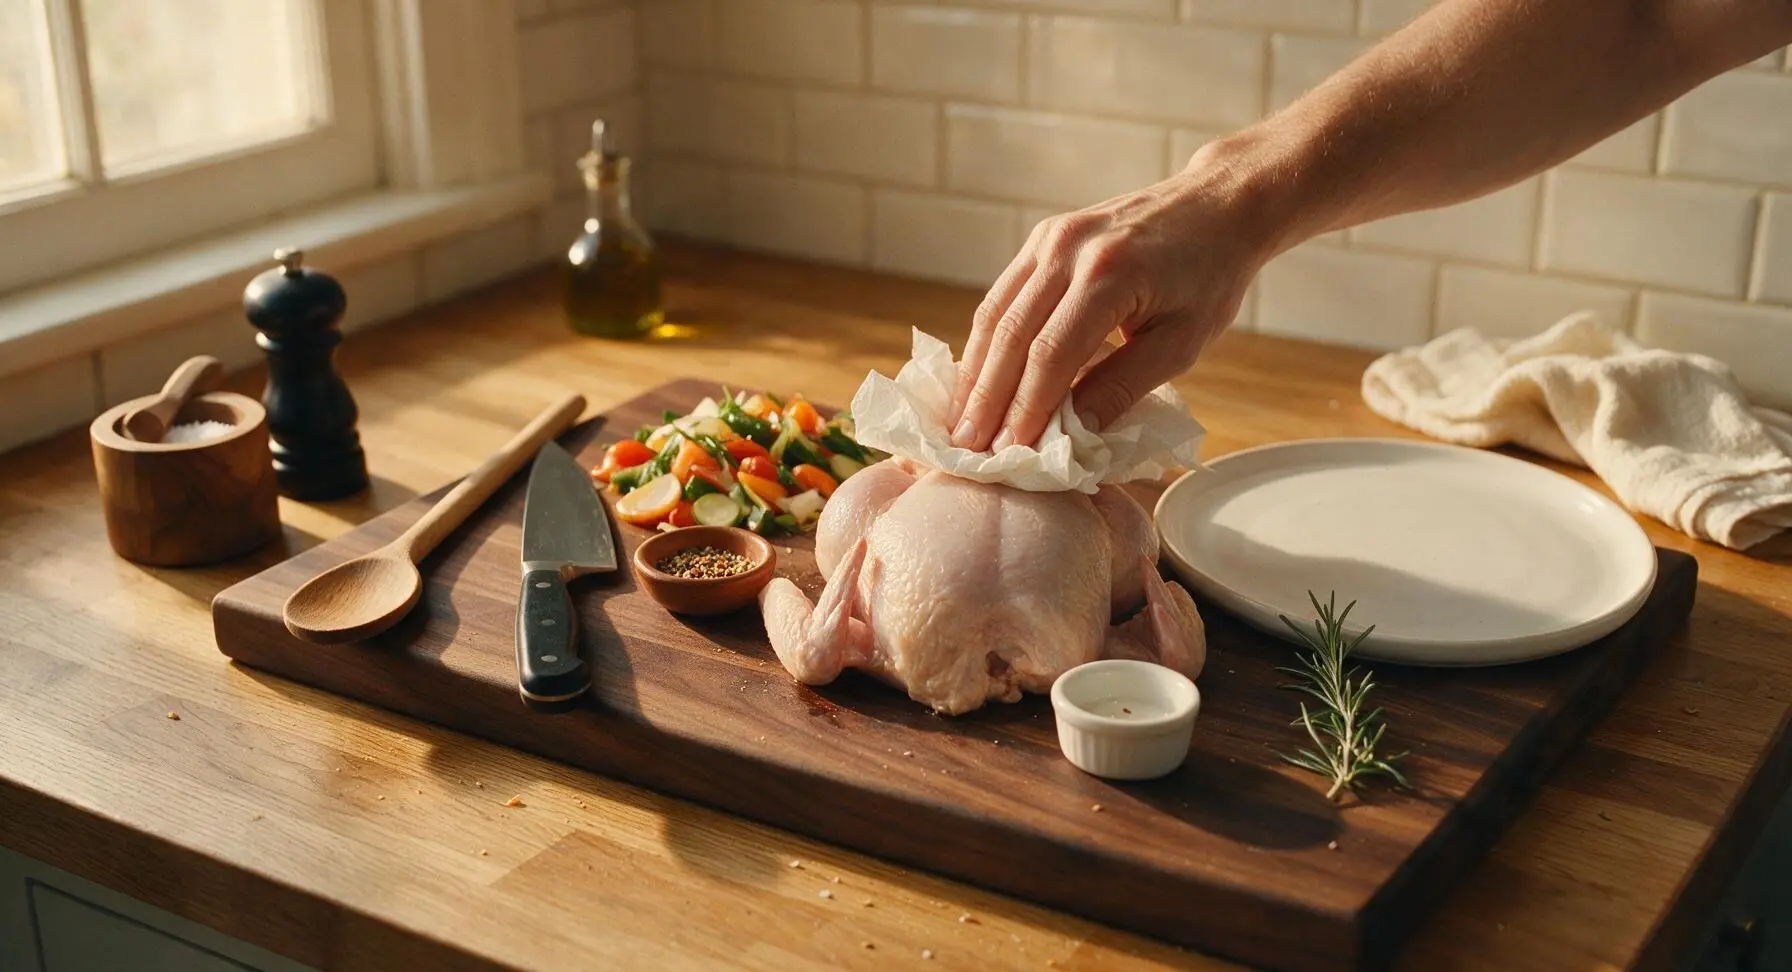
Pat the 1.8kg (4lb) whole chicken completely dry all over, including inside the cavity, with paper towels to ensure skin crisps properly. Rub the entire exterior and cavity with the remaining 1 tablespoon olive oil. Mix the remaining 1 teaspoon salt, 3/4 teaspoon black pepper, and 1/2 teaspoon smoked paprika in a small terracotta pinch bowl, then rub the spice mix evenly over every surface of the chicken skin and inside the cavity. Stuff the cavity with both lemon halves, 2 thyme sprigs, and one half of the cut garlic head.
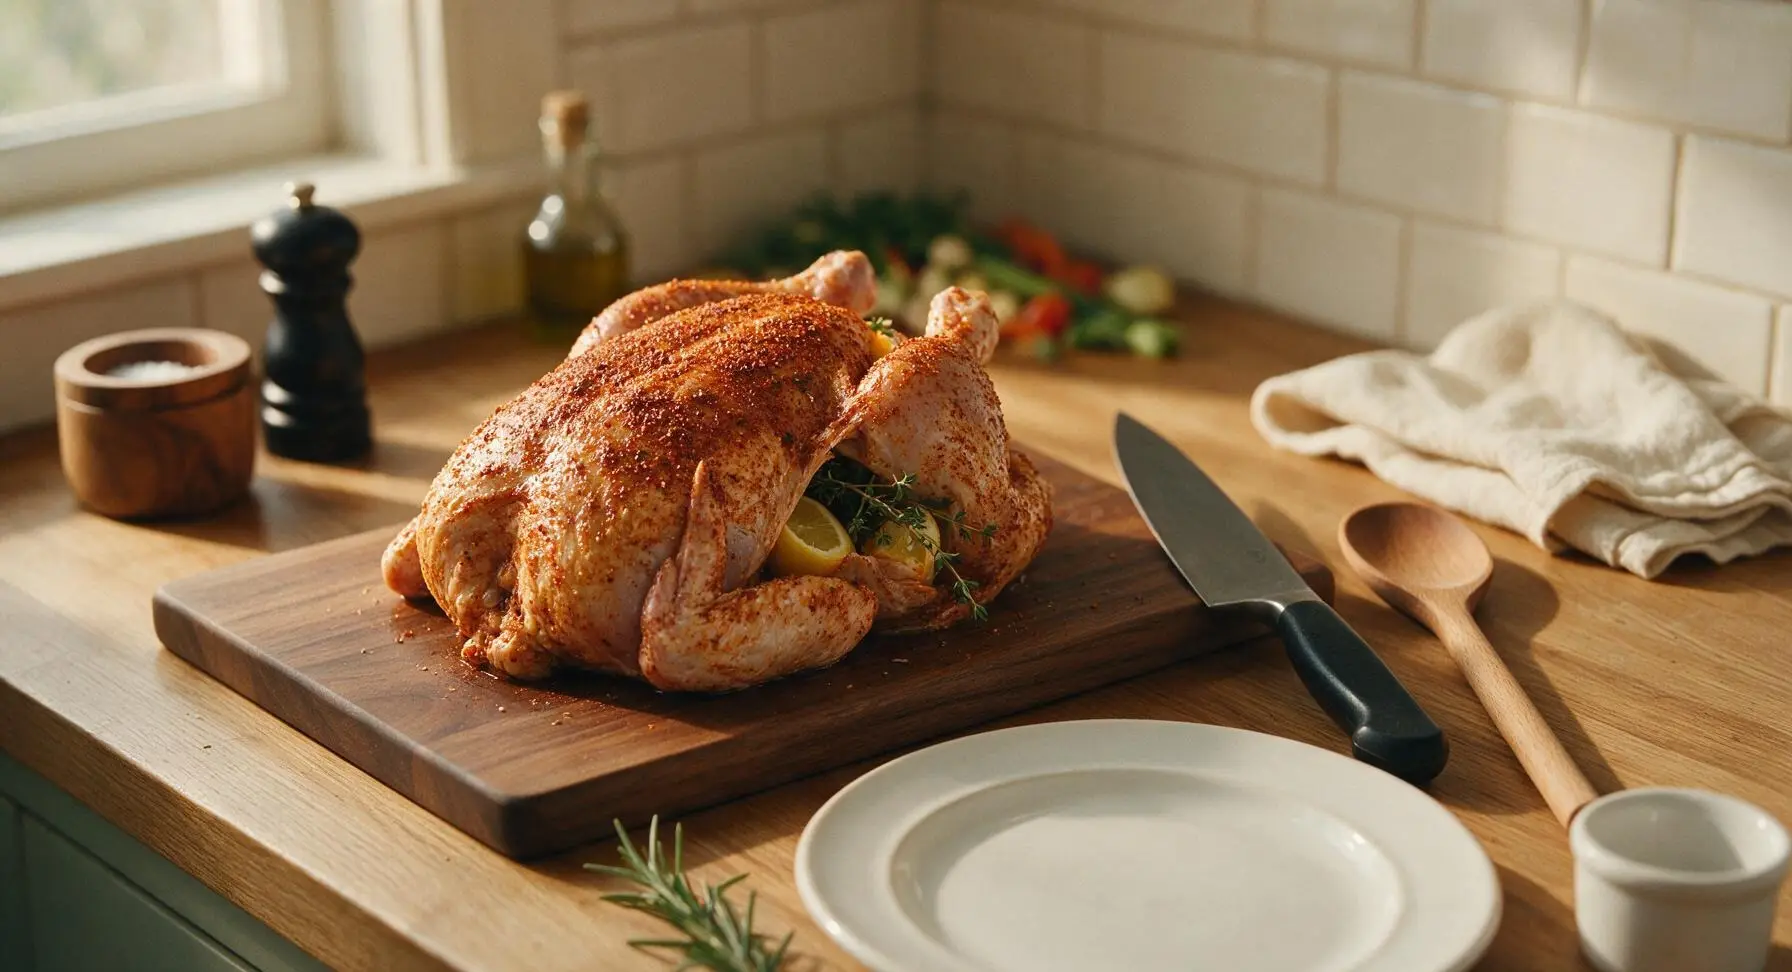
Layer Ingredients in Pot
Retrieve the 5.5-quart matte forest green Dutch oven and place it center on the stovetop. Spread the seasoned root vegetables and remaining garlic half across the bottom of the pot in an even layer, scattering the remaining 2 thyme sprigs over the veggies. Set the seasoned whole chicken breast-side up directly on top of the vegetable bed. Tuck the chicken wing tips under the body to prevent burning during roasting, then place the 4 pats of unsalted butter evenly across the top of the chicken breast.
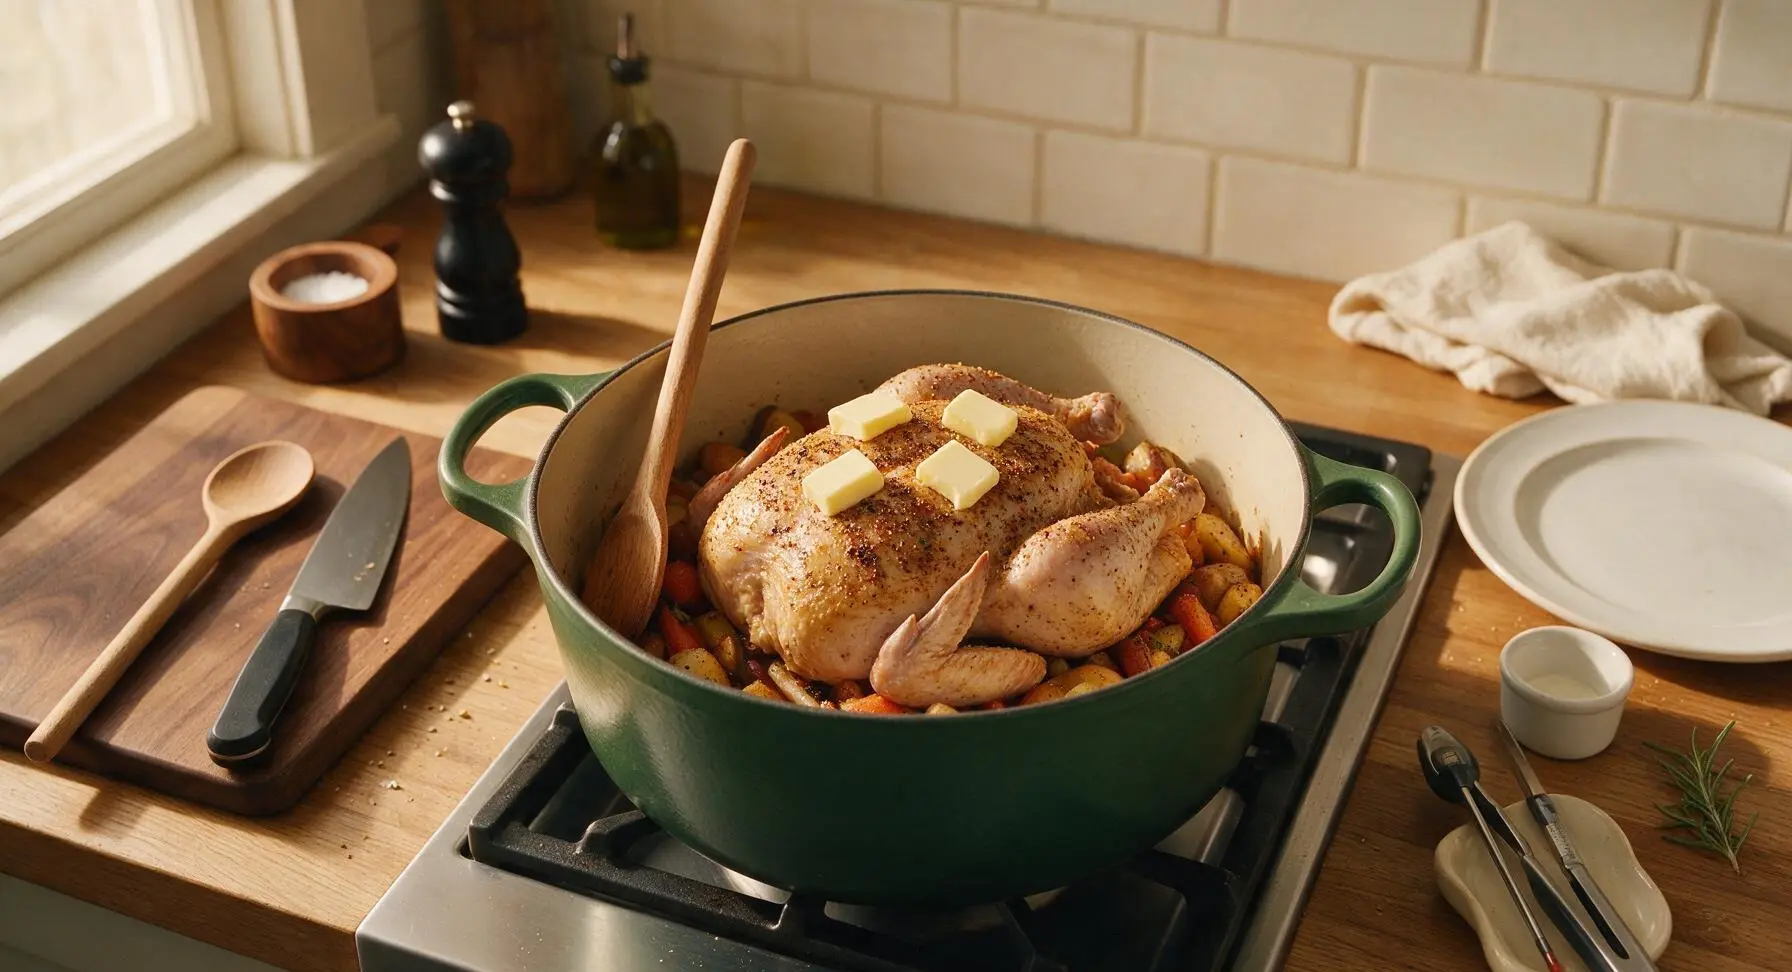
Sear Then Roast Covered
Turn the stovetop burner under the Dutch oven to medium-high heat, cooking for 5 minutes to heat the pot and start rendering fat from the chicken skin where it touches the hot pot base. Place the matching Dutch oven lid securely on the pot, then carefully transfer the pot to a preheated 220C (425F) oven. Roast covered for 45 minutes, allowing the chicken to steam in its own juices while the root vegetables absorb rendered chicken fat and herbal flavor.
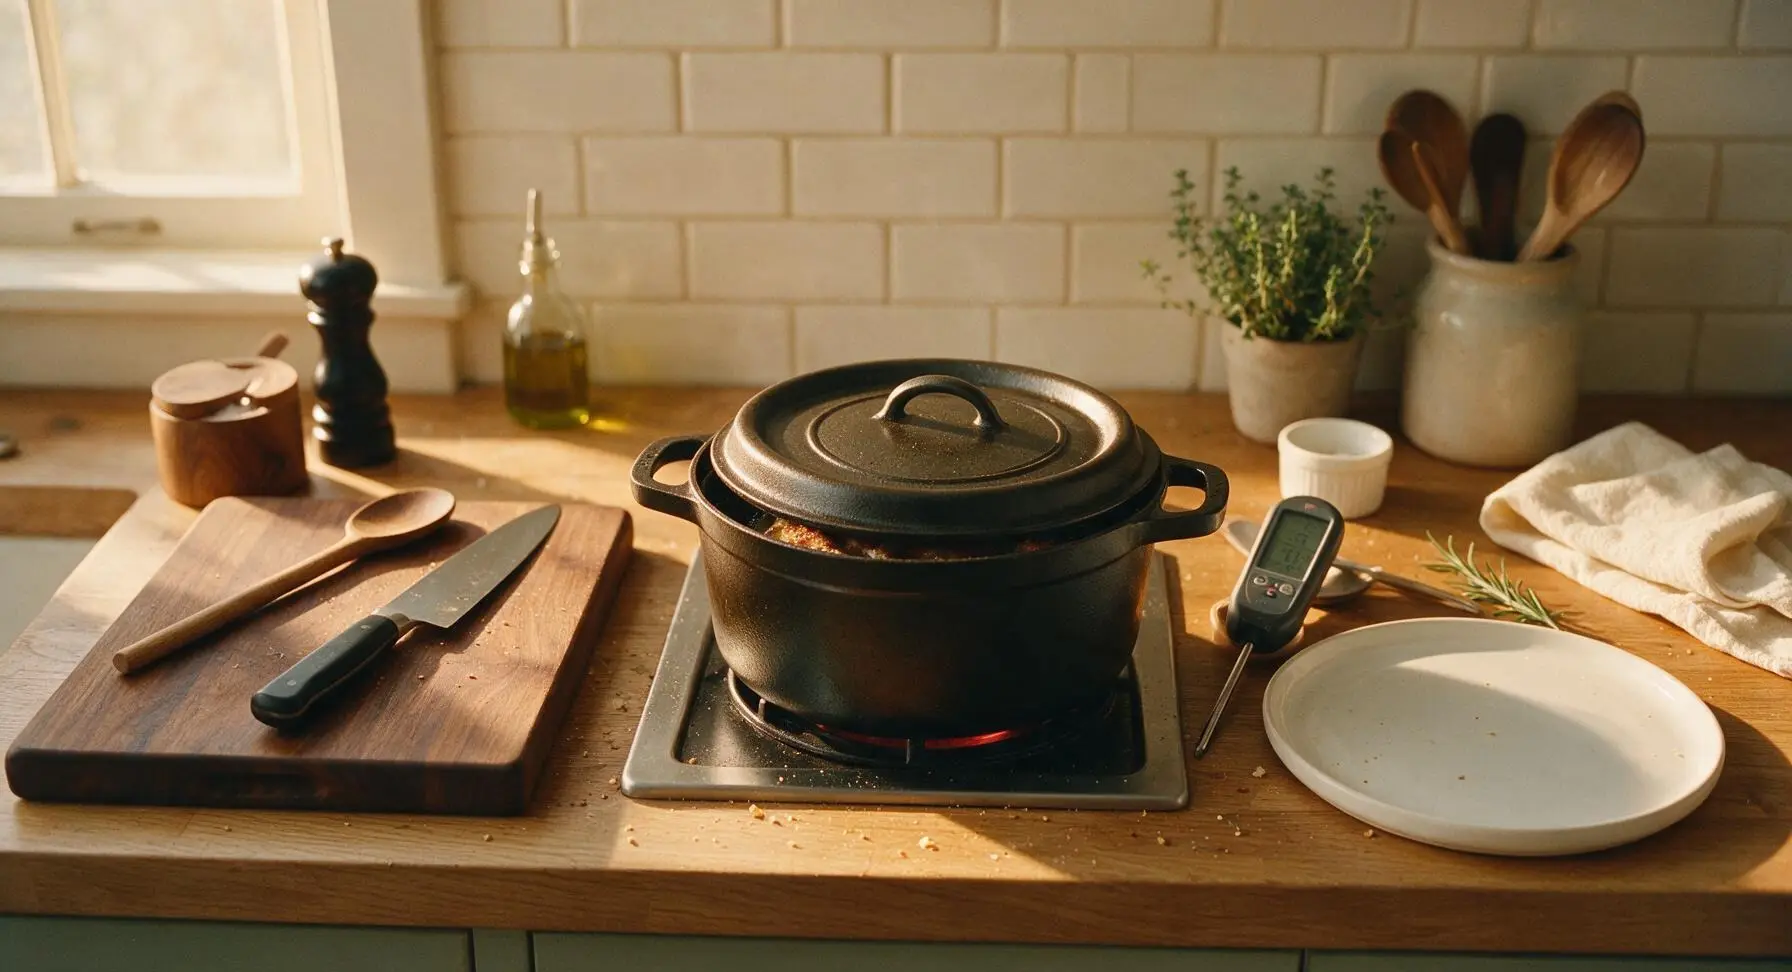
Crisp the Chicken Skin
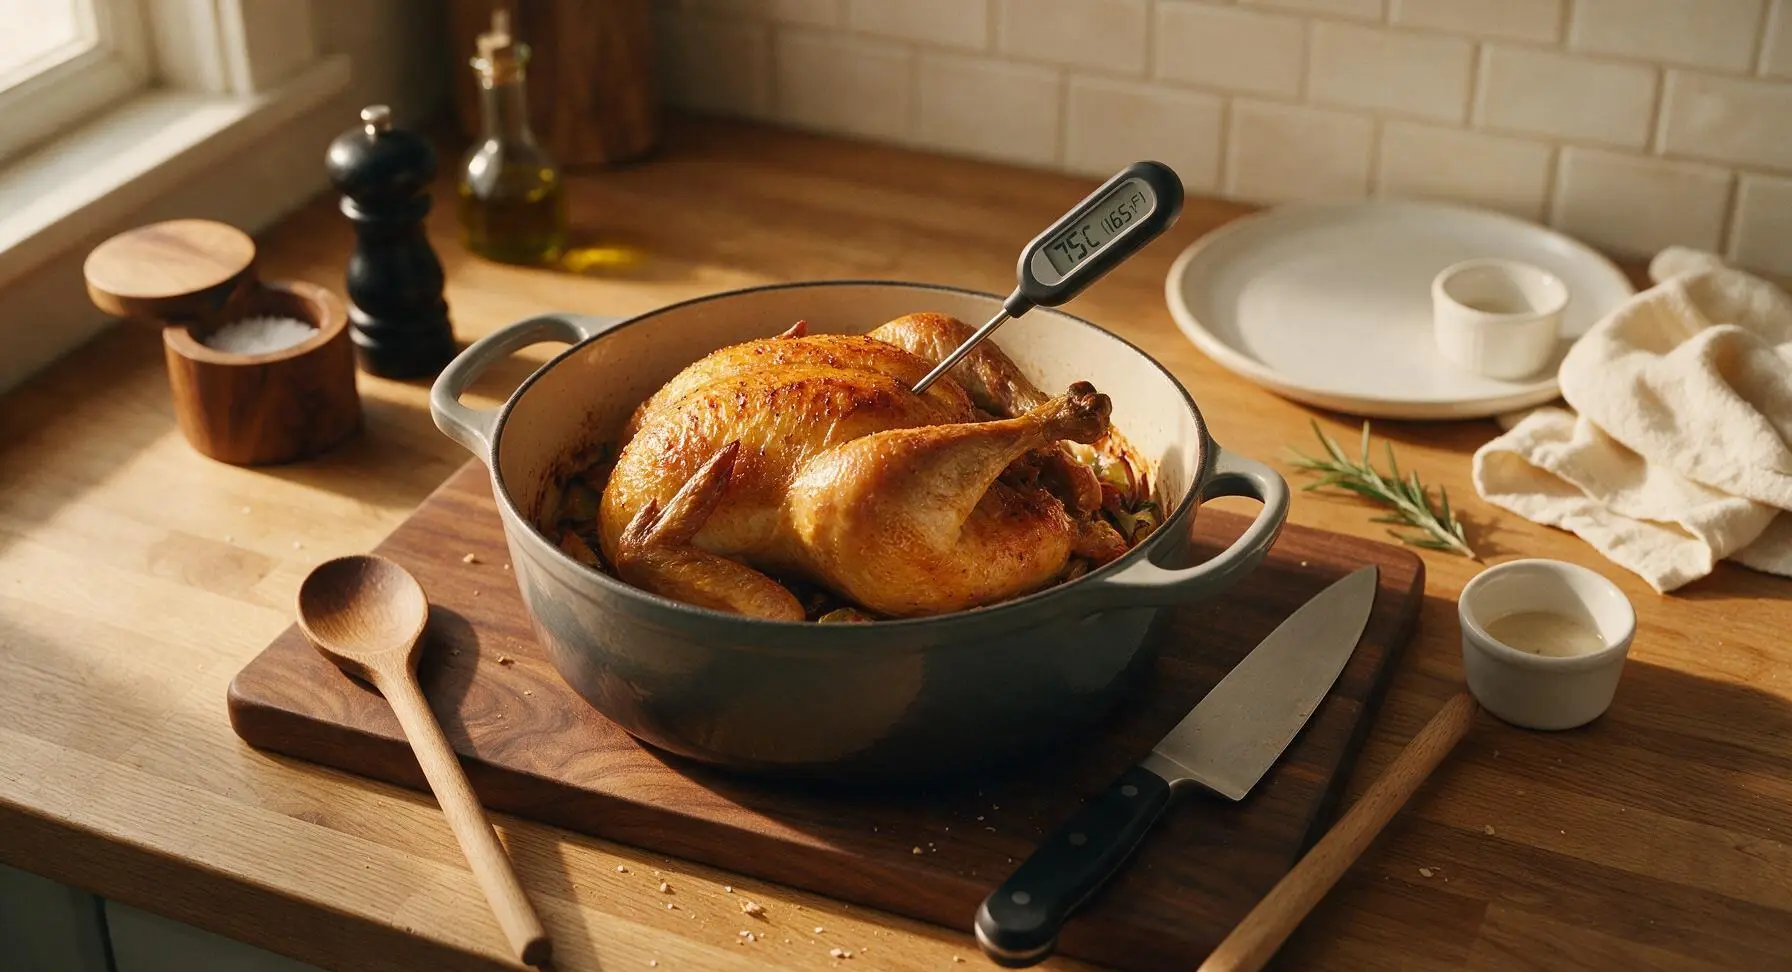
After 45 minutes of covered roasting, carefully remove the Dutch oven from the oven (use oven mitts, as handles will be extremely hot), set it on the woven rattan trivet, and lift the lid away, tilting it to direct hot steam away from your face. Use the metal baster to coat the chicken breast and legs with accumulated pan juices from the bottom of the pot. Return the uncovered pot to the oven, roasting for an additional 20-25 minutes at 220C (425F), until the skin is deep golden and crispy, and the internal temperature of the thickest part of the chicken thigh reads 75C (165F) on the digital meat thermometer.
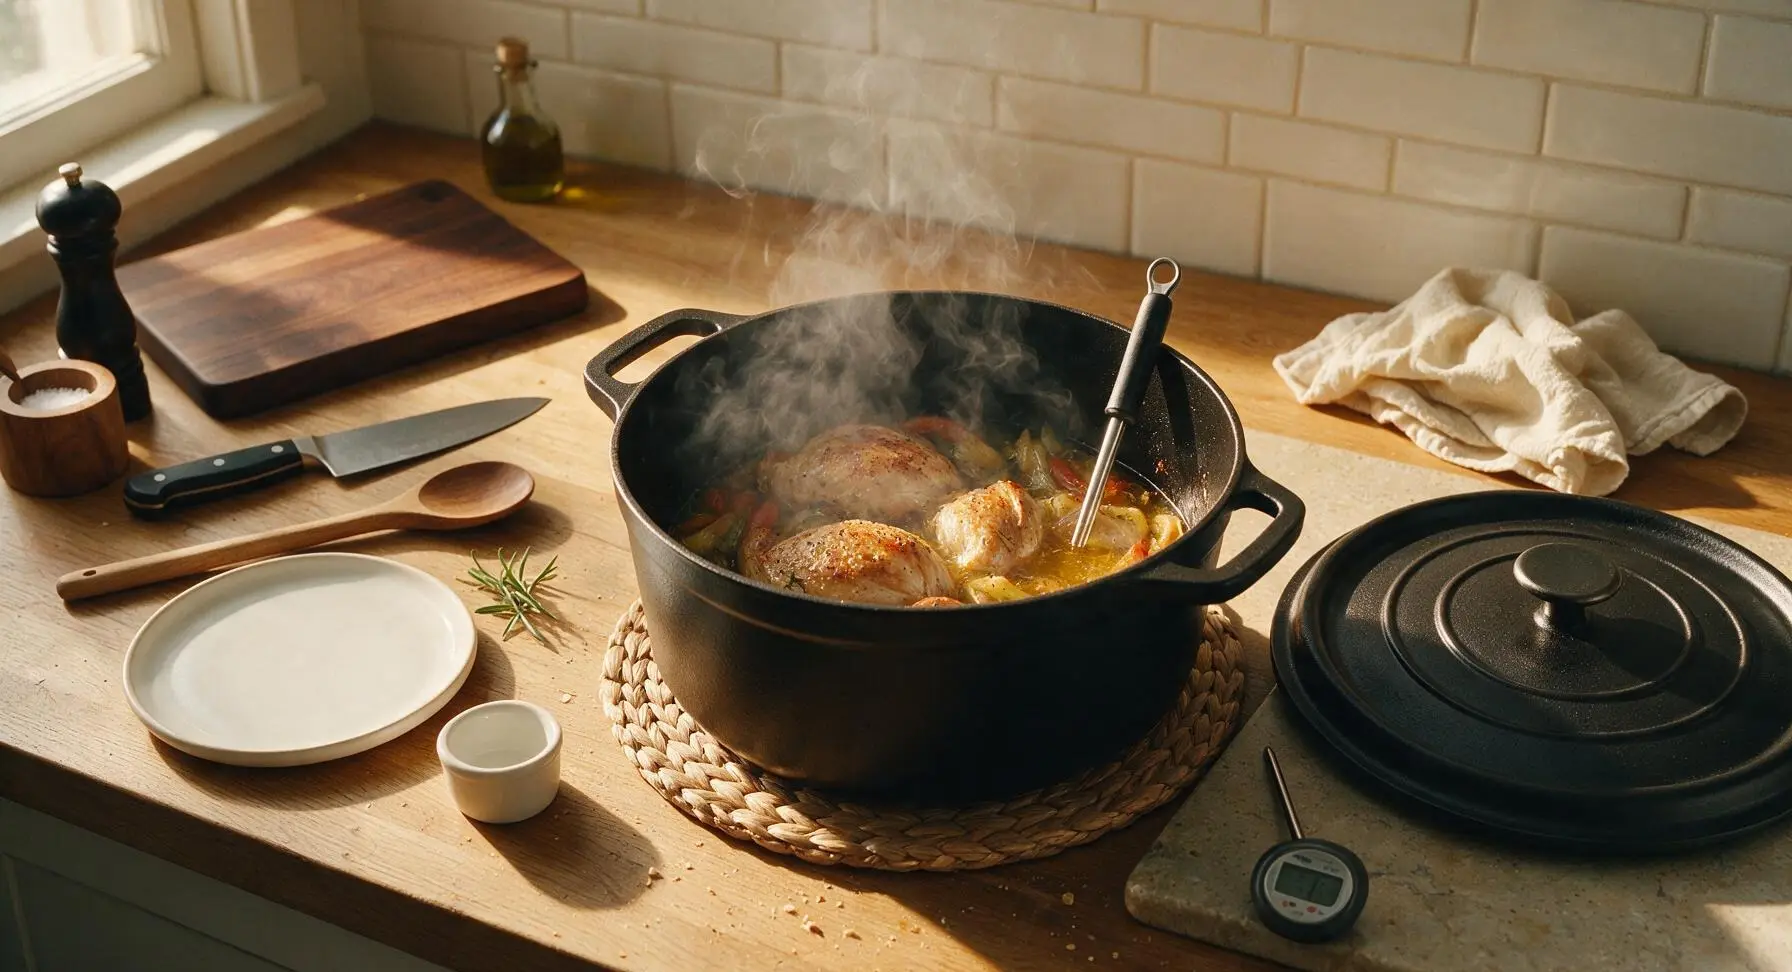
Rest Before Serving
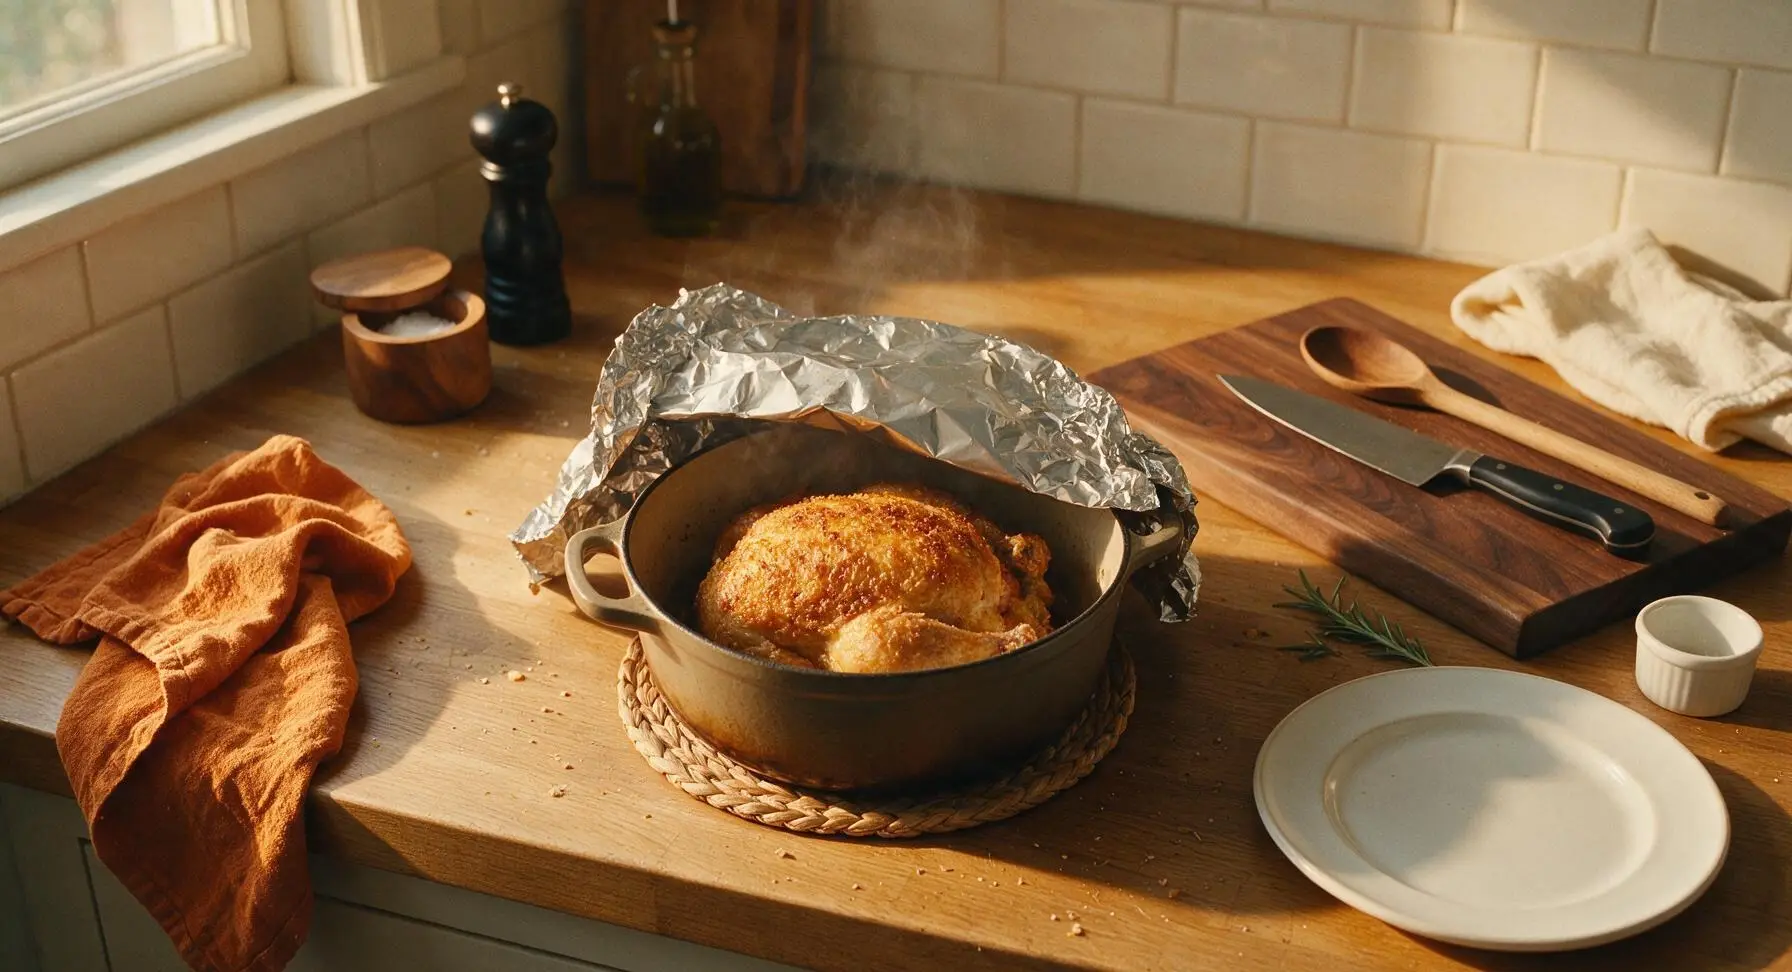
Once the chicken reaches the correct internal temperature, carefully remove the Dutch oven from the oven and return it to the woven rattan trivet. Loosely tent a sheet of aluminum foil over the top of the pot, and let the chicken rest for 15 minutes. This resting period allows muscle fibers to relax and juices to redistribute through the meat, preventing dry, juice-leaking chicken when carved.
Carve and Plate
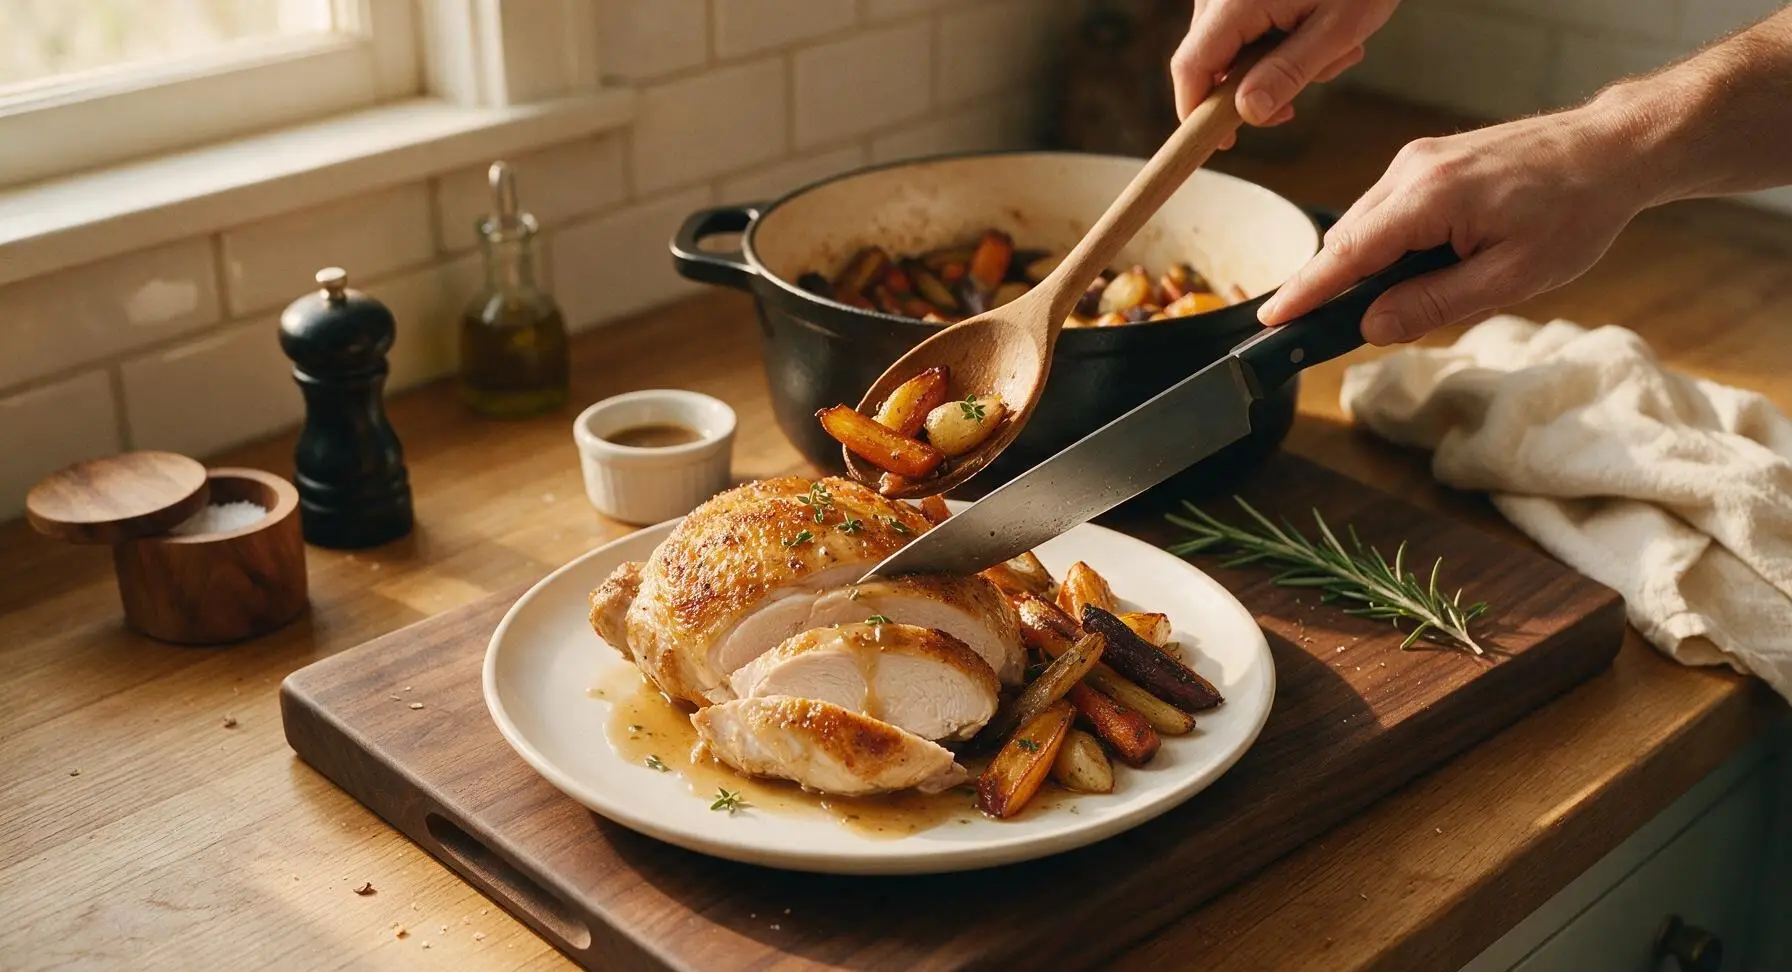
After resting, transfer the chicken to a cream white stoneware dinner plate. Use the 8-inch chef knife to carve the chicken into sliced breast, leg, and thigh portions. Arrange the roasted root vegetables around the chicken on the plate, spoon 2-3 tablespoons of pan juices from the Dutch oven over the chicken and veggies, and garnish with a few picked fresh thyme leaves. Serve immediately while hot.
Tips
2.Avoid lifting the Dutch oven lid during the first 45 minutes of covered roasting: each lid release drops the pot temperature by 15-20C (25-35F), increasing total cook time and preventing the chicken from steaming evenly to tender perfection.
3.Skip the wire roasting rack: placing the chicken directly on the bed of root vegetables lets the veggies catch all the rich, flavorful rendered chicken fat and pan drippings, while elevating the chicken just enough to allow hot air to circulate evenly for uniform cooking.






OMG this was a total game changer for our weeknight family dinner! I was so skeptical I could get crispy chicken skin in a dutch oven without burning it, but it turned out perfectly golden and crunchy every single time. The fact that it’s one pot means I only had to wash one dish after wrangling three kids through bedtime? *Chef’s kiss* Only change I made was tossing in some baby potatoes and carrots the last 25 minutes so it was a full meal. 10/10 will make again!
Made this for my Sunday football watch party with the guys and everyone was raving. Cook time was exactly as stated, no guesswork, and the chicken was juicy even the white meat which I always overcook somehow. I rubbed a little extra paprika and garlic powder on the skin before searing and it slapped. Super easy, zero fancy ingredients needed.
Added this to my weekly meal prep rotation! I portioned the chicken out with rice and roasted broccoli for 4 days of lunches, and the skin even stayed pretty crispy when I reheated it in the air fryer for a couple minutes. Way better than the sad dry chicken I usually make for prep. Can’t beat how simple the whole process is.
Uh oh, I followed the recipe exactly but my chicken skin stuck to the bottom of the dutch oven when I went to flip it 😭 Did I not heat the oil enough? It still tasted good but half the crispy skin was left in the pan, bummer.
Brought this to our neighborhood block party potluck last weekend and people were asking me for the recipe before I even set the platter down! I used a whole cut up fryer instead of just thighs like some people do, and it worked perfectly. The meat was fall-off-the-bone tender but the skin was that perfect shatteringly crisp texture. So good!
I don’t eat meat but my partner is a total chicken fanatic, so I made this for his birthday dinner and he said it’s the best chicken I’ve ever made. The directions were so straightforward even a plant-based guy like me couldn’t mess it up. The pan drippings made amazing gravy too, he poured it over everything.
Wait, the recipe says 1 hour 15 minutes total cook time—does that include the searing time at the start? I’m trying to plan out dinner for when my kid gets home from soccer practice and don’t wanna run behind!
Wait, has anyone tried making this in a camp dutch oven over coals? We’re going camping next weekend and I was gonna bring this recipe since it’s one pot, but wasn’t sure how to adjust the heat for charcoal instead of a home oven.
Tossed a little cayenne and a squeeze of lime over the chicken right when it came out of the oven and it was *chef’s kiss*. The base recipe is so solid, it holds up really well to extra seasonings if you like a little kick. Easy clean up, juicy meat, crispy skin—what more could you want?
My husband and I just got our first dutch oven for our wedding and this was the first recipe we tested out! We were so nervous we’d mess it up but it turned out restaurant quality. We ate half the chicken standing up over the kitchen counter it was so good lmao
Quick question—are there any hidden gluten sources in this recipe? I have celiac so I have to be super careful, but this looks too good to pass up!
This recipe is perfect for anyone cooking on a tight budget! Chicken thighs are cheap, I already had all the seasonings in my pantry, no fancy equipment needed except the dutch oven (which I use for everything anyway). Made enough leftovers for two lunches this week too, can’t beat the value.
Okay I’ve tried like 6 different crispy chicken recipes and this is the ONLY one where the skin actually stays crispy all over, not just on the top. What’s the secret? Is it taking the lid off for the last 20 minutes? That part felt counterintuitive but it worked SO good, my whole family was raving.
I didn’t have a dutch oven so I used my deep cast iron skillet with a tight fitting lid and it worked perfectly! Was worried I’d have to run out and buy new cookware but turns out what I already had worked great. Chicken was juicy, skin crispy, zero complaints.
I usually hate leftover chicken because it gets dry and weird, but I ate the leftovers from this cold straight out of the container for a midnight snack and it was still delicious. That’s how you know a recipe is good. Even the breast meat didn’t dry out, which is basically a miracle.
Full transparency: I burn literally everything I cook. My roommate makes fun of me because I even managed to burn toast last week. But I followed this recipe step by step and it actually came out perfect?? I feel like a real chef now. The directions were so clear no idiot (me) could mess it up.
I added like 8 whole cloves of garlic to the pot while the chicken cooked and they got all soft and caramelized, I spread them on bread to go with dinner and it was insane. Just wanted to share that hack for anyone else who is obsessed with garlic like me!
I’ve been making roast chicken for my grandkids for 40 years, and I have to say this recipe is better than my old stand-by. The skin is crispier, the meat is juicier, and it’s faster than my usual method. My youngest grandson asked for thirds, which is the highest possible compliment in my book.