
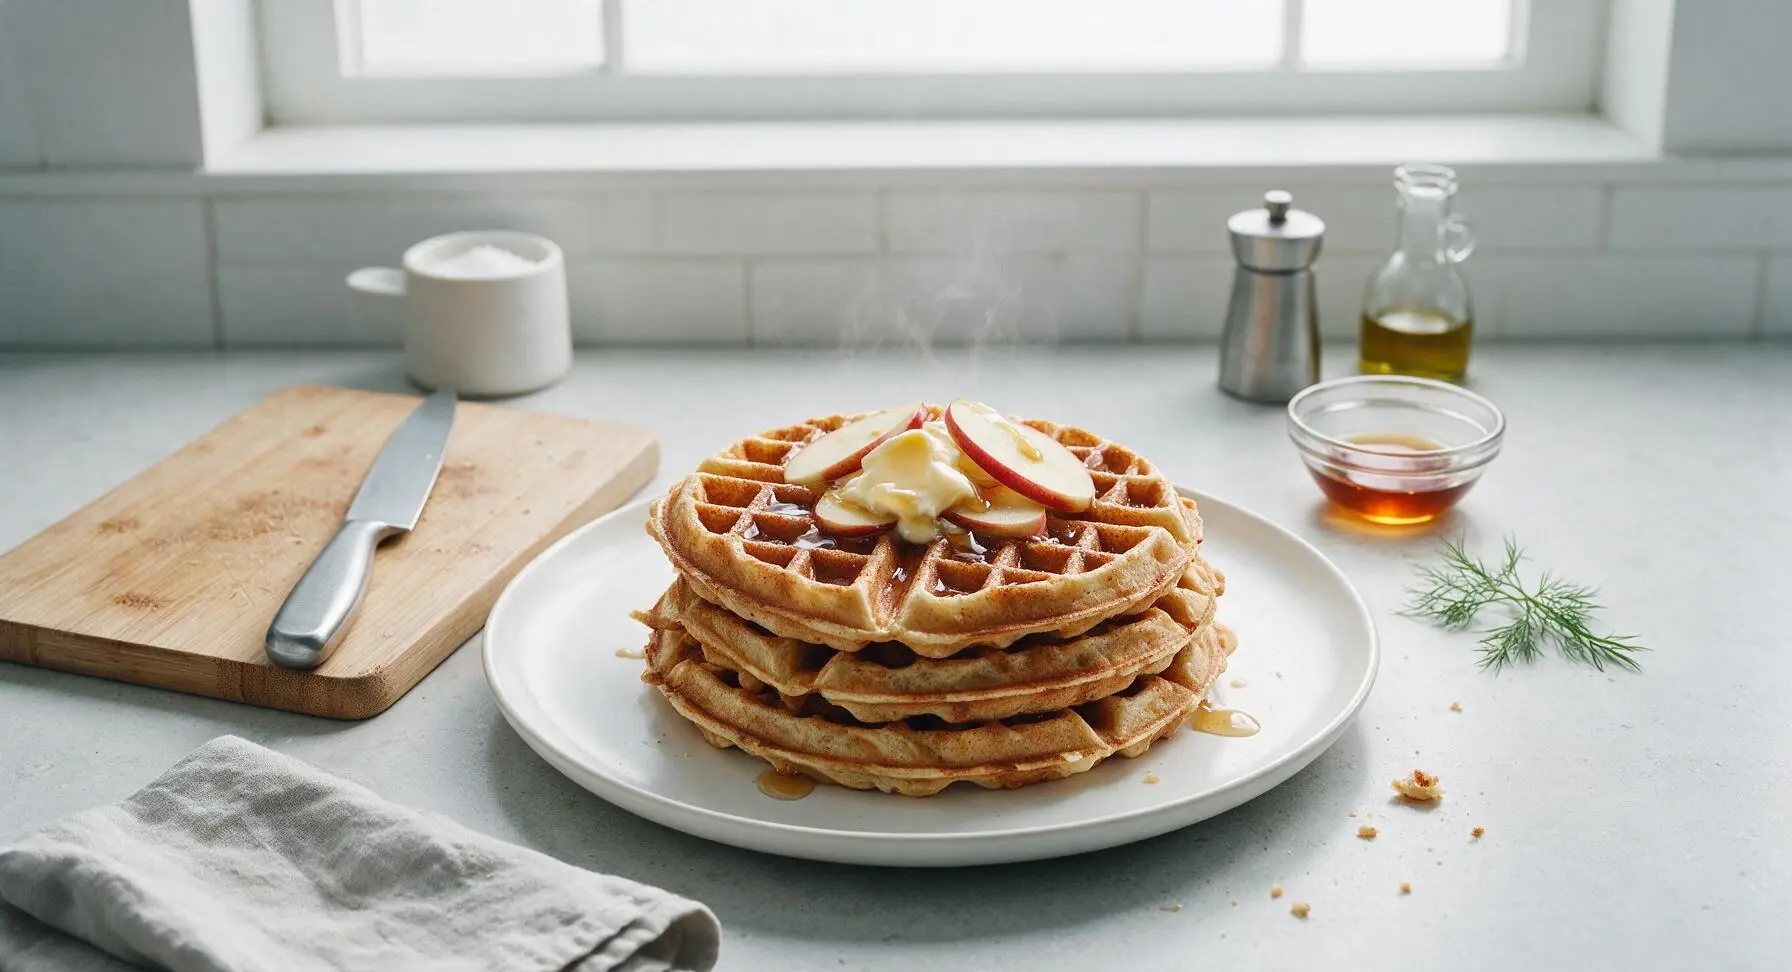
dutch waffle

title 1
dutch waffle
⏱️ cook time 20 minutes
🍽️ servings 4
⚡ Difficulty medium

intro

Crisp-edged, tender yeasted Dutch waffles with warm cinnamon notes, perfect for piling with butter, maple syrup, and fresh apples for a cozy family weekend meal.

Ingredients
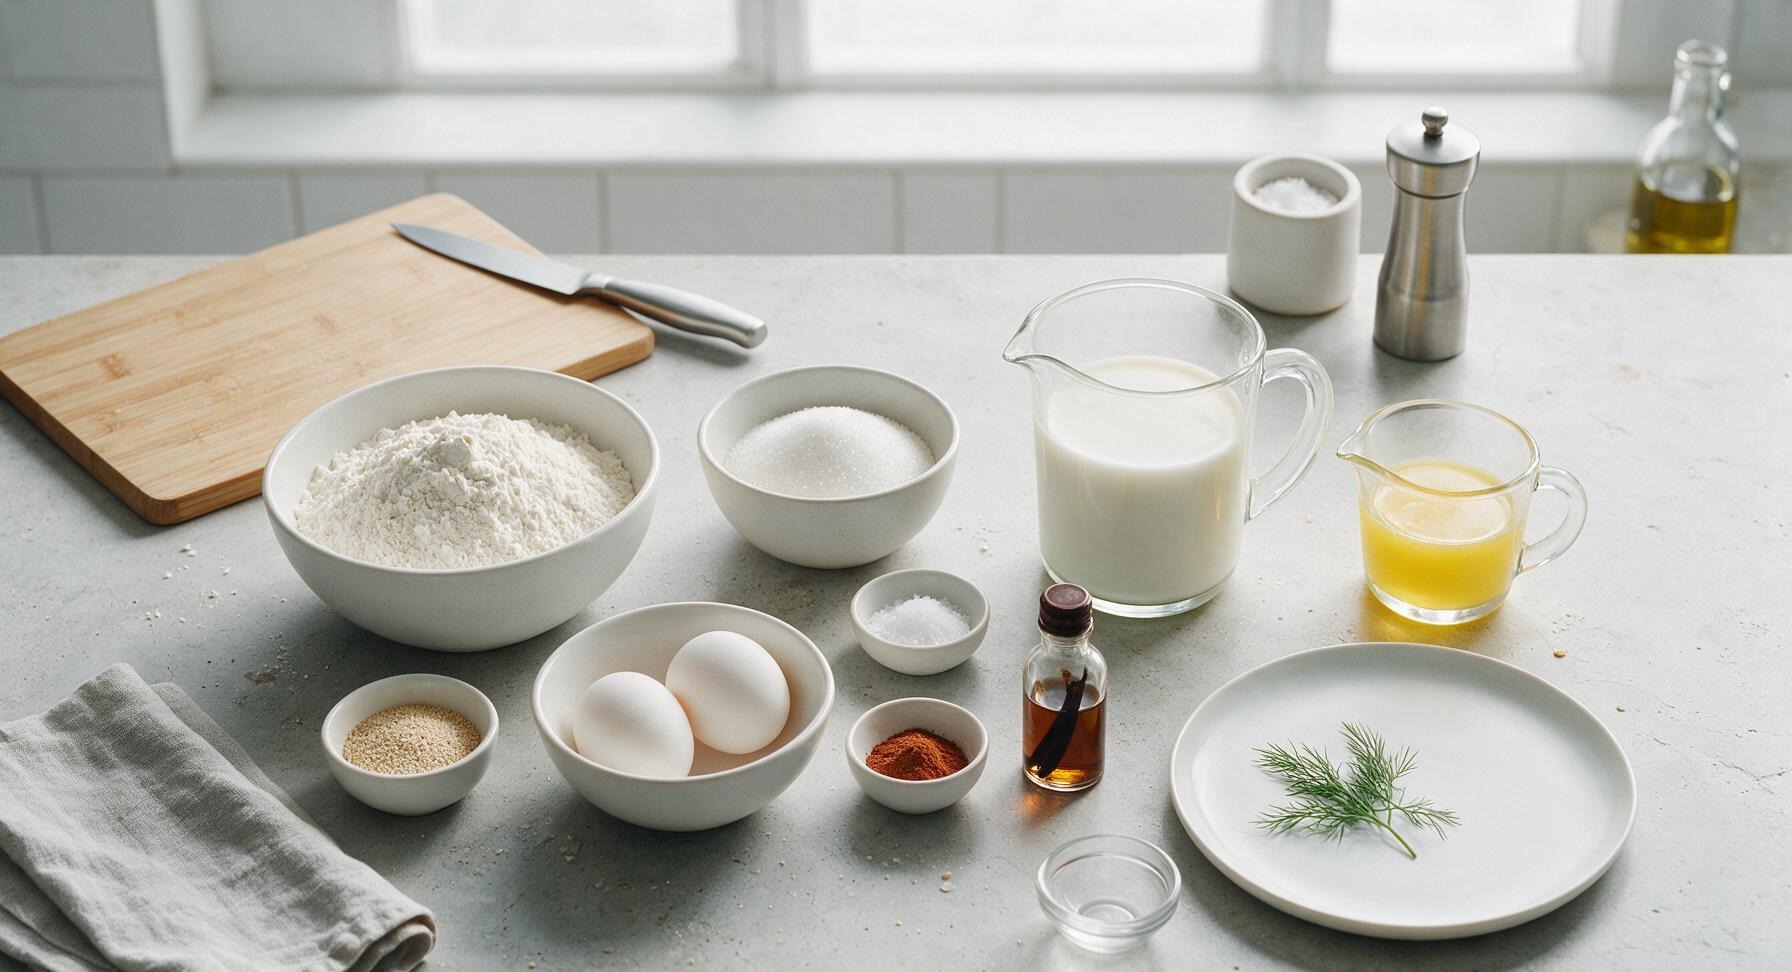
All-purpose flour 2 cups (240g)
Active dry yeast 1 1/4 tsp (4g)
Whole milk, warmed to 110°F 1 1/2 cups (360ml)
Unsalted butter, melted 4 tbsp (57g)
Granulated sugar 2 tbsp (25g)
Large eggs, room temperature 2 each
Fine sea salt 1/2 tsp (3g)
Ground cinnamon 1/4 tsp
Pure vanilla extract 1 tsp

Steps

1

Activate the Yeast

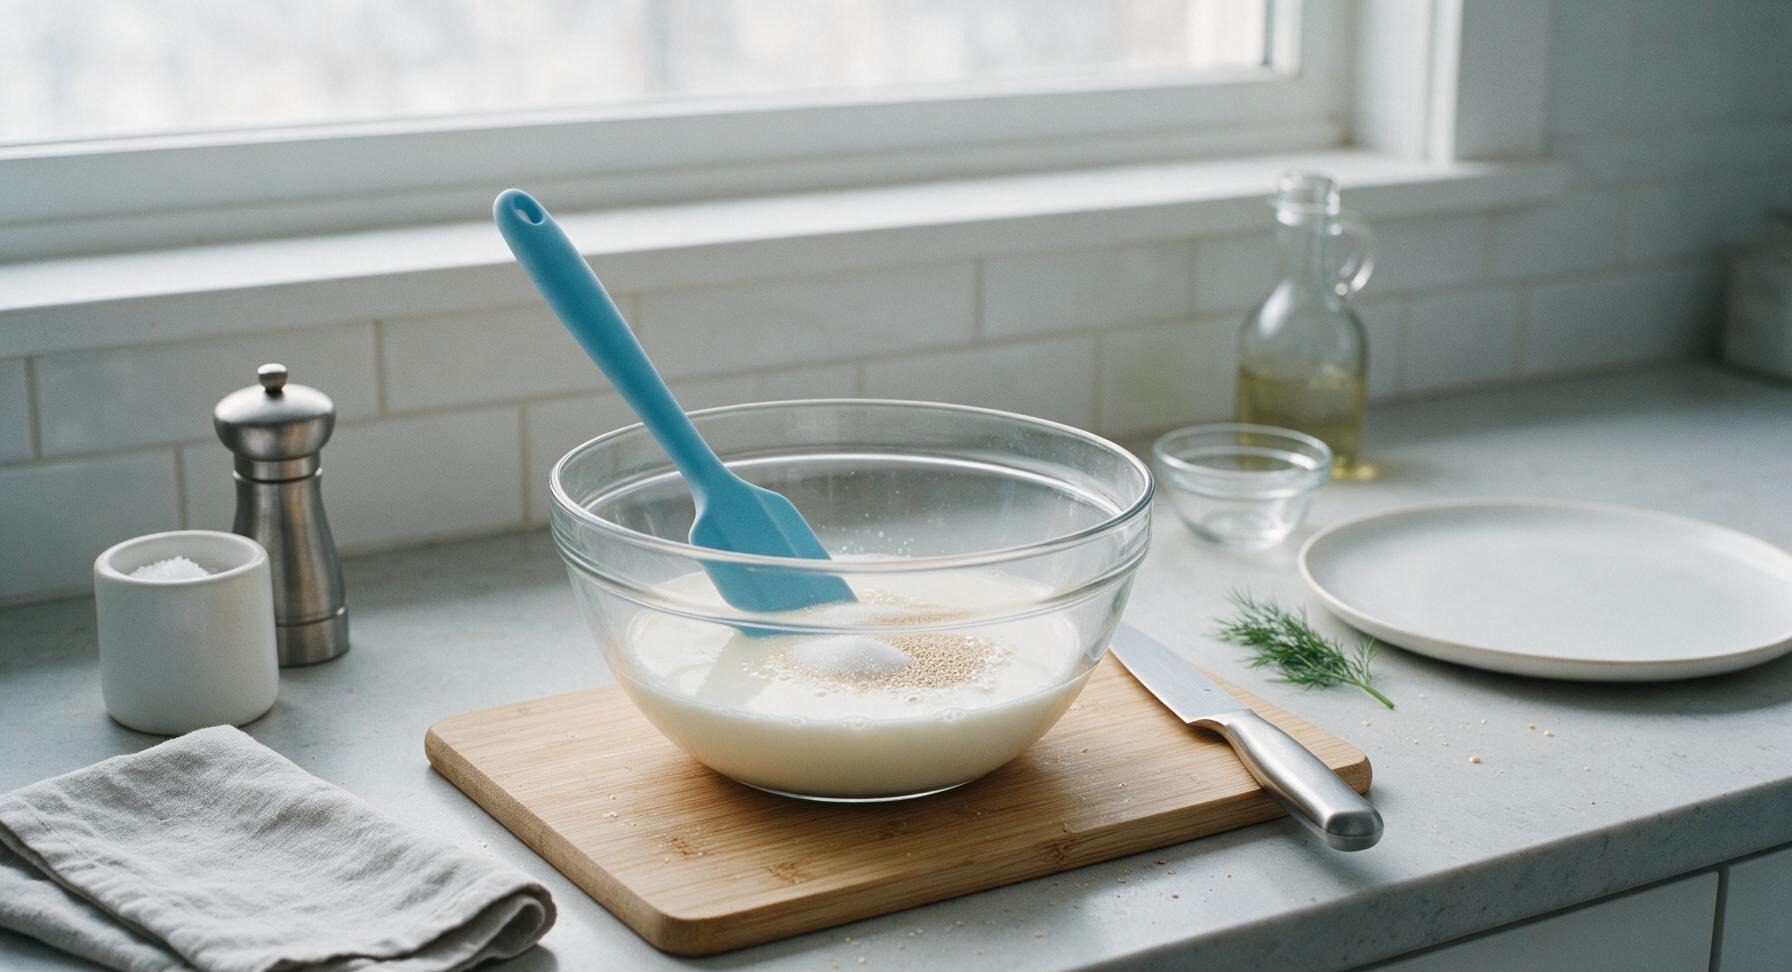
Pour 1/2 cup of the warmed whole milk (110°F, lukewarm to the touch, not hot) into the clear glass mixing bowl. Stir in 1 tsp of the granulated sugar and all of the active dry yeast with the sky blue silicone spatula. Let rest for 5 minutes, until the surface forms a foamy, frothy layer confirming the yeast is active. If no foam forms after 5 minutes, the yeast is expired and should be replaced to avoid dense waffles.
Step 1
step1:Activate the Yeast
2

Combine Wet Ingredients

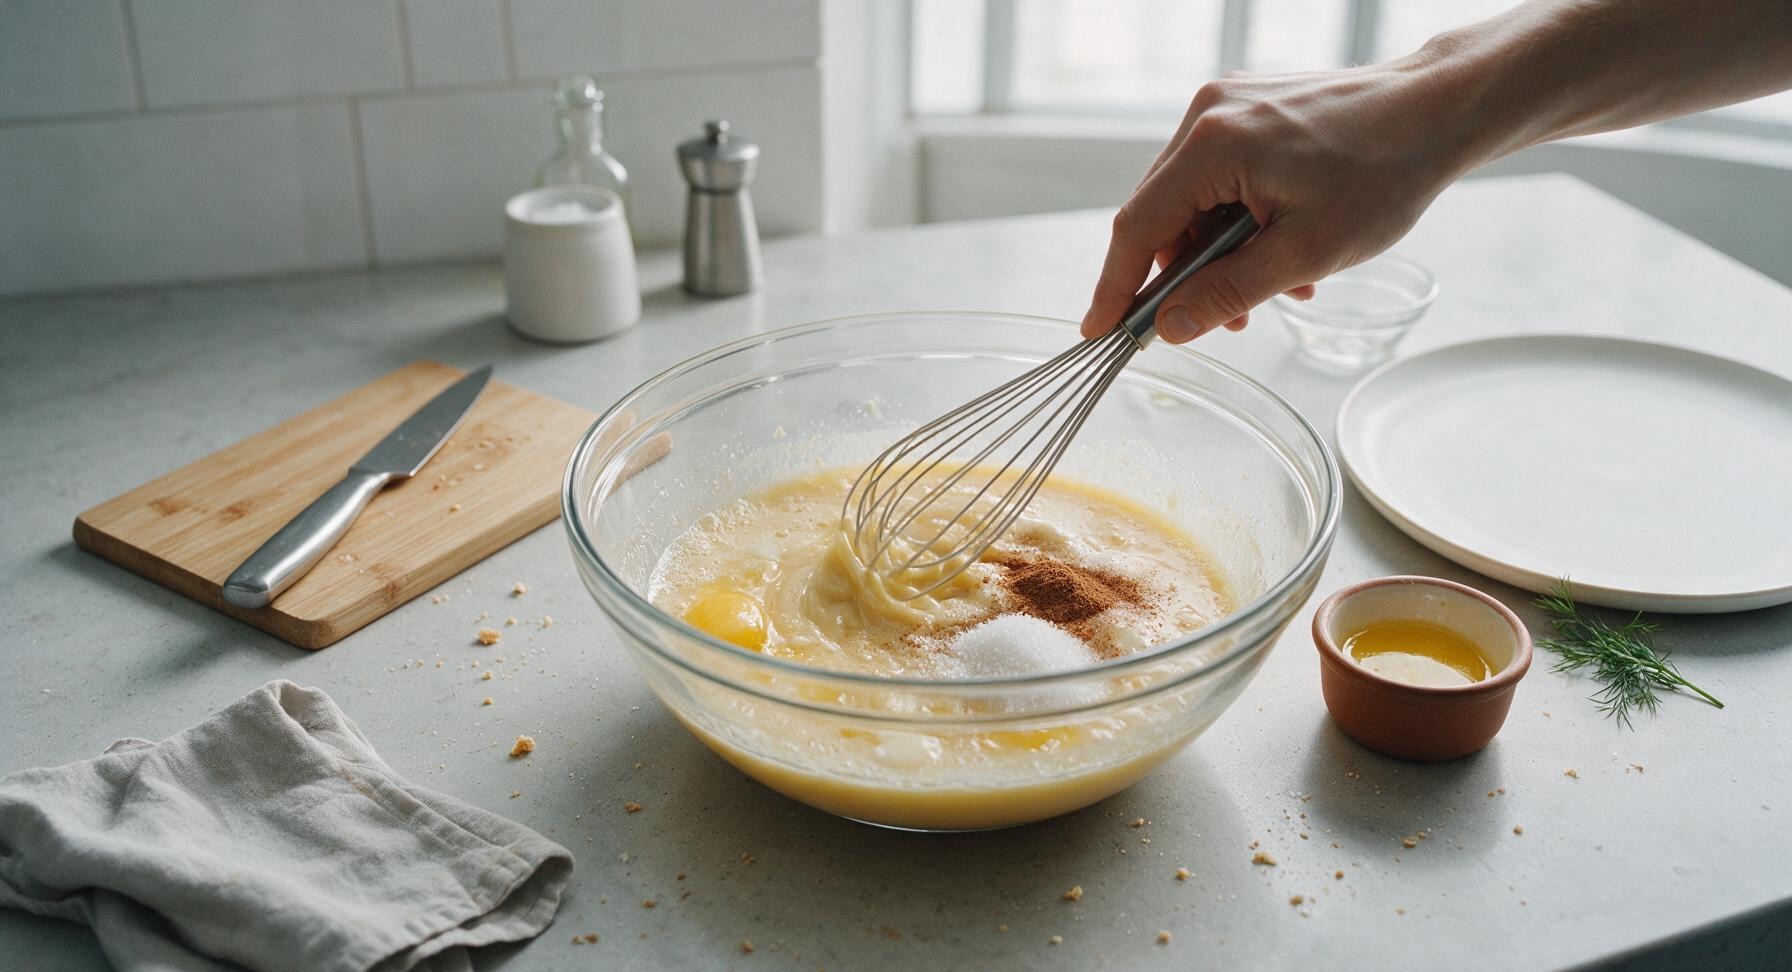
Once the yeast mixture is foamy, add the remaining 1 cup warm milk, 3 tbsp of the cooled melted butter (reserve 1 tbsp in the terracotta ramekin for brushing the waffle iron), remaining granulated sugar, vanilla extract, room temperature eggs, and ground cinnamon to the mixing bowl. Retrieve the stainless steel wire whisk from its wall hook and whisk until all ingredients are fully combined into a smooth, pale golden liquid with no streaks of unblended egg visible.
Step 2
step2:Combine Wet Ingredients
3

Whisk in Flour

Add the measured all-purpose flour and fine sea salt to the wet mixture in the mixing bowl. Whisk gently just until no dry flour streaks remain; do not overmix, as a few small lumps in the batter are acceptable and will prevent tough, gluten-heavy waffles. The finished batter will be thin, with a pourable consistency similar to heavy cream.
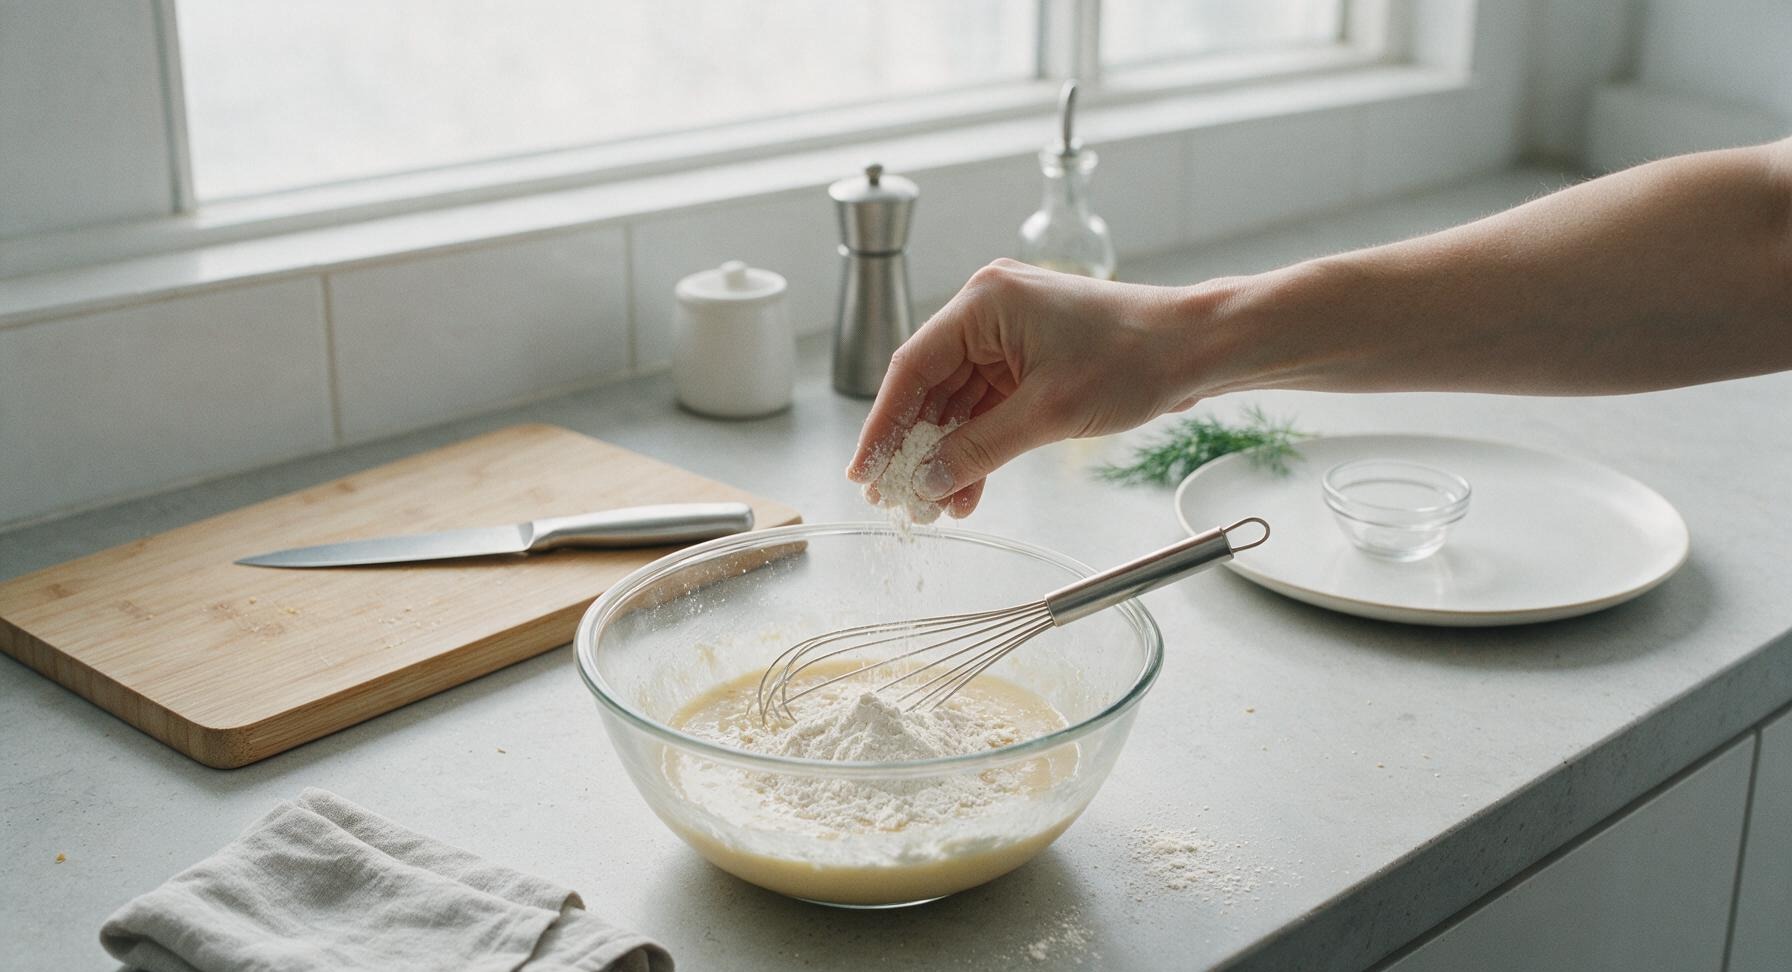
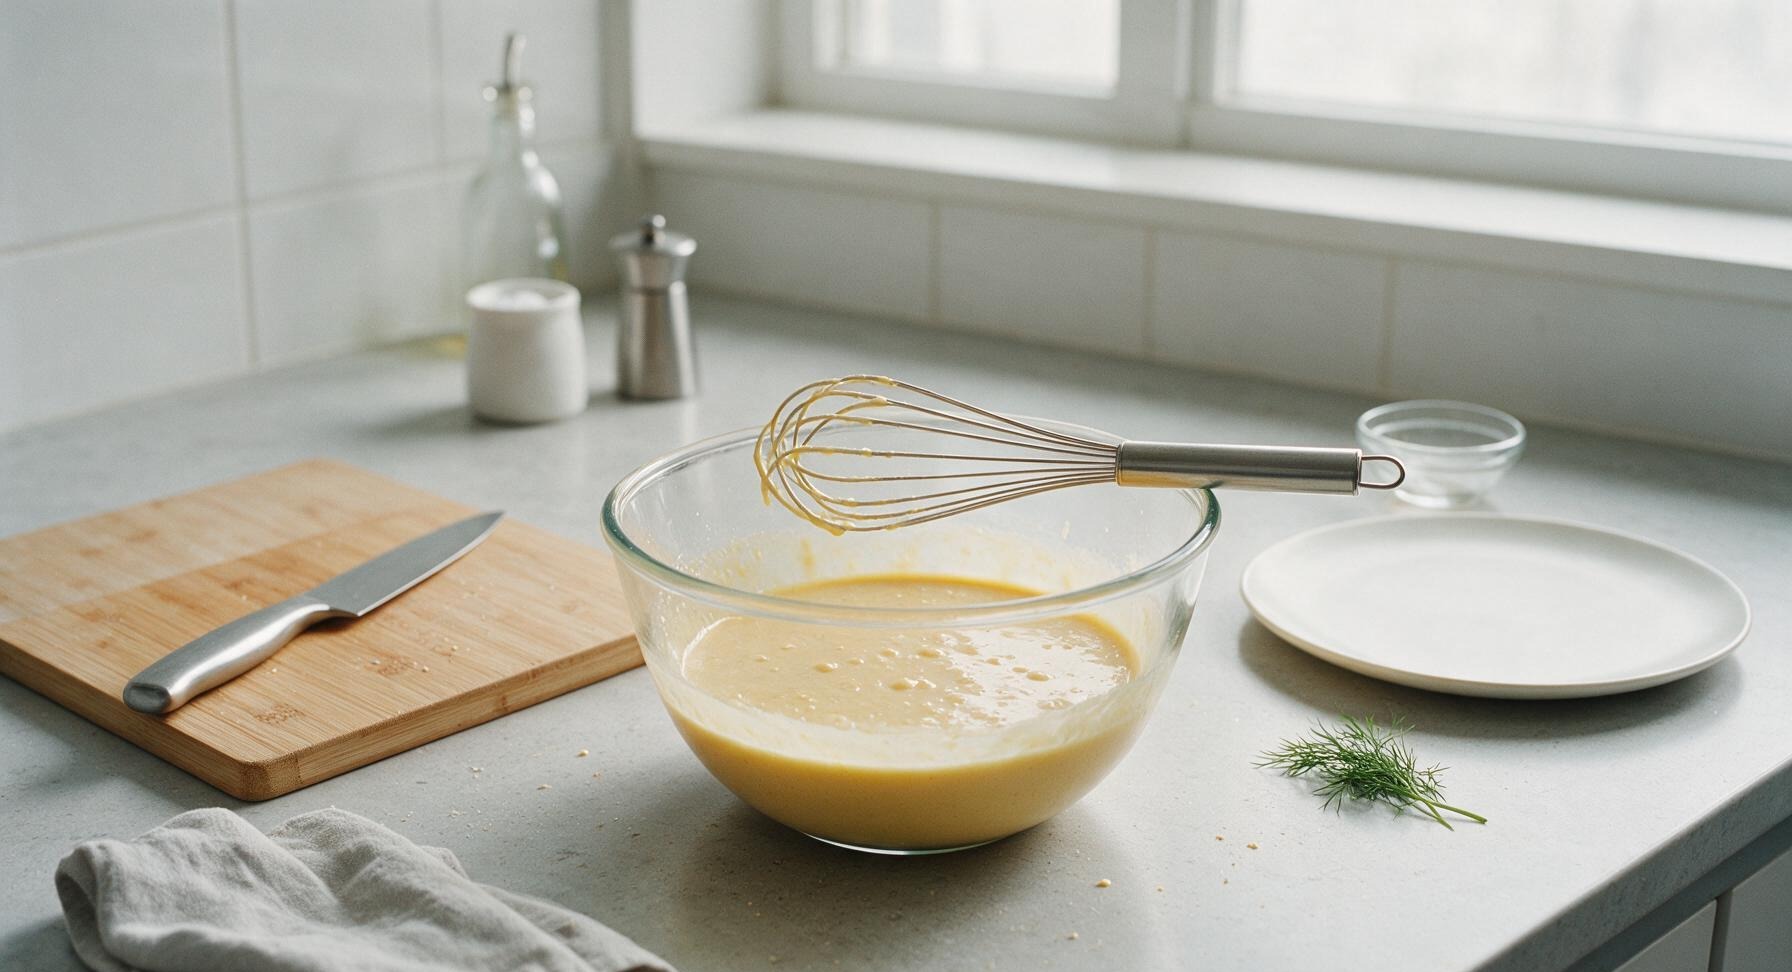
Step 3
step3:Whisk in Flour
Step 3
step3:Whisk in Flour
4

Let Batter Rise

Retrieve the oatmeal linen kitchen towel from the front counter edge and drape it loosely over the top of the mixing bowl. Move the bowl to the warm spot near the left window, and let the batter rest for 1 hour, until it doubles in volume and becomes bubbly across the surface.
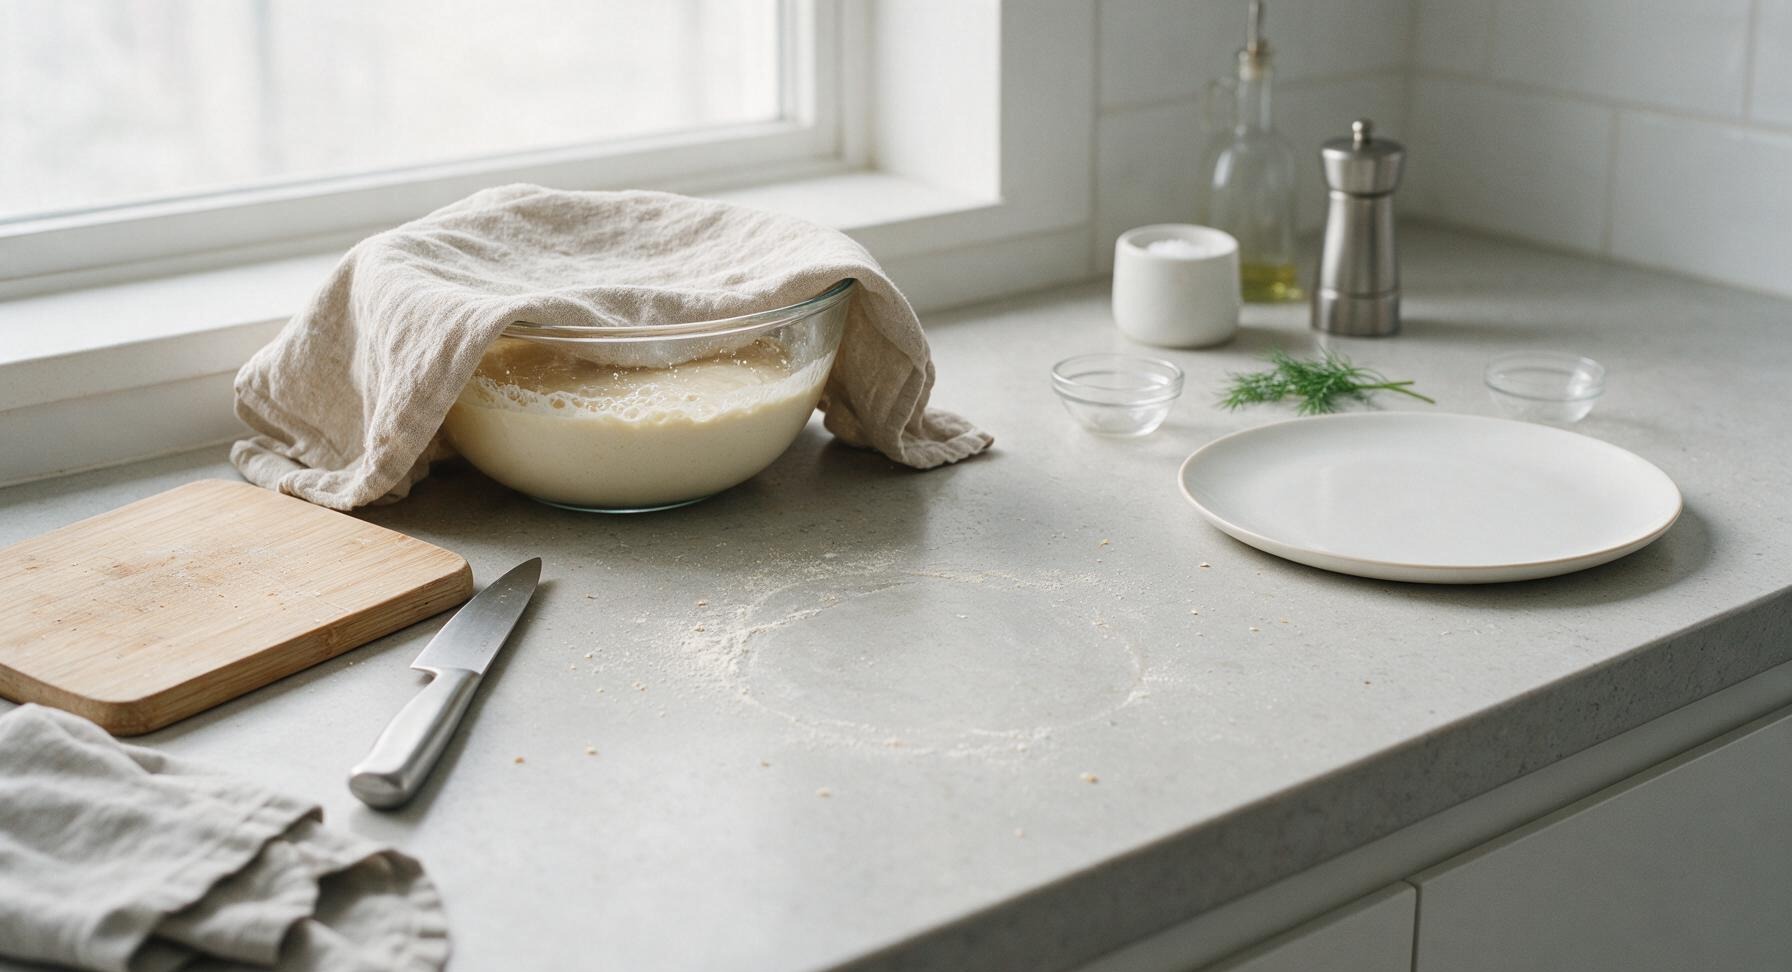
Step 4
step4:Let Batter Rise
5

Preheat Waffle Iron

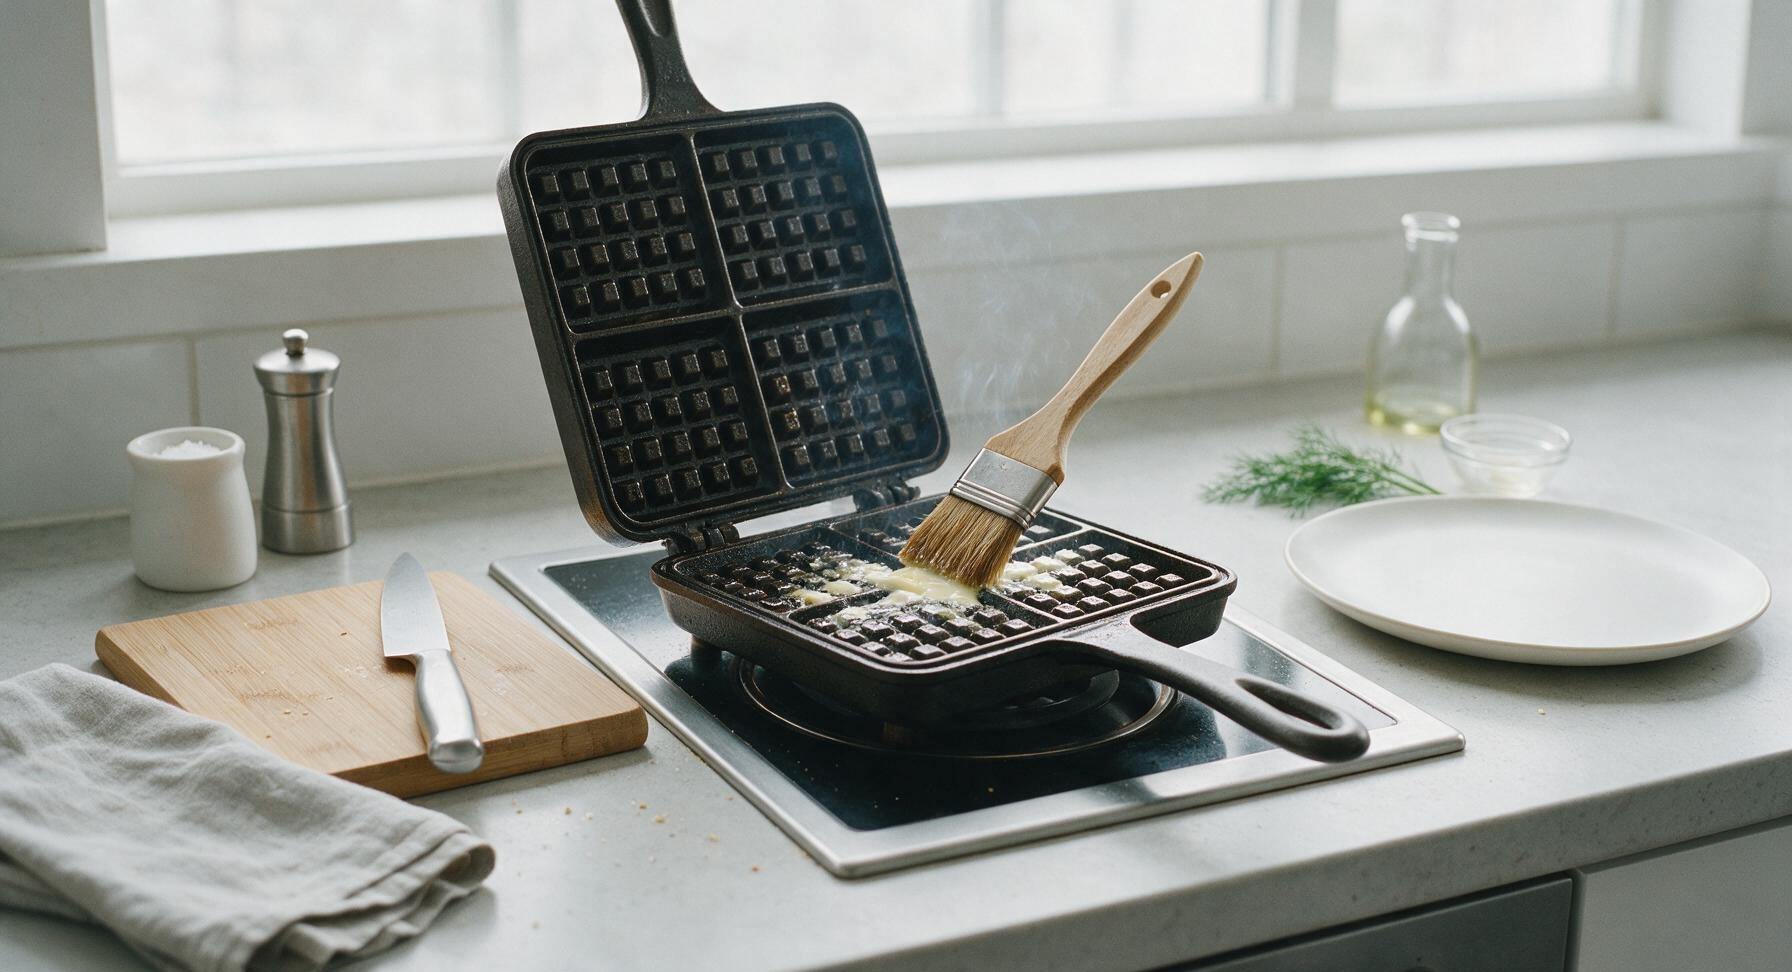
After the batter has finished doubling in size, move the cast iron waffle iron from its back right storage spot to the center burner of the electric cooktop. Preheat over medium heat for 3 minutes per side, until a drop of cold water sizzles and dances immediately when dropped on the grid surface. Use the boar bristle pastry brush to lightly coat both waffle grid surfaces with the reserved melted butter from the terracotta ramekin to prevent sticking.
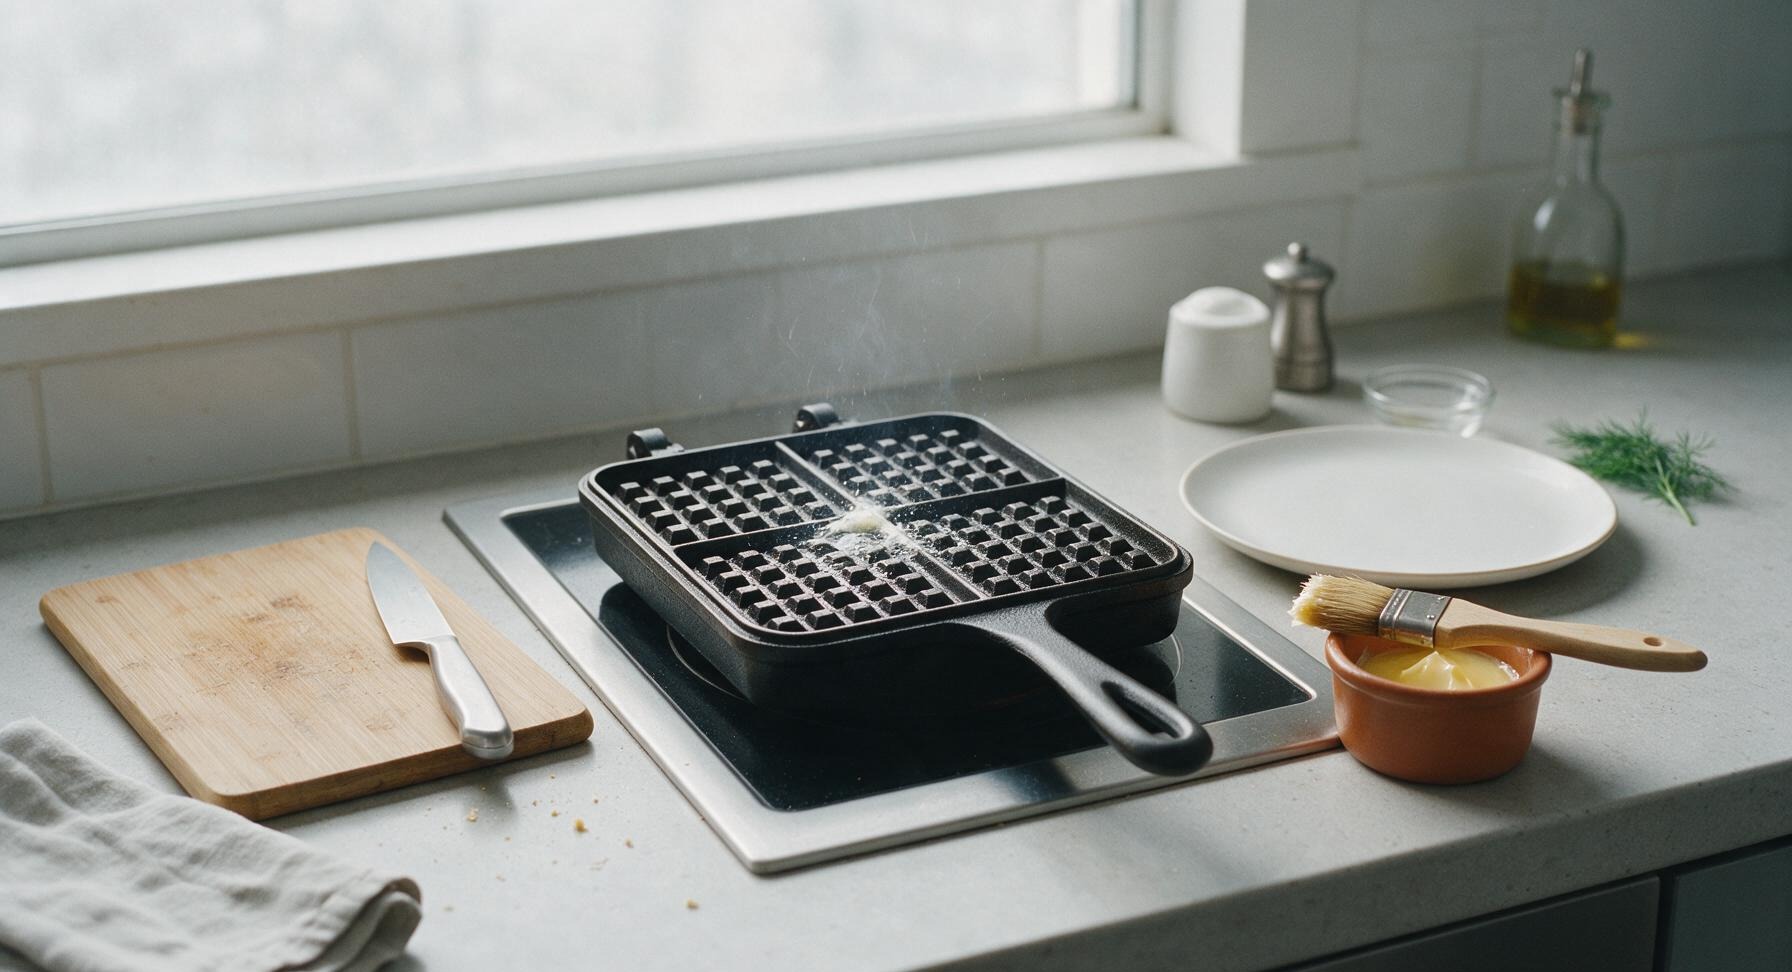
Step 5
step5:Preheat Waffle Iron
Step 5
step5:Preheat Waffle Iron
6

Cook Waffles Until Golden

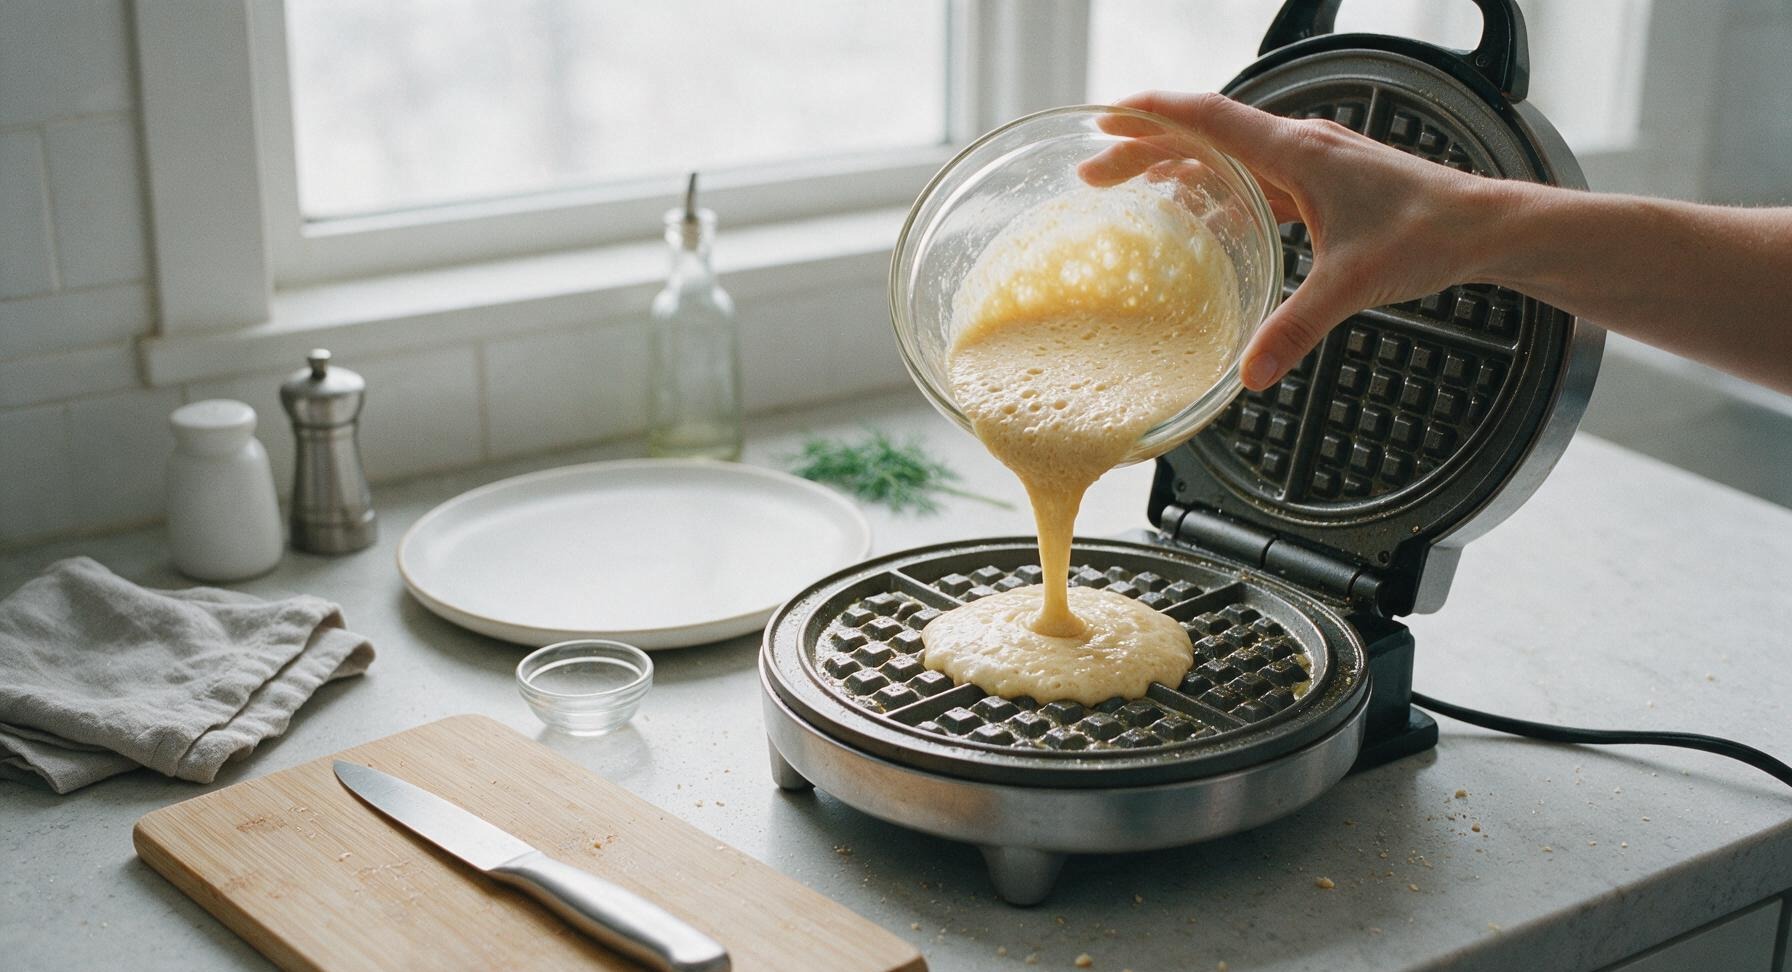
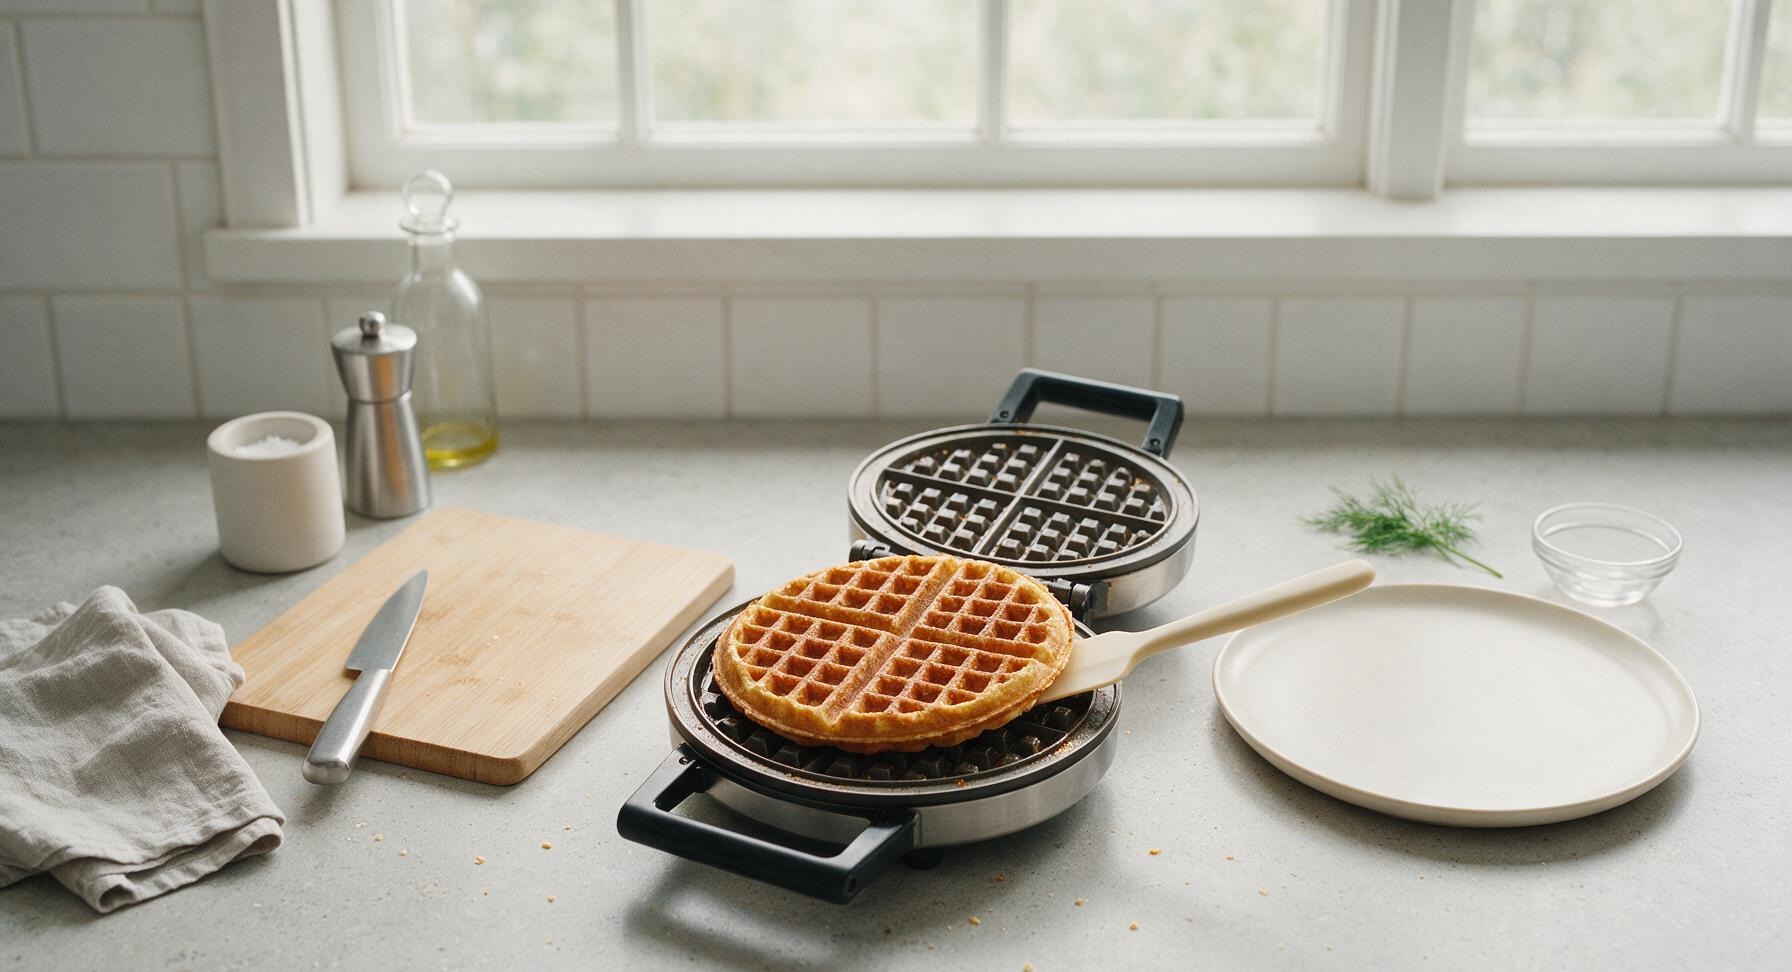
Give the risen batter a gentle stir with the silicone spatula to deflate it slightly. Pour 1/3 cup of batter onto the center of the bottom waffle iron grid, close the lid, and cook for 1 minute on the first side. Flip the waffle iron and cook for 1 additional minute on the second side, until the waffle is deep golden brown, crisp at the edges, and releases easily from the grid. Transfer cooked waffles to the top cream white ceramic plate as you work, covering loosely with a corner of the linen towel to keep warm while you cook the remaining batter.
Step 6
step6:Cook Waffles Until Golden
Step 6
step6:Cook Waffles Until Golden
7

Plate and Serve Warm

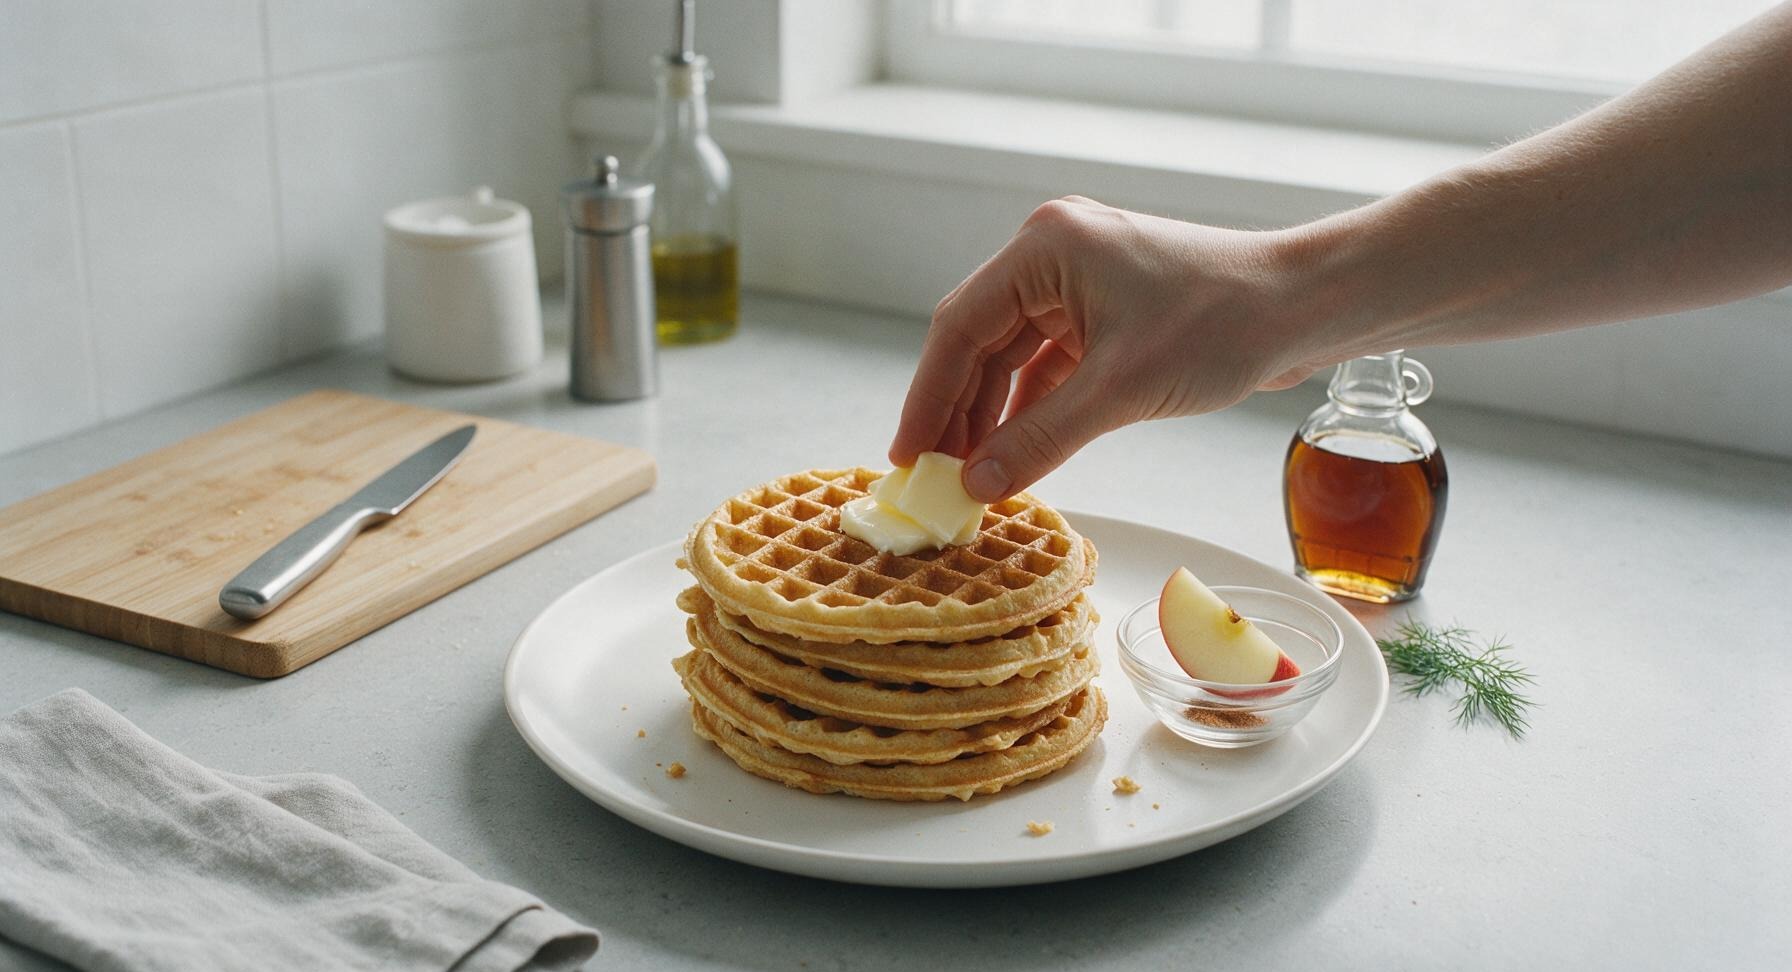
Stack all cooked waffles on the cream white ceramic dinner plate. Top with a thin pat of butter, a light drizzle of maple syrup, a thin wedge of fresh Honeycrisp apple, and a tiny pinch of ground cinnamon. Serve immediately while the waffles are warm and crisp, before the edges soften from trapped steam.
Step 7
step7:Plate and Serve Warm

Tips

1.Always test milk temperature before adding yeast: milk warmer than 115°F will kill active yeast cultures, leading to dense, flat waffles that do not rise properly, while milk too cold will fail to activate the yeast entirely.
2.Do not overmix the waffle batter: overworking the flour develops excess gluten, which results in tough, chewy waffles instead of light, tender ones. Small lumps in the batter are completely normal and will disappear during cooking.
3.Wait until the waffle releases easily from the cast iron grid before lifting it; if it sticks when you nudge it with the spatula, it needs 15-30 seconds more cook time. Forcing it early will tear the waffle and leave stuck bits that burn on the iron.


✨ You May Also Like

Breakfast
🍜 United States

Crisp-edged, fluffy lard griddle cakes are a nostalgic homestyle staple, with rich savoriness from rendered lard, perfect topped with maple syrup or savory gravy.

⏱️ 25 minuteBreakfast ★ 4.8
Breakfast
🍜 United States

Flaky, buttery homemade buttermilk biscuits smothered in creamy, peppery pork sausage gravy: a beloved, hearty Southern American comfort food classic.

⏱️ 35 minuteBreakfast ★ 4.8
Breakfast
🍜 United States

Golden, custardy brioche stuffed with sweet cream cheese and fresh berries, pan-fried to crisp perfection. An indulgent, cozy breakfast perfect for slow weekend mornings.

⏱️ 30 minuteBreakfast ★ 4.7
Breakfast
🍜 United States

Flaky, buttery Southern-style biscuits stuffed with savory salty country ham, a portable, satisfying classic perfect for casual on-the-go meals.

⏱️ 25 minuteBreakfast ★ 4.8
Breakfast
🍜 United States

Iconic puffy baked pancake popularized in Seattle, with crisp golden edges and soft custardy center, served warm with classic sweet toppings.

⏱️ 35 minuteBreakfast ★ 4.6
Breakfast
🍜 United States

Fluffy, golden pancakes studded with juicy peak-summer mixed berries, drizzled with maple syrup for a bright, comforting, crowd-pleasing family breakfast.

⏱️ 25 minuteBreakfast ★ 4.7

dutch waffle:Frequently Asked Questions

1.What makes Pennsylvania Dutch waffles different from regular everyday waffles? ▾
Great question! Unlike quick baking-powder-leavened waffles, these rely on active dry yeast for a light, airy crumb, signature crisp lacy edges, and a subtle tangy depth of flavor. They have a warm background note of cinnamon that pairs perfectly with classic toppings like maple syrup and fresh apples, rather than the plain neutral base of most standard waffles.
2.Do I really need to let the yeast batter rest, and how long is required? ▾
Yes, that rest period is non-negotiable for that signature fluffy, yeasted texture! For best results, let the mixed batter rest covered at room temperature for 1 hour to let the yeast activate and bubble, then chill it for 8 to 12 hours (ideally overnight) to develop that rich, deep, classic Pennsylvania Dutch flavor.
3.The recipe says to warm whole milk to 110°F—what happens if it’s too hot or too cold? ▾
That 110°F sweet spot is perfect for waking up active dry yeast without killing it. If your milk is colder than 100°F, the yeast won’t activate properly, leading to dense, flat waffles. If it’s hotter than 120°F, you’ll kill the yeast entirely and your batter won’t rise, so use a quick-read thermometer to check if you’re unsure.
4.Can I make this batter ahead of time for busy weekend mornings? ▾
Absolutely! In fact, this batter is ideal for prep-ahead meals. Mix it up the night before, cover it tightly, and store it in the refrigerator for up to 24 hours. The cold slow rise develops even better flavor, and you can scoop it straight from the fridge onto your preheated waffle iron in the morning with zero extra prep.
5.Why do my waffles come out soft instead of having that signature crisp edge? ▾
Soft waffles almost always trace back to a waffle iron that isn’t fully preheated, or overcrowding the iron with too much batter. Let your iron heat for 3 to 5 full minutes before pouring batter, and don’t open the lid until steam stops escaping from the sides—usually 3 to 4 minutes per waffle, depending on your model.
6.Can I substitute instant yeast for the active dry yeast called for in the recipe? ▾
You absolutely can, with one small adjustment. If using instant yeast, you don’t need to proof it in the warm milk first—just whisk it directly into the dry ingredients (including the all-purpose flour and sugar), then mix in the warm milk, melted butter, and other wet ingredients. The rise time will be about 25% shorter, so keep an eye on the batter as it rests.
7.What are the best traditional toppings for these waffles? ▾
The classic Pennsylvania Dutch serving is a pat of salted butter, warm pure maple syrup, and thin slices of fresh or sautéed crisp apple, but you have lots of great options! Try a dollop of spiced apple butter, a light sprinkle of cinnamon sugar, or even a drizzle of dark molasses for a deeper, richer, old-fashioned flavor.
8.Can I freeze leftover cooked waffles for quick weekday breakfasts? ▾
Definitely! Let cooked waffles cool completely to room temperature, then stack them with small squares of parchment paper between each waffle to prevent sticking, and seal them in a freezer-safe bag for up to 3 months. Reheat straight from frozen in a toaster or toaster oven until crisp and warmed through—they taste just as good as fresh.
9.Do I need a special waffle iron to make these properly? ▾
You don’t need any fancy specialty equipment! A standard rotating or non-rotating Belgian waffle iron works perfectly, as does a classic thin American waffle iron if that’s what you own. Just adjust your batter amount slightly to match your iron’s size, and lightly grease the grids with a little of the melted unsalted butter before pouring batter.
10.The recipe calls for granulated sugar—can I cut back on the sugar or use a substitute? ▾
The small amount of granulated sugar in this recipe isn’t just for sweetness—it helps feed the yeast to create a better rise, and balances the warm cinnamon and tangy yeast flavor. You can cut it by half if you prefer less sweet waffles, or swap in an equal amount of light brown sugar for a subtle caramel note, but don’t omit it entirely.
11.How do I know when the yeast is properly activated so my waffles will rise? ▾
After mixing the yeast with the warm milk and a pinch of the recipe’s granulated sugar, let it sit for 5 to 7 minutes. You should see a foamy, frothy layer across the top of the milk that smells faintly of bready, yeasty aroma. If you don’t see foam after 10 minutes, your yeast is likely old or dead, and you’ll need a fresh packet to avoid dense waffles.
12.The recipe mentions warm cinnamon notes—how much cinnamon should I add, and can I skip it? ▾
Traditional Pennsylvania Dutch waffles use a light hand with cinnamon, usually 1 to 1 ½ teaspoons for a full batch, so it reads as a warm background note rather than a strong spice. You can absolutely skip it if you prefer a plain yeasted waffle, or add a pinch of nutmeg alongside it if you love that cozy spiced flavor.
13.My waffle batter bubbled over the bowl in the fridge overnight—did I ruin it? ▾
That’s a totally common, harmless mishap with yeasted waffle batter! It just means your yeast was extra active, and you used a bowl that was too small to contain the rise. Scrape any spilled batter off your storage container, give the remaining batter a quick gentle stir, and it will cook up perfectly—just use a bowl with 3 inches of headspace next time.

Comments (3)

2 days ago

Game changer for our weekly Saturday breakfast rotation! I grew up eating PA Dutch waffles when we’d visit my grandma in Lancaster County and these taste exactly like I remember. Crisp on the outside, light and fluffy inside, not cloyingly sweet so you can load 'em up with maple syrup, fresh strawberries, and whipped cream no problem. The 20 minute cook time was way faster than I expected for a from-scratch recipe too! My kids loved it so much they asked for seconds before they even finished their first plate. 10/10 will be making these for our neighborhood block party potluck next month!

yesterday

SO good, but I ran into a little snafu when making these last night! My waffle iron kept sticking even when I doused it with nonstick spray—did I mess up the batter consistency? I followed the recipe exactly, measuring everything out, so maybe I poured too much batter per waffle? The flavor was unreal though, my partner ate three straight off the iron before I even got to put toppings on mine, zero complaints.

2 hours ago

So glad you and your partner loved the flavor, Lizzy! Sticking is super common with these richer, classic PA Dutch waffle batters - try giving your iron an extra 2-3 minutes to fully preheat before pouring batter in, and a light brush of melted butter instead of nonstick spray works like a charm for this recipe! Overpouring can cause messy overflow and sticking too, so aim to fill the iron plates about ⅔ of the way for perfect, pull-apart waffles. Let us know how it goes next time you whip up a batch!

1 week ago

OMG, these are way better than the frozen Eggo waffles I usually stock for busy school mornings! I made a double batch on Sunday, popped the leftovers in the freezer, and they toast up perfectly in 2 minutes for quick grab-and-go breakfasts all week. I added a tiny dash of cinnamon and a splash of extra vanilla to the batter per my mom’s old waffle tip and it’s chef’s kiss. Worth every minute of prep even with the medium difficulty rating, promise! Don’t let the slightly longer prep scare you off.

5 days ago

Wait, how do you store them in the freezer without 'em getting all icy? Do you wrap each one individually in plastic or just toss 'em in a ziploc? I’ve been wanting to add waffles to my weekly meal prep but mine always get gross freezer burn after like 2 days.

3 days ago

Great storage question, Brian! For best no-freezer-burn results, let the cooked waffles cool completely on a wire rack first, then layer them between sheets of parchment paper in an airtight freezer bag - they’ll stay fresh for up to 3 months that way, and toast up straight from the freezer with no thawing needed. Love the cinnamon and extra vanilla add-in tip, Jess, that sounds absolutely perfect with these waffles’ subtle, buttery, slightly yeasty flavor that makes PA Dutch waffles so special!



