
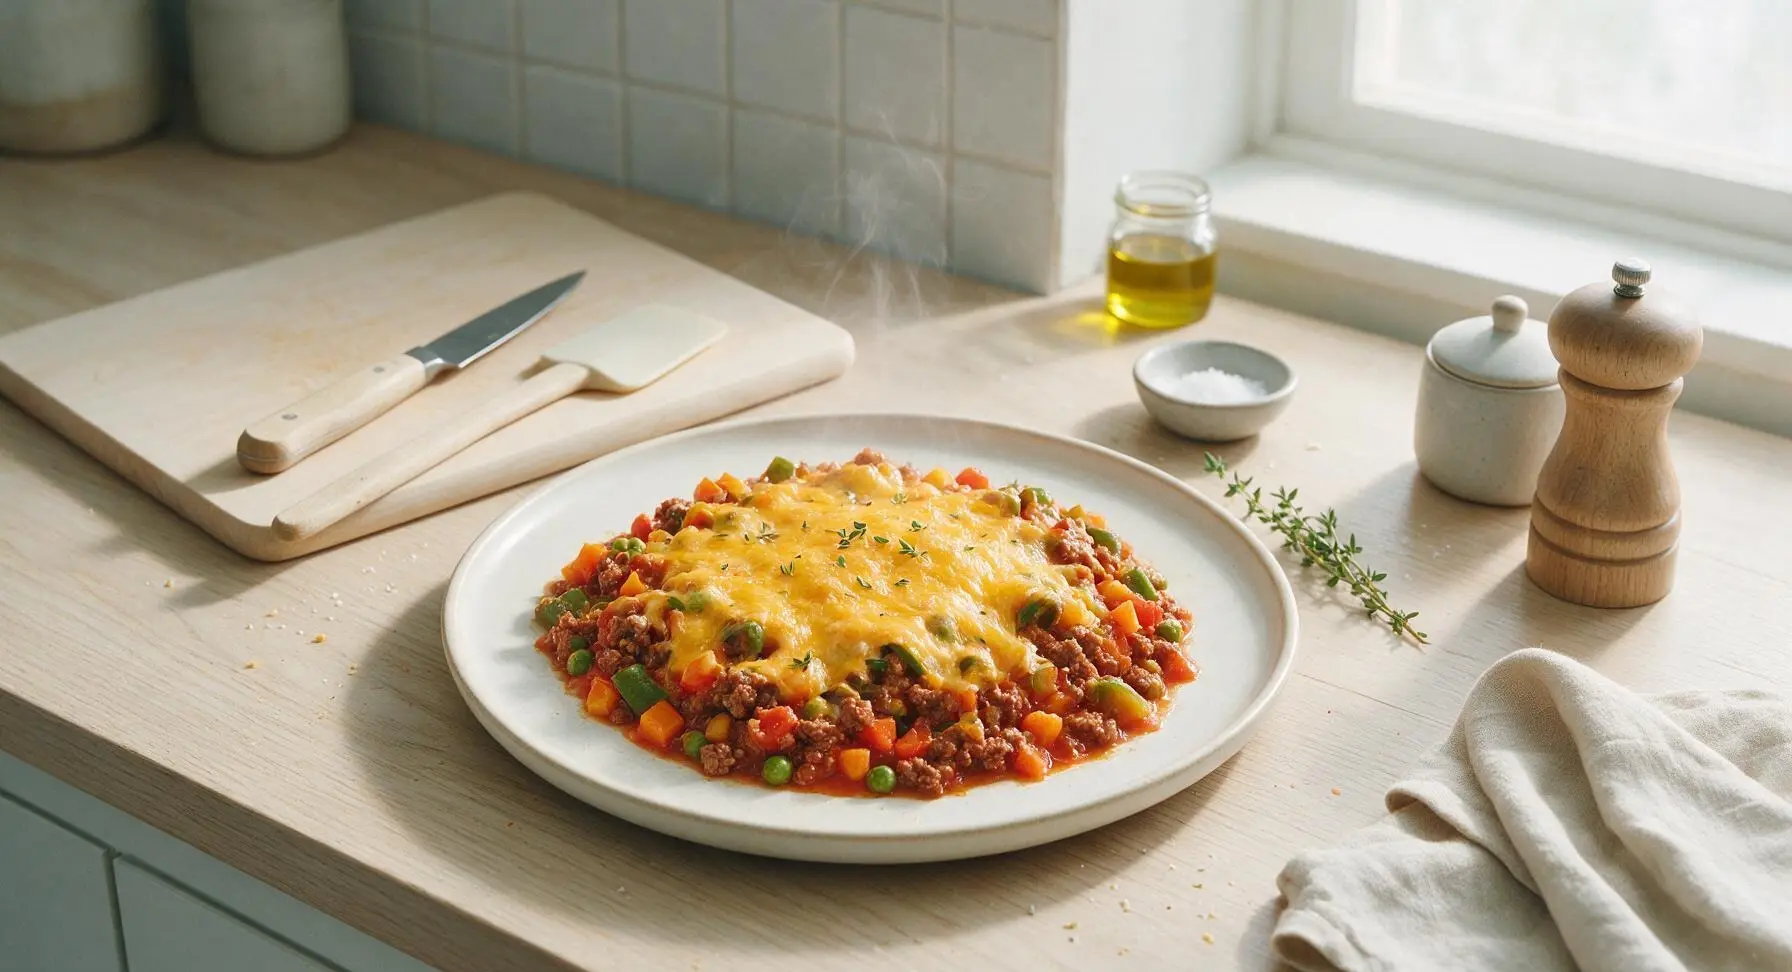
easy beef casserole

title 1
easy beef casserole
⏱️ cook time 45 minutes
🍽️ servings 4
⚡ Difficulty easy

intro

Tender savory ground beef, bright mixed vegetables, and tangy tomato sauce baked under a blanket of melted golden cheddar. A no-fuss, hearty, cozy meal perfect for busy nights.

Ingredients
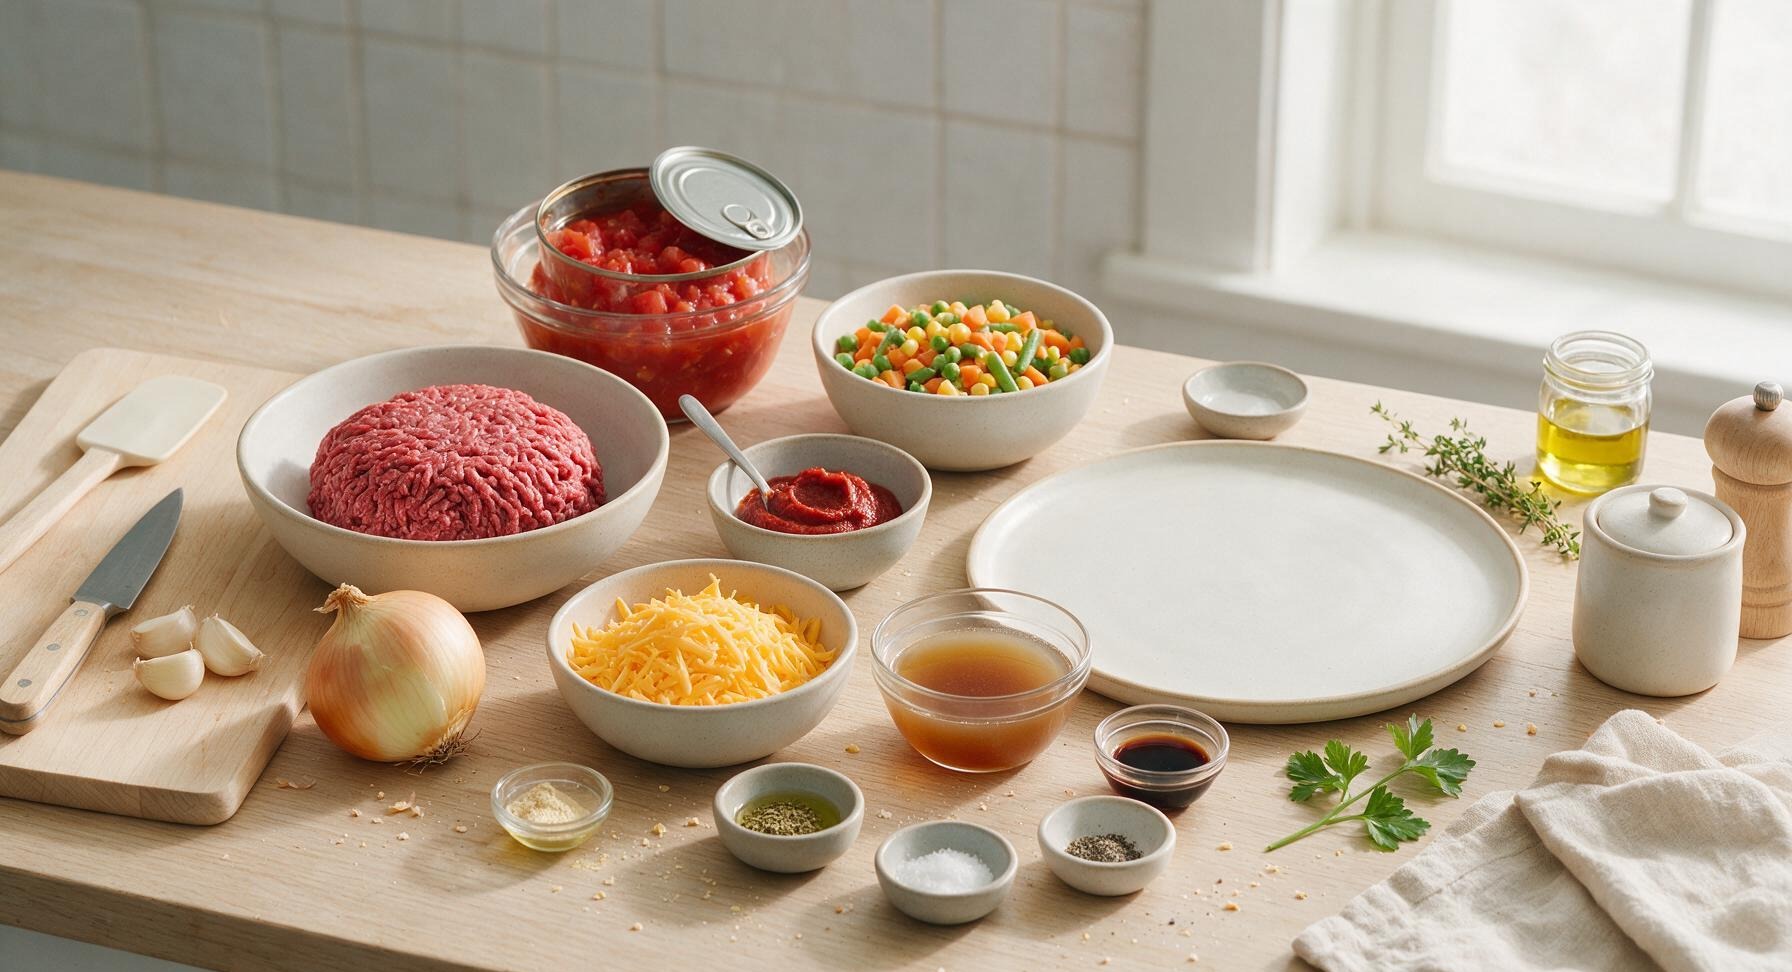
Lean ground beef (90/10) 500g
Yellow onion 1 medium (150g)
Garlic cloves 3 cloves
Canned diced tomatoes (no salt added, undrained) 400g
Frozen mixed vegetables (peas, carrots, corn, green beans) 300g
Tomato paste 2 tablespoons (30g)
Sharp cheddar cheese 150g
Low-sodium beef broth 120ml
Worcestershire sauce 1 tablespoon (15ml)
Extra-virgin olive oil 1 tablespoon (15ml)
Dried oregano 1 teaspoon
Garlic powder 1/2 teaspoon
Kosher salt 1 teaspoon
Ground black pepper 1/2 teaspoon
Fresh flat-leaf parsley (for garnish) 2 sprigs

Steps

1

Preheat and Prep Aromatics

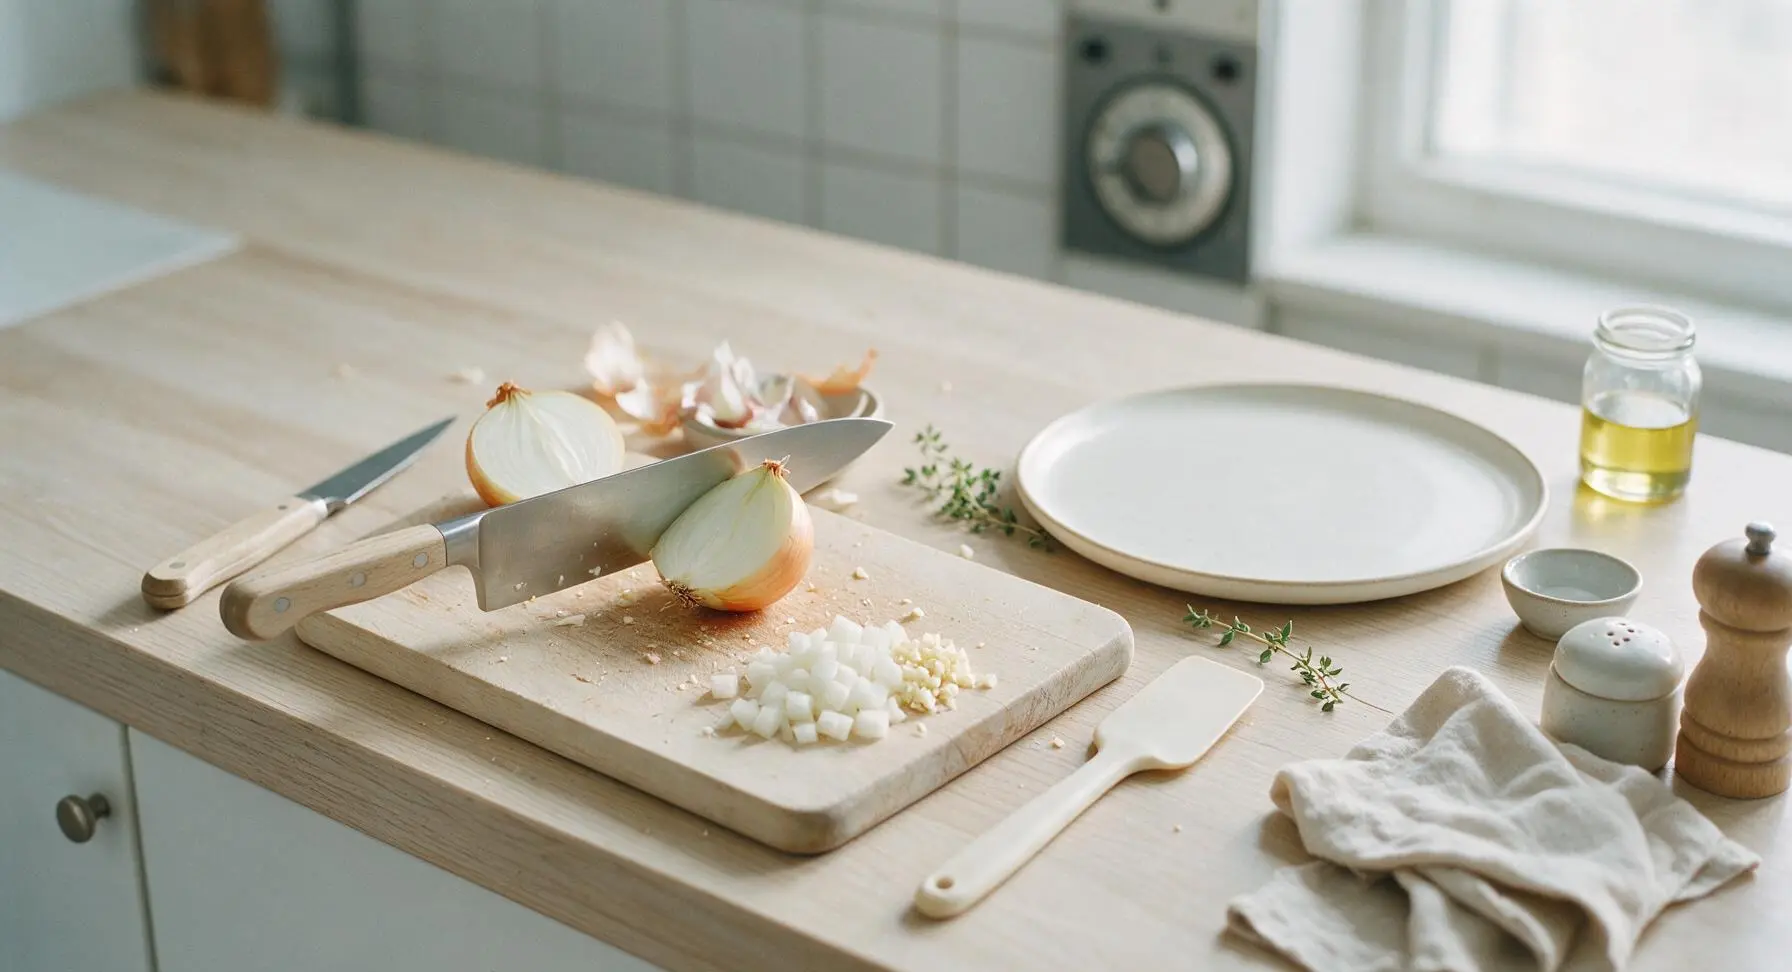
Adjust oven rack to the middle position, preheat oven to 180C (350F). Place the honey bamboo cutting board in its fixed left-of-center position, use the 8-inch stainless steel chef’s knife to dice the yellow onion into uniform 1cm pieces, then mince the 3 garlic cloves finely. Gather prepped aromatics in a small pile at the corner of the cutting board, discarding onion peels and garlic skins in a small bowl off-frame. Uniformly sized onion pieces will cook evenly without burning or remaining crunchy in the final casserole.
Step 1
step1:Preheat and Prep Aromatics
2

Brown the Ground Beef

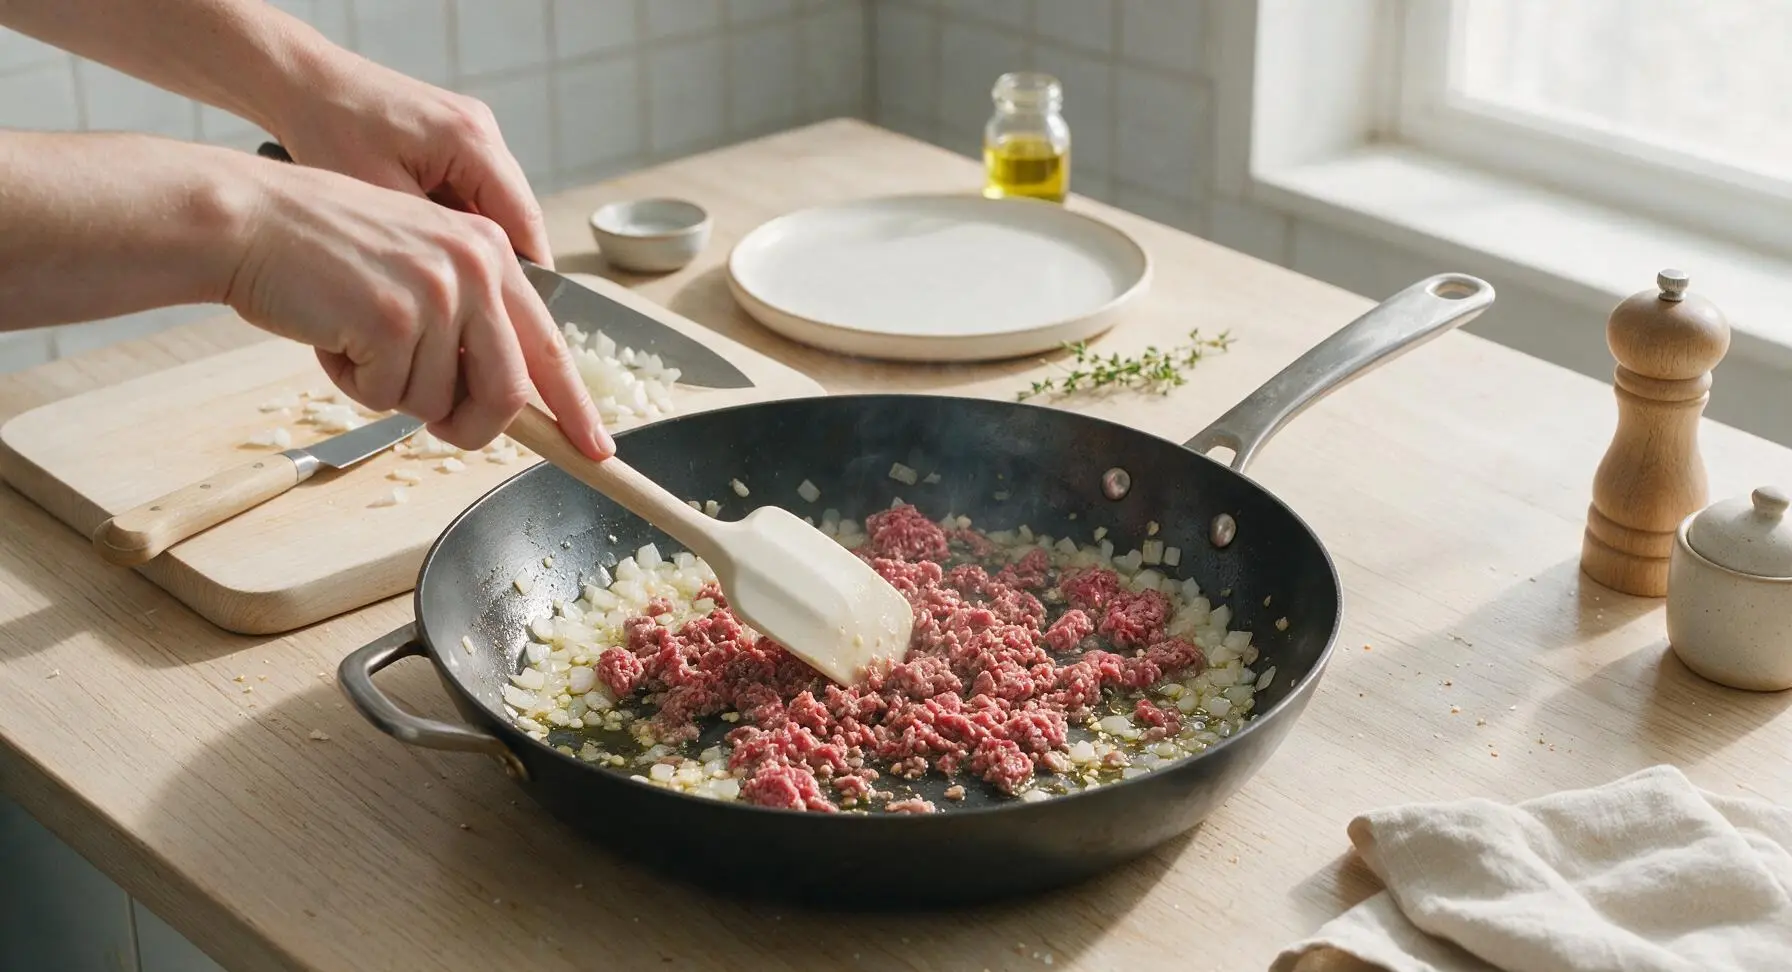
Bring the 12-inch carbon steel skillet from its rear stovetop position to the center of the counter (set over medium heat), add 1 tablespoon of olive oil from the fixed glass oil bottle. Once the oil shimmers (about 1 minute), add the diced onion and cook for 3 minutes until soft and translucent. Add minced garlic and cook for 30 seconds until fragrant, then add the 500g lean ground beef. Use the red silicone spatula to break the beef into small, even crumbles as it cooks, for 5-7 minutes, until no pink remains. Drain any excess grease from the skillet if needed, leaving 1 teaspoon of rendered fat for depth of flavor.
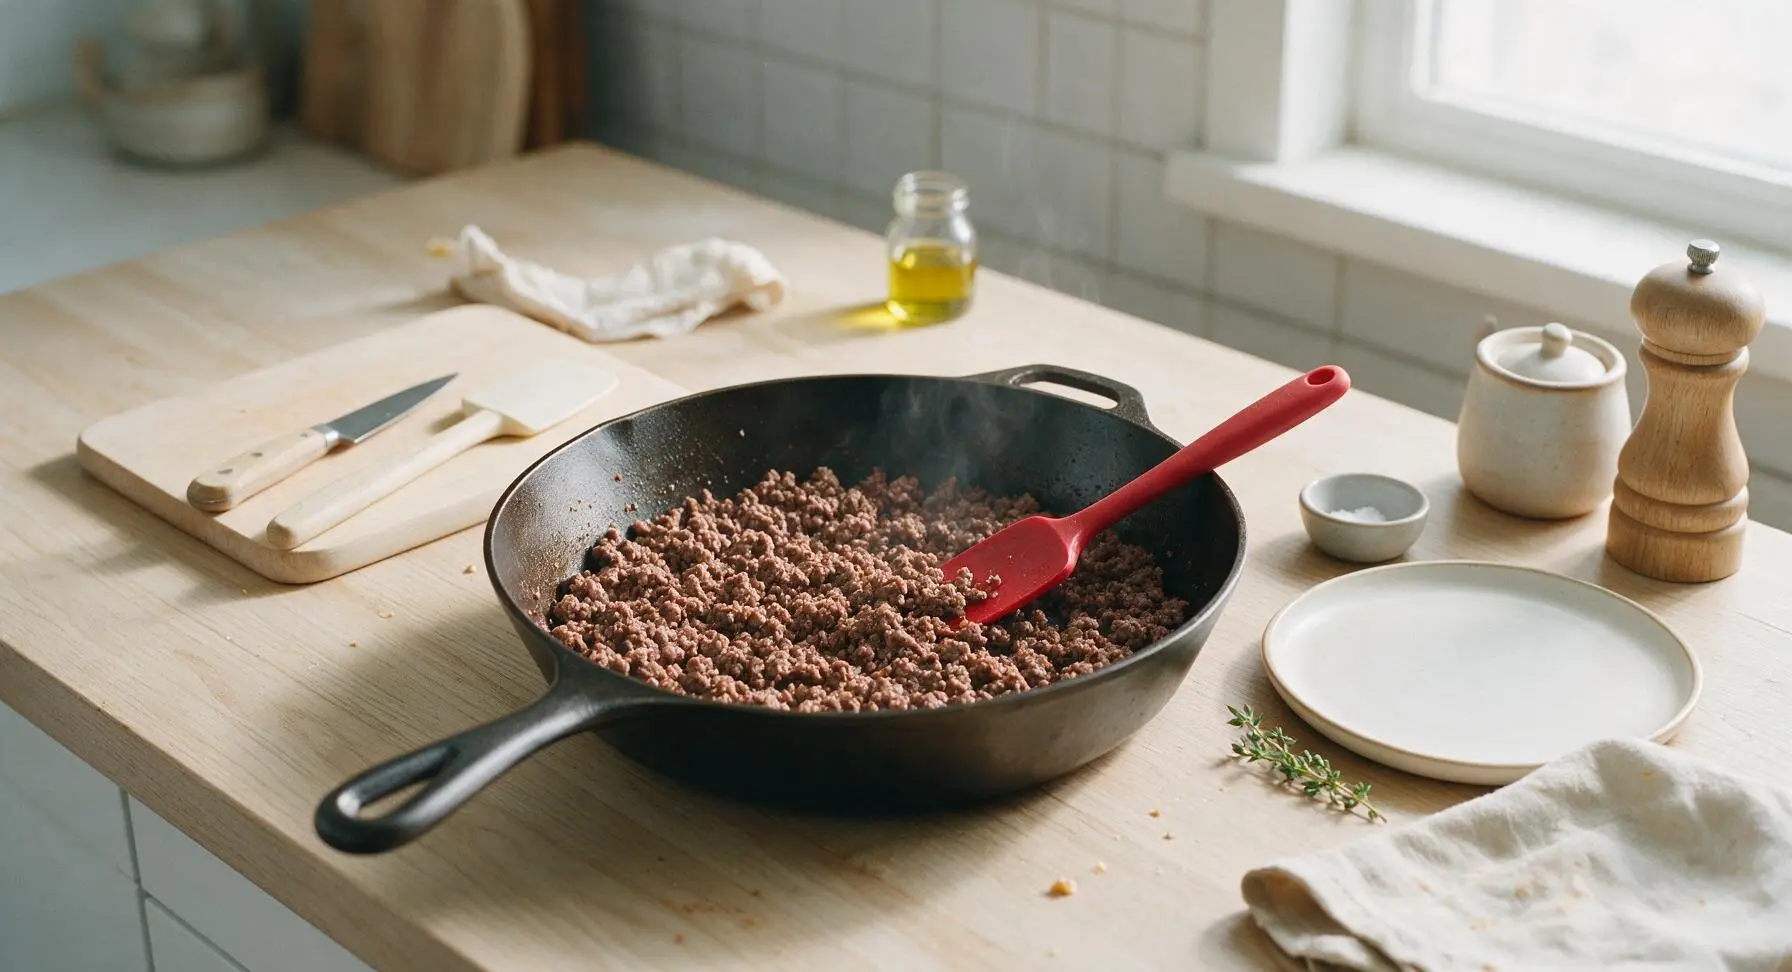
Step 2
step2:Brown the Ground Beef
Step 2
step2:Brown the Ground Beef
3

Mix Sauce and Seasonings

To the skillet of browned beef, add 2 tablespoons tomato paste, stirring constantly with the red silicone spatula for 1 minute until the paste deepens to a dark rust color and coats all beef crumbles. Pour in 1 tablespoon Worcestershire sauce, 120ml low-sodium beef broth, the undrained 400g can of diced tomatoes, 1 teaspoon dried oregano, 1/2 teaspoon garlic powder, 1 teaspoon kosher salt, and 1/2 teaspoon ground black pepper. Stir until fully combined, bringing the mixture to a gentle simmer for 2 minutes. The finished sauce should be thick enough to coat a spatula, with no watery pooling at the bottom of the skillet.
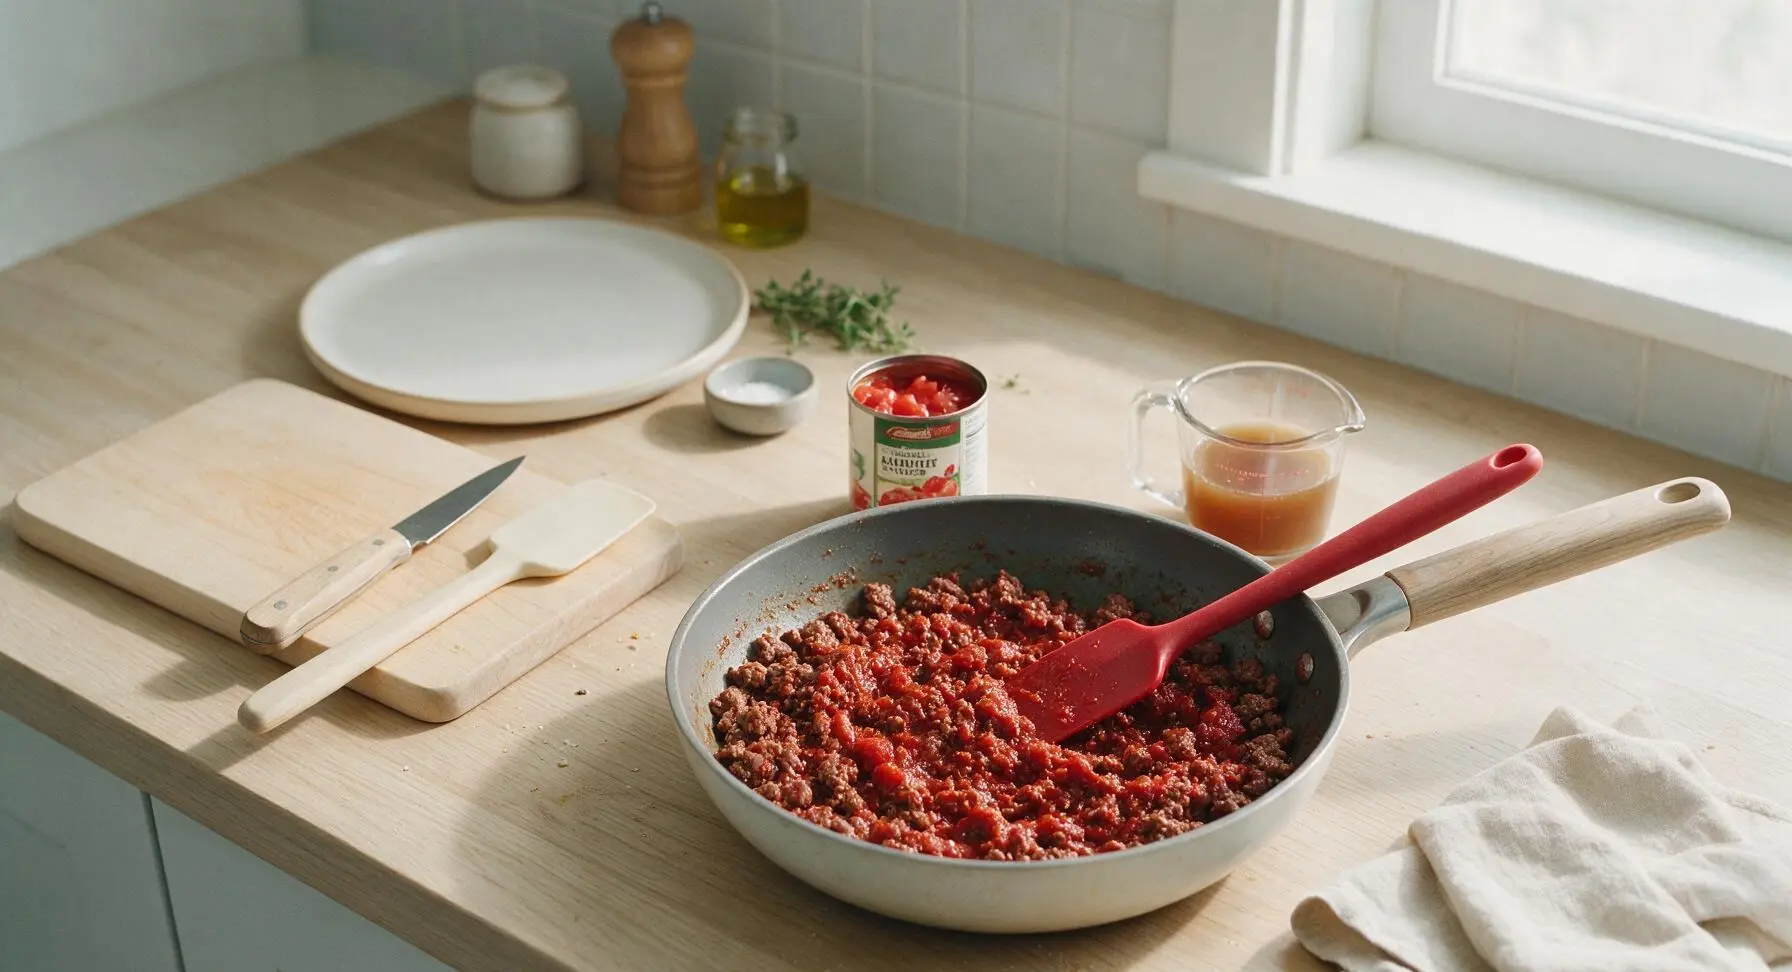
Step 3
step3:Mix Sauce and Seasonings
4

Add Veggies, Transfer to Dish

Stir the 300g frozen mixed vegetables directly into the beef and sauce mixture (no thawing required) until evenly distributed. Bring the matte off-white 9x13 ceramic baking dish to the center of the counter, then pour the entire beef and vegetable mixture into the dish, spreading it into a smooth, even layer with the silicone spatula. A flat, even surface ensures the cheese topping melts uniformly across the entire casserole.
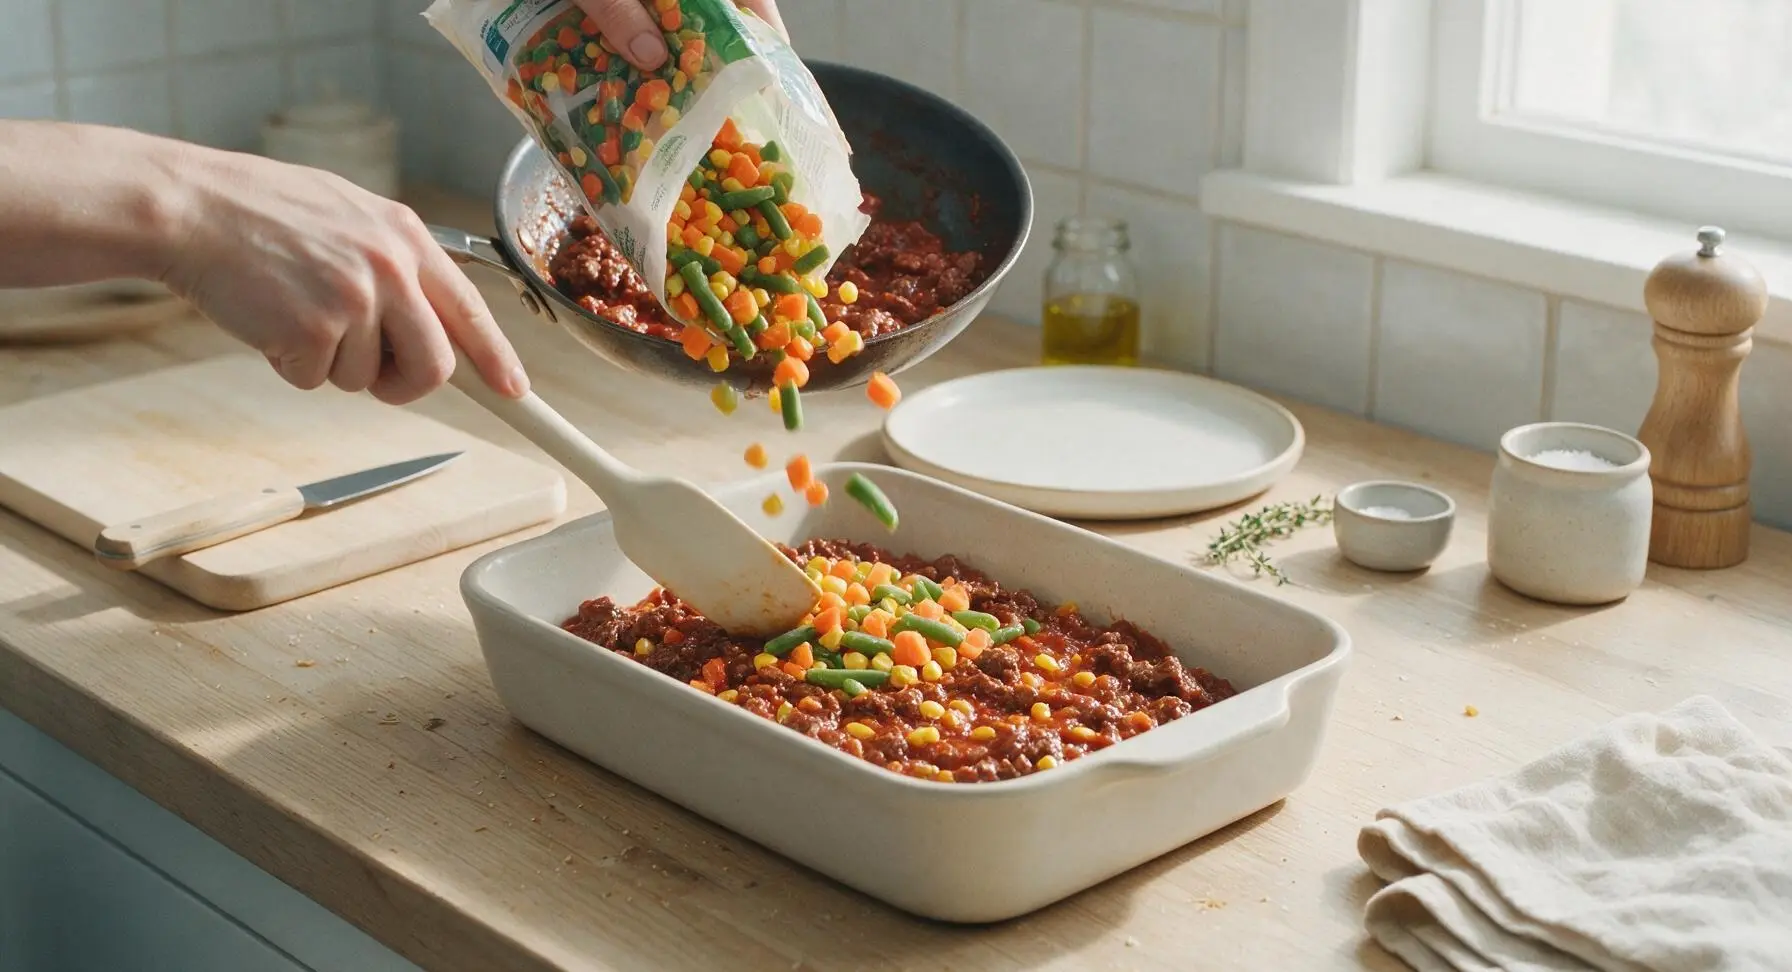
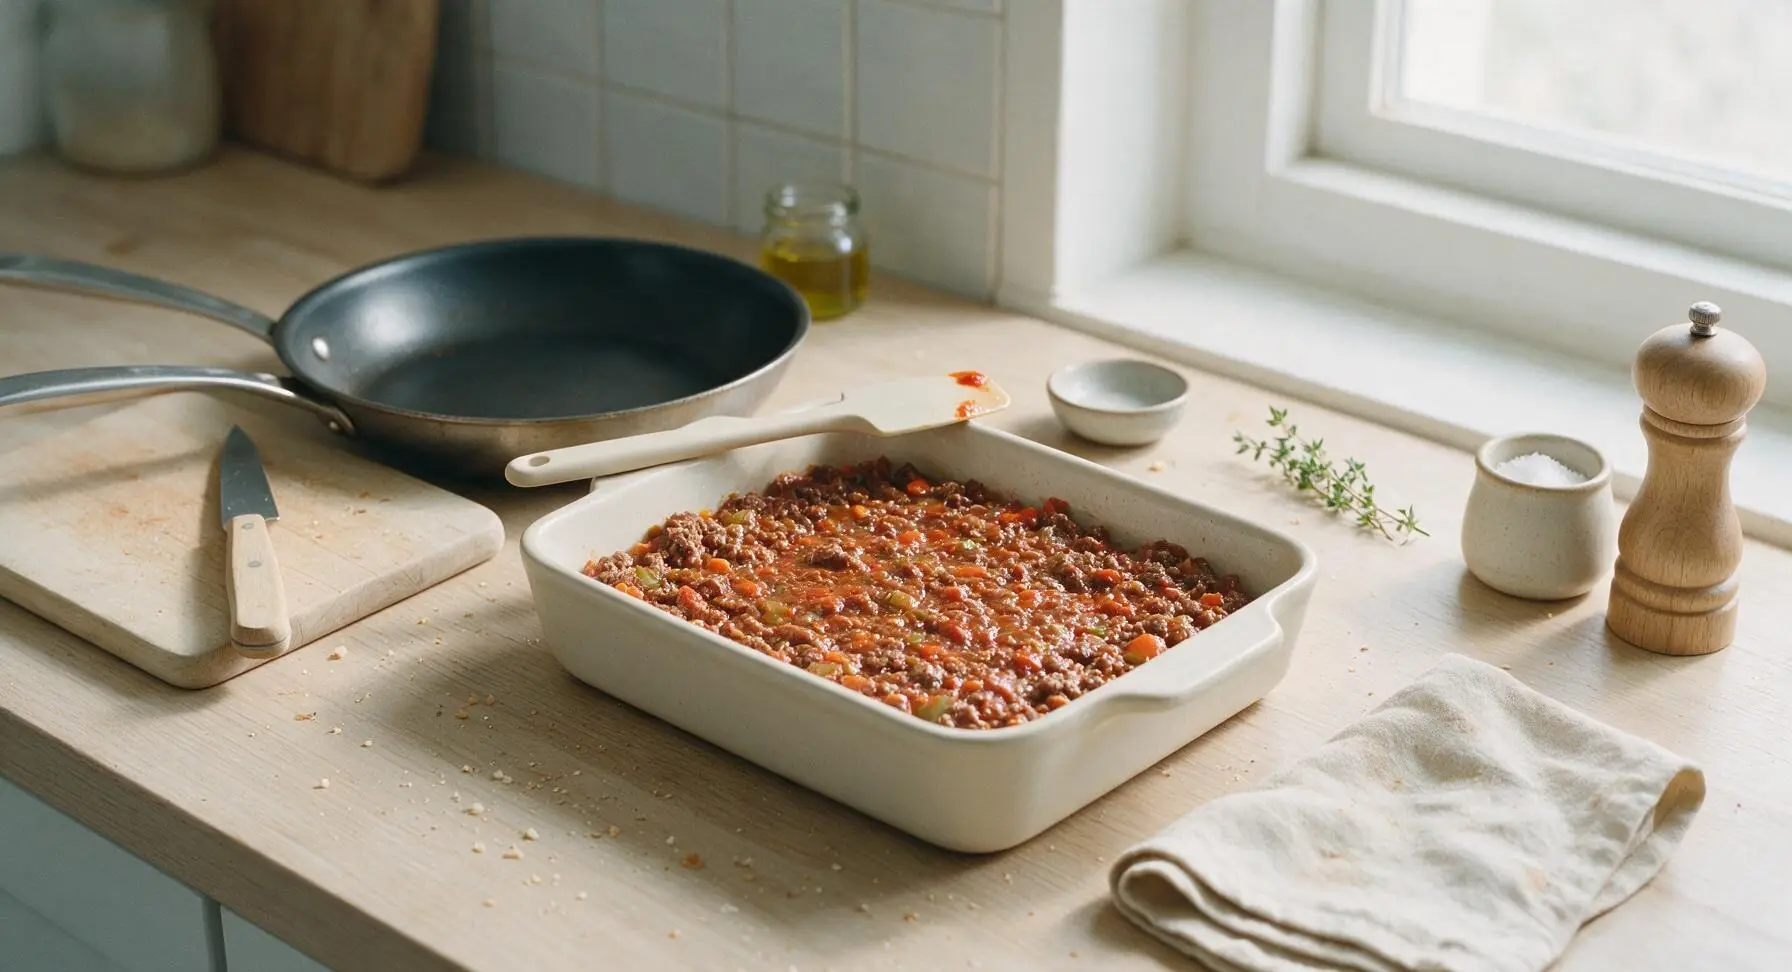
Step 4
step4:Add Veggies, Transfer to Dish
Step 4
step4:Add Veggies, Transfer to Dish
5

Top with Shredded Cheddar

Retrieve the stainless steel box grater from its far left fixed position, set it over the brushed stainless steel mixing bowl, and shred the 150g block of sharp cheddar cheese into coarse shreds. Sprinkle the shredded cheddar evenly over the entire surface of the beef mixture in the baking dish, covering all gaps so no sauce peeks through. Aim for a consistent 5mm thick cheese layer to ensure even melting and a crisp, golden top.
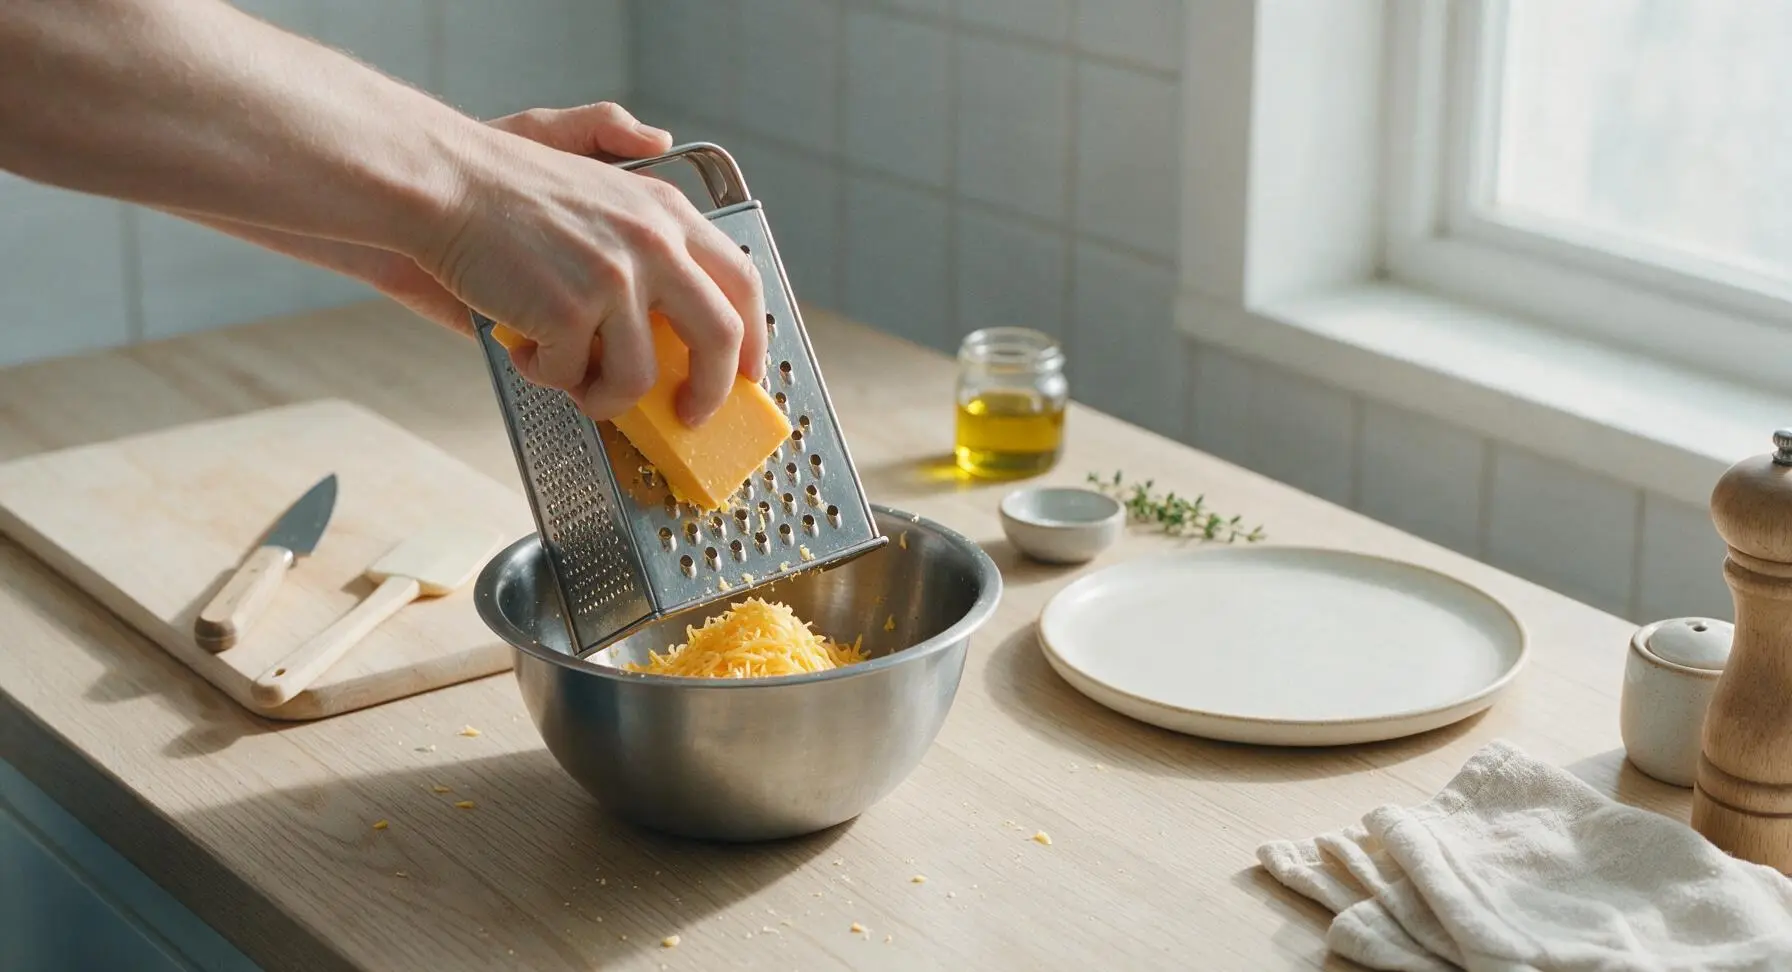
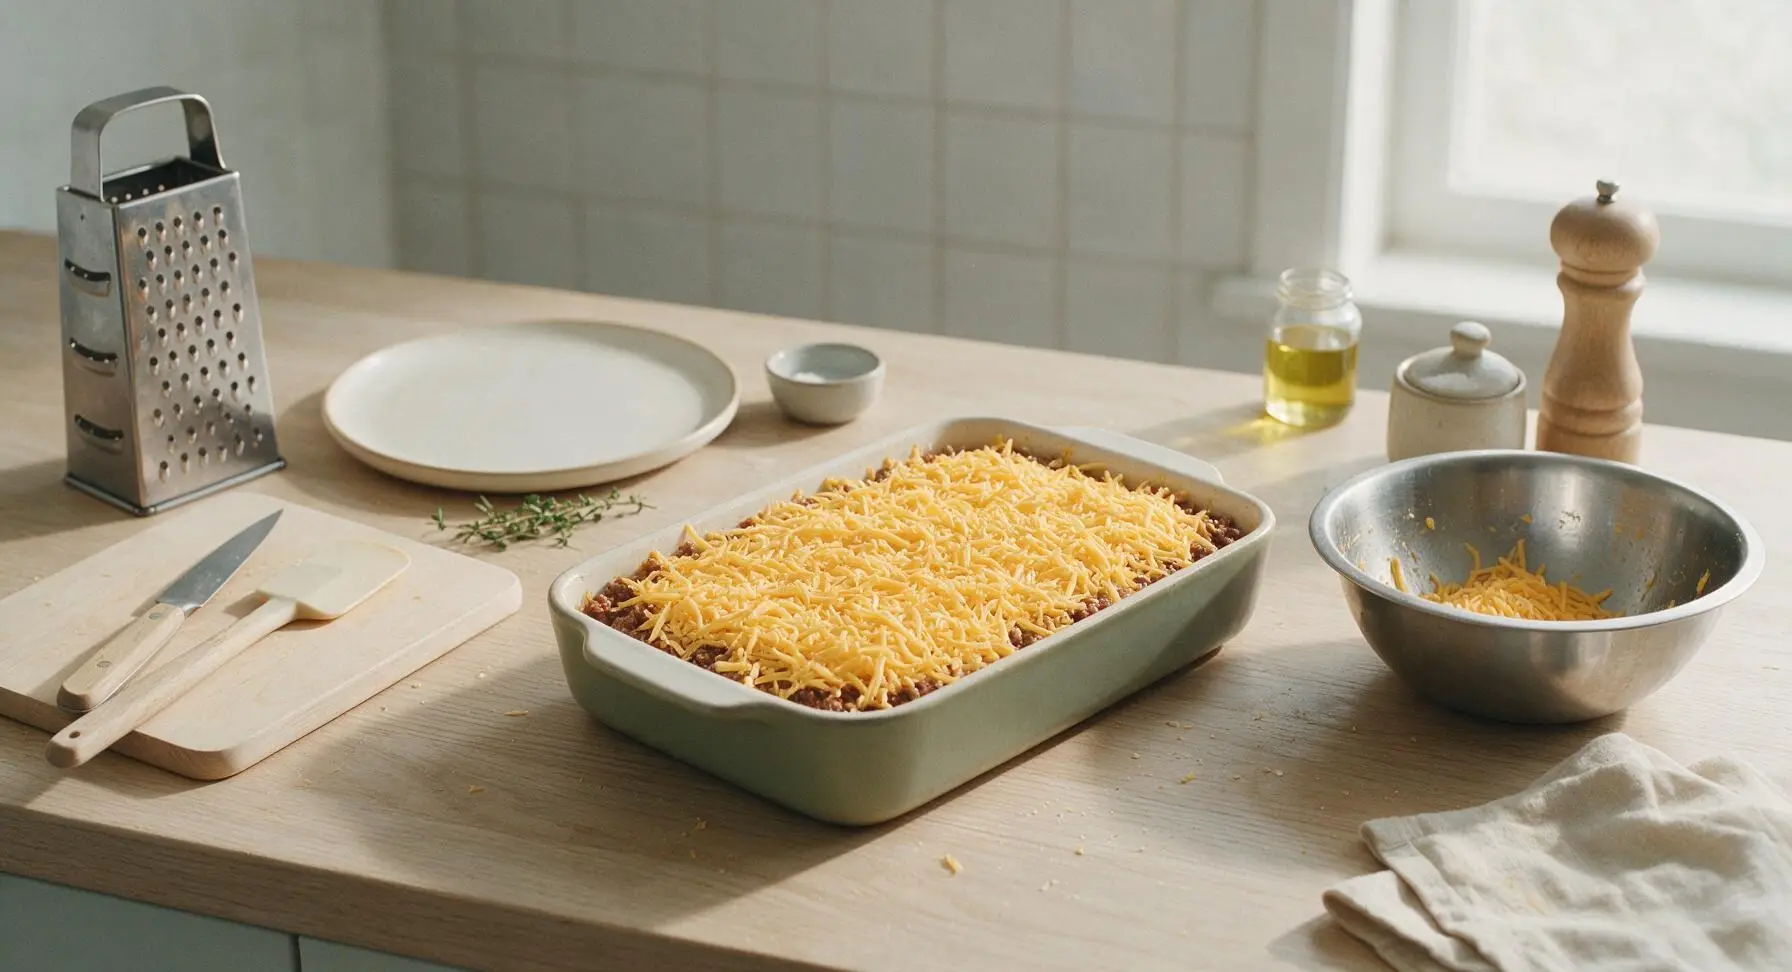
Step 5
step5:Top with Shredded Cheddar
Step 5
step5:Top with Shredded Cheddar
6

Bake Until Bubbly

Cover the baking dish tightly with a sheet of matte aluminum foil, place on the middle oven rack, and bake for 25 minutes at 180C (350F). Remove the foil, then bake for an additional 20 minutes, until the cheese is fully melted, golden brown at the edges, and the sauce is actively bubbling up around the sides of the dish. Remove from oven, garnish with fresh flat-leaf parsley if desired, and let rest for 5 minutes before serving to allow the sauce to set for clean scoops.
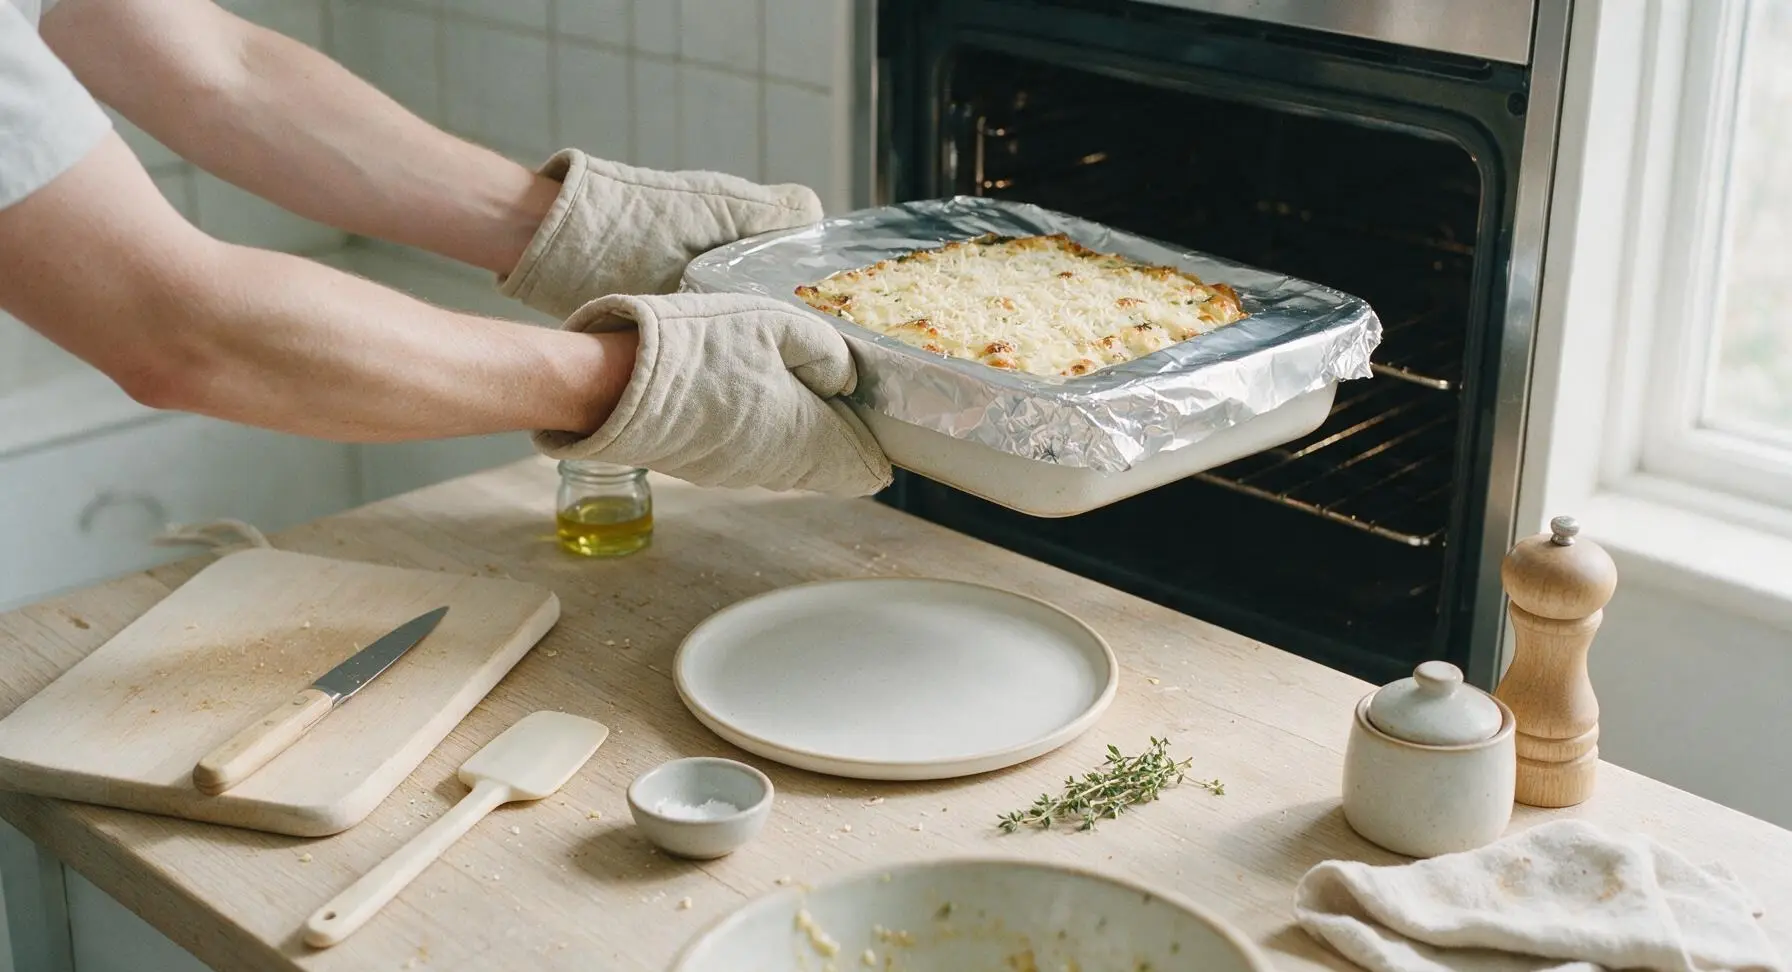
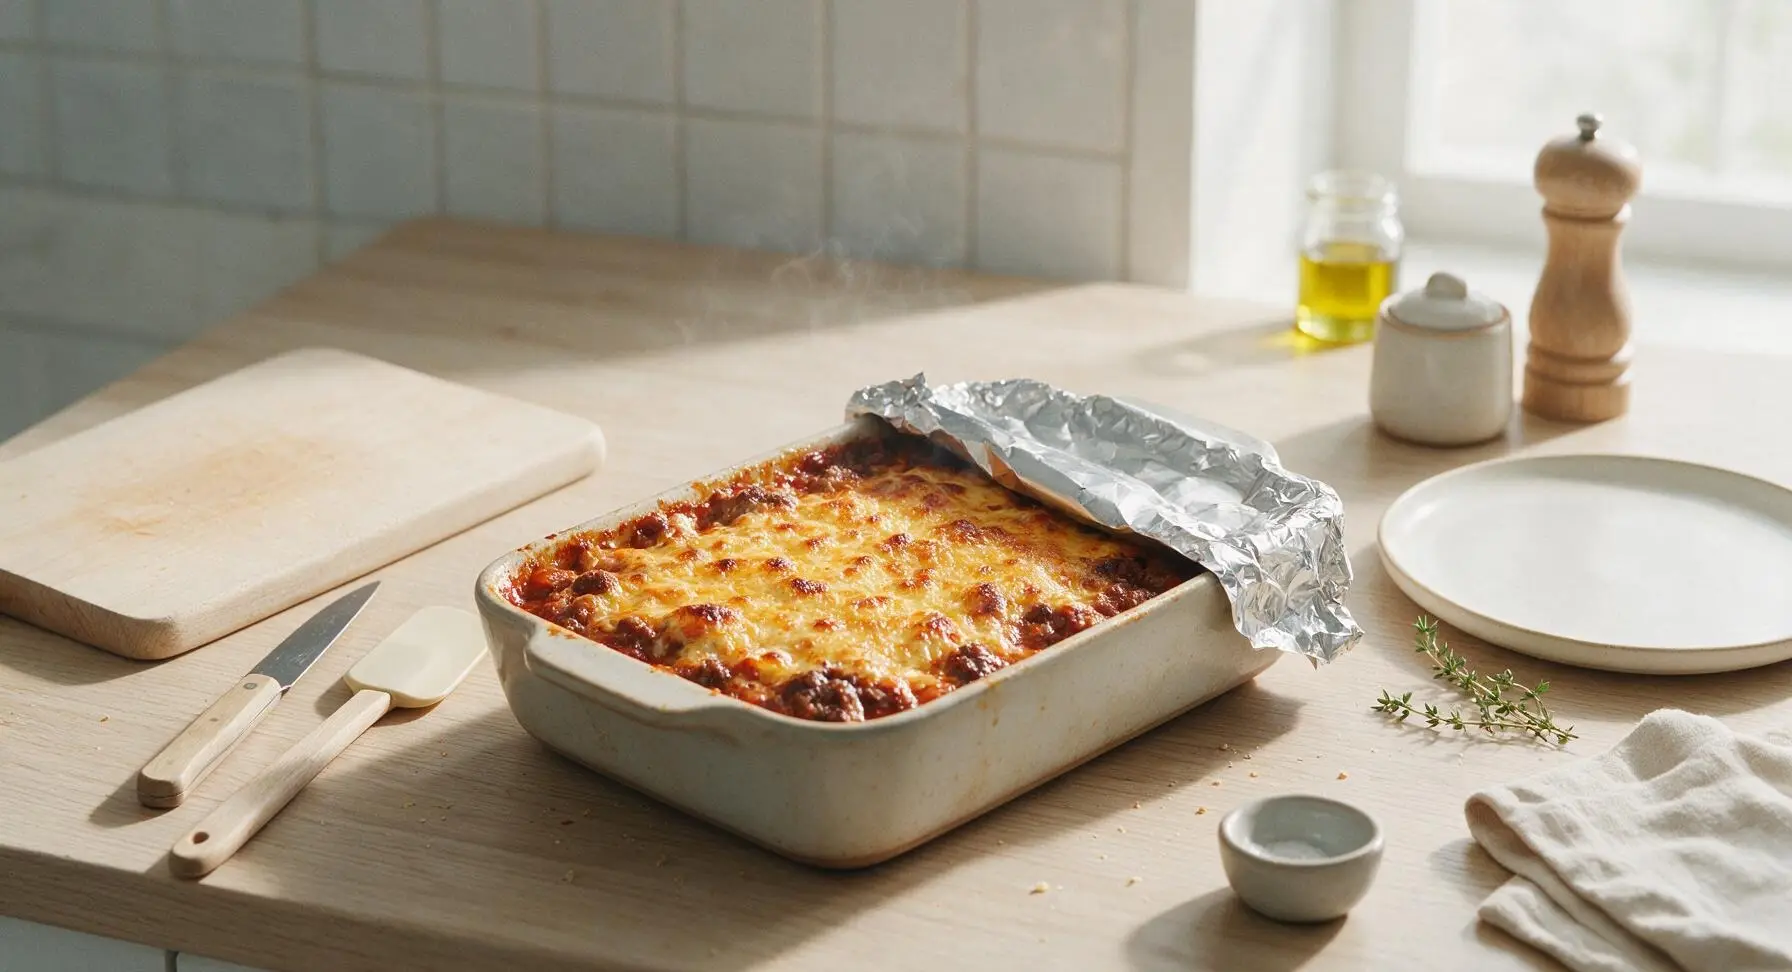
Step 6
step6:Bake Until Bubbly
Step 6
step6:Bake Until Bubbly

Tips

1.Skip thawing frozen mixed vegetables: they cook perfectly during the baking process, and adding them frozen cuts prep time and prevents soggy, waterlogged veggies from excess melted ice.
2.For an extra crispy cheese crust, switch the oven to broil for the last 2-3 minutes of baking, watching closely to avoid burning. This creates a crunchy, golden top that contrasts beautifully with the soft, savory filling.
3.This casserole keeps for up to 4 days in the fridge or 3 months in the freezer. Let it cool completely before covering tightly, and reheat portions in the microwave or oven for ultra-fast future meals.


✨ You May Also Like

Main Course
🍜 United Kingdom

A showstopping classic of tender seared beef, savory mushroom duxelles, and crisp prosciutto wrapped in flaky golden puff pastry, baked to juicy perfection.

⏱️ 2 hours 1Main Course ★ 4.7
Main Course
🍜 India

Tender charred marinated chicken simmered in a rich, spiced creamy tomato sauce, this iconic Anglo-Indian curry pairs perfectly with basmati rice or warm naan.

⏱️ 50 minuteMain Course ★ 4.6
Main Course
🍜 Thailand

Classic tangy, sweet, and savory Thai stir-fried rice noodles with shrimp, tofu, and crunchy garnishes, balancing all five core Thai flavor profiles.

⏱️ 30 minuteMain Course ★ 4.5
Main Course
🍜 United Kingdom

Crispy golden beer-battered cod and fluffy double-fried chips, served with tangy tartar sauce and malt vinegar: the timeless, beloved British pub comfort classic.

⏱️ 45 minuteMain Course ★ 4.7
Main Course
🍜 Mexico

Smoky, chile-marinated pork tacos with caramelized pineapple, fresh cilantro, and lime: a beloved classic Mexican street food perfect for casual summer gatherings.

⏱️ 1 hour 45Main Course ★ 4.8
Main Course
🍜 United States

Crunchy Fritos corn chips layered with savory beef chili and melted cheddar, topped with cool, zesty fixings for a beloved, cozy Tex-Mex comfort food.

⏱️ 35 minuteMain Course ★ 4.8

easy beef casserole:Frequently Asked Questions

1.Can I use a higher-fat ground beef instead of the recommended 90/10 lean blend? ▾
Absolutely! If you use 80/20 or 85/15 ground beef, just be sure to fully drain all excess rendered grease after browning it to keep your casserole from turning soggy or greasy. If you opt for extra-lean 93/7, stir in 2 tablespoons of low-sodium beef broth before baking to keep the filling moist, as it has less natural fat.
2.Do I need to thaw frozen mixed vegetables before adding them to the casserole? ▾
No need to thaw them first! Adding them straight from the freezer cuts down on prep time, and they’ll cook perfectly through during the baking process. Just give them a quick shake to break up any large icy clumps before stirring them into the beef and tomato mixture to avoid cold spots in the finished dish.
3.Can I use fresh vegetables instead of frozen mixed veggies? ▾
Definitely! If you use fresh peas, diced carrots, corn cut off the cob, and trimmed green beans, dice them into uniform ½-inch pieces so they cook evenly. You’ll want to parboil firmer veggies like carrots and green beans for 3 minutes first, since they take longer to soften than frozen pre-blanched options during baking.
4.How do I keep the cheddar topping from getting too brown or burnt while baking? ▾
Easy fix! If you notice the cheese turning deep golden faster than the filling heats through, loosely tent a sheet of aluminum foil over the top of the casserole dish for the remaining bake time. For extra melty, perfectly golden cheese, you can also sprinkle it on during the last 15 minutes of baking instead of adding it right at the start.
5.Can I make this casserole ahead of time for busy weeknights? ▾
Absolutely! Assemble the entire casserole (hold off on adding the cheese topping if prepping more than 12 hours ahead) and cover it tightly with plastic wrap, then store it in the fridge for up to 3 days. When you’re ready to bake, add the cheese, tack 10 minutes onto the bake time to account for the cold filling, and cook until bubbly.
6.Is this casserole freezable for long-term meal prep? ▾
It sure is! Let the fully baked casserole cool completely, then portion it into airtight freezer-safe containers or wrap the whole dish tightly in a double layer of plastic wrap and foil. It will keep well in the freezer for up to 3 months. Thaw it in the fridge overnight before reheating at 350°F until bubbly around the edges.
7.What if I don’t have no-salt-added canned diced tomatoes on hand? ▾
No problem! You can use regular canned diced tomatoes, just cut back on any added salt you plan to use during the beef browning step to keep the dish from getting too salty. If you only have crushed tomatoes on hand, those work too—they’ll just give you a smoother, less chunky tomato sauce base for the filling.
8.My casserole came out watery—what went wrong, and how can I fix it next time? ▾
Watery casserole usually comes from not draining excess grease from higher-fat beef, using extra-juicy undrained tomatoes, or adding veggies with excess surface moisture. Next time, drain grease as needed, pour off ¼ cup of extra tomato juice if cans are overly full, and let the casserole rest 5 minutes post-bake to set before serving.
9.Can I add extra seasonings to make the flavor more bold? ▾
Of course! The base recipe is intentionally mild to please picky eaters, but you can amp up the flavor easily. Try adding a teaspoon of Italian seasoning, ½ teaspoon of smoked paprika, a pinch of red pepper flakes, or a tablespoon of Worcestershire sauce to the beef mixture as it browns for extra depth without extra prep work.
10.What size baking dish works best for this recipe? ▾
A standard 9x13-inch glass or ceramic baking dish is ideal for this recipe, as it gives the filling enough room to bubble without making a mess and lets the cheese topping spread in an even layer. If you only have a 9x9-inch square dish, split the filling between two smaller dishes or expect a slightly thicker, longer-baking casserole.
11.Do I need to pre-cook the ground beef before baking the casserole? ▾
Yes, you absolutely should brown the ground beef with the onion and garlic before assembling the casserole. Raw beef will release too much excess grease as it bakes, leading to a soggy final dish, and you won’t get that deep, savory browned flavor that comes from searing the beef on the stovetop first.
12.Can I swap the cheddar cheese for a different type of cheese? ▾
Definitely! Sharp cheddar gives that classic tangy, melty topping, but you can swap it for colby-jack, mozzarella, pepper jack for a little kick, or a Mexican cheese blend if that’s what you have on hand. For the best melt, shred cheese from a block instead of using pre-shredded cheese coated in anti-caking agents.
13.How do I reheat leftover casserole without it getting dried out? ▾
For the best texture, reheat individual portions in the microwave covered with a damp paper towel for 1 to 2 minutes, or reheat a larger batch in the oven at 325°F covered with foil for 15 to 20 minutes. If the filling seems dry as it reheats, stir in a tiny splash of beef broth or water to bring back that moist, saucy consistency.
14.Can I add other mix-ins to this casserole to make it more filling? ▾
Absolutely! This recipe is super customizable. Try stirring in cooked, drained elbow macaroni for a beefy pasta take, diced cooked potatoes for extra heartiness, a can of rinsed kidney beans for extra fiber, or sliced mushrooms sautéed with the beef to add extra veggie depth.
15.Do I need to cover the casserole with foil while it bakes? ▾
For the first 25 minutes of baking, covering the dish with foil helps the filling heat evenly and keeps the top from drying out. Remove the foil for the last 10 to 15 minutes of baking to let the cheese bubble up and turn that perfect golden, slightly crispy edge that makes this casserole so cozy and satisfying.
16.Is this recipe kid-friendly, and can I adjust it for picky eaters? ▾
This is one of the most kid-friendly weeknight meals out there! The mild, savory flavor and soft, familiar veggies appeal to most picky palates. If your kid hates specific veggies, swap the mixed blend for just their favorites, chop veggies extra fine to hide them in the beef, or skip any spices you know they don’t prefer.
17.Can I make this recipe dairy-free for lactose-intolerant family members? ▾
Absolutely! To make this dairy-free, simply swap the regular cheddar topping for your favorite melty dairy-free cheddar-style shreds. Double check that your canned diced tomatoes and frozen mixed veggies don’t have hidden dairy additives (most don’t!) and you’ll have a cozy, hearty casserole that works for lactose-free diets with zero extra fuss.

Comments (14)

2 hours ago

OMG this was such a game changer for our weeknight family dinner! I had ground beef defrosted and zero plan, stumbled on this recipe and threw it together in 10 minutes flat before popping it in the oven. My kids even asked for seconds, which never happens with casseroles lately. SO good, will be adding this to our regular rotation!

30 minutes ago

Same! My picky 7 year old ate two servings last night when I made this. I added a handful of frozen corn because we had it on hand and it worked perfectly!

5 minutes ago

So happy your family loved it! Adding frozen veggies like corn or peas is such a great hack to sneak in extra greens without extra work - thanks for the tip!

3 days ago

Made this for our neighborhood potluck last weekend and it was gone in 15 minutes flat. People kept coming up to ask for the recipe! I topped mine with a little extra cheddar and some crispy fried onions right at the end, chef's kiss.

2 days ago

That fried onion topping sounds incredible! So stoked it was a hit at the potluck - those are the best wins for easy, shareable dishes.

1 week ago

This is my new go-to Sunday meal prep! I split it into 5 containers for work lunches and it reheats like an absolute dream. No sad soggy leftovers here, even after 4 days in the fridge. 10/10 for ease and flavor.

yesterday

Okay full transparency, I burn almost everything I try to make, but this actually turned out?? The instructions were so straightforward, I didn't have to run to the store for any fancy ingredients, and my roommate said it tasted like something his grandma used to make. Wild. Will make again for sure.

2 hours ago

This makes our day! We love writing recipes that even folks who are new to cooking can nail on the first try - so proud of you for pulling it off!

5 days ago

Quick question - can I swap the regular egg noodles for gluten free noodles without messing up the texture? My partner has celiac so I'm always looking for easy weeknight meals we can both eat, and this looks perfect!

3 days ago

I did this last week with brown rice gluten free noodles and it worked great! Just make sure you don't overcook the noodles before baking, they'll keep cooking in the casserole so underboil them by a couple minutes.

2 days ago

Great question! Gluten free noodles work perfectly here, and Mia's tip about underboiling them is spot on to avoid mushy texture. We hope you and your partner love it!

2 weeks ago

I've been making beef casserole for 40+ years and this recipe is easily one of the best versions I've tried. It's simple, no frills, and lets the beef and creamy sauce shine instead of piling on a million random seasonings. I'll be passing this along to my grandkids for their college apartments.

2 days ago

Really solid base recipe! I added a tablespoon of smoked paprika, a dash of hot sauce, and some diced bell peppers to give it a little extra kick, and it turned out amazing. Great for customizing to your own taste.

yesterday

Love those customizations! Smoked paprika and hot sauce add such a nice depth of flavor, we might have to test that version for ourselves soon. Thanks for sharing!

yesterday

Threw this together between my kid's soccer practice and piano lessons last night and it was a total home run. I used a bag of frozen mixed veggies I had in the freezer to cut down on prep time even more, and it was on the table in right around 45 minutes just like the recipe says. No fuss, no mess, happy family.

2 hours ago

That frozen veggie hack is exactly what this recipe is made for! Busy weeknights don't have to mean takeout, and we're so glad it fit into your packed schedule.

1 week ago

Wait a second, this cost me under $12 to make for 6 servings?? I'm so used to casserole recipes requiring fancy cheeses or specialty ingredients that cost a fortune, but this uses stuff I almost always have in my pantry and fridge already. Absolute win for anyone trying to cut down on grocery costs right now.

5 days ago

Right?? I made this in my tiny dorm kitchen with a toaster oven and it worked! Cost me like $10 total and fed me and my three roommates for two nights. No fancy equipment needed either.

3 days ago

We're all about budget-friendly, accessible meals over here! It makes us so happy to hear this works for college students, busy families, and anyone looking to save a little on groceries without skimping on flavor.

3 days ago

I'm usually the person who refuses to eat leftovers because they get so soggy and gross, but this casserole is somehow better the next day? The flavors meld together so much after sitting in the fridge overnight, I was genuinely shocked. Had it for lunch today and it was even tastier than dinner last night.

5 days ago

Was a little worried this would be bland based on how short the ingredient list is, but wow, was I wrong. The creamy sauce and savory beef come together so perfectly, you don't need a ton of extra seasonings to make it taste great. I added a side of garlic bread and it felt like a full fancy Sunday dinner without all the work.

3 days ago

We're firm believers that you don't need a mile-long ingredient list to make food that tastes delicious! Garlic bread is the perfect side pairing, great call.

2 weeks ago

Made this for my husband for his birthday dinner because he's been begging for a comfort food meal, and he said it's better than the beef casserole his mom makes (don't tell his mom, haha). I did add a little extra garlic because we're garlic obsessed over here, no regrets.

1 week ago

LOL your secret is safe with me! Extra garlic is never a bad call in my book. I made this for my son's birthday last month too, total comfort food classic.

5 days ago

Happy birthday to your husband! We won't tell his mom that this version won out, we promise. Extra garlic is always a welcome addition around our test kitchen too.

1 week ago

Has anyone tried freezing this after baking? I'm stocking my freezer ahead of the new baby coming and this looks like the perfect easy meal to pull out on days we don't have time to cook.

5 days ago

Great question! This freezes beautifully for up to 3 months. Just let it cool completely, wrap it tightly in plastic wrap and foil, and when you're ready to eat, bake it covered at 350 until it's heated all the way through. Congrats on the new baby!

30 minutes ago

Made this for friends when they came over to watch the game last night, and everyone was raving about it. It's hearty, filling, and pairs so well with a cold beer. I'll definitely be making this for future game nights, it's way better than ordering pizza.



