
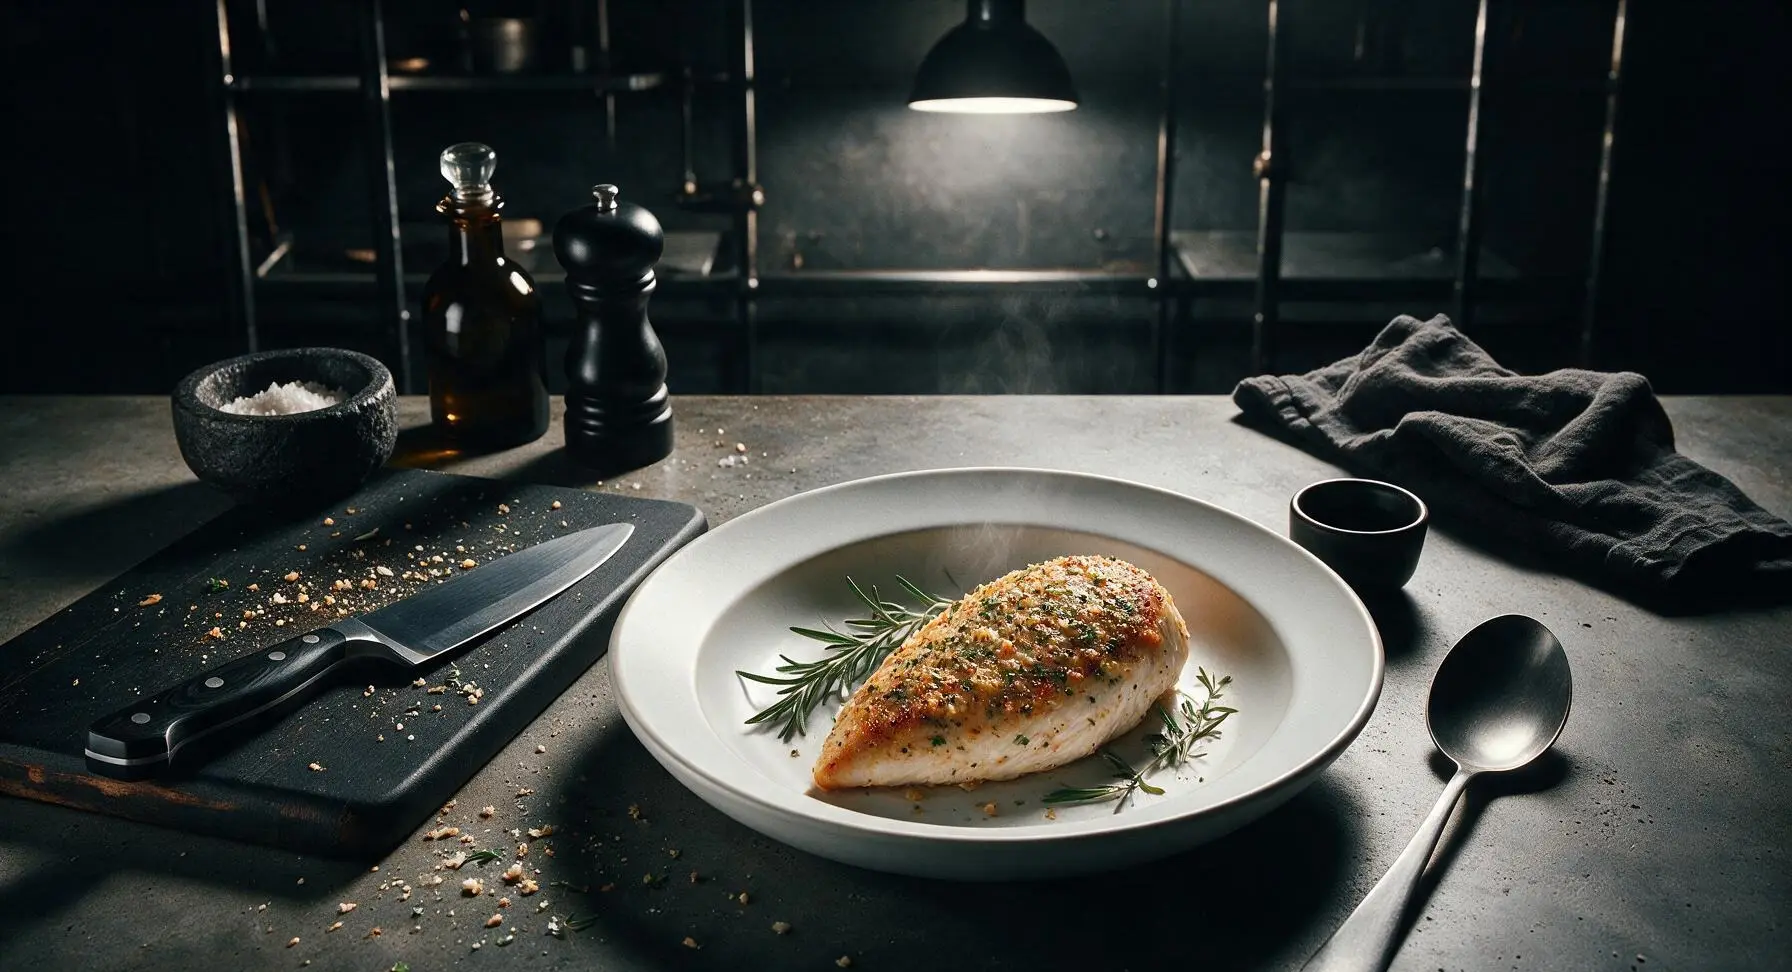
easy chicken breast

title 1
easy chicken breast
⏱️ cook time 15 minutes
🍽️ servings 4
⚡ Difficulty easy

intro

Juicy, tender pan-seared chicken breast with a golden garlic-herb crust, ready in under 30 minutes for a no-fuss, flavorful weeknight meal the whole family will love.

Ingredients
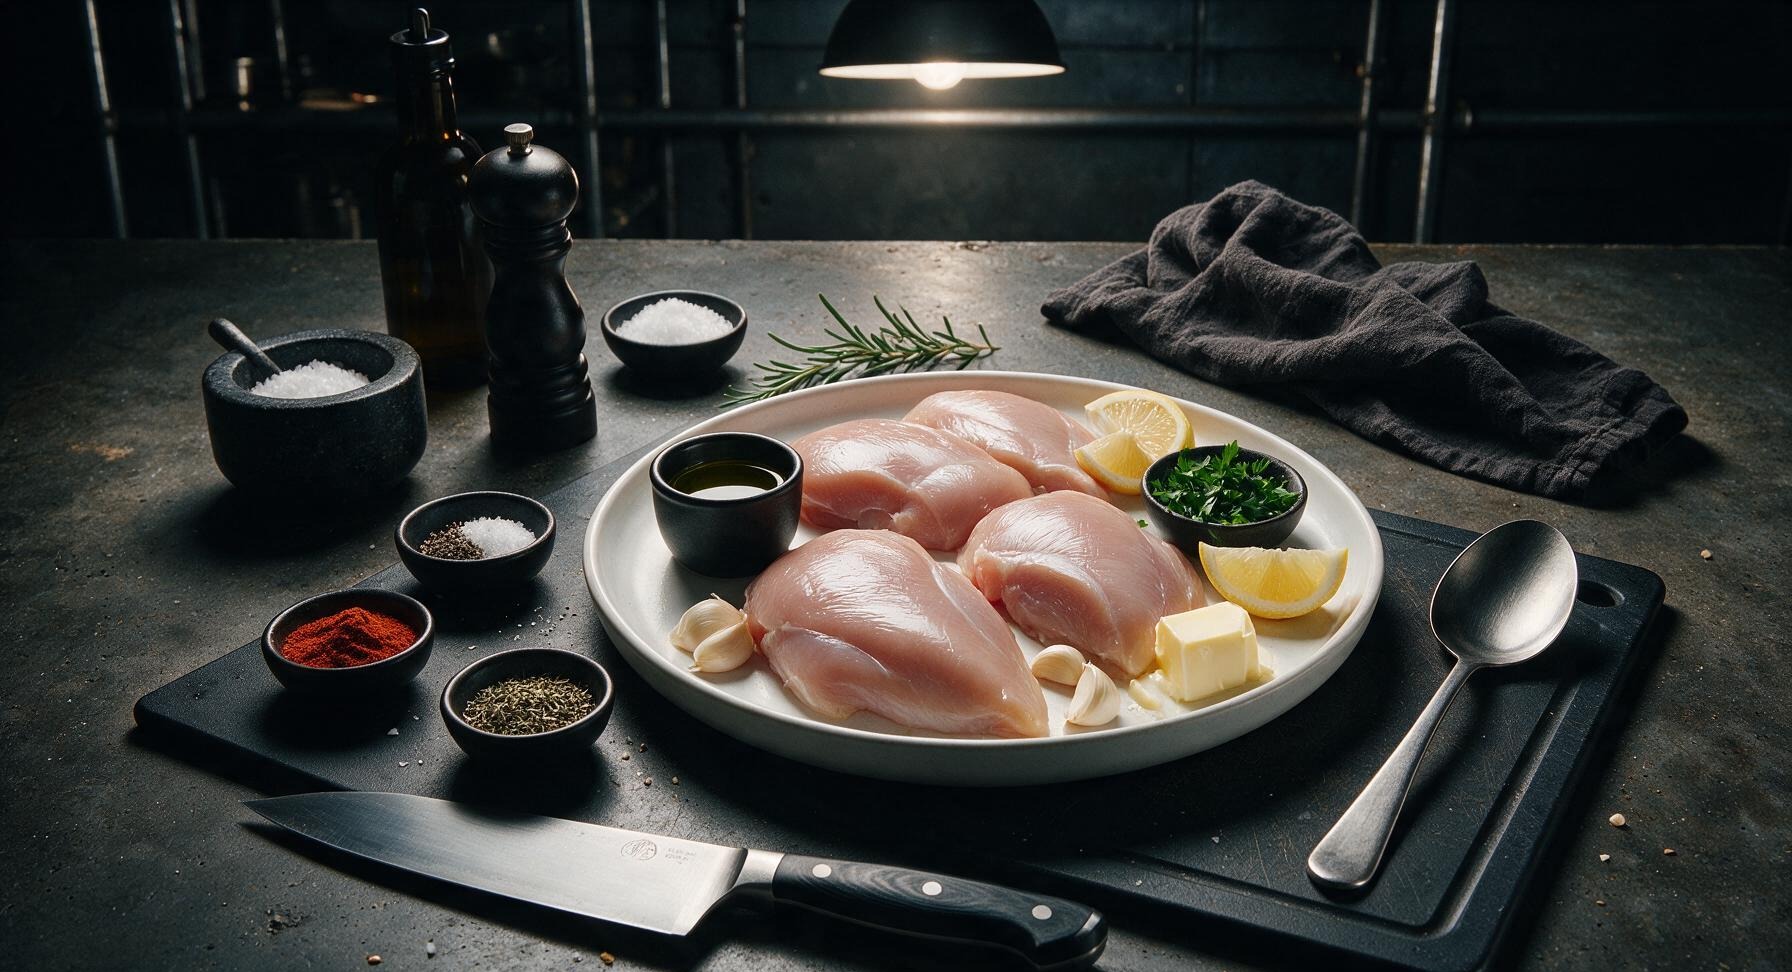
Boneless, skinless chicken breasts 680g (4 pieces, ~170g each)
Extra virgin olive oil 2 tbsp
Kosher salt 1 tsp
Freshly ground black pepper ½ tsp
Smoked paprika 1 tsp
Dried thyme 1 tsp
Garlic cloves 3 cloves (~10g)
Unsalted butter 2 tbsp
Fresh flat-leaf parsley 2 tbsp (chopped)
Lemon 1 whole (cut into wedges)

Steps

1

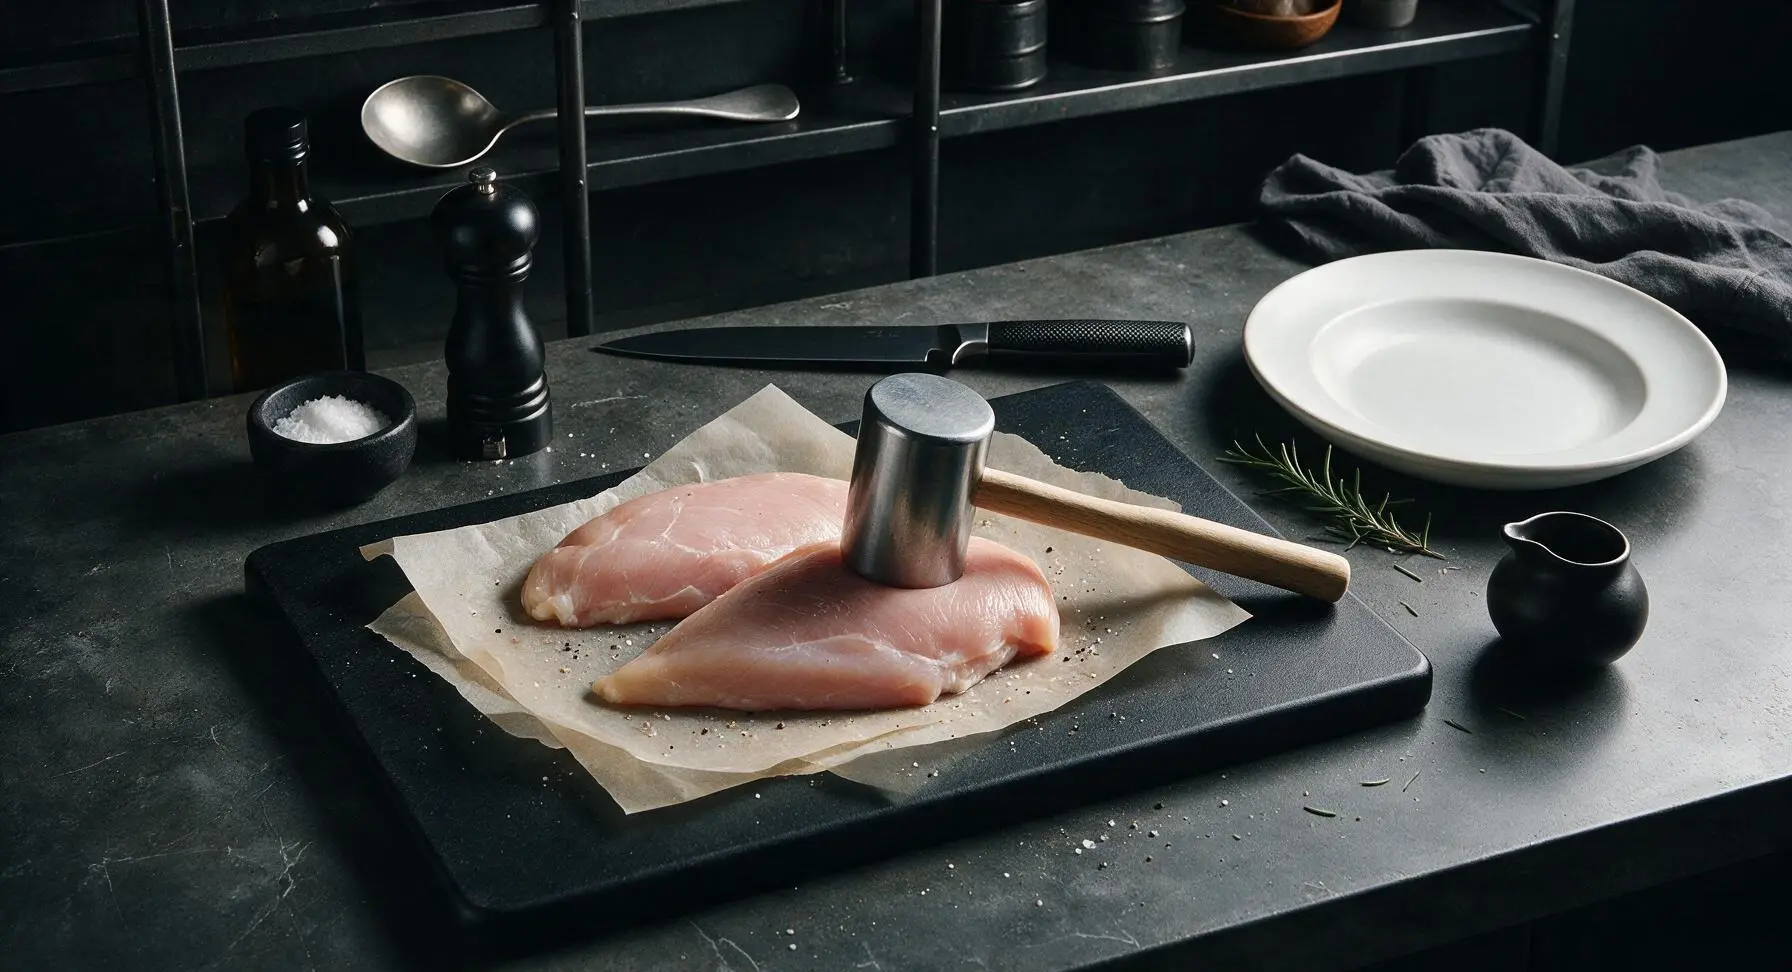
Pound chicken evenly

Place raw chicken breasts one at a time between two sheets of parchment paper on the maple cutting board. Use the stainless steel meat pounder to gently pound the thickest tapered end of each breast until the entire piece is an even 2cm (¾ inch) thickness. This ensures even cooking so no dry, overcooked thin edges or undercooked thick centers. Discard the top parchment sheet to the left of the board after pounding.
Step 1
step1:Pound chicken evenly
2

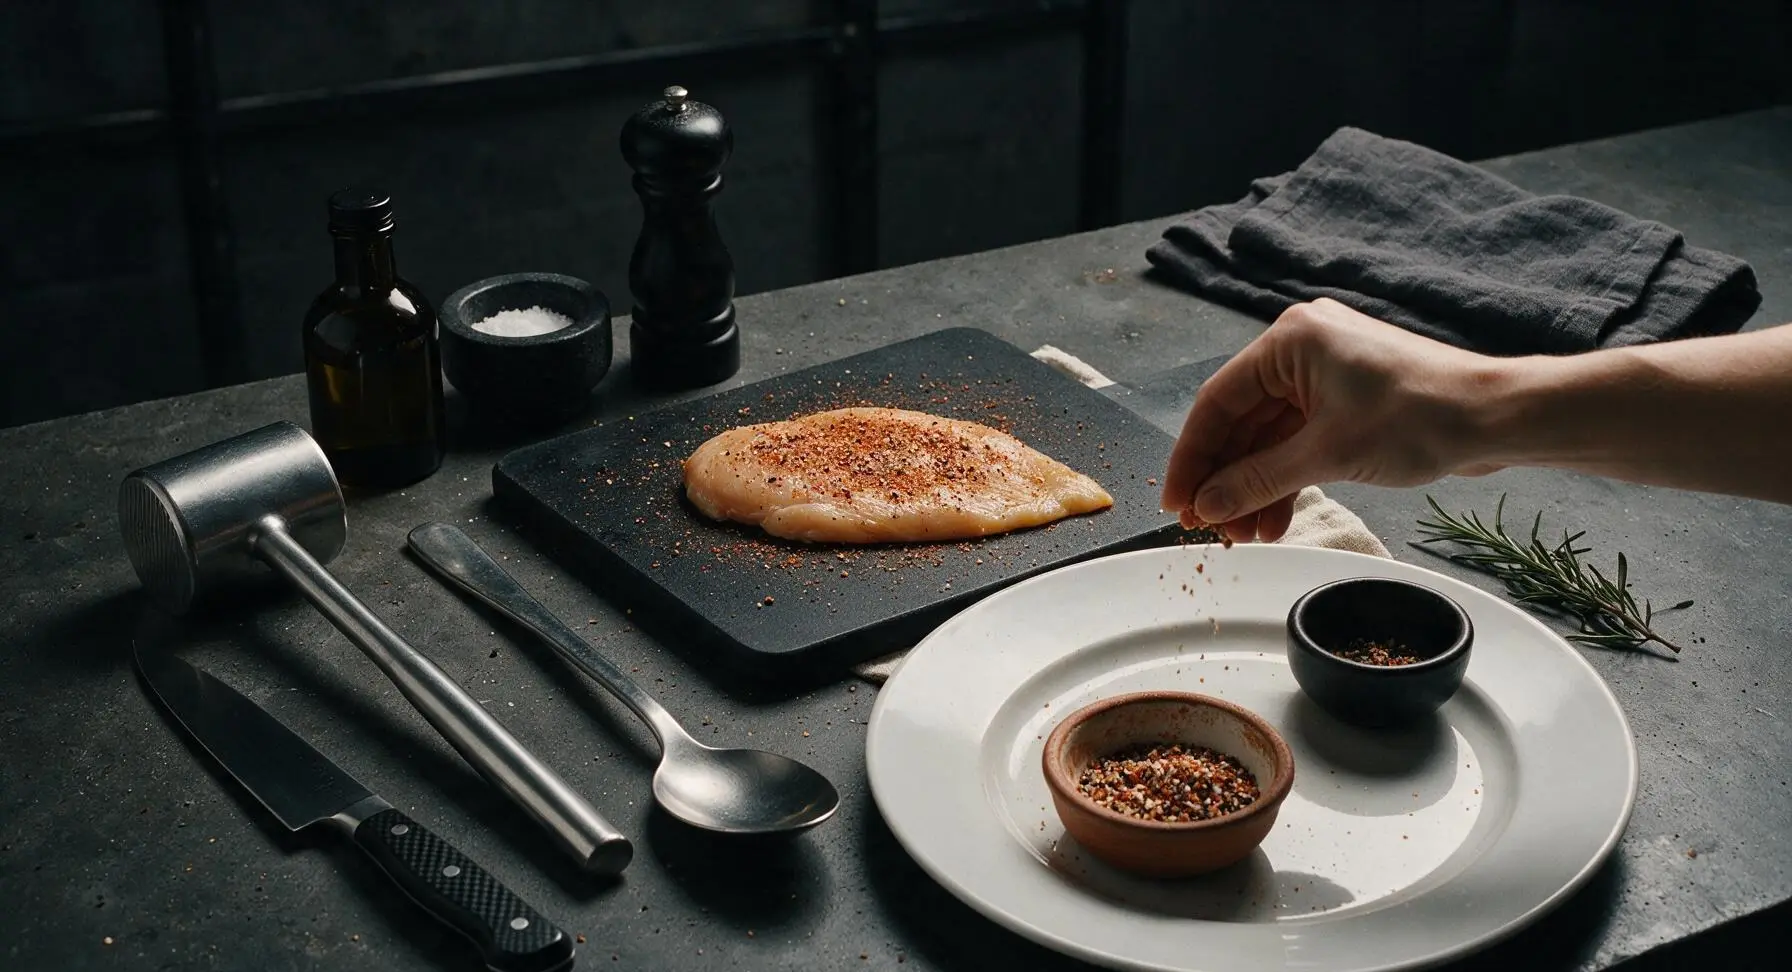
Season chicken generously

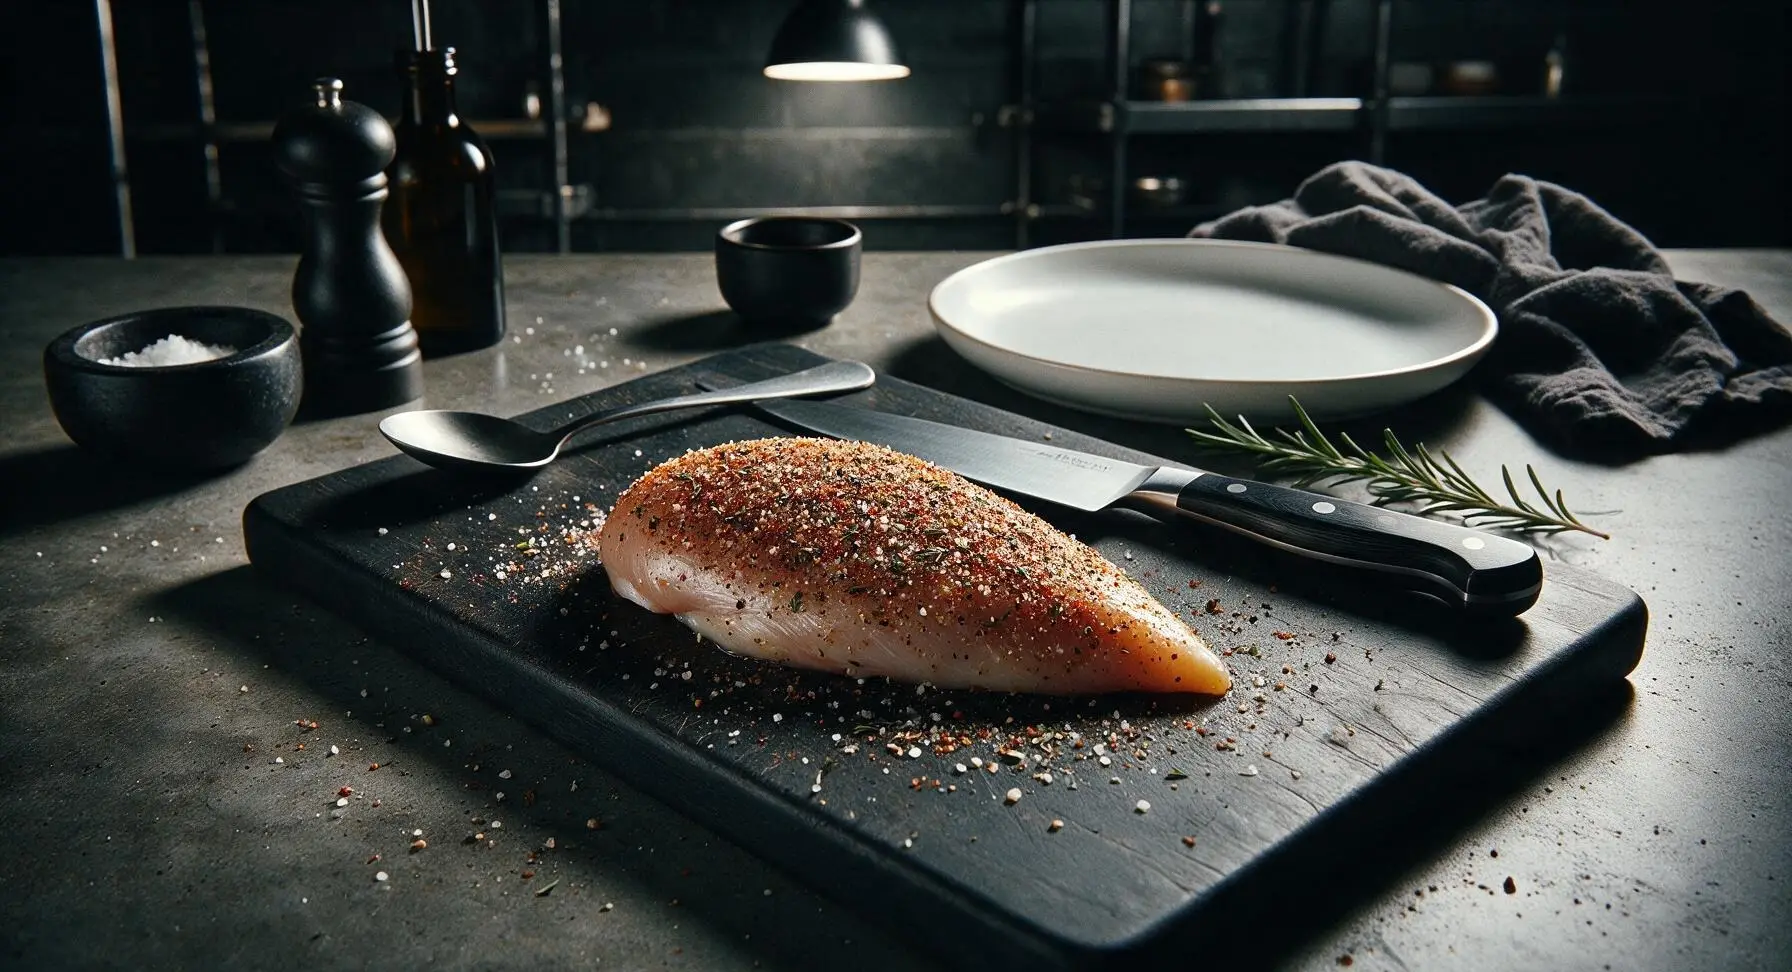
Pat the pounded chicken completely dry on all sides with a corner of the cotton kitchen towel (a dry surface creates a crispy golden crust). Mix kosher salt, black pepper, smoked paprika, and dried thyme in the small terracotta pinch bowl, then sprinkle the seasoning evenly over both sides of each chicken breast, pressing gently so the spices adhere to the meat surface. Let the seasoned chicken rest for 5 minutes at room temperature while the skillet preheats.
Step 2
step2:Season chicken generously
Step 2
step2:Season chicken generously
3

Heat skillet for searing

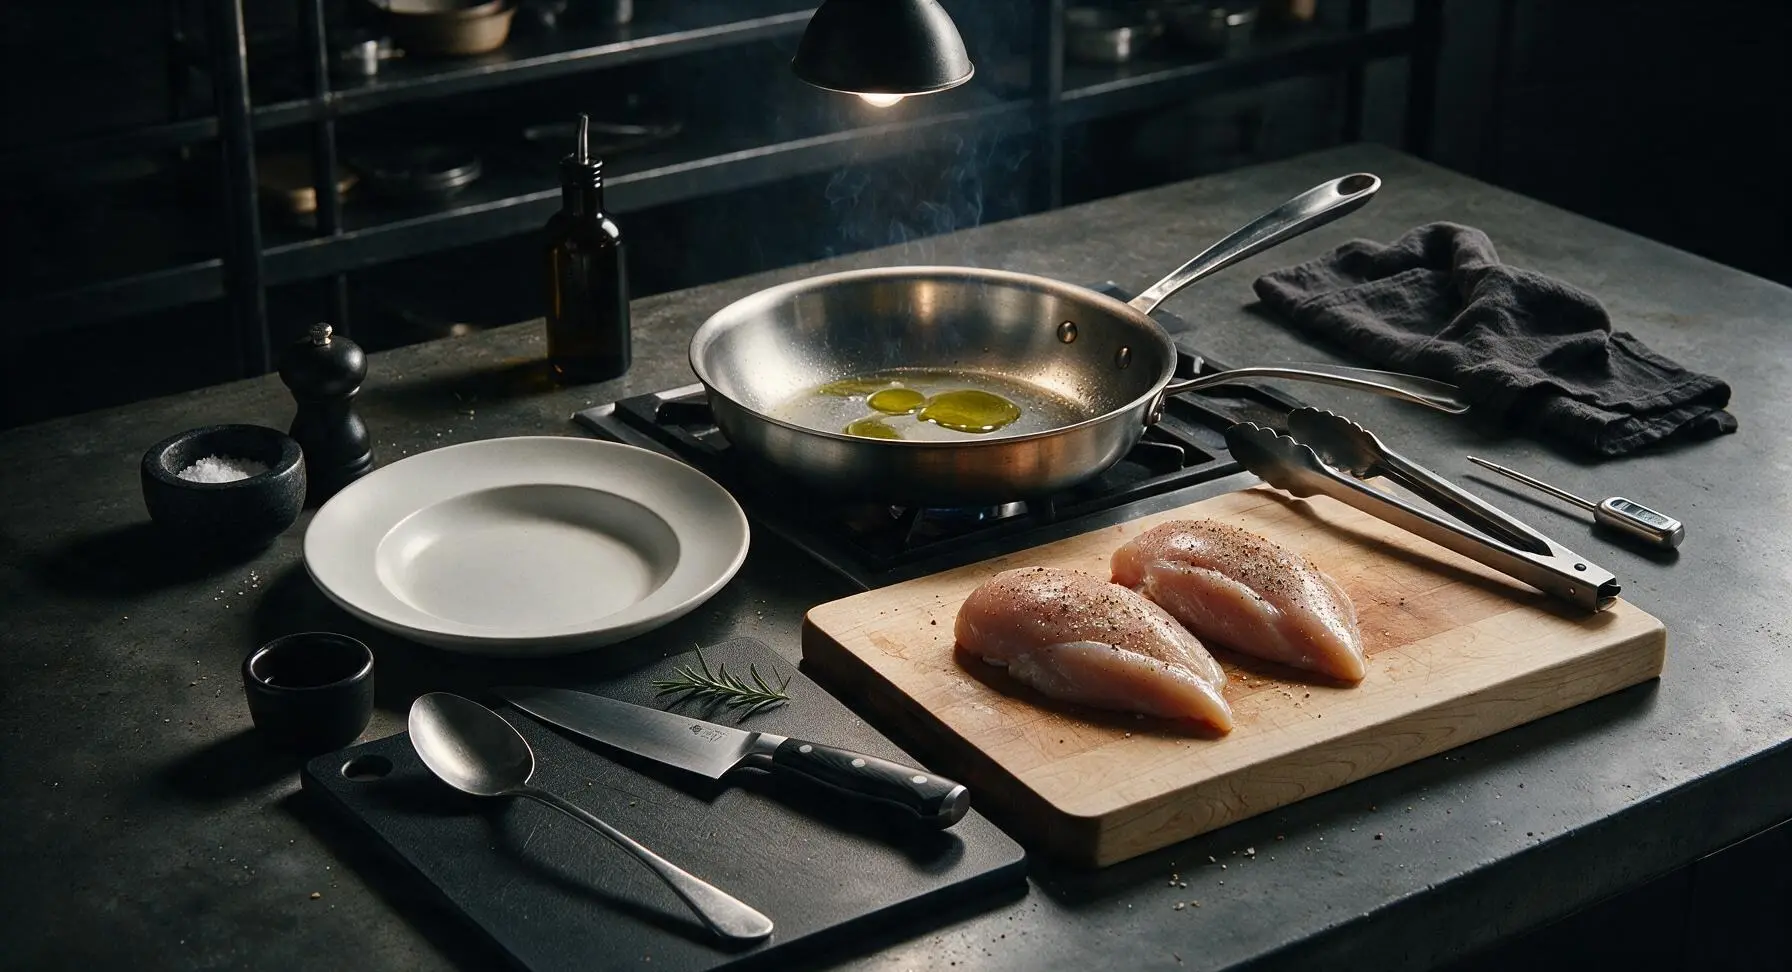
Place the 12-inch stainless steel skillet on the stovetop burner behind the cutting board, turn heat to medium-high, and add 2 tablespoons of extra virgin olive oil. Heat the oil for 2-3 minutes until it shimmers and just begins to send up thin wispy trails of smoke; this is the correct temperature to get a non-stick, golden sear.
Step 3
step3:Heat skillet for searing
4

Sear first chicken side

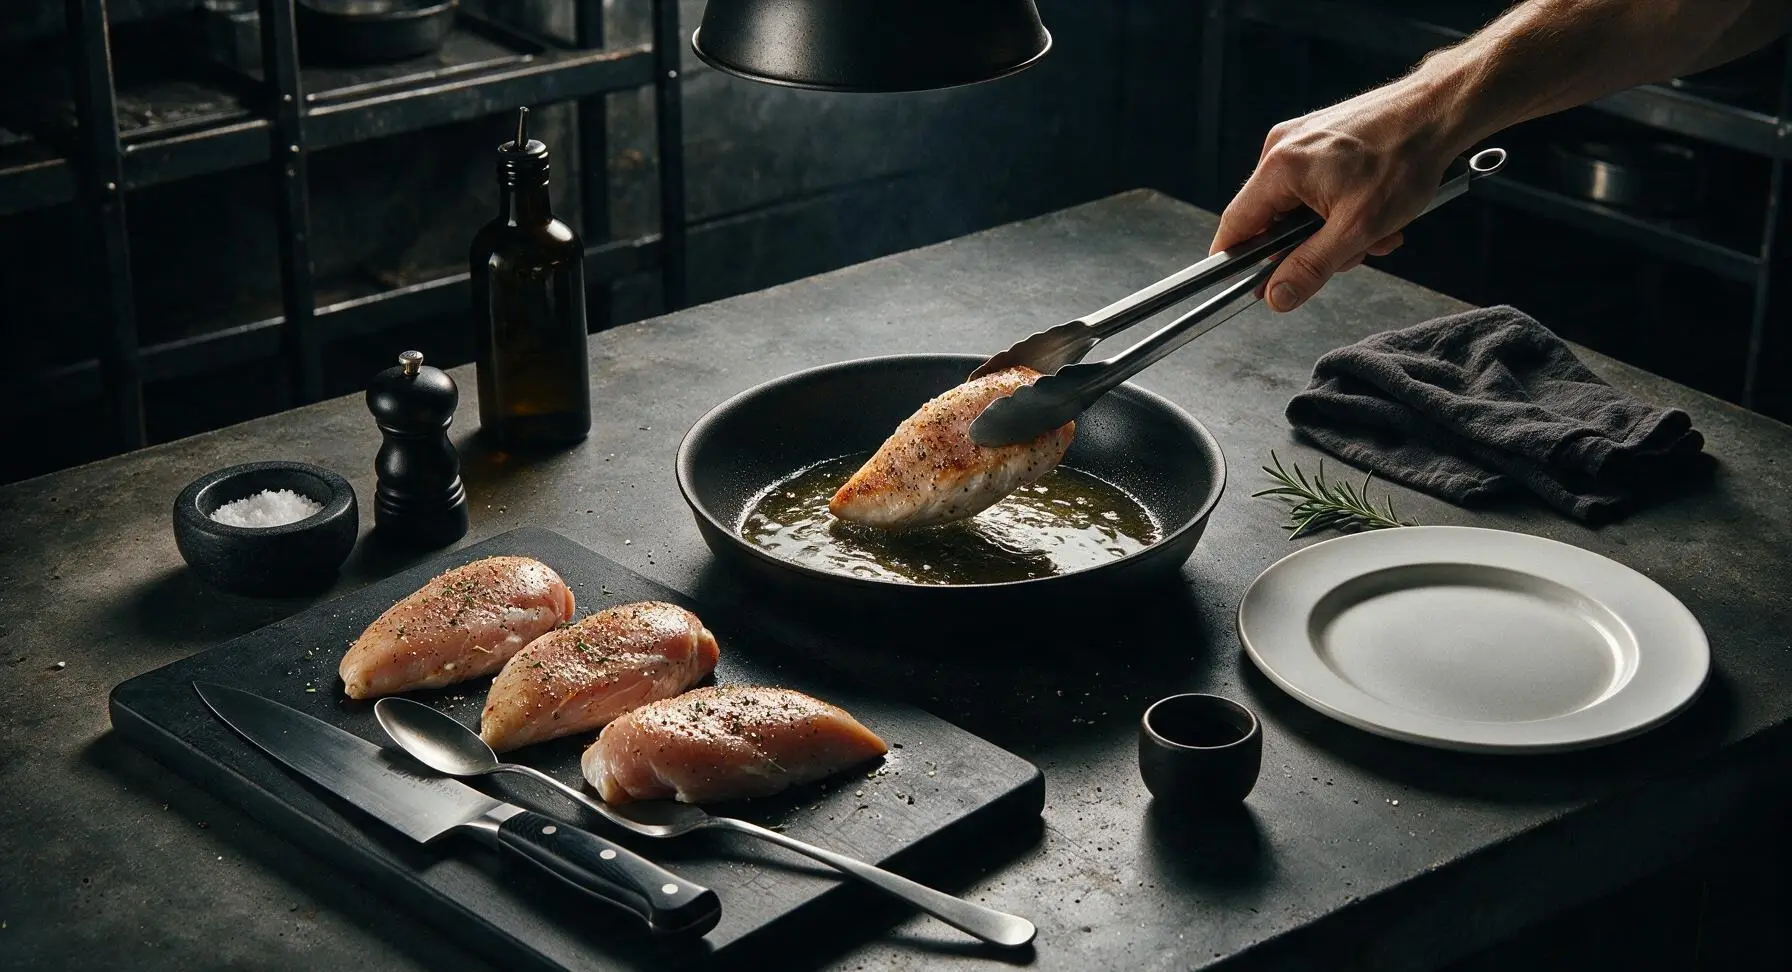
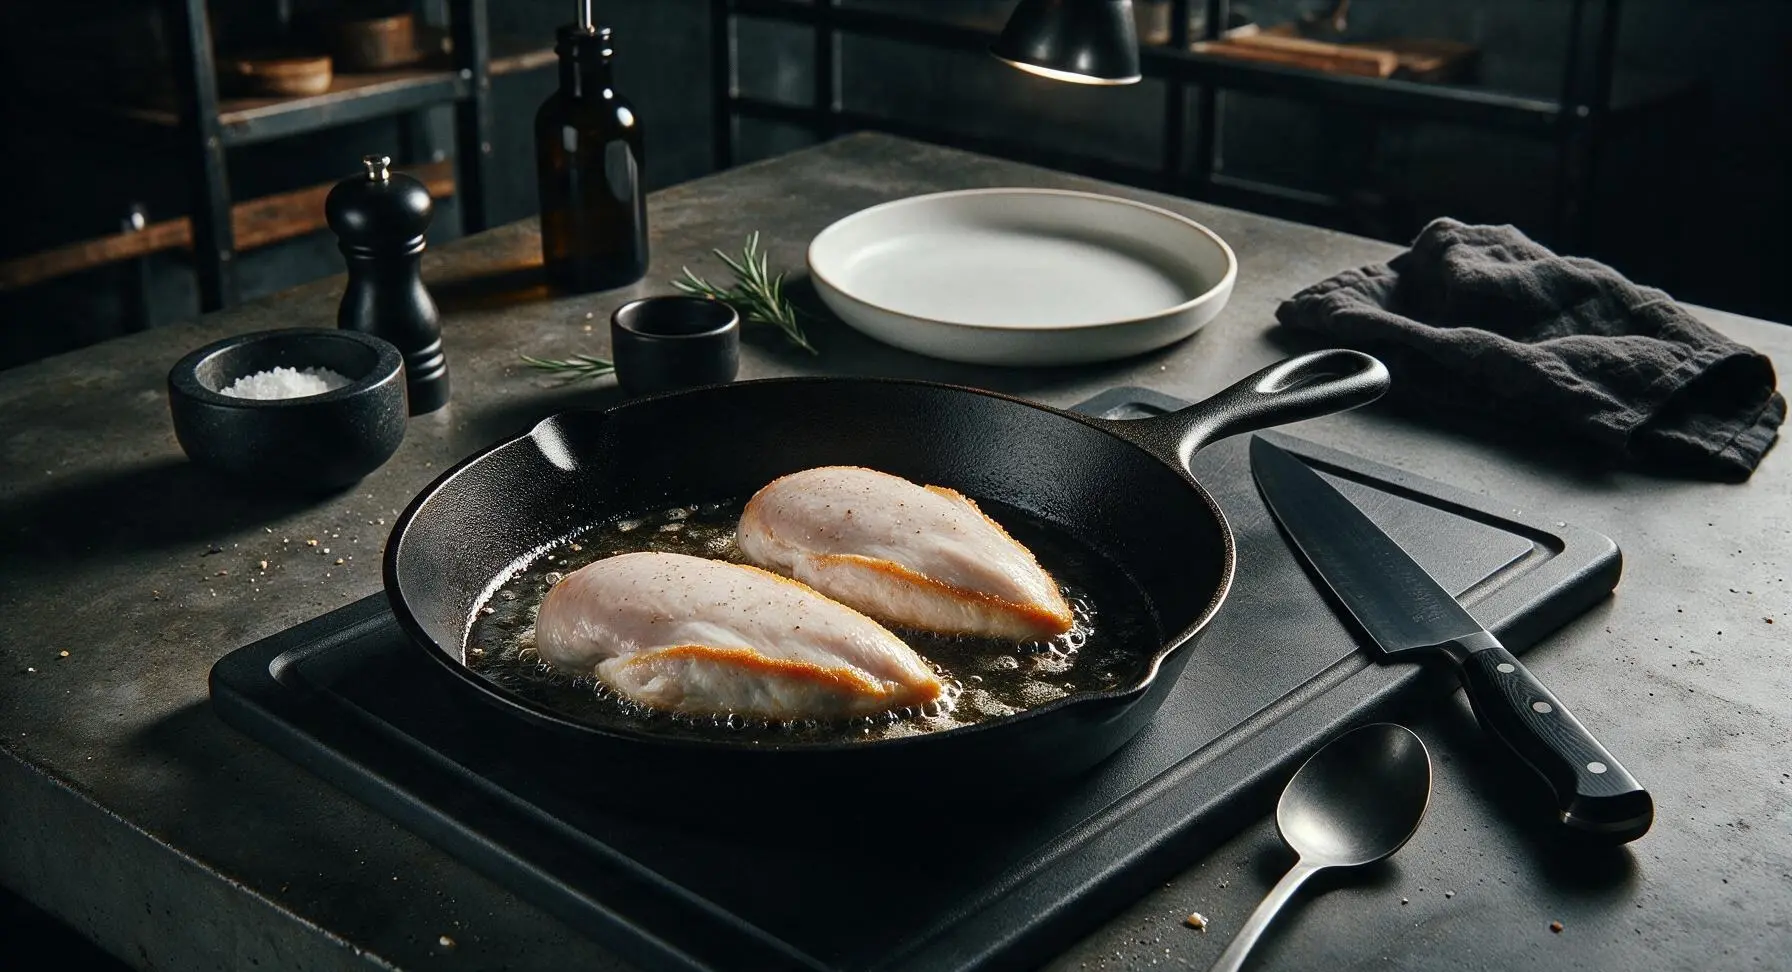
Carefully lay each seasoned chicken breast in the hot skillet away from your body to avoid oil splatter. Do not move or poke the chicken for 6 full minutes — resisting the urge to shift it allows a crisp, deep golden crust to form without sticking. After 6 minutes, the bottom surface should be an even, rich golden brown with crisp edges.
Step 4
step4:Sear first chicken side
Step 4
step4:Sear first chicken side
5

Flip and baste chicken

Use the tongs to flip each chicken breast to the second side. Immediately add the unsalted butter and lightly crushed whole garlic cloves to the skillet, tilting the pan slightly so the melted butter pools at one edge. Use a large spoon to baste the top of each chicken continuously with the foaming, garlic-scented butter for 4-5 minutes, until the second side develops a matching deep golden crust.
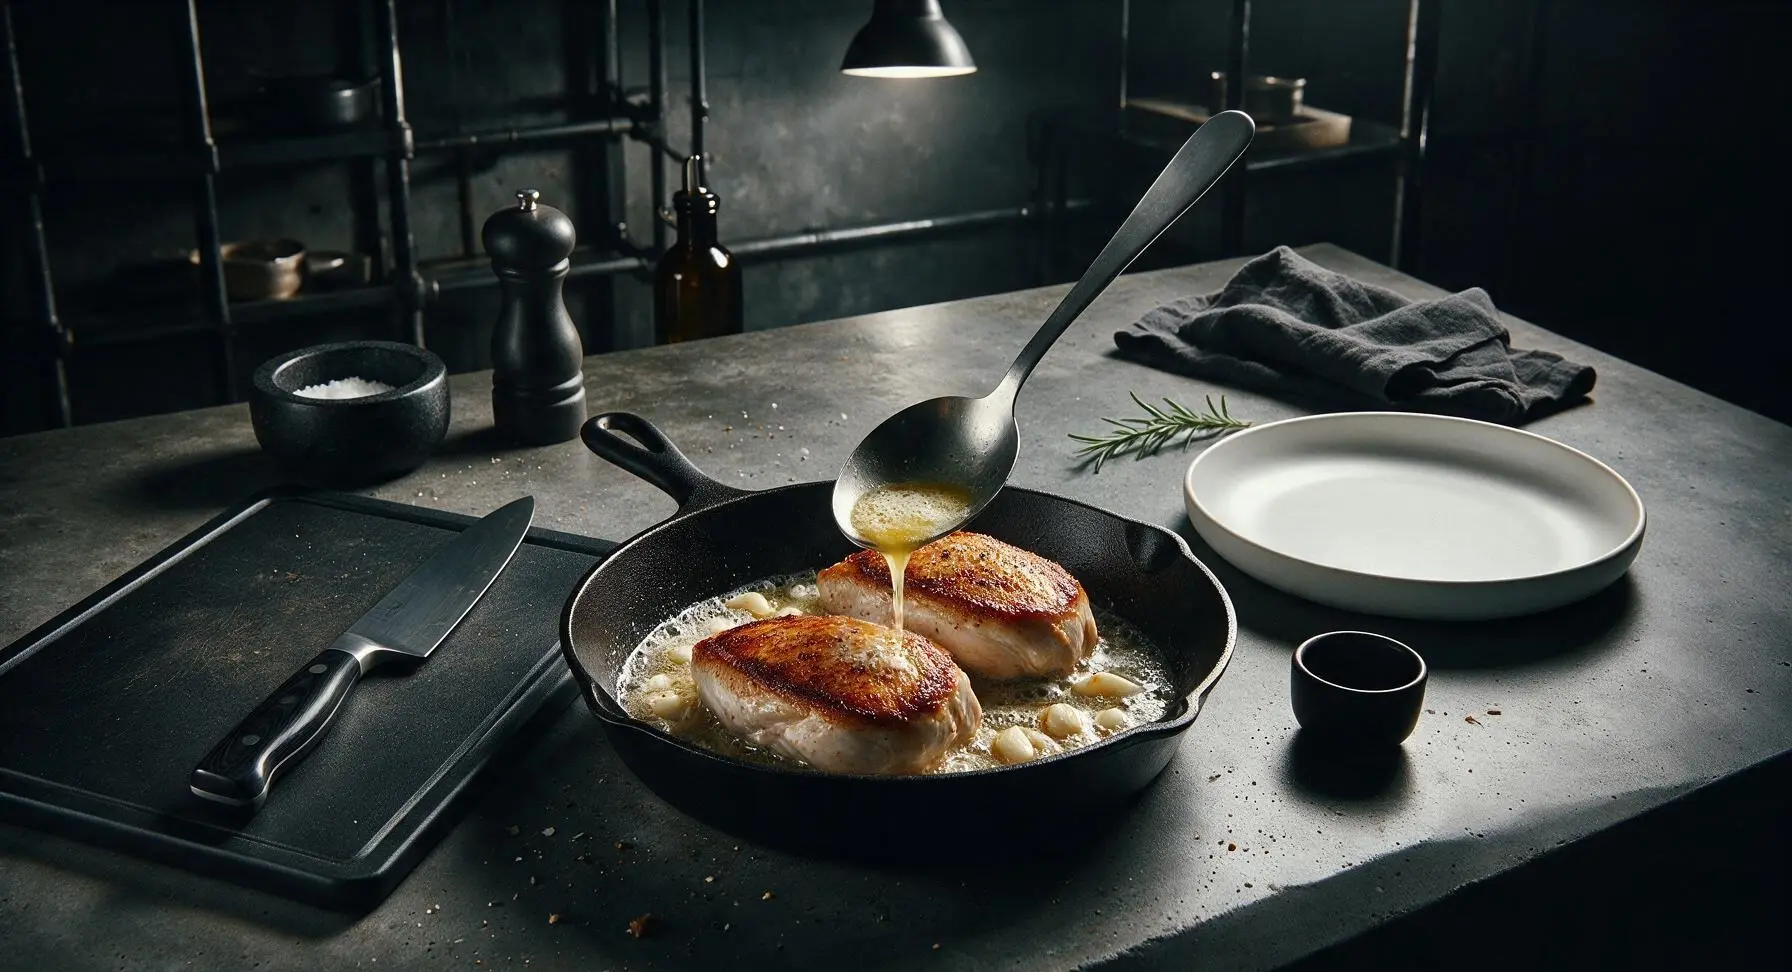
Step 5
step5:Flip and baste chicken
6

Check internal temperature

Use the instant-read meat thermometer to check the temperature at the thickest part of each chicken breast, avoiding contact with the pan surface for an accurate read. Pull the chicken from the pan when the internal temperature reads 71°C (160°F); residual carryover cooking will raise the temperature to the food-safe 74°C (165°F) as it rests, preventing overcooked dry meat.
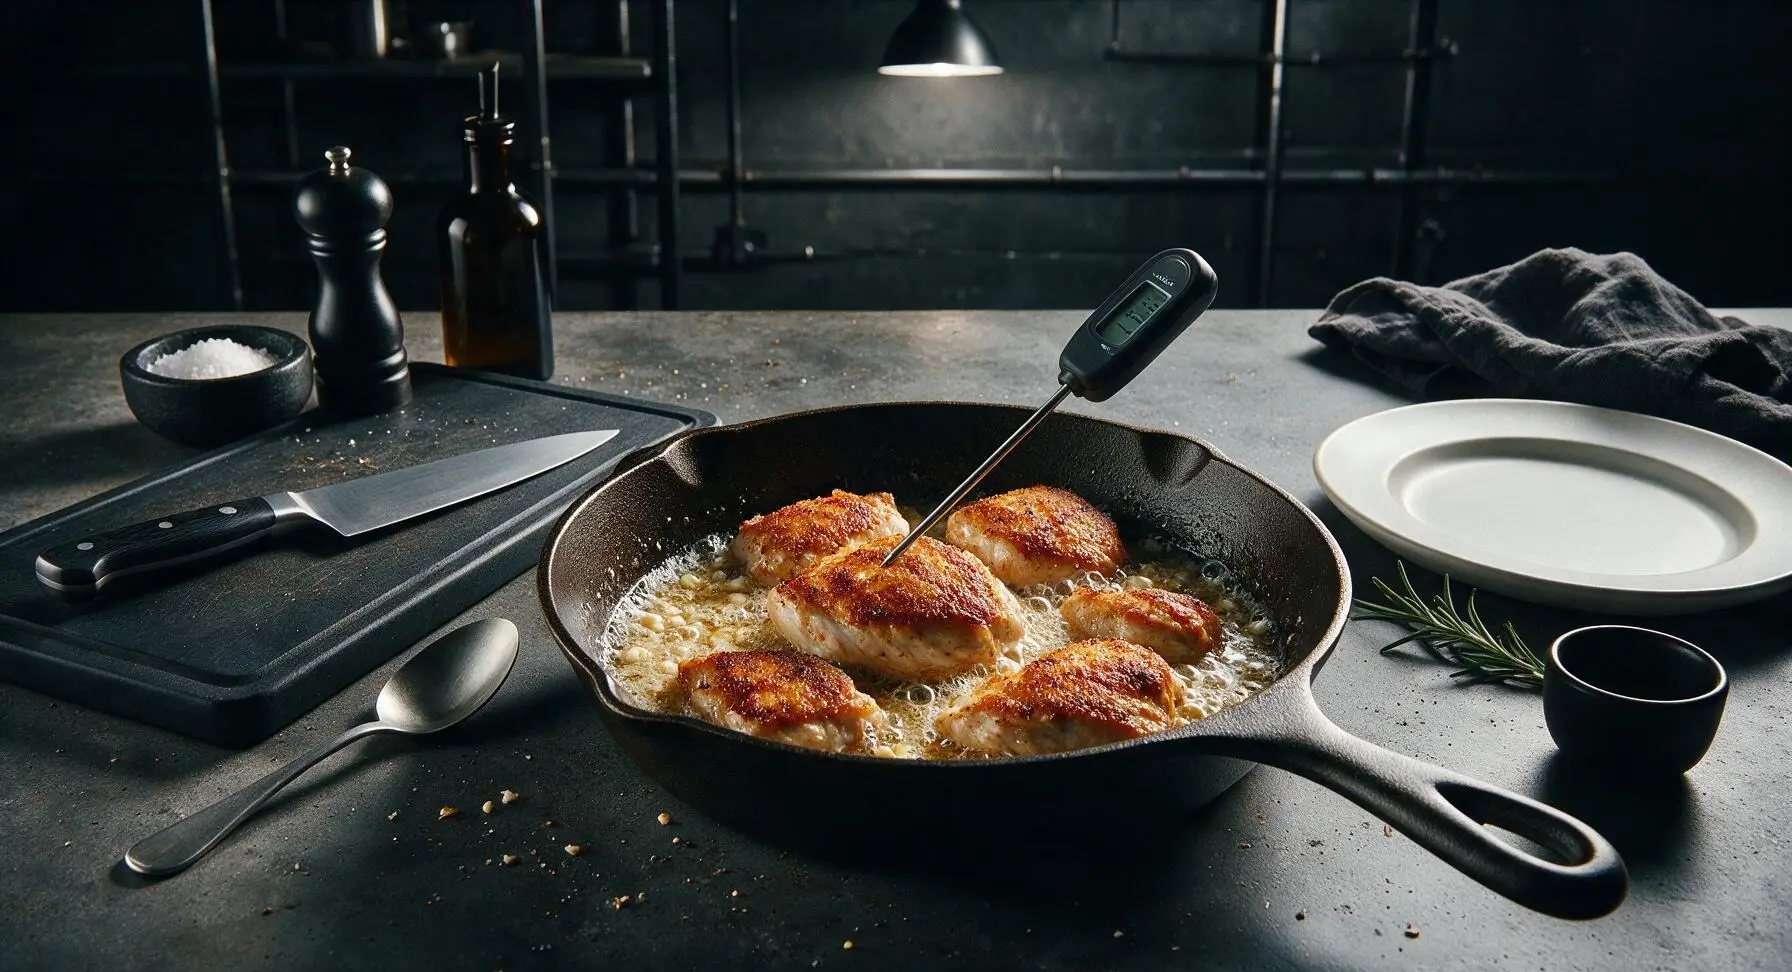
Step 6
step6:Check internal temperature
7

Rest chicken before slicing

Transfer the cooked chicken breasts from the skillet back to the maple cutting board, tent loosely with a small sheet of aluminum foil, and let rest for 5 full minutes. Do not wrap tightly, as this will trap steam and make the crispy crust soggy.
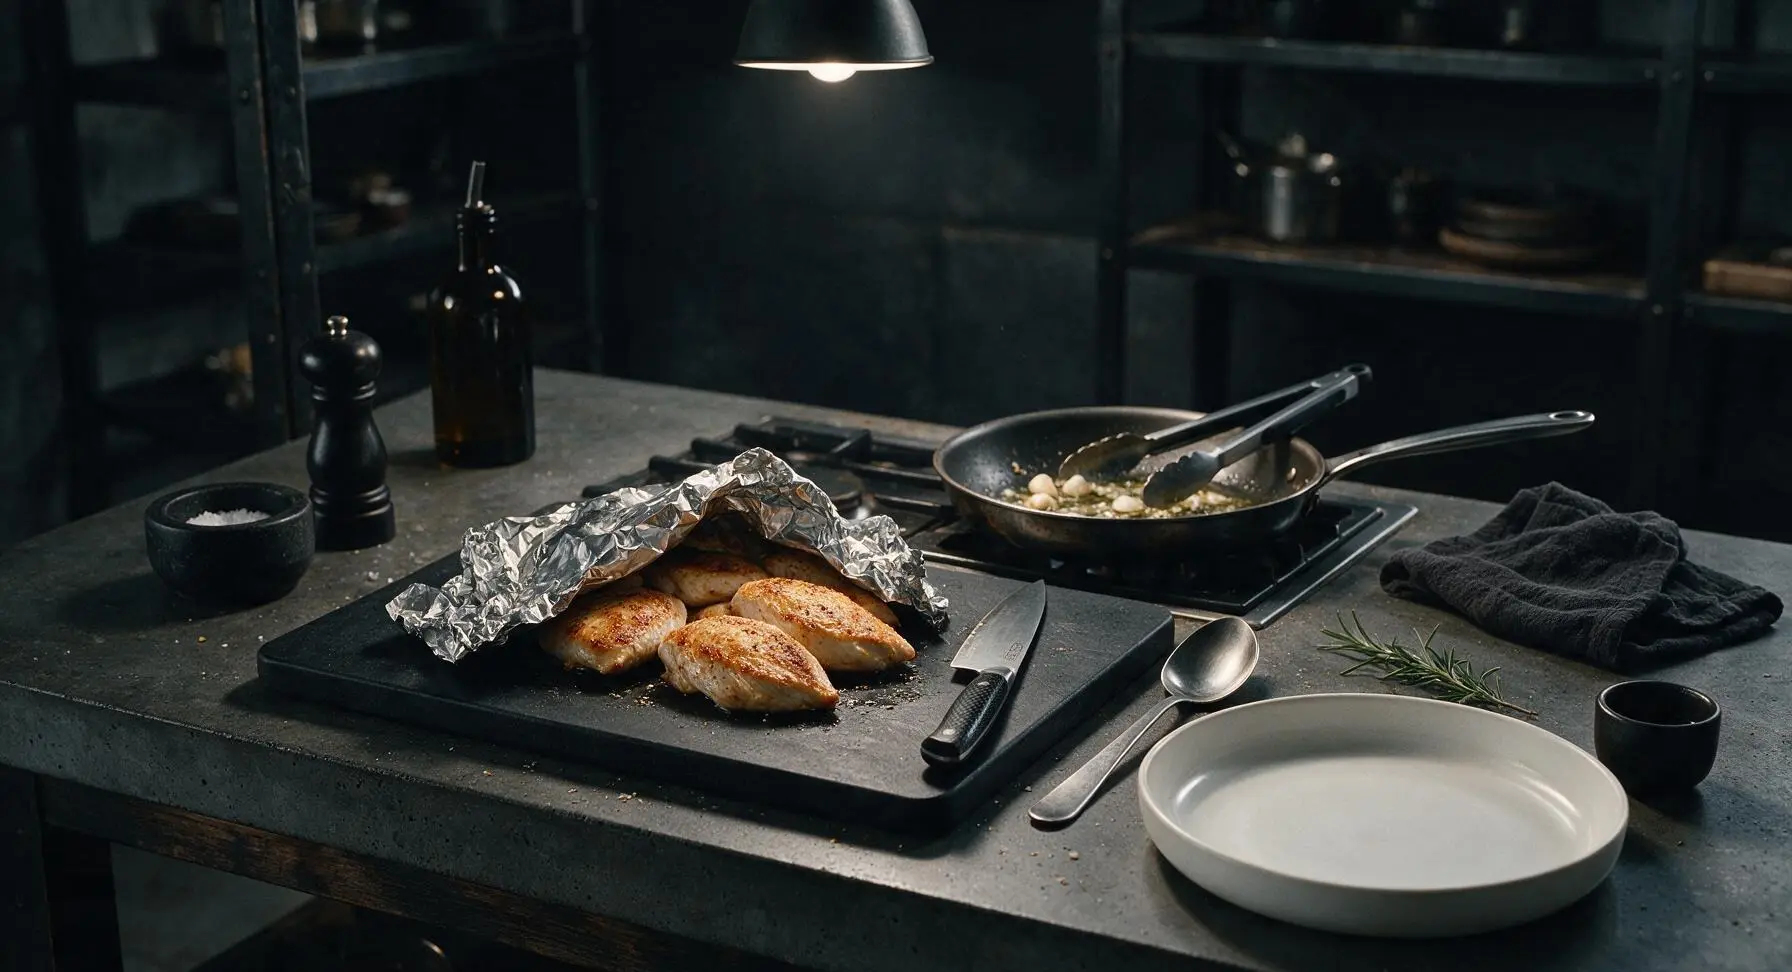
Step 7
step7:Rest chicken before slicing
8

Slice and serve dish

After resting, use the 8-inch chef’s knife to slice the chicken against the grain (perpendicular to the direction of the muscle fibers) into 1cm thick slices. Arrange the slices fanned on the matte cream white ceramic dinner plate, drizzle with 1-2 tablespoons of the reserved garlic butter from the skillet, garnish with chopped fresh parsley and a lemon wedge for squeezing over top before eating.
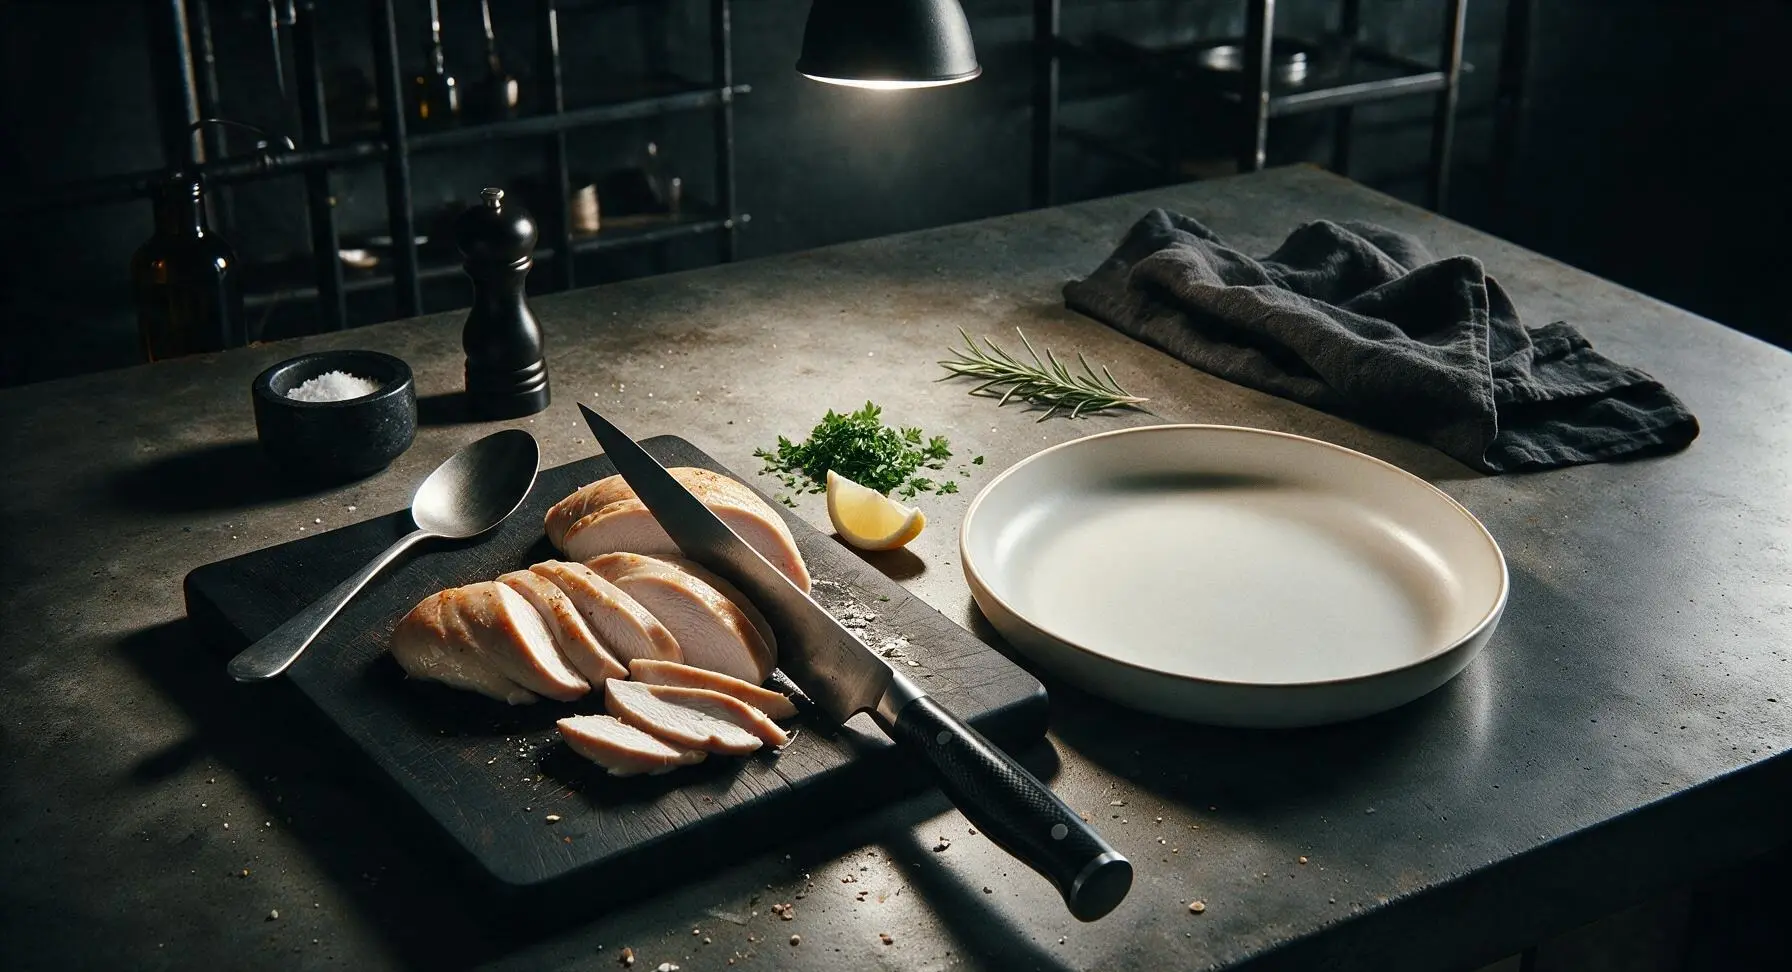
Step 8
step8:Slice and serve dish

Tips

1.Always pound chicken to an even 2cm thickness before cooking: the naturally tapered thin end of a raw breast cooks 2-3 times faster than the thick end, leading to dry, rubbery overcooked edges before the center reaches a safe temperature.
2.Never skip the 5-minute resting period after cooking: cutting into chicken straight from the pan causes all the hot, flavorful muscle juices to run out onto the plate, leaving the meat dry and bland instead of juicy.
3.Pat chicken completely dry with a kitchen towel before seasoning: excess surface moisture creates steam instead of a sear when it hits the hot pan, leaving you with a pale, rubbery crust instead of the crispy golden brown exterior.


✨ You May Also Like

Main Course
🍜 United Kingdom

A showstopping classic of tender seared beef, savory mushroom duxelles, and crisp prosciutto wrapped in flaky golden puff pastry, baked to juicy perfection.

⏱️ 2 hours 1Main Course ★ 4.7
Main Course
🍜 India

Tender charred marinated chicken simmered in a rich, spiced creamy tomato sauce, this iconic Anglo-Indian curry pairs perfectly with basmati rice or warm naan.

⏱️ 50 minuteMain Course ★ 4.6
Main Course
🍜 Thailand

Classic tangy, sweet, and savory Thai stir-fried rice noodles with shrimp, tofu, and crunchy garnishes, balancing all five core Thai flavor profiles.

⏱️ 30 minuteMain Course ★ 4.5
Main Course
🍜 United Kingdom

Crispy golden beer-battered cod and fluffy double-fried chips, served with tangy tartar sauce and malt vinegar: the timeless, beloved British pub comfort classic.

⏱️ 45 minuteMain Course ★ 4.7
Main Course
🍜 Mexico

Smoky, chile-marinated pork tacos with caramelized pineapple, fresh cilantro, and lime: a beloved classic Mexican street food perfect for casual summer gatherings.

⏱️ 1 hour 45Main Course ★ 4.8
Main Course
🍜 United States

Crunchy Fritos corn chips layered with savory beef chili and melted cheddar, topped with cool, zesty fixings for a beloved, cozy Tex-Mex comfort food.

⏱️ 35 minuteMain Course ★ 4.8

easy chicken breast:Frequently Asked Questions

1.Why does my pan-seared chicken breast always come out dry, no matter how long I cook it? ▾
The most common culprits are cooking cold chicken straight from the fridge, using unevenly thick cuts, and overcooking. Let chicken rest 15 minutes at room temp first, pound thick ends to a uniform 1-inch thickness, and pull it when the internal temp hits 160°F—carryover cooking will bring it to a safe 165°F as it rests, locking in juices.
2.Do I really need to pound my chicken breasts before searing? ▾
Absolutely, if you want even, consistent cooking. Most chicken breasts have a thick, bulbous end and a thin, tapered end—thin parts will overcook and dry out long before the thick part cooks through. Pounding to a steady 1-inch thickness takes 2 minutes with a meat mallet (or a heavy skillet, if you don’t have one) and guarantees every bite is tender.
3.What’s the best pan to use for this recipe to get that perfect golden crust? ▾
A heavy-bottomed stainless steel or cast iron skillet works best, as it holds consistent high heat without warping and creates that gorgeous, crisp Maillard reaction crust. Nonstick pans work in a pinch, but they don’t get hot enough to build that same deep, flavorful golden sear, so turn the heat up slightly if that’s all you have.
4.How long should I cook the chicken on each side to keep it juicy? ▾
For 1-inch thick pounded breasts, cook 5 to 6 minutes per side over medium-high heat, without moving them around once they hit the pan. Resist the urge to flip repeatedly—letting the first side sear fully builds that garlic-herb crust, and flipping only once keeps juices from leaking out onto the pan. Always verify doneness with a meat thermometer.
5.The intro mentions a garlic-herb crust, but garlic and herbs aren’t listed as key ingredients—can I add those? ▾
Great catch! The base recipe uses smoked paprika, salt, and pepper for a simple, versatile crust, but you can absolutely stir 1 teaspoon of minced garlic and ½ teaspoon of dried thyme or rosemary into the olive oil before searing. Add garlic during the last 2 minutes of cooking to keep it from burning and turning bitter.
6.Can I use regular paprika instead of smoked paprika if that’s what I have in my pantry? ▾
Of course! Regular sweet paprika will work just fine, though it won’t give you that subtle, smoky depth that pairs so well with seared chicken. If you want to mimic that smoky note without smoked paprika, add a tiny pinch of ground cumin or a light sprinkle of chili powder to your seasoning mix to amp up savoriness.
7.Do I need to let the chicken rest after searing, and if so, for how long? ▾
Yes, resting is non-negotiable for juicy chicken! As soon as you pull the breasts out of the pan, transfer them to a clean plate, tent loosely with a small piece of foil, and let them rest 5 full minutes. This lets the muscle fibers relax and reabsorb juicy, flavorful moisture, so it doesn’t run all over your plate when you cut in.
8.Why won’t my chicken get that nice crispy crust, even when I cook it on high heat? ▾
The number one reason for a pale, soggy crust is not patting the chicken completely dry with paper towels before seasoning and searing. Excess surface moisture steams the chicken instead of searing it. Make sure your pan is fully preheated before adding oil and chicken, and don’t overcrowd the pan—cook in batches if needed.
9.Can I prep this chicken ahead of time for quick weeknight meals? ▾
Absolutely! You can pound the chicken to even thickness, pat it dry, and toss it with the salt, pepper, and smoked paprika up to 24 hours ahead, stored covered in the fridge. Wait to sear until right before you eat; cooked seared chicken keeps well in an airtight container in the fridge for up to 4 days for salads, wraps, and grain bowls.
10.Is it better to season the chicken right before searing, or let it sit with salt for a while? ▾
For the juiciest results, you have two great options: season right before the chicken hits the pan, or season 1 to 2 hours ahead (or overnight, for a quick dry brine). If you salt 30 to 45 minutes before cooking, salt draws out surface moisture that prevents a crisp crust, so skip that middle window.
11.What should I do if my chicken is browned on the outside but still raw in the middle? ▾
That almost always happens when your heat is too high, so the crust browns fast before the interior cooks through. If you run into this, lower the heat to medium, add 2 tablespoons of water or chicken broth to the pan, and cover with a lid for 2 to 3 minutes. Trapped steam will gently cook the center without ruining your crisp crust.
12.Can I use boneless, skinless chicken thighs instead of breasts for this recipe? ▾
You absolutely can! Boneless, skinless thighs are naturally more forgiving and juicy thanks to their slightly higher fat content. You won’t need to pound them to even thickness the way you do breasts, and they’ll take roughly 6 to 7 minutes per side to reach a safe 175°F internal temp, with the same delicious seasoned crust.

Comments (5)

2 weeks ago

I’ve been searching forever for a reliable pan-seared chicken recipe that doesn’t require a million ingredients or hours of marinating. This one checks every single box! I paired it with roasted broccoli and garlic mashed potatoes for our Sunday family dinner, and my moody teenager who swears he ‘hates plain chicken’ ate two whole breasts. Absolute keeper recipe, I’ll be making this on repeat.

1 week ago

Love that this won over your teen – that’s the ultimate weeknight dinner win! No fancy ingredients or long marination time is exactly what we were going for with this recipe, so glad it worked out for your family. Thanks for the review!

5 days ago

Pro tip from someone who makes this every Sunday for meal prep – double the seasoning blend and store it in a jar, it saves so much time when you’re making a big batch! This recipe is a staple for me too.

5 days ago

Made this for my neighborhood potluck over the weekend and everyone was hounding me for the recipe! The only reason I’m not giving 5 stars is I burned the first side a little because my old stovetop runs way hotter than most, so I had to turn the heat down a touch from what the recipe recommended. Other than that, it was super easy, and the chicken was still juicy even after I sliced it up and transported it to the potluck. Will definitely be making this again!

3 days ago

Thanks so much for sharing this! Stovetops can vary so much in temperature, so that’s such a helpful tip for other folks reading – turning the heat down a notch if yours runs hot is always a smart call. So glad it was a hit at your potluck!

2 days ago

OMG this recipe is a total game changer! I’ve messed up so many dry, rubbery chicken breasts for weeknight meal prep before, and this came out perfectly juicy in literally 15 minutes flat. My husband and two kids devoured it at dinner last night, even my super picky 7 year old asked for seconds. I tossed on a little extra garlic powder like I usually do and it was SO good. Already added this to my weekly dinner rotation!

yesterday

So glad your whole family loved it! Extra garlic powder is such a great call – I do that too when I’m craving a little extra savoriness. So happy this is making weeknight dinners easier for you!

2 hours ago

Wait, did you pound your chicken out first? I never do that and always end up with uneven cooking, I’m wondering if that’s the secret to getting it juicy so fast! My kids are also super picky so I’m always on the hunt for recipes they’ll actually eat.

2 hours ago

As someone who barely knows how to boil water, this recipe was so straightforward I didn’t mess it up! 15 minutes total cook time is perfect for when I’m cramming for midterms and don’t have time for a fancy meal. Tossed it on top of a Caesar salad and it tasted like something I’d pay $18 for at the campus cafe down the street. 10/10 no notes.

30 minutes ago

That’s so awesome to hear! We love making recipes that are totally doable even for folks who don’t have a ton of cooking experience, especially busy students. Great call tossing it on a Caesar salad – that’s one of my favorite quick lunches too!

5 minutes ago

Yay, so glad I found this! I’ve been looking for a quick chicken recipe to make after my morning hike today, 15 minutes is perfect timing. Grabbing chicken out of the fridge now to make it for lunch, can’t wait to see how juicy it turns out!



