

easy crispy waffle

title 1
easy crispy waffle
⏱️ cook time 15 minutes
🍽️ servings 4
⚡ Difficulty easy

intro

Golden, shatteringly crisp outside, light and fluffy inside, these no-fuss waffles come together in 25 minutes for a cozy, satisfying quick breakfast.

Ingredients
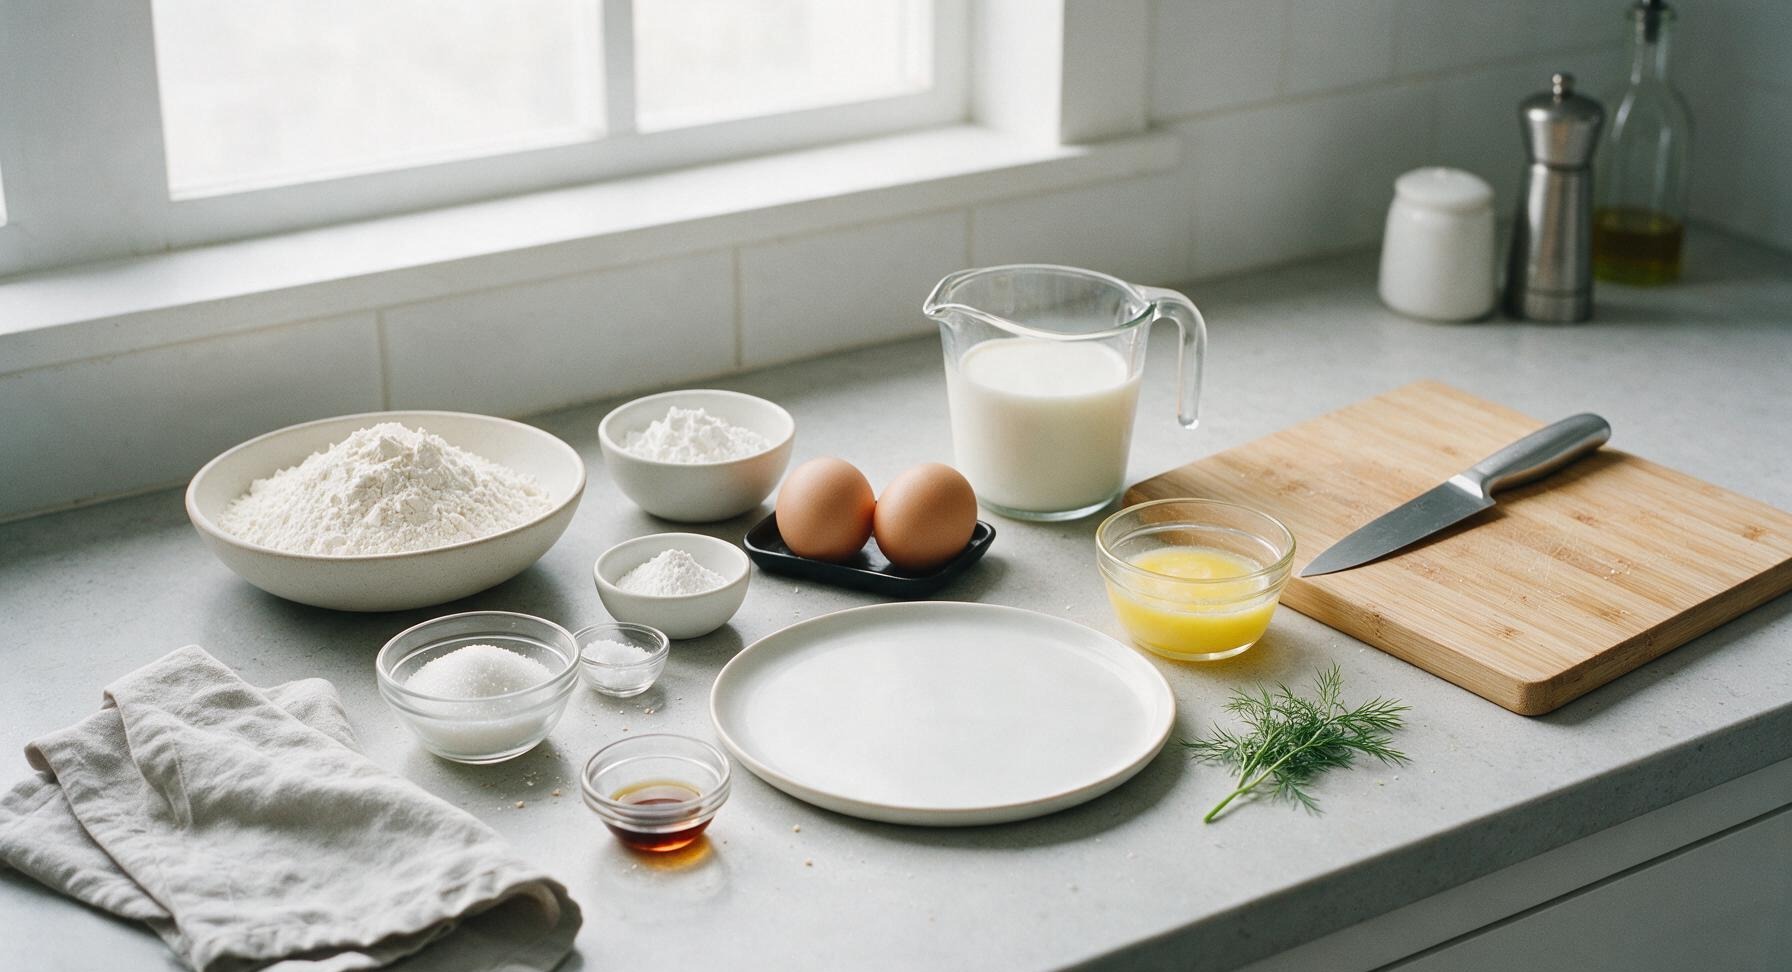
All-purpose flour 2 cups (240g)
Cornstarch 2 tbsp (16g)
Baking powder 2 tsp
Granulated sugar 1 tbsp (12g)
Fine sea salt 1/2 tsp
Large eggs 2
Whole milk 1 3/4 cups (420ml)
Unsalted butter, melted and cooled 1/3 cup (75g)
Pure vanilla extract 1 tsp

Steps

1

Preheat Waffle Iron

Plug in the 7-inch matte black electric waffle maker, set it to medium-high heat (375°F/190°C), and close the lid. Preheat for 5 minutes until the surface is fully hot; test by flicking a drop of water onto the grid—it should sizzle and evaporate in 2 seconds. Skip greasing non-stick grids, as excess oil leads to soggy, greasy waffles.
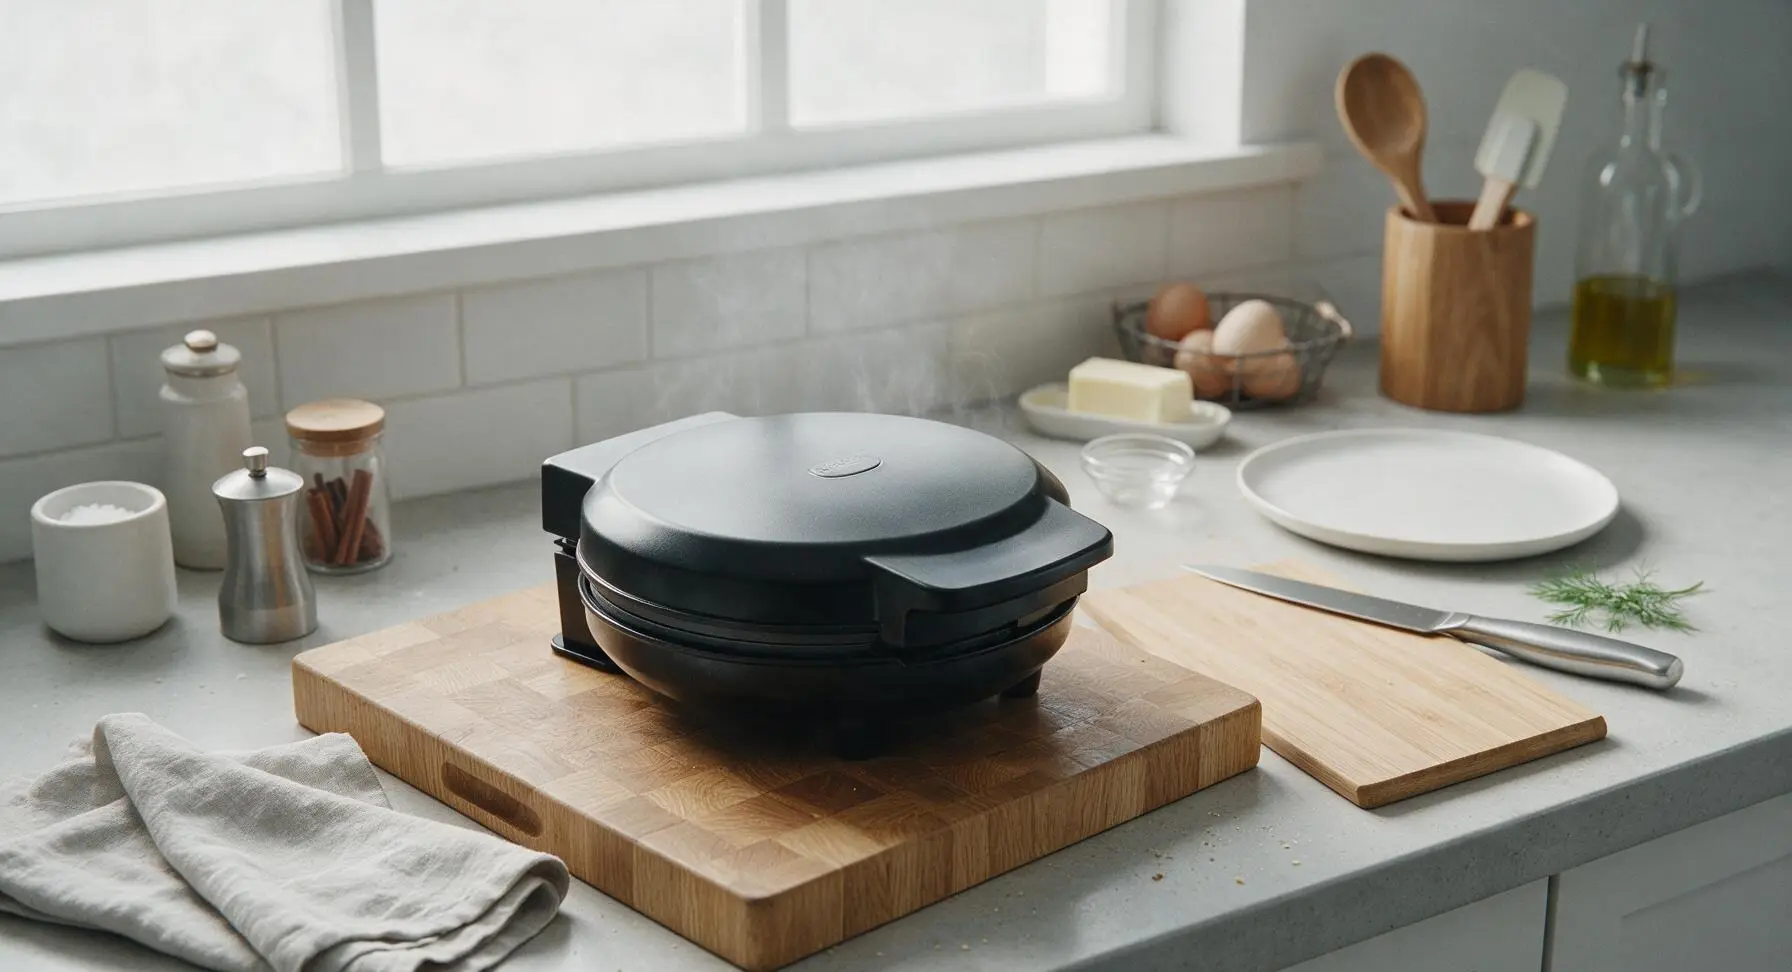
Step 1
step1:Preheat Waffle Iron
2

Whisk Dry Ingredients

Place the large ribbed glass mixing bowl in the center-left work zone. Add 2 cups (240g) all-purpose flour, 2 tablespoons (16g) cornstarch, 2 teaspoons baking powder, 1 tablespoon granulated sugar, and 1/2 teaspoon fine sea salt to the bowl. Use the stainless steel wire whisk to stir for 30 seconds until the dry mix is uniform, with no clumps of baking powder or cornstarch. Create a 3-inch wide well in the center of the dry mix to hold wet ingredients.
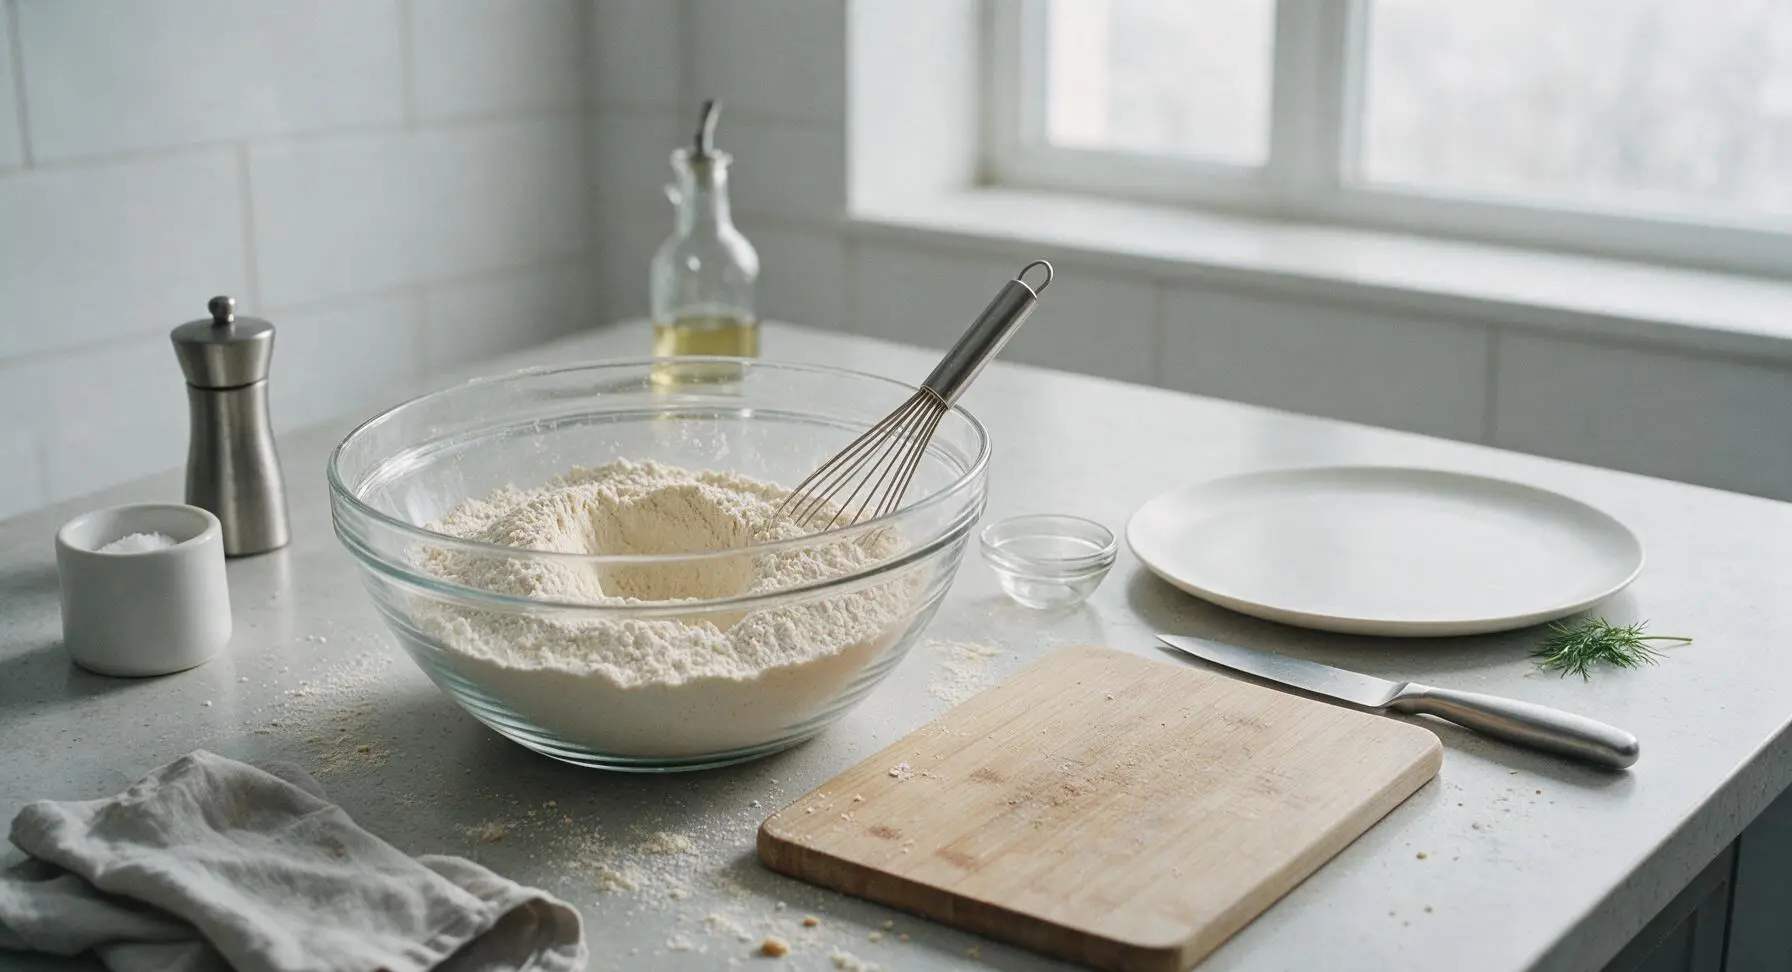
Step 2
step2:Whisk Dry Ingredients
3

Combine Wet Ingredients

Crack 2 large eggs into the small clear glass prep bowl. Add 1 3/4 cups (420ml) whole milk, 1/3 cup (75g) cooled melted butter, and 1 teaspoon pure vanilla extract. Whisk gently for 20 seconds until the mixture is a uniform pale yellow, with no streaks of unincorporated egg white remaining. Confirm melted butter is cooled to below 140°F (60°C) to avoid cooking the eggs on contact.
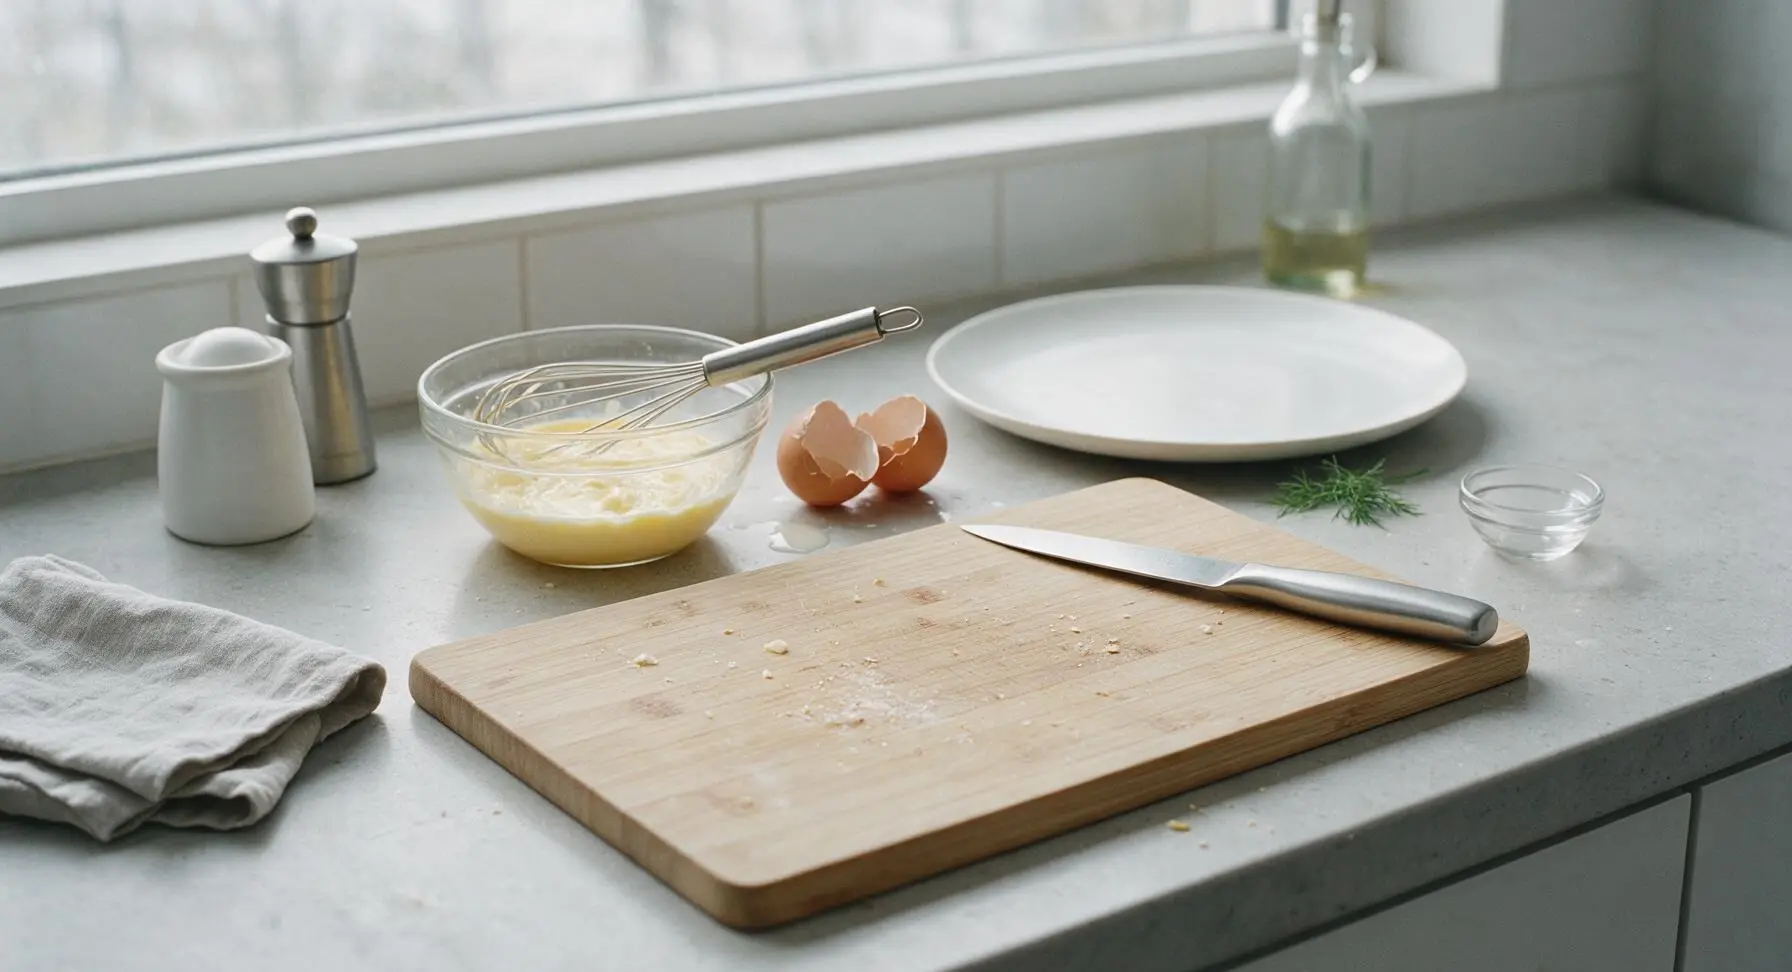
Step 3
step3:Combine Wet Ingredients
4

Fold Batter Gently

Pour the entire wet ingredient mixture into the well in the dry ingredients. Use the warm terracotta silicone spatula to fold the mixture together in 10-12 slow, gentle strokes, stopping as soon as no loose dry flour remains at the bottom of the bowl. The batter will be thick and visibly lumpy with small flour clumps—do not overmix, as overdeveloped gluten creates tough, dense waffles instead of light, crisp ones.
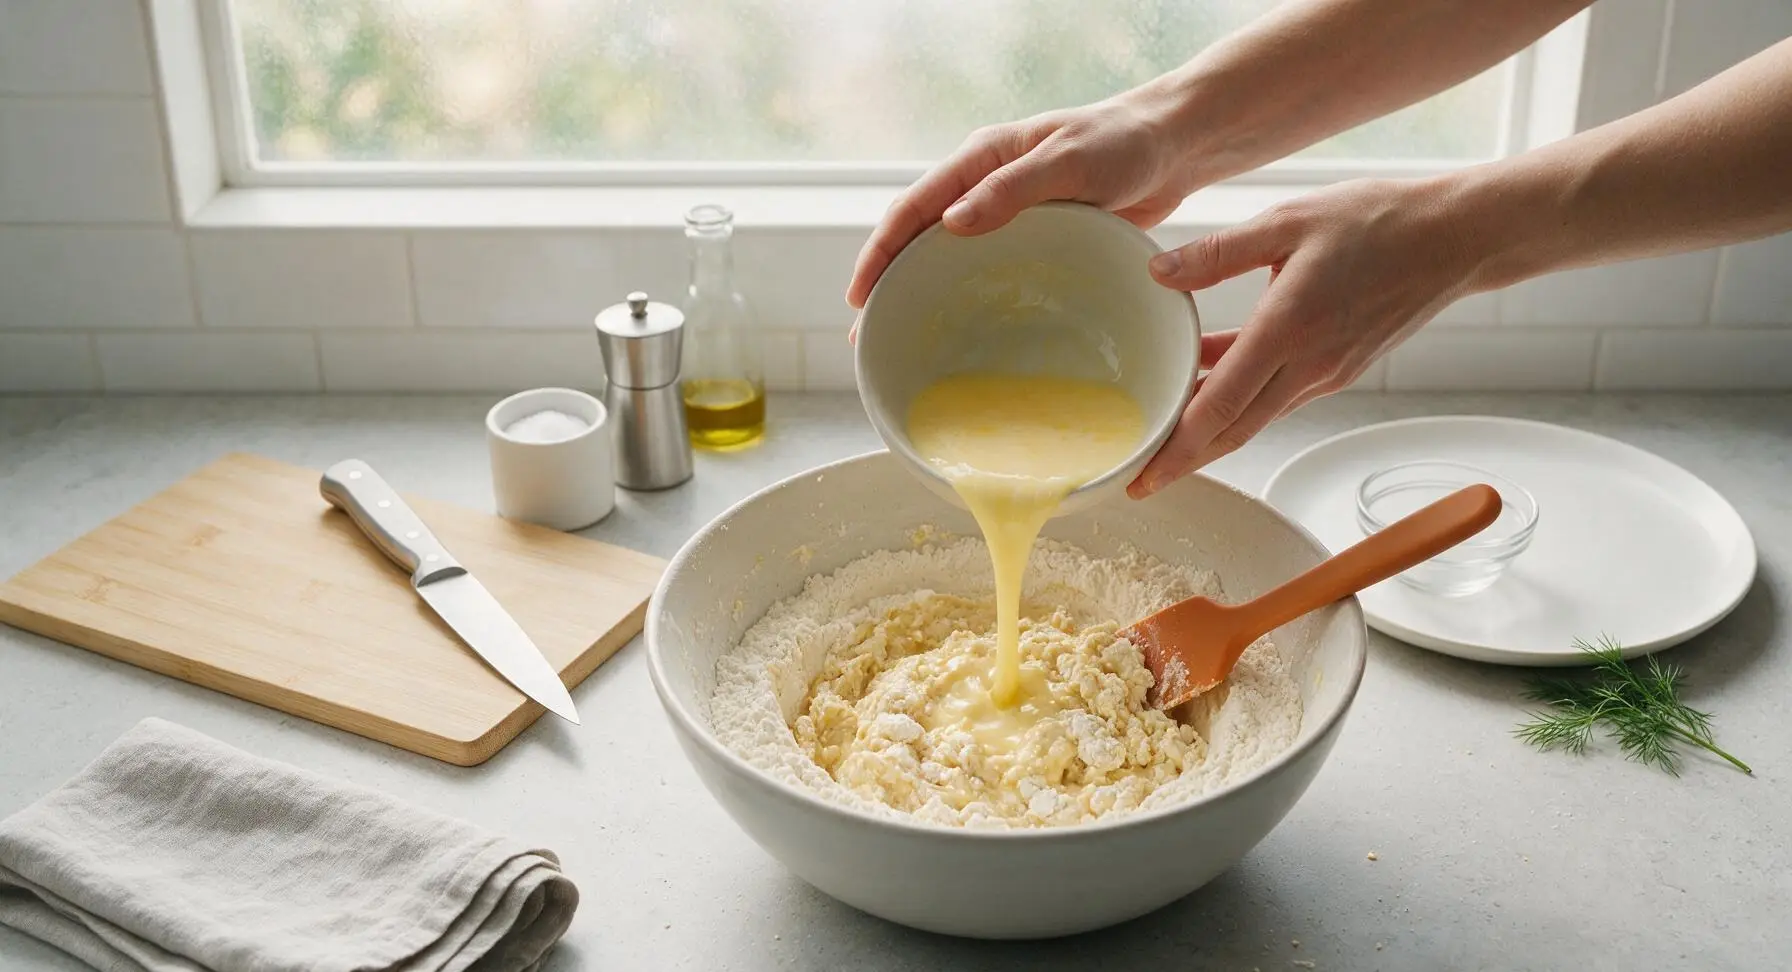
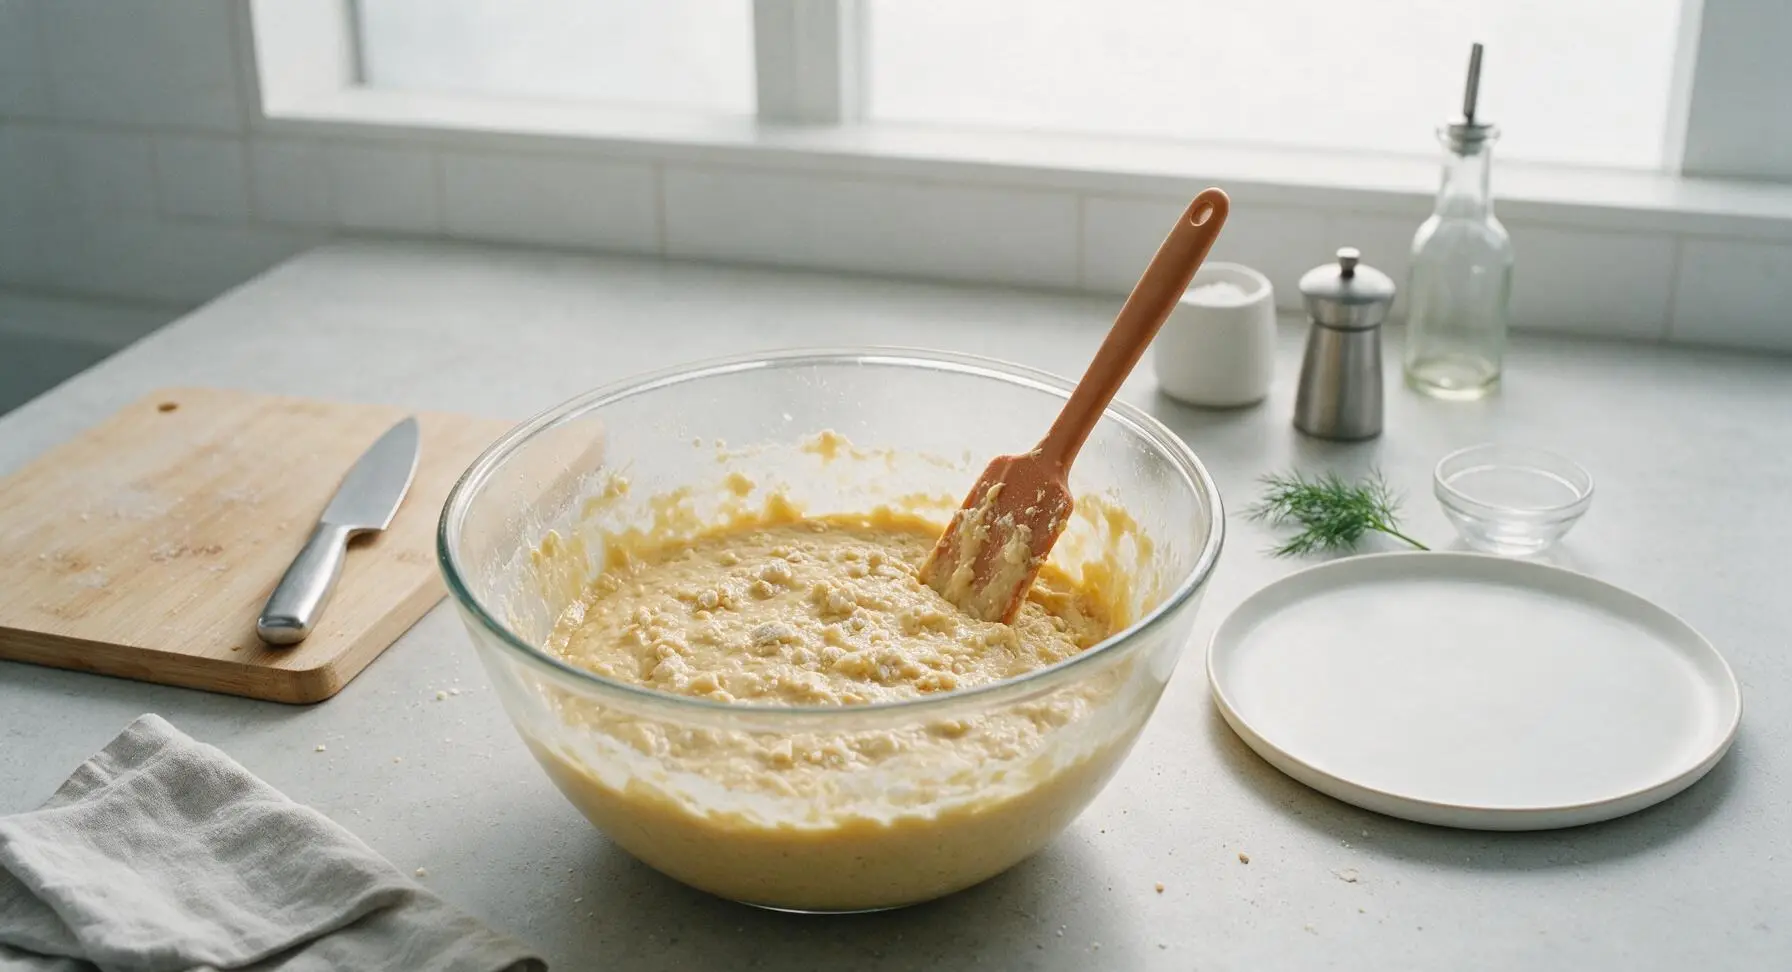
Step 4
step4:Fold Batter Gently
Step 4
step4:Fold Batter Gently
5

Cook Waffles Through

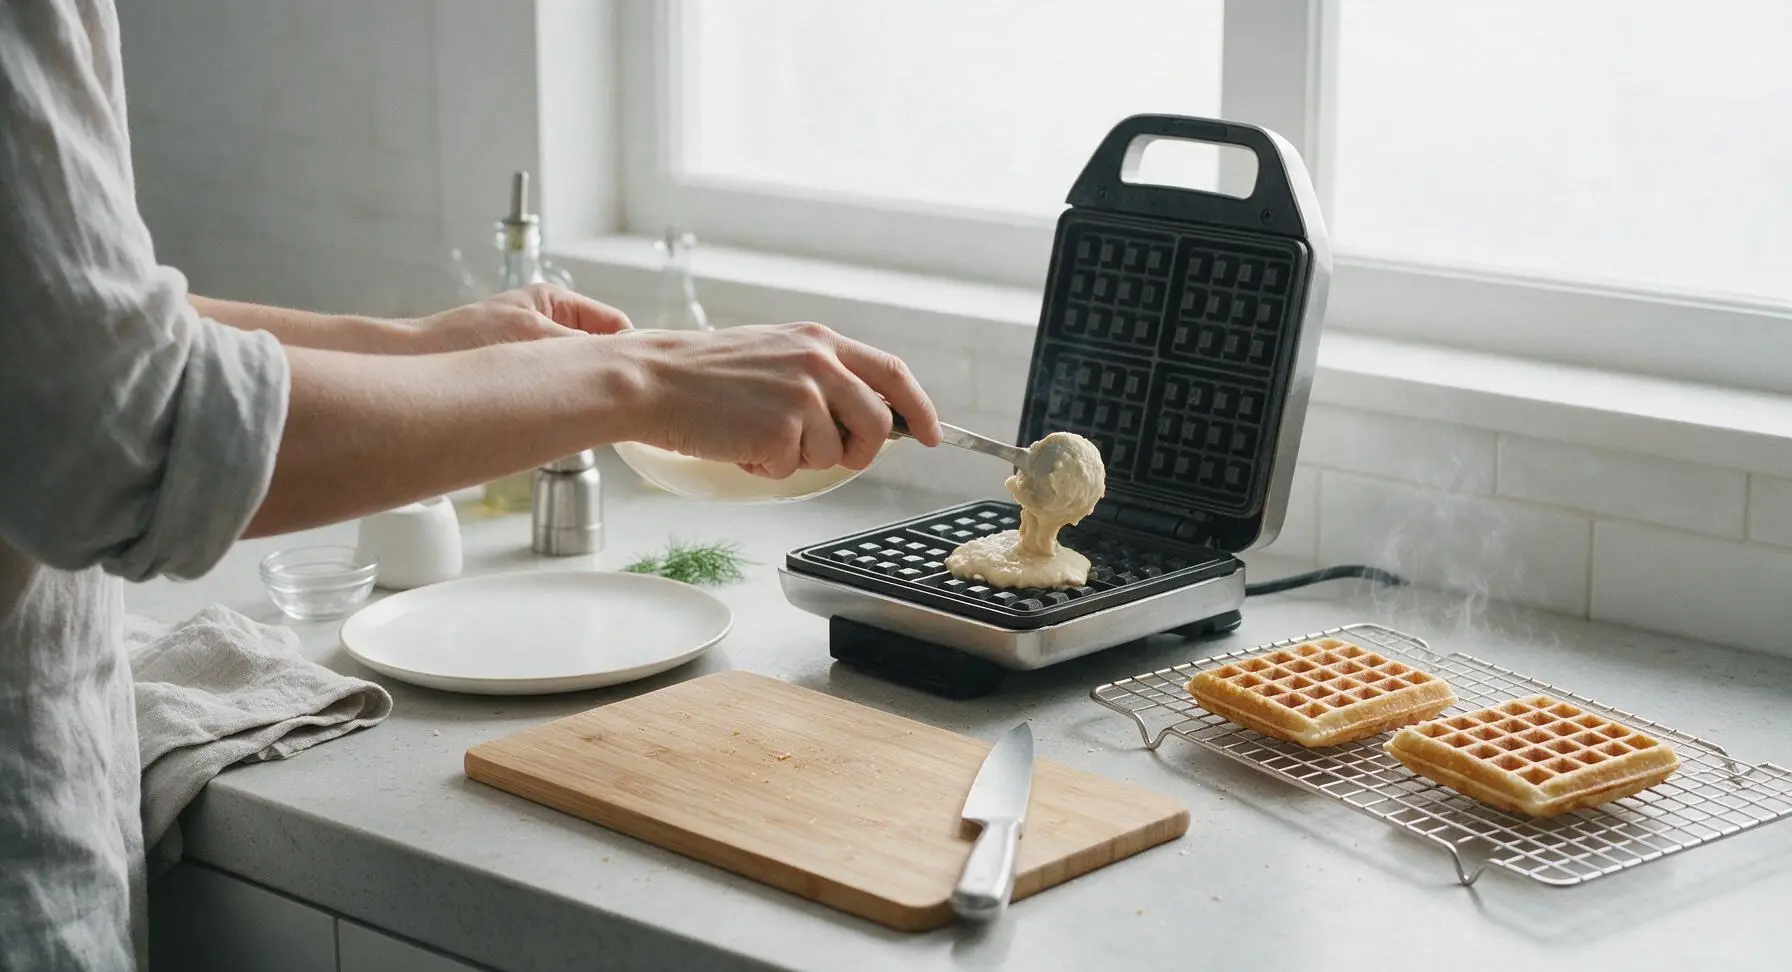
Open the preheated waffle iron lid. Pour 3/4 cup (180ml) of batter directly onto the center of the bottom waffle grid; do not spread the batter, as it will spread evenly when the lid closes. Close the lid and cook for 3 1/2 to 4 minutes, until the waffle is deep golden brown and no visible steam escapes from the waffle maker edges. Do not open the lid before 3 minutes, as early peeking causes waffles to split and stick. A done waffle will lift easily from the grids without tearing.
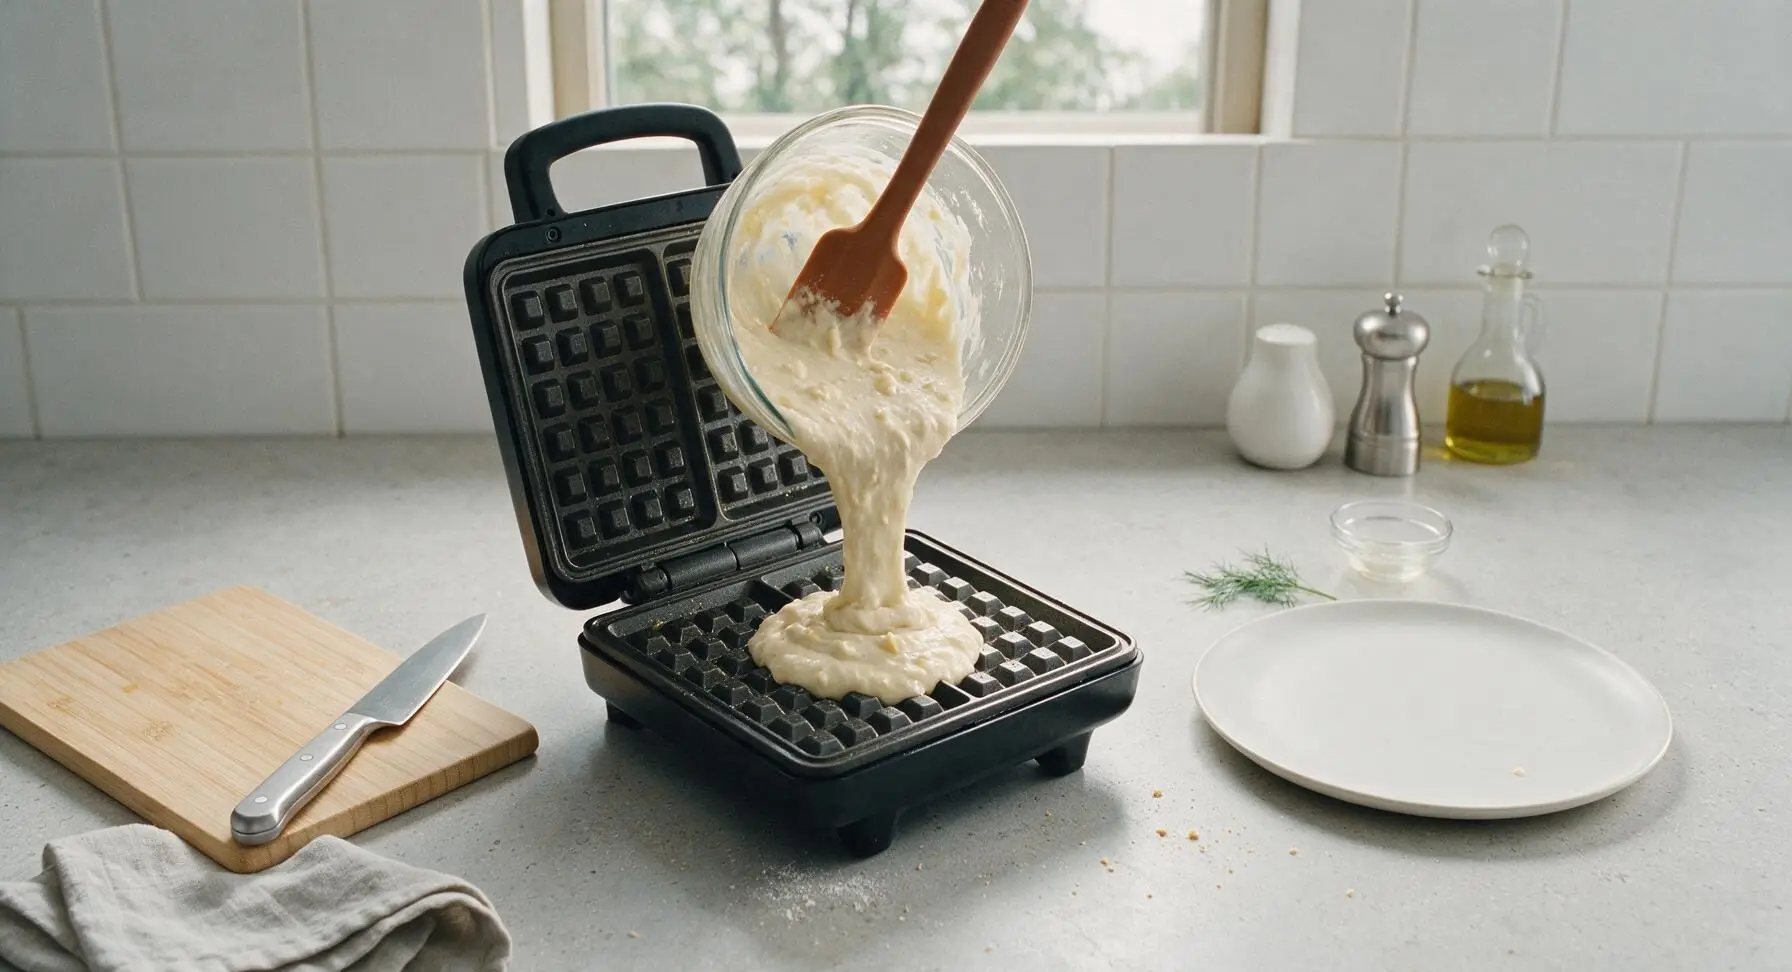
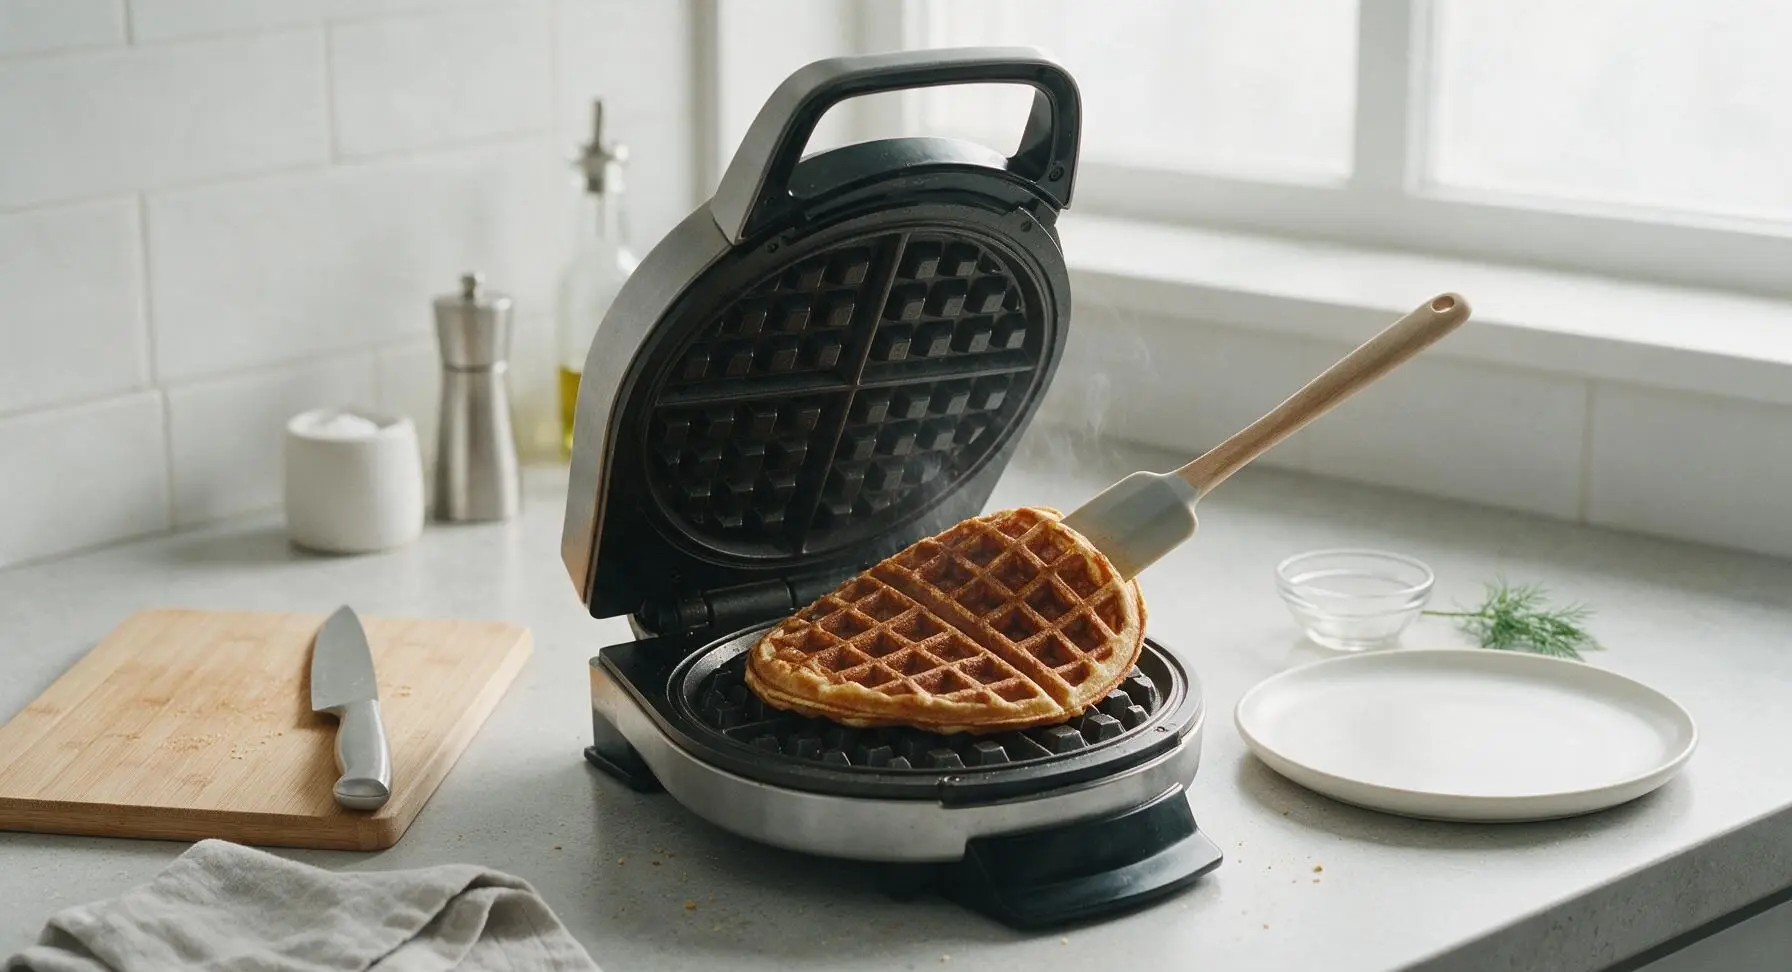
Step 5
step5:Cook Waffles Through
Step 5
step5:Cook Waffles Through
6

Keep Waffles Crisp

As each waffle finishes cooking, transfer it directly to the stainless steel wire cooling rack positioned to the right of the waffle maker, arranging waffles in a single layer without stacking. Trapped steam from stacked hot waffles softens crispy exteriors quickly. Keep cooked waffles warm on the rack in a 200°F (95°C) oven while you cook the remaining batter, yielding 4 total waffles.
Step 6
step6:Keep Waffles Crisp
7

Plate and Serve

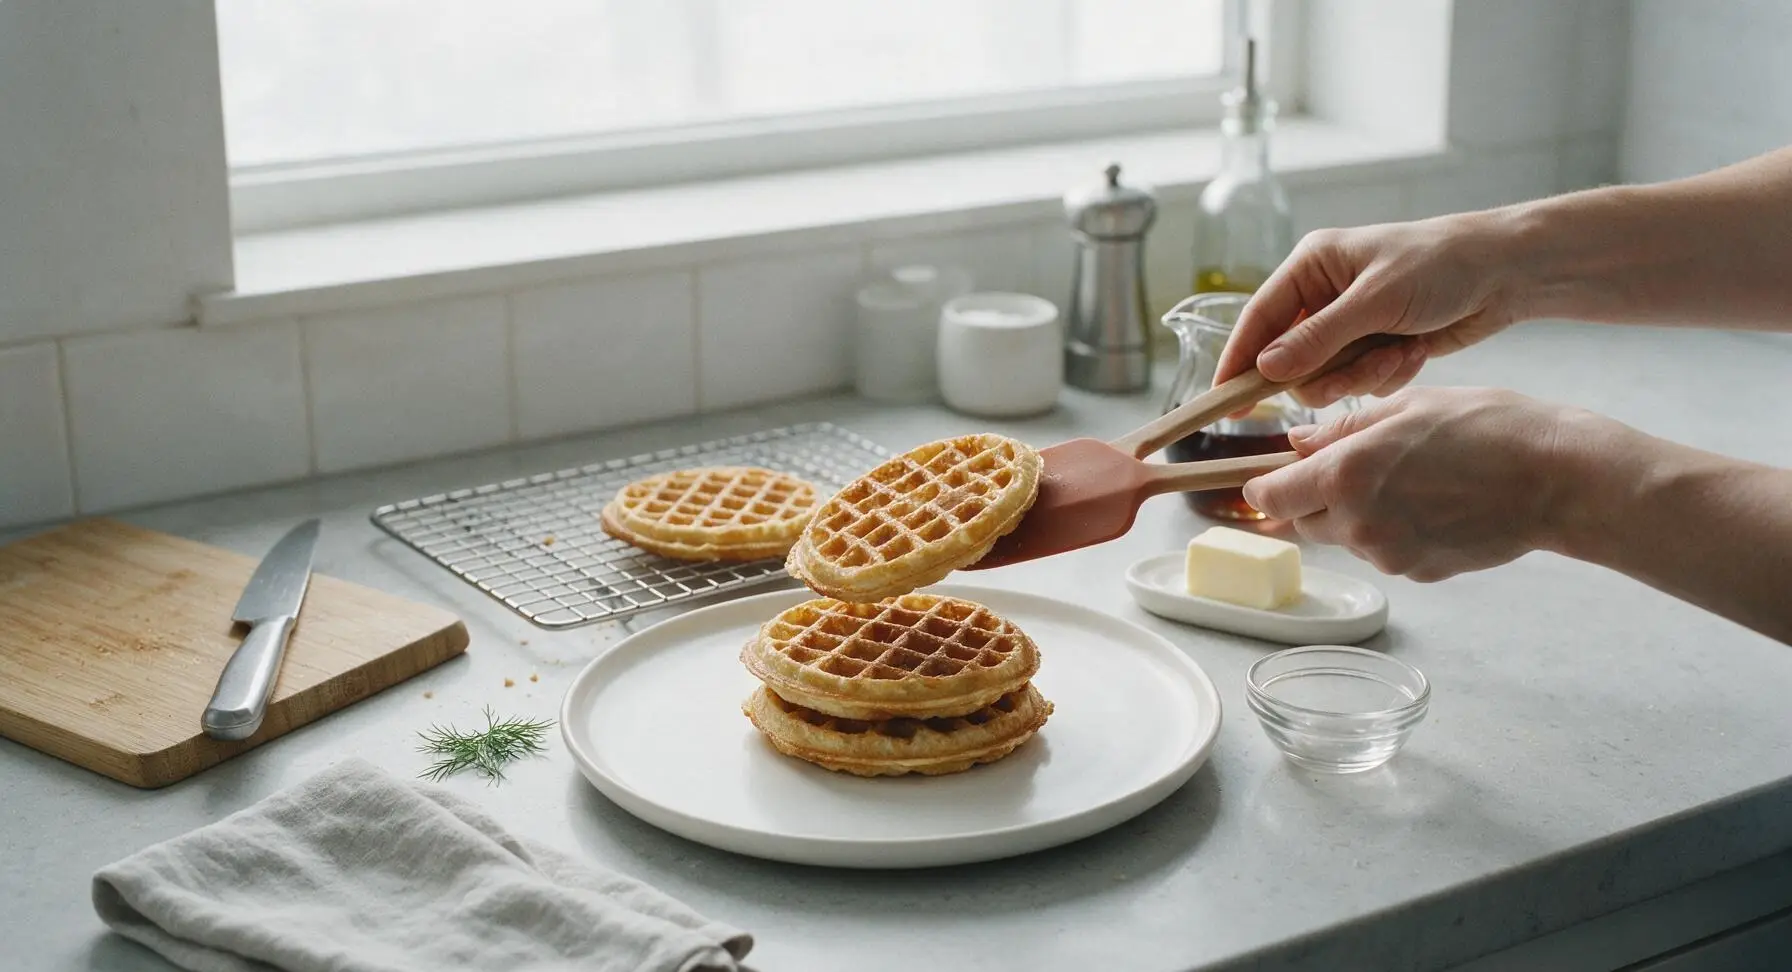
Stack 3 warm waffles centered on the matte cream ceramic dinner plate. Top with a 1-tablespoon pat of unsalted butter, drizzle with 2 tablespoons of pure maple syrup, and add a light dusting of ground cinnamon if desired. Serve immediately, while the waffle exterior is shatteringly crisp.
Step 7
step7:Plate and Serve

Tips

1.Add cornstarch to the dry mix for long-lasting crispiness: cornstarch inhibits gluten development in the flour, creating a shatteringly crisp exterior that stays crisp even when topped with syrup, instead of turning soft quickly.
2.Embrace lumpy batter: overmixing to create a smooth batter develops excess gluten, which leads to tough, chewy, dense waffles. Stop folding as soon as no loose dry flour remains, even if small lumps are visible—they will cook out without affecting texture.
3.Avoid stacking hot waffles: placing freshly cooked waffles directly on a plate or stacking them traps steam against the waffle surface, turning crispy exteriors soft and soggy in minutes. Use a wire rack for air circulation, and hold waffles in a low oven to keep them crisp until serving.


✨ You May Also Like

Breakfast
🍜 United States

Crisp-edged, fluffy lard griddle cakes are a nostalgic homestyle staple, with rich savoriness from rendered lard, perfect topped with maple syrup or savory gravy.

⏱️ 25 minuteBreakfast ★ 4.8
Breakfast
🍜 United States

Flaky, buttery homemade buttermilk biscuits smothered in creamy, peppery pork sausage gravy: a beloved, hearty Southern American comfort food classic.

⏱️ 35 minuteBreakfast ★ 4.8
Breakfast
🍜 United States

Golden, custardy brioche stuffed with sweet cream cheese and fresh berries, pan-fried to crisp perfection. An indulgent, cozy breakfast perfect for slow weekend mornings.

⏱️ 30 minuteBreakfast ★ 4.7
Breakfast
🍜 United States

Flaky, buttery Southern-style biscuits stuffed with savory salty country ham, a portable, satisfying classic perfect for casual on-the-go meals.

⏱️ 25 minuteBreakfast ★ 4.8
Breakfast
🍜 United States

Iconic puffy baked pancake popularized in Seattle, with crisp golden edges and soft custardy center, served warm with classic sweet toppings.

⏱️ 35 minuteBreakfast ★ 4.6
Breakfast
🍜 United States

Fluffy, golden pancakes studded with juicy peak-summer mixed berries, drizzled with maple syrup for a bright, comforting, crowd-pleasing family breakfast.

⏱️ 25 minuteBreakfast ★ 4.7

easy crispy waffle:Frequently Asked Questions

1.Why does this easy waffle recipe include cornstarch instead of only all-purpose flour? ▾
Cornstarch is the non-negotiable secret to that signature shatteringly crisp outer crust. It cuts down on tough gluten development from all-purpose flour, prevents soggy, dense waffles, and helps the exterior stay crisp longer after cooking, while keeping the inner crumb light and fluffy instead of chewy.
2.How long does it actually take to make these waffles from start to finish? ▾
You’ll go from grabbing ingredients to sitting down to eat in 25 minutes total, as promised. That includes 5 minutes to whisk the dry ingredients together, a quick 5-minute batter rest for better texture, and 15 minutes of total waffle iron cook time for a standard 4-waffle batch, enough for two to three people.
3.Can I mix this batter the night before to cut down on busy morning prep? ▾
I don’t recommend pre-mixing the full batter overnight, because the baking powder will lose its leavening power and leave you with flat, dense waffles. If you want to prep ahead, mix all the dry ingredients (flour, cornstarch, baking powder, sugar, salt) in an airtight container the night before to cut morning work in half.
4.Why are my waffles coming out soft and soggy instead of crisp? ▾
Soggy waffles almost always come from two common missteps: either you’re pulling them out too early before the crust fully sets, or you’re stacking them straight on a plate right off the iron. Let them cook 30-60 seconds past when steam stops pouring from the iron, and rest them on a wire rack for 1 minute before serving to lock in crunch.
5.Do I need a fancy high-end waffle iron to get perfectly crisp results? ▾
Nope, you don’t need any specialty equipment for this no-fuss recipe! Any standard electric waffle iron, even a budget $20 model, will work perfectly as long as you preheat it fully before adding batter. A proper preheat sears the batter on contact to build that golden crisp crust without sticking.
6.Can I substitute whole wheat flour for the all-purpose flour in this recipe? ▾
You can swap up to half of the all-purpose flour for white whole wheat flour without ruining the texture, but skip a 100% whole wheat swap. Whole wheat flour has fibrous bran and germ that absorb extra moisture, leading to denser, less crisp waffles with a heavy, grainy interior if used as a full replacement.
7.Can I cut back on the granulated sugar for less sweet waffles? ▾
The small amount of granulated sugar in this recipe isn’t just for sweetness—it also supports browning and crisping on the outer crust. You can cut the sugar by half if you prefer less sweet waffles for savory toppings, but don’t omit it entirely, or your waffles will be pale, soft, and slow to crisp.
8.Can I use regular table salt instead of fine sea salt here? ▾
The small measure of fine sea salt in this recipe balances the sugar and makes all the other flavors pop, without making waffles taste salty. If you only have table salt, cut the amount in half—table salt is denser and more sharply briny than fine sea salt, so a full measure will lead to over-seasoned waffles.
9.Why do my waffles stick to the waffle iron even when I use nonstick spray? ▾
Sticking almost always happens if you don’t let the iron preheat fully, or if you pry the lid open too early before the crust has set. Give your iron at least 5 minutes to preheat, spray it lightly right before adding batter, and don’t lift the lid until it opens with no resistance for clean, intact waffles.
10.How do I keep waffles crisp while I cook a full batch for my family? ▾
Skip stacking waffles on a plate or tucking them in a covered warm dish—trapped steam will turn them soggy in minutes. Instead, arrange cooked waffles in a single layer on a wire rack set over a baking sheet in a 200°F oven while you cook the rest. Air circulation keeps them crisp and warm for up to 20 minutes.
11.My baking powder is a few months past its expiration date—will that ruin the waffles? ▾
Old, expired baking powder is one of the most common causes of flat, dense waffles, since it loses its leavening power over time. To test it, drop ½ teaspoon into a cup of hot water: if it fizzes vigorously, it’s good to use. If it doesn’t bubble, replace it before mixing, or your waffles won’t get that light, fluffy rise.
12.Can I adjust this recipe to make gluten-free crispy waffles? ▾
You can make a great gluten-free version by swapping the all-purpose flour for a 1:1 gluten-free all-purpose baking blend, keeping all other dry ingredient measurements exactly the same. Avoid using single gluten-free flours like almond or coconut flour alone, as they create a dense, crumbly texture instead of the light, crisp crumb you want.
13.How much batter should I pour into the waffle iron to avoid messy overflow? ▾
Pour enough batter to cover about ⅔ of the waffle iron grid, spreading it gently with a spatula if needed. If you fill the iron all the way to the edges, the batter will overflow as it puffs up from the baking powder, making a sticky mess on your counter. The ⅔ fill level gives the batter room to rise without spilling for evenly shaped waffles.
14.Can I freeze leftover waffles for quick weekday breakfasts? ▾
Absolutely—these waffles freeze beautifully! Let cooked waffles cool completely on a wire rack, then stack them between sheets of parchment paper and store in a freezer-safe zip-top bag for up to 3 months. Reheat straight from frozen in a toaster or toaster oven to bring back that perfect crisp exterior, no thawing needed.
15.Why do you recommend resting the batter briefly before cooking? ▾
That short 5-minute rest lets the flour and cornstarch fully absorb the wet ingredients, and gives the baking powder time to create small, uniform air bubbles. Skipping the rest leads to lumpy batter that cooks up into waffles with doughy pockets and less rise, instead of the even, fluffy inside and crisp outside you’re after.
16.Can I add mix-ins like chocolate chips or blueberries to this batter? ▾
You absolutely can, but fold them in right before you pour batter into the iron to avoid weighing the batter down. Stick to about ½ cup of mix-ins per full batch—too many add-ins release extra moisture as they cook, which can soften the waffle crust and prevent that perfect shatteringly crisp texture.
17.Do I need to separate eggs and beat egg whites for this recipe to get fluffy waffles? ▾
Nope, that’s what makes this recipe so low-fuss! Unlike fancy restaurant waffle recipes that require whipped egg whites for lift, the combination of cornstarch and correctly measured baking powder gives you that perfect crisp-outside, fluffy-inside texture without any extra steps, special equipment, or fussy prep work.
18.What toppings pair best with these simple crispy waffles? ▾
These waffles have a mild, perfectly balanced sweet-savory base that works with almost any topping. Stick to classics like maple syrup, softened butter, fresh berries, and whipped cream for a cozy sweet breakfast, or go savory with fried chicken, hot honey, or avocado and flaky salt if you cut the sugar a bit.
19.How do I tell when waffles are fully done and ready to pull off the iron? ▾
Wait until the steady stream of steam coming out of the iron’s sides slows to almost nothing, usually 3 to 4 minutes per waffle depending on your appliance. At that point, lift the lid gently—if the waffle pulls away easily and is a deep, even golden brown, it’s done, with that perfect crisp crust and light, fluffy center.

Comments (18)

2 hours ago

OMG these waffles are SO crispy even when I let them cool for 10 minutes! I’ve tried so many waffle recipes that turn soggy the second they come off the iron, but this one is a total game changer. Threw in a handful of chocolate chips for my toddler and he ate two whole waffles before even asking for syrup.

yesterday

Super easy to throw together on a lazy Sunday morning. I didn’t have buttermilk so I used the milk + vinegar trick and it still turned out perfect. Crispy edges, fluffy center, exactly what I wanted.

1 week ago

Made these for a potluck brunch last weekend and everyone was asking for the recipe! I set up a little topping bar with berries, whipped cream, and Nutella and the waffles held up great even sitting out for an hour.

30 minutes ago

15 minute cook time is no joke! I rolled out of bed, mixed the batter while my waffle iron preheated, and had breakfast on the table before my roommate even finished making coffee. Crispier than the frozen ones by a mile.

3 days ago

I meal prepped a batch of these on Sunday, popped them in the toaster all week, and they got crispy all over again! Way cheaper and tastier than the store-bought frozen waffles I used to buy. Will be making these on repeat.

5 minutes ago

Wait, do I need to separate the egg whites and fold them in? The recipe says it’s easy but I’ve seen crispy waffle recipes that require that step and I’m low on time this morning.

just now

No egg separating needed for this recipe! Just mix all the ingredients together until smooth and you’ll get that perfect crispy texture without the extra work. Hope you love them!

2 days ago

My kids loved it! I added a little cinnamon to the batter and it smelled like fall in my kitchen. Even my super picky 7 year old asked for seconds, which never happens.

yesterday

Oh the cinnamon addition sounds genius! I’m making these tomorrow for my kids before school, definitely stealing that idea.

5 days ago

Tried making these with whole wheat flour to make them a little healthier, and they still came out crispy! I was worried they’d be dense but they were perfect. Do you think oat flour would work too?

3 days ago

So glad the whole wheat swap worked out! Oat flour works great too — just note you might need to add an extra splash of milk if the batter feels too thick, since oat flour absorbs more liquid than all-purpose.

2 weeks ago

These are way better than the waffle mix I usually buy from the grocery store. The edges get that perfect crunch that I’ve never been able to get from a boxed mix.

1 week ago

Same! I tossed all my leftover box mix after making these. The cornstarch in the recipe is what makes them so crispy, right? Total game changer.

2 days ago

Ugh, my first batch stuck to the waffle iron really bad. Did I do something wrong? I sprayed it with nonstick spray but they still tore when I tried to get them out.

yesterday

I’m sorry the first batch stuck! A common trick is to let your waffle iron preheat fully for 3-5 minutes before pouring the batter in — if it’s not hot enough, the waffles are way more likely to stick. Also, try not to open the iron too early while they cook! Hope that helps for your next batch.

1 week ago

Made these for my partner’s birthday breakfast and he said they’re better than the diner waffles we get on weekends. Served them with fried chicken for that chicken and waffle vibe, *chef’s kiss*.

5 days ago

Chicken and waffles with this recipe?! That’s such a good call, I’m doing that for our next game night with friends.

yesterday

Can I make the batter the night before and store it in the fridge? I want to make these for an early morning soccer game snack for my kid’s team and don’t want to be mixing batter at 6am.

yesterday

Absolutely! The batter stores great in an airtight container in the fridge for up to 24 hours. Just give it a quick stir before pouring, and you’re good to go — perfect for early morning events!

2 weeks ago

OMG I cannot believe how crispy these are!!! I’ve been chasing that perfect restaurant-style crispy waffle for YEARS and this recipe nailed it. No weird ingredients, no fancy steps, just perfect waffles.

1 week ago

Right?! I made them last weekend and I’m still thinking about how crunchy the edges were. I even froze a bunch and they toast up perfect.

1 week ago

That makes us so happy to hear! The little bit of cornstarch in the batter is the secret to that long-lasting crisp, even after freezing. So glad you found your go-to waffle recipe!

3 days ago

Just made these for brunch and they were a hit! Quick question — has anyone tried making these dairy free? My niece is lactose intolerant and she’s coming to visit next weekend, want to make sure she can have some too.

2 days ago

I made them with oat milk and melted coconut oil instead of butter last month and they came out exactly the same! Super crispy, no weird aftertaste, my dairy free roommate ate half the batch.

2 days ago

Great tip from Liz! We’ve tested this recipe with unsweetened oat milk and vegan butter too, and it works perfectly for dairy free eaters. No adjustments needed besides the 1:1 swap!

5 days ago

Pro tip: If you want to keep a whole batch crispy while you finish cooking all the waffles, set them on a wire rack over a baking sheet in a 200 degree oven instead of stacking them on a plate. No soggy waffles at all!

3 days ago

Wait this is the hack I’ve been missing my whole life! I always stack them on a plate and the bottom ones get soggy by the time I’m done cooking. Can’t wait to try this next time.

3 days ago

Such a great tip, Tina! That’s exactly what we do in our kitchen too when making waffles for a crowd. Air circulation around the waffles keeps them crisp from first to last bite.

1 week ago

My whole family is obsessed with these! I added crumbled cooked bacon and a handful of shredded cheddar to the batter last weekend for savory waffles and they were insane. We ate them with scrambled eggs for dinner and nobody complained.

5 days ago

Savory waffles?! That sounds so good, I never thought to add cheese and bacon. My husband loves savory breakfasts way more than sweet, so this is going to be a hit for him.

3 days ago

I did the same thing! Added a pinch of paprika too, tastes like a fancy restaurant brunch. 10/10

2 hours ago

How much batter do you pour per waffle? I have a big 4-slice Belgian waffle maker and I always either pour too little and get weird shaped waffles or too much and it spills over the sides making a huge mess.

30 minutes ago

I have the same size waffle maker! I use about 2/3 cup of batter per section, and spread it a little with the back of a spoon before closing the lid. No spills for me!

5 minutes ago

Megan’s measurement is spot on! For standard Belgian waffle irons, 2/3 to 3/4 cup batter per waffle is perfect — pour it right in the center, let it spread a little, then close the lid. If you’re using a smaller classic waffle iron, 1/2 cup works great.

yesterday

Okay, first batch I burned because I cranked my waffle iron to max heat (oops) but the second batch? Absolute perfection. Crispy on the outside, soft in the middle, even my cat was trying to steal a bite off my plate. 10/10, will be making these every weekend from now on.

yesterday

Lol I did the exact same thing my first time! Turned it down to medium heat and now they come out golden and crispy every single time. No more burnt edges for me.

just now

We’ve all been there with the overheated waffle iron! So glad you adjusted and got that perfect second batch — we’d take a waffle-stealing cat as the highest seal of approval 😂



