1.Can I use uncooked elbow macaroni directly in this casserole instead of pre-boiling it?
▾
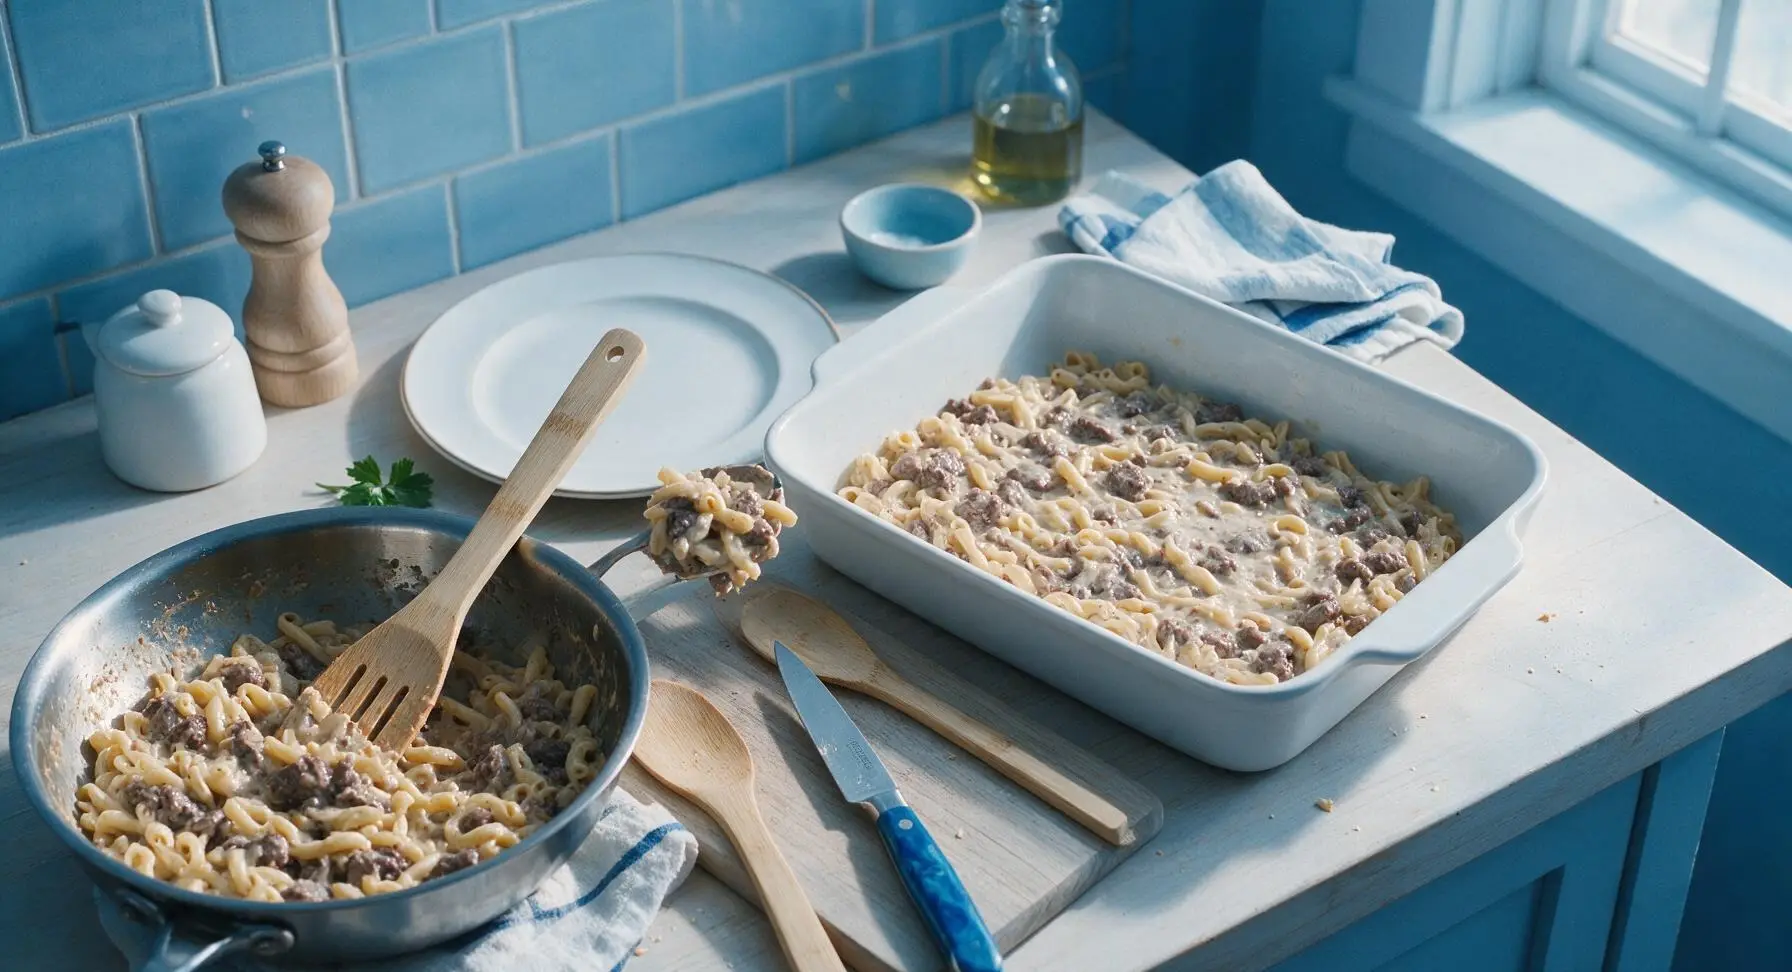
You sure can—that’s part of what makes this a low-cleanup weeknight win! Stir 2 ½ cups of water or low-sodium beef broth in with your condensed tomato soup to give the dry pasta enough liquid to absorb, and keep the dish covered for the first 30 minutes of baking so the macaroni cooks to perfect tender texture without drying out.
2.Why does the recipe call for 90/10 lean ground beef? Can I use a fattier blend instead?
▾
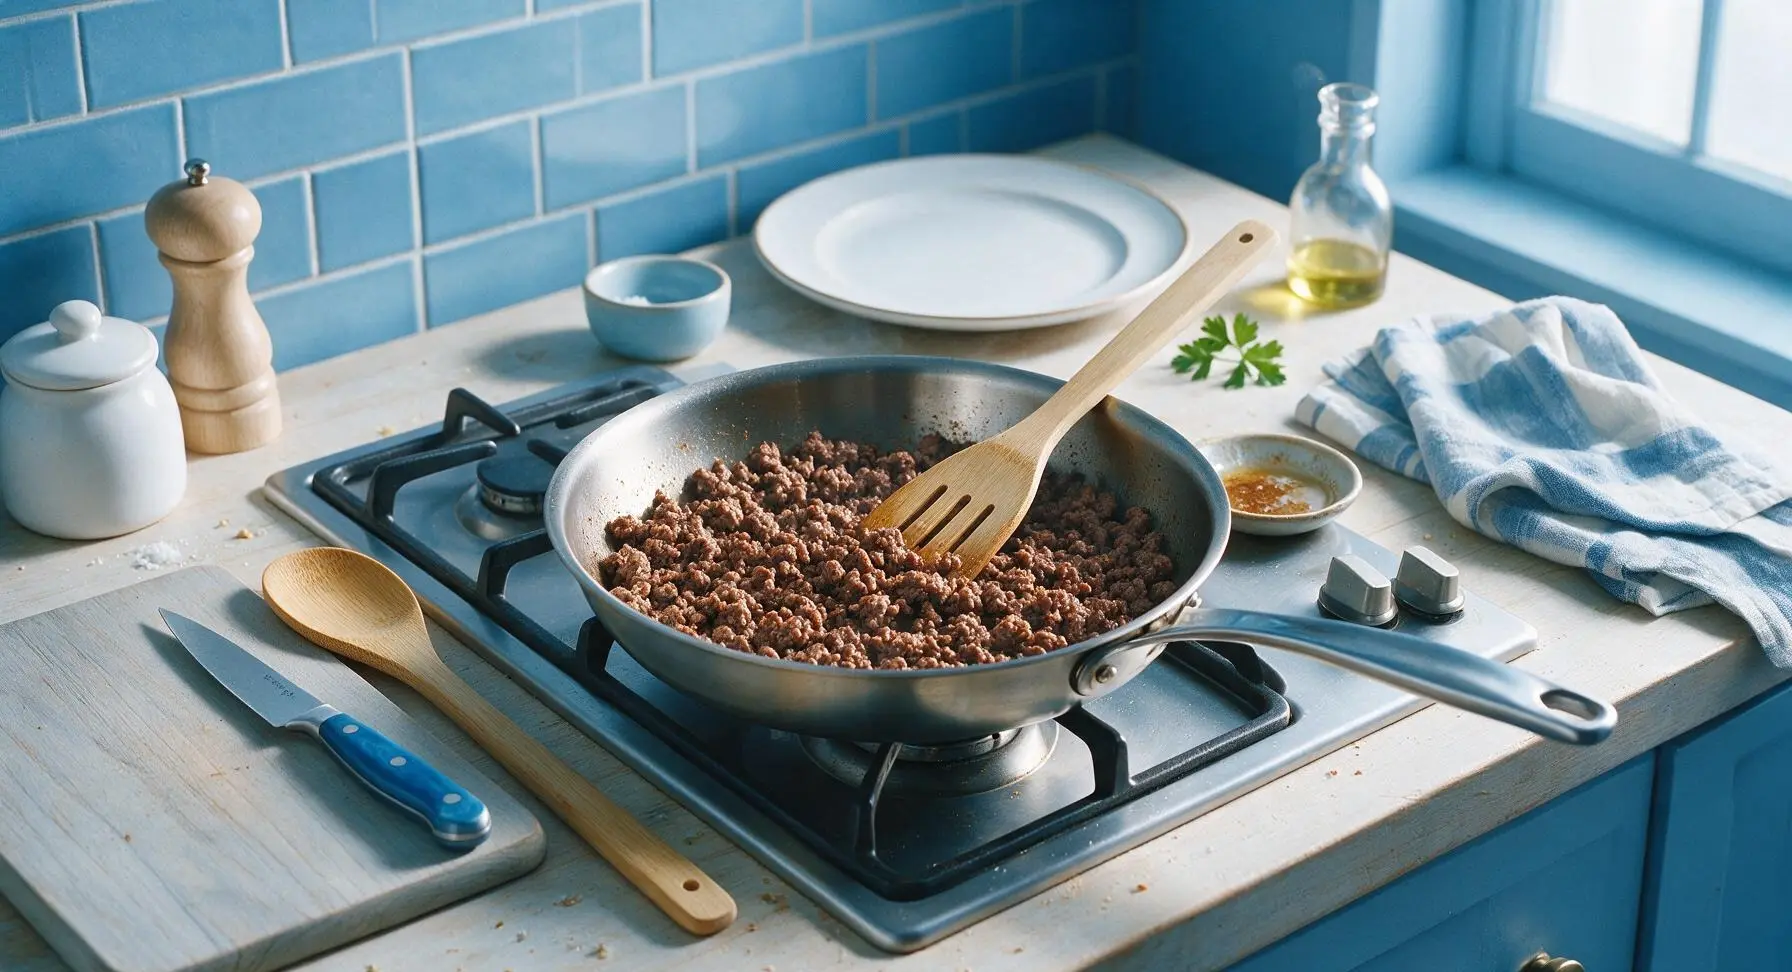
90/10 lean beef strikes the perfect balance of rich beefy flavor without excess grease that would make your casserole soggy or oily. If you only have 80/20 on hand, just fully drain the rendered fat after browning the beef and onions before adding the rest of your ingredients to keep the final texture creamy, not greasy.
3.Do I have to use condensed tomato soup, or can I substitute regular tomato sauce?
▾
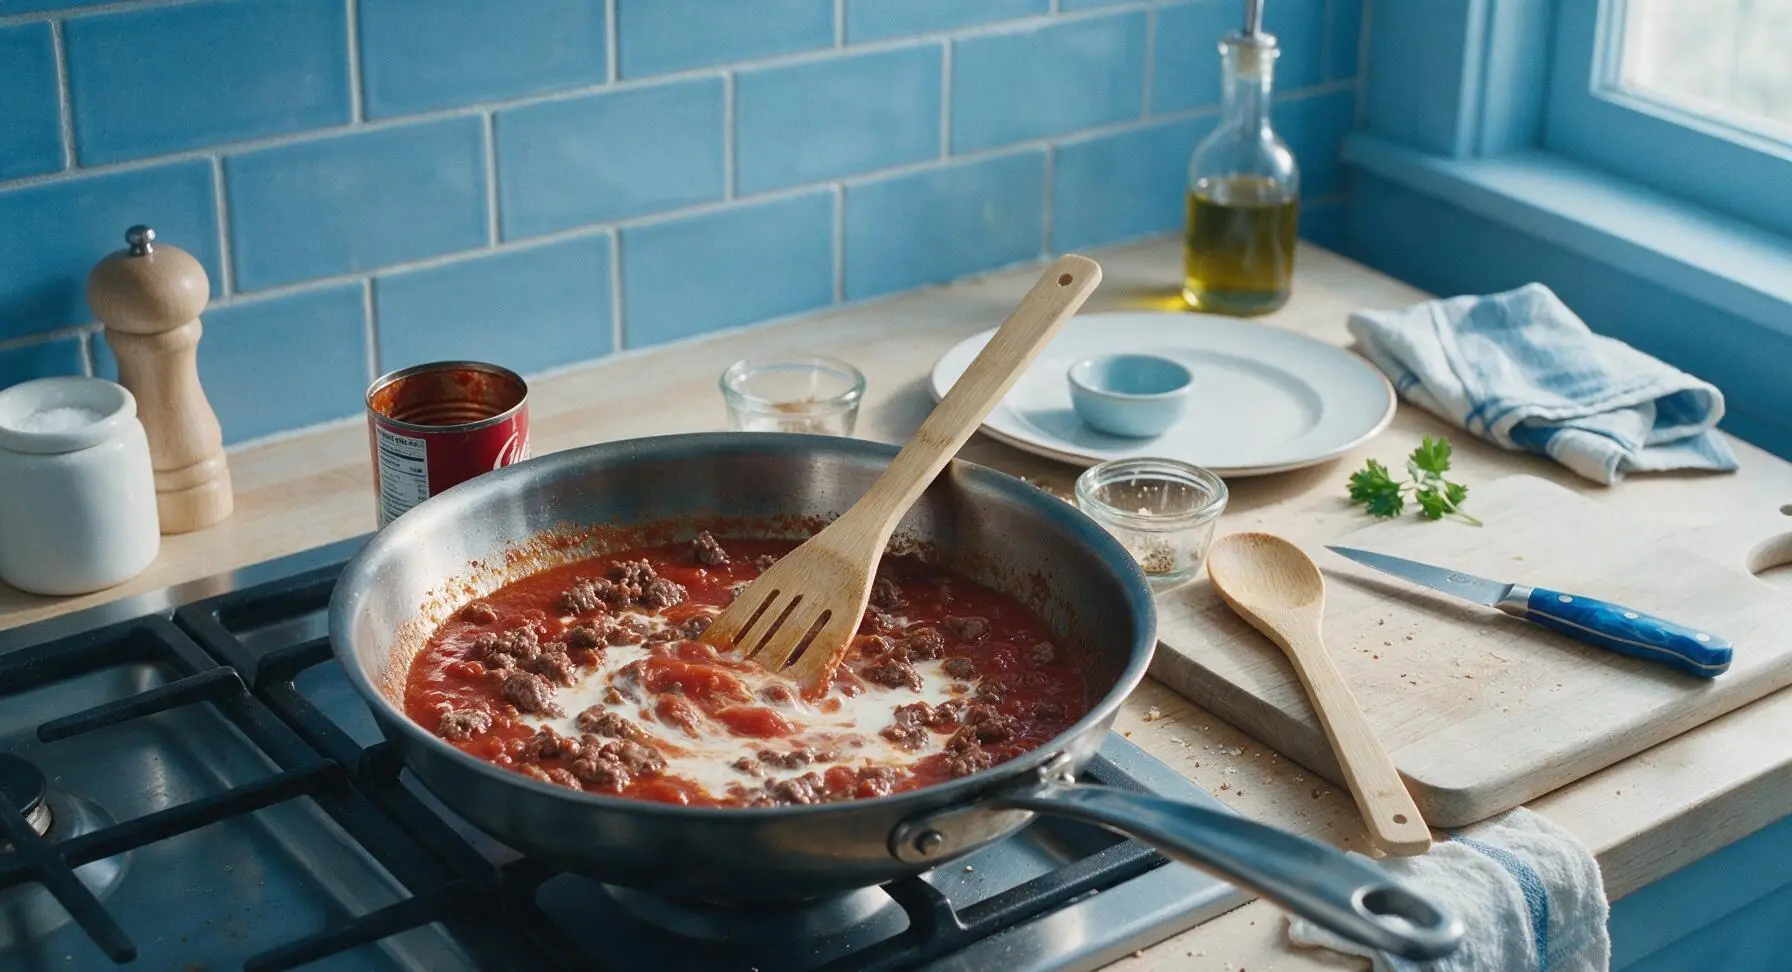
Condensed tomato soup is key here for that nostalgic, creamy, slightly sweet tomato base people love in classic hamburger casserole. If you swap for regular tomato sauce, mix in 2 tablespoons of tomato paste and ¼ cup of half-and-half to mimic the concentrated, rich texture of condensed soup, so you don’t end up with a watery, flat-tasting dish.
4.How long will leftover hamburger casserole stay fresh in the fridge?
▾
Properly stored in an airtight container, this hamburger casserole will stay fresh in the fridge for 3 to 4 days. Let it cool completely to room temperature (within 2 hours of baking for food safety) before sealing it up, and reheat individual portions in the microwave or a 325°F oven until warmed all the way through.
5.Can I freeze this casserole for easy make-ahead meals?
▾
Absolutely! This casserole freezes beautifully for up to 3 months. Let it cool fully, then wrap it tightly in a layer of plastic wrap followed by aluminum foil to prevent freezer burn. Thaw it overnight in the fridge before baking at 350°F for 25 to 30 minutes, covered, until it’s bubbly and heated through.
6.What’s the best cheese to use for that classic melted cheesy top?
▾
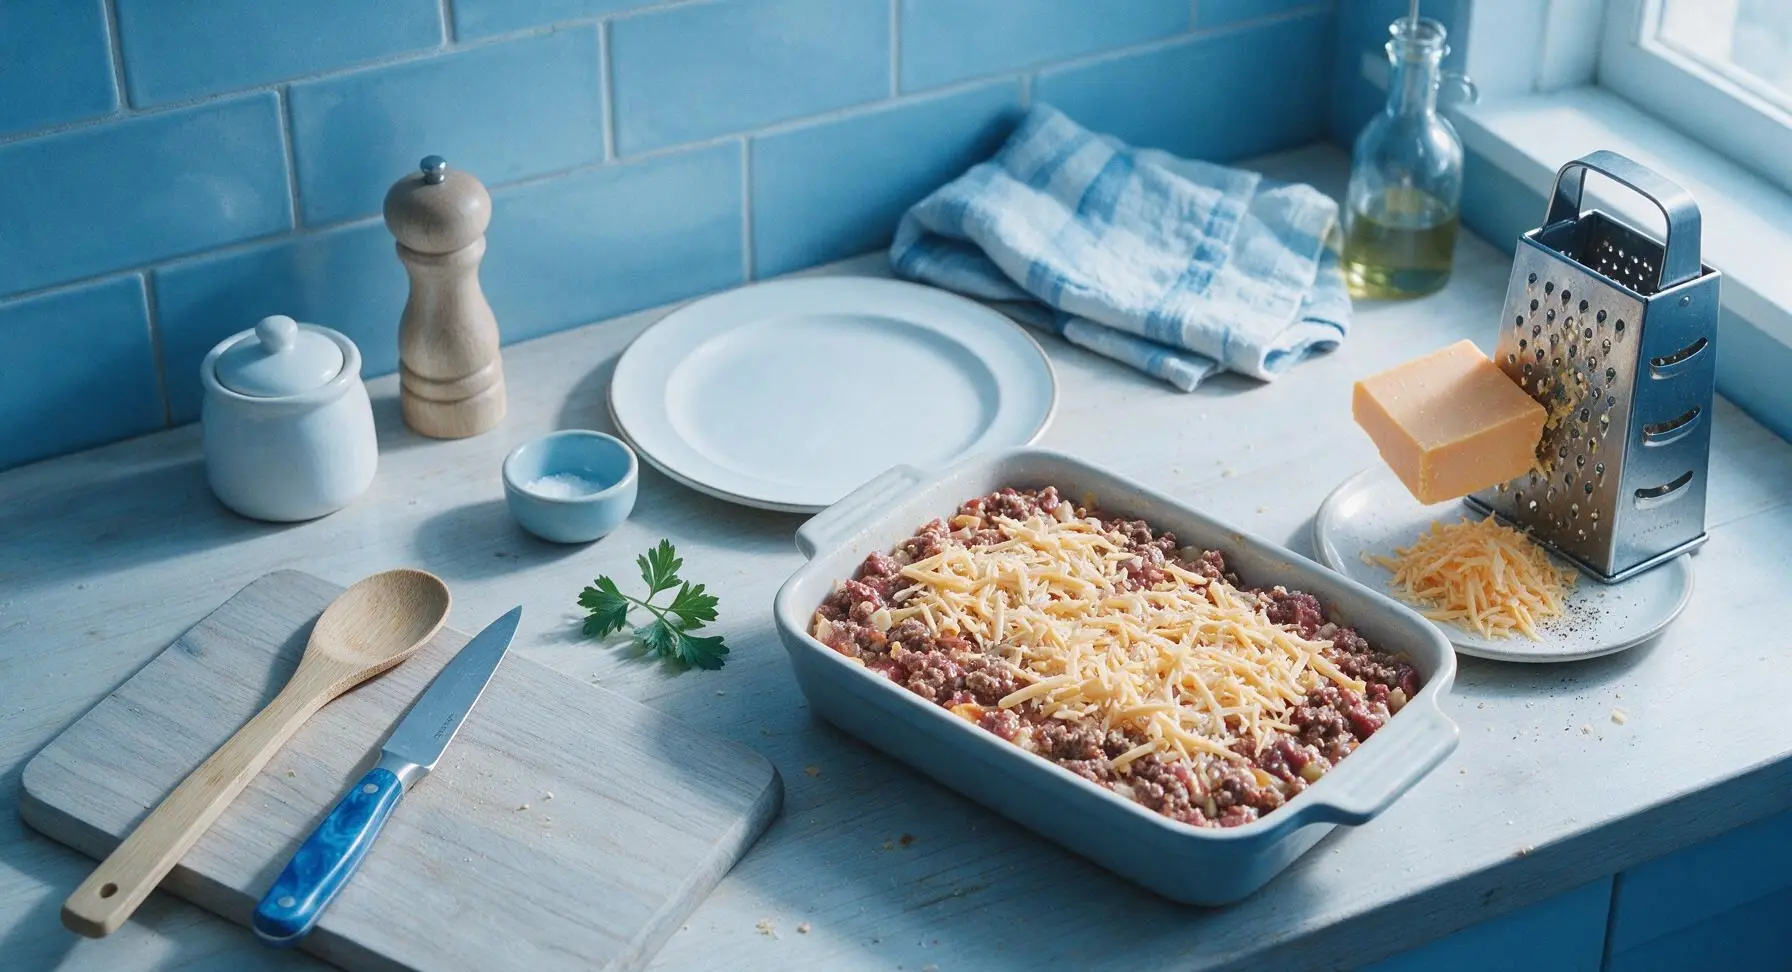
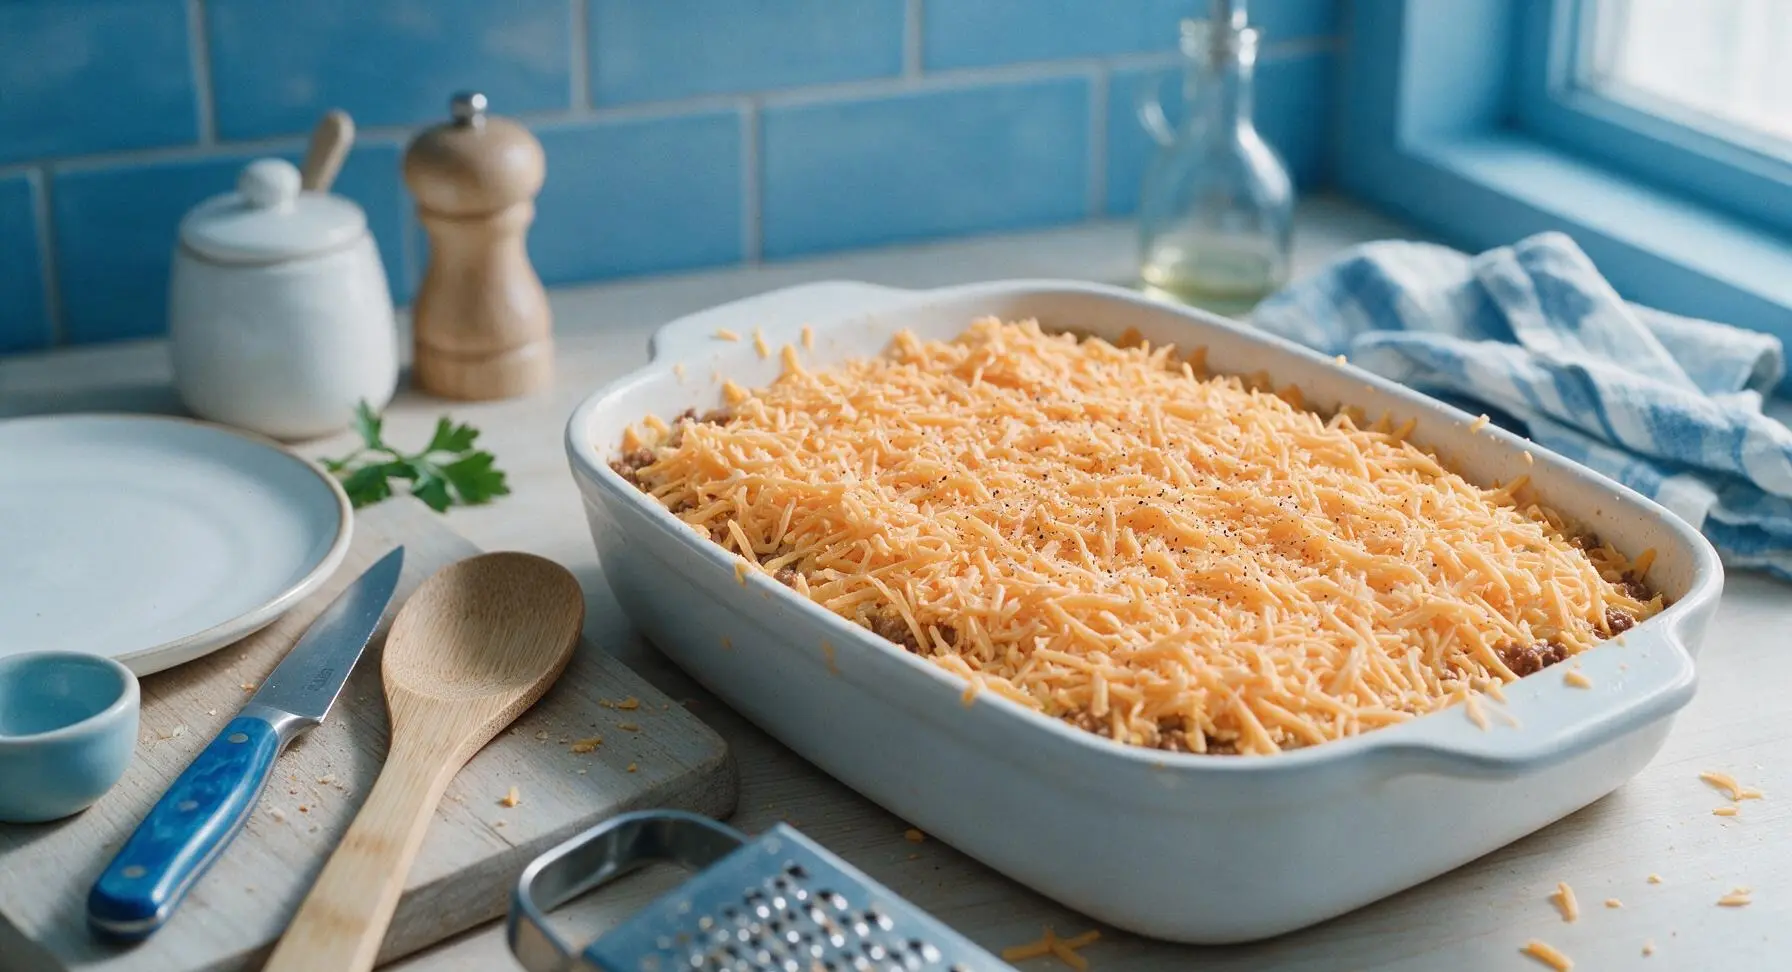
Sharp yellow cheddar is the classic pick for that nostalgic, tangy, perfectly melty top that pairs so well with the beef and tomato base. Shred your own from a block instead of using pre-shredded bagged cheese—it melts smoother, since pre-shredded cheese is coated in anti-caking agents that can make it grainy when baked.
7.My pasta came out crunchy after baking—what went wrong, and how do I fix it next time?
▾
Crunchy undercooked pasta almost always comes down to two issues: not enough added liquid for the dry macaroni to absorb as it bakes, or baking the dish uncovered the whole time so moisture evaporated too fast. Next time, double check your liquid ratio, keep the dish tightly covered for the first 30 minutes, and confirm your oven temp is calibrated correctly.
8.Can I add extra veggies to this casserole to make it more nutritious and filling?
▾
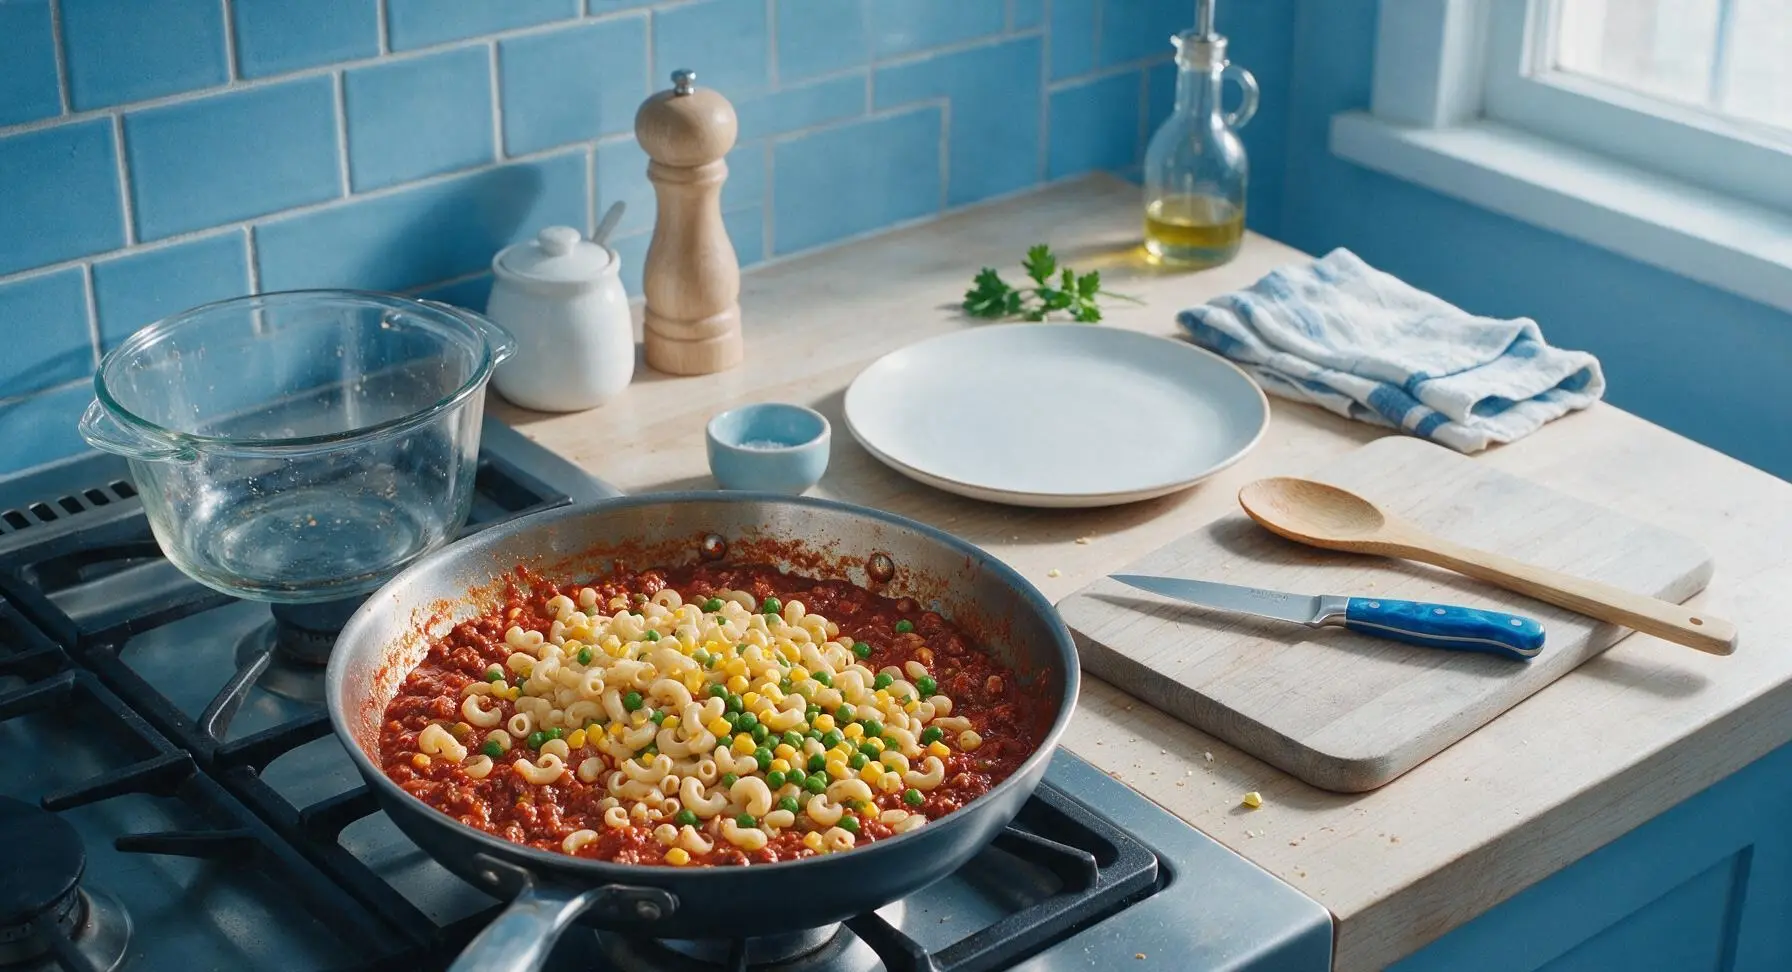
Of course! This is such a flexible base recipe. Diced bell peppers, frozen corn, frozen peas, or sliced mushrooms all work beautifully—sauté them right along with the onion and ground beef before adding the rest of your ingredients so they cook down and don’t release excess water that would make the casserole runny.
9.What size baking dish do I need to make this recipe?
▾
A standard 9x13 inch baking dish is the perfect size for this casserole—it gives all the ingredients enough room to cook evenly without bubbling over the sides as it bakes. If you use a smaller dish, split the mixture between two smaller pans, since overcrowding will lead to uneven cooking and messy oven spills.
10.Do I really need to sauté the onion and garlic before adding them to the casserole?
▾
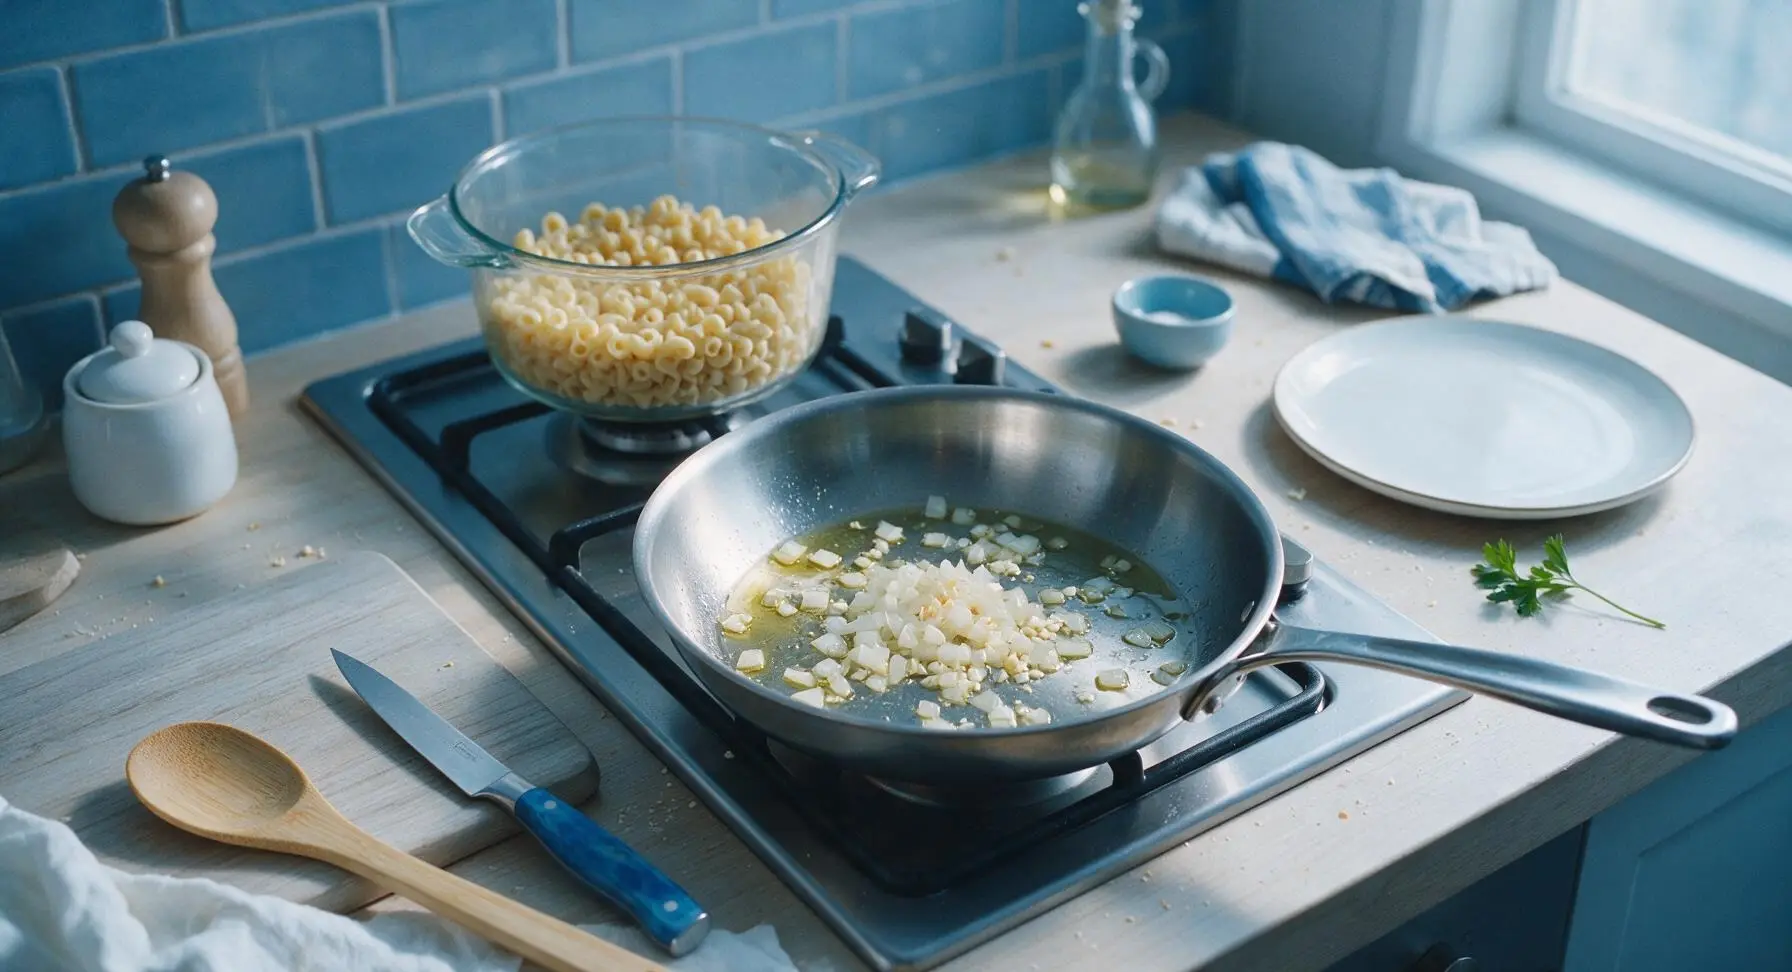
I strongly recommend it! Sautéing diced onion for 3 to 4 minutes until soft, then adding minced garlic for 30 seconds until fragrant, takes away that harsh raw onion and garlic bite and builds a deeper, more savory flavor base. Skipping this step leaves you with crunchy, sharp-tasting bits that throw off the cozy, smooth texture.
11.Can I assemble this casserole ahead of time and bake it later for busy nights?
▾
Definitely! Assemble the entire casserole (hold off on adding the top cheese layer if prepping more than 12 hours ahead) and keep it covered in the fridge for up to 2 days before baking. Add 5 to 10 minutes to the total bake time since the mixture will be cold going in, and top with cheese during the last 10 minutes.
12.What simple sides pair well with this hamburger casserole for a full meal?
▾
This rich, creamy casserole pairs perfectly with light, simple sides to balance it out. A quick tossed green salad with tangy vinaigrette, steamed buttered broccoli, buttery garlic bread, or roasted green beans all work beautifully. You don’t need anything fancy—this is nostalgic comfort food, so approachable sides are the best match.
13.My last batch turned out really watery—how do I prevent that next time?
▾
Watery casserole usually comes from not draining excess fat from your beef, adding too much extra liquid, or using veggies that weren’t sautéed to release their moisture before baking. If you end up with a runny bake, pop it back in the oven uncovered for 5 to 8 minutes to let excess moisture evaporate, and adjust liquid next time.
14.Can I use a different pasta shape instead of elbow macaroni?
▾
You bet! Small, sturdy pasta shapes work best here—think rotini, penne, small shells, or cavatappi, all of which hold up to baking and trap the creamy tomato and beef sauce really well. Avoid super delicate shapes like angel hair or tiny pastina that will turn mushy, and stick to the same dry pasta weight to keep ratios consistent.
15.Is there an easy way to make this casserole dairy-free?
▾
Absolutely! Swap the condensed tomato soup for a dairy-free condensed tomato soup variety, use your favorite shredded dairy-free cheddar for the top, and use low-sodium beef broth or water for your pasta cooking liquid instead of dairy-based add-ins. Double check your pasta is egg-free if you need a fully vegan version, too.
16.What oven temperature and total bake time works best for this casserole?
▾
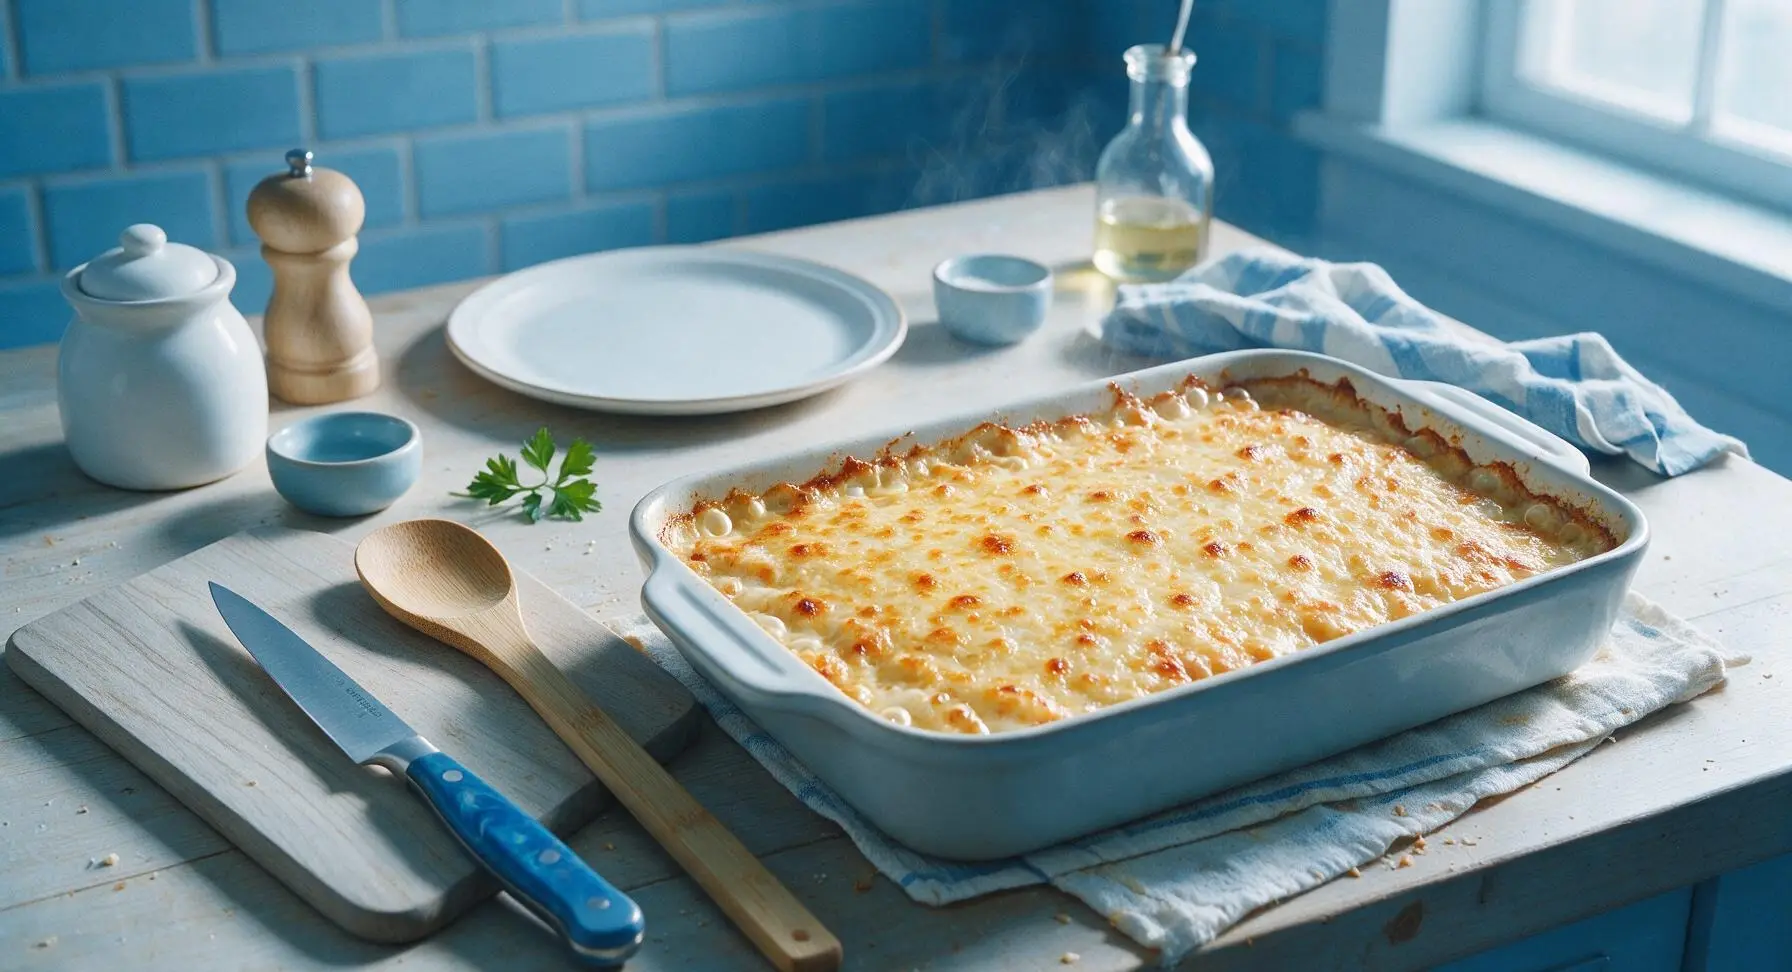
Bake this casserole at 375°F for a total of 40 to 45 minutes. Keep it tightly covered with aluminum foil for the first 30 minutes to let the pasta cook through and trap steam, then remove the foil, top with your shredded cheddar, and bake uncovered for the last 10 to 15 minutes until the cheese is bubbly and golden.
17.How can I add extra creaminess to the casserole without making it too heavy?
▾
For a little extra creaminess, stir ¼ cup of sour cream or 2 ounces of softened cream cheese into the beef and tomato soup mixture before adding your pasta. That small amount adds a subtle tangy, rich creaminess that cuts the tomato sweetness perfectly without making the casserole feel heavy, and helps sauce cling to pasta better.
18.Do I need to grease my baking dish before adding the casserole ingredients?
▾
A quick light grease of your baking dish with nonstick spray, a little butter, or a light wipe of oil is always a smart move. It prevents pasta and melted cheese from sticking to the bottom and sides of the pan, which makes serving way easier and cuts down on scrubbing stuck-on food later—perfect for keeping cleanup minimal.
19.Can I use ground turkey or chicken instead of ground beef for a lighter version?
▾
You absolutely can! Swap the 90/10 ground beef for 93/7 ground turkey or ground chicken for a lighter take that still has that classic cozy flavor. Just add a teaspoon of Worcestershire sauce and a pinch of smoked paprika to the meat as it browns to amp up savoriness, since poultry is milder than beef.
20.The cheese on my last batch got too dark and crispy before the casserole was done—how do I prevent that?
▾
If your cheese is browning too fast, you’re adding it too early in the bake process! Wait to sprinkle your shredded cheddar on top until the last 10 to 12 minutes of baking, once the pasta is already fully tender and the casserole is almost heated through. If your oven runs hot, tent the top with loose foil to slow browning.







OMG this was such a game changer for weeknight dinners! I threw this together after soccer practice last night and all three of my kids went back for seconds. I added a handful of frozen corn because we had it in the freezer, and it worked perfectly. 35 minutes total? No way, I felt like I was done in 25! SO good, will be adding this to our regular meal rotation.
Brought this to our neighborhood block party potluck last weekend and people were hounding me for the recipe before I even finished my first serving! It’s so cheesy and hearty, I didn’t have to do any fancy prep and it traveled in the baking dish no problem. Only note: I topped mine with extra shredded cheddar and some crispy fried onions for a little crunch, 10/10.
Wow, as someone who barely knows how to boil water this was actually impossible to mess up! I used ground turkey instead of beef because it was cheaper at the campus grocery store, and it still tasted amazing. Way better than the sad ramen I’ve been living on all semester, will 100% make this again when I need a cheap, filling meal.
Made this for my husband and his friend who stopped by unexpectedly last night, and both guys said it’s better than the hamburger helper they grew up eating! I love that it doesn’t use any weird processed ingredients, just simple pantry staples I already have on hand. My only tiny complaint is I wish I’d made a double batch because there were zero leftovers.
I was worried I wouldn’t be able to make this work for my gluten free diet, but swapping the regular pasta for gluten free elbow macaroni worked flawlessly! The flavor was totally spot on, no weird aftertaste or anything. My whole family ate it without even noticing the pasta swap, that’s a win in my book.