
easy hot dog sandwich
intro
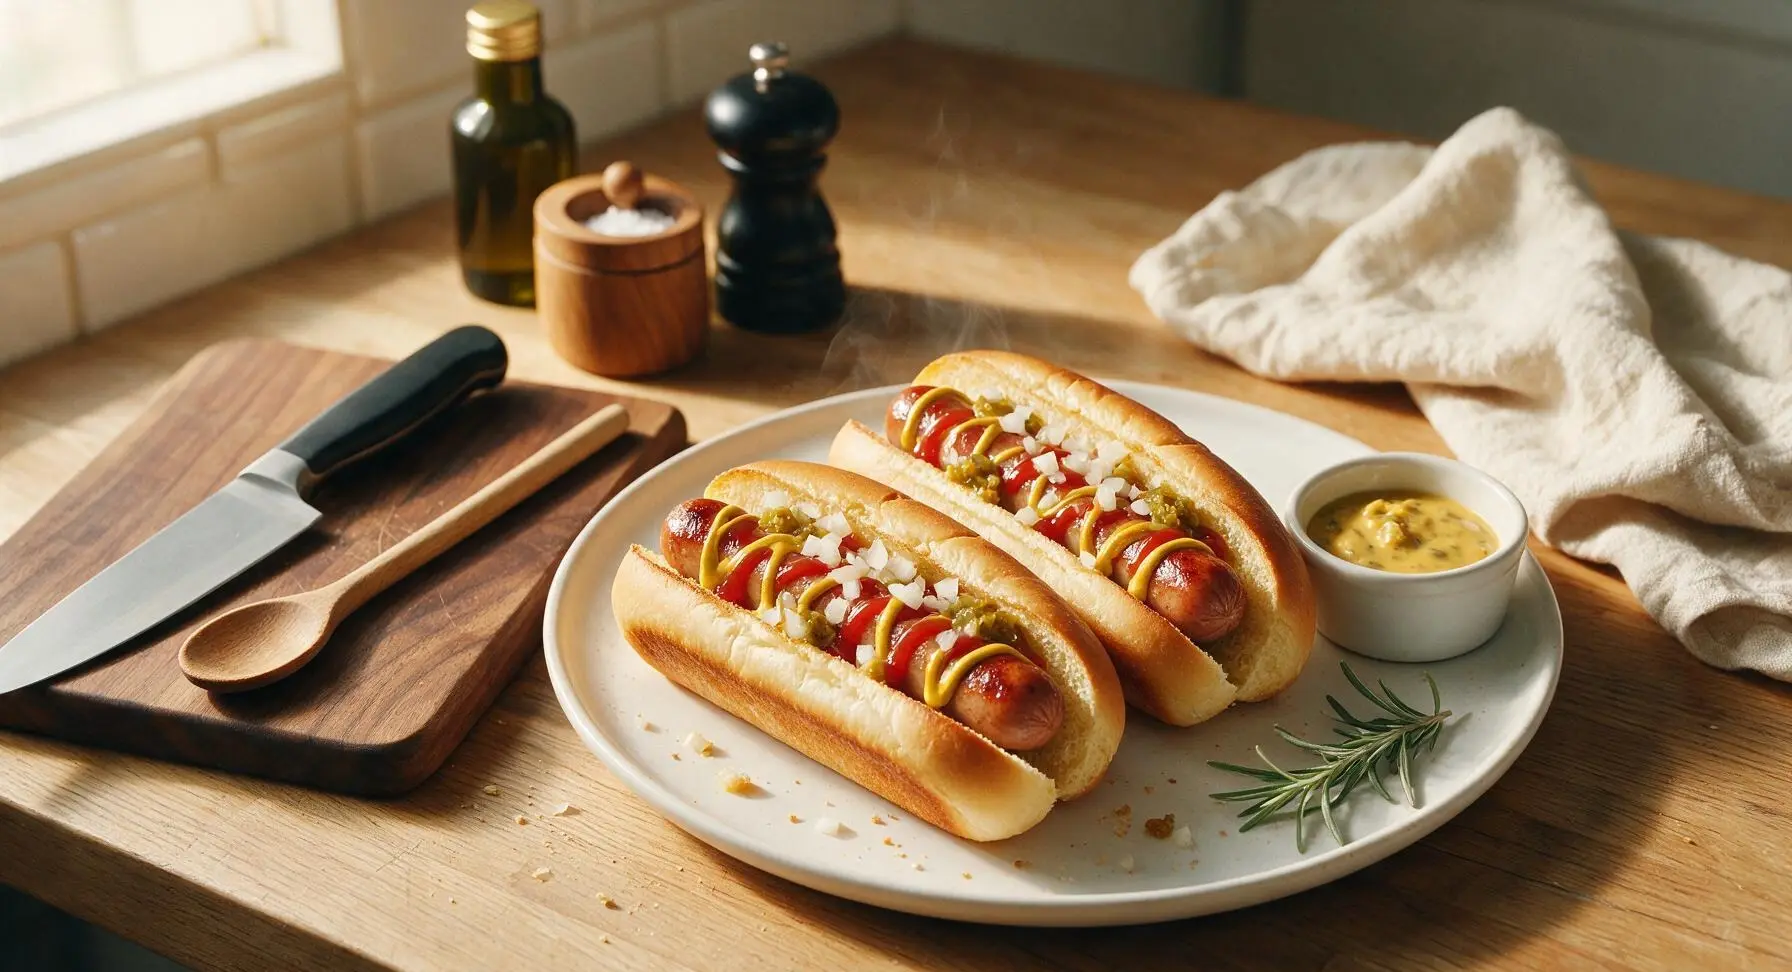
Juicy, snappy pan-fried hot dogs tucked into buttery toasted buns, loaded with classic tangy toppings, ready in 15 minutes for a no-fuss, crowd-pleasing quick meal.
Ingredients
Steps
Prep Topping Station
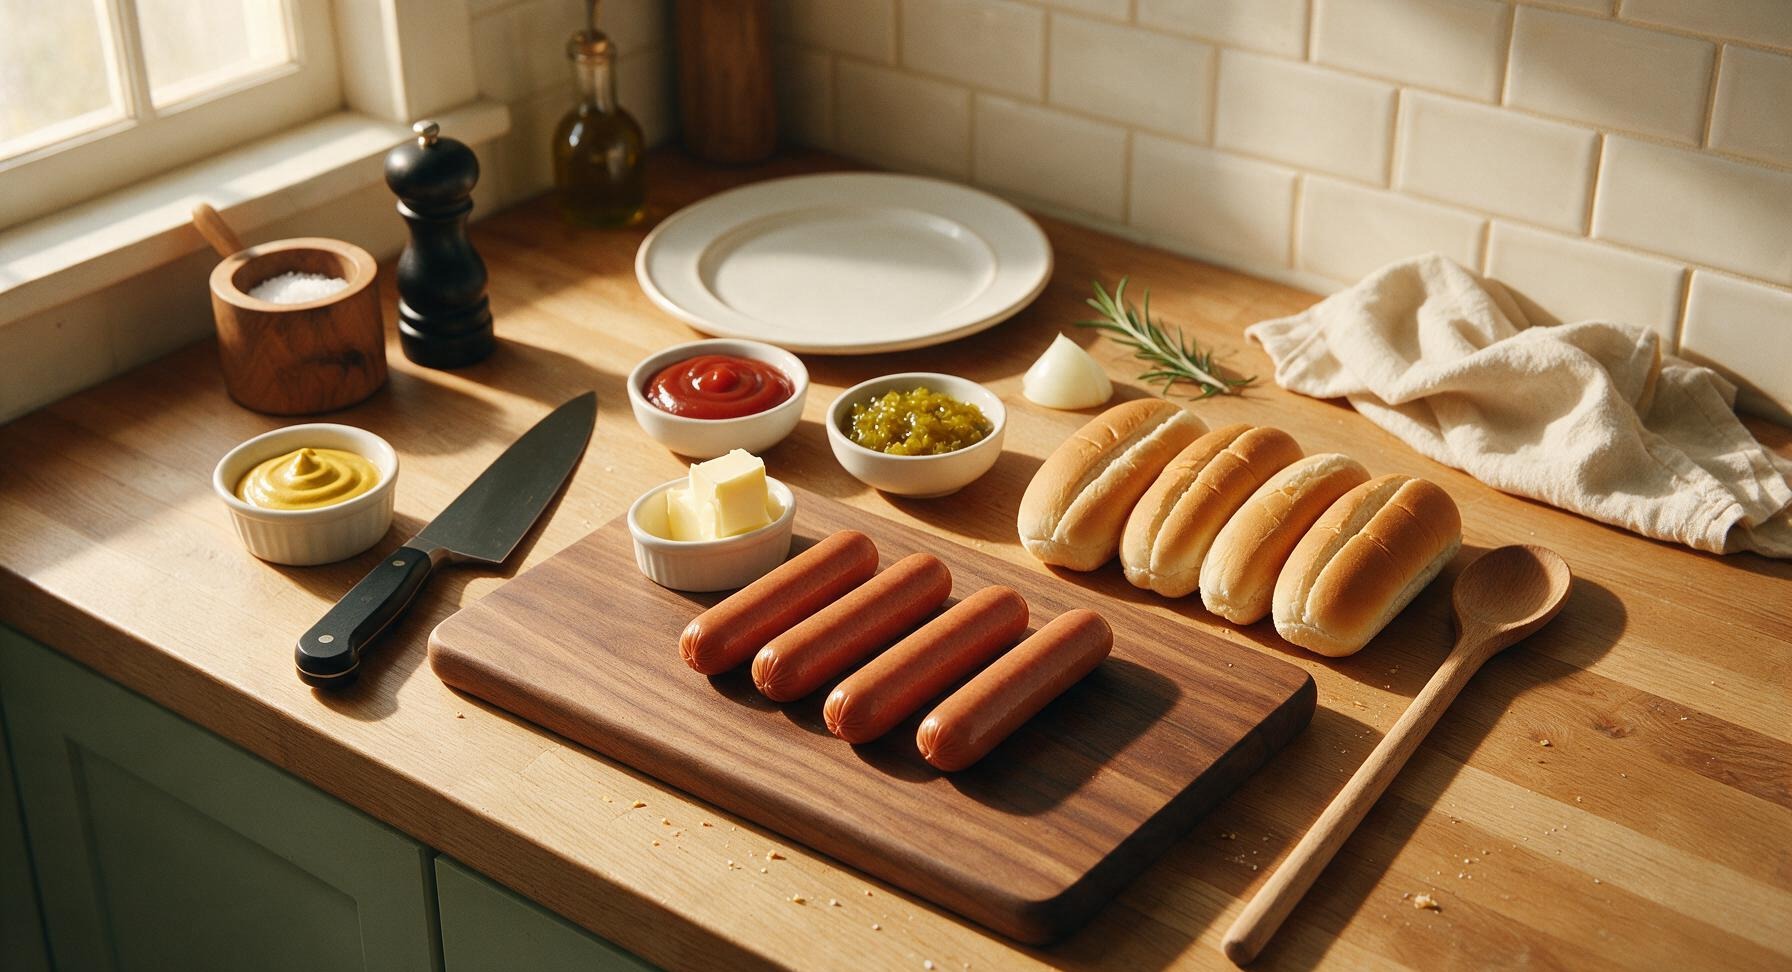
First, set out the 3 small matte white ramekins on the counter next to the cutting board. Spoon yellow mustard, ketchup, and sweet pickle relish from their jars into separate ramekins. Use the paring knife to dice the small white onion wedge into fine 1/4-inch pieces, and pile 2 tablespoons of the diced onion on the corner of the beechwood cutting board. Slice the 2 tablespoons of butter into 4 thin, even pats, and set next to the onion. This takes about 5 minutes, so all toppings are ready to go once the hot dogs and buns are cooked.
Warm Cooking Skillet
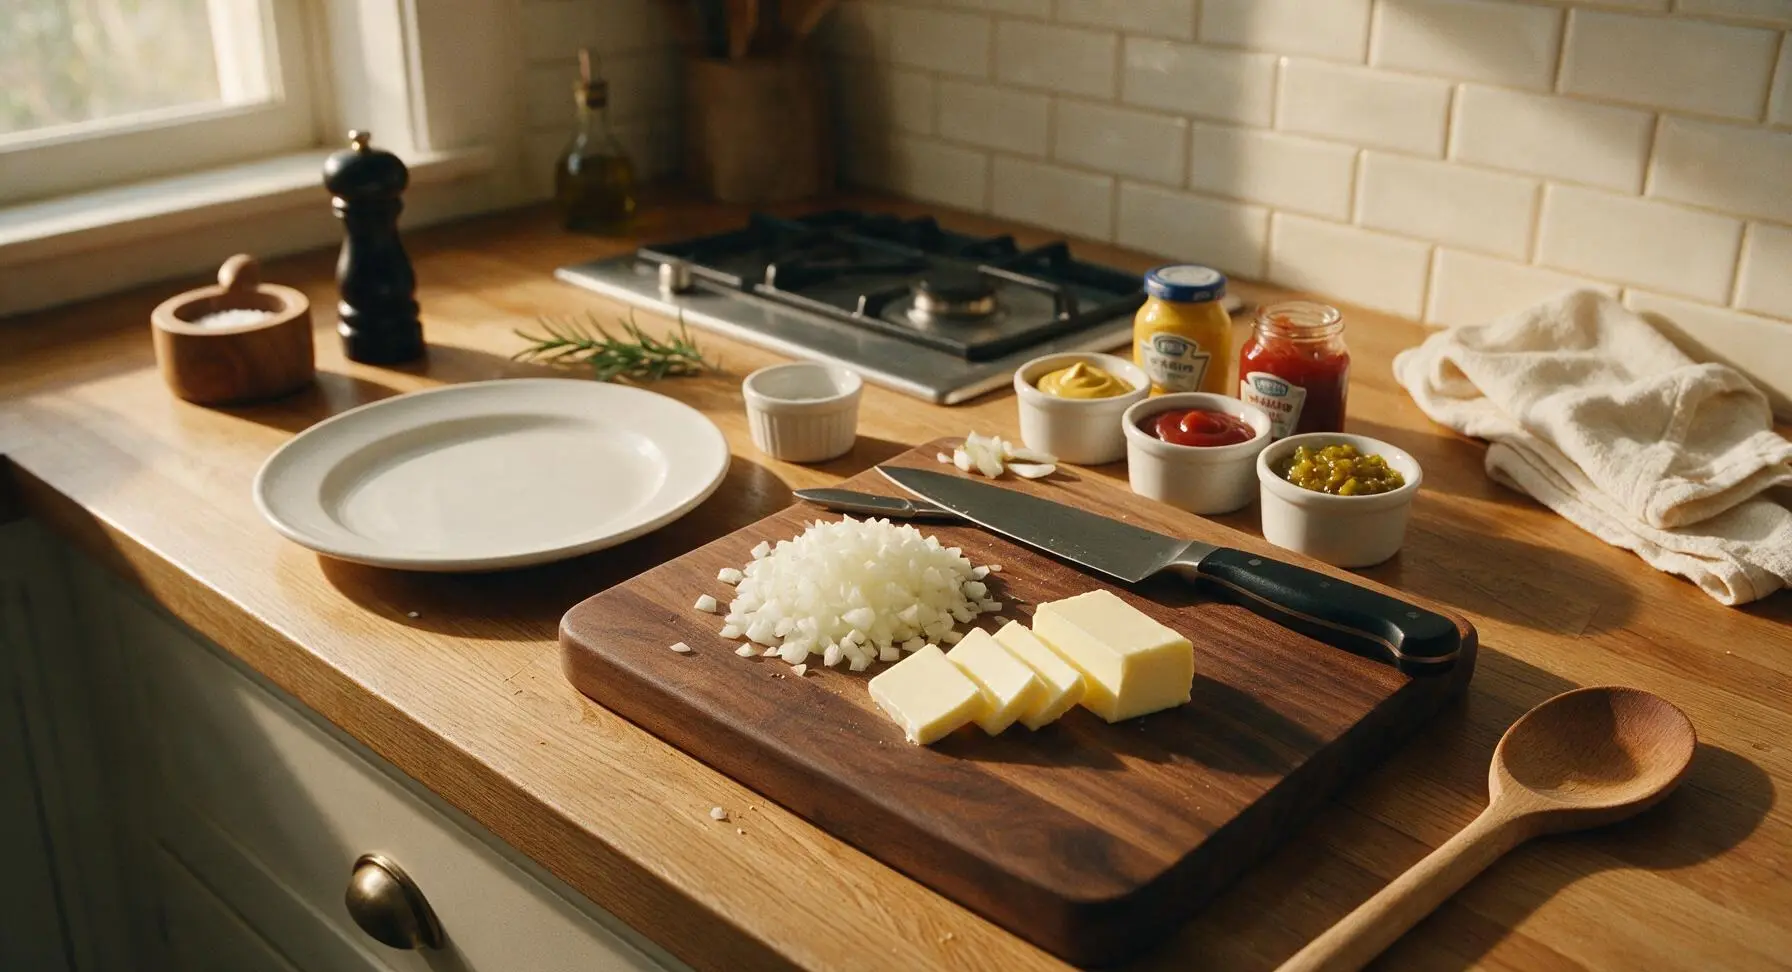
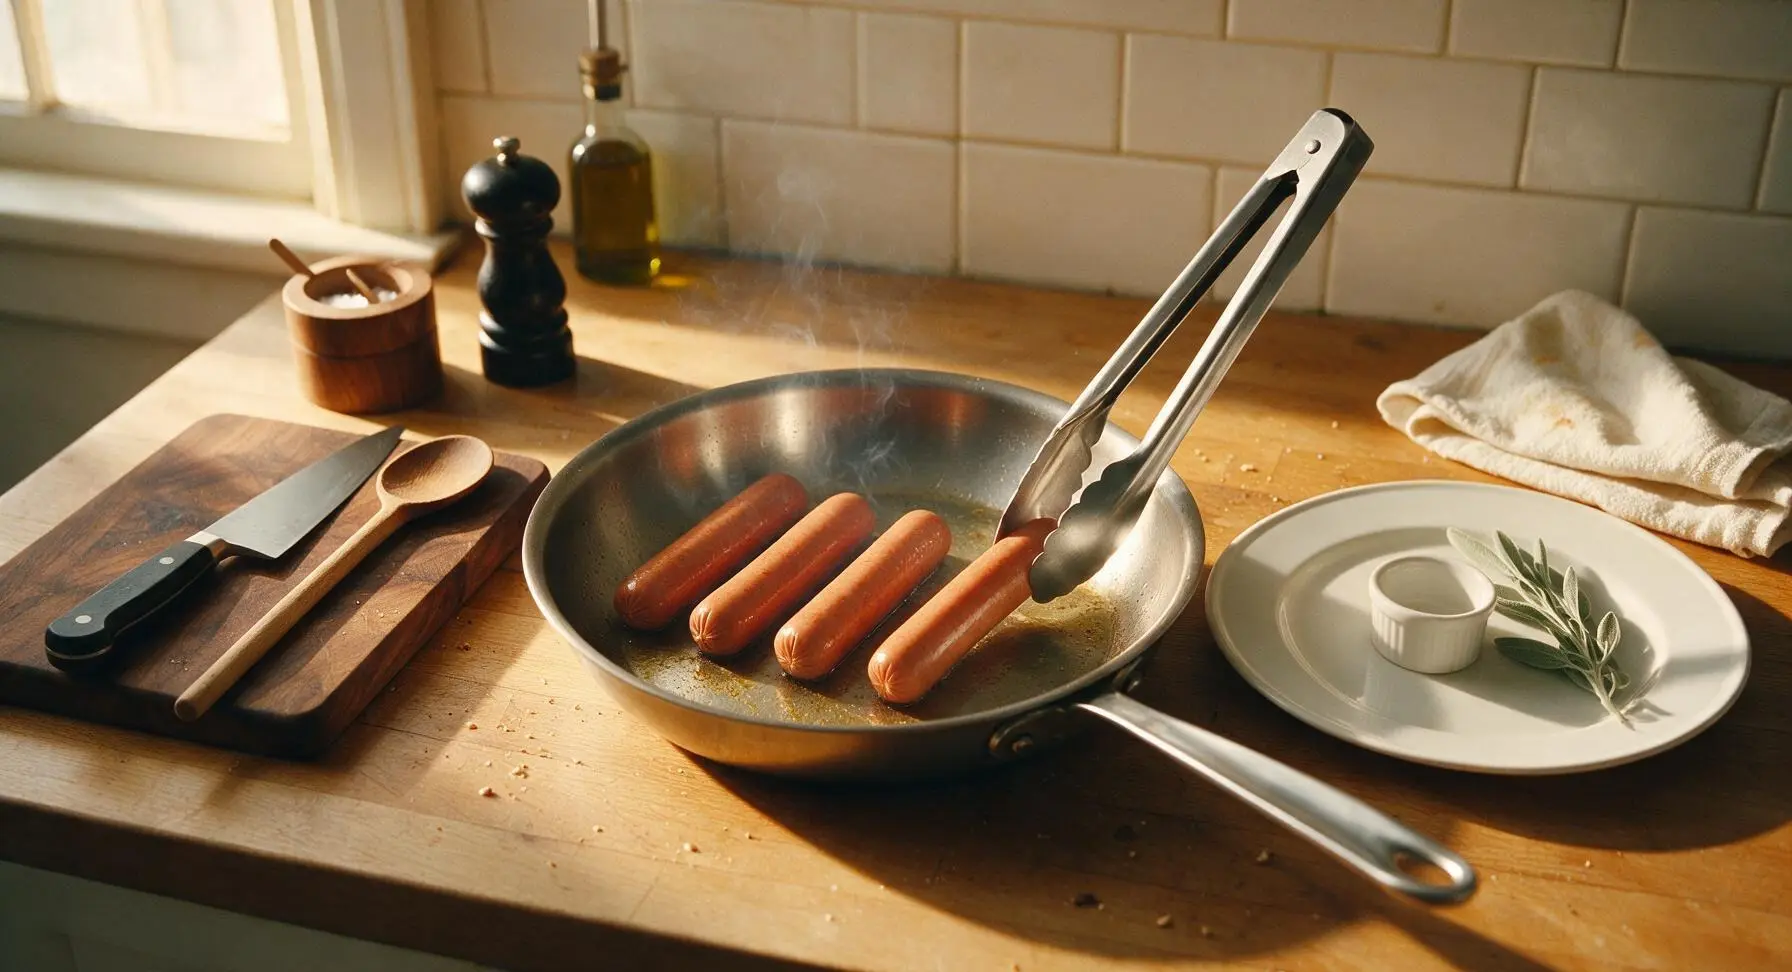
Retrieve the 10-inch stainless steel skillet from the lower cabinet, and place it on the front right burner of the gas stovetop. Set the silicone-tipped metal tongs on the cream ceramic spoon rest next to the stovetop. Turn heat to medium, and let the skillet preheat for 2 minutes, until a drop of water flicked onto the surface dances and evaporates in 2 seconds. Do not add oil yet—we will cook the hot dogs dry first to get a crisp, snappy casing.
Pan-Fry Hot Dogs
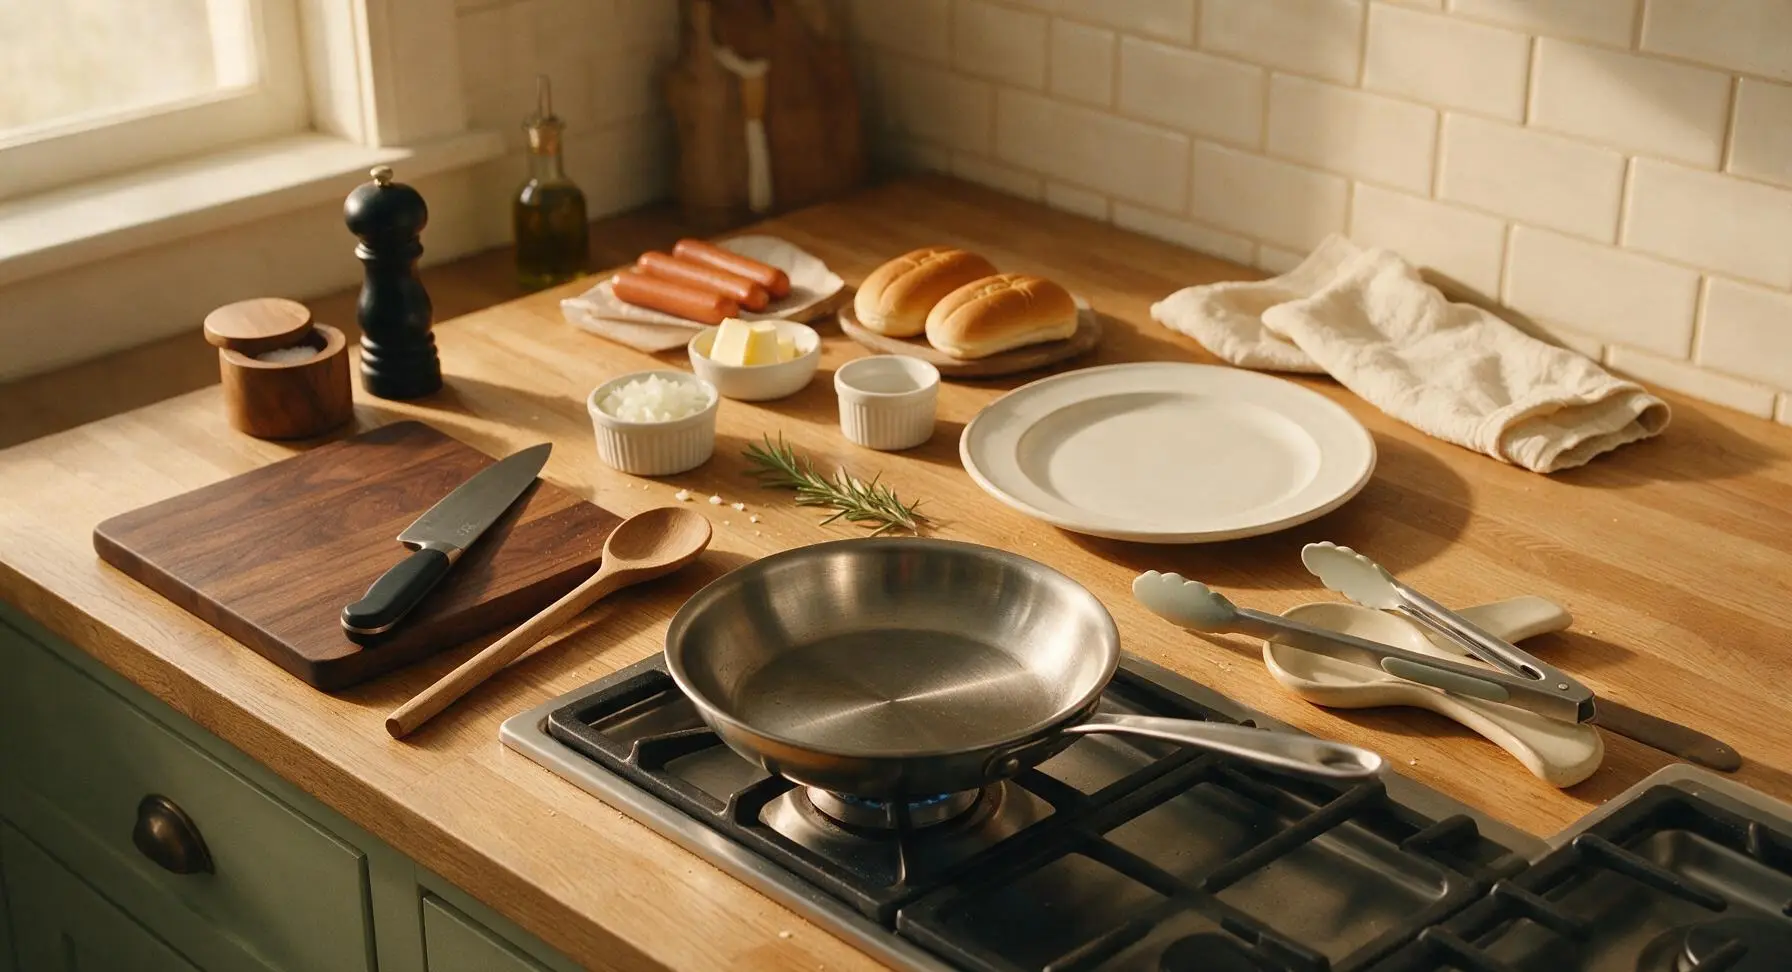
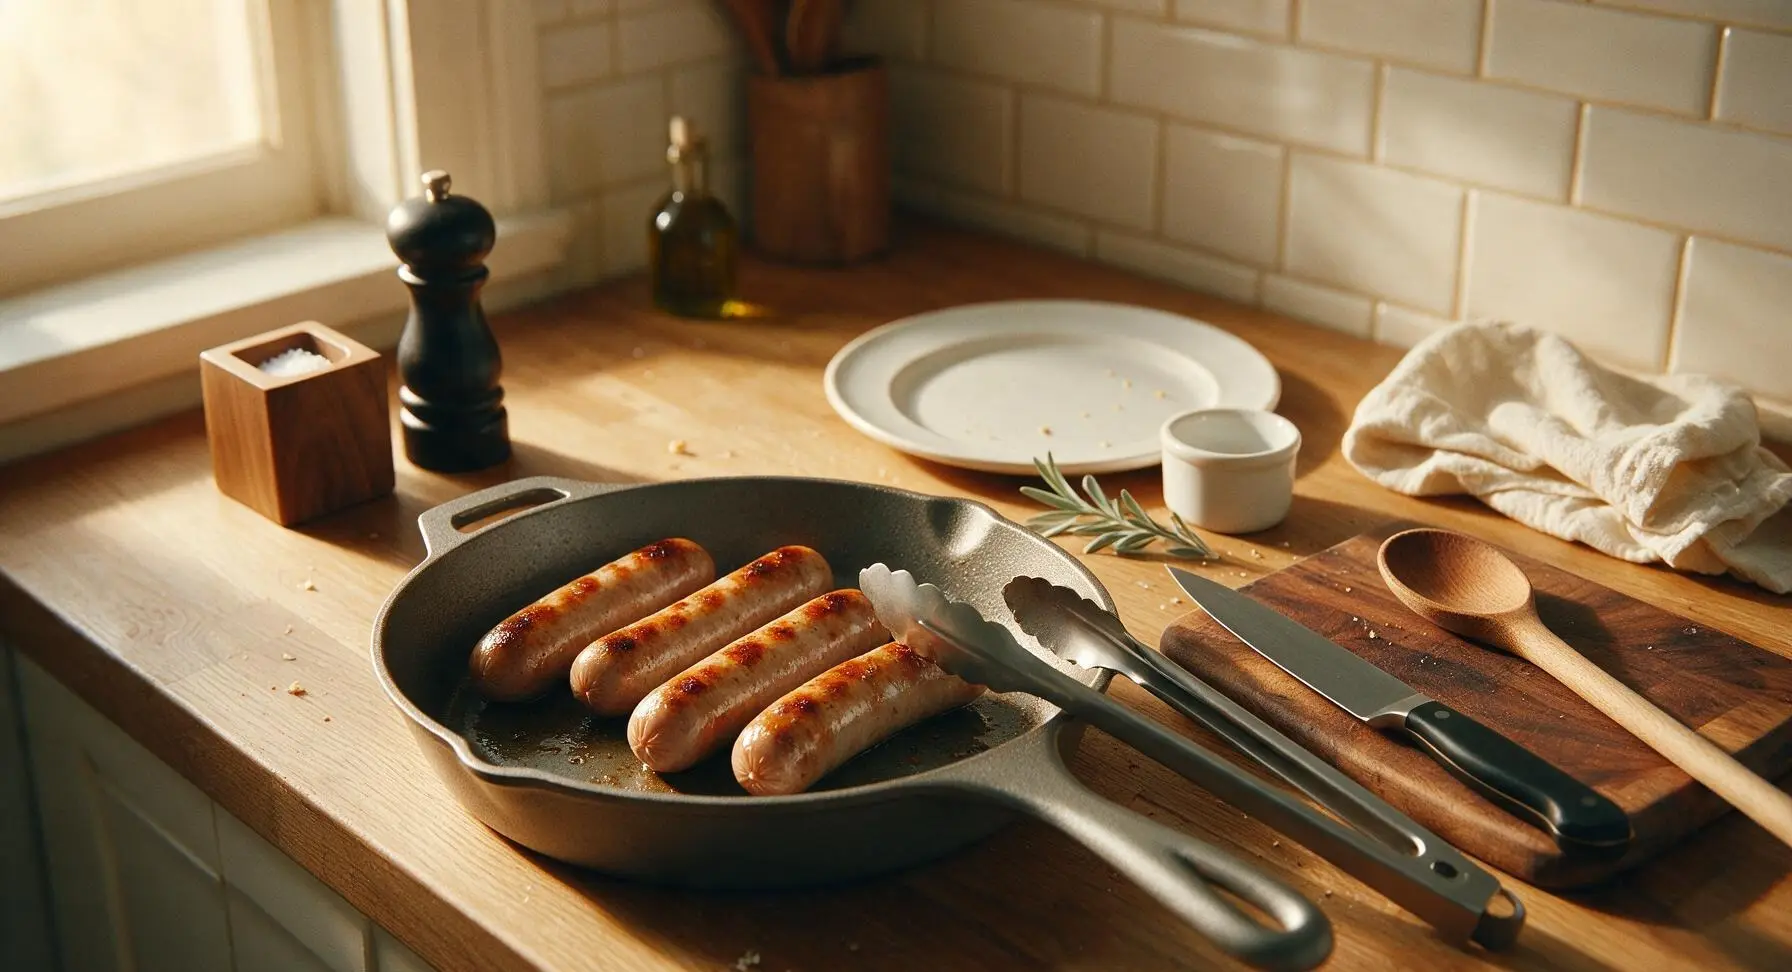
Use the metal tongs to place the 4 hot dogs directly into the preheated dry skillet. Cook for 5-6 minutes total, turning every 45 seconds with the tongs, until all sides are golden brown with slight charred blisters, and the hot dogs are plump and heated through to an internal temperature of 165°F (74°C). Do not pierce the casings while turning, as this will let flavorful juices escape and leave hot dogs dry.
Butter and Toast Buns
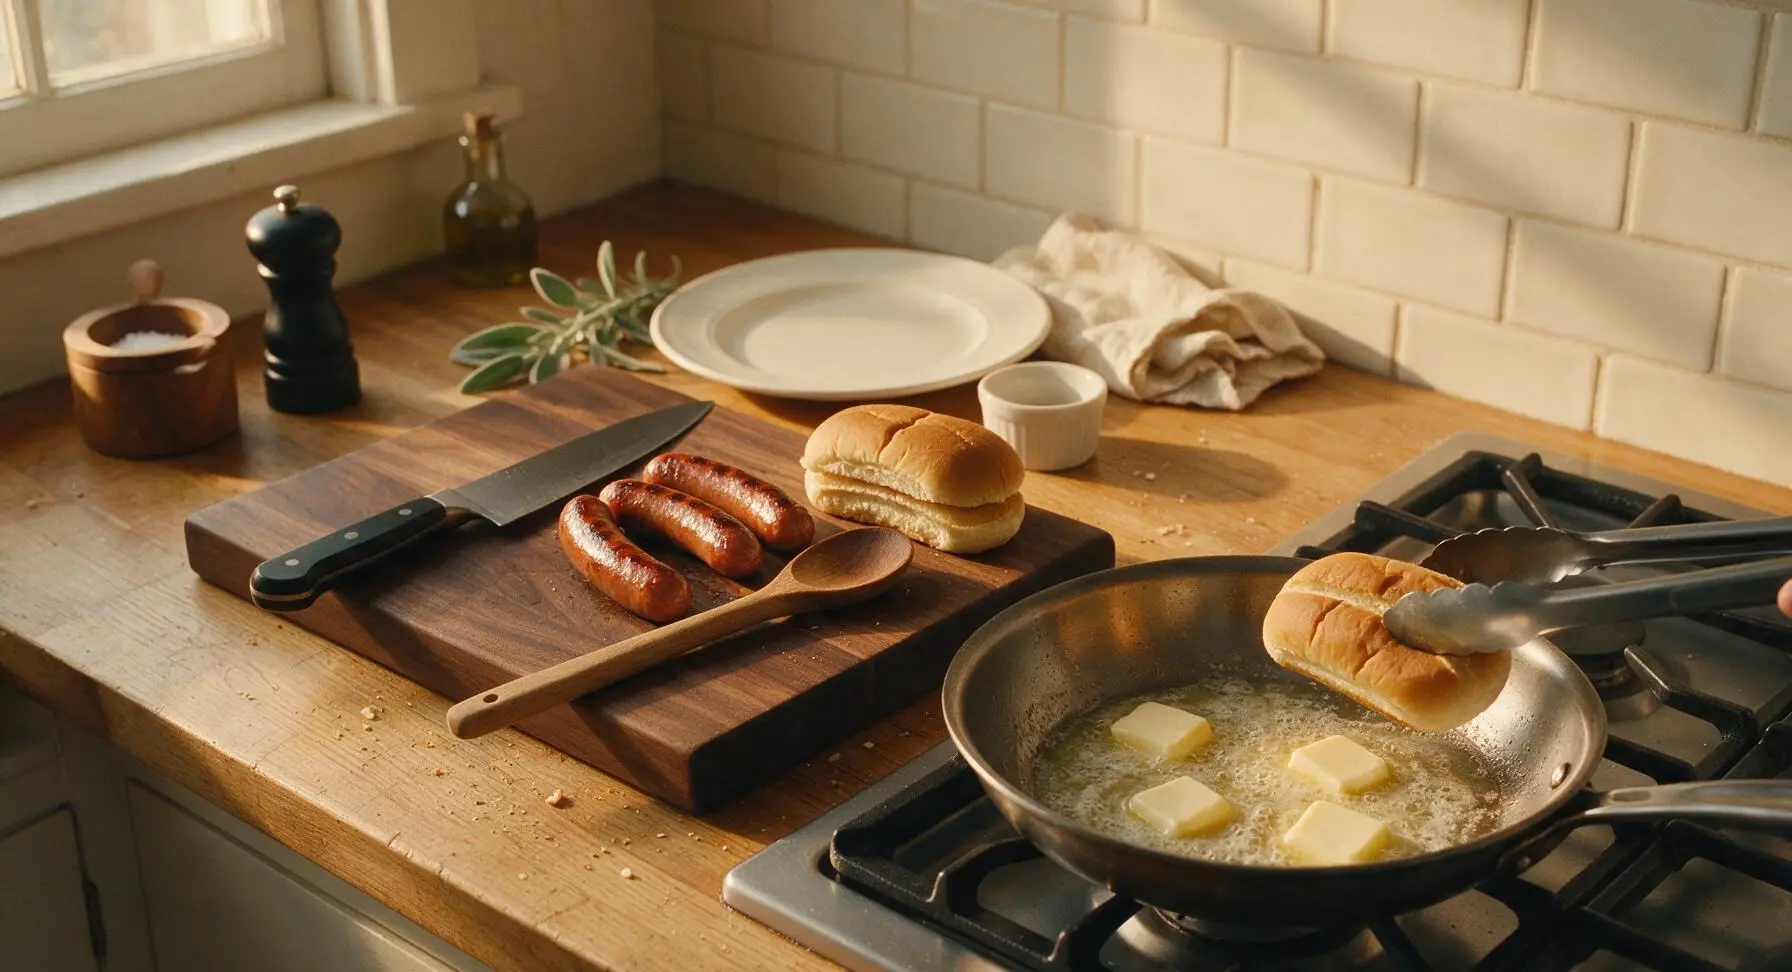
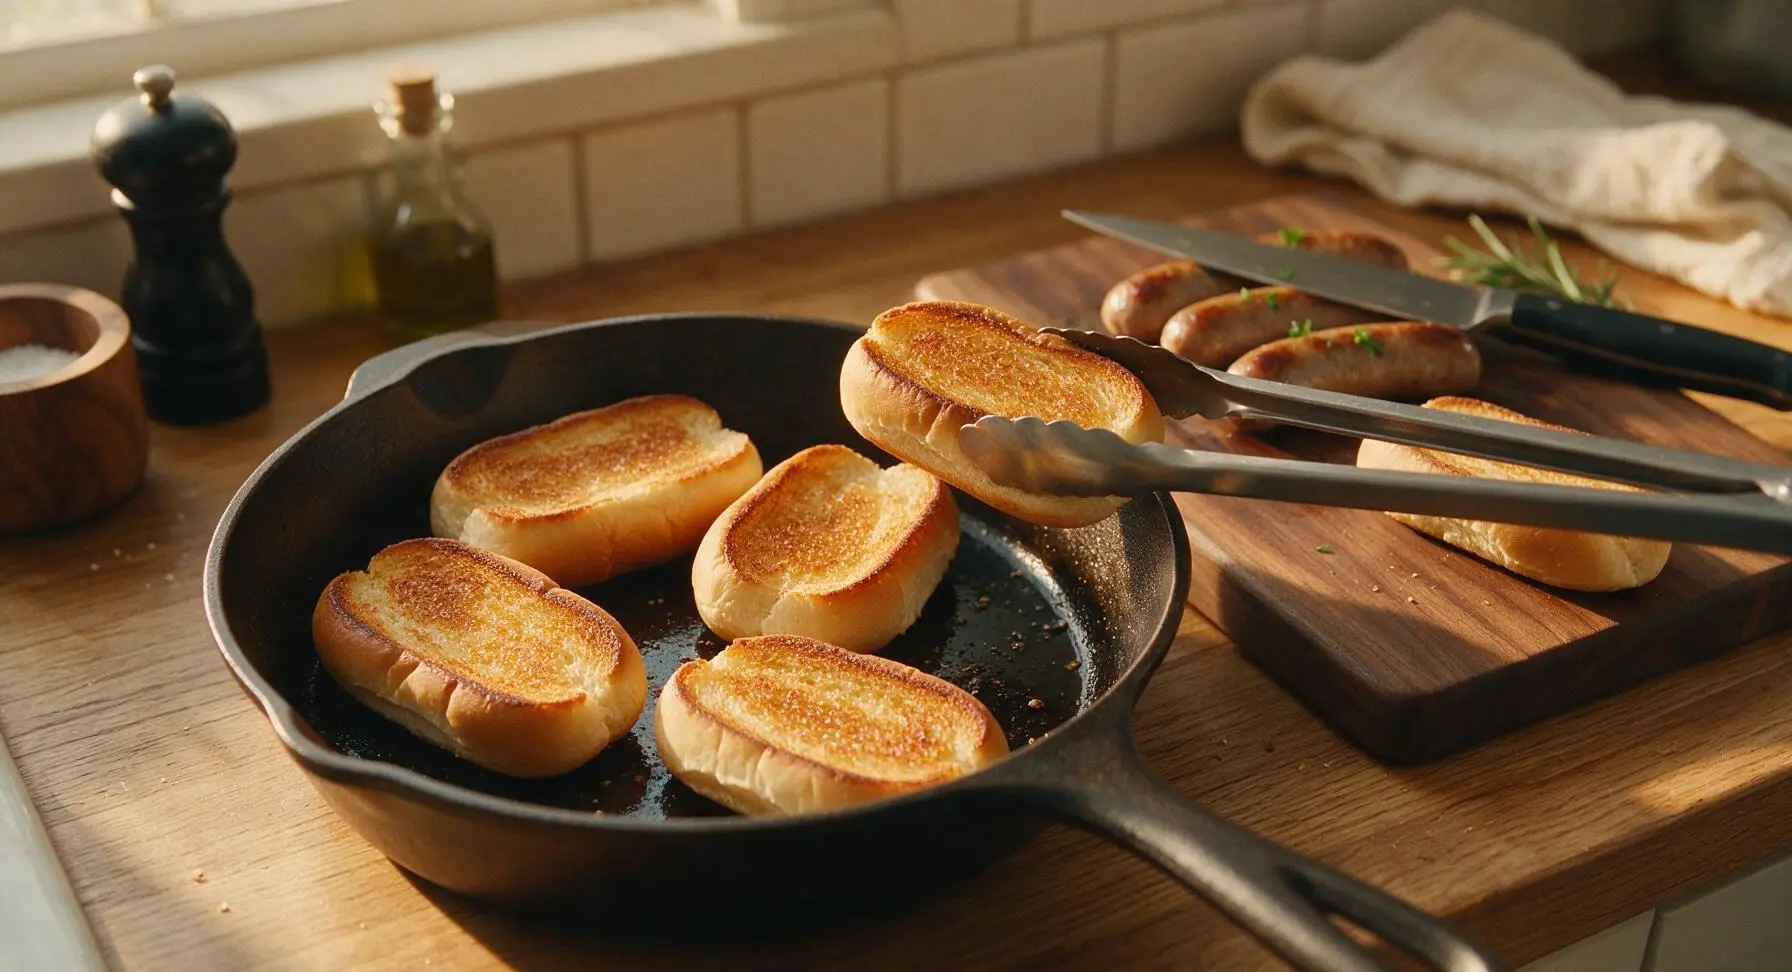
Once the hot dogs are fully cooked, use the tongs to transfer them back to a clean corner of the beechwood cutting board to rest for 1 minute. Turn the stovetop heat down to medium-low. Place the 4 thin pats of butter into the hot skillet, swirling the pan with the handle as the butter melts to coat the pan surface evenly. Place the split hot dog buns cut-side down into the melted butter. Toast for 1-2 minutes, until the cut surface is golden brown and crisp at the edges, with a soft, pillowy outer top. Do not toast longer than 2 minutes, or buns will become hard and crumbly instead of tender.
Assemble Sandwiches
Set one toasted bun cut-side up on the matte off-white ceramic dinner plate. Nestle one cooked, rested hot dog into the crease of each bun, making sure it sits evenly with 1cm of the hot dog peeking out of each end of the bun. Repeat until you have assembled 2 sandwiches per plate, ready for toppings.
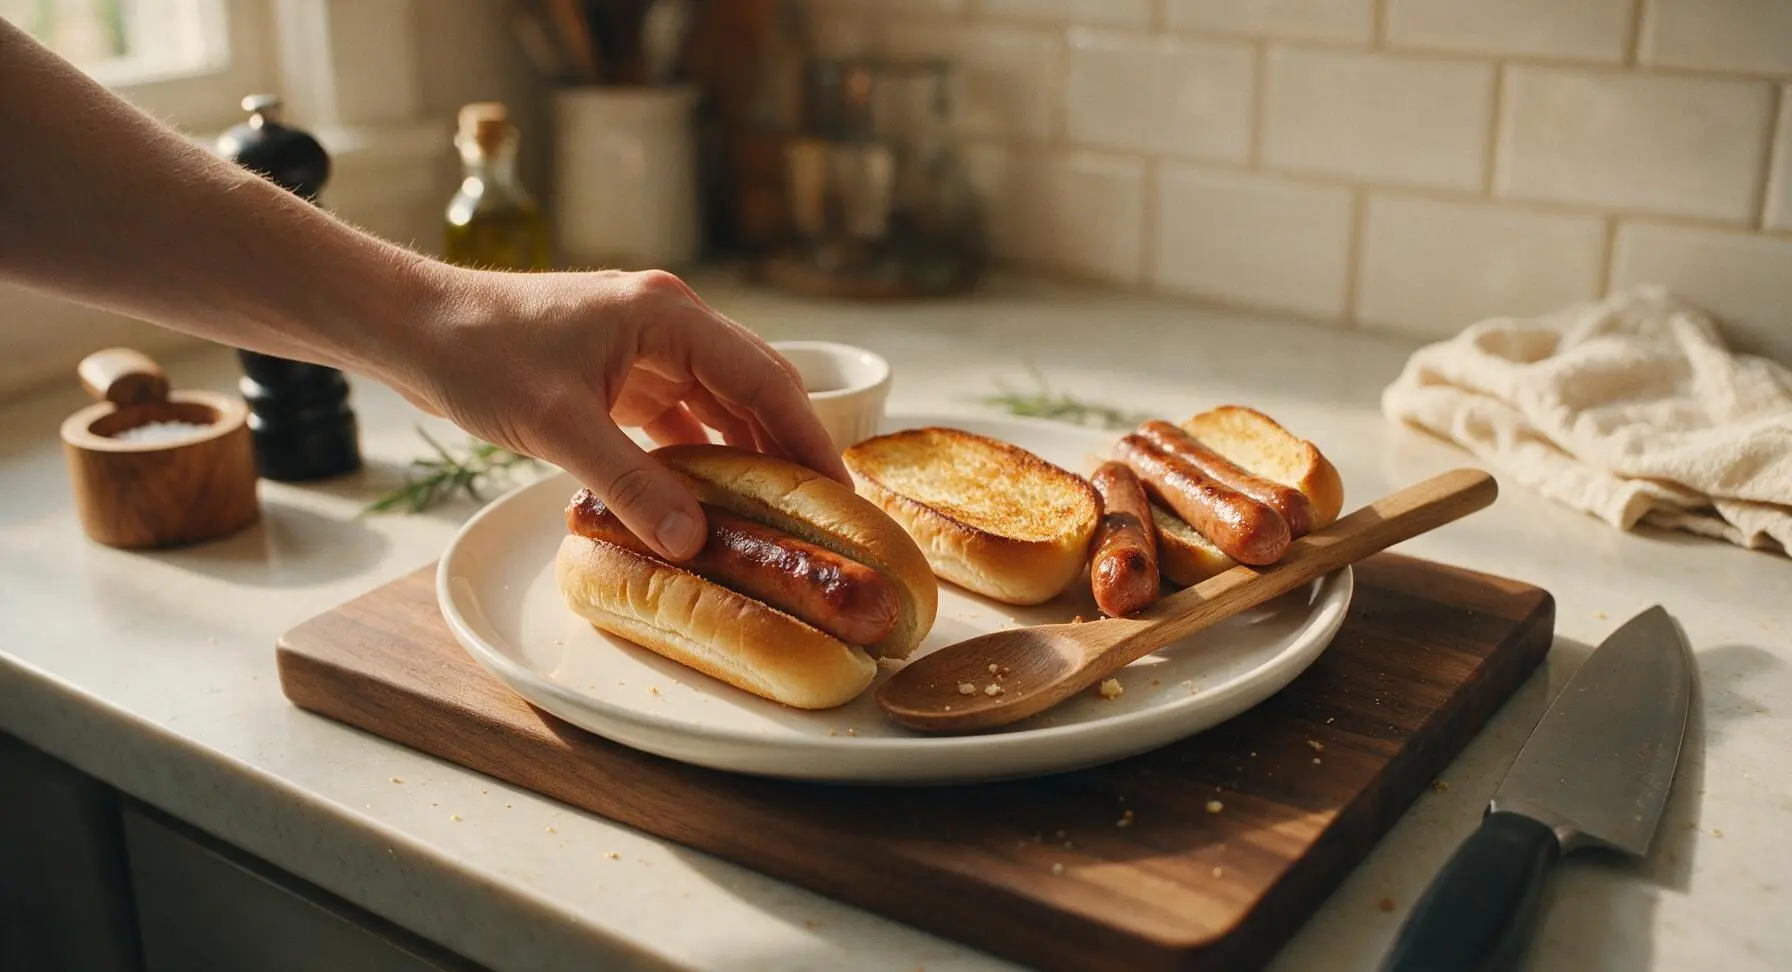
Add Classic Toppings
Top each hot dog to taste: drizzle a zigzag of yellow mustard across one, a thin line of ketchup across another, and spoon a small amount of sweet relish and a pinch of diced onion on the others. Do not overstuff the buns, or toppings will spill out when picked up. Serve immediately while the hot dogs are hot and the buns are crisp.
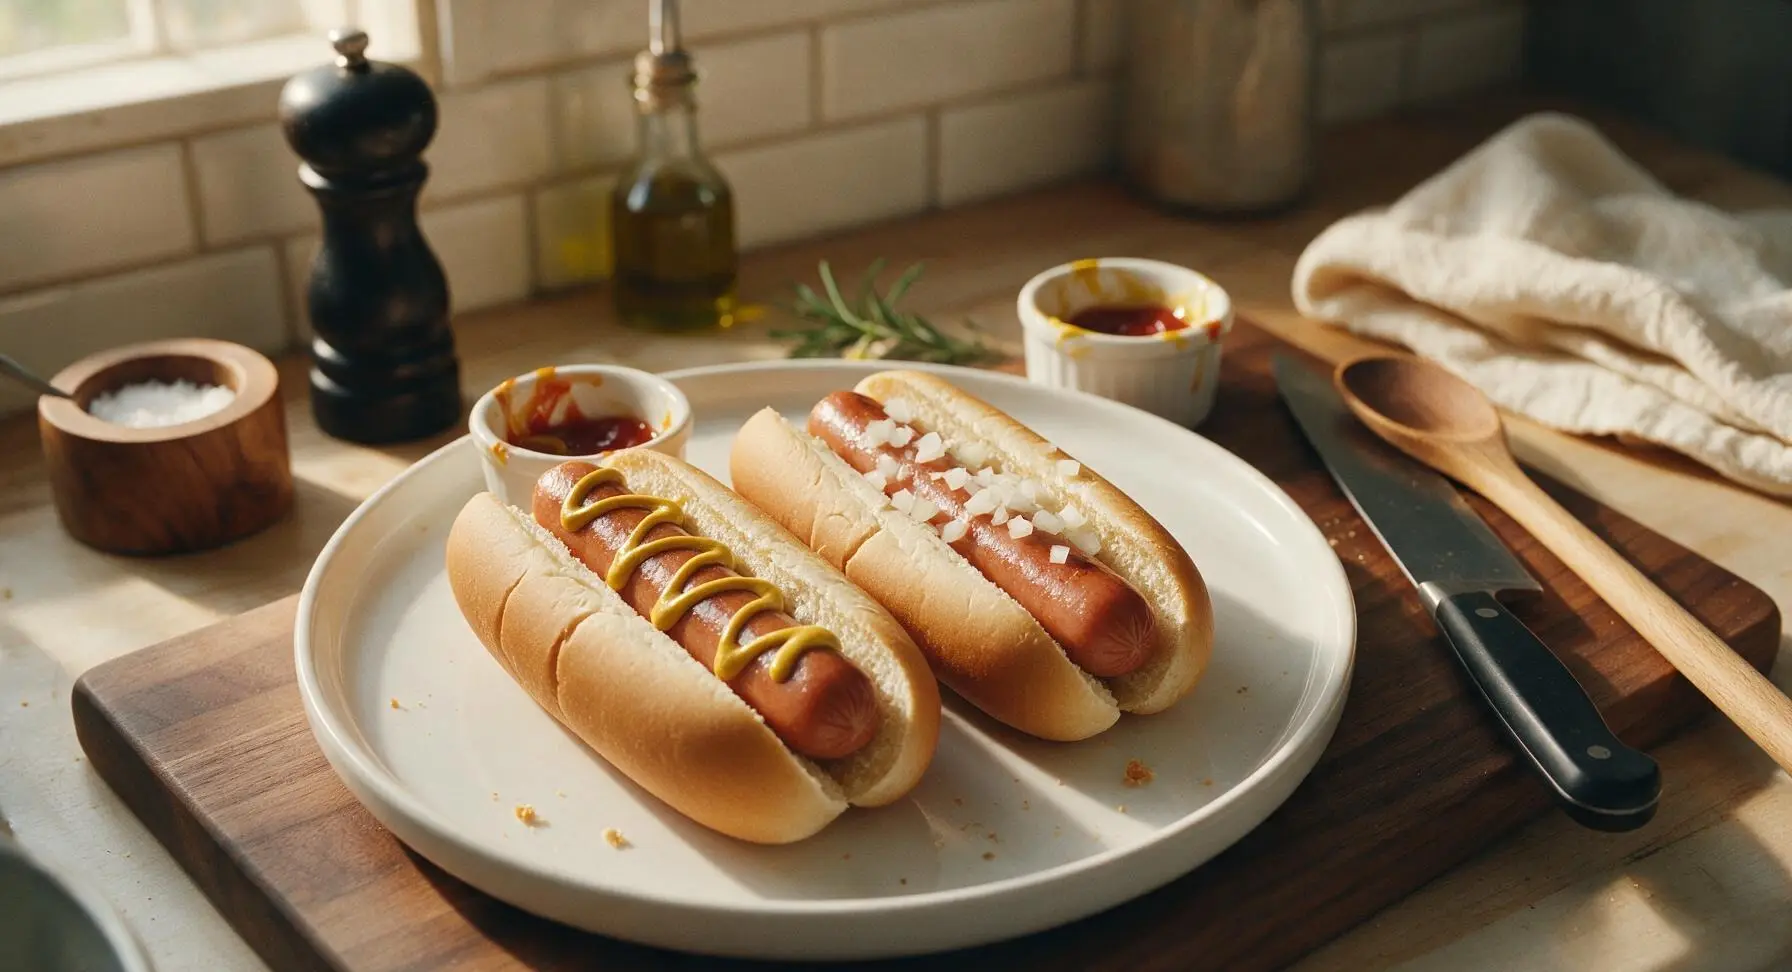
Tips
2.Toast buns cut-side down in melted butter instead of leaving them plain: the buttery, crisp cut surface creates a moisture barrier that prevents soggy buns even when adding juicy toppings, and adds a rich, nutty flavor that pairs perfectly with salty hot dogs.
3.Let cooked hot dogs rest for 1 minute before tucking them into buns: this short rest lets juices redistribute inside the casing instead of running out immediately when you bite into the sandwich, which prevents soggy buns and locks in flavor.


OMG this was such a weeknight dinner lifesaver! I had exactly 10 minutes to throw something together before my oldest’s basketball practice last night and my kids loved it. I melted a little shredded cheddar on the dogs and added a squirt of yellow mustard, SO good. It’s already added to our regular quick dinner rotation!
Super easy and tasty! I made a batch of these for a quick tailgate potluck last weekend and everyone asked where I got the recipe. Only tiny issue is my buns got a little soggy after I added sweet relish ahead of time. Any tips for keeping them crisp when prepping for a group?
Game changer for dorm meals! I don’t have a full kitchen, just a tiny countertop electric grill, and these came together in exactly 10 minutes like the recipe said. I topped mine with crushed chili cheese fries (don’t judge) and it was so good I made it two nights in a row. Zero fancy equipment needed, 10/10.
These are perfect for quick meal prep! I threw a batch together on Sunday for my work lunches and they held up perfectly all week in the fridge, no soggy mess at all. The 10 minute cook time is no joke, I didn’t even break a sweat prepping them between laundry loads. I added sauerkraut and a little spicy brown mustard, so flavorful. Will 100% be making these again for next week’s lunch prep.