
easy pumpkin waffles
intro
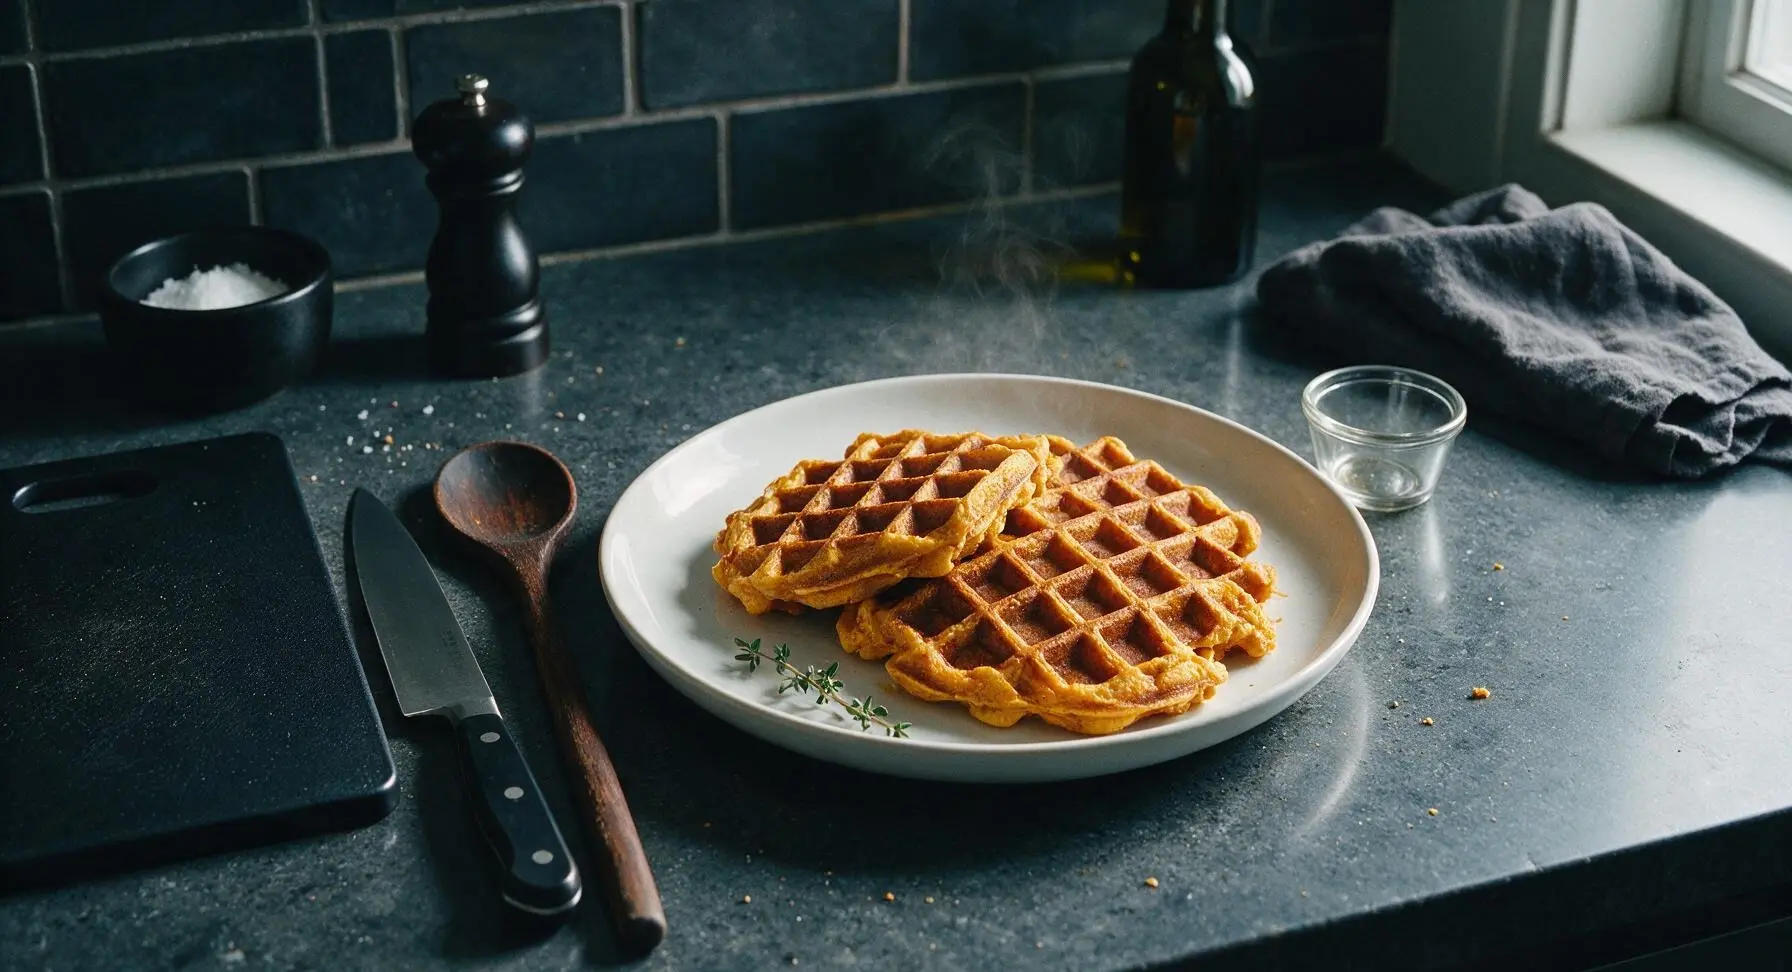
Fluffy, warmly spiced pumpkin waffles with crisp golden edges and soft, custardy centers. Ready in 25 minutes with simple staples, perfect for cozy fall or Thanksgiving morning breakfasts.
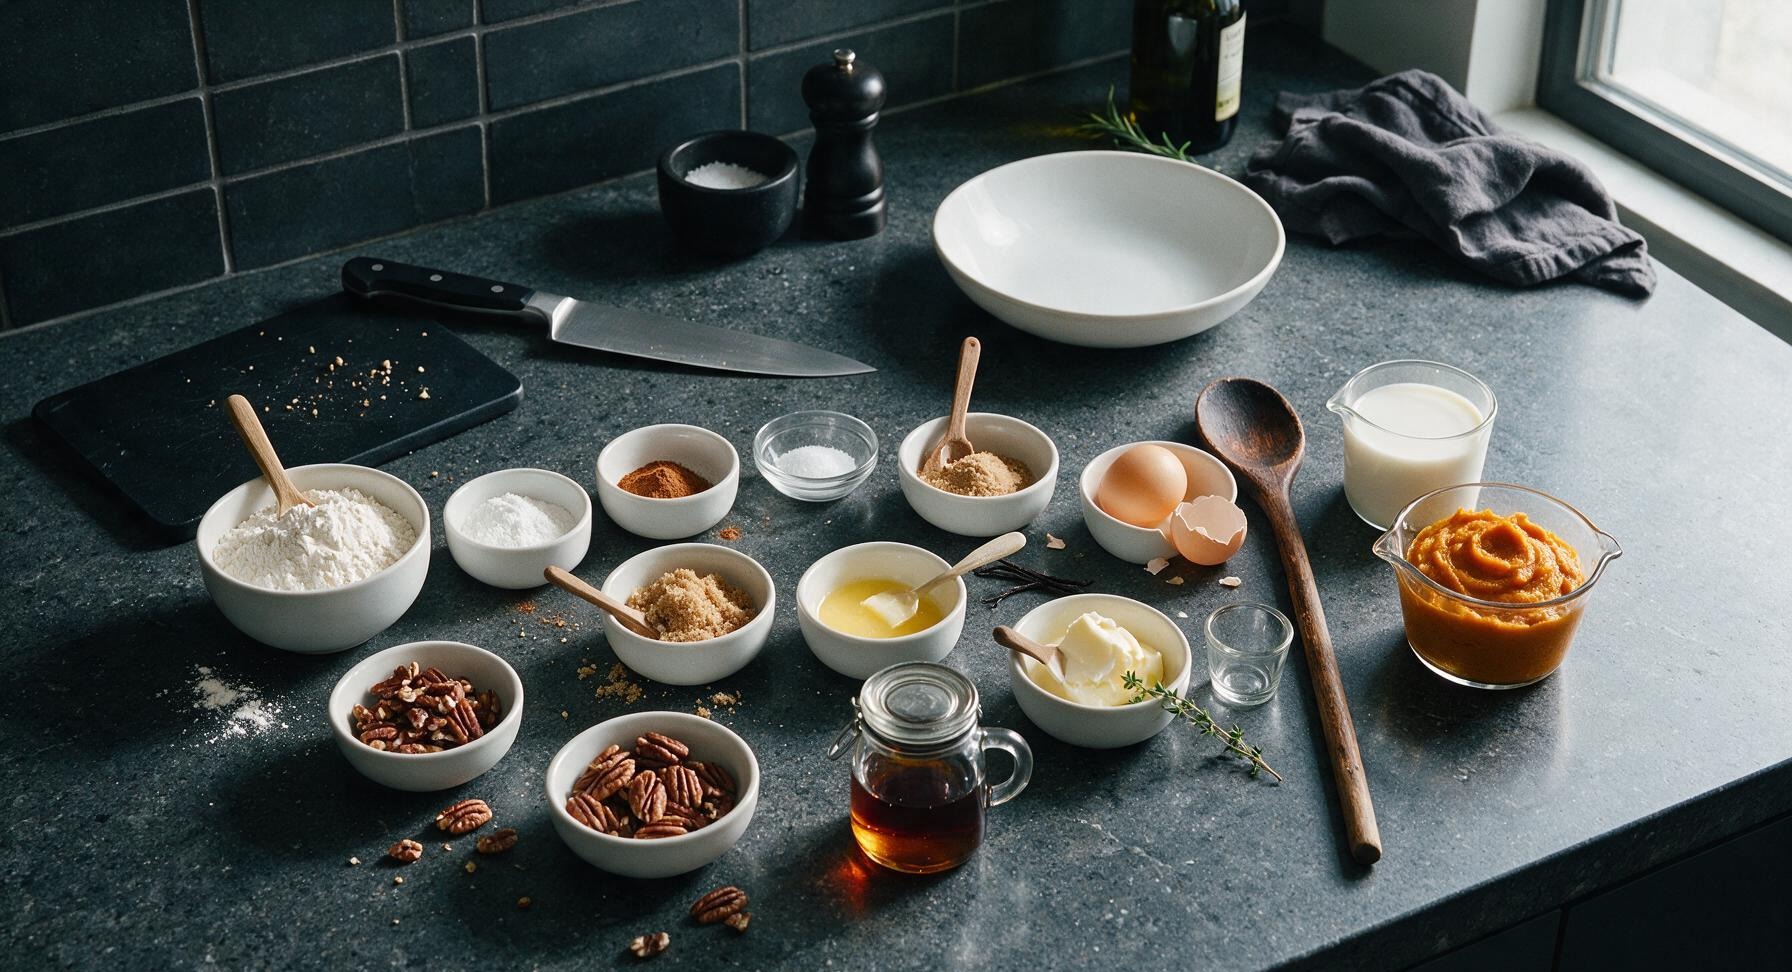
Ingredients
Steps
Preheat and Mix Dry Ingredients
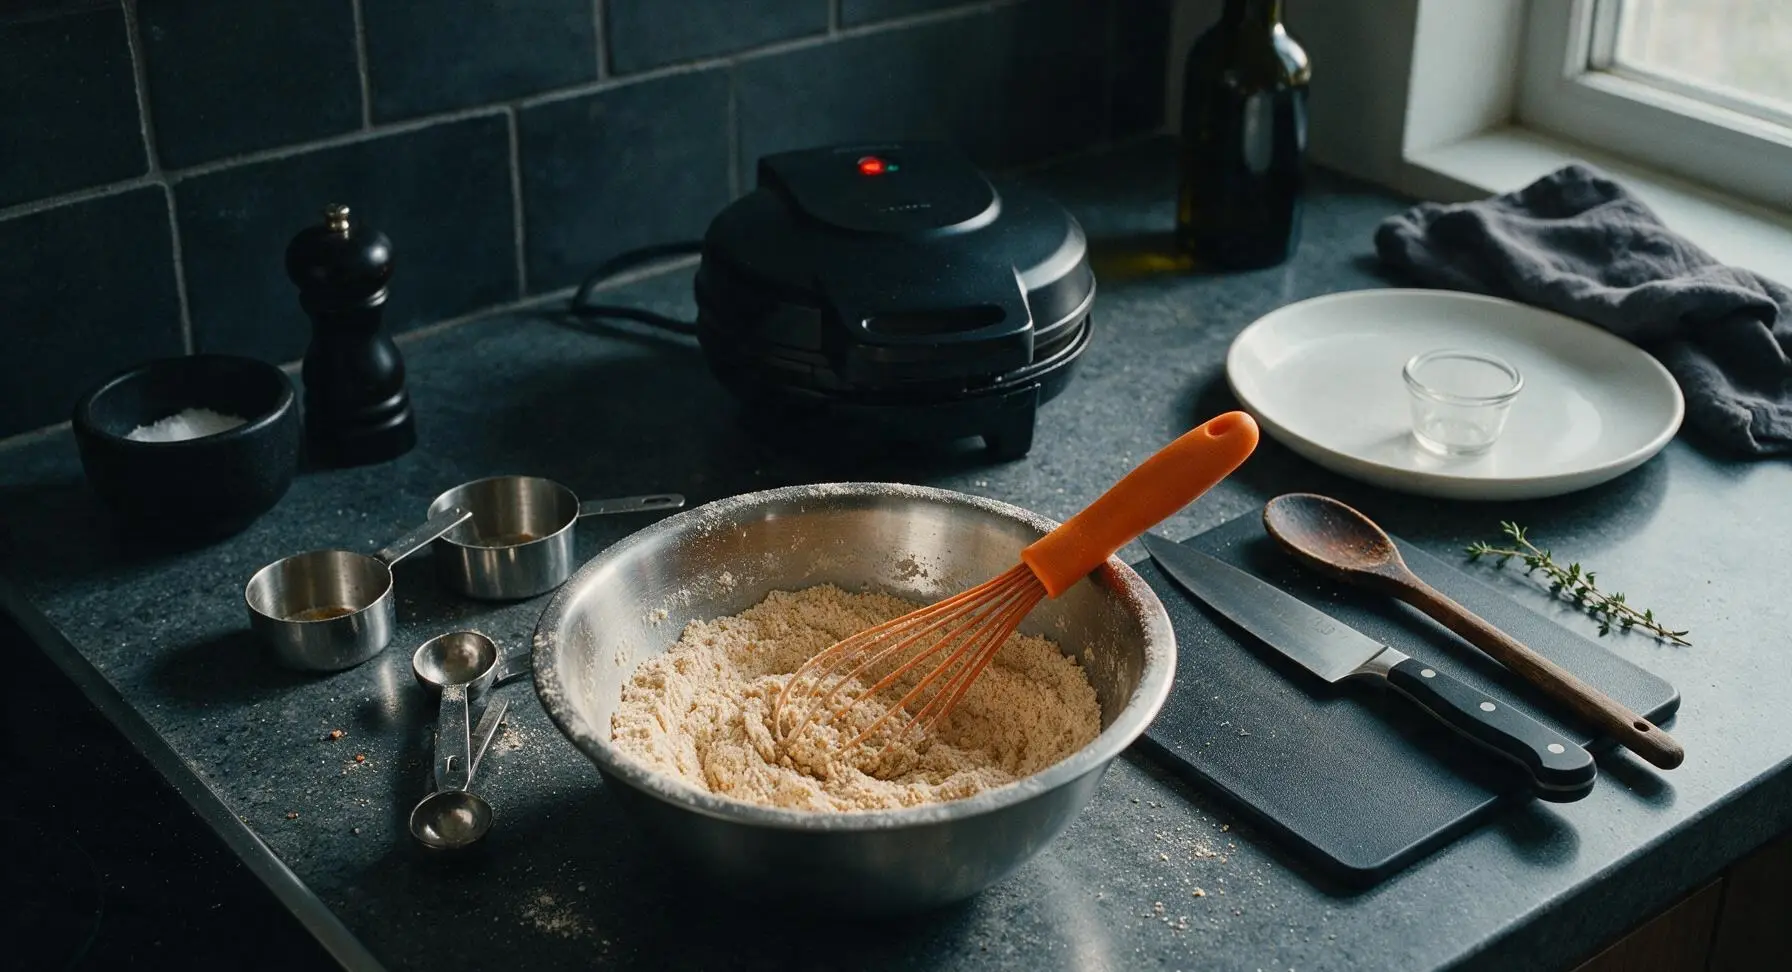
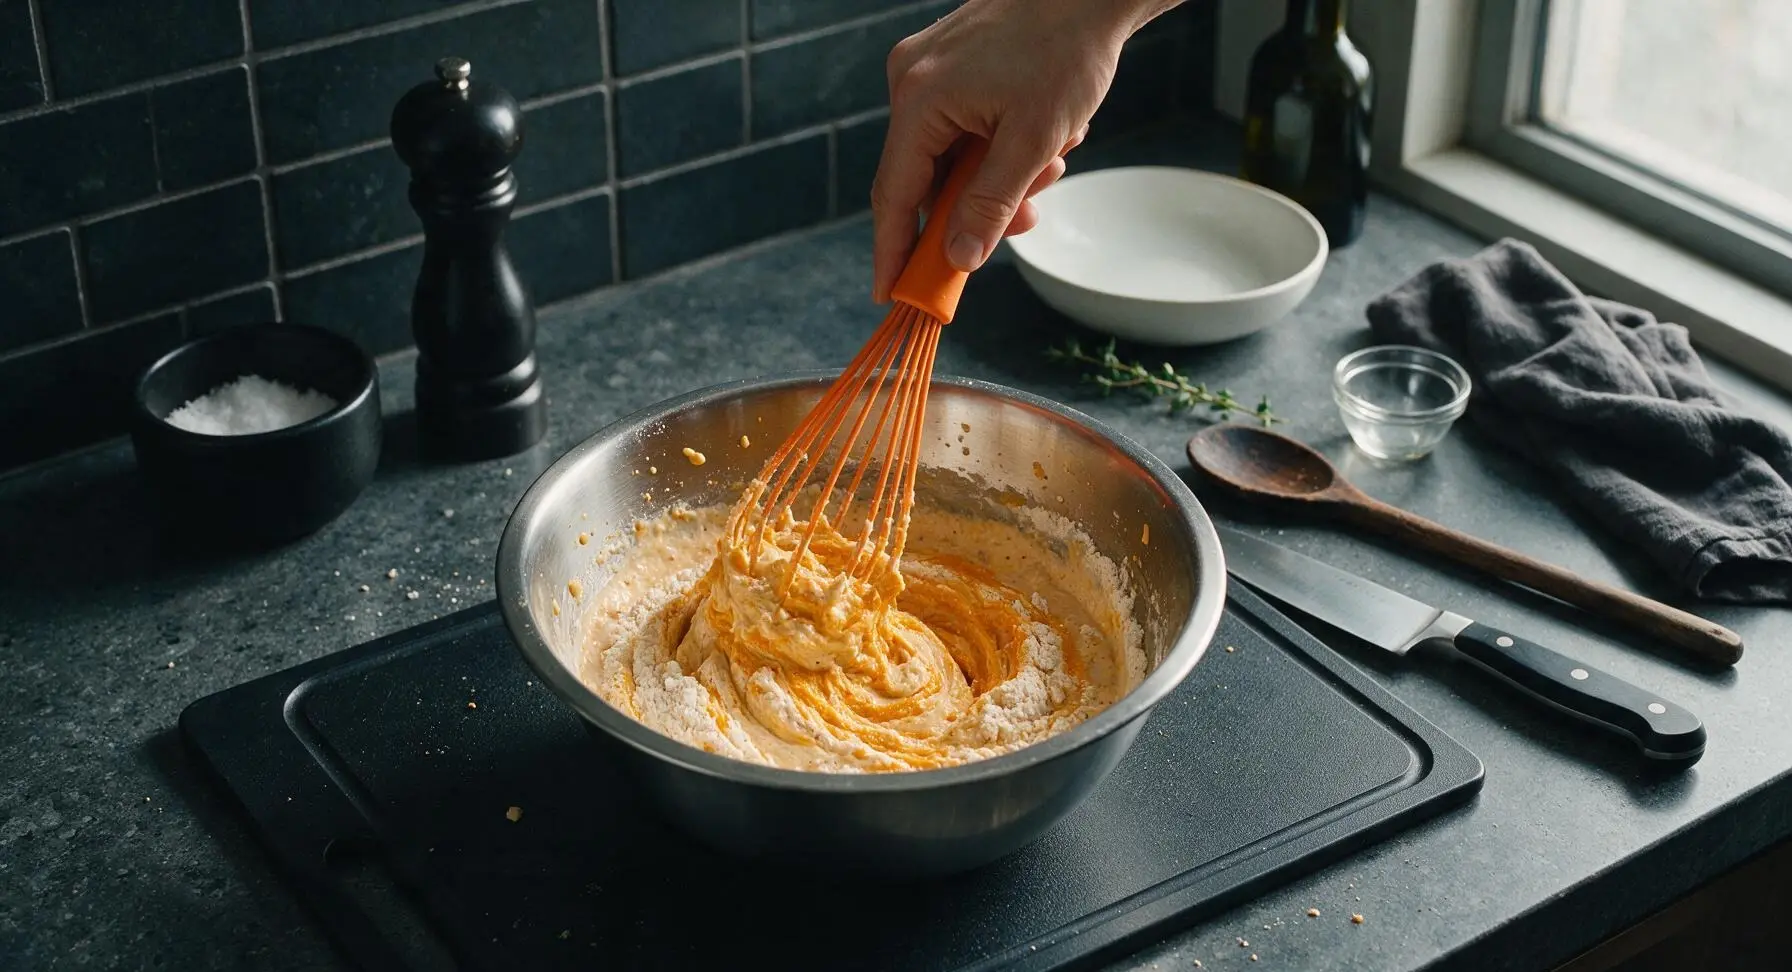
Plug in the matte black electric waffle maker to preheat to medium-high heat (375°F/190°C; the indicator light will turn off when fully heated). In the medium stainless steel mixing bowl, add 2 cups all-purpose flour, 2 tsp baking powder, 1/2 tsp fine salt, 1 tsp ground cinnamon, 1/4 tsp ground nutmeg, 1/4 tsp ground ginger, and 3 tbsp light brown sugar. Use the silicone whisk to stir for 30 seconds until all dry ingredients are evenly combined, with no clumps of spice or brown sugar remaining.
Combine Wet Ingredients
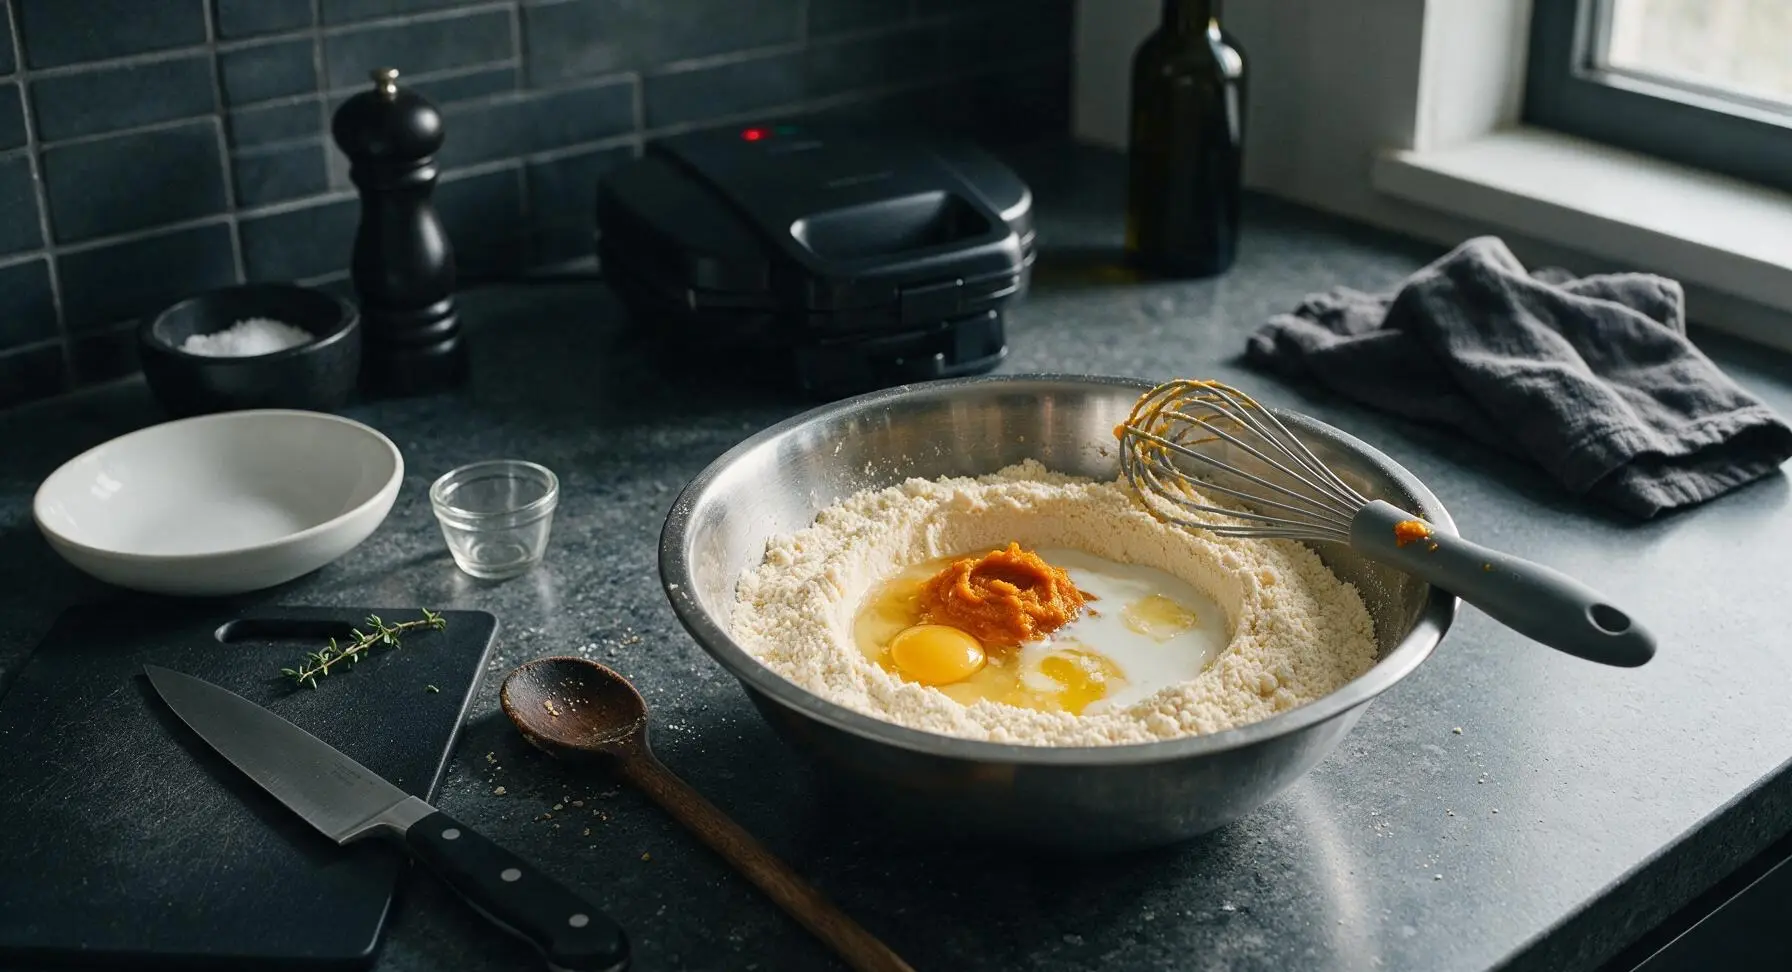
Make a small well in the center of the mixed dry ingredients. Crack 2 large eggs into the well, then add 1 1/4 cups whole milk, 1 cup plain pumpkin puree, 4 tbsp melted and slightly cooled unsalted butter, and 1 tsp vanilla extract. Do not add hot melted butter directly to the eggs, as this will cook them and create lumps.
Mix Smooth Waffle Batter
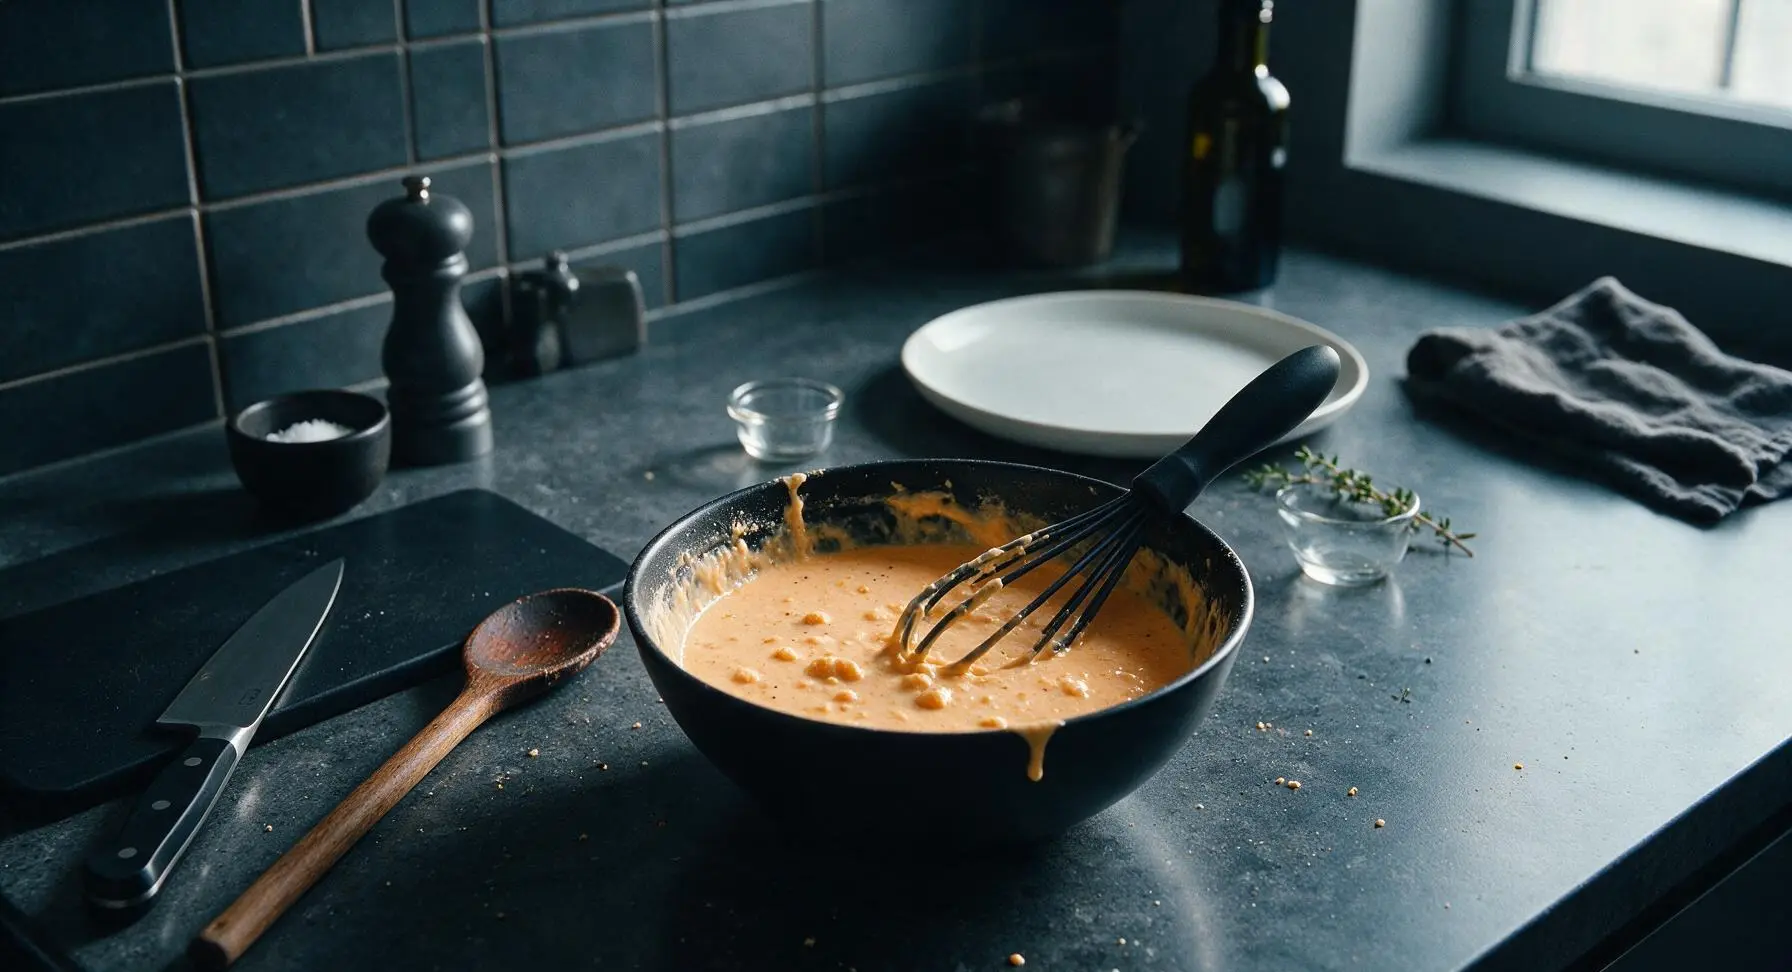
Use the silicone whisk to gently stir the wet ingredients into the dry ingredients, mixing only just until no large dry flour streaks remain. Stop mixing as soon as the batter comes together; small lumps are normal and desired—overmixing will develop gluten and make tough, dense waffles. The finished batter should be thick but pourable, with a warm pale orange color and visible tiny flecks of spice.
Pour Batter Onto Iron
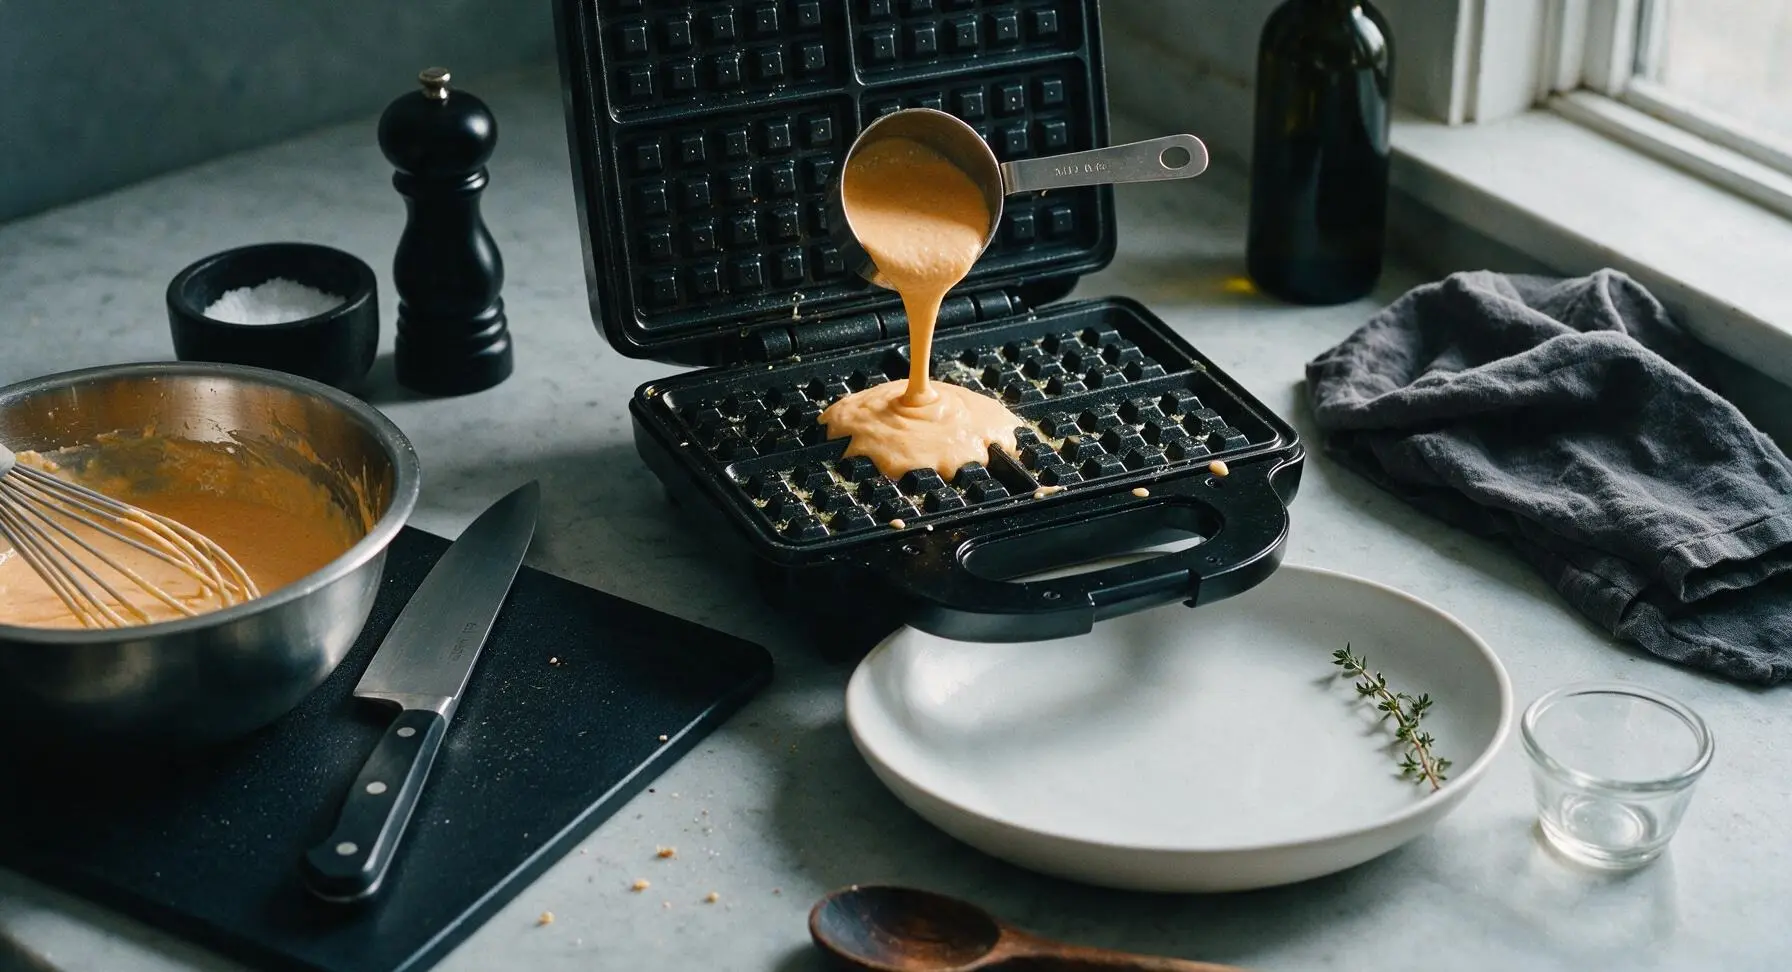
Once the waffle maker indicator light turns off (signaling it is fully preheated), lightly coat the cooking surfaces with a thin brush of melted butter. Pour 1/2 cup of batter onto the center of the lower waffle grid, spreading it gently with the back of a spoon to within 1/2 inch of the edges—batter will spread as the lid closes, so do not overfill, which causes messy overflow.
Cook Until Golden Crisp
Close the waffle maker lid and cook for 3 to 4 minutes, until the waffle is deep golden brown, crisp around the edges, and no steam escapes from the sides of the waffle maker. Resist the urge to open the lid early, as this will cause the waffle to split and stick. Cooked waffles can be kept warm on a wire rack in a 200°F (95°C) oven while you cook the remaining batter, to keep edges crisp instead of soggy.
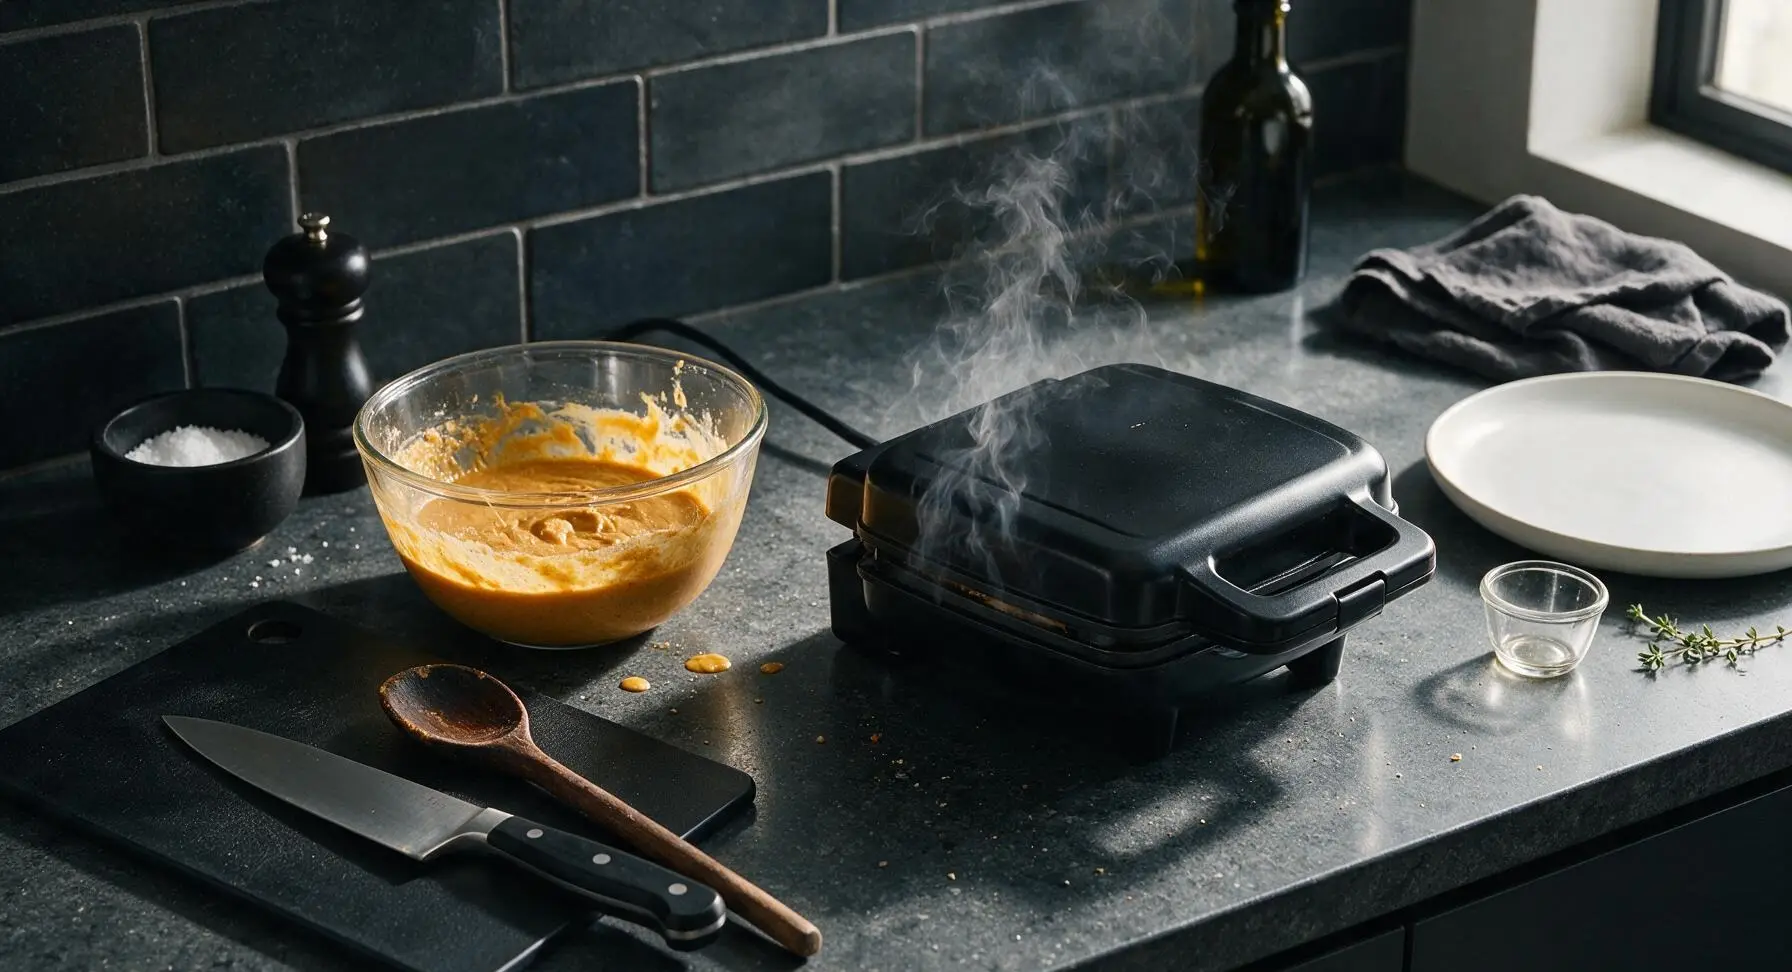
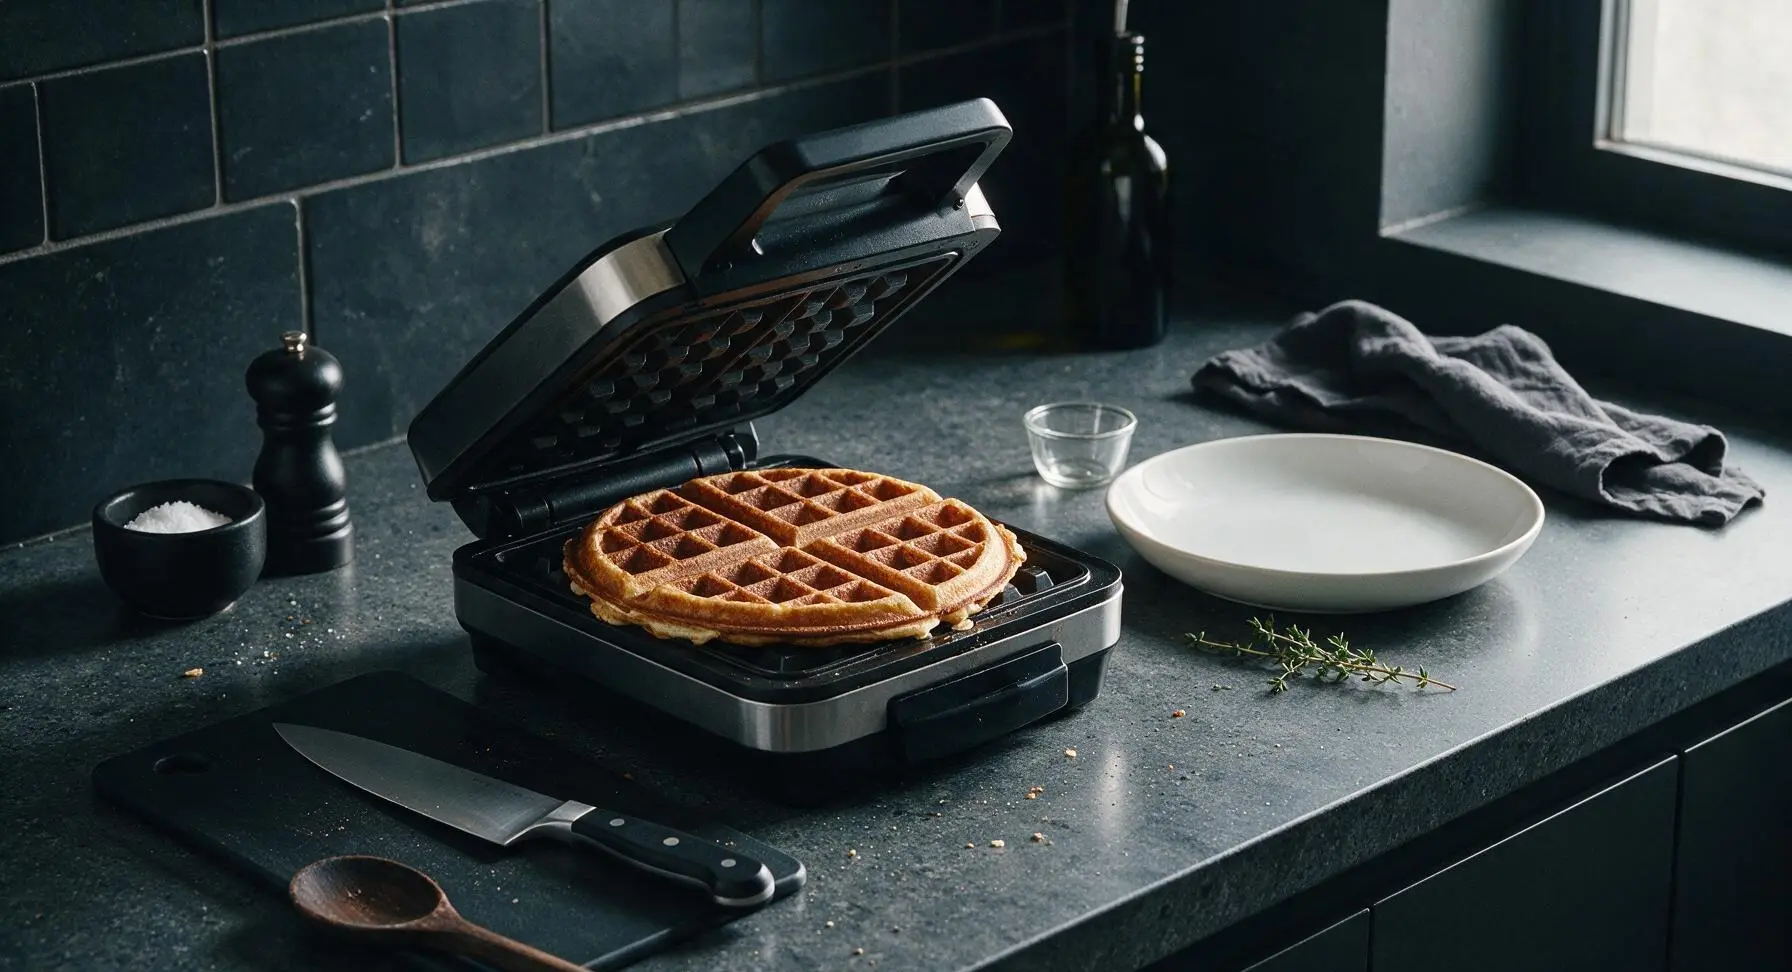
Plate and Add Garnishes
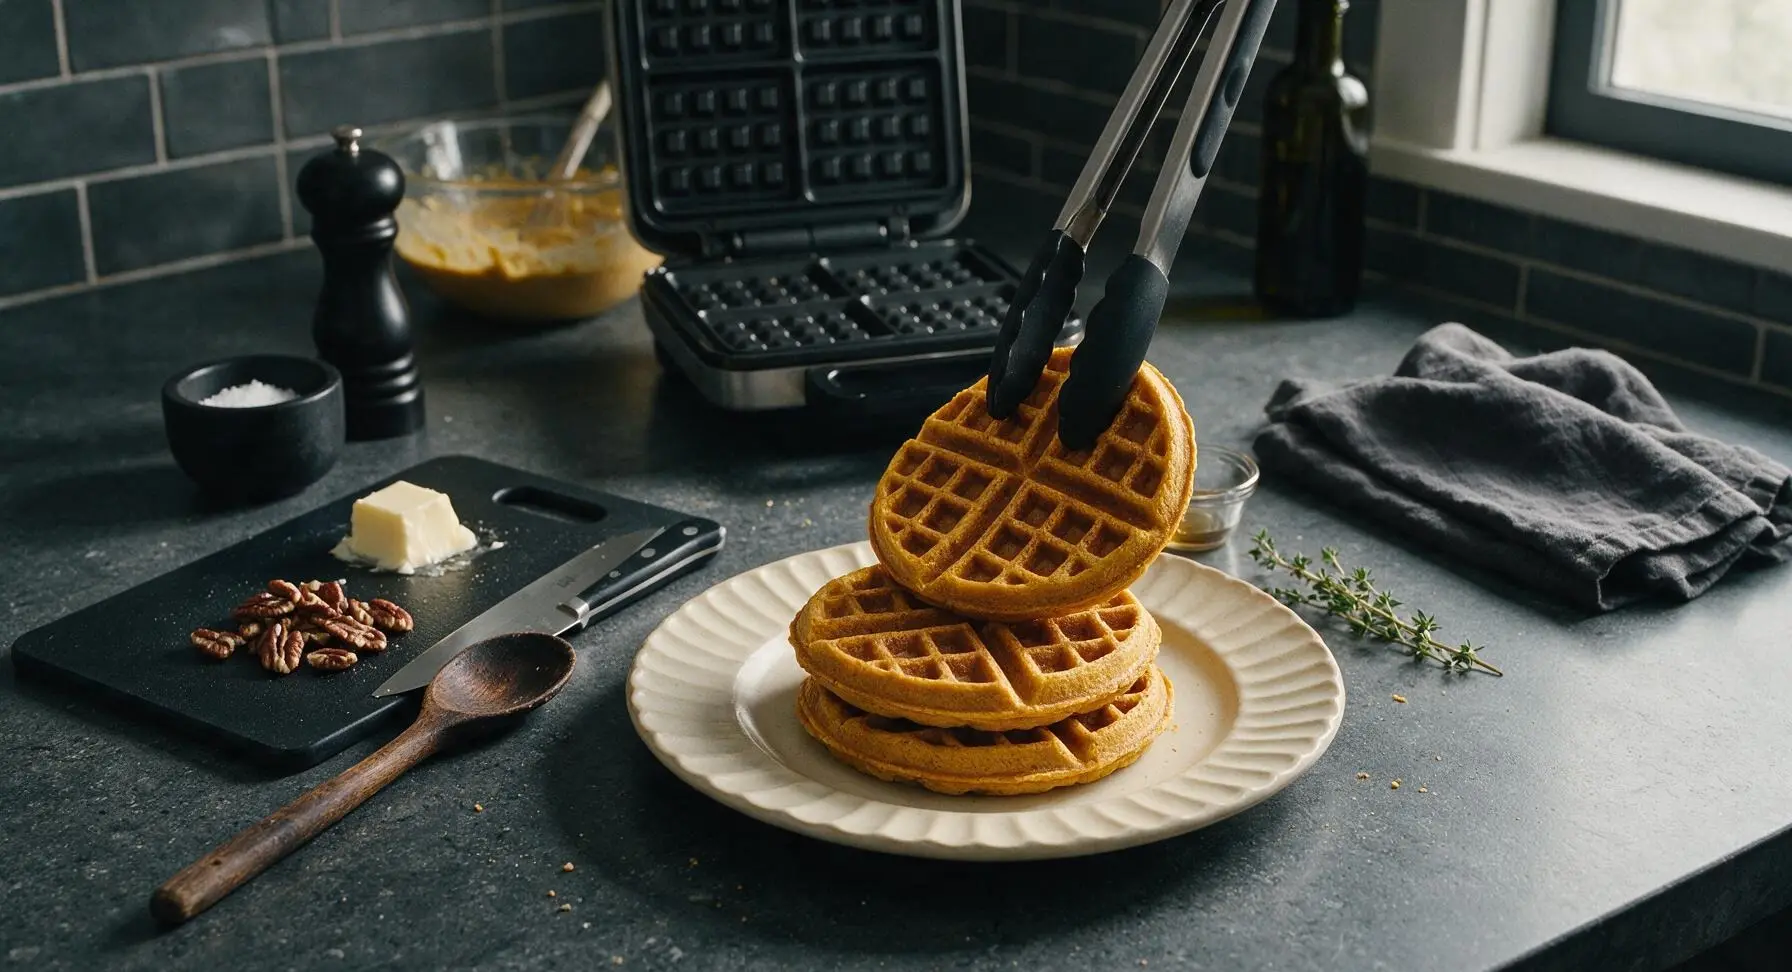
Use the silicone-tipped tongs to transfer cooked waffles from the waffle maker to the matte cream ceramic dinner plate, stacking them in a neat 3-waffle pile. Top the hot stack with a 1-tbsp pat of salted butter, letting it melt slightly into the waffle grids. Drizzle with 2 tbsp of maple syrup, and sprinkle with a pinch of ground cinnamon and a few toasted pecan halves if desired. Set the matching cream ramekin filled with extra maple syrup to the right of the plate for serving, and serve immediately.
Tips
2.Keep cooked waffles crisp by placing them on a wire rack set over a baking sheet in a 200°F (95°C) oven while you cook remaining batches. Stacking hot waffles directly on a plate traps steam, which softens crisp edges and leads to soggy waffles.
3.Let melted butter cool for 2 minutes before adding it to the batter. Pouring hot butter directly onto raw eggs will partially cook them, creating small rubbery egg lumps and leading to uneven, tough waffle texture.






OMG these pumpkin waffles were a total game changer for our Sunday brunch! My two picky kids gobbled up two each and asked for seconds before I even sat down. I added a little extra cinnamon and a dollop of whipped cream on top, chef’s kiss. 15 minute cook time is no joke too, perfect for busy school mornings coming up!
Made these for my office potluck last week and people were begging for the recipe! They’re so fluffy and the pumpkin flavor is just right, not overpowering at all. I didn’t have a fancy waffle maker, just my old $20 thrift store one and they still came out perfectly crispy on the outside. 10/10
These are going into my regular fall meal prep rotation! I made a double batch on Sunday, popped them in the toaster all week for quick breakfasts, and they held up so much better than the frozen store-bought waffles. No sad soggy waffles here! SO good.
Okay full transparency, I burn literally every breakfast I make. I was so nervous to try these but the instructions were so straightforward? They came out golden brown on the first try! My roommate thought I ordered them from that fancy brunch spot downtown lmao. Only note: I wish I’d added a handful of chocolate chips, next time for sure.
These were so good when I made them last weekend! Quick question though — can I make the batter the night before? I host brunch for my friend group every Saturday and I hate waking up at 6am to mix everything from scratch. If these hold up overnight in the fridge that would save me so much time for next week!
Tried this with a 1:1 gluten free baking flour blend for my sister who has celiac and it worked perfectly! No weird gritty texture, no crumbly mess, everyone at the table ate them even the people who don’t need gluten free. Will absolutely be making these all pumpkin season long.
Made these for our early college football tailgate last weekend and they were a smash! I set out a little toppings bar with maple syrup, caramel drizzle, chopped pecans, and even some pumpkin spice butter, and people were customizing their waffles all pre-game. So easy to make a big batch too, fed 12 people no problem.
I’m usually not a huge pumpkin spice person because everything tastes like artificial candle scent to me, but these? *Chef’s kiss.* The pumpkin is subtle, the spices are balanced, it doesn’t taste like a bath bomb at all. My wife made me try a bite and I ended up eating three waffles. Whoops.
So easy even I can make them in my tiny dorm kitchen! I don’t have a full kitchen setup, just a tiny countertop waffle maker and a mixing bowl, and these came together with zero fuss. Way cheaper than buying brunch out every weekend, and they taste way better too. 10/10 would recommend to every broke college student.