
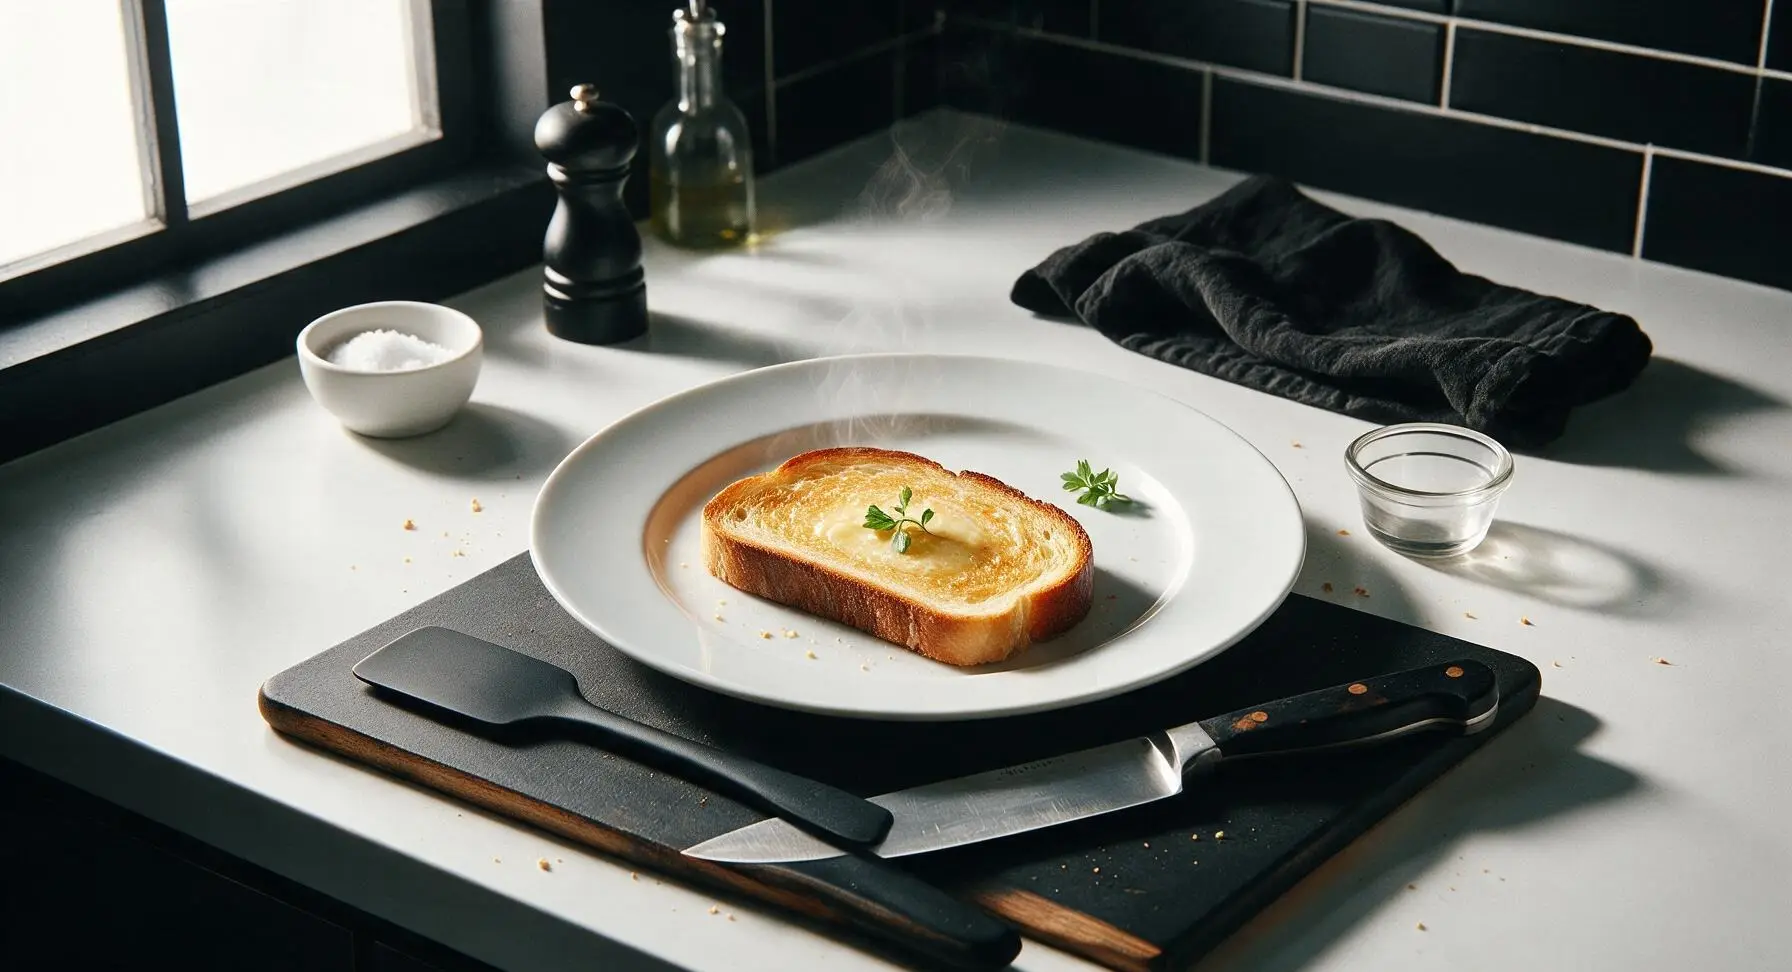
easy toast

title 1
easy toast
⏱️ cook time 6 minutes
🍽️ servings 2
⚡ Difficulty easy

intro

Crisp, golden buttered sourdough toast with a tender, buttery center, ready in under 10 minutes. No fancy toaster required, perfect for quick, cozy meals any time of day.

Ingredients
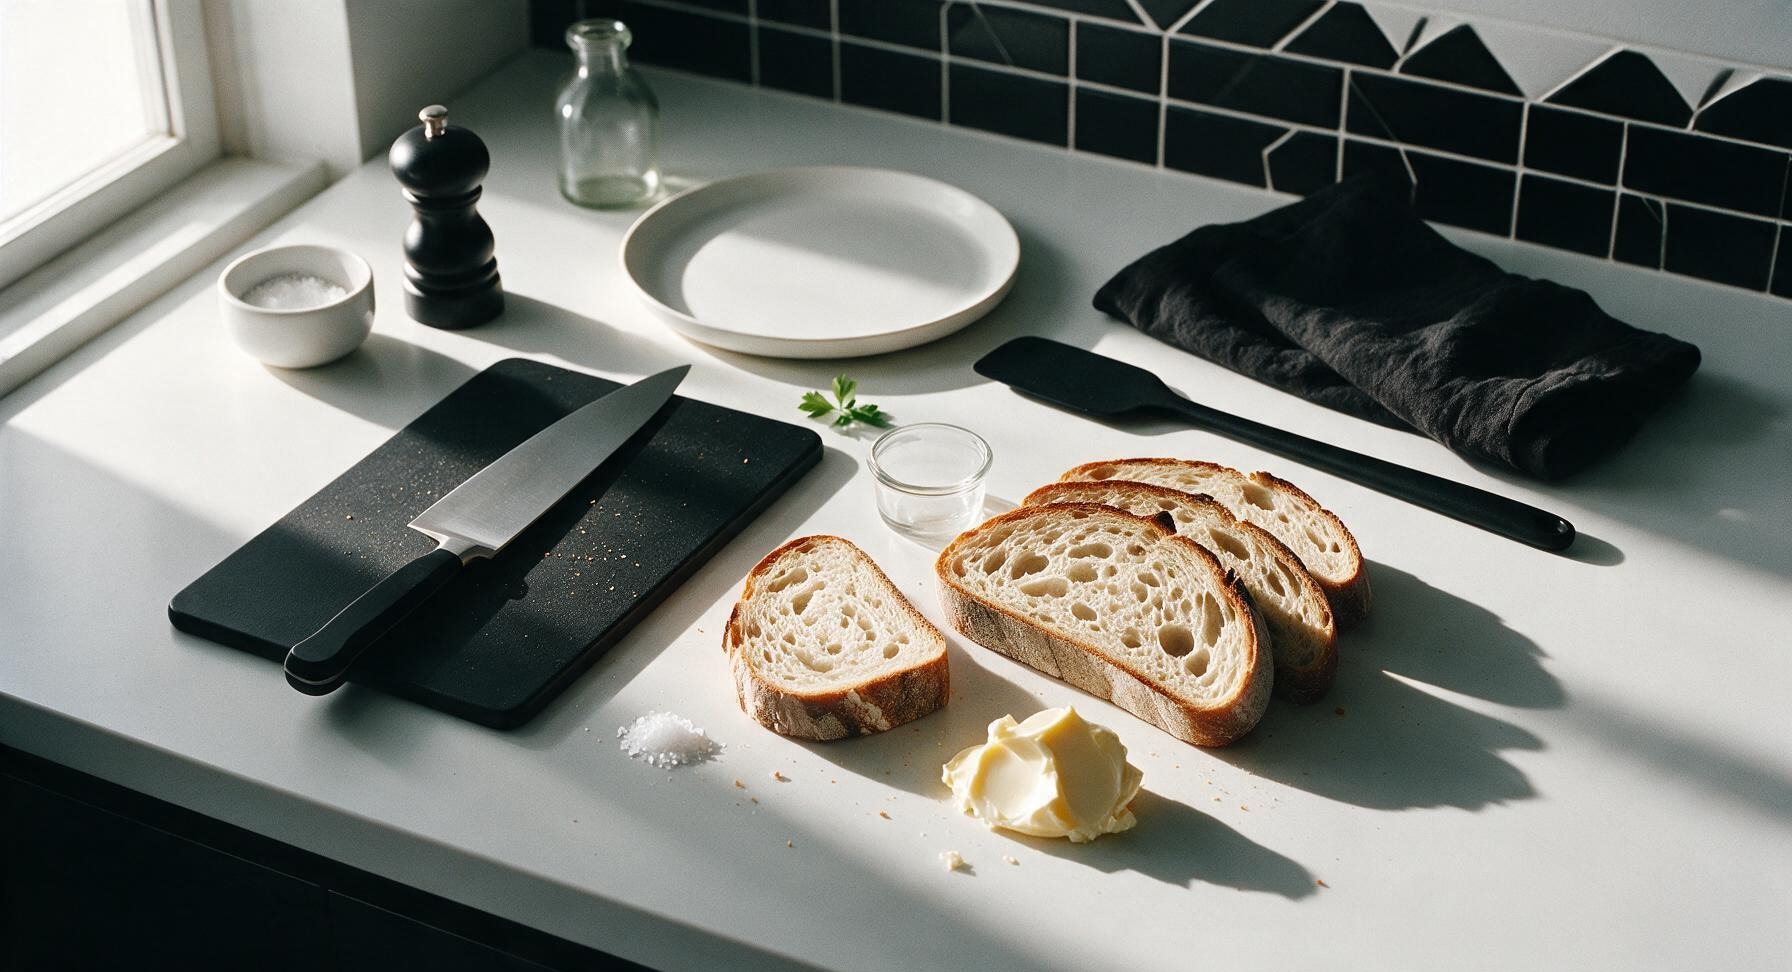
Thick-cut sourdough bread 4 slices (approx 200g, 1.5cm thick)
Unsalted butter 2 tablespoons (28g, softened)
Flaky sea salt 1/4 teaspoon

Steps

1

Prep Your Ingredients

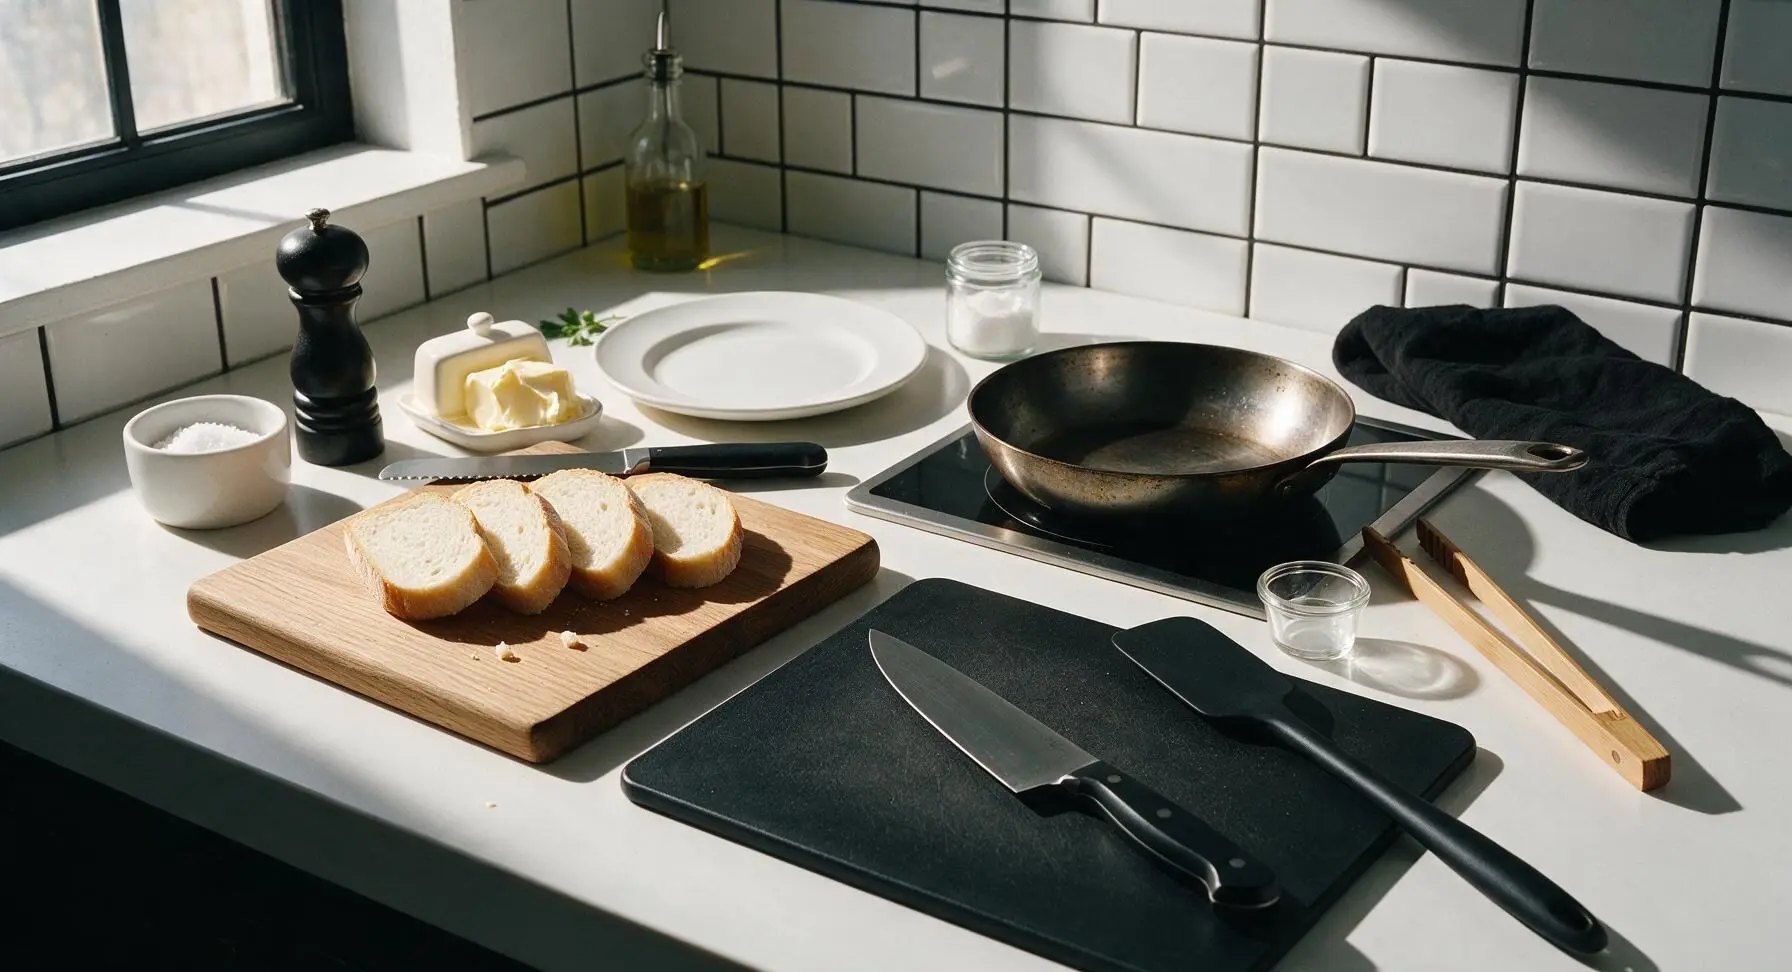
Remove unsalted butter from the fridge 10 minutes before cooking to soften to room temperature; it should dent easily when pressed with a finger, so it spreads without tearing soft bread crumb. If using a whole loaf, cut 4 even 1.5cm thick slices with the serrated bread knife, arranging them in a single layer on the oak cutting board. Wipe the seasoned carbon steel skillet with a dry paper towel to remove any residual dust before heating.
Step 1
step1:Prep Your Ingredients
2

Preheat the Skillet

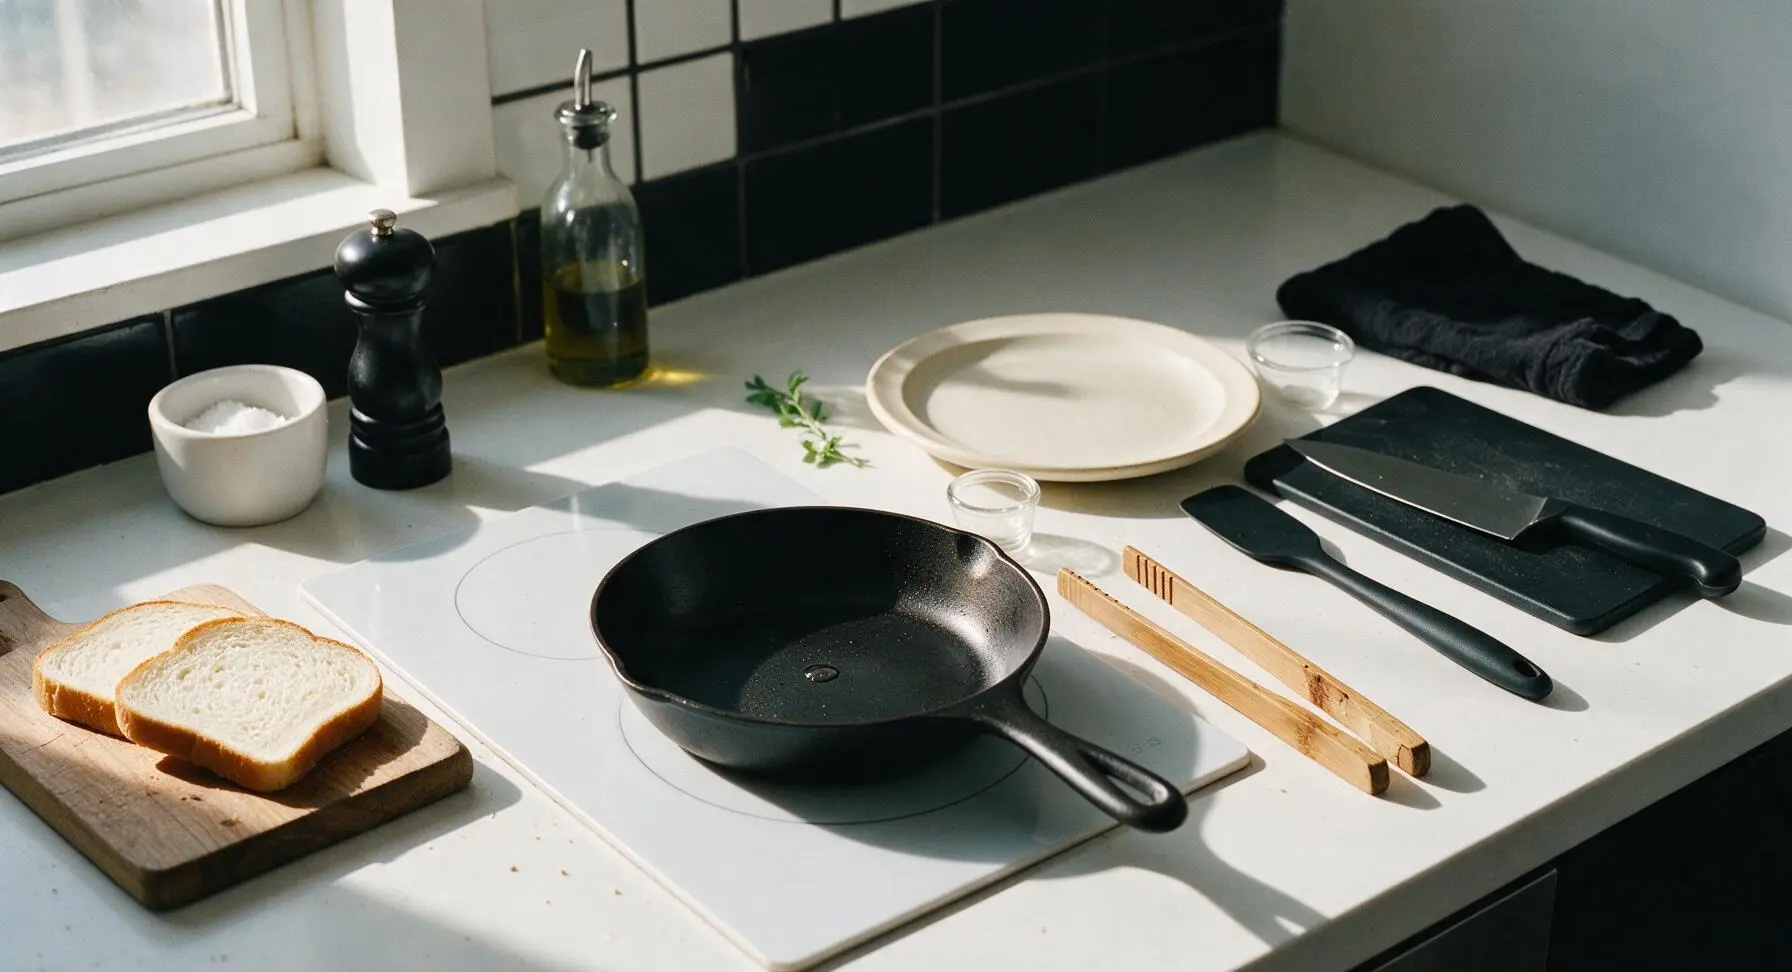
Place the wiped carbon steel skillet centered on the induction burner, set heat to medium-low (level 3 on most induction dials, or a small gas flame that just licks the pan base). Let the pan preheat for 2 full minutes; test temperature by sprinkling a single drop of water: it should sizzle and evaporate slowly over 3 seconds, not jump and vanish instantly (a sign the pan is too hot and will burn bread).
Step 2
step2:Preheat the Skillet
3

Toast First Side

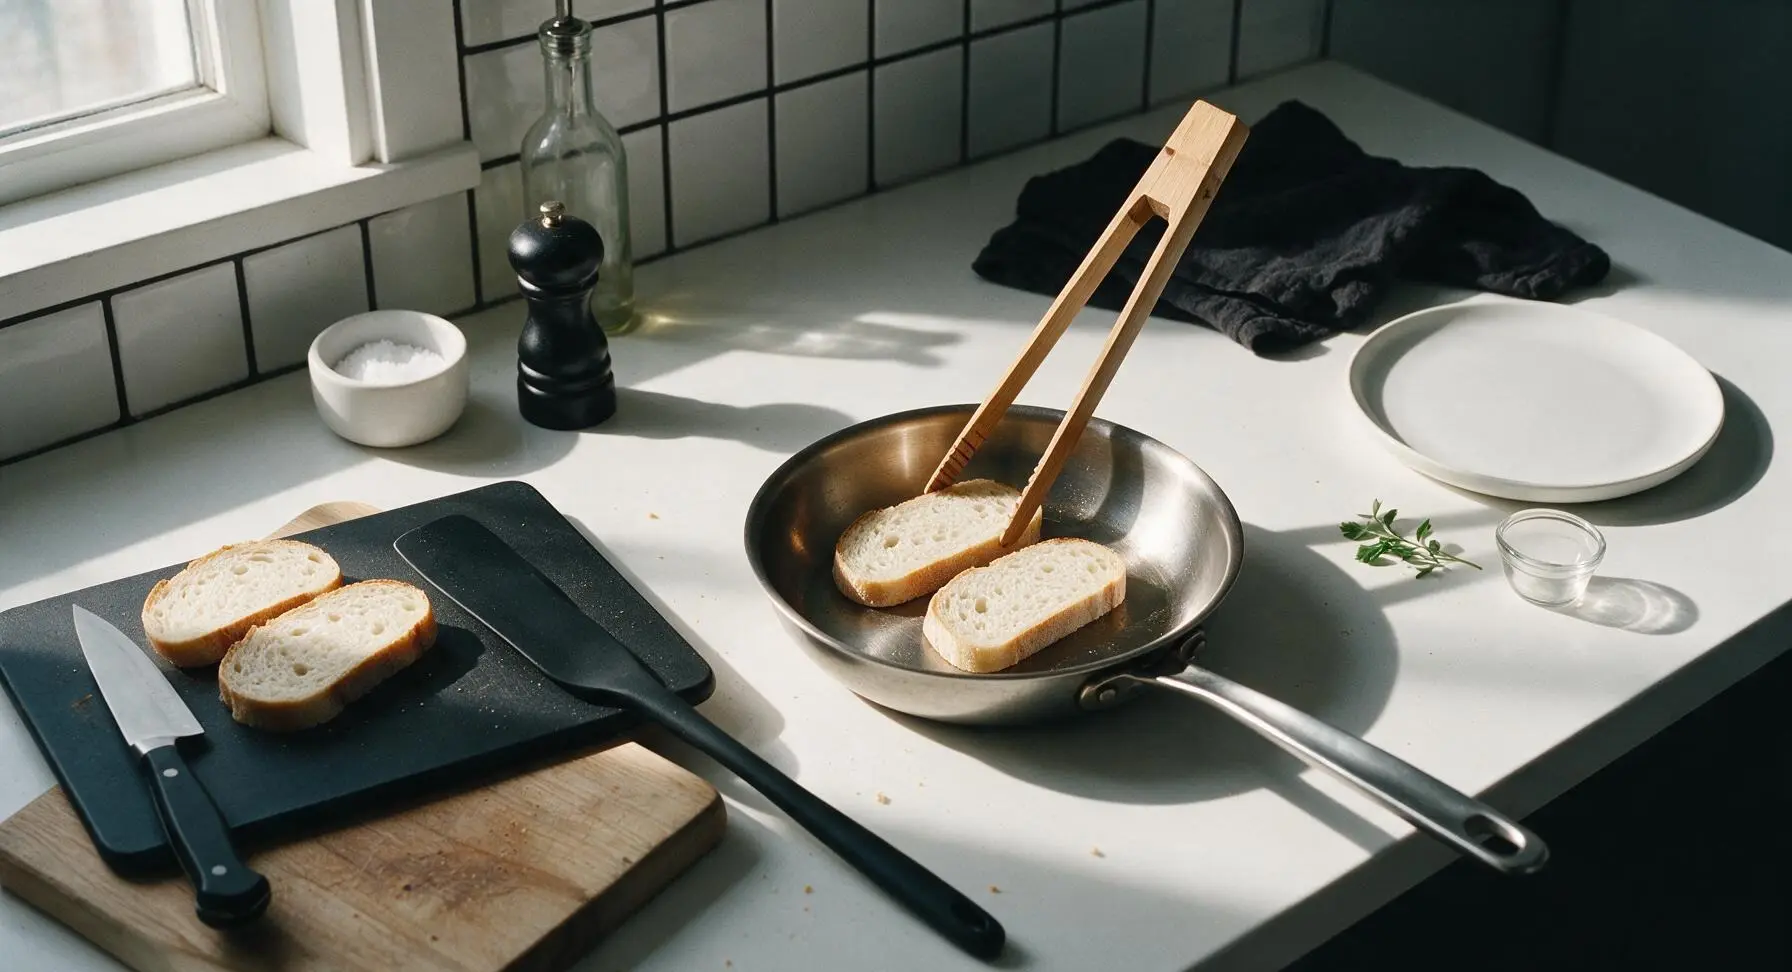
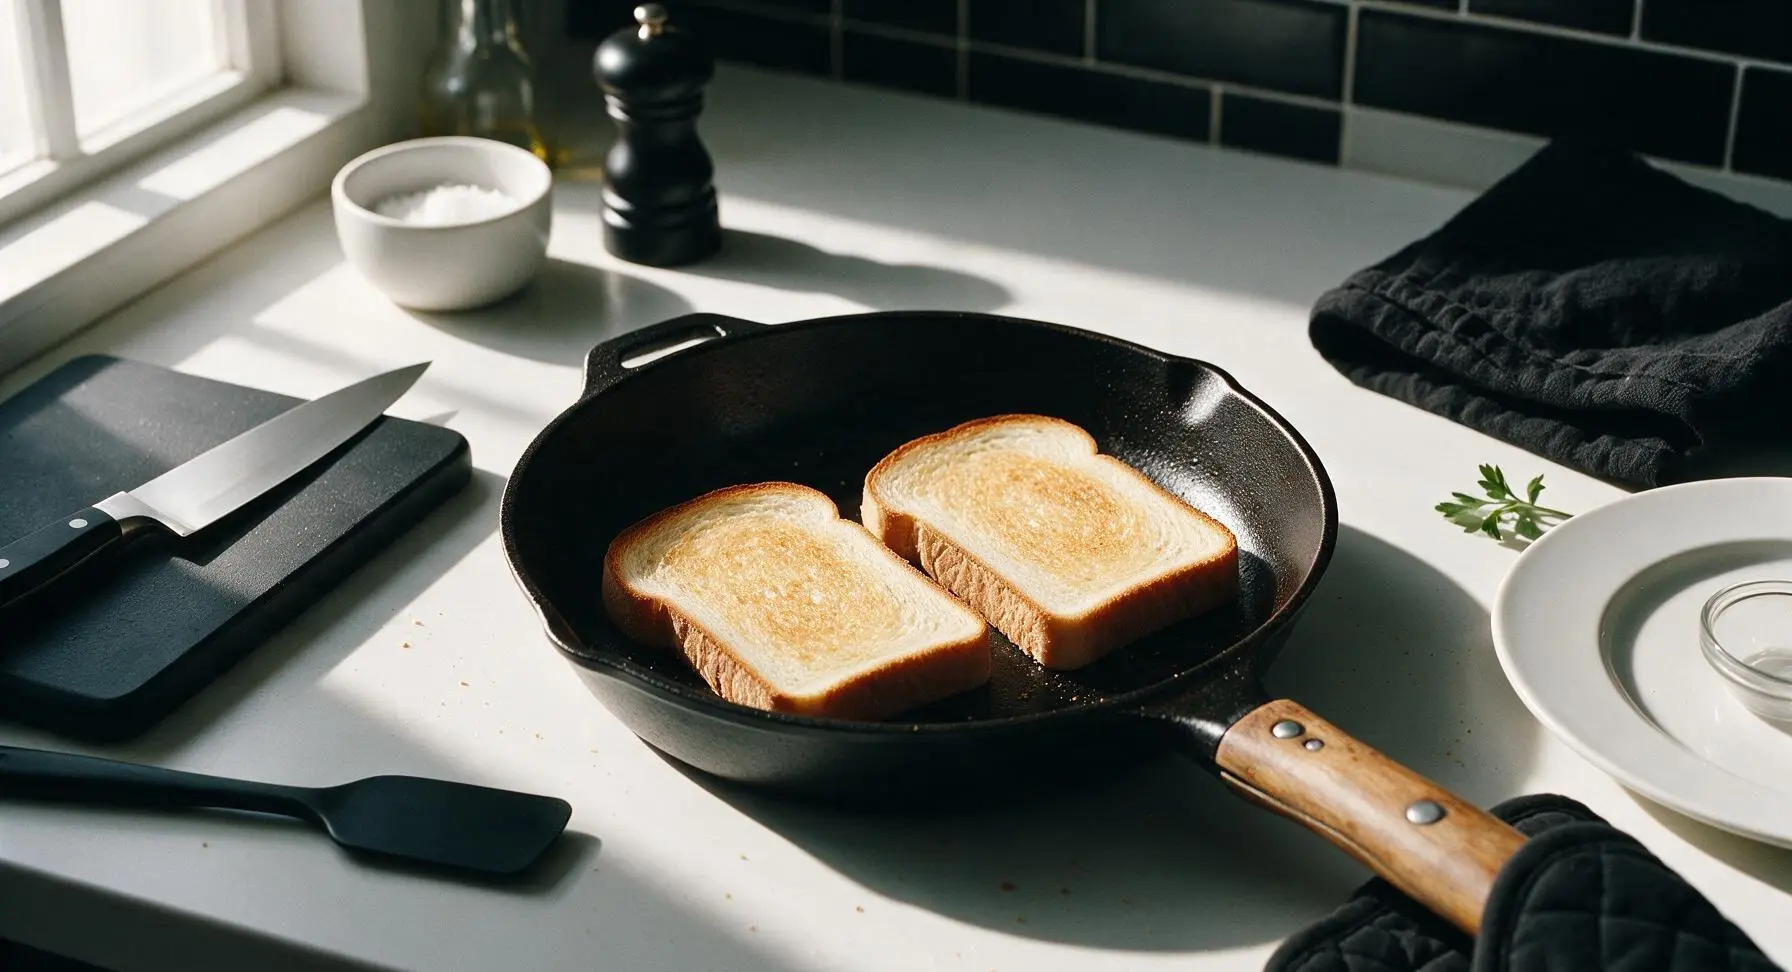
Lay 2 slices of bread flat in the dry preheated skillet, leaving 1cm of space between slices to prevent steaming. Do not add butter yet. Cook for 90 seconds on medium-low heat, without moving the slices, until the bottom surface turns an even pale golden brown with darker crisp edges. Do not turn heat up, as this will burn the outside before the bread warms through.
Step 3
step3:Toast First Side
Step 3
step3:Toast First Side
4

Flip and Add Butter

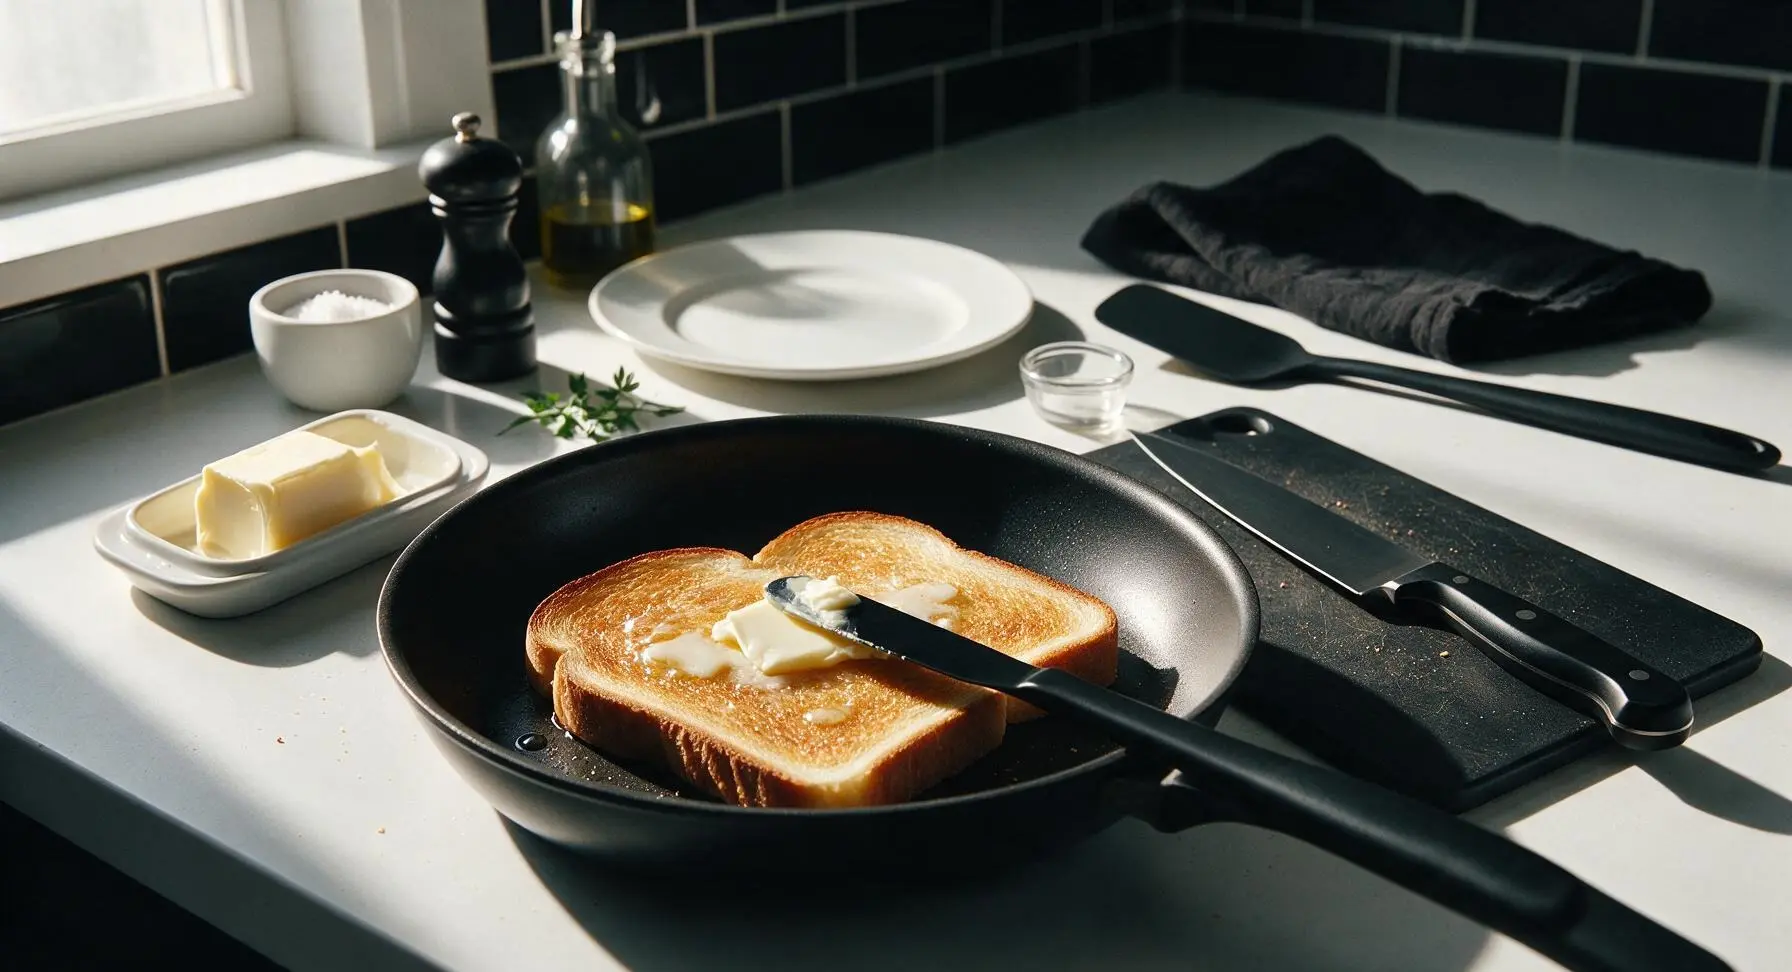
Use the bamboo tongs to flip both slices of bread so the first toasted side faces up. Immediately place 1/2 tablespoon of softened butter on top of each hot toasted slice, letting residual heat melt the butter slowly so it soaks into the bread rather than running off into the pan. Let the second side cook for another 90 seconds, until it matches the even golden color of the first side.
Step 4
step4:Flip and Add Butter
5

Finish First Batch

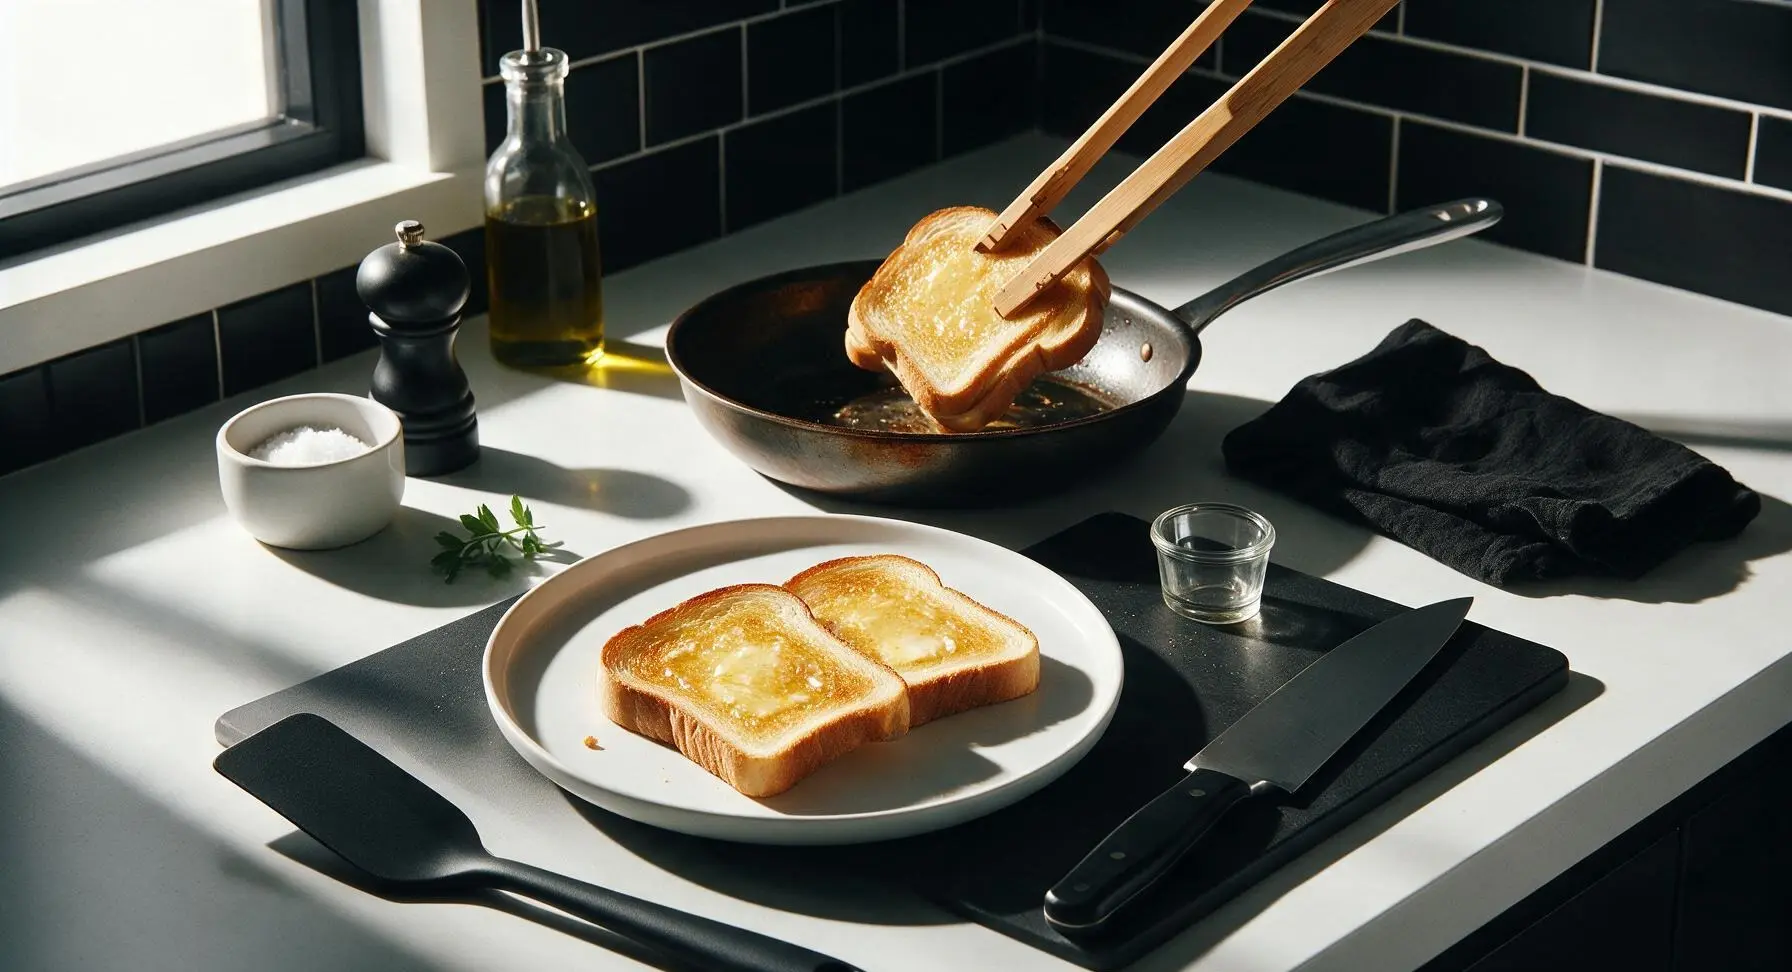
After 90 seconds of cooking on the second side, use bamboo tongs to lift both slices, checking that the second side is evenly golden. Transfer finished toast slices to the cream white stoneware plate, leaning them slightly against each other. Repeat the toasting process with the remaining 2 slices of bread, toasting each side 90 seconds and adding 1/2 tablespoon butter per slice after flipping.
Step 5
step5:Finish First Batch
6

Season Toast Lightly

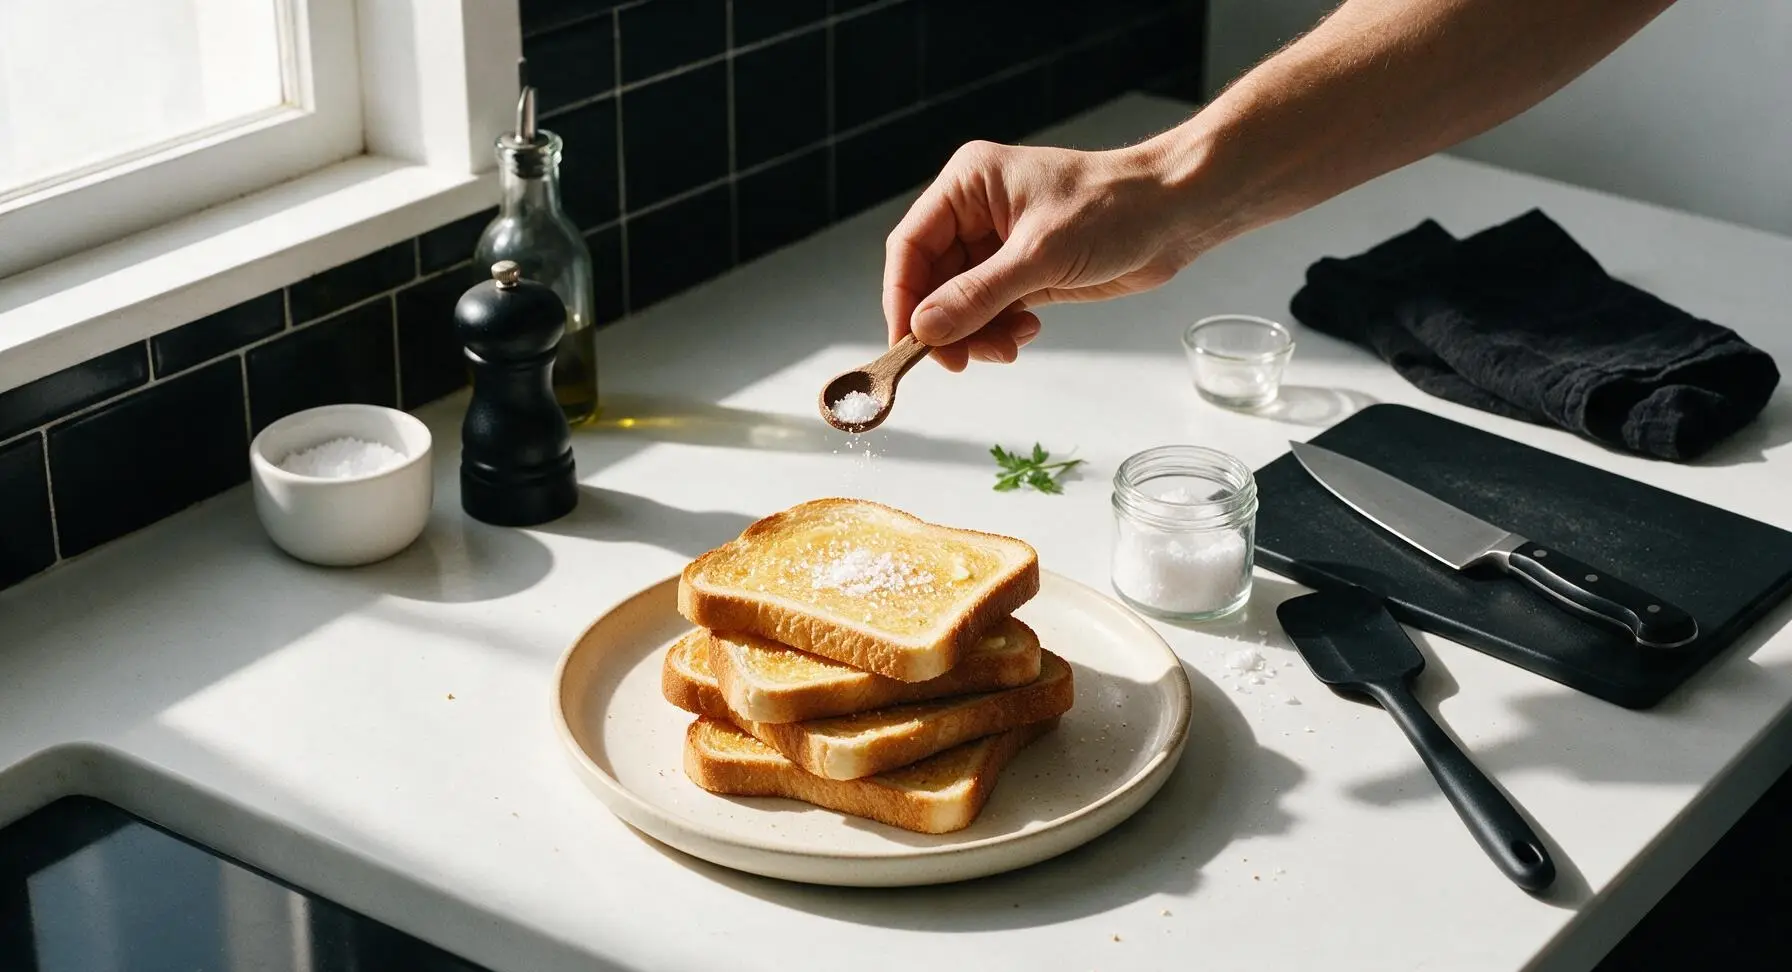
Once all 4 toast slices are stacked slightly overlapping on the stoneware plate, use the tiny wooden spoon from the salt jar to sprinkle a tiny pinch of flaky sea salt evenly over the warm buttered surface of each slice. Do not over-salt: the salt is meant to cut butter richness and highlight nutty bread flavor, not make the toast taste salty.
Step 6
step6:Season Toast Lightly
7

Rest Briefly Before Serving

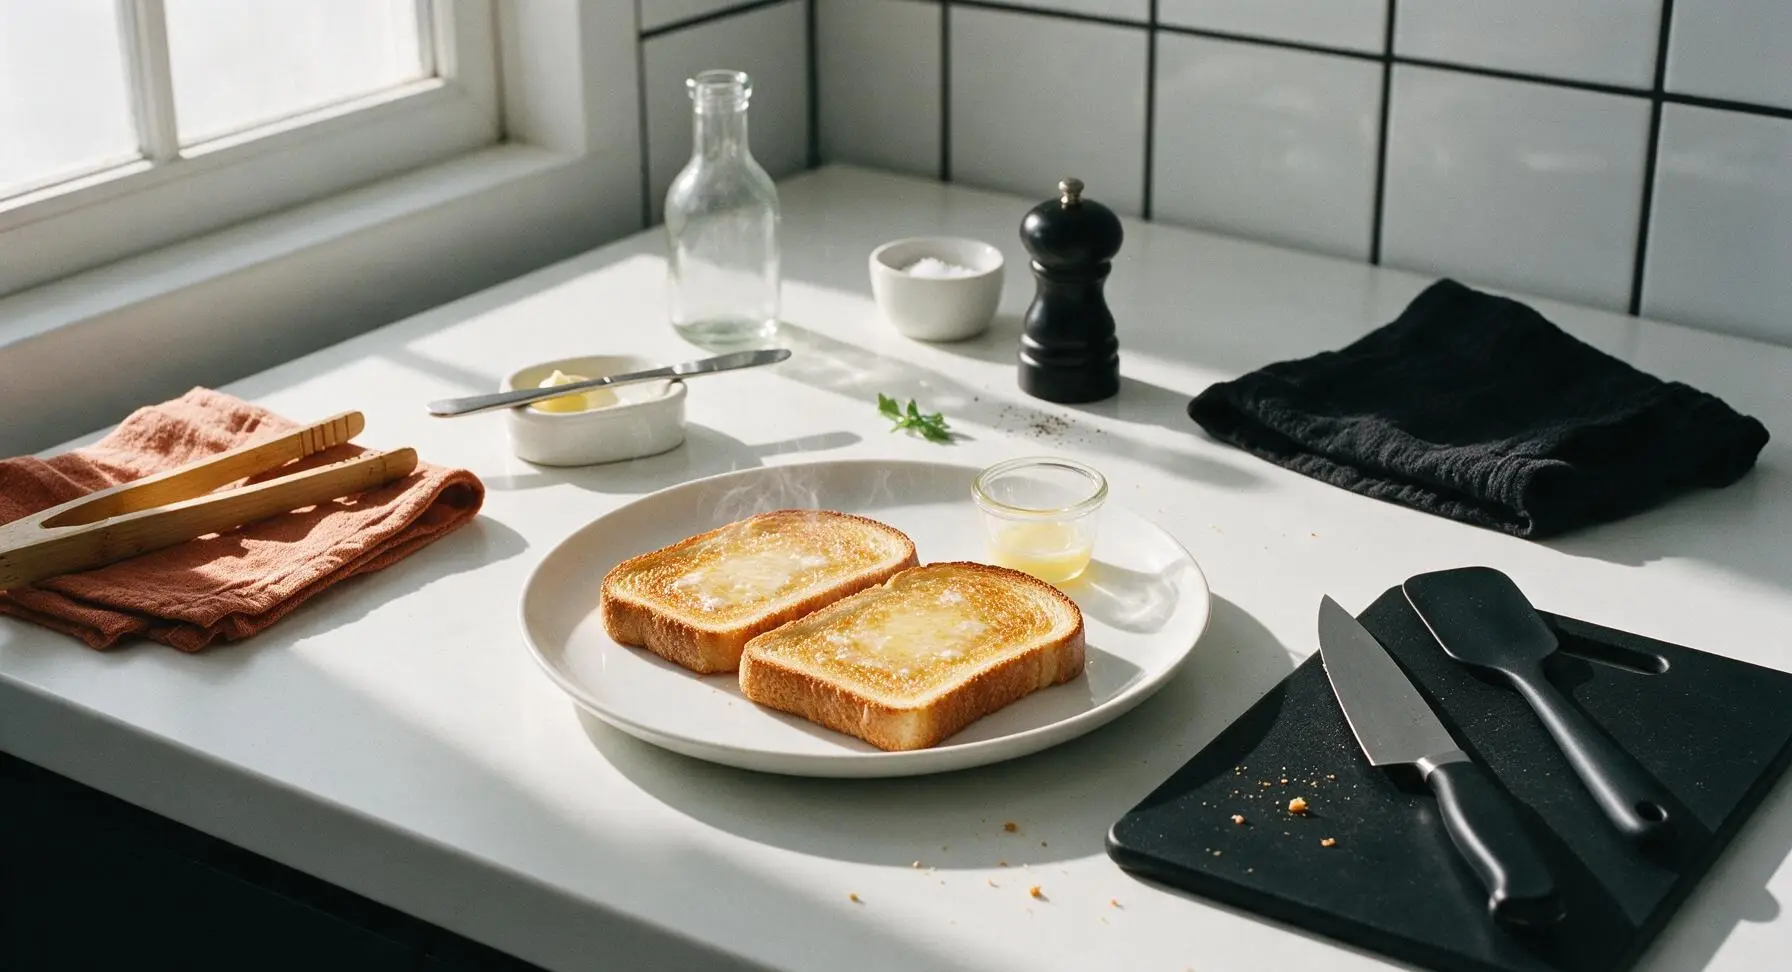
Let the toast rest for 30 seconds on the plate so melted butter soaks evenly into the bread crumb, rather than running off when you pick up a slice. Serve warm, with extra butter on the side if desired.
Step 7
step7:Rest Briefly Before Serving

Tips

1.Stick to medium-low heat for stovetop toast: high heat will burn the bread surface before the center warms through, leading to bitter charred edges and a cold, soft middle. The slow 90-second per-side cook creates a shatteringly crisp crust without sogginess.
2.Soften butter before cooking: cold butter will tear delicate bread crumb when spread, and will melt too quickly and run off into the pan instead of soaking evenly into the toast for rich, buttery flavor in every bite.
3.Skip adding butter directly to the preheated pan: toasting bread dry first lets the surface crisp evenly from direct pan heat, while adding butter to the hot toasted side after flipping lets it soak slowly into the crumb instead of frying the crust into a greasy, overly browned mess.


✨ You May Also Like

Breakfast
🍜 United States

Crisp-edged, fluffy lard griddle cakes are a nostalgic homestyle staple, with rich savoriness from rendered lard, perfect topped with maple syrup or savory gravy.

⏱️ 25 minuteBreakfast ★ 4.8
Breakfast
🍜 United States

Flaky, buttery homemade buttermilk biscuits smothered in creamy, peppery pork sausage gravy: a beloved, hearty Southern American comfort food classic.

⏱️ 35 minuteBreakfast ★ 4.8
Breakfast
🍜 United States

Golden, custardy brioche stuffed with sweet cream cheese and fresh berries, pan-fried to crisp perfection. An indulgent, cozy breakfast perfect for slow weekend mornings.

⏱️ 30 minuteBreakfast ★ 4.7
Breakfast
🍜 United States

Flaky, buttery Southern-style biscuits stuffed with savory salty country ham, a portable, satisfying classic perfect for casual on-the-go meals.

⏱️ 25 minuteBreakfast ★ 4.8
Breakfast
🍜 United States

Iconic puffy baked pancake popularized in Seattle, with crisp golden edges and soft custardy center, served warm with classic sweet toppings.

⏱️ 35 minuteBreakfast ★ 4.6
Breakfast
🍜 United States

Fluffy, golden pancakes studded with juicy peak-summer mixed berries, drizzled with maple syrup for a bright, comforting, crowd-pleasing family breakfast.

⏱️ 25 minuteBreakfast ★ 4.7

easy toast:Frequently Asked Questions

1.Why would I make buttered toast on the stovetop instead of using a pop-up toaster? ▾
Stovetop toast delivers far deeper, more even buttery flavor than dry toaster toast, because bread toasts directly in melted butter instead of crisping up with no fat first. You get full control over golden browning, a shatteringly crisp crust, and the soft, butter-soaked center you can never get from a pop-up toaster, with zero special equipment required.
2.What thickness of sourdough bread works best for this recipe? ▾
Aim for ¾ to 1-inch thick slices of sourdough, ideally cut from a rustic, crusty loaf. Thin pre-sliced sandwich bread will burn too quickly and won’t hold that signature tender, buttery center without turning soggy. If you only have thinner pre-sliced bread, keep a closer eye on heat levels to avoid over-browning.
3.Can I use salted butter instead of unsalted butter for this toast? ▾
You absolutely can, but unsalted butter lets you control the final salt level perfectly, which is why it’s my go-to pick. If you use salted butter, skip adding extra salt during cooking, and only add a tiny pinch of flaky sea salt at the end if you taste and think it needs a little extra brightness to cut the richness.
4.What stovetop heat setting should I use to avoid burning my toast? ▾
Stick to medium-low heat for the most consistent results. High heat will burn the butter and char the outside of the bread before the center has a chance to warm through and absorb that rich butter flavor. If you notice the butter browning too fast or smoking, turn the heat down a notch right away.
5.How long does this stovetop buttered toast take to make from start to finish? ▾
Total time clocks in at 5 to 7 minutes from start to finish, which is just as fast as using a toaster once you account for waiting for your toaster to preheat. You’ll spend 2 to 3 minutes toasting each side of the bread, plus 30 seconds to add the final pinch of flaky salt before serving.
6.My stovetop toast always turns out soggy—what am I doing wrong? ▾
Soggy stovetop toast almost always comes from using too much butter, too low of heat, or overcrowding the pan. Use 1 tablespoon of butter per thick slice, make sure the butter is melted and foaming slightly before adding bread, and don’t stack slices right after cooking if you want to keep that crisp crust.
7.Do I need a cast iron skillet to make this recipe, or will other pans work? ▾
You don’t need a cast iron skillet at all! A heavy-bottomed nonstick skillet, stainless steel pan, or even a well-seasoned flat griddle works perfectly. The only requirement is that your pan has a flat, even surface that holds heat consistently, so you don’t get patchy, uneven browning across your bread slice.
8.When should I add the flaky sea salt for the best flavor? ▾
Add your pinch of flaky sea salt immediately after you pull the toast out of the pan, while the surface is still hot and glistening with melted butter. The heat will help the salt crystals adhere slightly so they don’t all fall off when you pick up the slice, and the bright, crunchy salt cuts through rich butter perfectly.
9.Can I use a different type of bread if I don’t have sourdough on hand? ▾
Thick-cut sourdough is my top pick for its tangy, sturdy crumb and crisp crust, but you can swap in other thick-cut rustic breads if needed. Try country white, whole wheat, rye, or even brioche for a richer, sweeter take—just avoid super soft, thin sandwich bread, which gets soggy too fast on the stovetop.
10.How do I get that signature tender, buttery center instead of dry, crisp toast all the way through? ▾
The trick is to toast over medium-low heat so the butter slowly seeps into the center of the thick slice as the outside crisps up, instead of browning the crust too fast before the middle warms. Don’t press the bread down hard with a spatula while it cooks—that squeezes out butter and leads to dry, compressed toast.
11.Can I make this toast ahead of time for meal prep or quick weekday breakfasts? ▾
This toast is best served immediately right out of the pan, when the crust is shatteringly crisp and the butter is still warm. It doesn’t hold up well for meal prep, since it will get soggy as it sits, but since the whole recipe takes under 10 minutes to pull together, it’s easy to make fresh whenever you want a quick, cozy bite.
12.What simple toppings work well with this basic buttered toast if I want to mix it up? ▾
This simple buttered toast is perfect on its own, but you can top it with smashed avocado and red pepper flakes, a drizzle of honey and cinnamon, a runny fried egg, a thin spread of jam, or even a light sprinkle of parmesan for a savory twist. Stick to light toppings so you don’t weigh down the crisp crust and make the toast soggy.

Comments (15)

2 days ago

OMG this is such a game changer! I’ve been making toast in the toaster forever and it always comes out uneven, but stovetop with melted butter? My kids devoured every slice before I even got a bite! Served it with scrambled eggs for breakfast this morning and no complaints, which is basically a miracle in my house.

yesterday

Right?! My picky 7 year old used to refuse toast unless it was “perfectly crunchy no burnt edges” and this method nails it every single time.

2 hours ago

So glad your crew loved it! Pro tip: sprinkle a tiny pinch of flaky sea salt on top right after it comes off the heat for an extra little pop of flavor!

3 days ago

Wait, I thought buttered toast on the stove was just something my grandma made? Tried this last night when my toaster broke mid-snack prep for my movie night, and wow. SO much better than regular toast. The butter soaks in just right instead of sitting cold on top.

2 days ago

Nothing beats grandma’s cooking hacks! So happy this saved your movie night snack spread — it works great for garlic bread bites too if you add a little garlic powder!

1 week ago

Perfect quick breakfast to make before early trailheads! I make this on my camp stove when I’m car camping too, way easier than packing a toaster. Sprinkled a little cinnamon and sugar on mine last weekend and it hit so hard after a 3 mile sunrise hike.

5 days ago

Y’all, I don’t even own a toaster in my dorm, so this recipe is literally a lifesaver. 6 minutes total, no fancy equipment, uses stuff I already have in my tiny kitchen. Only note: don’t turn the heat up too high like I did the first time, I almost set off the dorm fire alarm oops.

3 days ago

LMAO I did the exact same thing my first week! Keep the burner on medium low and you’re golden, no fire department visits required.

2 days ago

Great catch about the heat! Medium-low is definitely the sweet spot to get that golden crunch without burning — so glad this works for your dorm setup!

yesterday

Made this to go with my chili last night for our neighborhood potluck pre-game, everyone was asking how I got the toast so buttery and crispy. Thought it was too simple to be good, but man I was wrong. Will be making this every time we do chili or soup from now on.

2 hours ago

This + chili is the ultimate combo! I dip mine right in the chili bowl, no shame.

2 weeks ago

Used my favorite gluten free sourdough for this and it came out perfectly! So many gluten free breads get weirdly rubbery in the toaster, but the stovetop method gives it that perfect crisp edge without the weird texture. 10/10, will be making this daily.

30 minutes ago

Wait why did I never think to do this? I’ve been wasting so much time waiting for my toaster oven to preheat for a single slice of toast. This is faster, tastier, and I don’t have to scrub crumbs out of the toaster tray every week. Total win.

5 minutes ago

Less cleanup, better flavor — that’s our favorite kind of recipe! So glad this fits your lazy Sunday vibe perfectly.

1 week ago

This is exactly how I made toast for my kids back in the 70s! Everyone is so used to pop-up toasters now they forget how much better stovetop buttered toast tastes. I added a little garlic powder and parmesan to mine last night to go with spaghetti, and my husband said it was the best part of the meal.

5 days ago

This comment made me so happy! My grandpa used to make stovetop toast with parmesan for me when I stayed over at his house, I haven’t thought about that in years. Gonna make this tonight for dinner.

3 days ago

Love that this is bringing back nostalgic memories for folks! The parmesan and garlic powder twist sounds absolutely delicious, we’ll have to try that variation ourselves.

3 days ago

I make a batch of this at the start of the week to go with my avocado and egg breakfasts, and it holds up way better than toaster toast! Just store it in an airtight container and pop it in the toaster for 30 seconds to re-crisp when I’m ready to eat. Game changer for busy work mornings.

2 hours ago

Okay full transparency: I burned my first three attempts at regular toast in the toaster, so I was nervous to try this, but the instructions were so clear! Got perfect golden crispy toast on my first try, my roommate thought I was secretly a good cook. Little does he know this is literally the only thing I know how to make right now lmao.

30 minutes ago

Wait if you’re making this for breakfast tomorrow I’ll bring the coffee, deal?

5 days ago

Took the base recipe and added a mix of cinnamon, sugar, and a tiny dash of nutmeg right after flipping the bread, and it tastes exactly like the cinnamon toast my mom used to make when I was little. So much better than the pre-made cinnamon toast you buy in the freezer aisle!

3 days ago

That cinnamon sugar variation sounds absolutely divine! We love seeing all the fun twists people put on this simple recipe — thanks for sharing!

30 minutes ago

Okay I’ll be honest, I clicked on this recipe because I thought “how hard can toast be? There’s no way this is better than toaster toast.” I am eating my words (and a second slice of this toast) right now. The way the butter melts into every little crevice of the bread? Unreal. Never using my toaster again.

5 minutes ago

I was the exact same way! I thought people were overcomplicating toast until I tried it, now I’m a convert for life.

just now

We love winning over the toast skeptics! So glad you gave it a shot and enjoyed it — welcome to the stovetop toast club!

1 week ago

Made this for my weekend brunch with friends last weekend, served it with whipped ricotta and honey on top, and everyone was raving. People kept asking where I got the “fancy gourmet toast” and I had to tell them it was just regular sourdough cooked in butter on the stove. Too easy!

2 days ago

Told my kids we were having “artisanal stovetop buttered toast” for dinner last night and they thought I ordered takeout from that fancy brunch spot downtown. Little did they know it took me 6 minutes total to make. 10/10, will be using this trick to impress them for months.

yesterday

This is genius, I’m stealing this line for my kids next week. They turn their nose up at “regular toast” but if I call it artisanal? They’ll eat three slices each.

yesterday

Added a little paprika and black pepper to the butter while it was melting for a savory kick, and it’s my new go-to quick snack when I get home from work. So customizable, so easy, no fancy gadgets needed. What more could you want?



