
easy waffles
intro
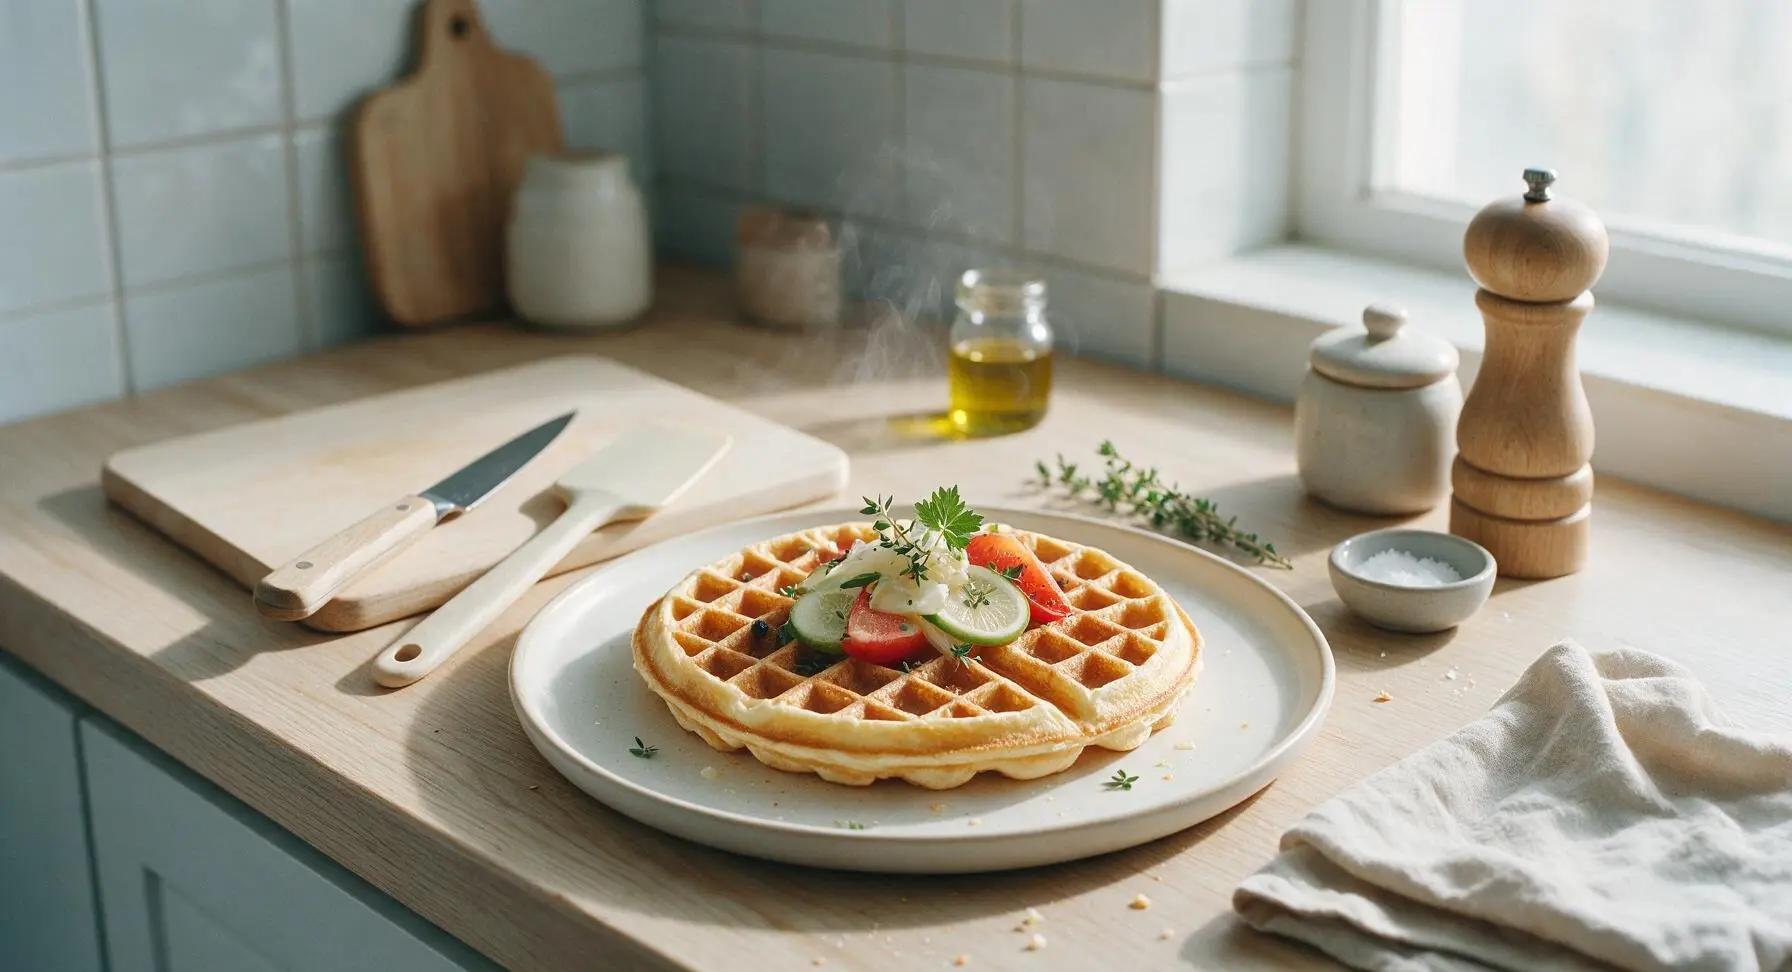
Crisp on the edges, light and fluffy inside, these no-fuss waffles come together in 25 minutes with basic pantry staples for a cozy, satisfying meal any day.
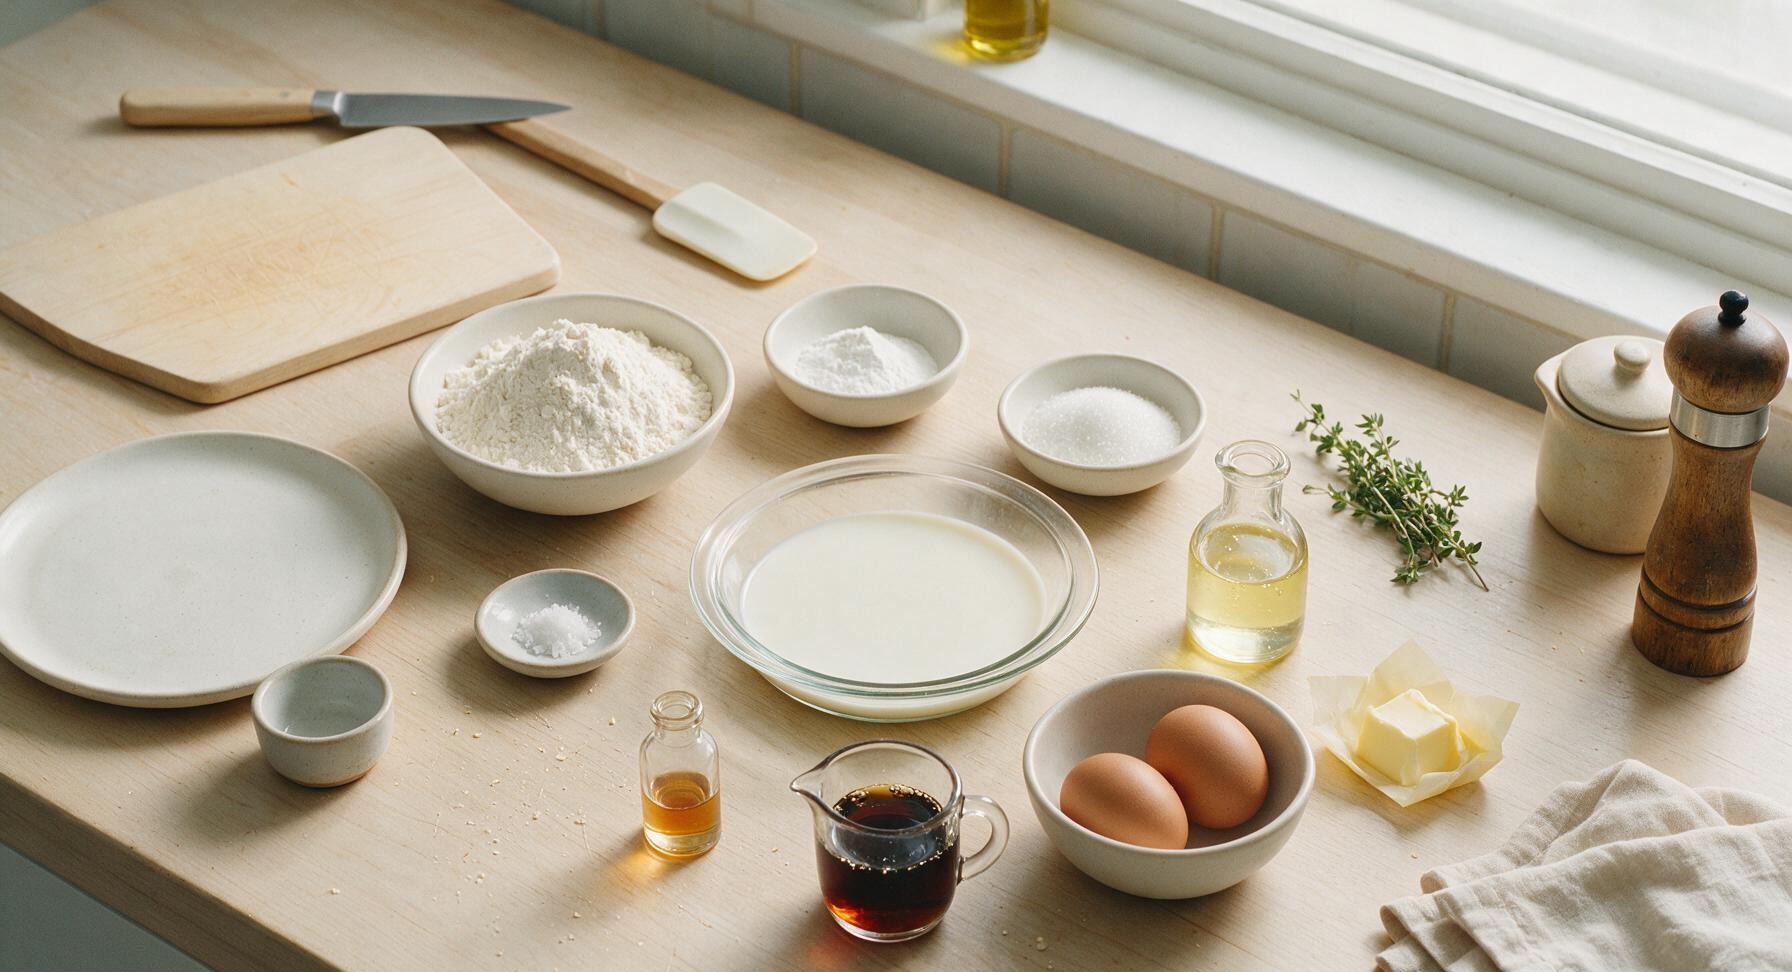
Ingredients
Steps
Preheat Waffle Iron
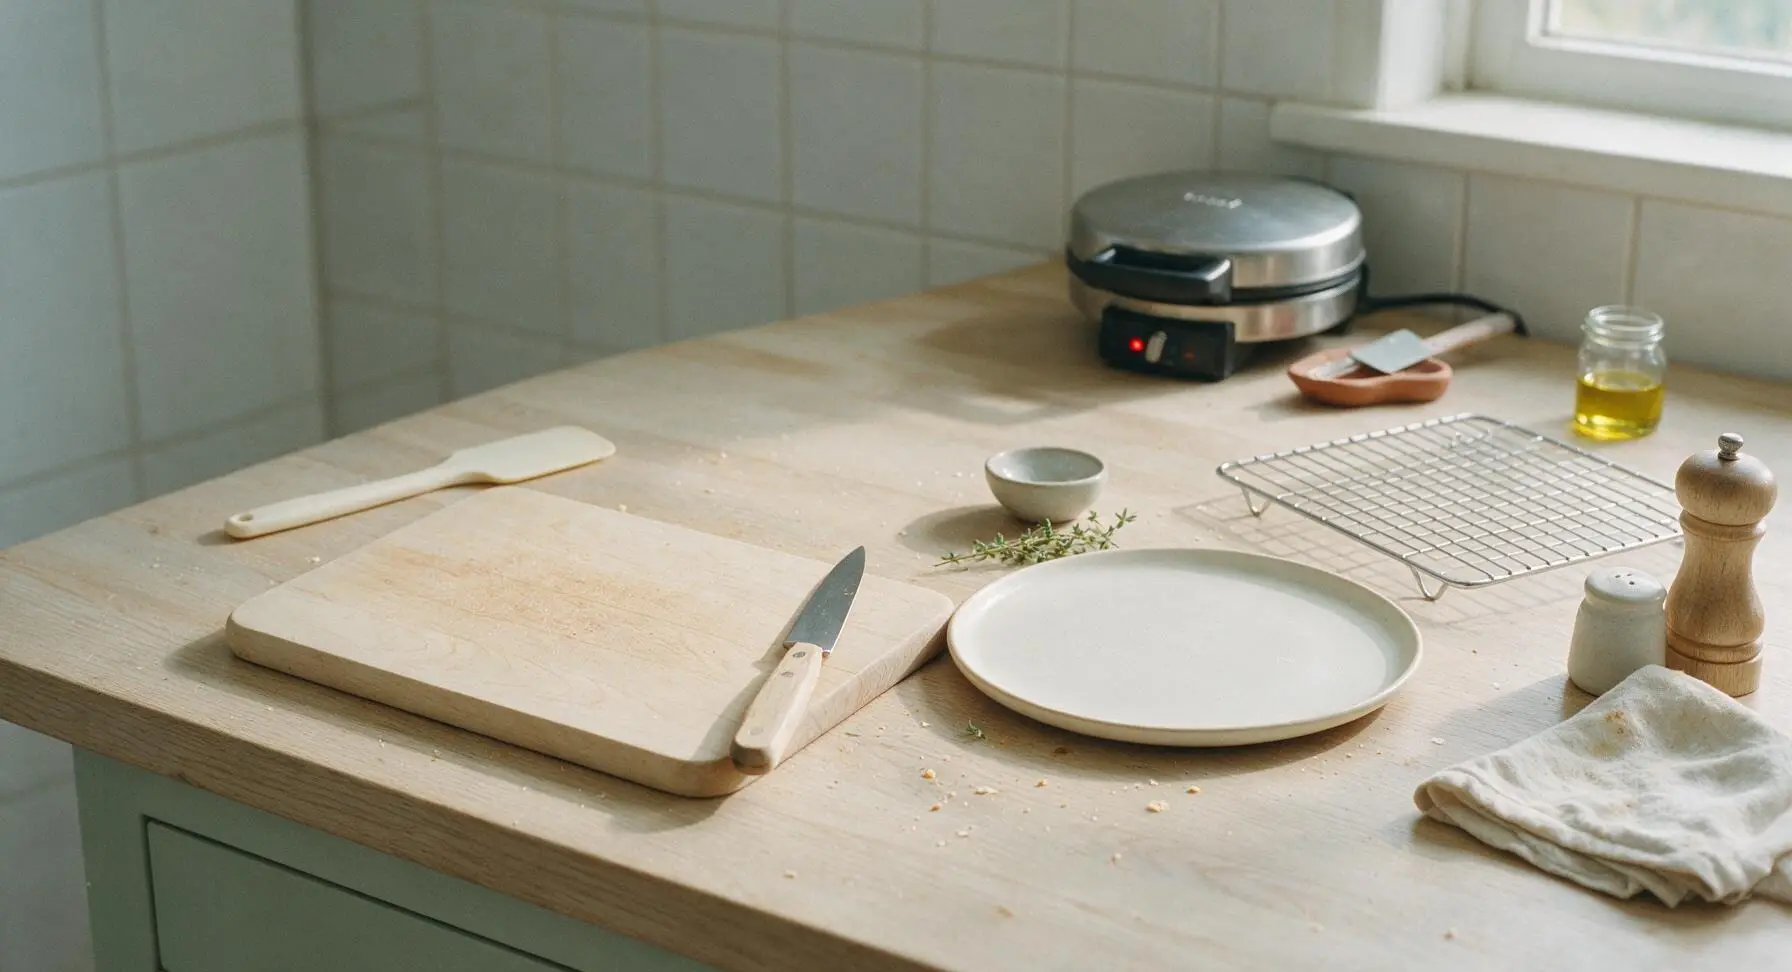
Plug in the 7-inch round brushed stainless steel waffle iron and set it to medium-high heat (375°F/190°C). Allow it to preheat for 5 minutes while you prepare the batter; the built-in indicator light will turn off once it reaches the correct cooking temperature. Lightly coat the non-stick plates with a thin layer of melted butter or non-stick spray if your iron has a history of sticking.
Whisk Dry Ingredients
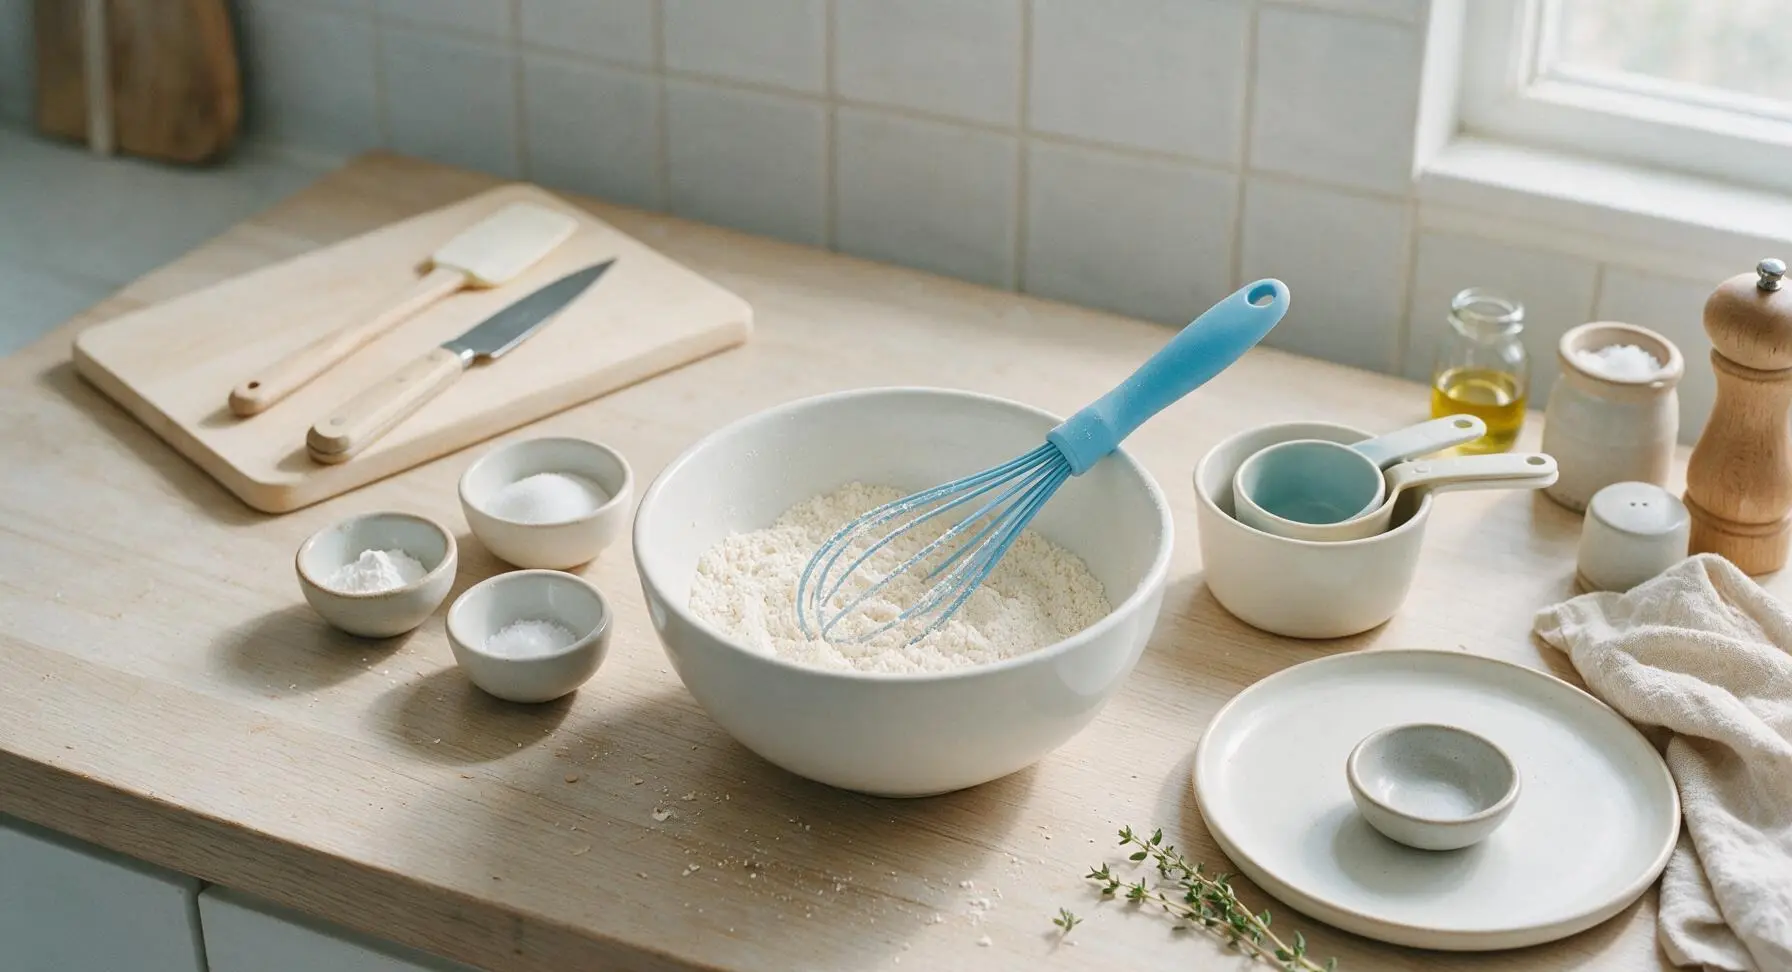
Place the medium matte white ceramic mixing bowl at the center of the counter. Add the measured all-purpose flour, baking powder, granulated sugar, and fine sea salt to the bowl. Use the sky-blue silicone whisk to stir the dry ingredients for 30 seconds until fully combined, with no visible clumps of baking powder. The finished dry mixture should be a uniform pale off-white color.
Mix Wet Ingredients
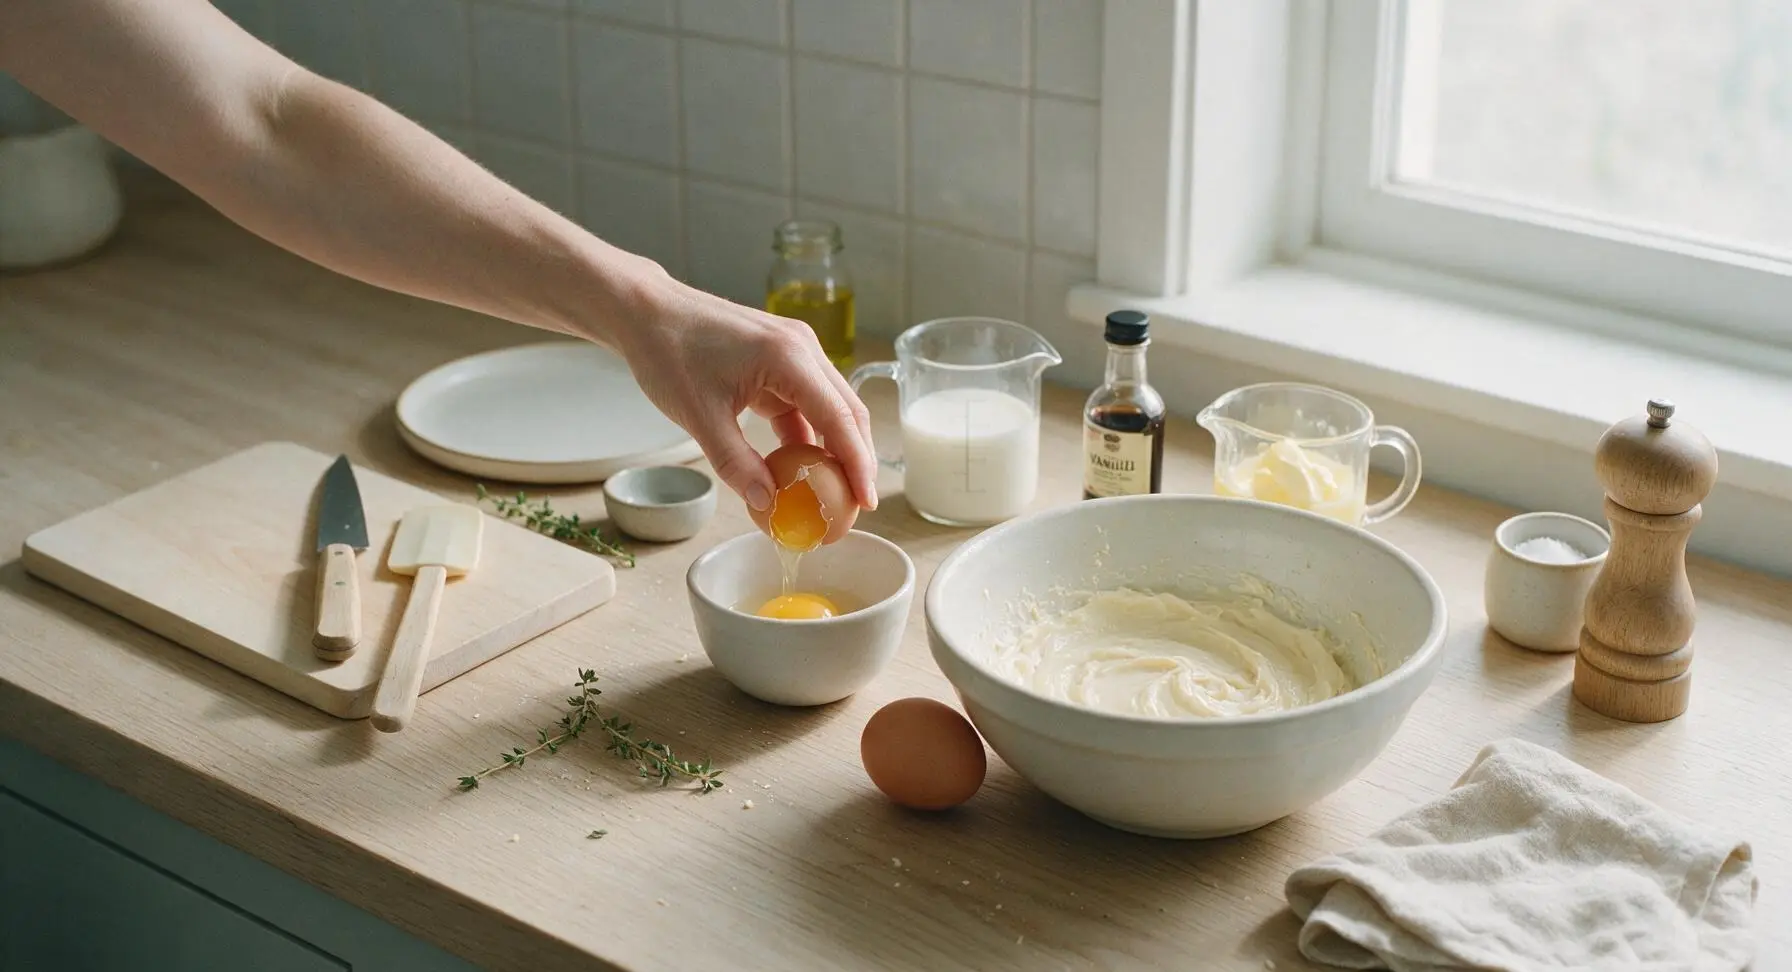
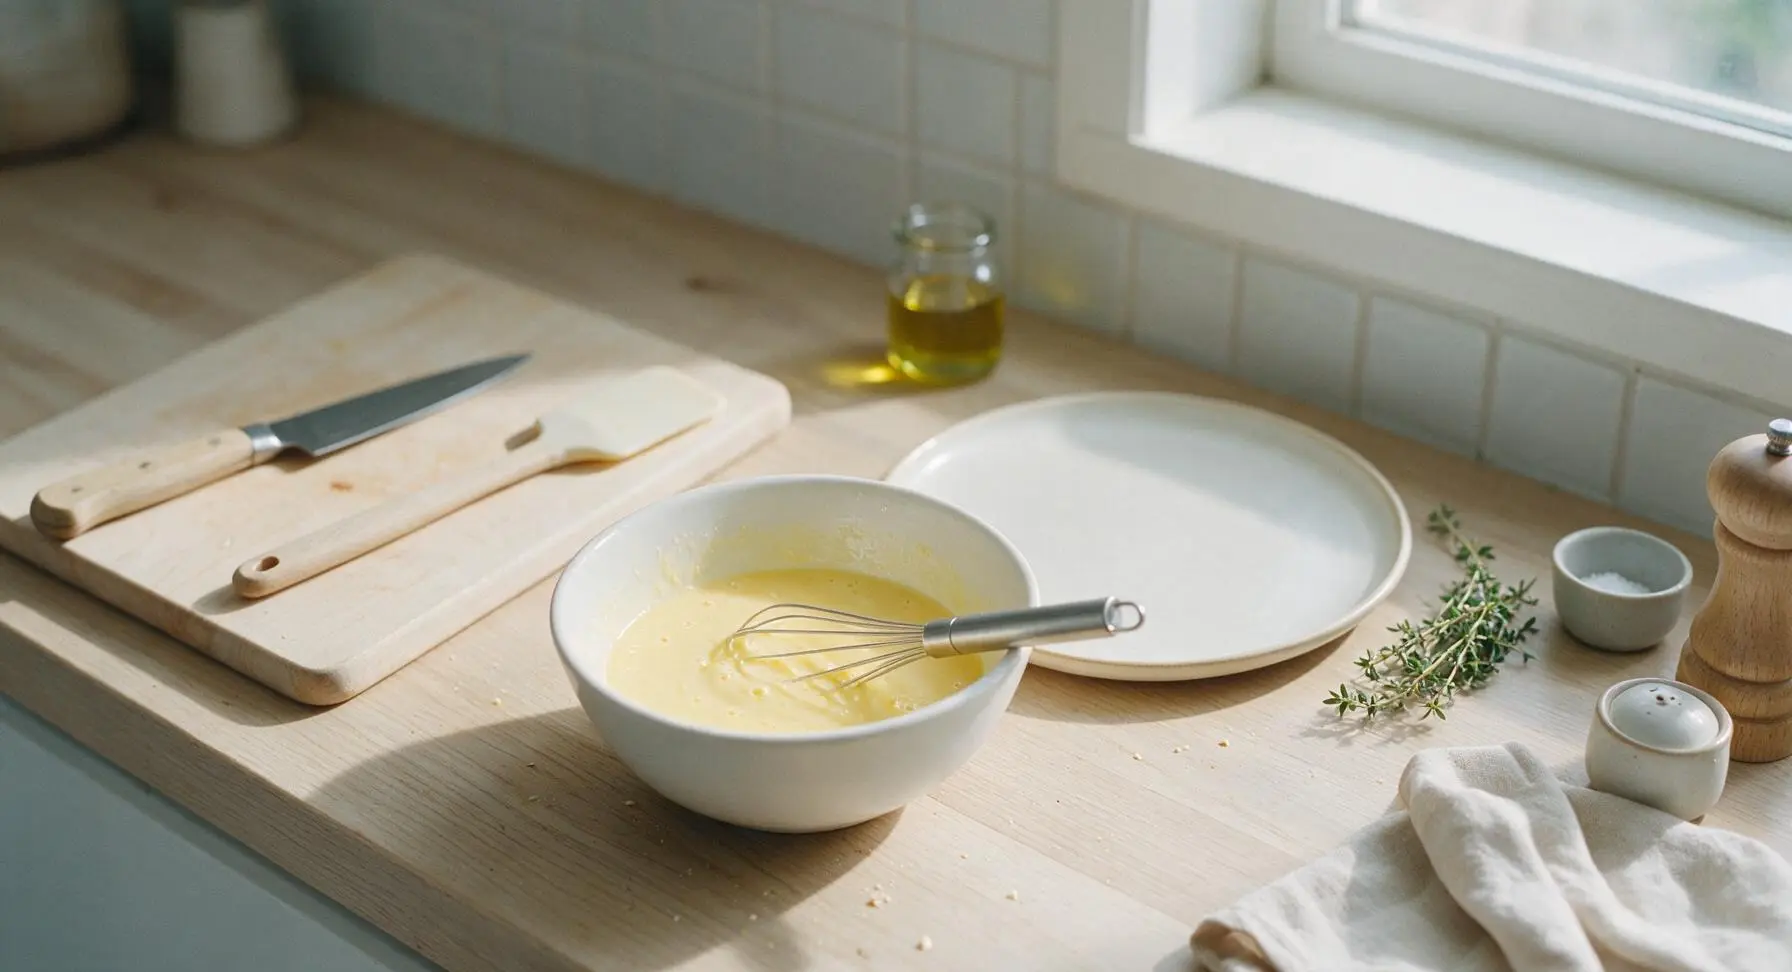
Crack the 2 large eggs into the small matte white ceramic prep bowl, taking care to fish out any small shell fragments with a spoon if they fall in. Whisk the eggs lightly for 10 seconds until yolks and whites are fully combined, then stir in the whole milk, cooled melted unsalted butter, and vanilla extract. Mix until the wet ingredients are smooth, with no streaks of separated butter visible on the surface.
Combine Batter Mixtures
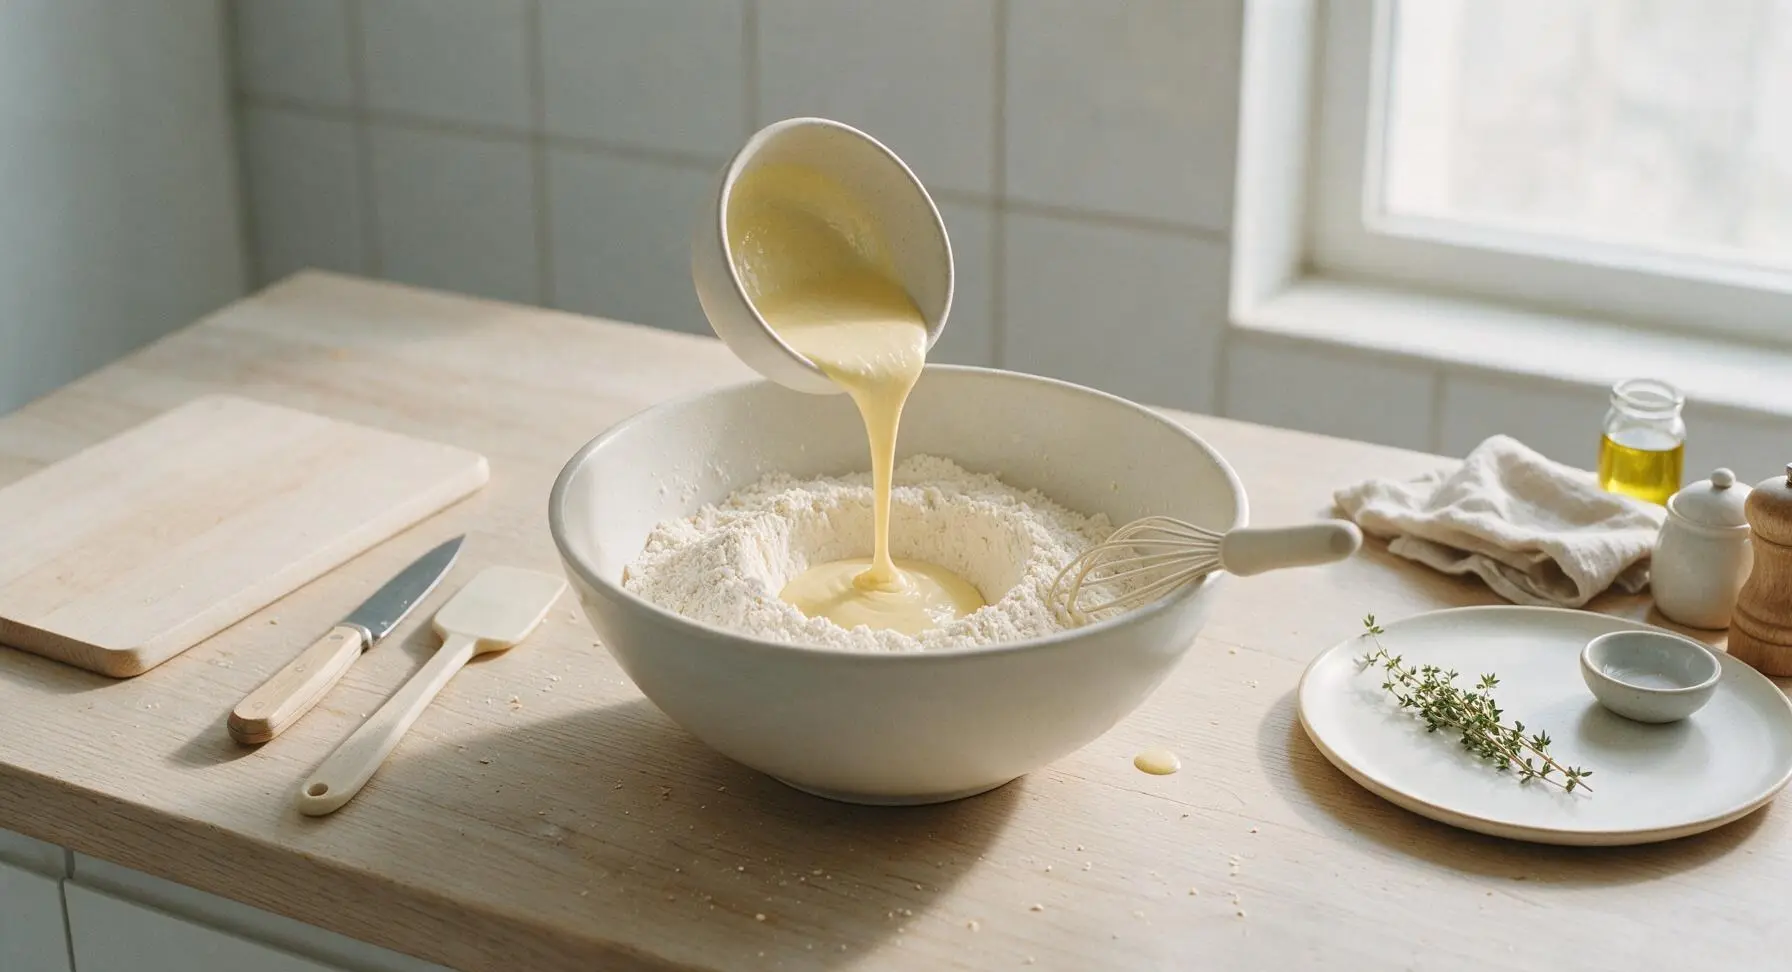
Pour the entire wet ingredient mixture into the mixing bowl with the dry ingredients. Use the silicone whisk to stir the batter gently for only 15-20 seconds, just until no large pockets of dry flour remain. Do not overmix: the finished batter should be thick and slightly lumpy, with a few small pea-sized flour clumps visible. Overmixing develops gluten in the flour, leading to tough, dense waffles.
Cook Waffle Batches
Once the waffle iron is fully preheated (indicator light off), use the 1/3 cup stainless steel measuring cup to pour batter evenly into the center of the lower waffle plate. Close the lid and cook for 3 to 4 minutes, until the waffle is deep golden brown and crisp on the outside, and no more thick steam escapes from the iron’s edges. Use the offset spatula to lift the cooked waffle out carefully, and transfer it to the chrome wire cooling rack for 1 minute before plating to keep the exterior crisp. Repeat with remaining batter to make 4 total waffles.
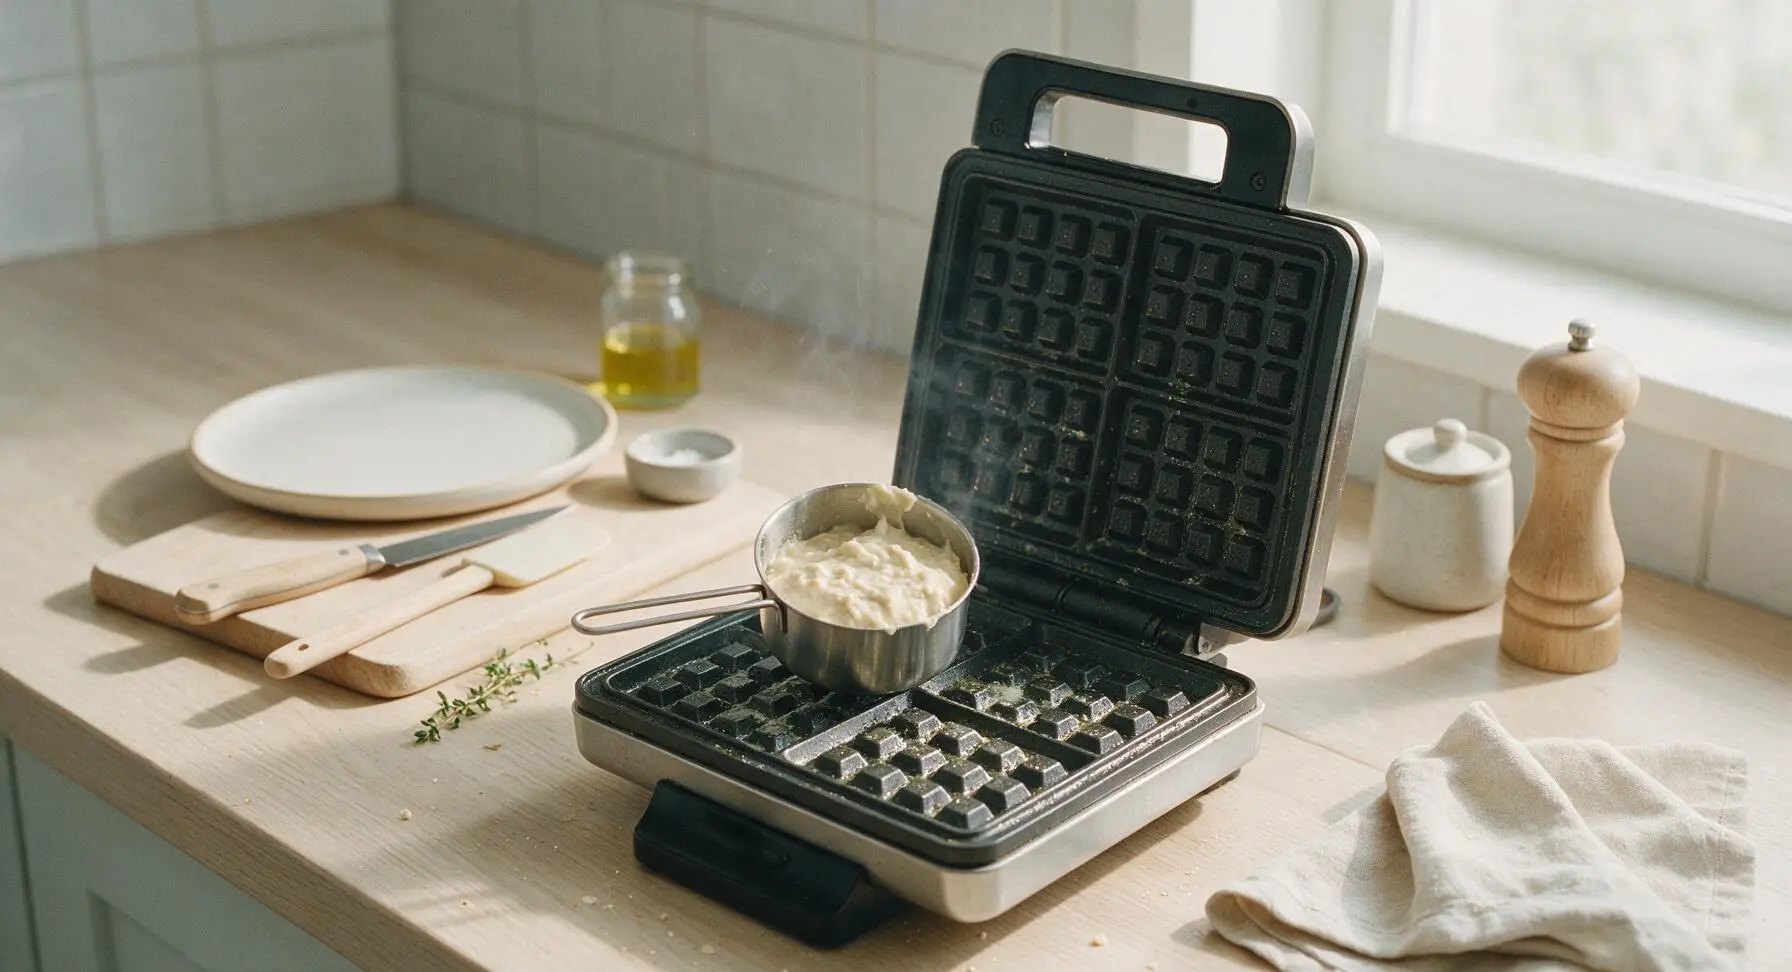
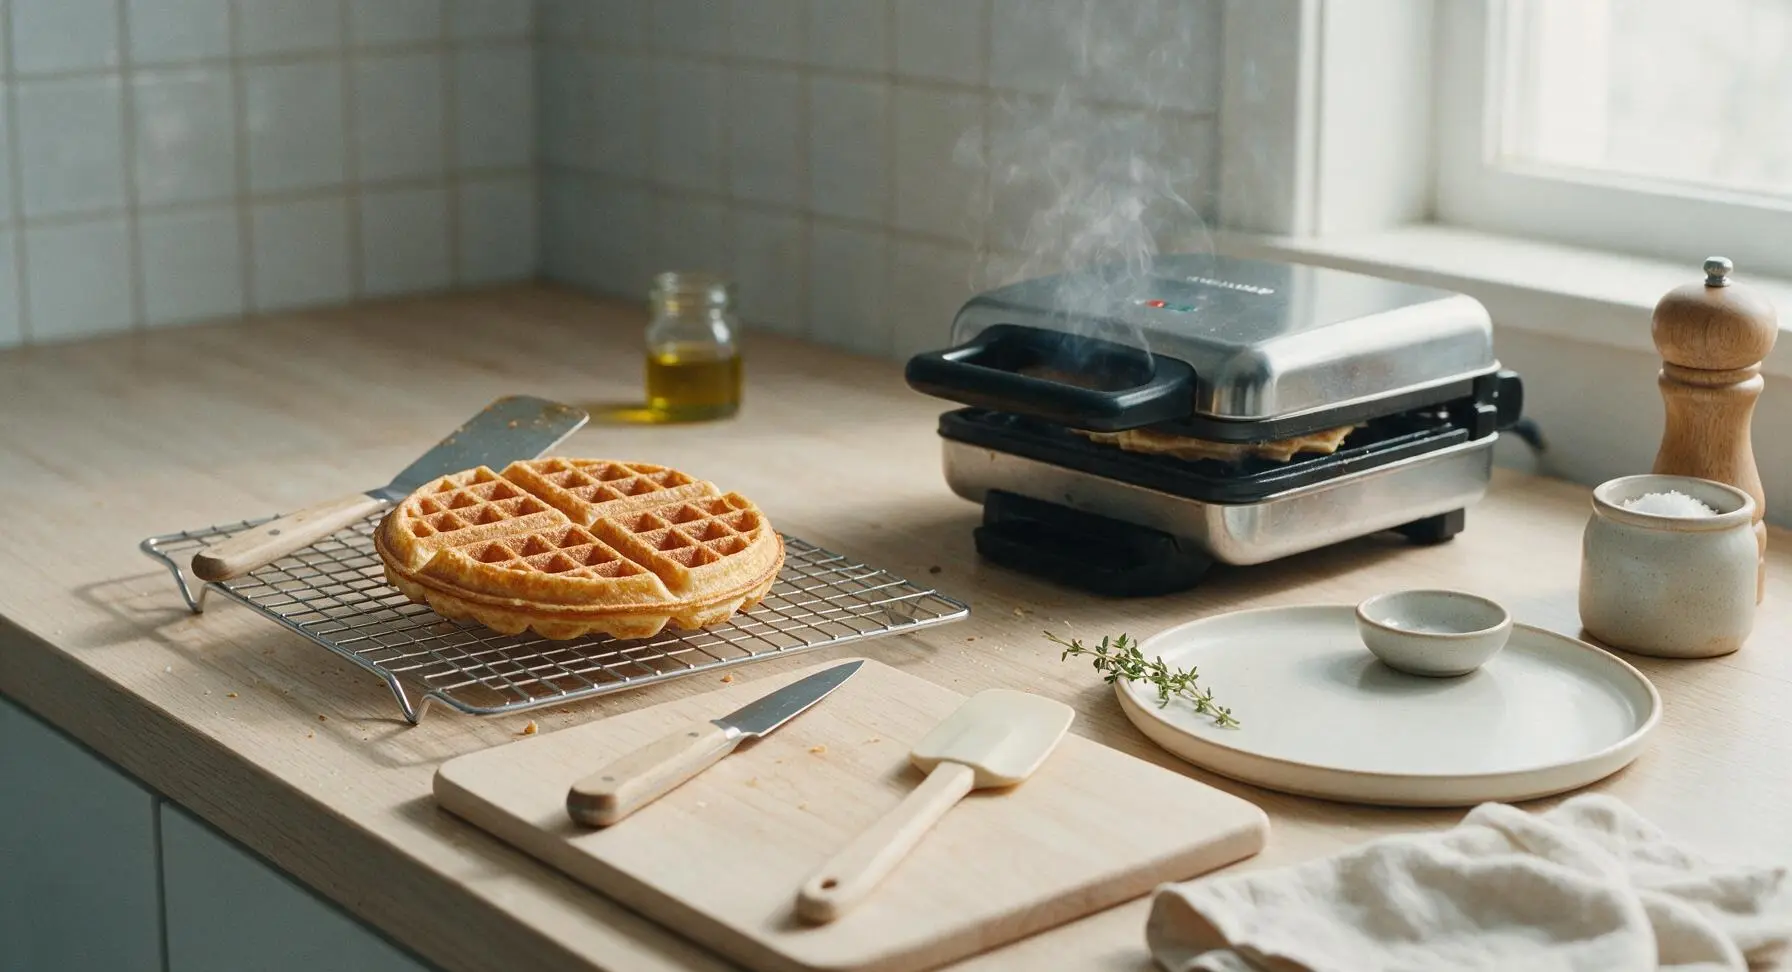
Plate and Serve Warm
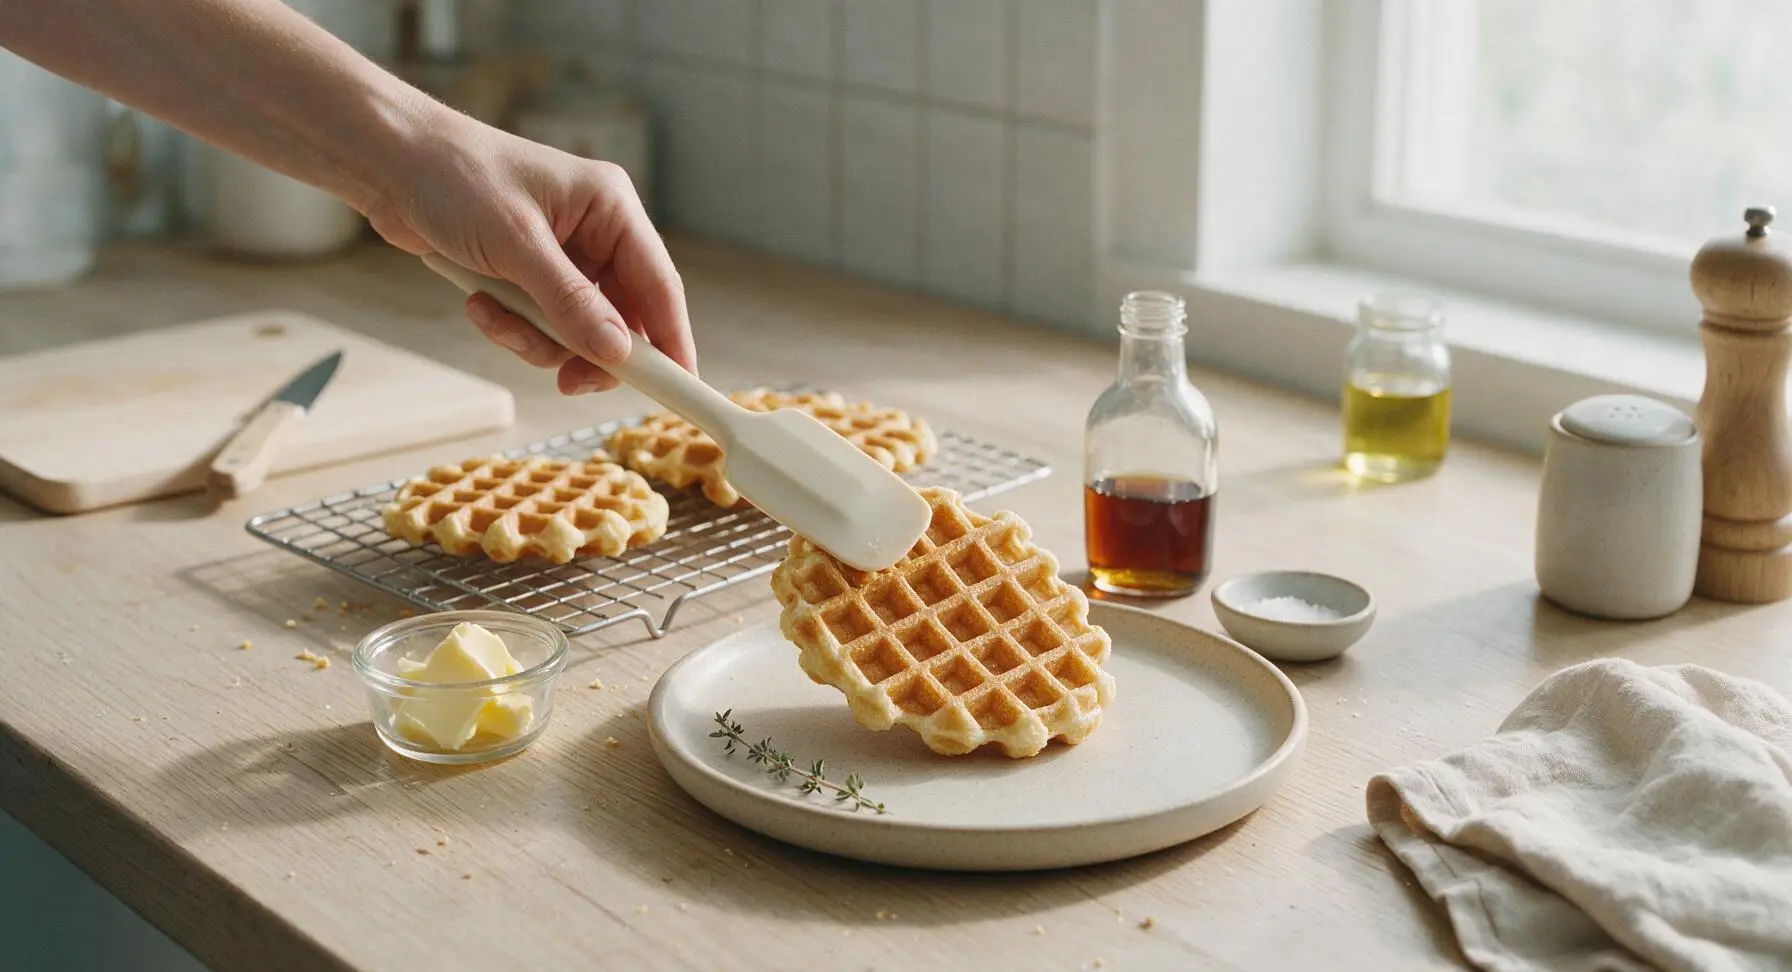
Transfer one warm waffle from the cooling rack to the matte oat cream stoneware dinner plate. Place a 1/2 tablespoon pat of salted butter in the center waffle grid, then drizzle 2 tablespoons of maple syrup over the top, allowing it to settle into the waffle pockets. Serve immediately while hot, with extra butter and maple syrup on the side.
Tips
2.Rest cooked waffles on a wire rack for 1 minute instead of stacking them directly on a plate. Stacking traps steam between waffle layers, which turns their crisp exterior soft and soggy in seconds.
3.For extra-crisp waffle edges, add 1 extra tablespoon of melted butter to the batter and cook waffles for 30 seconds longer. The extra fat helps the grid ridges caramelize to a perfect golden crunch without burning.






OMG these waffles are an absolute game changer for our chaotic Saturday breakfasts! I used to grab the frozen boxed ones because I swore homemade took too long, but 15 minutes total? No way. My three kids devoured theirs, loaded with syrup and fresh berries, and didn’t even complain there were no chocolate chips (total win for mom!). They came out so light and fluffy, no soggy bottoms at all even after 5 minutes on the plate. 10/10, adding this to our weekly rotation!
Made these for my fantasy football watch party brunch last Sunday and they were a total hit. People were asking for the recipe before the first quarter even started. I doubled the batch and added a little extra cinnamon and vanilla, and they came out perfect. Crisp on the outside, fluffy inside, exactly what a waffle should be. Way better than any diner waffle I’ve had lately.
I was so skeptical a waffle this easy could actually be fluffy, but wow — these deliver! I made a big batch on Sunday, popped the extras in the freezer, and they toast up perfectly for quick weekday breakfasts before work. No weird ingredients, no fancy equipment needed, just my basic waffle iron. SO good.
Brought these to our neighborhood potluck last weekend and people went crazy for them! I set up a little waffle bar with syrup, whipped cream, sprinkles, and fruit, and even the teens were lining up for seconds. Only thing I’ll note is my waffle iron runs a little hot, so I had to cut the cook time per waffle by about 30 seconds to avoid burning. Will absolutely make again!
Super easy recipe even for a total cooking newbie like me! I’m in a dorm with a tiny countertop waffle iron and I managed to pull these off without a single mishap. Way cheaper than buying waffles at the campus diner every morning, and they taste 10x better. 10/10 for broke college students.
Wait, has anyone tried making these with a 1:1 gluten free flour blend? I have celiac and have been searching for a fluffy GF waffle recipe that doesn’t turn into a dense, rubbery mess. This looks so easy I want to try it this weekend!
Tried these this morning for my wife’s birthday breakfast and I’m not gonna lie, I felt like a professional chef. They puffed up so high I thought my waffle iron lid was gonna pop open! She said they were better than the fancy brunch spot we went to for our anniversary. Total win. Only note: don’t overmix the batter, lumps are totally fine — I almost overstirred because I thought it was too clumpy!
These are SO good, but has anyone tried adding mix-ins? I wanna do chocolate chips and maybe some blueberries for my next batch, but I don’t wanna make them soggy or weigh them down so they don’t fluff up. Any tips?
Perfect quick recipe for our post-hike brunch last weekend! We got back from a 5 mile trail, whipped these up in no time, and they were exactly the carb load we needed. Crisp edges, soft fluffy middle, held up perfectly when I slathered them with peanut butter and maple syrup. Will be making these after every weekend hike from now on.
Wait, can I make the batter the night before? I have early morning meetings this week and would love to have batter ready to go in the fridge so I can just pour and cook when I wake up. These look so fluffy I don’t wanna ruin them by prepping wrong!