
easy way to cook bacon
intro
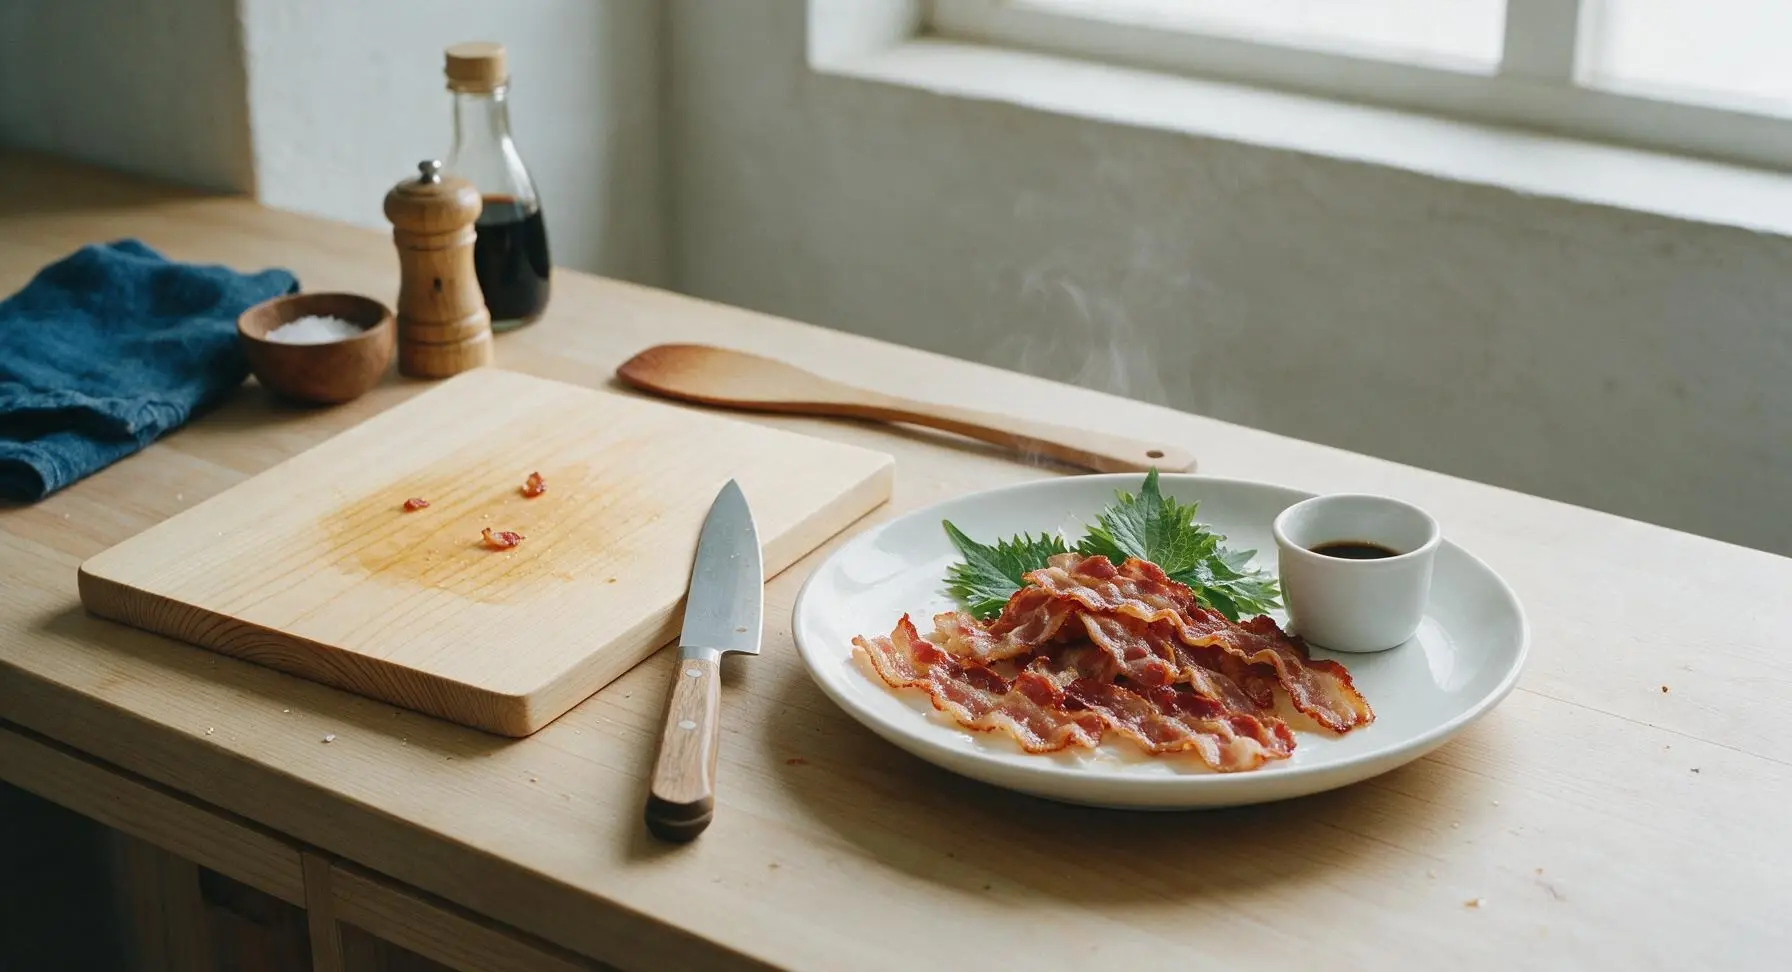
Crispy, evenly rendered bacon with zero stovetop splatter, minimal cleanup, and perfect chewy-crisp edges—no constant flipping required.
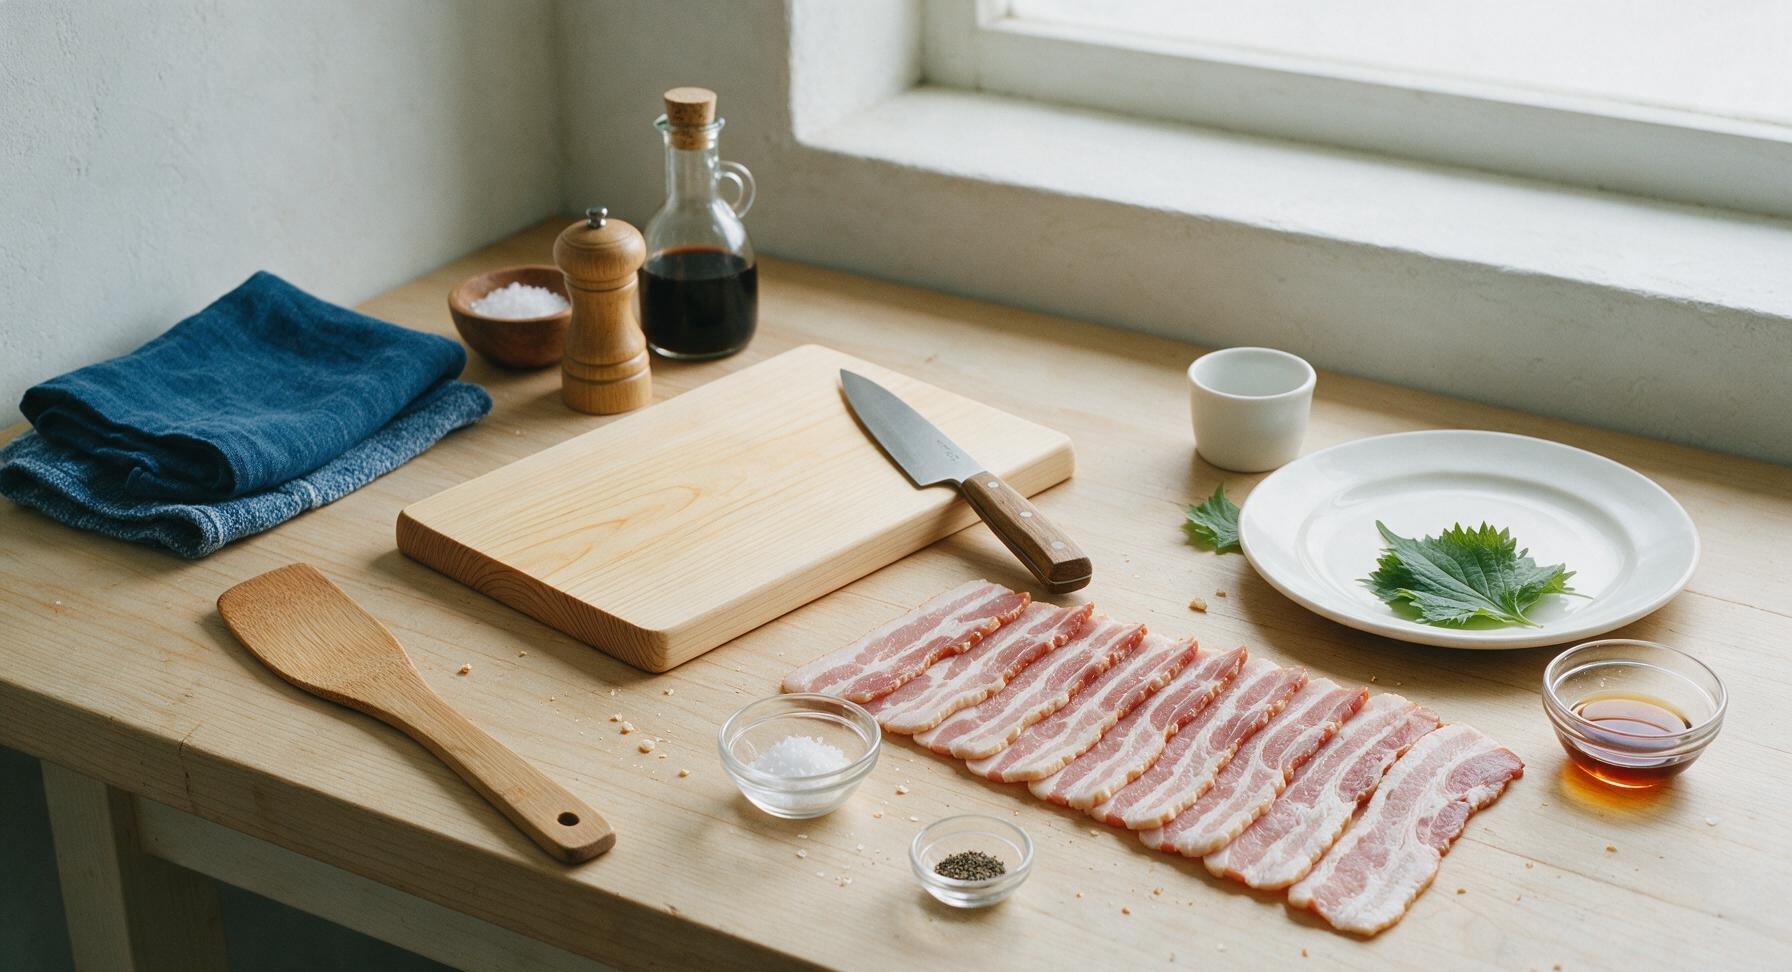
Ingredients
Steps
Preheat Oven, Line Pan
Adjust oven rack to the middle position, preheat oven to 400°F (200°C). Tear a 13x18 inch sheet of unbleached parchment paper from the roll, and line the rimmed half-sheet pan completely, leaving a 1/2 inch overhang on all long edges to catch grease and make cleanup easy. Do not preheat the pan—starting bacon on a cold pan reduces shrinkage.

Arrange Bacon Strips
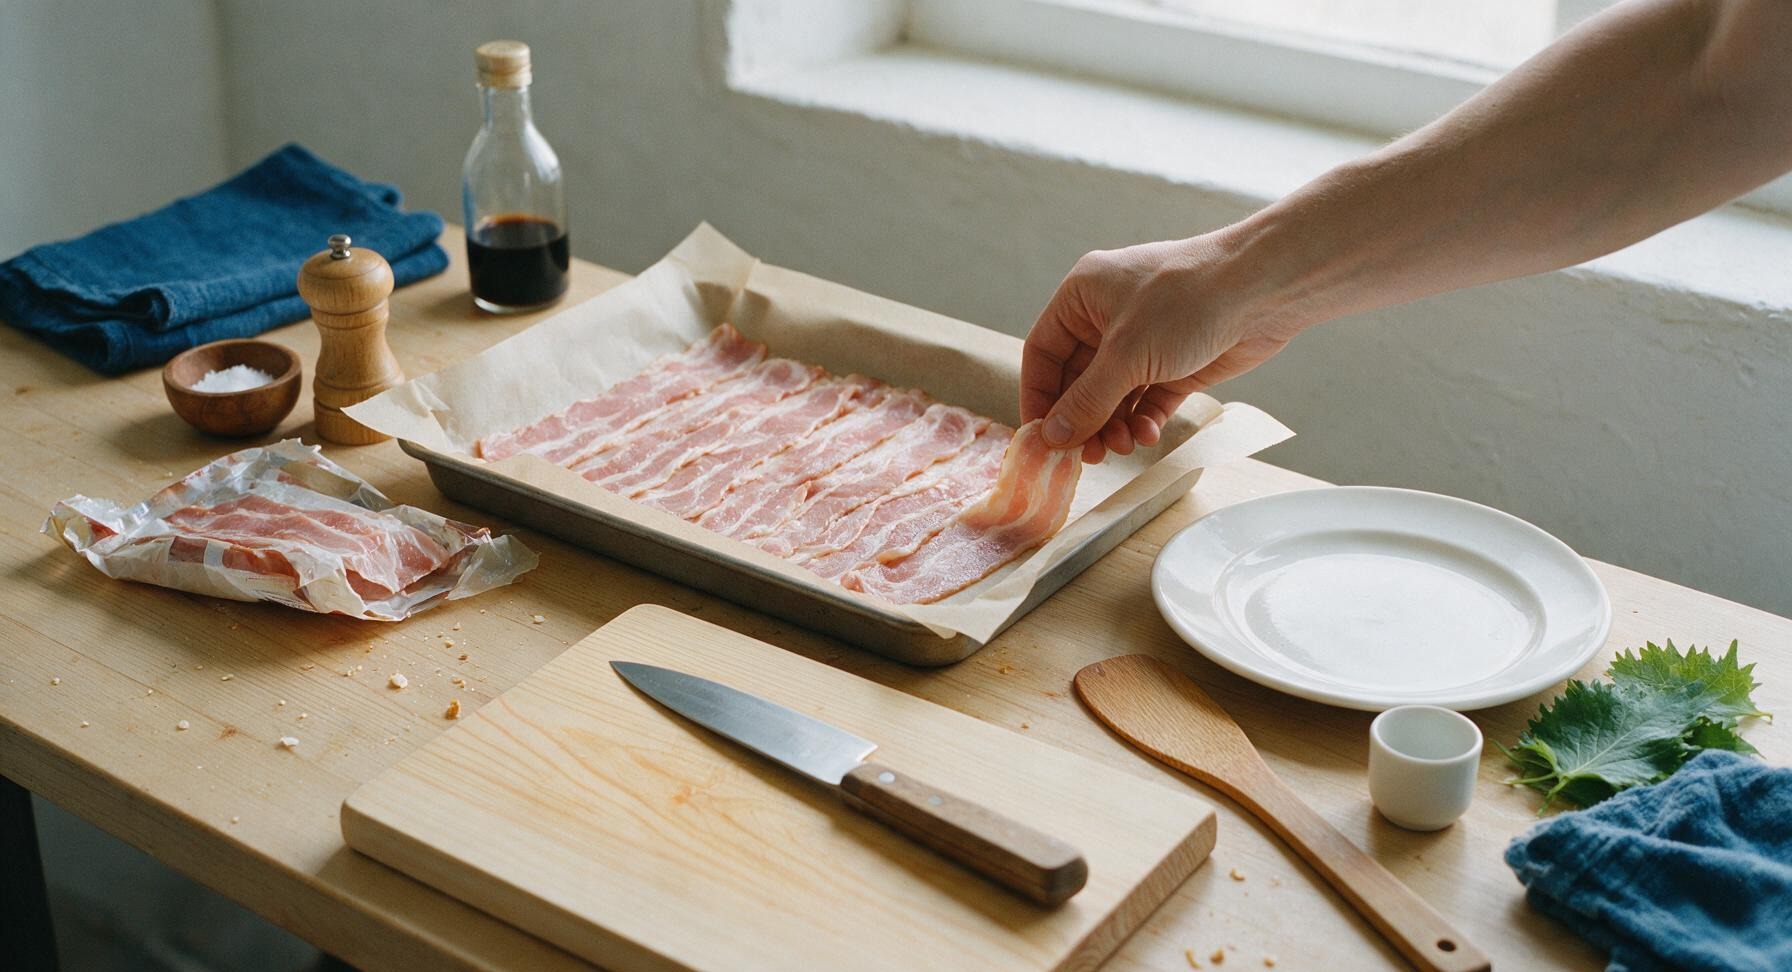
Remove the bacon from its packaging, separate individual strips, and lay them in a single even layer on the parchment-lined pan. Strips can touch slightly, as they will shrink while cooking, but do not overlap them heavily—overlapping causes undercooked, chewy spots.
Season Bacon Lightly
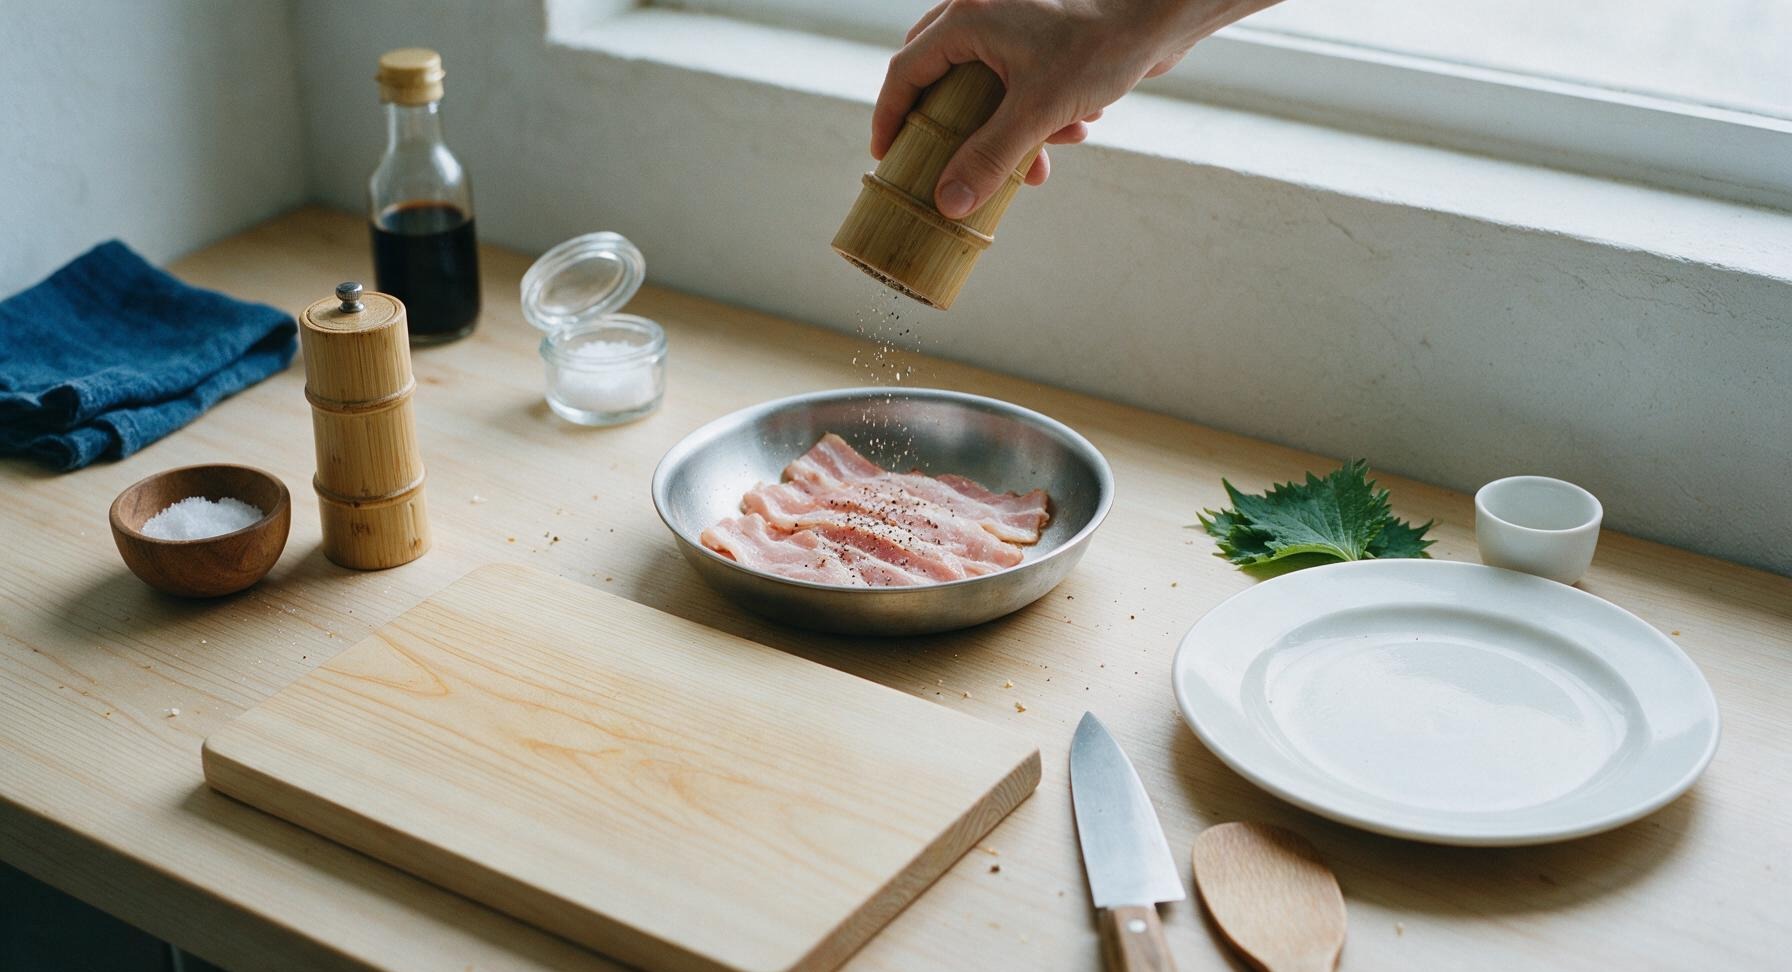
Sprinkle the raw bacon strips evenly with 1/8 tsp freshly ground black pepper. Skip adding salt at this stage—most commercial bacon is already cured with salt, and you will add a light flaky salt finish after cooking if desired. For a sweet-savory twist, brush strips with half the maple syrup now before baking.
Bake Until Crisp
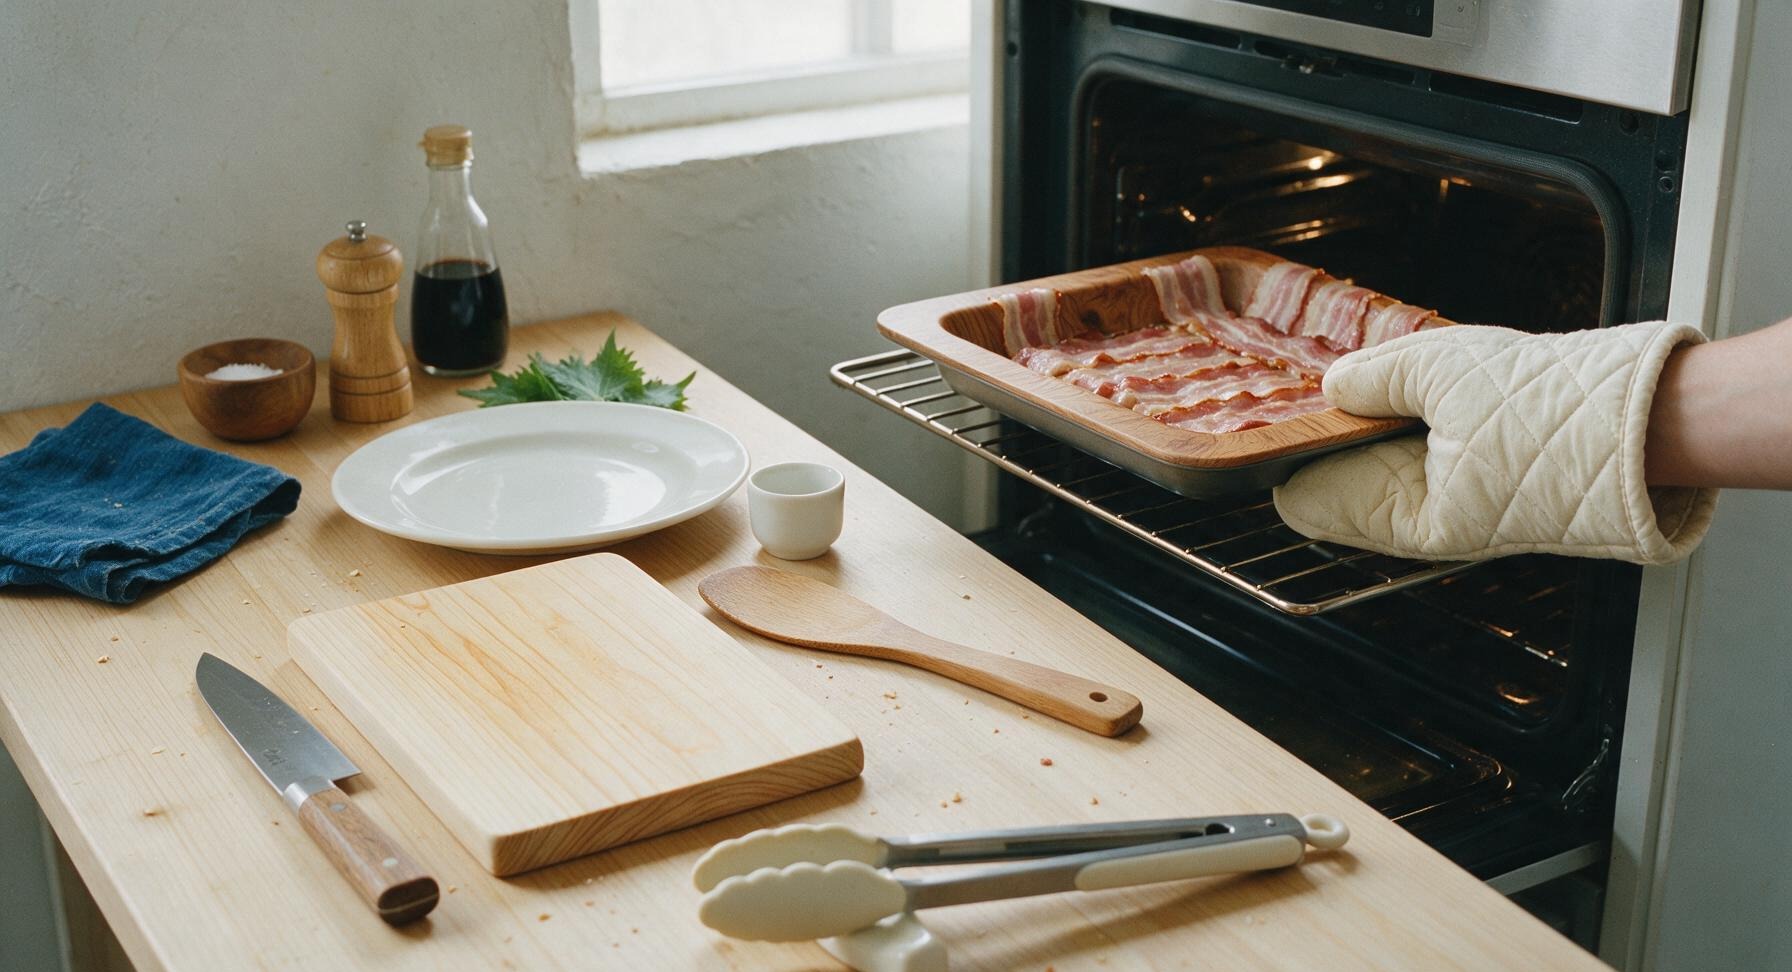
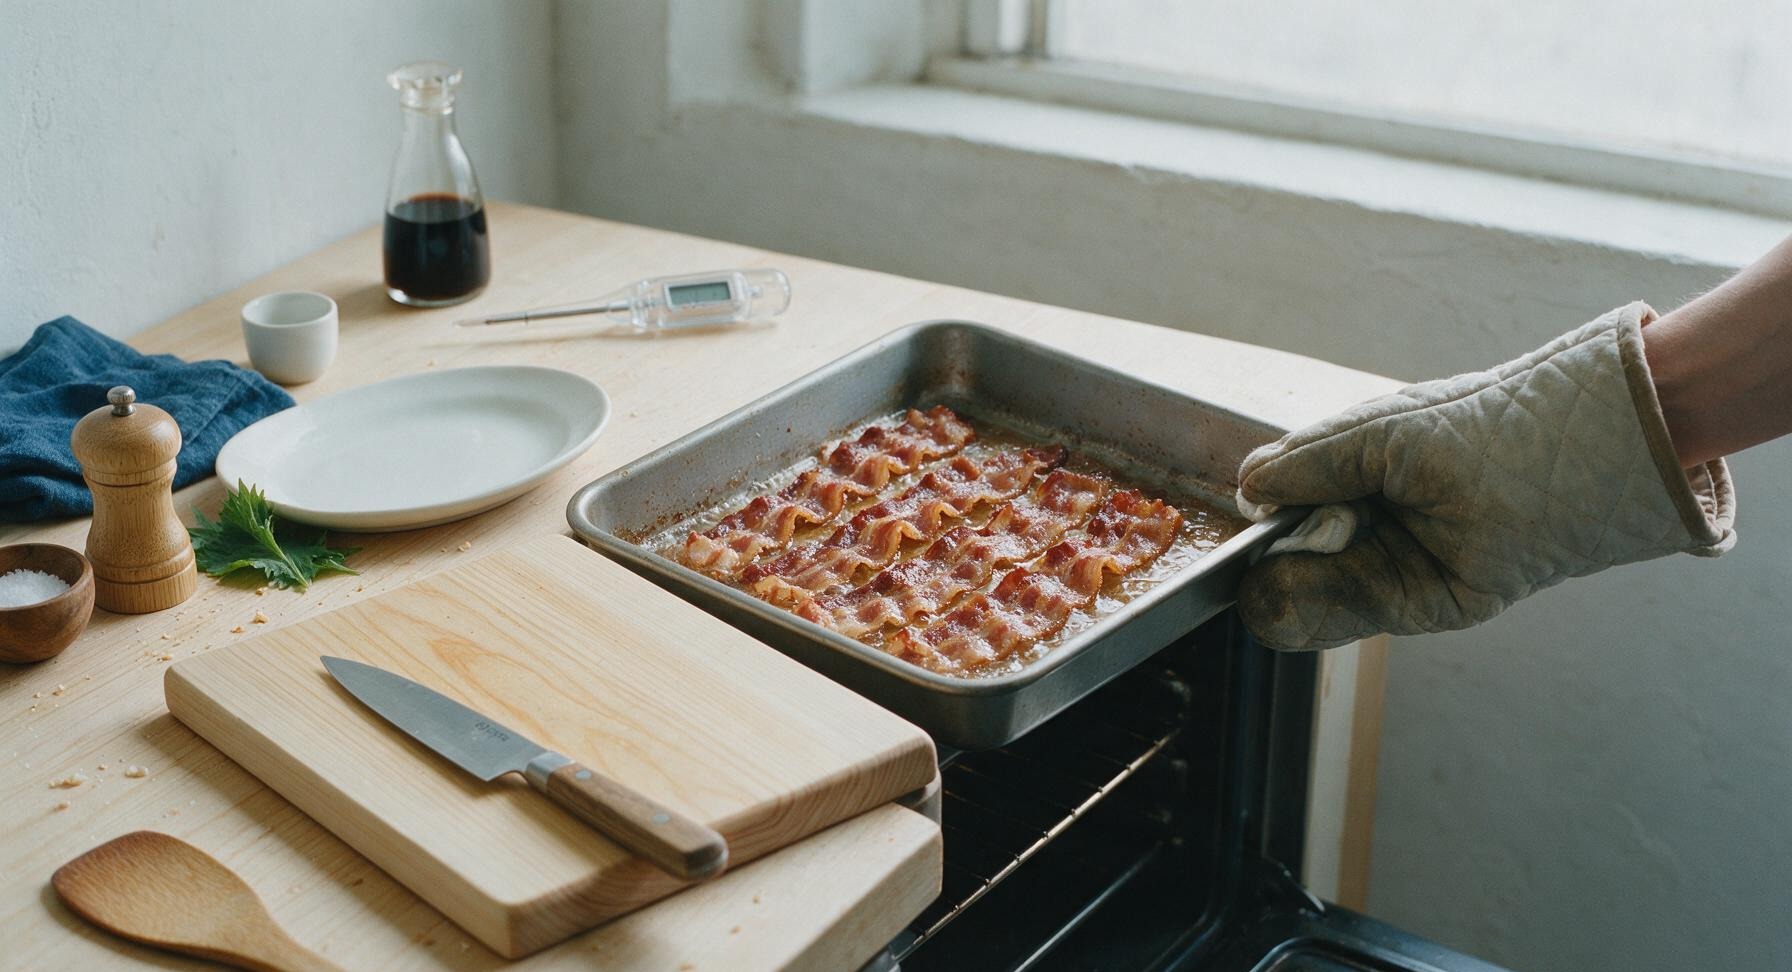
Carefully place the pan on the middle oven rack, close the oven door, and bake for 15-20 minutes. There is no need to flip the bacon halfway. Check at 15 minutes for thinner cut bacon; thick-cut bacon will usually take 18-20 minutes to reach perfect crispness, with deep golden edges and fully rendered, translucent white fat with no opaque raw spots.
Drain Excess Grease
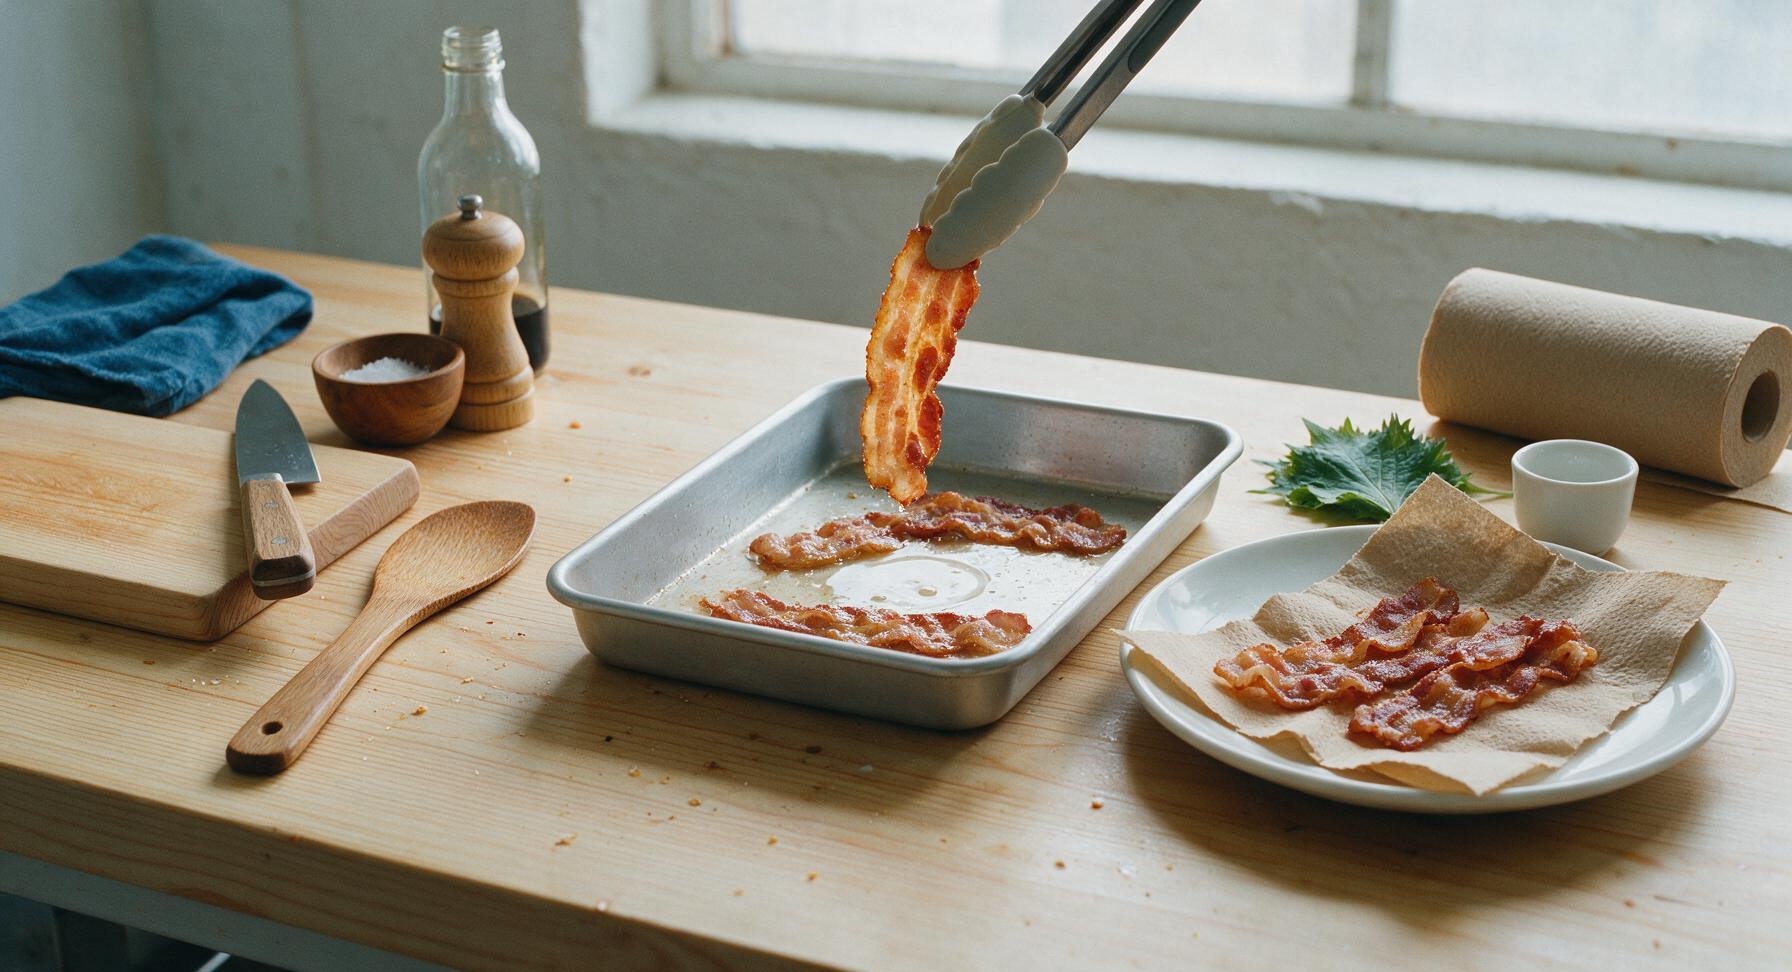
Once bacon reaches your desired crispness, carefully remove the pan from the oven. Tear 2 sheets of paper towels from the back-right roll and line the matte cream serving platter. Use the silicone-tipped tongs to transfer strips immediately from the hot pan to the lined platter. Let strips rest for 1 minute to allow excess grease to drain, which keeps bacon crisp instead of soggy.
Finish and Serve
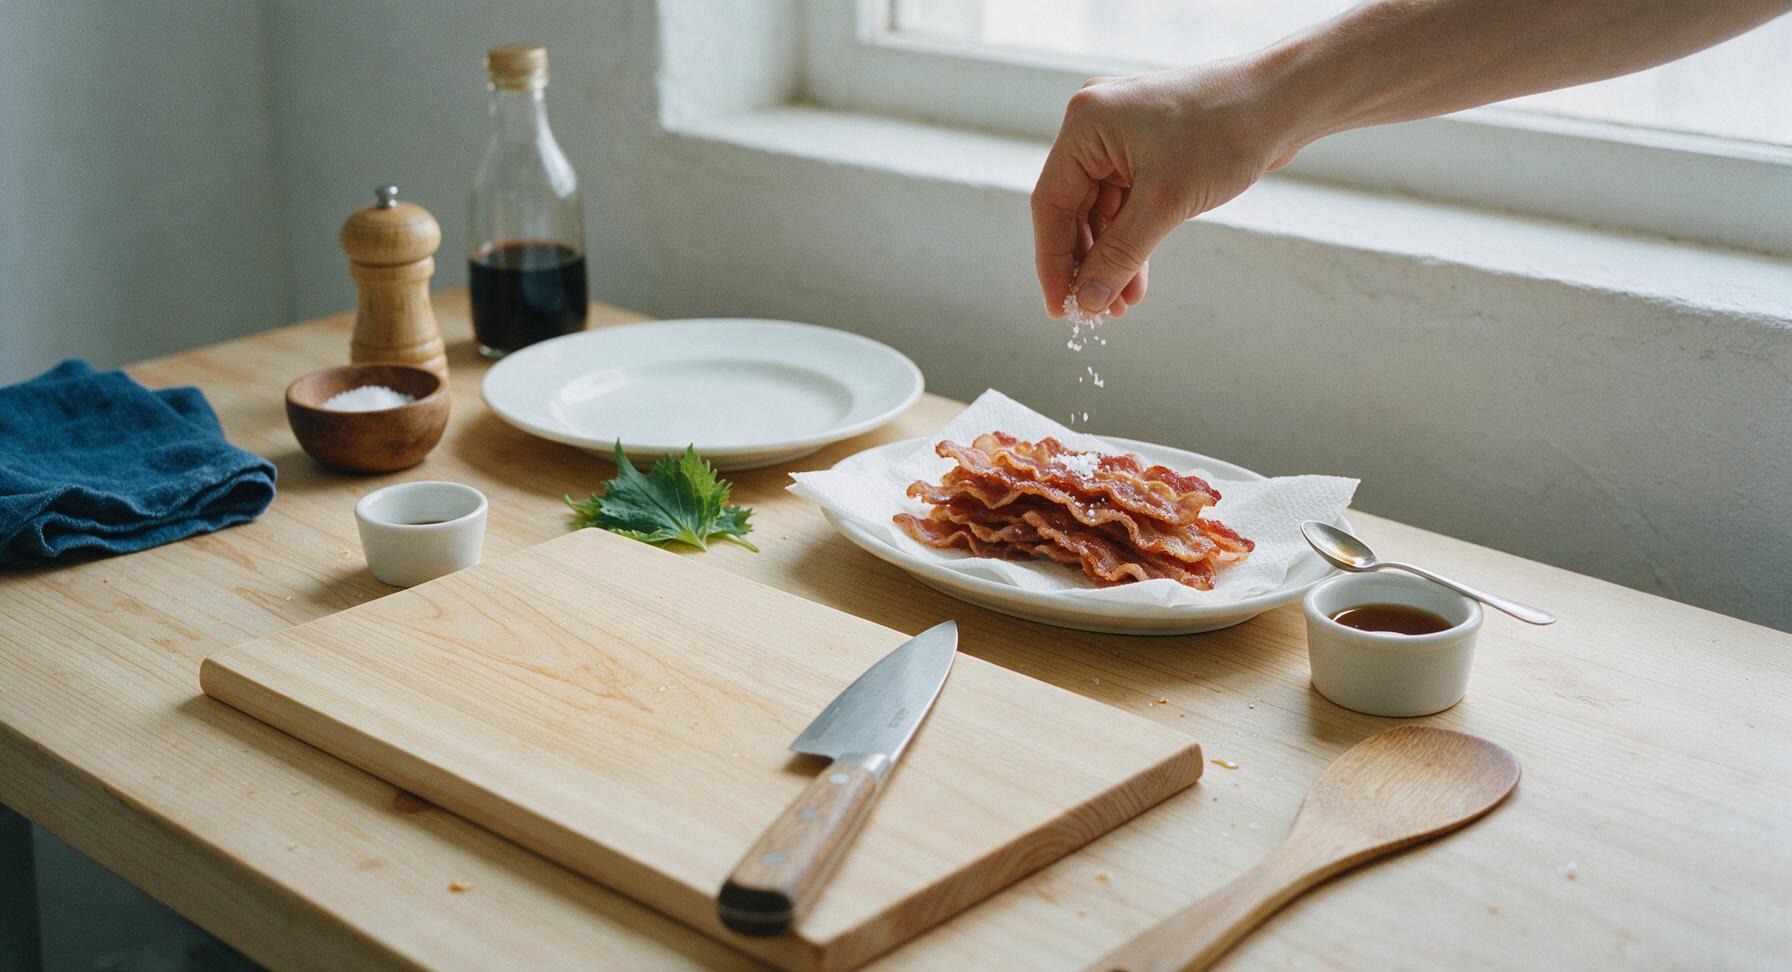
Lightly sprinkle the drained bacon with 1/4 tsp flaky sea salt, if desired. For sweet-savory bacon, drizzle with the remaining 1/2 tbsp maple syrup. Serve immediately, or let cool completely and store in an airtight container in the fridge for up to 5 days for quick meal prep.
Tips
2.Reserve cooled rendered bacon fat from the pan: pour it into a lidded glass jar and refrigerate for up to 3 months to use for frying eggs, roasting potatoes, or sautéing greens for a deep, smoky flavor boost.
3.Adjust cook time to match your bacon cut: thin-sliced bacon crisps in 12-15 minutes, while extra-thick artisanal bacon may need up to 22 minutes. Look for deep golden, ruffled edges rather than relying solely on a timer to avoid burnt, bitter strips.






OMG this is such a game changer! I used to hate making bacon on the stovetop because I’d get splattered with grease every single time, even with a splatter screen. 18 minutes in the oven and it came out perfectly crispy, zero mess to wipe up off my stovetop. 10/10 will make this every weekend from now on.
Super easy even for someone who burns toast half the time. I lined my sheet pan with foil like the recipe says and cleanup took literally 2 minutes. Perfect for quick breakfasts before 8am lectures.
Great for meal prep! I make a big batch of this on Sundays to chop up and add to salads, egg bites, and breakfast wraps all week. It stays crispy in the fridge way better than pan-fried bacon does for some reason.
Tried this for our last taco night to add crumbled bacon to our loaded tacos and it worked perfectly. No standing over the stove babysitting it while I was prepping all the other taco fillings. SO good.
My kids went crazy for this bacon! I used to avoid making bacon on school mornings because the splatter was so bad and it took forever, but this was hands off so I could pack lunches while it cooked. Only question—has anyone tried this with thick cut bacon? Wondering if I need to add extra time.
Wait, why did I never think to do this before? I’ve been cooking bacon outside on the griddle for years to avoid the grease mess in the kitchen, and now I don’t have to drag the whole griddle out on rainy weekends. Total win.
Made this for our Sunday church potluck last week and everyone was asking for the recipe! I kept it warm in a slow cooker lined with paper towels after cooking and it stayed perfectly crisp the whole meal.
Perfect recipe for car camping! I pre-cooked a bunch of this before our last trip, stored it in a sealed bag in the cooler, and just heated it up over the camp stove for quick breakfasts before hitting the trails. No messy bacon cookware to scrub at the campsite!
Was skeptical at first because I thought oven bacon would come out soggy, but nope! Perfectly even crisp every single time, no half burnt half raw strips like I get on the stove. My only complaint is now my family asks for bacon twice a week haha.
I have a tiny studio apartment kitchen with zero counter space next to the stove, so splattering bacon used to get grease all over my coffee maker and toaster. This method has zero splatter like it says, I didn’t even have to wipe down the inside of my oven after!
Quick question—do you put the bacon on a wire rack over the sheet pan, or straight on the foil? I’ve seen oven bacon recipes do both and I never know which gives less splatter and crispier results.
I made this for a work brunch last week and burned the first batch because I set my oven to convection by accident! Does anyone know how to adjust the time for convection ovens so I don’t mess it up next time?
Pro tip from my experience: don’t let your pup sit and stare at the oven the whole time this cooks, they will start drooling all over your kitchen floor waiting for a piece. Mine camped out in front of the oven for the full 18 minutes like he was guarding a treasure.
Wait, no splatter at all? I feel like every time I cook bacon in the oven I still end up with grease splatters all over the oven walls. Am I doing something wrong? I’ve been using a rimless baking sheet, oops, is that the issue?