
egg and cheese waffle

title 1
egg and cheese waffle
⏱️ cook time 15 minutes
🍽️ servings 4
⚡ Difficulty easy

intro

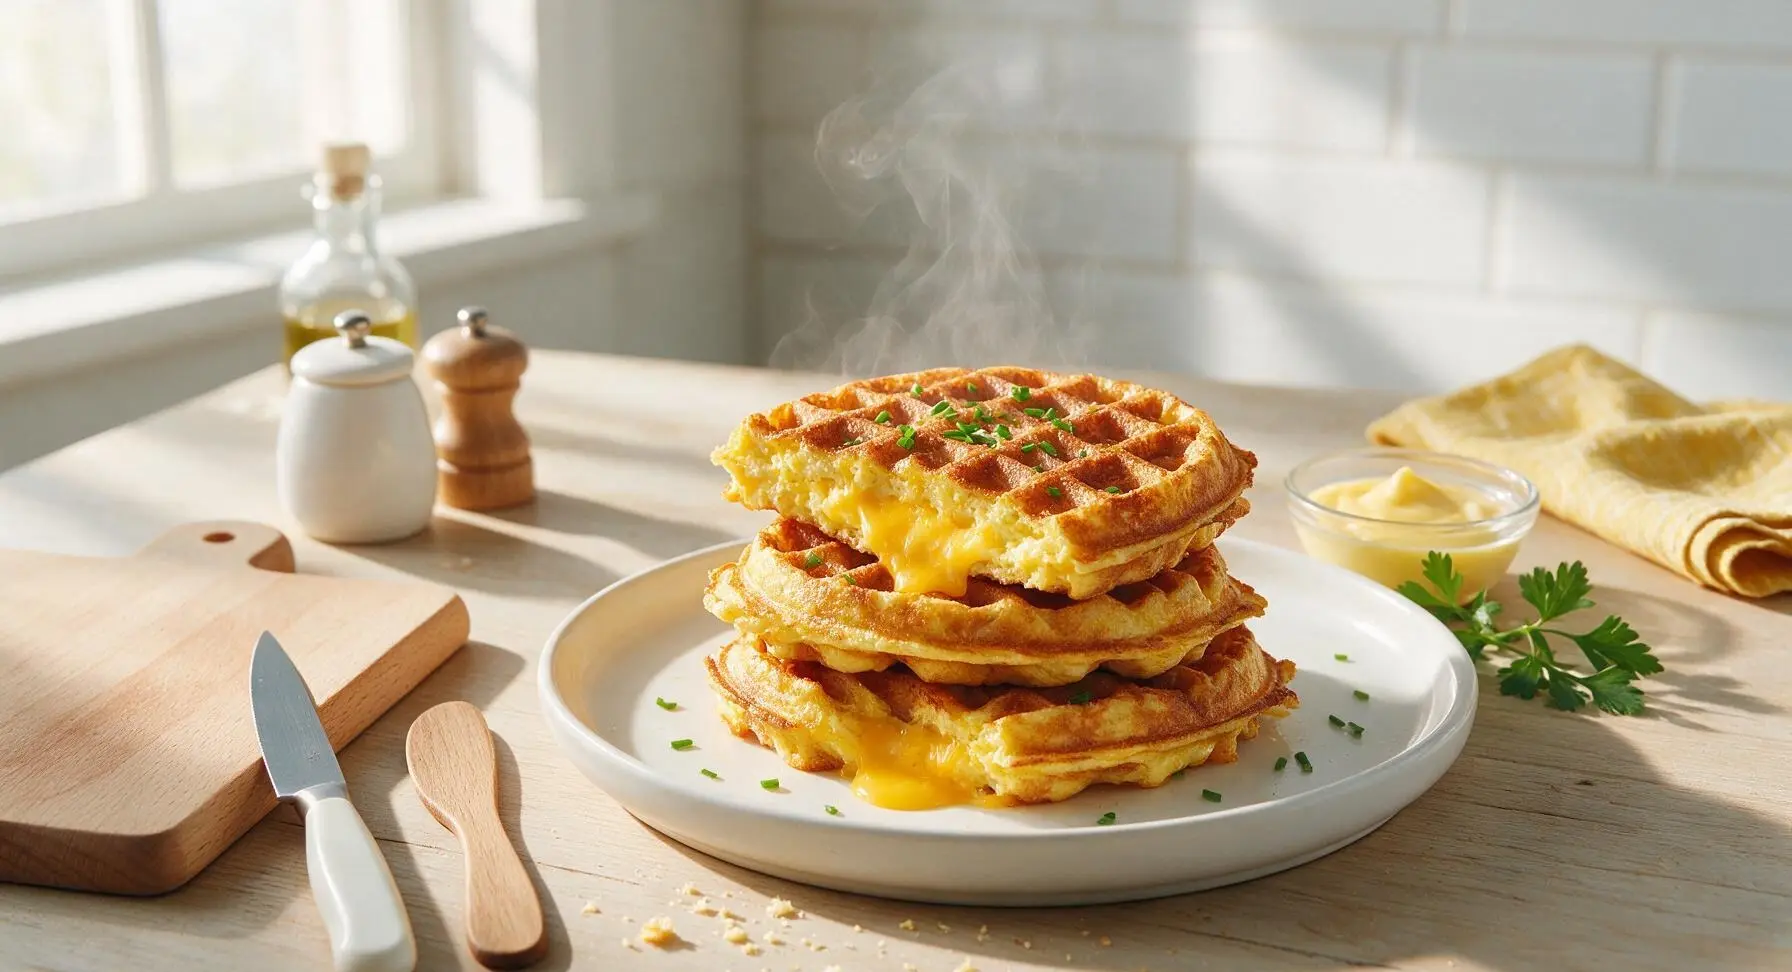
Crispy golden on the outside, light and fluffy inside, oozing with melted sharp cheddar and packed with savory egg, these hearty waffles make a fast, satisfying meal for busy days.

Ingredients
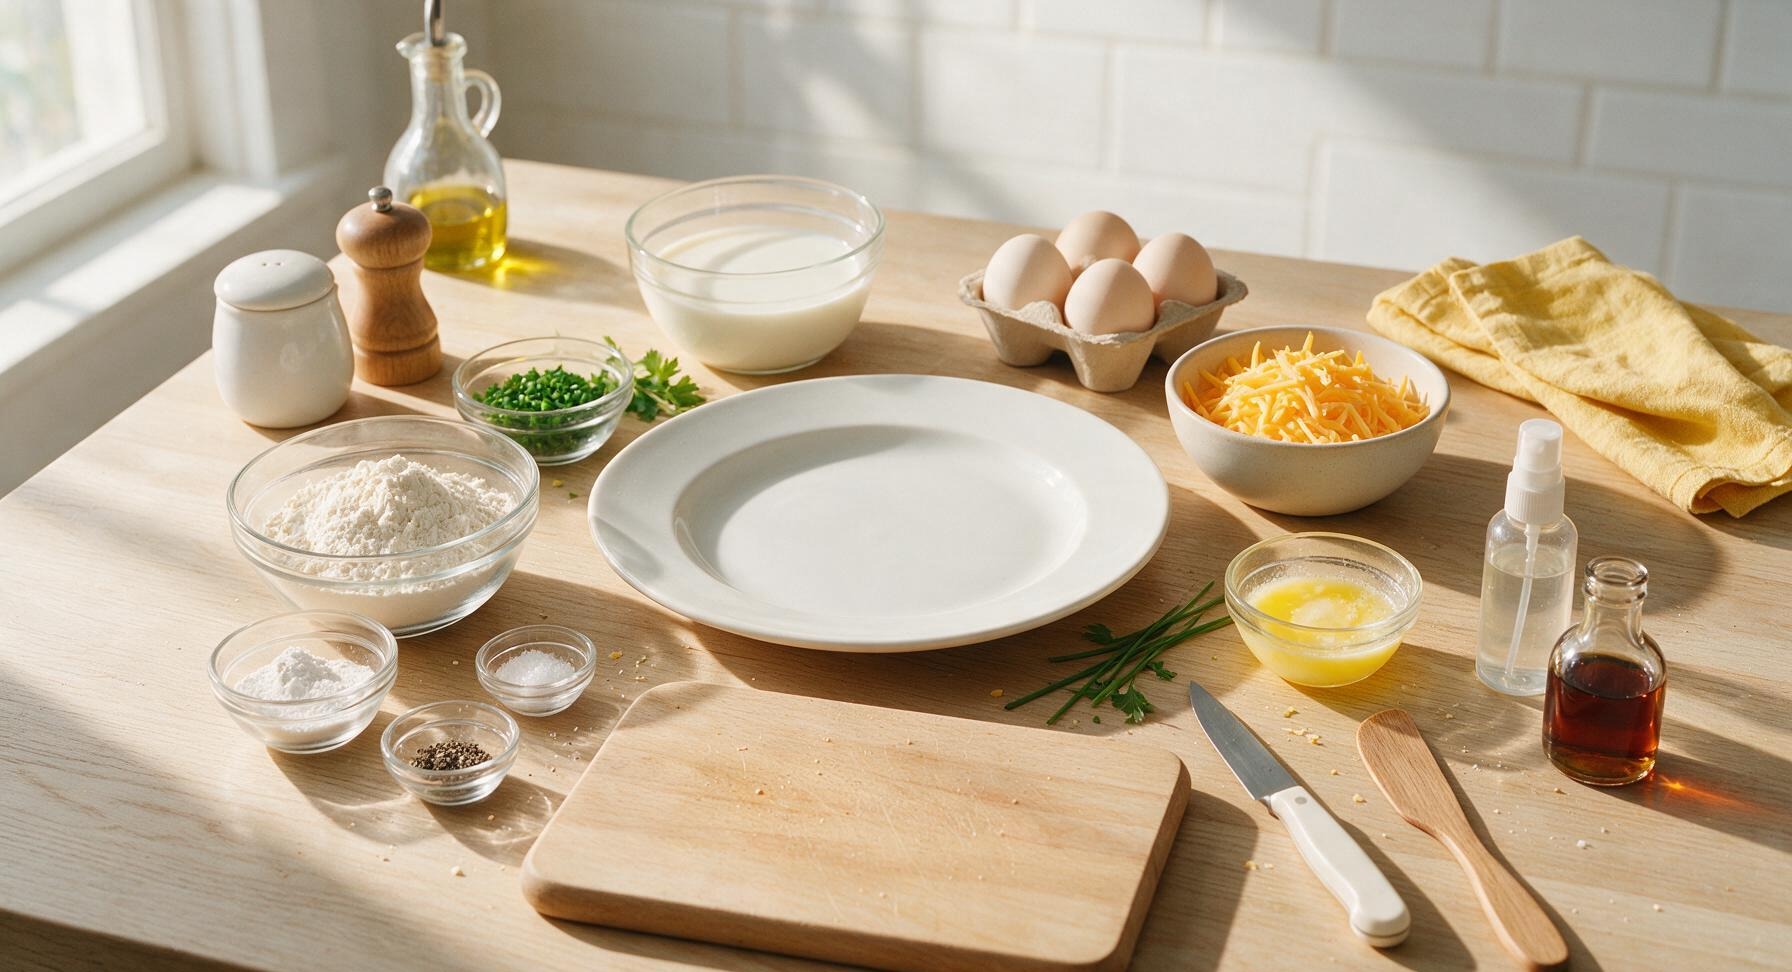
All-purpose flour 2 cups (240g)
Baking powder 1 tablespoon
Kosher salt 1 teaspoon
Freshly ground black pepper ½ teaspoon
Whole milk 1 ¾ cups (415ml)
Large eggs 4
Shredded sharp cheddar cheese 2 cups (220g)
Unsalted butter, melted and cooled slightly 4 tablespoons (57g)
Fresh chives, finely chopped ¼ cup (10g)
Non-stick cooking spray As needed
Maple syrup, for serving ¼ cup (60ml)

Steps

1

Grate Fresh Cheddar

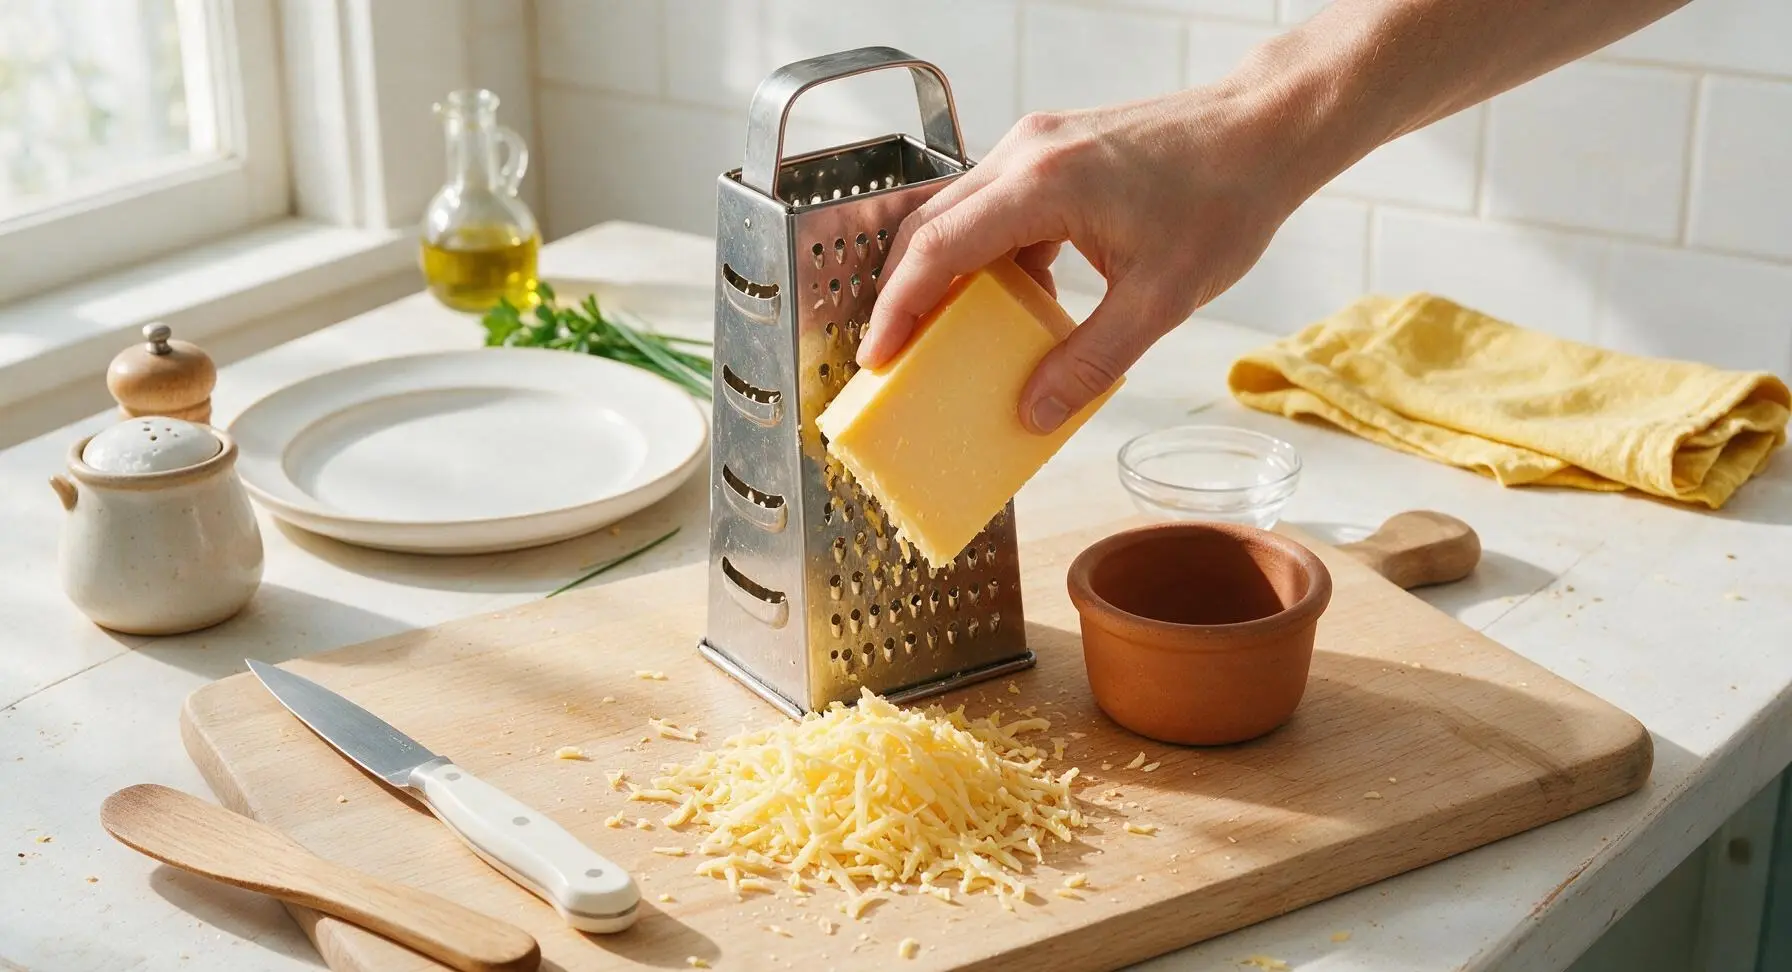
Place the stainless steel box grater on the light oak cutting board. Grate the sharp cheddar block into coarse shreds, collecting 2 cups total. Transfer the shreds to the unglazed terracotta ramekin, setting aside ¼ cup of shreds to use as a final topping. Discard any small hard cheese rinds.
Step 1
step1:Grate Fresh Cheddar
2

Preheat Waffle Maker

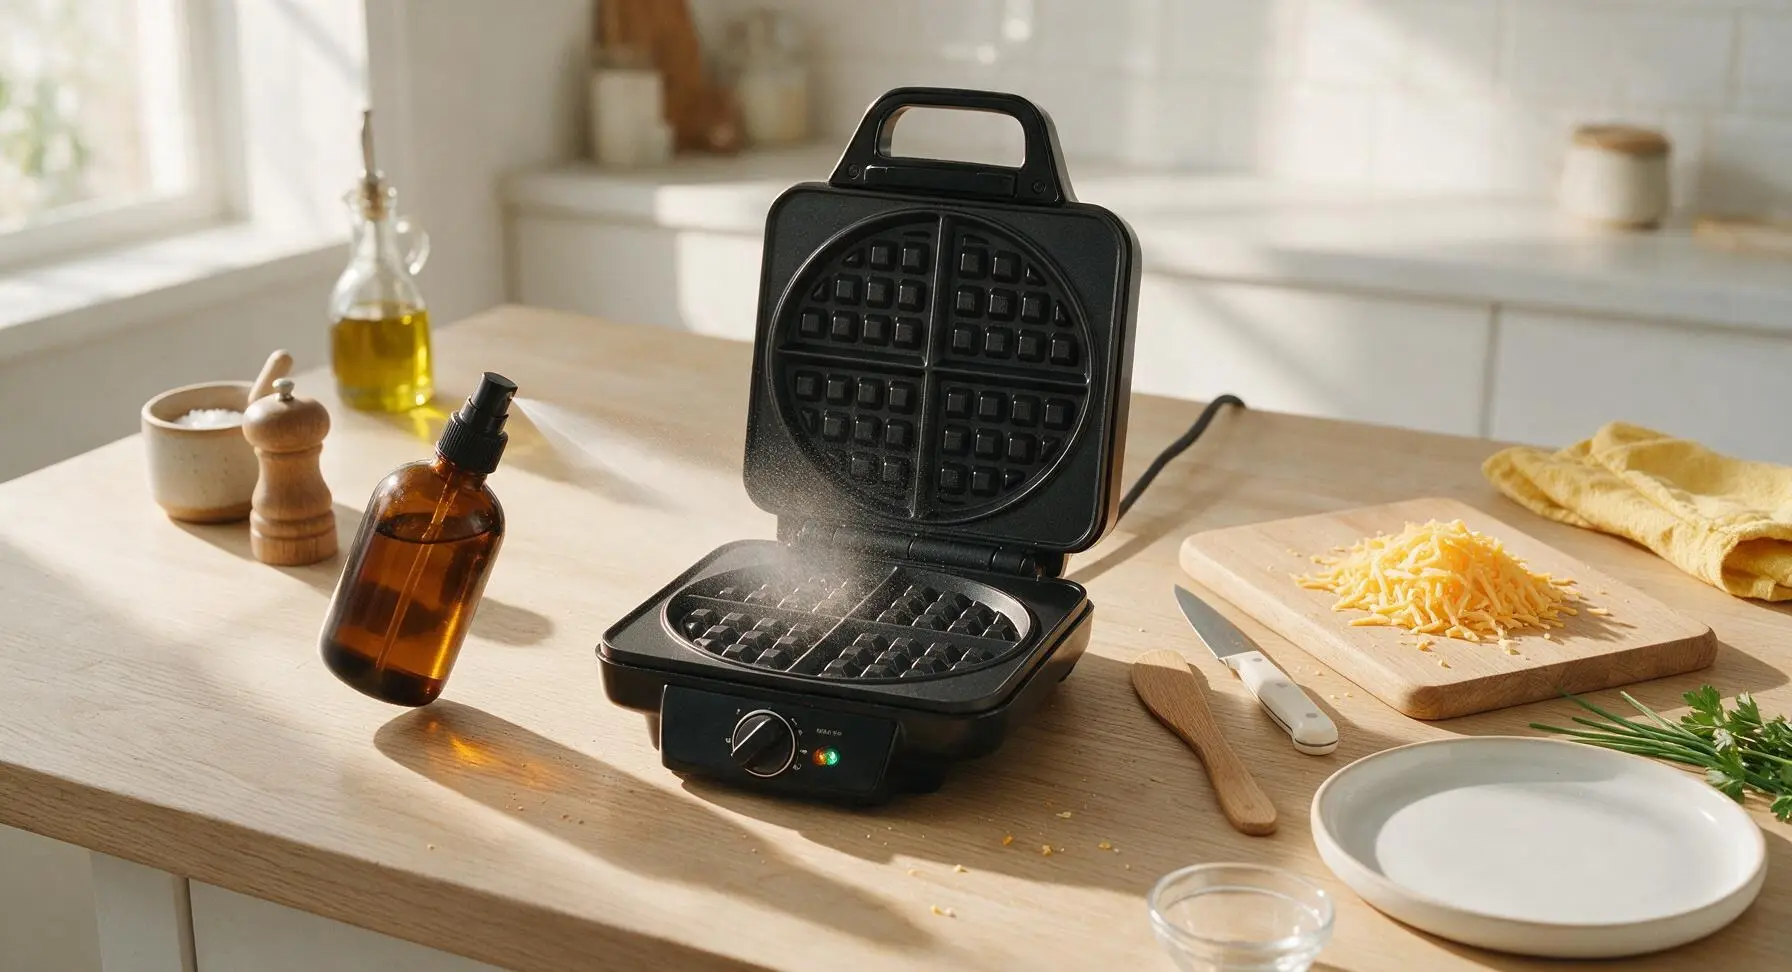
Plug in the matte black waffle maker and preheat to the medium-high setting (375°F / 190°C). Once the built-in indicator light signals the unit is fully heated (after approximately 3 minutes), lightly coat the top and bottom non-stick plates with non-stick cooking spray from the amber glass bottle. Wipe any excess spray with a corner of the linen towel to avoid smoking.
Step 2
step2:Preheat Waffle Maker
3

Mix Dry Ingredients

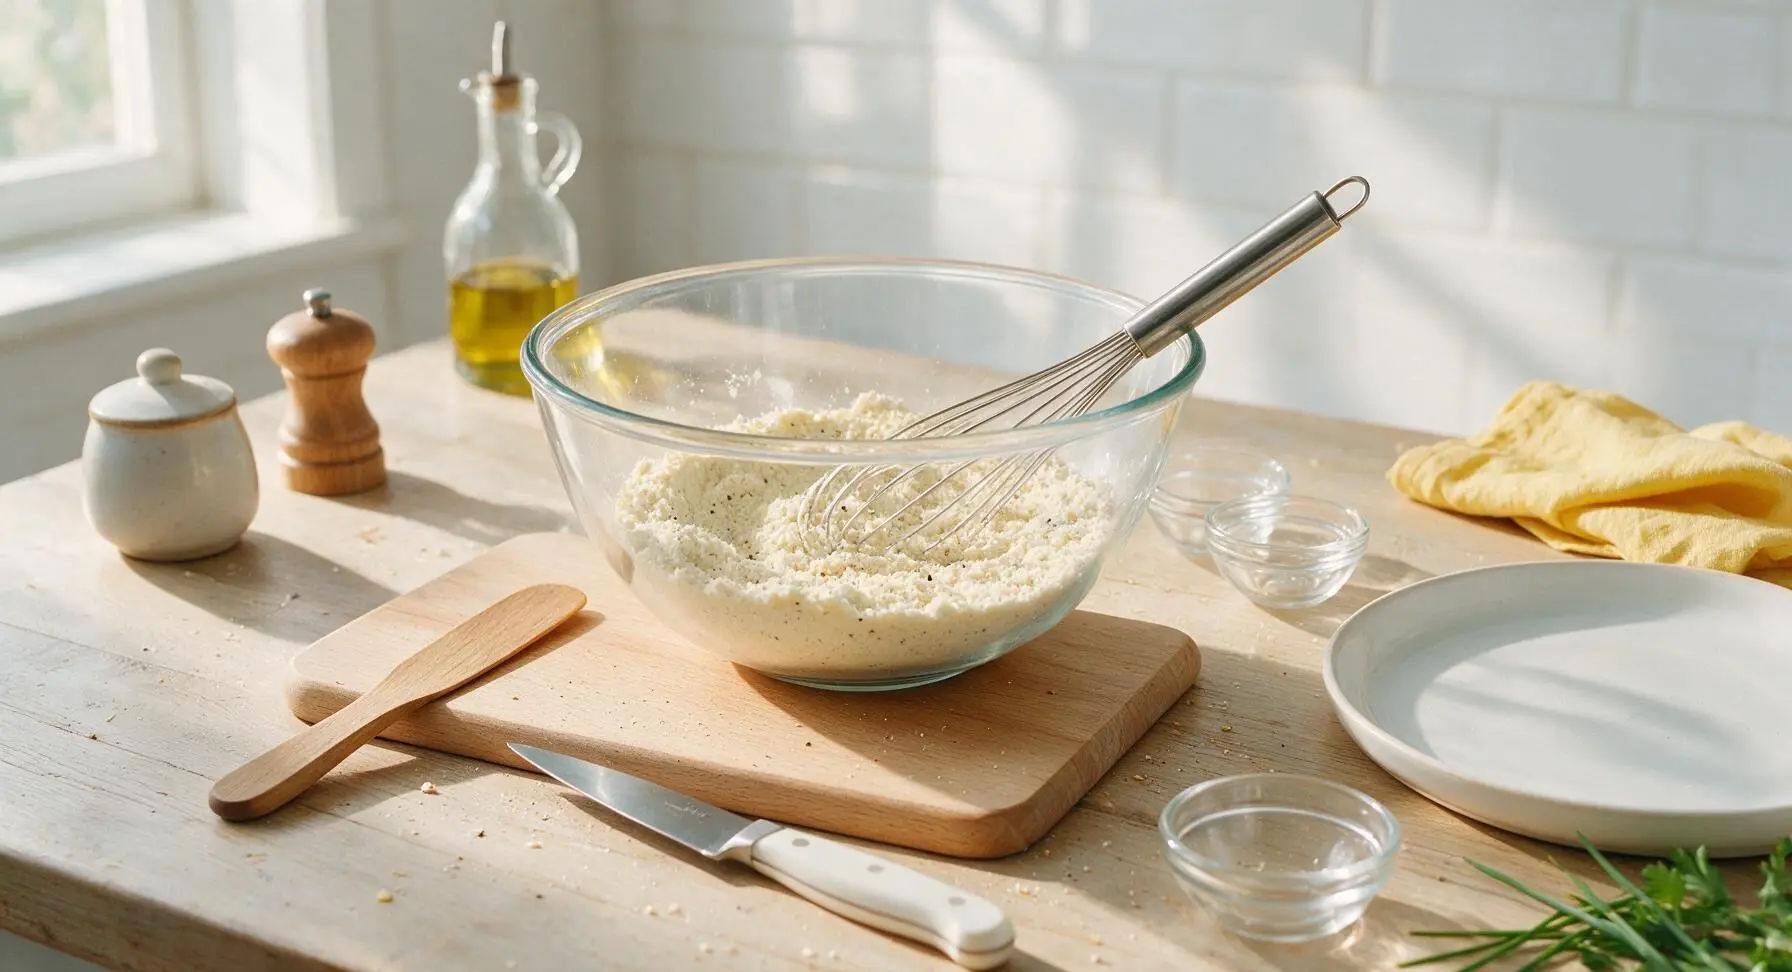
Add the measured all-purpose flour, baking powder, kosher salt, and freshly ground black pepper to the clear glass mixing bowl. Use the stainless steel wire whisk to stir the dry ingredients for 30 seconds until fully combined, with no concentrated clumps of baking powder or pepper. The mixture should be a uniform pale cream color.
Step 3
step3:Mix Dry Ingredients
4

Combine Wet Ingredients

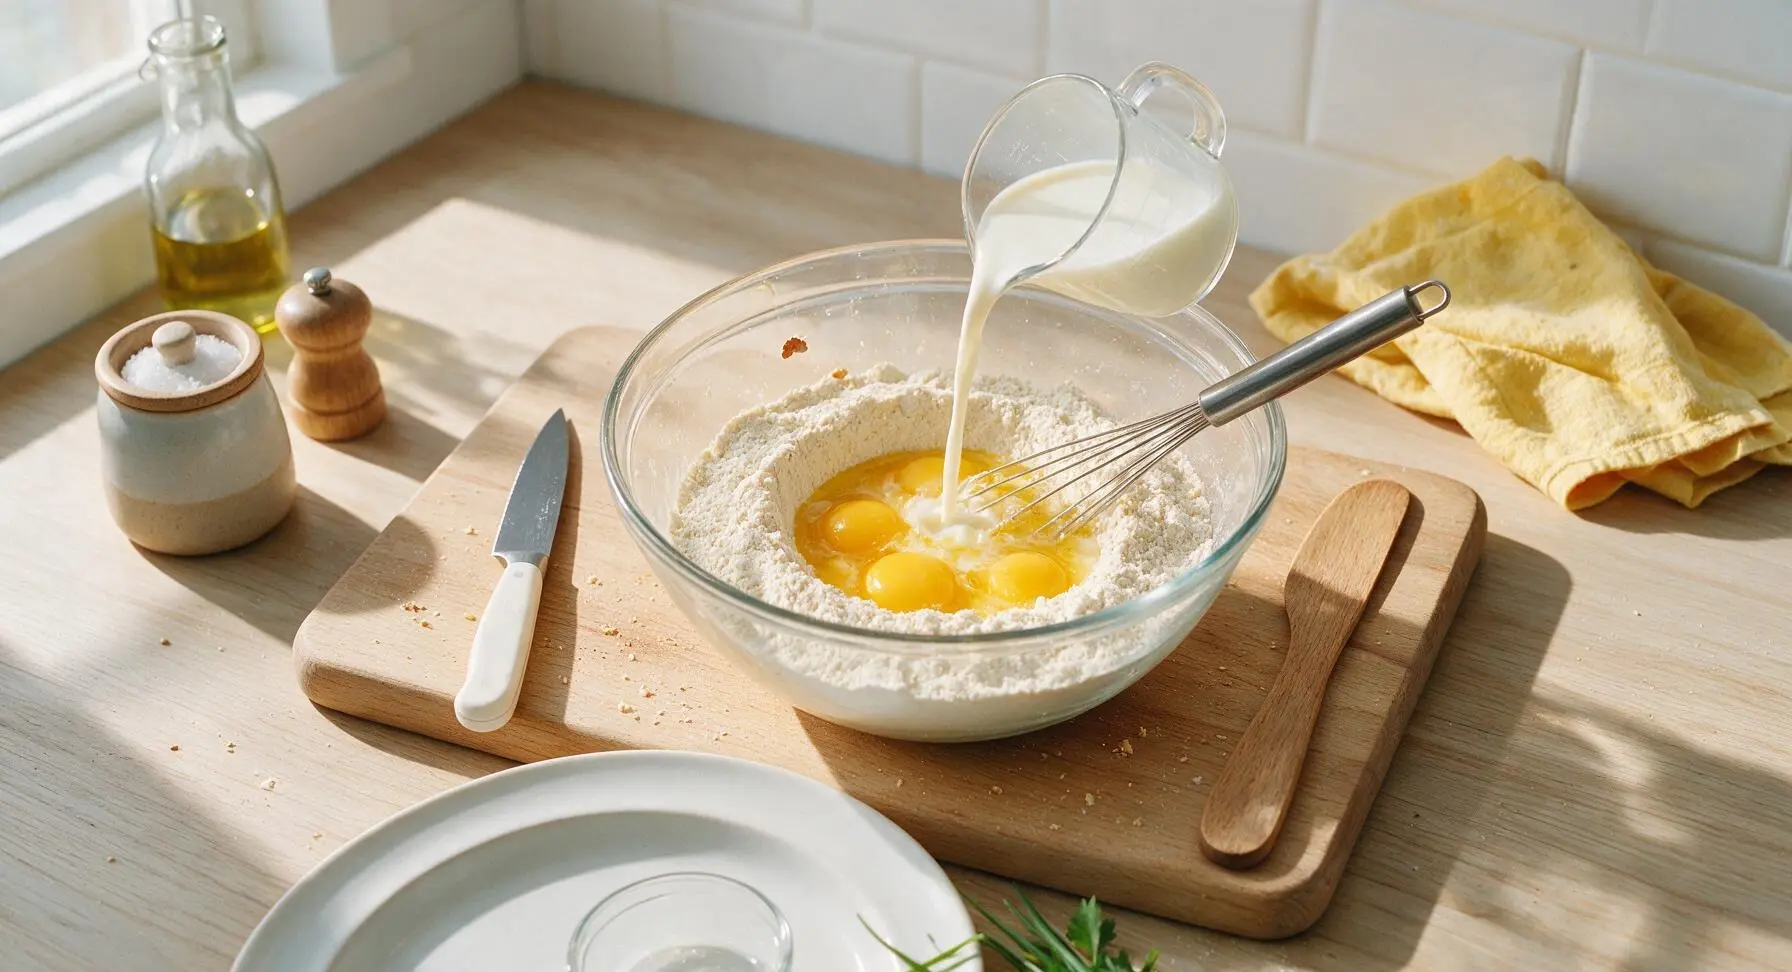
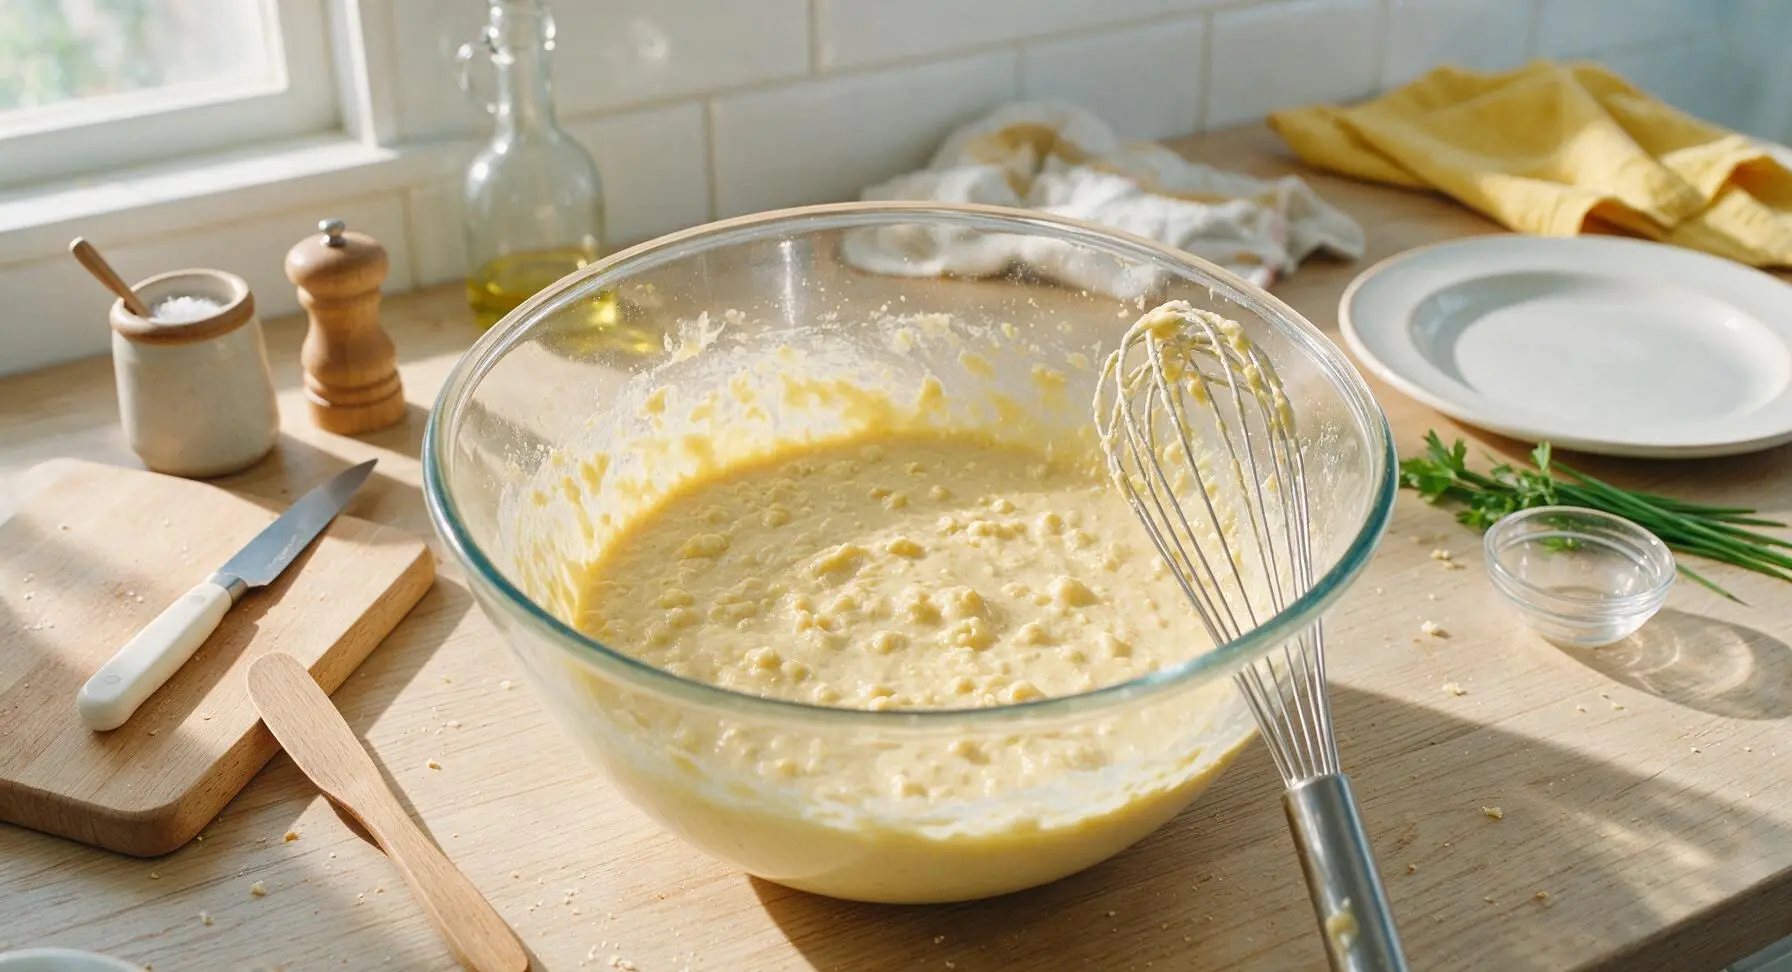
Create a shallow 3-inch wide well in the center of the dry flour mixture. Pour in the whole milk, crack all 4 large eggs directly into the well, and add the slightly cooled melted butter from the glass butter dish. Use the stainless steel whisk to stir the mixture in slow circular motions just until no large pockets of dry flour remain; the batter will be thick and slightly lumpy, which creates the fluffiest waffle texture. Do not over-mix, as this develops gluten and leads to tough, dense waffles.
Step 4
step4:Combine Wet Ingredients
Step 4
step4:Combine Wet Ingredients
5

Fold Cheese and Chives

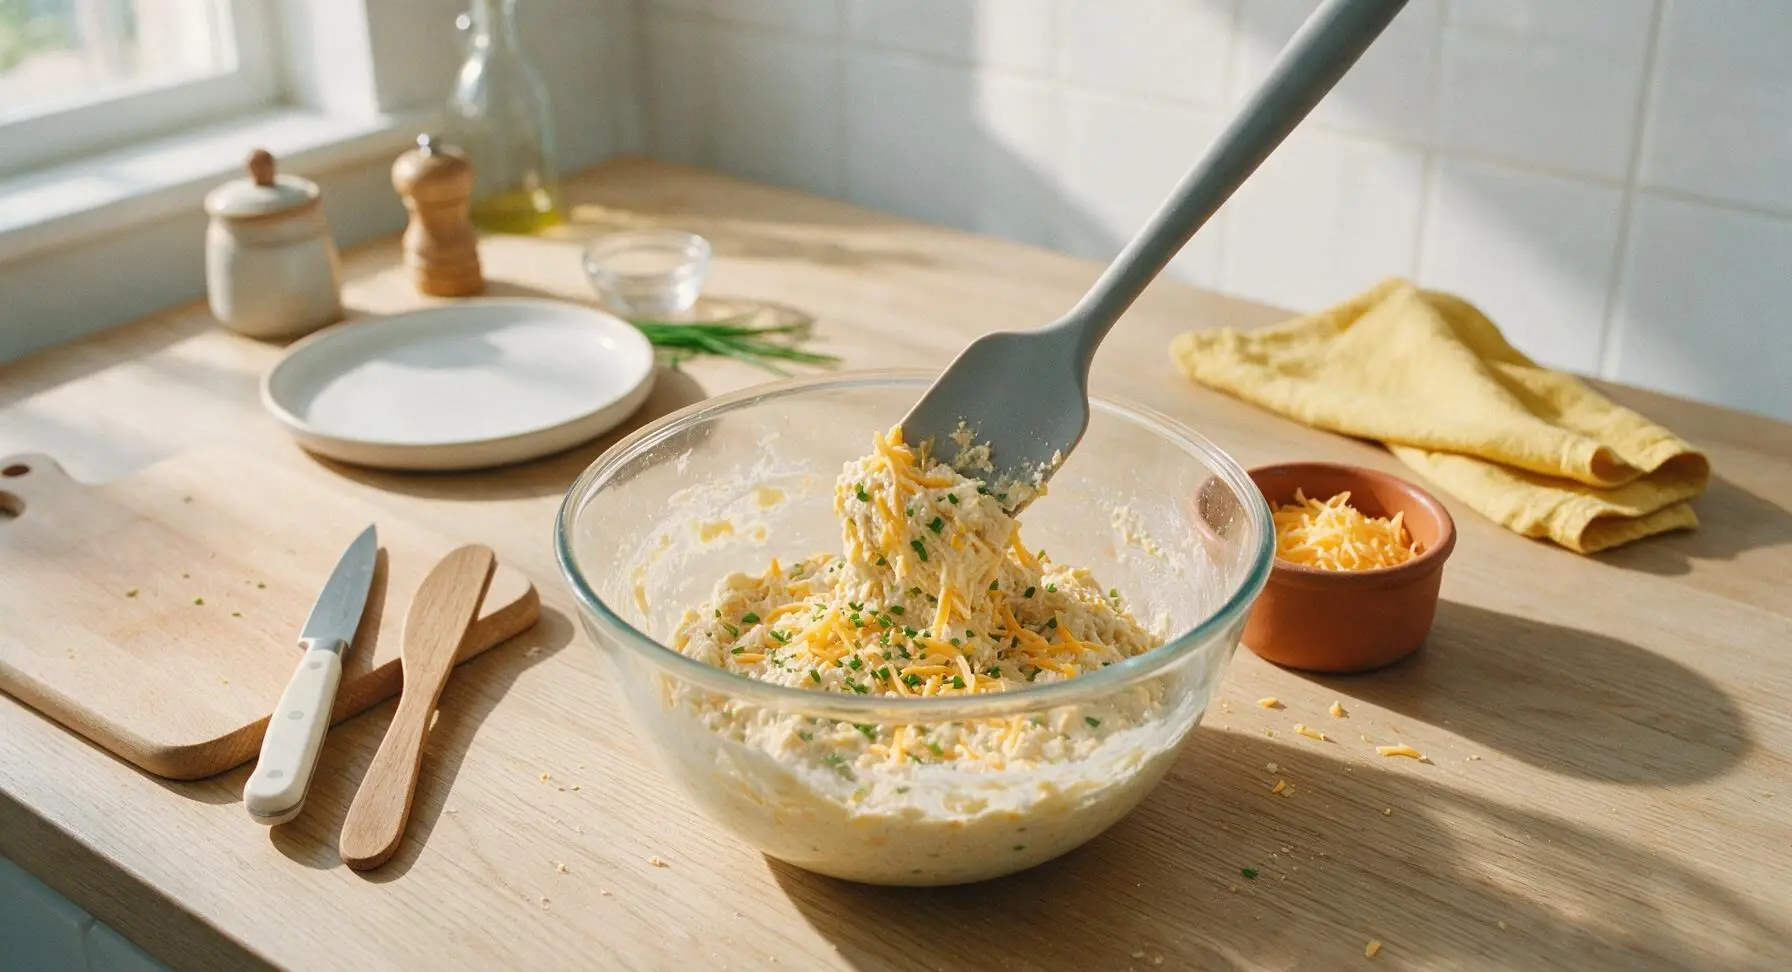
Add 1 ¾ cups of the grated sharp cheddar (holding back the reserved ¼ cup for topping) and all of the finely chopped fresh chives to the batter. Use the matte grey silicone spatula to gently fold the ingredients through the batter in 3 to 4 slow, scraping turns, just until the cheese and chives are evenly distributed. Stop folding as soon as no large clumps of cheese are clustered together.
Step 5
step5:Fold Cheese and Chives
6

Cook Waffle Batches

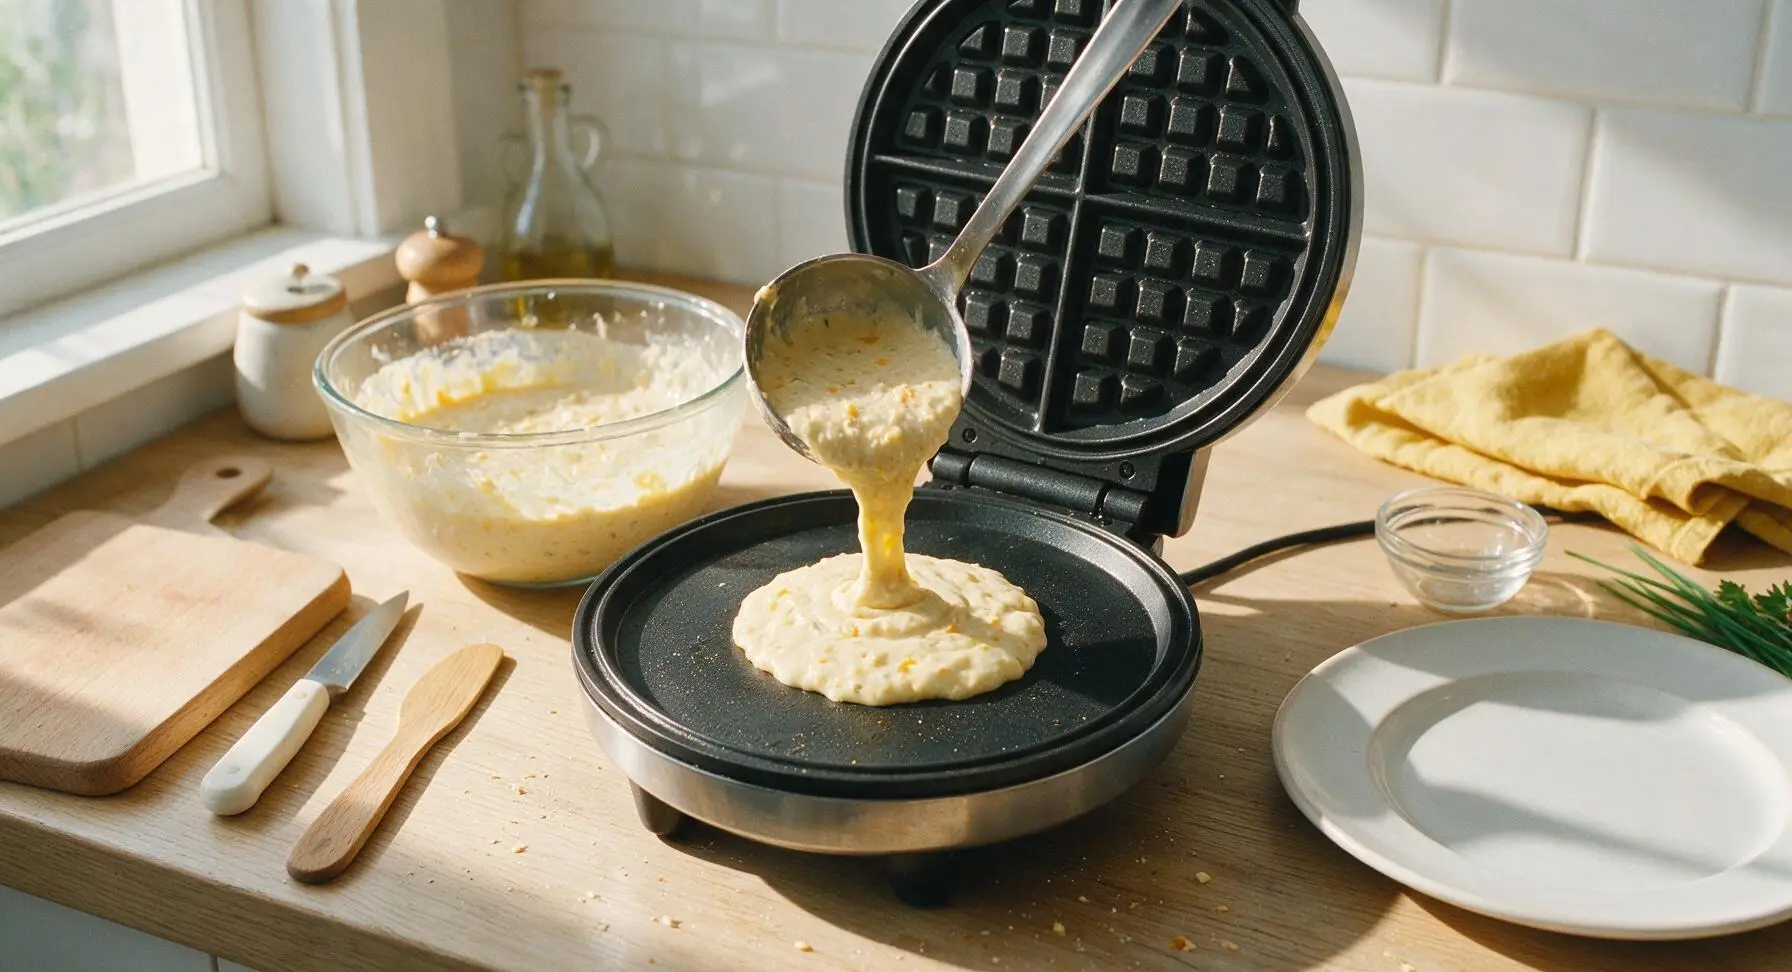
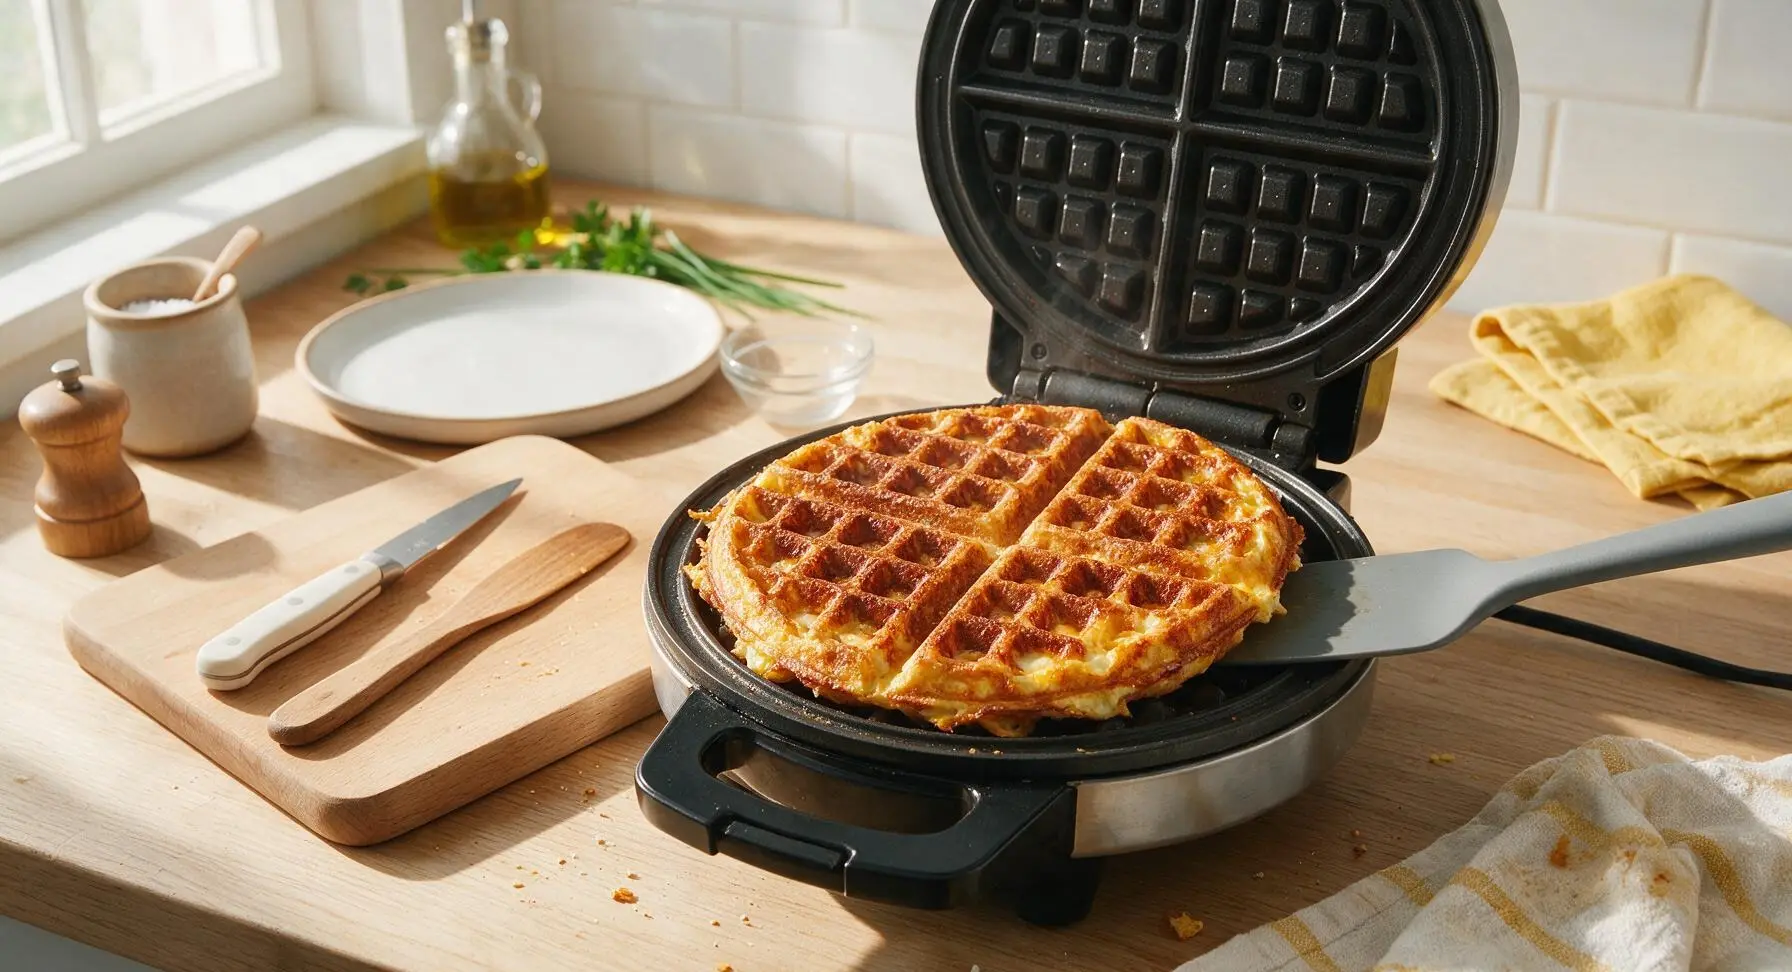
Use the stainless steel ladle to scoop ½ cup of the cheese-studded batter directly into the center of the preheated waffle maker’s lower plate. Close the lid and cook for 3.5 to 4 minutes, until the waffle is deep golden brown, crispy along the grid edges, and no visible steam escapes from the seams of the waffle maker. Transfer cooked waffles to the oak cutting board to rest for 1 minute before plating; this keeps edges crisp instead of soggy. Repeat with remaining batter, applying a light coat of cooking spray between batches only if waffles begin to stick.
Step 6
step6:Cook Waffle Batches
Step 6
step6:Cook Waffle Batches
7

Plate and Garnish

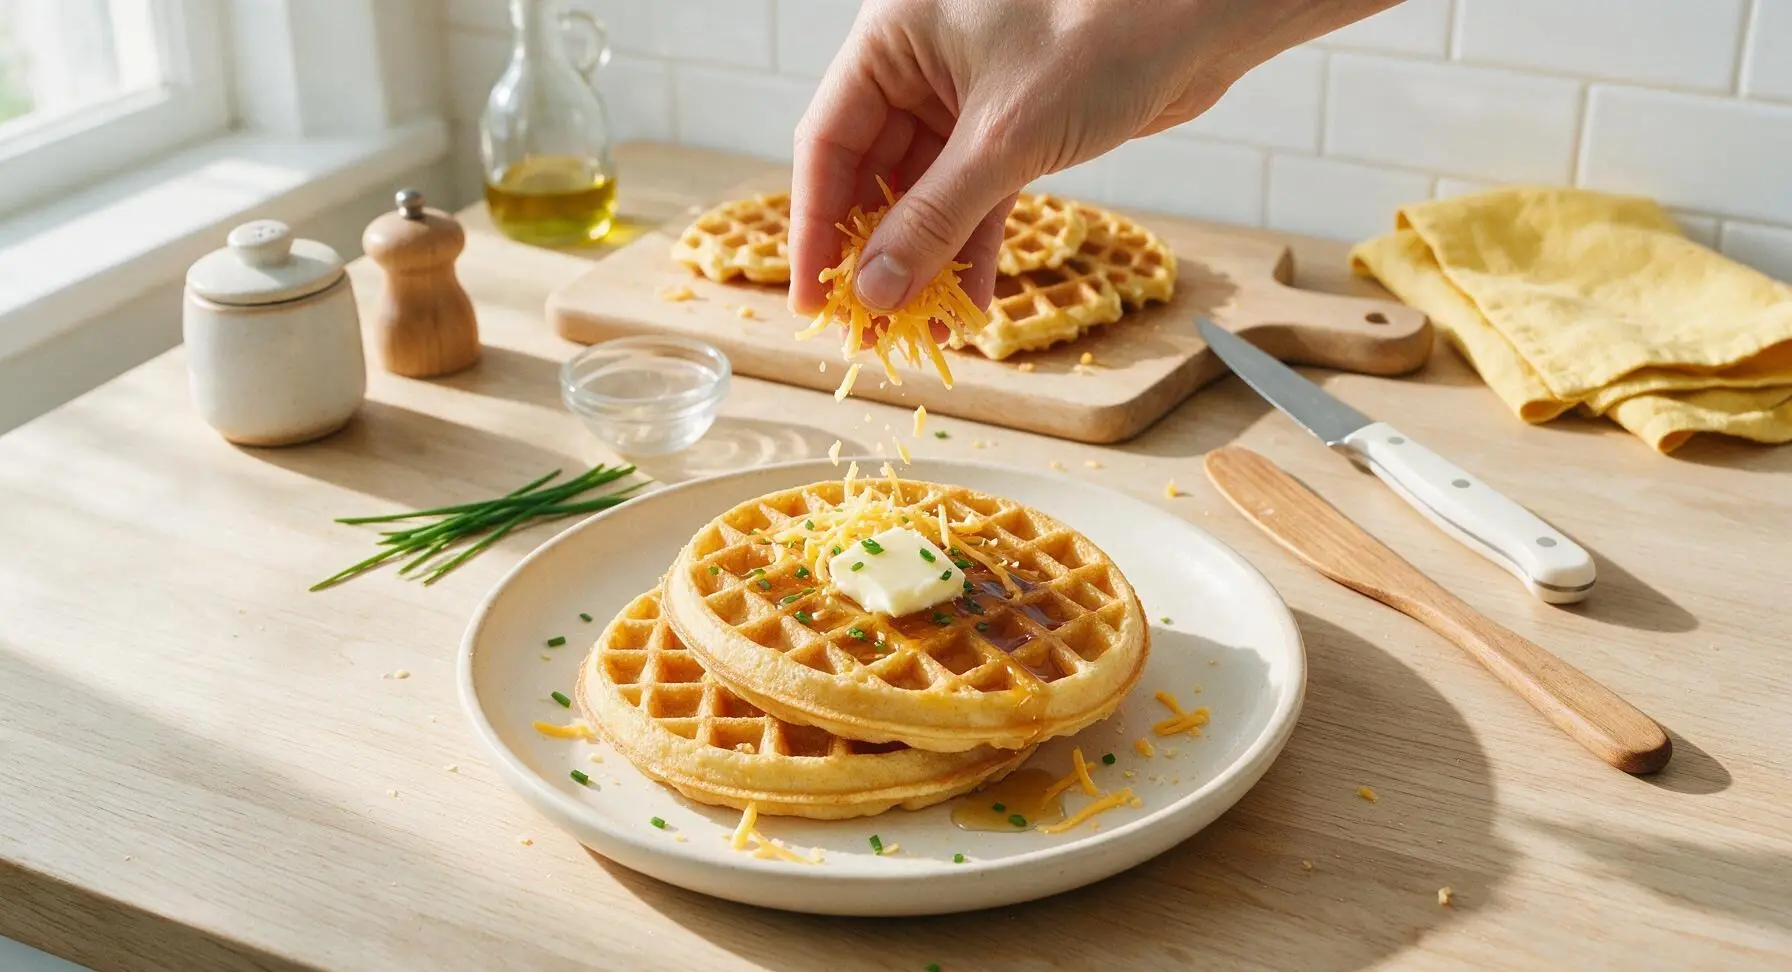
Arrange cooked waffles one per serving, stacking two waffles slightly offset on the matte cream ceramic dinner plate for presentation. Sprinkle the reserved ¼ cup shredded cheddar over the top of the hot waffle stack so it melts slightly into the warm grid pockets. Top with a single 1-teaspoon pat of cold unsalted butter, a light pinch of extra chopped chives for bright color contrast, and a 1-tablespoon drizzle of pure maple syrup from the glass pitcher that pools gently in the waffle pockets. Serve immediately while waffles are hot and crisp.
Step 7
step7:Plate and Garnish

Tips

1.Do not over-mix the waffle batter: small, uneven lumps are completely normal and desirable. Over-mixing develops gluten in the flour, which results in tough, chewy waffles instead of light, fluffy interiors.
2.Resist the urge to open the waffle maker lid before the 3-minute cook mark: opening the lid too early can split the half-cooked waffle, ruining its crisp grid structure and causing raw batter to stick to the plates. Wait until steam stops escaping from the waffle maker seams before checking for doneness.
3.Grate cheddar fresh from a block instead of using pre-shredded store-bought cheese: pre-shredded cheese is coated in potato starch anti-caking agents that prevent it from melting smoothly, leading to a drier, less gooey cheese pull in the finished waffles.


✨ You May Also Like

Breakfast
🍜 United States

Crisp-edged, fluffy lard griddle cakes are a nostalgic homestyle staple, with rich savoriness from rendered lard, perfect topped with maple syrup or savory gravy.

⏱️ 25 minuteBreakfast ★ 4.8
Breakfast
🍜 United States

Flaky, buttery homemade buttermilk biscuits smothered in creamy, peppery pork sausage gravy: a beloved, hearty Southern American comfort food classic.

⏱️ 35 minuteBreakfast ★ 4.8
Breakfast
🍜 United States

Golden, custardy brioche stuffed with sweet cream cheese and fresh berries, pan-fried to crisp perfection. An indulgent, cozy breakfast perfect for slow weekend mornings.

⏱️ 30 minuteBreakfast ★ 4.7
Breakfast
🍜 United States

Flaky, buttery Southern-style biscuits stuffed with savory salty country ham, a portable, satisfying classic perfect for casual on-the-go meals.

⏱️ 25 minuteBreakfast ★ 4.8
Breakfast
🍜 United States

Iconic puffy baked pancake popularized in Seattle, with crisp golden edges and soft custardy center, served warm with classic sweet toppings.

⏱️ 35 minuteBreakfast ★ 4.6
Breakfast
🍜 United States

Fluffy, golden pancakes studded with juicy peak-summer mixed berries, drizzled with maple syrup for a bright, comforting, crowd-pleasing family breakfast.

⏱️ 25 minuteBreakfast ★ 4.7

egg and cheese waffle:Frequently Asked Questions

1.Can I use a gluten-free flour blend instead of all-purpose flour for these waffles? ▾
Absolutely! Swap the all-purpose flour 1:1 for a certified gluten-free all-purpose blend that contains xanthan gum for best structure. If your blend doesn’t include xanthan gum, add ¼ teaspoon per cup of flour to keep waffles light, rather than crumbly, when loaded with melted cheese and cooked egg.
2.What kind of cheese works best if I don’t have sharp cheddar on hand? ▾
Sharp cheddar delivers that bold, tangy kick, but you can swap it for pepper jack, Gruyère, smoked gouda, or crumbled feta for a different flavor profile. Stick to hard or semi-hard cheeses that melt well; soft cheeses like brie will make the batter too greasy and weigh waffles down.
3.Why do my savory waffles turn out soggy instead of crispy on the outside? ▾
Sogginess usually comes from two common missteps: not preheating your waffle iron fully, or opening the iron too early while waffles cook. Make sure your iron is hot enough that a drop of water sizzles and evaporates immediately, and cook until steam stops escaping the edges before lifting the lid, about 3 to 4 minutes total.
4.Can I mix the waffle batter ahead of time for busy weekday mornings? ▾
You can mix dry ingredients together in an airtight container up to 1 week ahead, and store pre-measured wet ingredients separately in the fridge. Don’t combine wet and dry ingredients until right before cooking, though—baking powder activates as soon as it hits liquid, leading to flat, dense waffles if batter sits too long.
5.What waffle iron setting should I use for the crispiest results? ▾
Set your waffle iron to the medium-high or “crisp” setting if it has adjustable heat. Avoid the lowest setting, which won’t get hot enough to caramelize cheese and create that golden crunchy crust, and skip the highest setting, which can burn cheese edges before the fluffy interior cooks fully.
6.Can I freeze these cooked waffles for quick meals later? ▾
Totally! Let cooked waffles cool completely to room temperature first, then stack them between sheets of parchment paper to prevent sticking, and store in a sealed freezer bag for up to 3 months. They hold up incredibly well to freezing, so you can pull out single portions whenever you need a fast, filling meal.
7.What’s the best way to reheat frozen waffles so they stay crispy? ▾
Skip the microwave, which will turn waffles soft and chewy. Instead, reheat them straight from frozen in a toaster on the medium setting, or on a baking sheet in a 375°F oven for 5 to 7 minutes, until they’re heated through and the exterior is crisp and golden again.
8.Can I add extra mix-ins like veggies or cooked meat to the batter? ▾
Absolutely! Finely diced cooked bacon, sautéed spinach, caramelized onions, diced bell pepper, or chopped chives all work beautifully. Just make sure any wet add-ins (like veggies) are patted very dry first, so excess moisture doesn’t thin the batter and lead to soggy, undercooked waffles.
9.I don’t have whole milk—can I use lower-fat milk or plant-based milk instead? ▾
You can swap whole milk for 2% or skim milk in a pinch, though waffles will be slightly less rich. Unsweetened oat milk or soy milk work best as plant-based swaps, since they have a similar thickness to dairy milk; avoid thin almond milk, which can make waffles dry and bland.
10.How do I know when waffles are fully cooked on the inside without burning them? ▾
Wait for the steady stream of steam coming from the edges of your waffle iron to slow and almost stop completely—this is the most reliable sign the interior is set. If you lift the lid and the waffle pulls easily without sticking, it’s done; if it tugs and sticks, close the lid and cook 30 to 60 seconds longer.
11.Can I make these waffles if I don’t have baking powder? ▾
You’ll need a leavener to get that light, fluffy interior, so if you’re out of baking powder, make a quick substitute: for every 1 teaspoon of baking powder called for, use ¼ teaspoon baking soda mixed with ½ teaspoon cream of tartar. Mix it right into dry ingredients right before making batter for best lift.
12.Do I need to grease my waffle iron even if it has a non-stick coating? ▾
Yes, a light coat of grease is still a good idea, especially since the melted cheese in these waffles can stick even to high-quality non-stick surfaces. Use a pastry brush to coat plates lightly with melted butter or neutral oil before pouring each batch to get clean releases and extra-crispy edges.
13.How much freshly ground black pepper is too much for this recipe? ▾
Start with ¼ teaspoon for a mild, subtle savory note that doesn’t overpower the cheese and egg. If you love peppery flavor, you can bump that up to ½ to ¾ teaspoon, but avoid going over 1 teaspoon—too much pepper will make waffles taste sharp and bitter, rather than warm and savory.
14.What are good serving suggestions for these savory waffles? ▾
These waffles are delicious on their own, but you can top them with a fried egg, a dollop of sour cream, sliced avocado, hot sauce, or a light drizzle of maple syrup for that classic sweet-savory kick. They also pair great with a side of fresh fruit or a simple green salad for a balanced meal.
15.Can I use pre-shredded cheese instead of grating my own sharp cheddar? ▾
Pre-shredded cheese works in a pinch, but it’s coated in anti-caking agents like potato starch that keep it from melting as smoothly as freshly grated cheese. If you use pre-shredded, expect slightly less oozing cheese pull; for the gooiest results, take 2 minutes to grate your own block cheddar.
16.My waffles are coming out dense and heavy instead of fluffy—what am I doing wrong? ▾
Dense waffles almost always come from overmixing the batter. Stir the wet and dry ingredients together just until there are no large dry flour clumps left; a few small lumps are totally fine. Overmixing develops gluten in the flour, which leads to tough, chewy, dense waffles instead of light, fluffy ones.
17.Can I adjust the salt level if I’m watching my sodium intake? ▾
Absolutely. The kosher salt in the recipe balances the richness of the cheese and egg, but you can cut it by half or omit it entirely for a low-sodium version. Keep in mind sharp cheddar has natural saltiness, so you may not miss the extra salt at all, especially if you top with salted butter or savory hot sauce.
18.Can I make these in a mini waffle maker for bite-sized portions? ▾
Definitely! Mini waffle makers work perfectly for bite-sized, dippable waffles that are great for kids, brunch spreads, or on-the-go snacks. Just reduce the batter amount per batch to 2 to 3 tablespoons, and cut cook time down to 2 to 2.5 minutes, since smaller waffles cook much faster than full-sized rounds.

Comments (9)

5 days ago

OMG these are a total game changer for busy school mornings! I threw in a handful of chopped spinach I had left in the fridge and my kids devoured them before the bus even got to the stop. SO good, even my picky 7 year old asked for seconds. 15 minutes total cook time? No way that’s real, but it was! Will be adding these to my weekly meal prep rotation for sure.

3 days ago

Wait adding spinach is such a good call! I never thought to sneak veggies in these, my toddler fights anything green but if it’s in a cheesy waffle I bet he won’t even notice. Thanks for the tip!

3 days ago

So happy these worked for your busy morning! Chopped spinach, diced bell peppers, or even crumbled cooked bacon all make fantastic mix-ins, feel free to get creative with whatever you have on hand.

3 days ago

Made these for my Sunday brunch potluck with the neighbors and they were gone in 10 minutes flat. People kept asking where I got the recipe! I used sharp cheddar and a little sprinkle of garlic powder, chef’s kiss. Only note is my waffle iron runs a little hot so they were done in about 2 minutes per waffle instead of 3, so definitely keep an eye on them if you know your iron runs hot.

2 days ago

Great tip about waffle iron temperature variations! So stoked these were a hit at your potluck — garlic powder and sharp cheddar is one of my all-time favorite combos for these.

2 weeks ago

As someone who only has a waffle iron and a mini fridge in my dorm, this recipe was perfect. Super easy, no fancy ingredients needed, I made a big batch on Sunday and ate them for breakfast all week. Tasted just as good reheated in the toaster! 10/10 would make again.

1 week ago

I swapped the regular all-purpose flour for a 1:1 gluten free baking flour and these turned out perfectly! Fluffy on the inside, crispy on the outside, just the right amount of cheesy. I was worried savory waffles wouldn’t live up to the sweet ones I usually make but these are my new go-to. Only reason I’m not giving 5 stars is I wish there was a little more egg flavor, next time I might add an extra egg to the batter.

5 days ago

So glad the gluten free swap worked out for you! Adding an extra egg is a fantastic tweak if you love that rich egg flavor — I’ve done that before when serving these with a side of avocado and hot sauce, it’s delicious.

2 hours ago

Drizzled these with a little sriracha and served them with avocado slices and crispy bacon on the side. Absolute perfection for a lazy weekend breakfast. Can’t believe how easy these are, I’ve already sent the recipe to three of my friends.

30 minutes ago

The sriracha + avocado combo is elite! I did that last weekend and added a little everything bagel seasoning on top, next level.

30 minutes ago

Sriracha, avocado, and bacon sounds like the ultimate weekend breakfast spread! So glad you loved the recipe enough to share it with friends — that means the world.

yesterday

Wait, these are savory? I’ve only ever made sweet waffles with syrup and fruit, was skeptical at first but my husband begged me to try them. Oh my gosh, they’re incredible! We had them for dinner last night with a side of roasted tomatoes and it felt like a fancy brunch for dinner, even on a random Tuesday.

2 hours ago

Brunch for dinner is the best weeknight hack! I make these all the time for quick dinners too, they’re so filling and way less cleanup than making a whole big egg and cheese spread on the stove.

30 minutes ago

Love that you gave these a shot even if you were skeptical! Serving them for dinner with roasted tomatoes is such a smart call, I’ll have to steal that idea for my next busy weeknight.

2 days ago

These freeze so well! I let them cool completely after cooking, popped them in freezer bags, and now I can just toss one in the toaster straight from the freezer on crazy mornings. Saves me so much time when I’m trying to get three kids out the door for school. Total lifesaver.

30 minutes ago

Okay so full transparency, I’ve never used a waffle iron before in my life and I was convinced I’d mess these up. But the recipe is so straightforward! No weird steps, no fancy equipment needed, and they came out perfect on the first try. My roommate thought I ordered takeout from the brunch spot down the street, lmao.

5 minutes ago

Same! I got a waffle iron as a housewarming gift 6 months ago and never touched it until I saw this recipe. It’s literally impossible to mess up, you’re gonna love experimenting with different add-ins once you get the base down!

5 minutes ago

Added a pinch of cayenne and some crumbled feta instead of cheddar and wow, that tangy cheese with the little kick of heat is *chef’s kiss*. I will say, I almost overfilled my waffle iron the first time because the batter puffs up a lot, so don’t pour too much in unless you want a mess to clean up! Knocked a star off because I made that mess on my counter lmao, but totally my own fault, not the recipe’s.

just now

Feta and cayenne sounds absolutely incredible — I need to try that combo next! Great reminder about not overfilling the waffle iron, the batter does puff up quite a bit as it cooks so a little goes a long way. So glad you enjoyed them despite the counter mess!



