
egg and waffle
intro
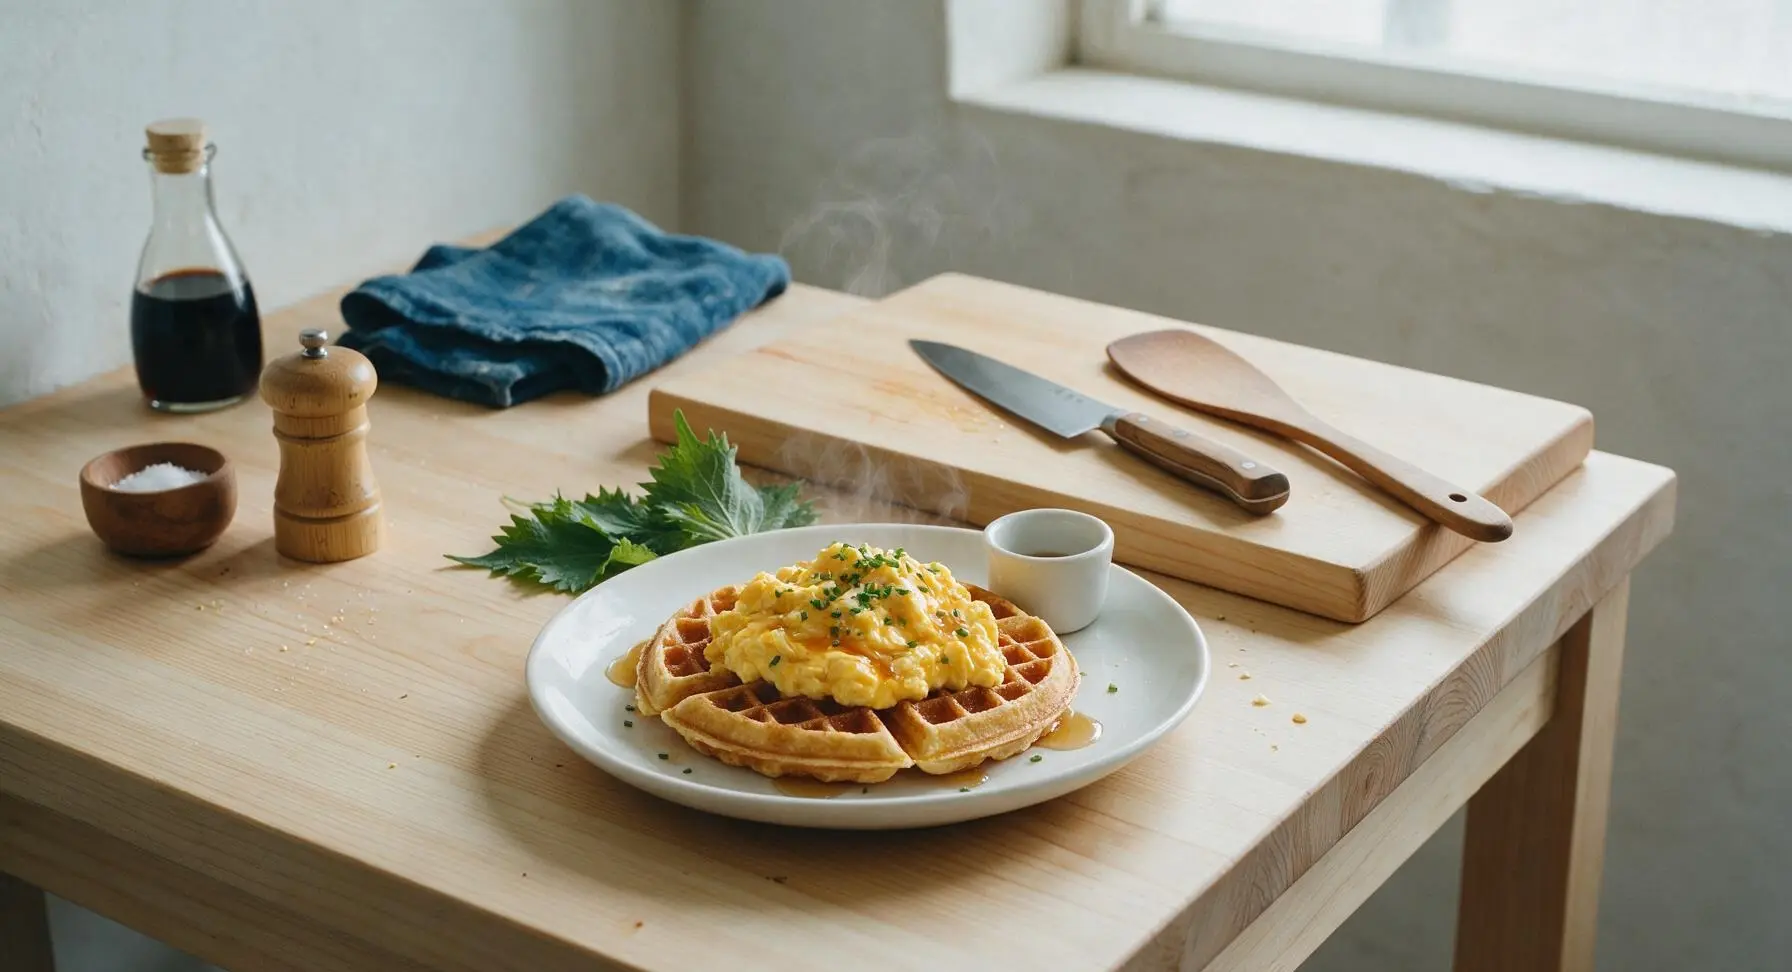
Crisp golden buttermilk waffles topped with fluffy soft-scrambled eggs, a drizzle of maple syrup, and fresh chives: cozy, quick, perfectly balanced sweet-savory comfort.
Ingredients
Steps
Preheat Waffle Iron
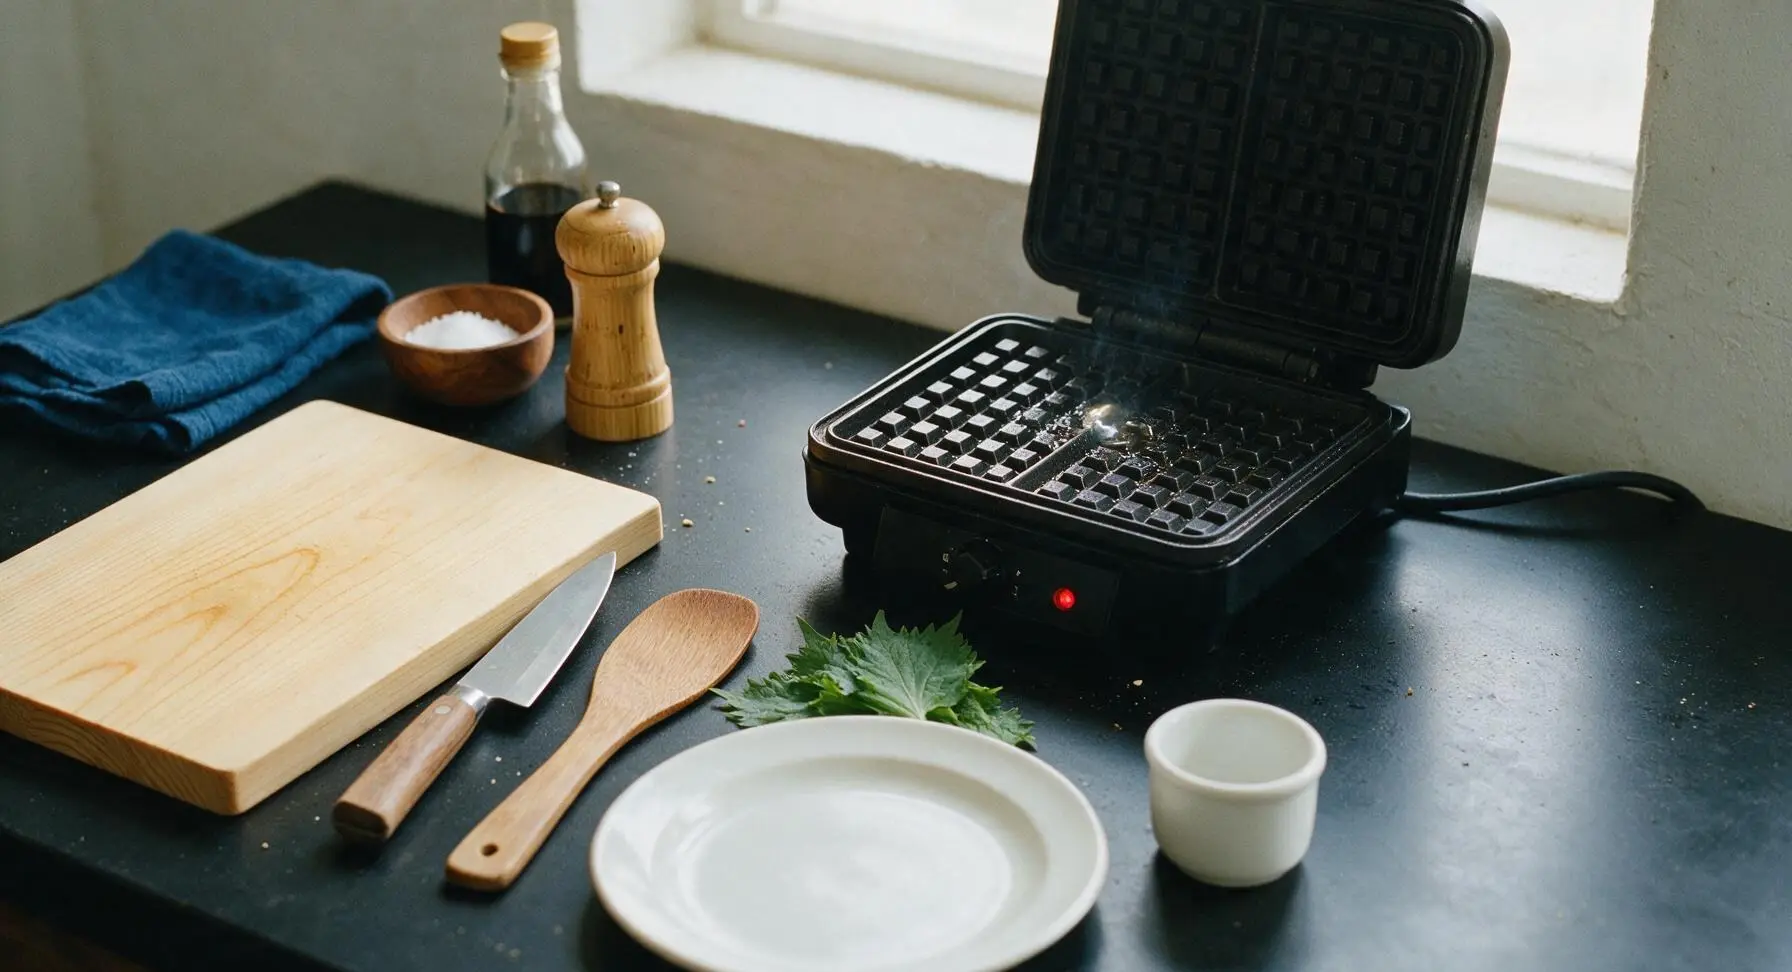
Plug in the matte black countertop waffle iron and set it to medium-high heat (375°F/190°C). Let it preheat for 5 minutes while you prep the waffle batter; the iron is fully ready when a single drop of water flicked onto the cooking surface sizzles and evaporates in 1 to 2 seconds.
Mix Waffle Batter
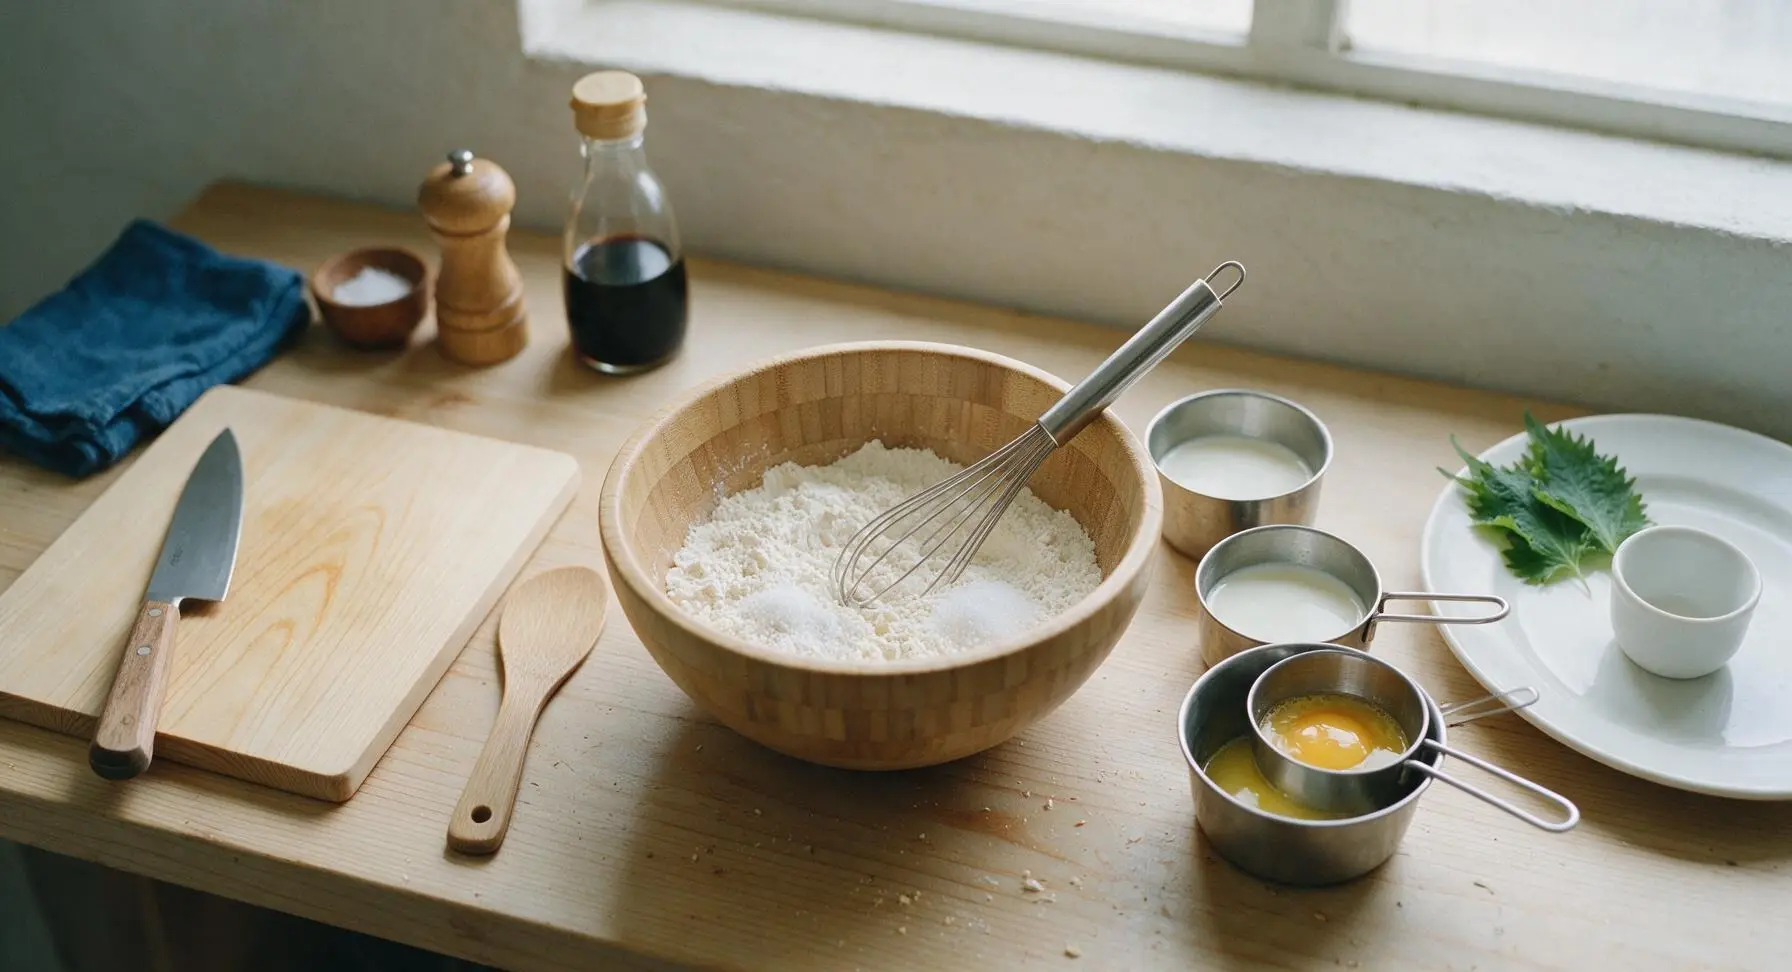
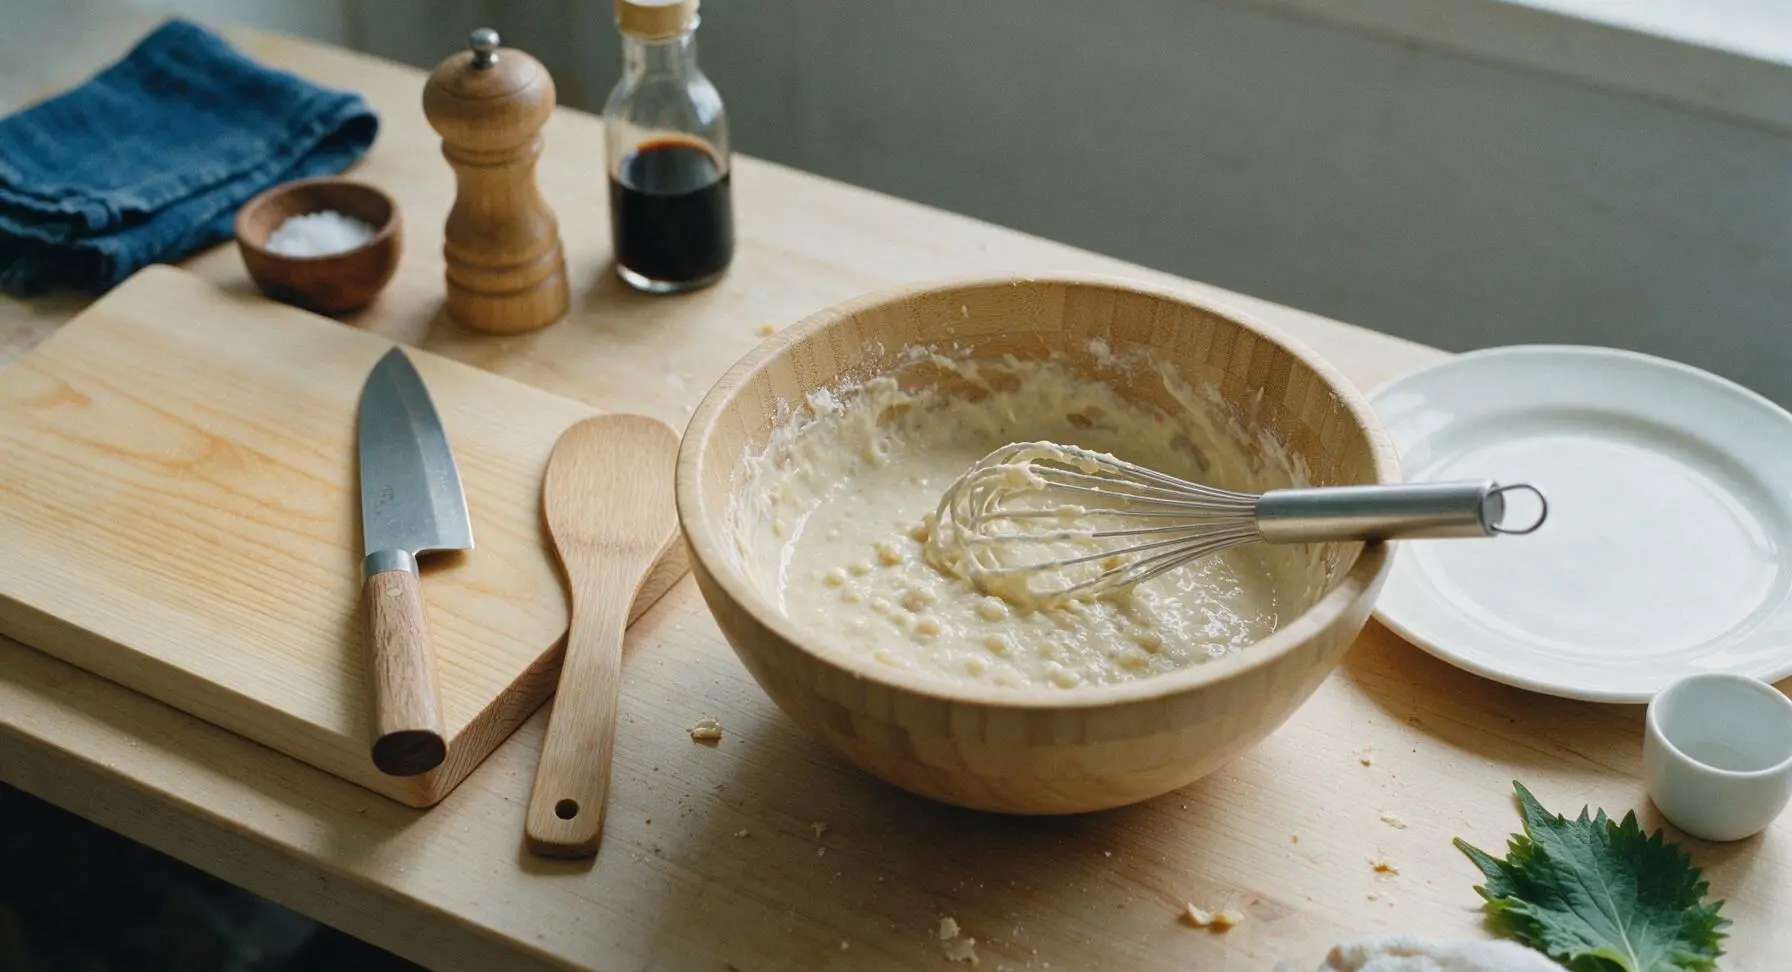
Use the nested stainless steel measuring cups to portion 1 cup (120g) all-purpose flour, 1 tsp baking powder, 1 tbsp granulated sugar, and 1/2 tsp fine sea salt into the light bamboo mixing bowl. Use the stainless steel whisk to stir the dry ingredients until evenly combined, with no clumps of baking powder visible. Make a small well in the center of the dry mix, then add 3/4 cup (180ml) low-fat buttermilk, 1 large lightly beaten egg, and 1 tbsp melted, cooled unsalted butter. Whisk the ingredients just until combined—small, pea-sized lumps in the batter are normal and desirable; do not overmix, as this develops gluten and creates tough, dense waffles. The finished batter will be thick but slowly pourable.
Cook Crisp Waffles
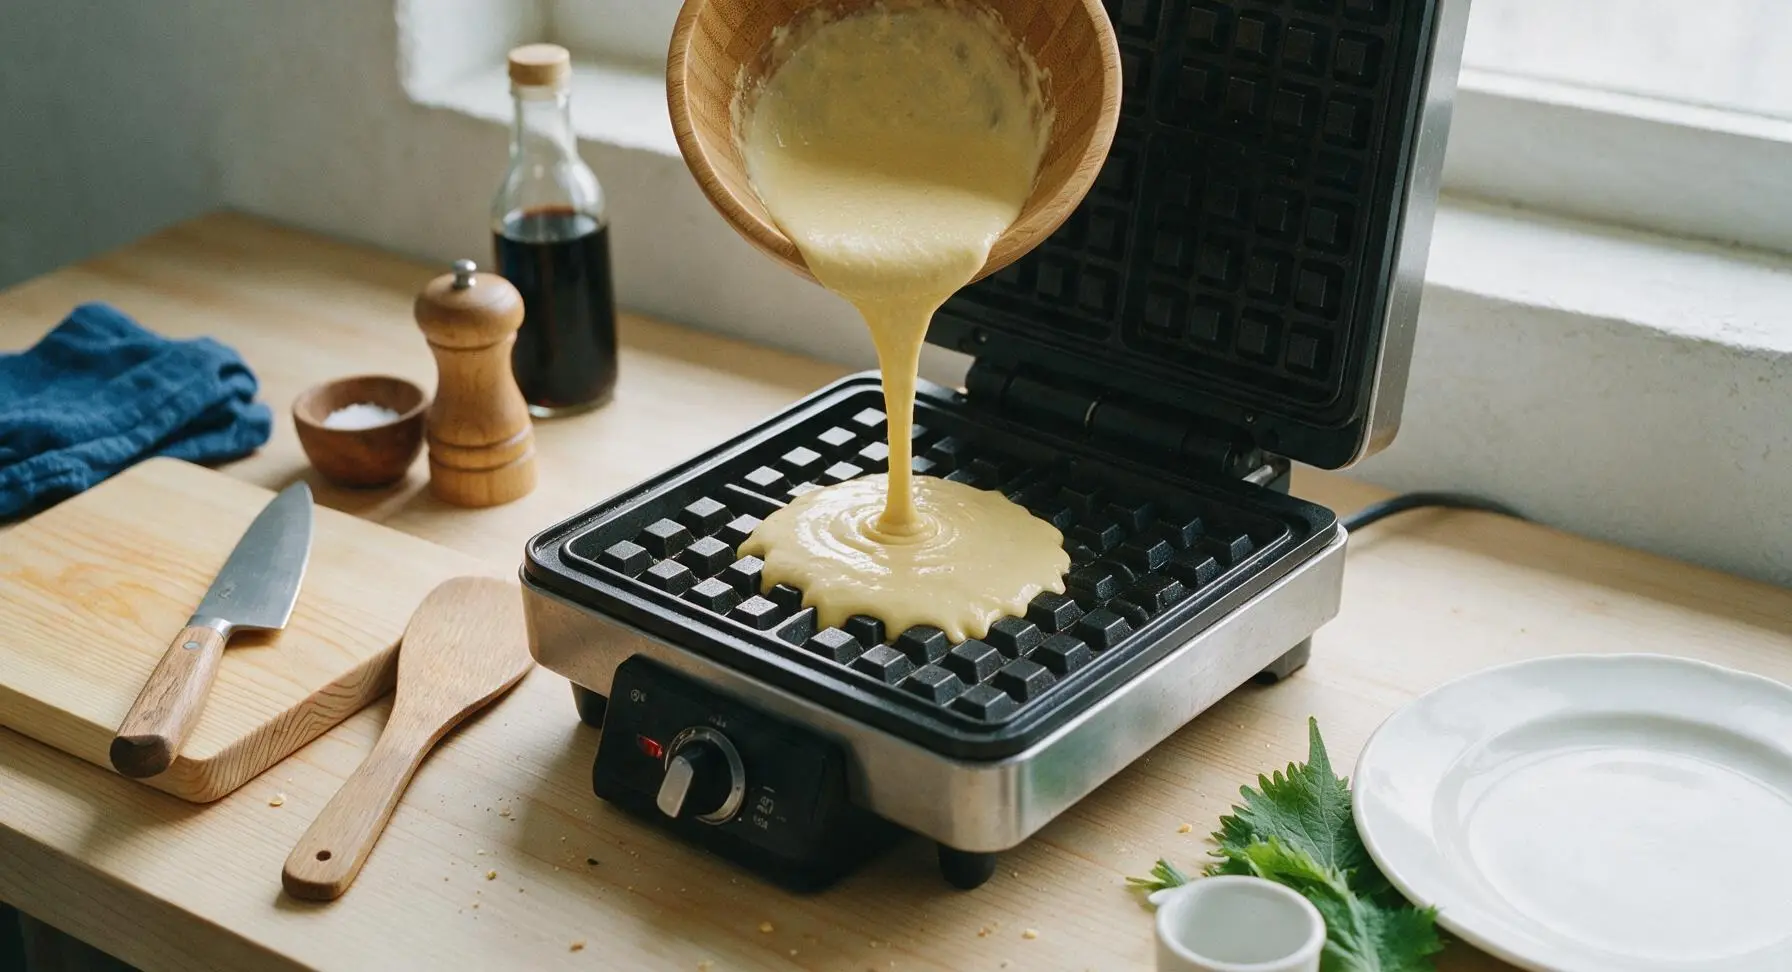
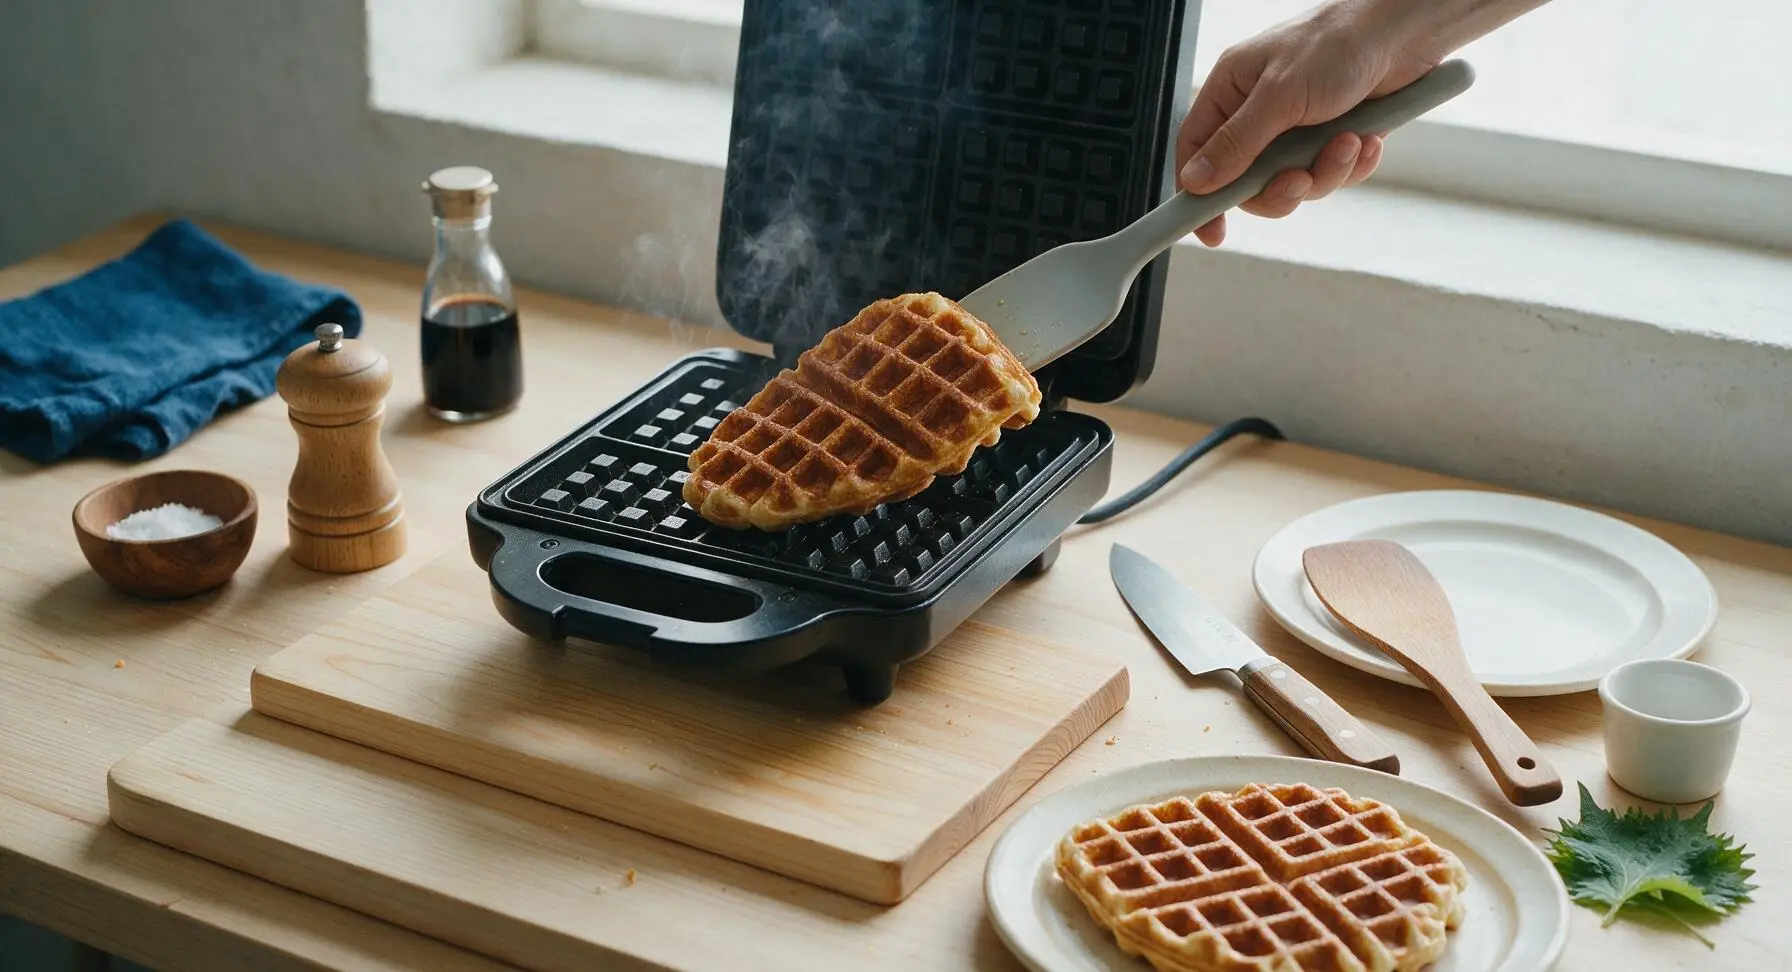
Pour 1/2 cup of batter evenly into the center of the preheated waffle iron. Close the lid and cook for 3 to 4 minutes, resisting the urge to open the lid early, which can cause the waffle to tear. The waffle is done when it is deep golden brown, crisp to the touch, and no raw batter oozes from the edges of the iron. Carefully lift the finished waffle out with the light gray silicone spatula and set it on the top cream stoneware plate; repeat with the remaining 1/2 cup batter to make a second waffle.
Prep Egg Mixture
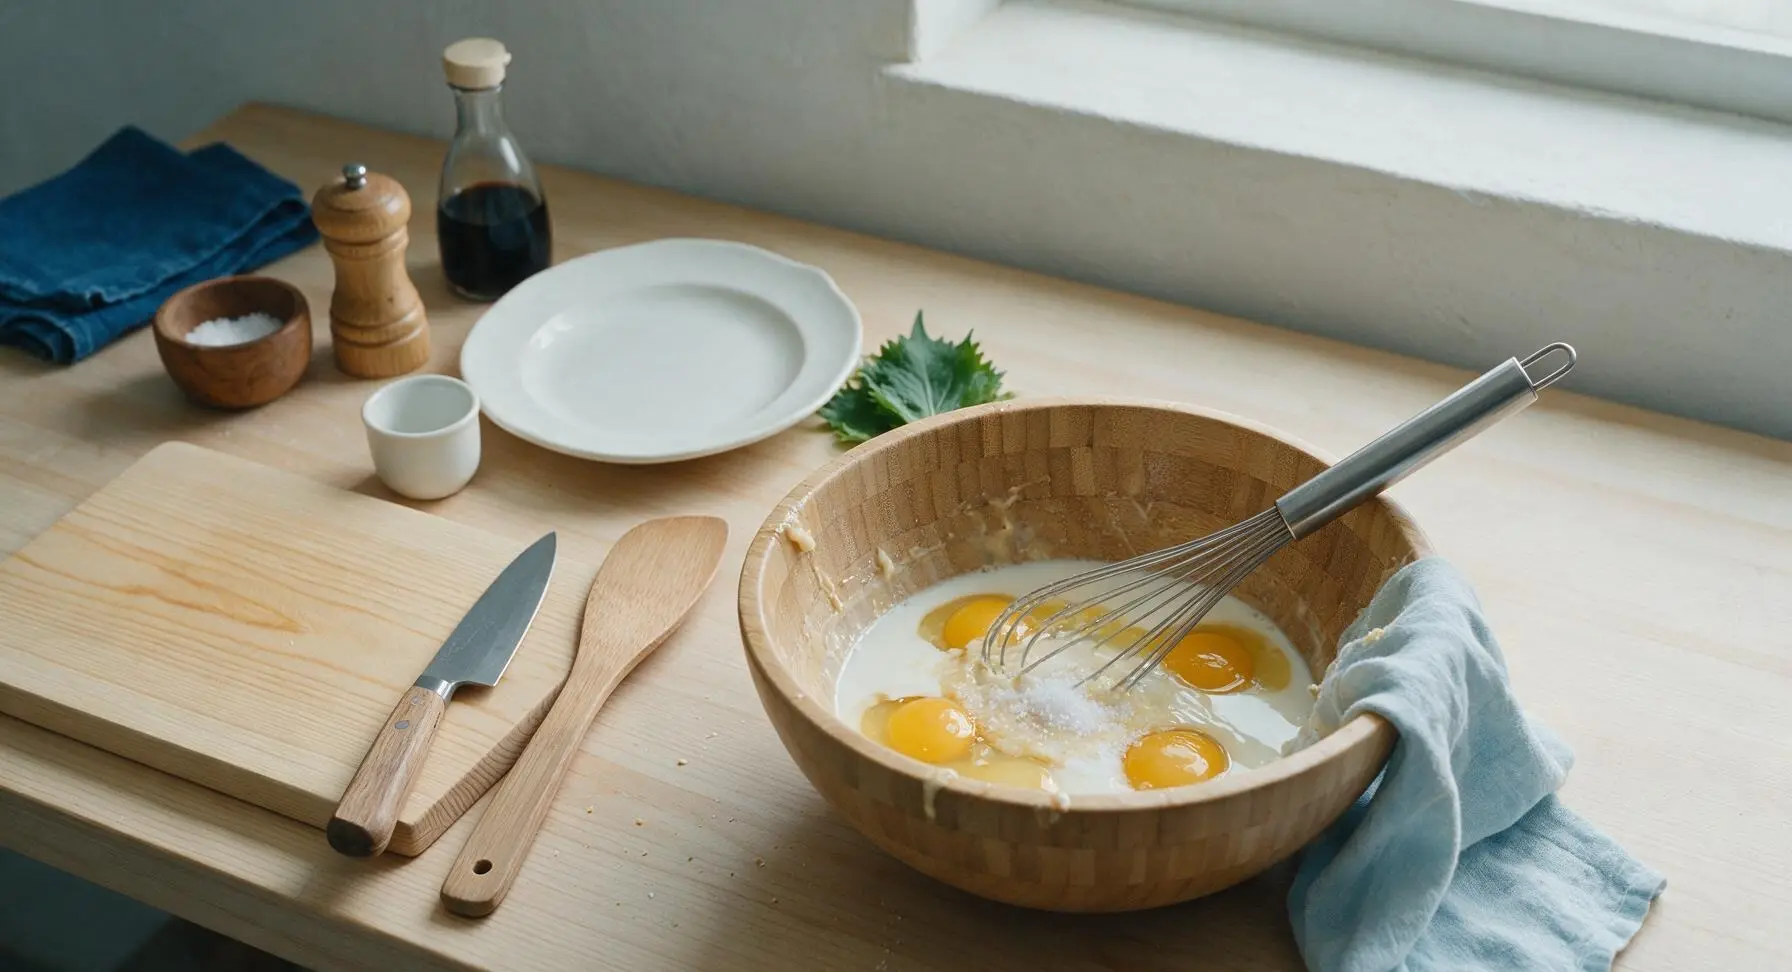
While the second waffle cooks, wipe the bamboo mixing bowl clean of any remaining batter crumbs using a corner of the pale blue linen towel. Crack the remaining 4 large eggs into the bowl, add 2 tbsp whole milk and 1/8 tsp fine sea salt. Whisk gently with the stainless steel whisk just until the yolks and whites are fully combined, with no streaks of clear egg white remaining. Do not over-whisk, as incorporating too much air will create dry, spongy scrambled eggs.
Scramble Soft Eggs
Turn the stovetop burner under the 10-inch matte charcoal nonstick skillet to medium-low heat, add 1 tbsp unsalted butter, and let it melt until foamy but not browned, about 1 minute. Pour the egg mixture into the skillet. Use the light gray silicone spatula to push the eggs gently from the edges of the pan toward the center every 10 seconds, forming soft, large curds. Cook for 2 to 3 minutes total, until the eggs are just set, creamy, and slightly runny in spots—they will continue to cook from residual heat after being removed from the pan, so do not cook until fully firm. Season with a pinch of freshly ground black pepper from the light maple pepper mill.
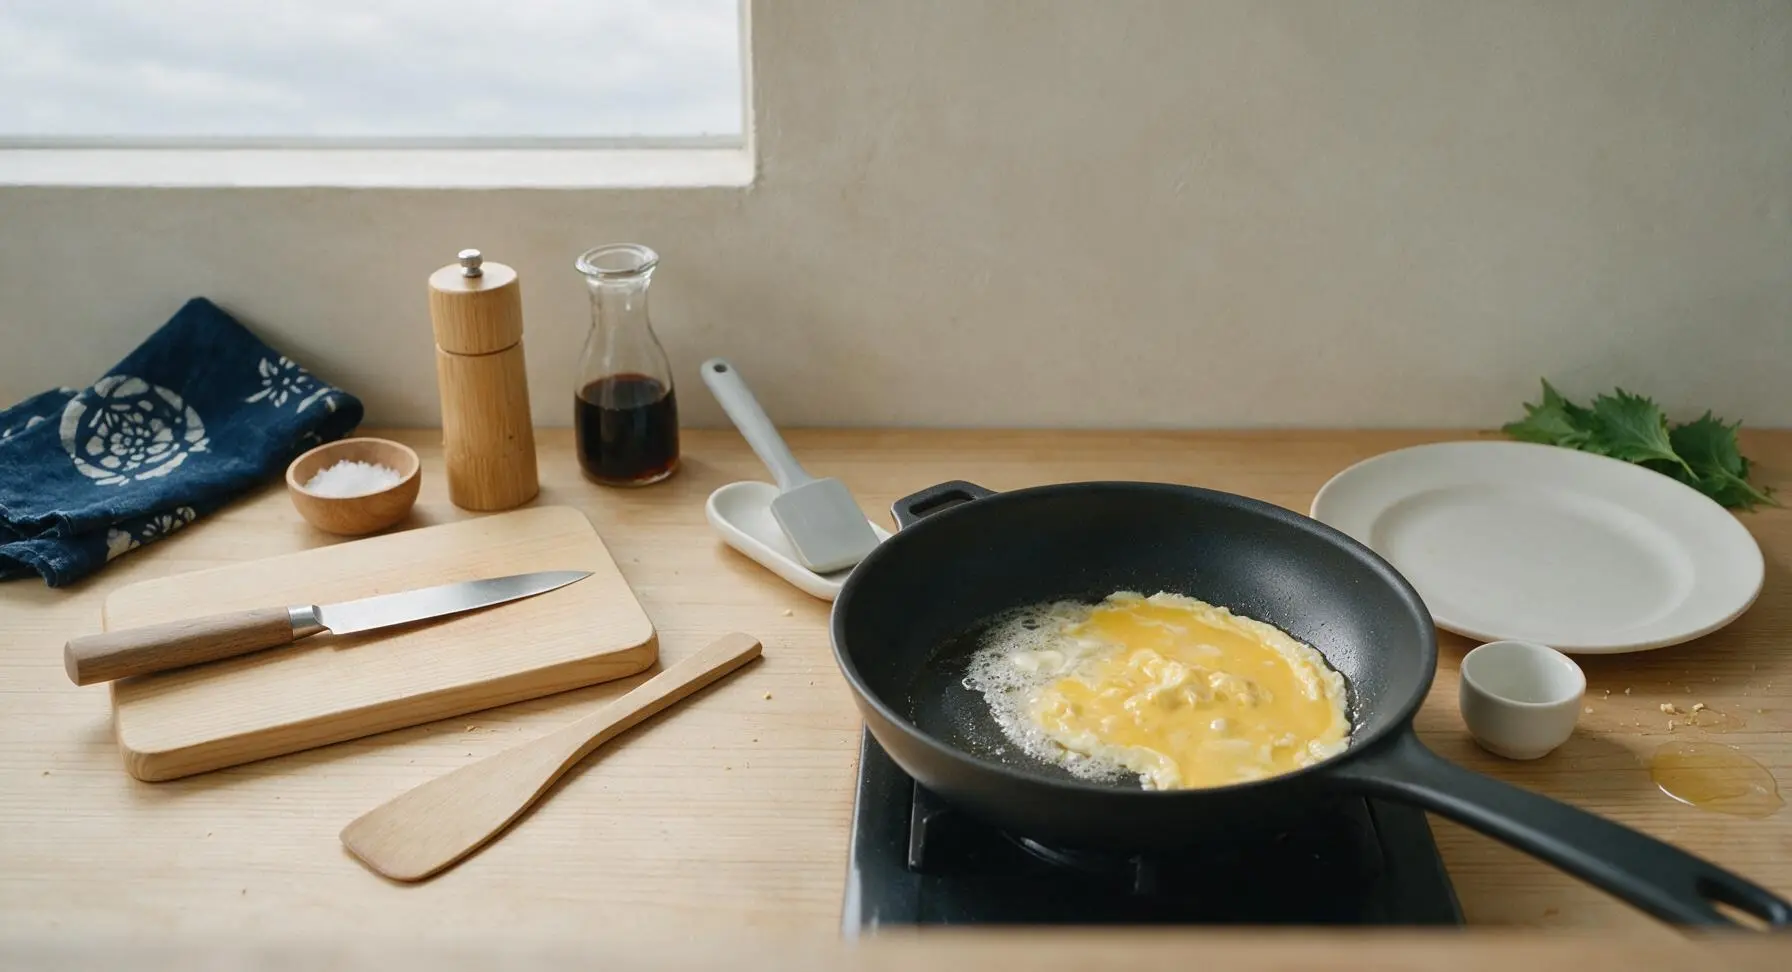
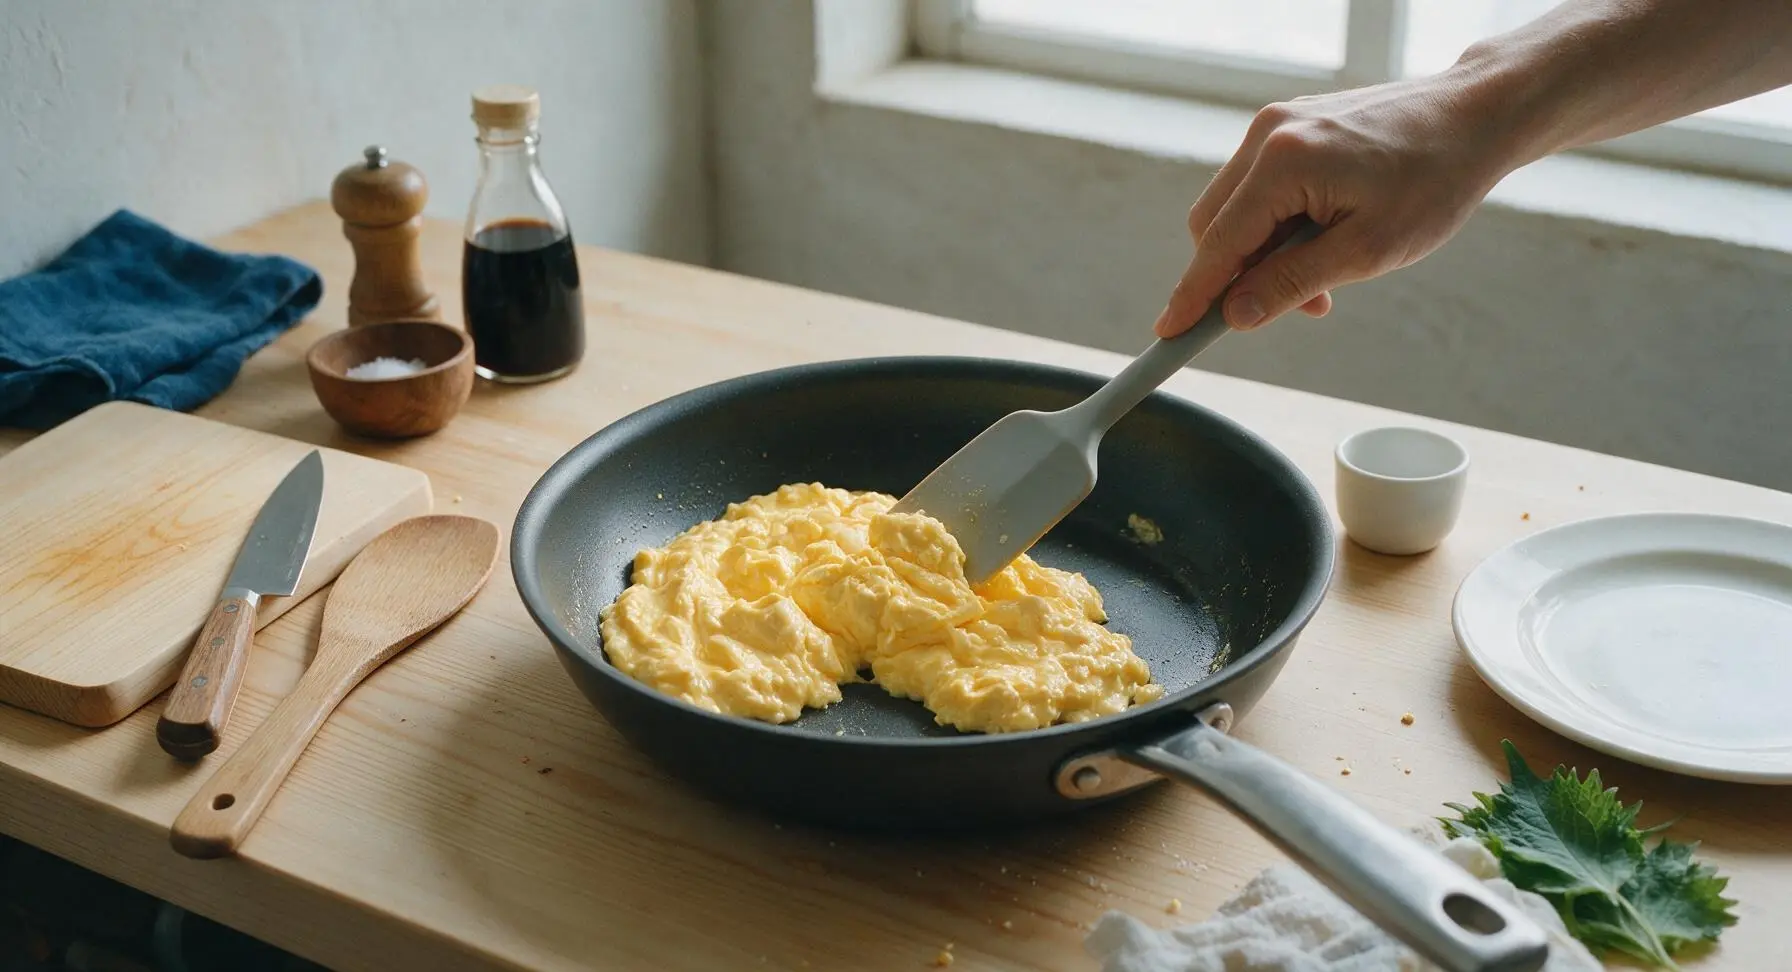
Plate and Garnish
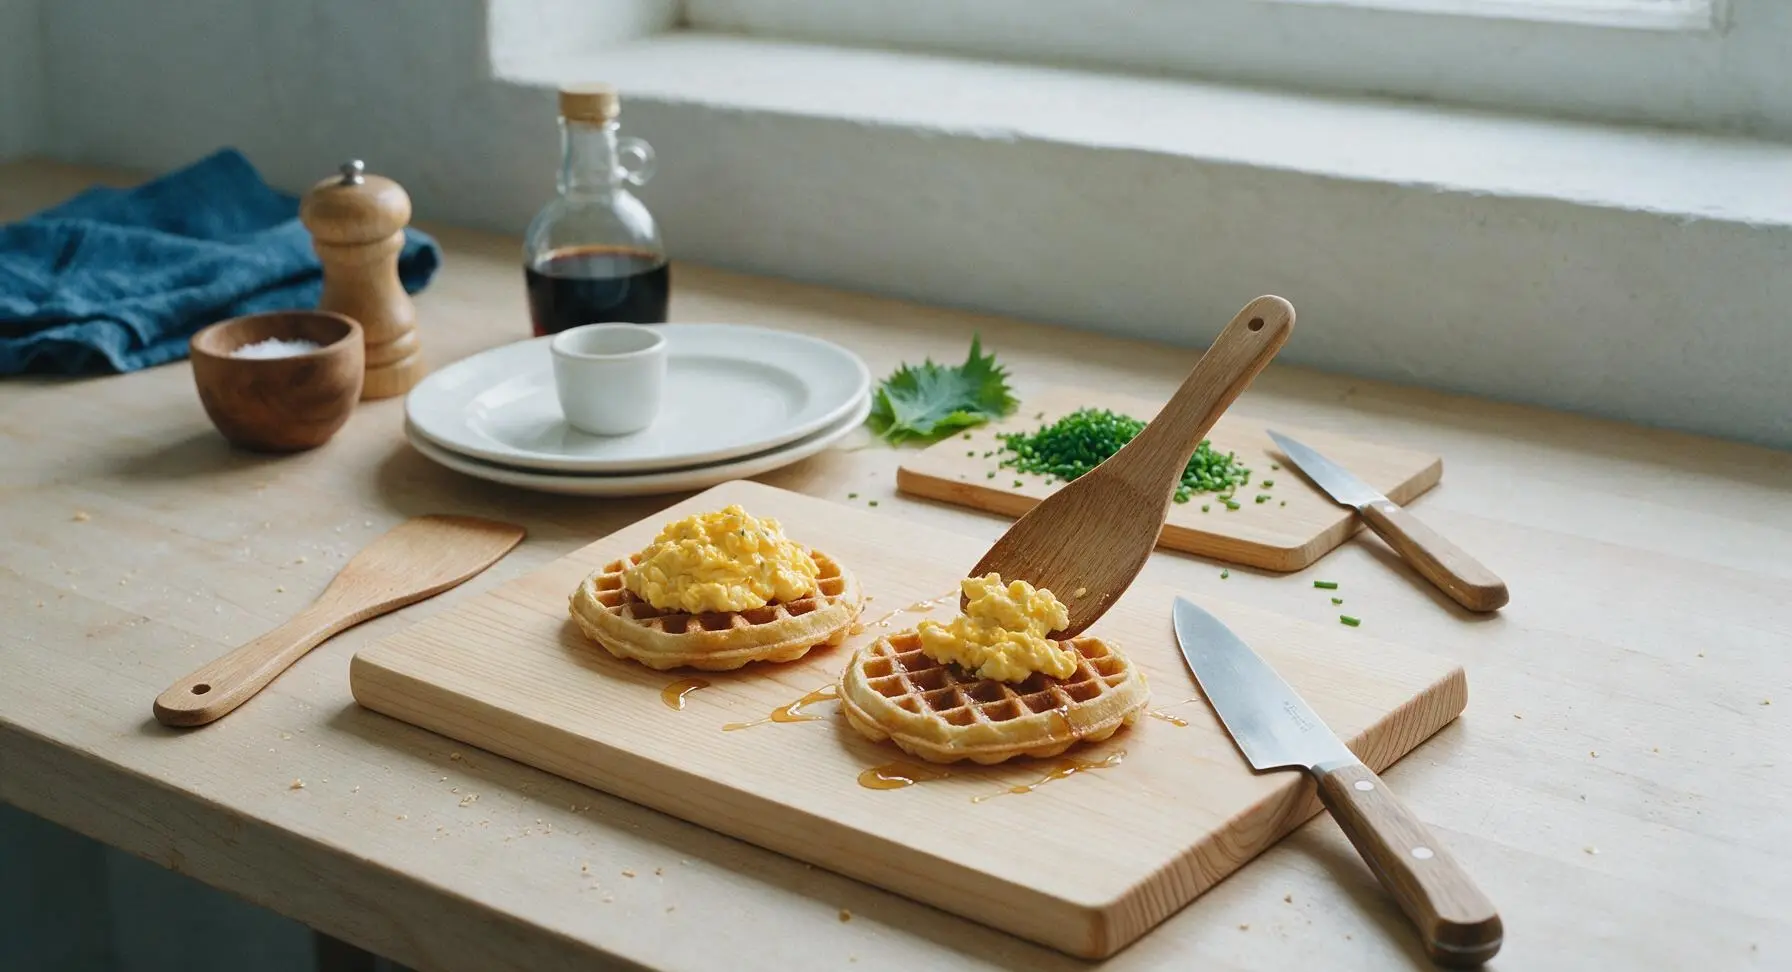
Pull the small light bamboo cutting board from under the stacked stoneware plates, and use the small paring knife to finely chop the fresh chives. Place one crisp waffle on each cream stoneware plate. Divide the soft scrambled eggs evenly, mounding them gently on one half of each waffle. Drizzle 1 tbsp of pure maple syrup diagonally across each waffle and egg portion. Sprinkle 1/2 tbsp of chopped chives over the top of each serving, plus a tiny pinch of flaky sea salt from the white ceramic salt cellar. Serve immediately while hot, before the waffles lose their crispness.
Tips
2.Cook eggs exclusively on medium-low heat: high heat causes egg proteins to seize quickly, leading to rubbery, watery eggs, while low heat builds soft, velvety curds that melt in your mouth.
3.Skip overmixing the waffle batter: small pea-sized lumps create light, tender waffles, while perfectly smooth, over-mixed batter develops excess gluten and results in tough, chewy waffles.






OMG this was SO good! I threw this together this morning before school drop off and both my boys begged for seconds. 15 minute cook time is no joke, perfect for chaotic weekday mornings. 10/10 will be on our weekly rotation!
Made this for my friend potluck brunch last weekend and everyone asked for the recipe! I added a tiny drizzle of hot honey on top and it was *chef’s kiss*. Game changer for lazy weekend spreads.
Super easy to make in my tiny dorm kitchen! I don’t have a fancy waffle maker, just the cheap mini one from Target, and it turned out perfect. Way better than the dining hall breakfast.
Great base recipe, but I found the eggs were a little runny when I cooked them the same time as the waffles. Next time I’ll give the eggs an extra minute on the pan. Still tasted great though!
I swapped the regular waffle mix for a gluten free version and this still turned out absolutely delicious! Perfect for my Sunday brunch when I have my celiac bestie over. No sad dry GF waffles here!
Wait this works for meal prep? I made a big batch of waffles Sunday, pre-scrambled eggs, and just heated them up all week for quick breakfasts before work. Total time saver!
Simple, no-frills recipe that doesn’t overcomplicate a classic. Too many egg and waffle recipes try to add 20 extra ingredients that aren’t needed, this is exactly how I made it back when I worked diners in the 80s. Solid.
My 7 year old who refuses to eat literally anything ate TWO full servings of this last night for brinner! I didn’t even have to bargain with her, that’s a win in my book. SO good.
Took me a little longer than 15 minutes because I burned the first waffle (oops) but the end result was totally worth it. Drizzled with a little maple syrup and a side of bacon, *chefs kiss*.
Tried this with over easy eggs instead of scrambled so the yolk runs into the waffle crevices. Life changing. Don’t @ me.
Made this for my wife for our first anniversary breakfast in bed and she said it was better than the fancy brunch spot we went to on our first date. Total win for me, thanks for the easy recipe!
I added a sprinkle of everything bagel seasoning on the eggs and it was chef’s kiss. Savory waffle combo hits so much better than sweet sometimes, honestly.
We made this for our office team brunch last week and it was gone in 10 minutes flat. Easy to scale up for a crowd, no fancy equipment needed, everyone raved about it.
Great high protein breakfast to make before a long hike! Kept me full for almost 4 hours on the trail, no mid-hike energy crashes. Will be making this every Saturday before my treks.
I was worried this would be too expensive to make on my tight grocery budget but all the ingredients are pantry/fridge staples! Cost me less than $3 a serving, way cheaper than going out for brunch.