
Egg Bagel
intro
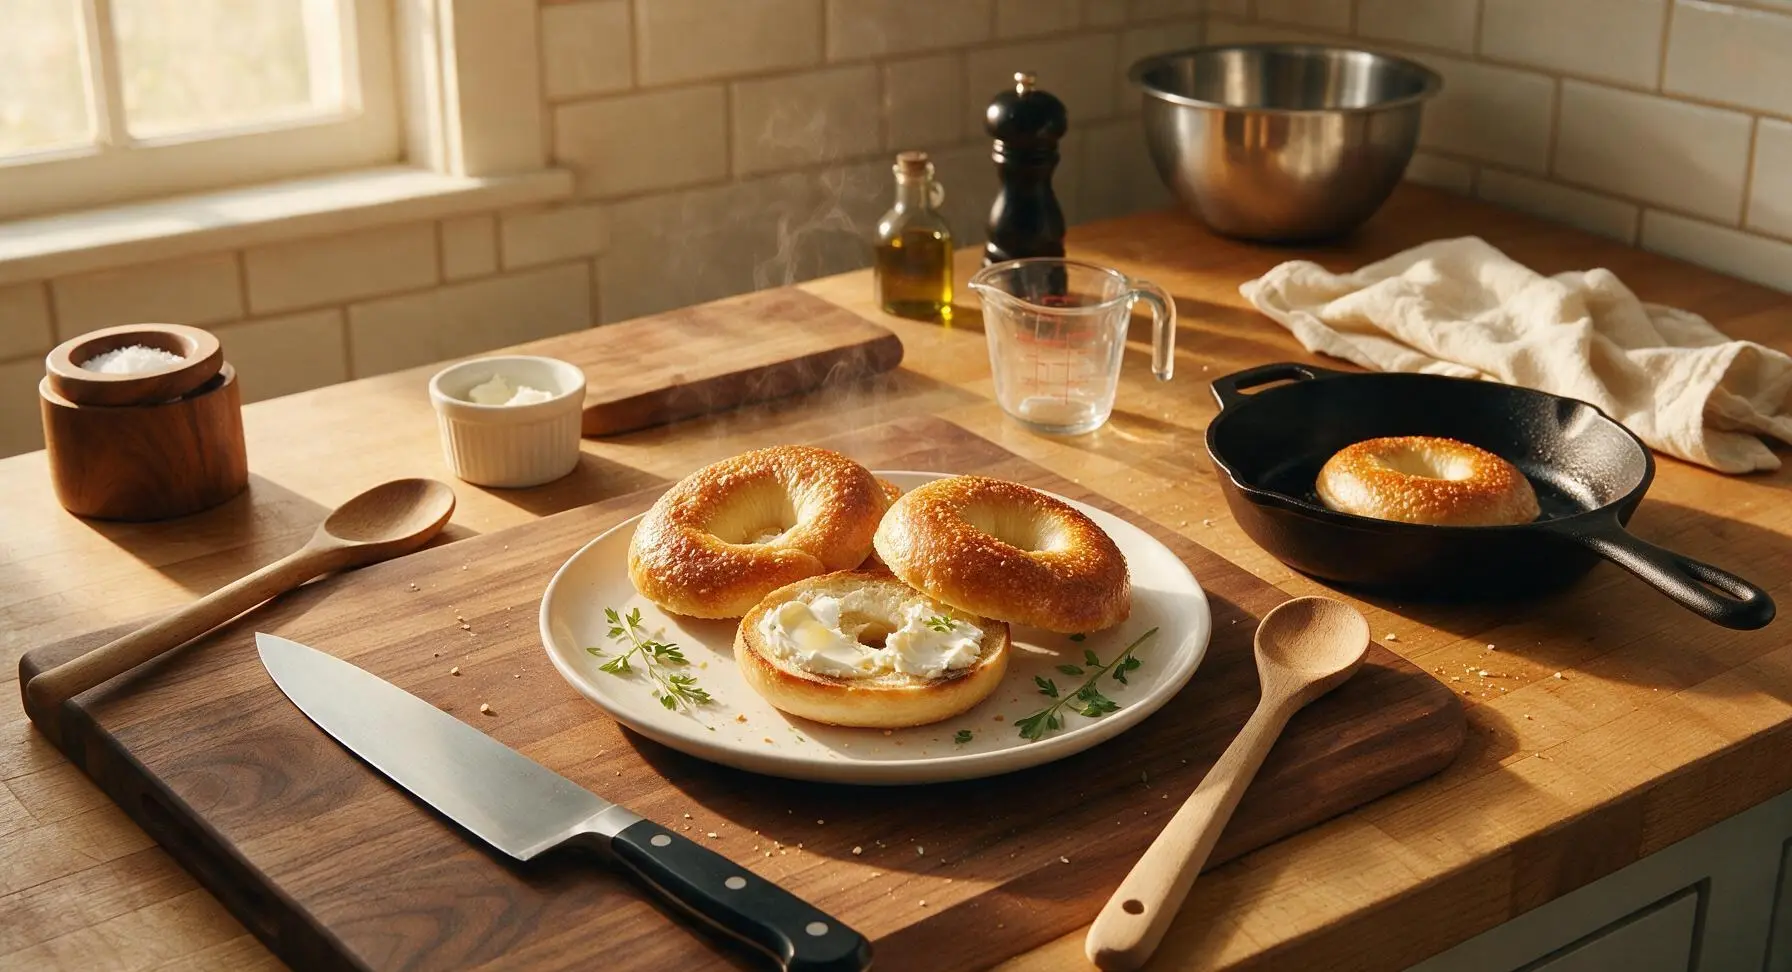
Chewy, golden New York-style egg bagels with a shiny crisp crust and soft, rich crumb, perfect toasted with cream cheese for a satisfying, portable breakfast.
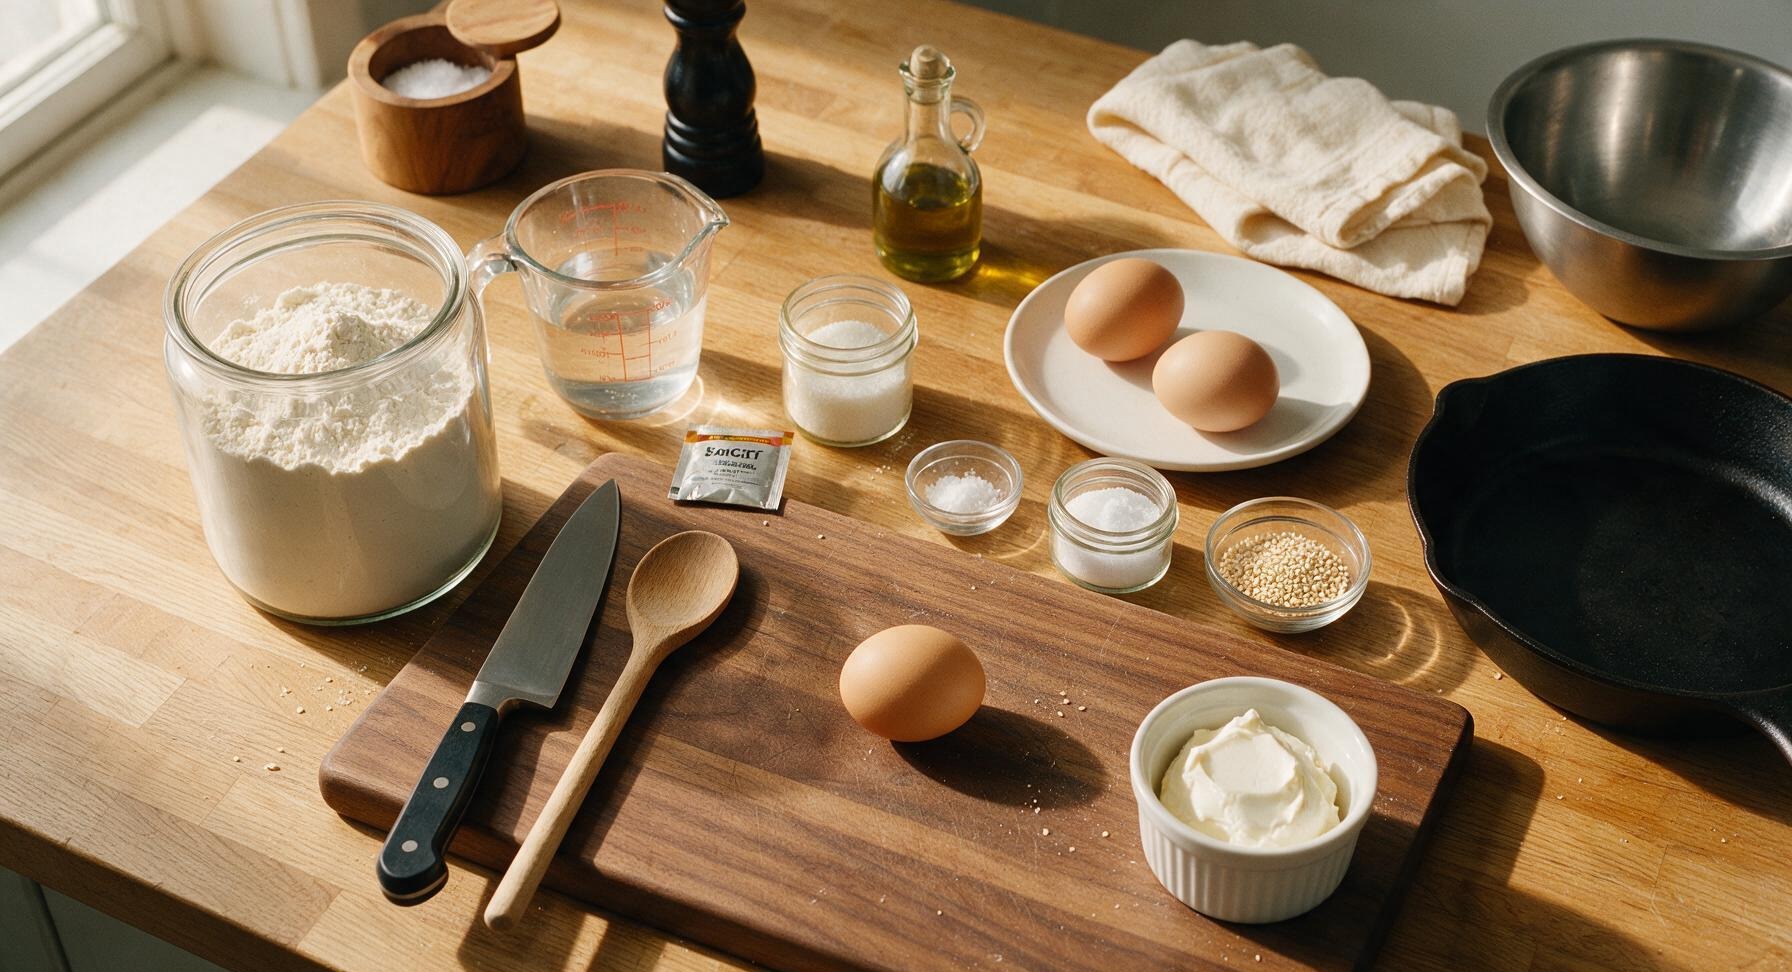
Ingredients
Steps
Mix Bagel Dough
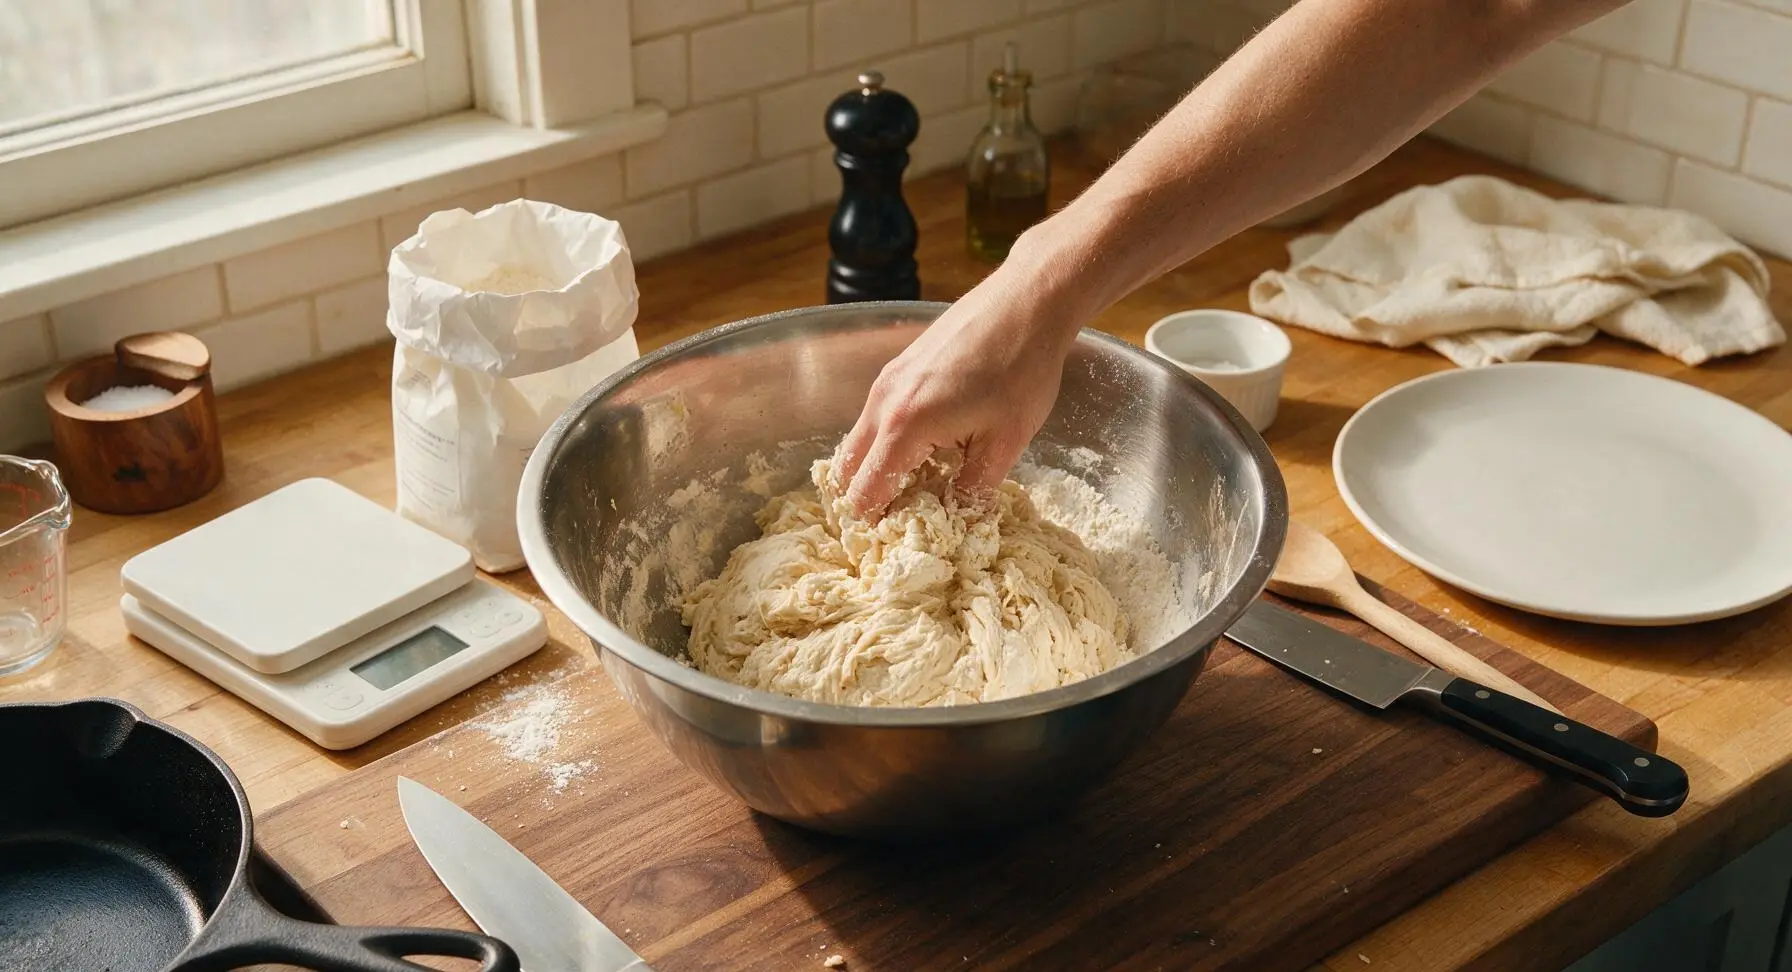
In the large stainless steel mixing bowl, combine warm water (110°F/43°C), granulated sugar, and active dry yeast. Let rest 5 minutes until the surface is foamy, confirming the yeast is active. Add 2 room-temperature eggs, whisking until fully smooth. Gradually stir in all-purpose flour and fine sea salt, mixing by hand until a stiff, shaggy dough forms with no dry flour pockets left at the bottom of the bowl.
Knead Until Smooth
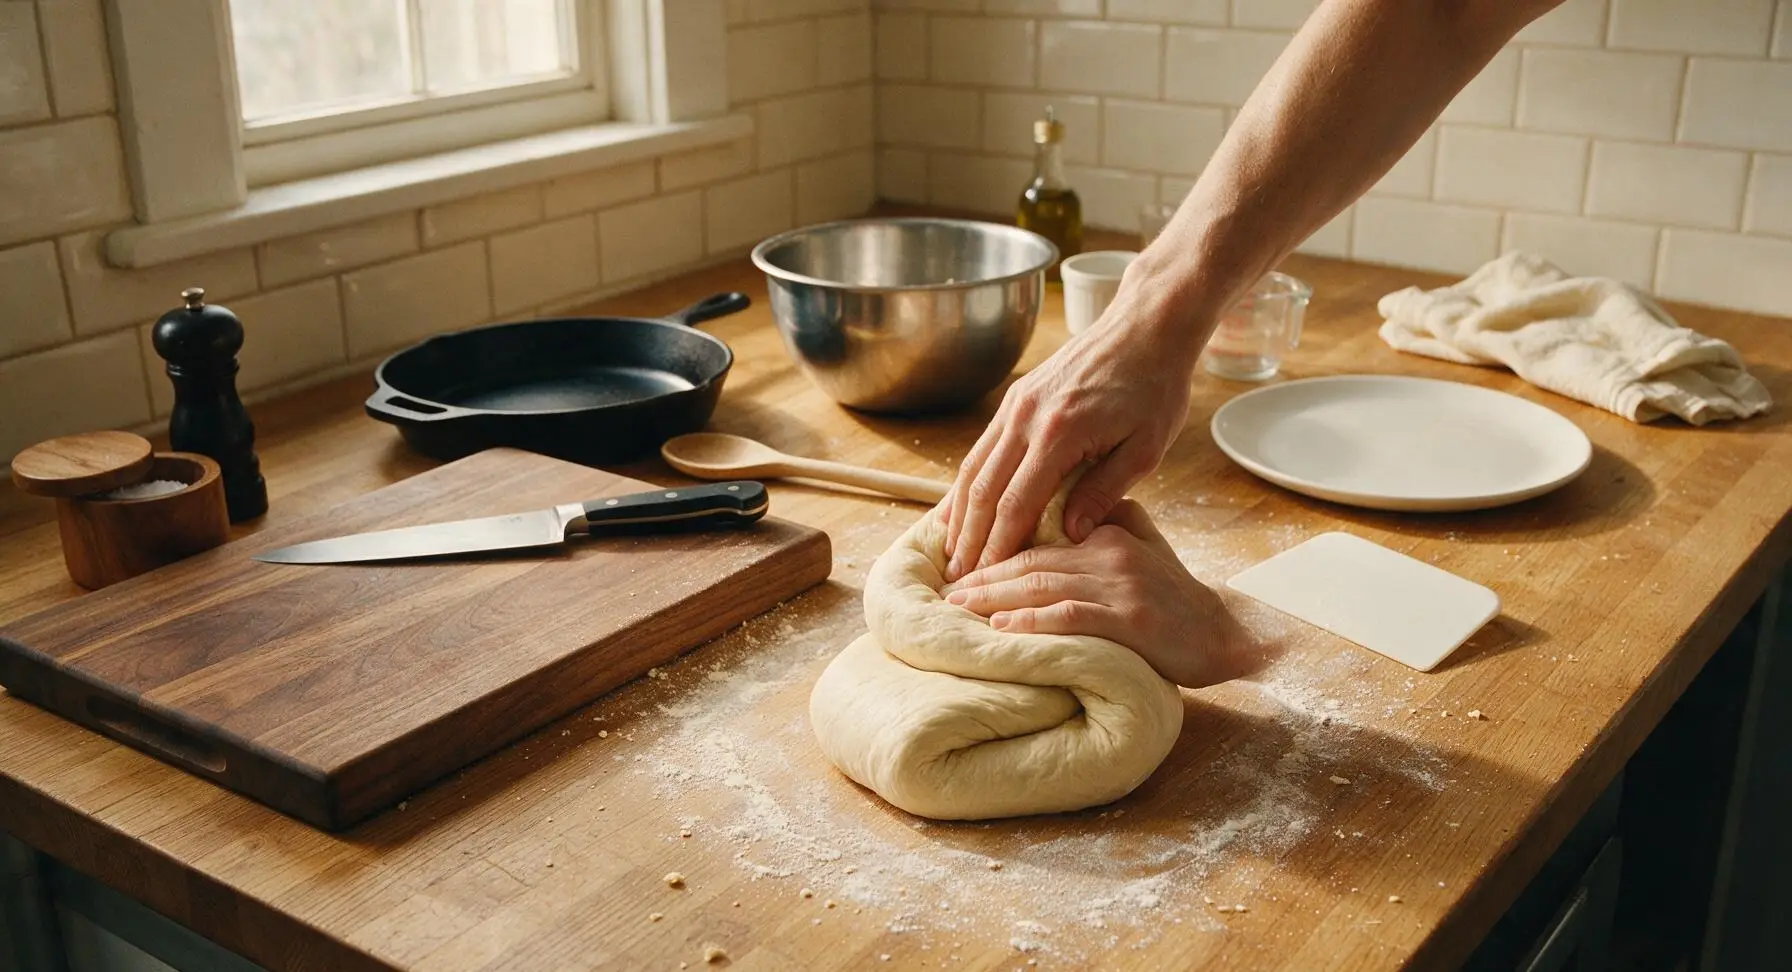
Turn the shaggy dough out onto the clean, lightly floured section of counter in front of the mixing bowl. Knead for 8–10 minutes by hand, using the flexible dough scraper to lift sticky dough bits from the counter as needed, until the dough is completely smooth, elastic, and springs back slowly when poked with a finger (it should not leave sticky residue on clean hands). Form the kneaded dough into a tight, round ball.
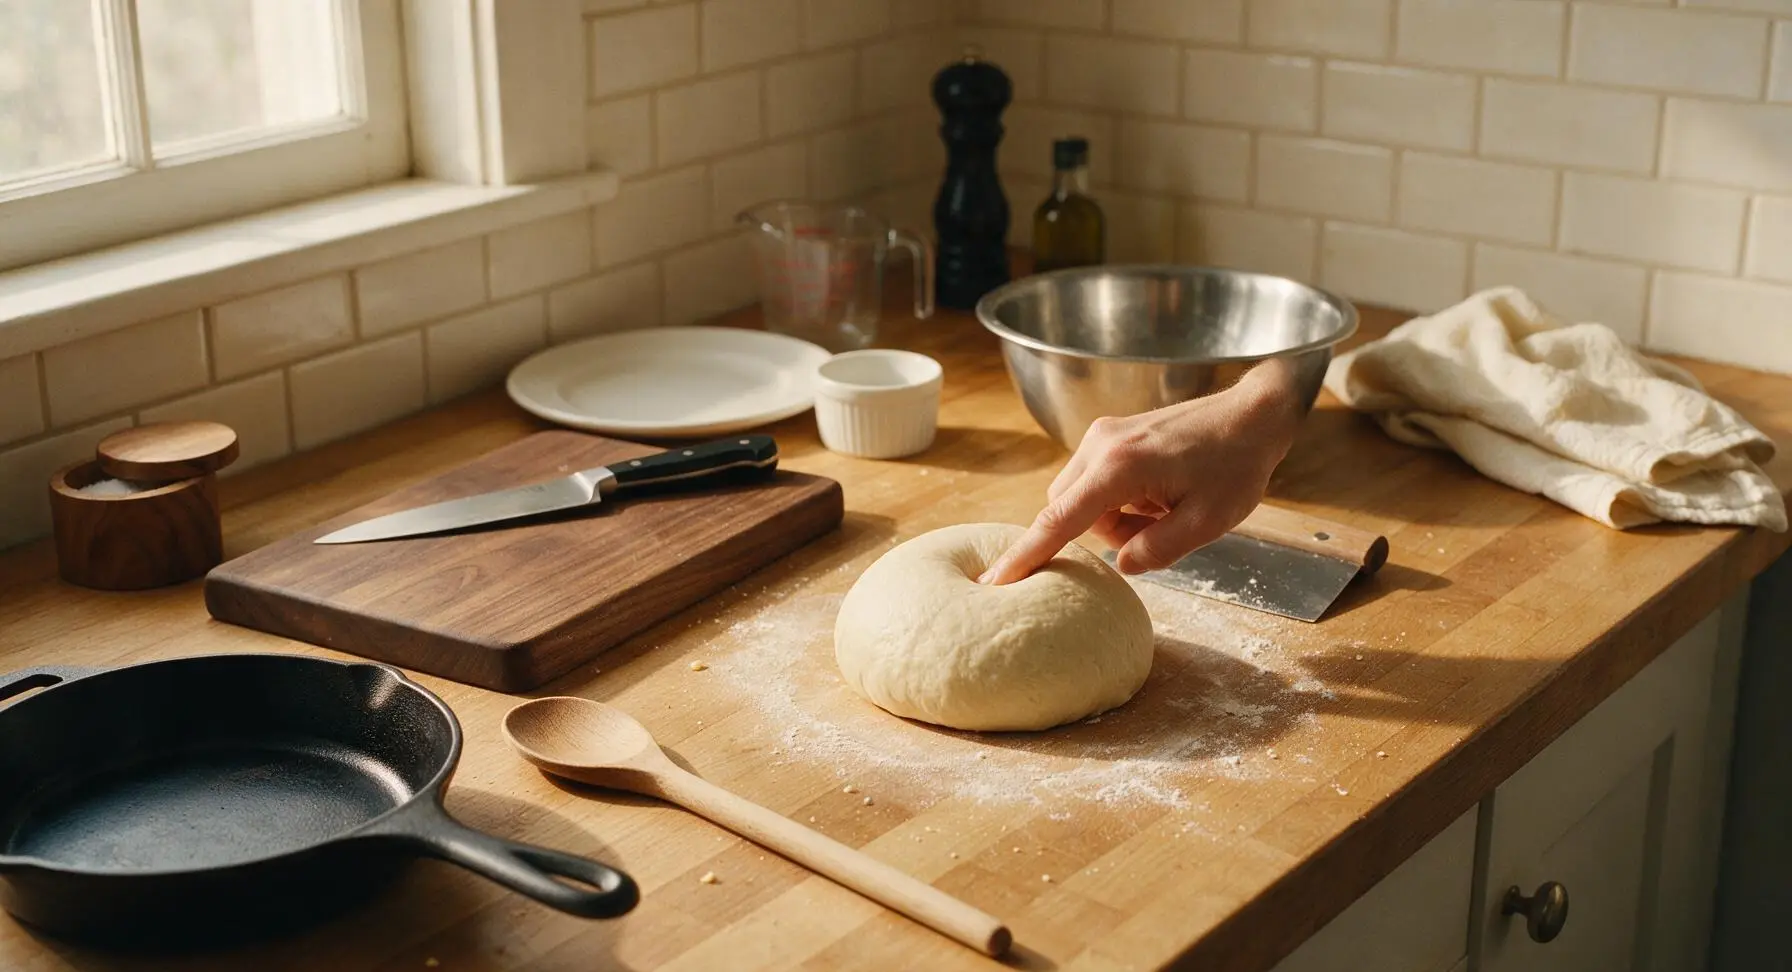
Let Dough Proof
Wipe the interior of the large mixing bowl with a thin coat of olive oil from the fixed amber oil bottle. Place the smooth dough ball back into the oiled bowl, and drape the corner of the linen towel (from its fixed top-right position) loosely over the bowl top. Let rest in a warm 75°F/24°C spot for 20 minutes, until the dough puffs to 1.5 times its original size (stiff bagel dough will not fully double like regular sandwich bread dough).
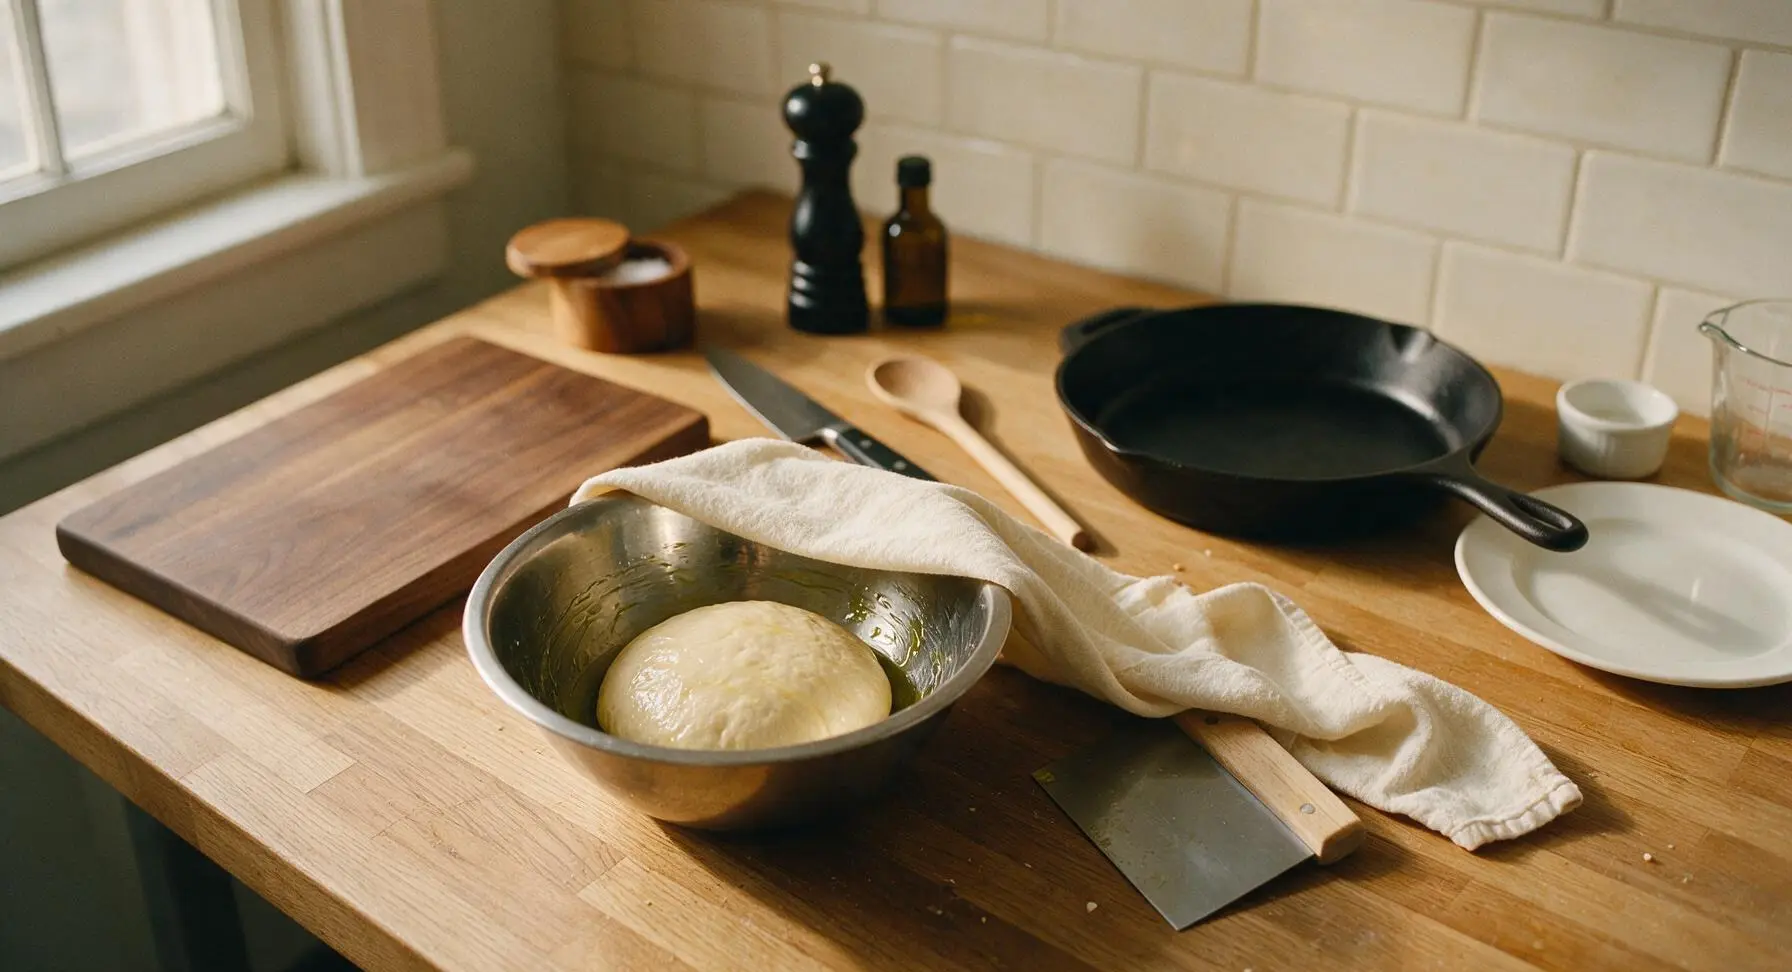
Shape Bagel Portions
Once proofed, turn the puffed dough out onto the unfloured counter. Use the dough scraper to cut the dough evenly into 6 equal pieces, each weighing approximately 130g. Roll each piece into a tight, smooth ball, then press a floured finger through the center of each ball to create a 5cm (2 inch) hole, stretching the dough gently to form a uniform ring shape. Place shaped bagels onto the parchment-lined baking sheet, leaving 5cm of space between each to allow for expansion during boiling and baking.
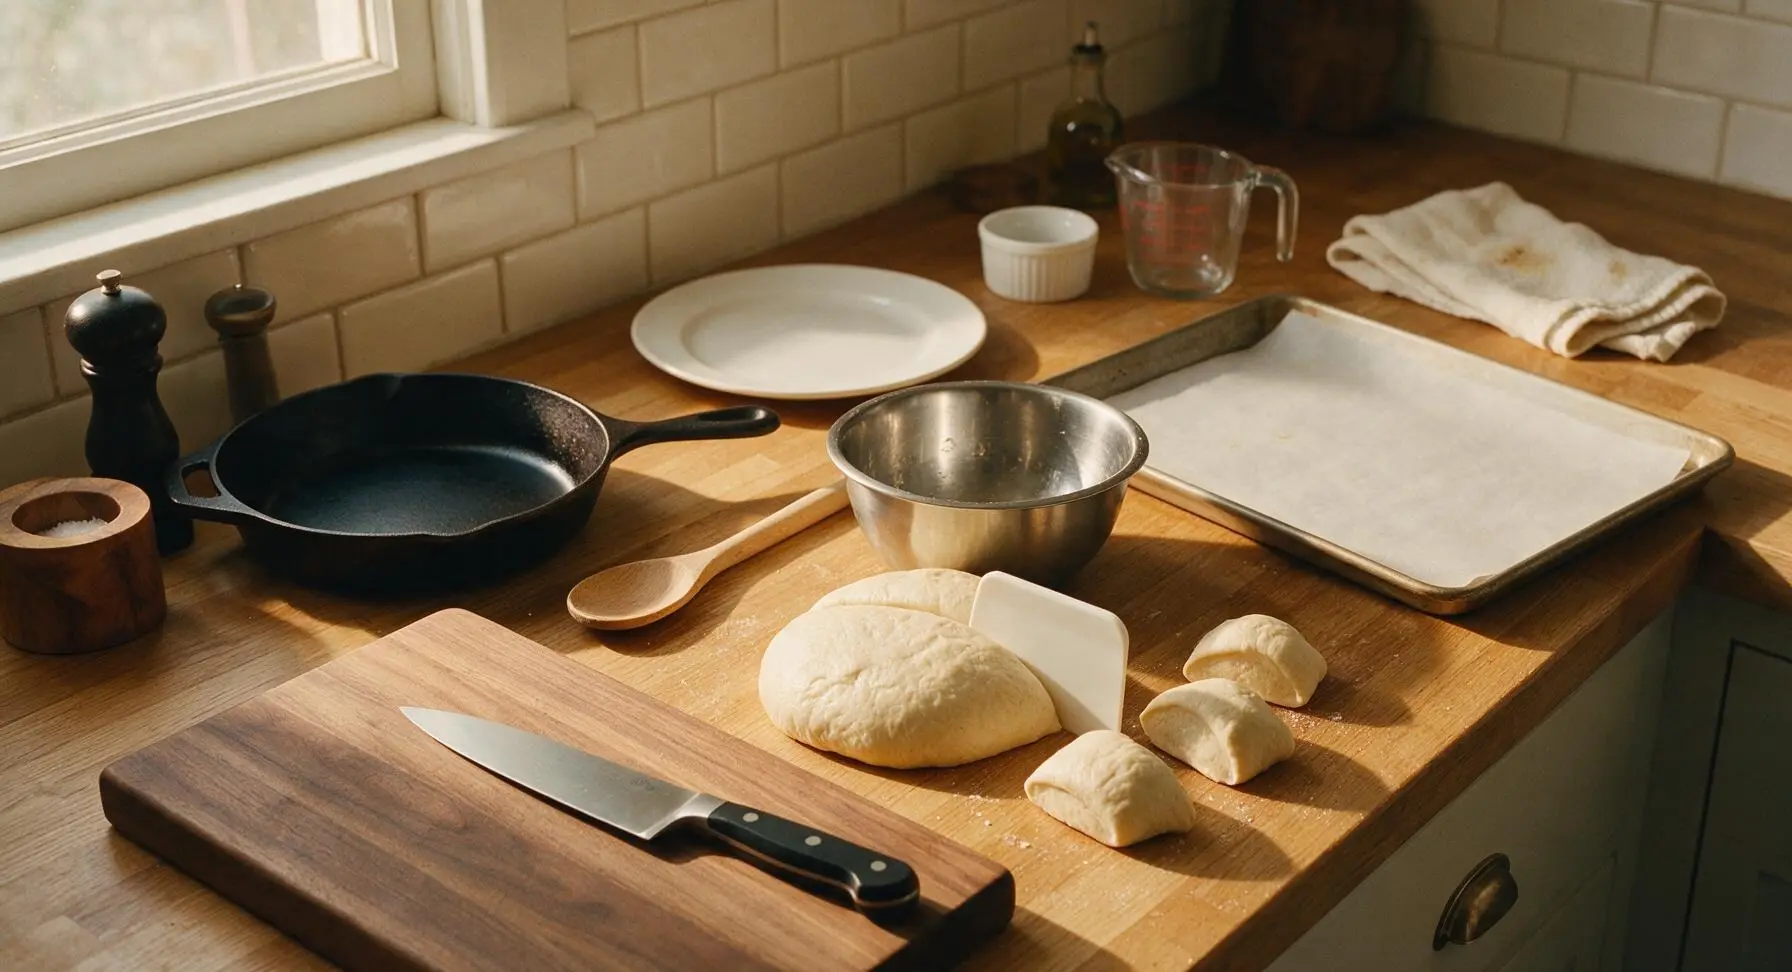
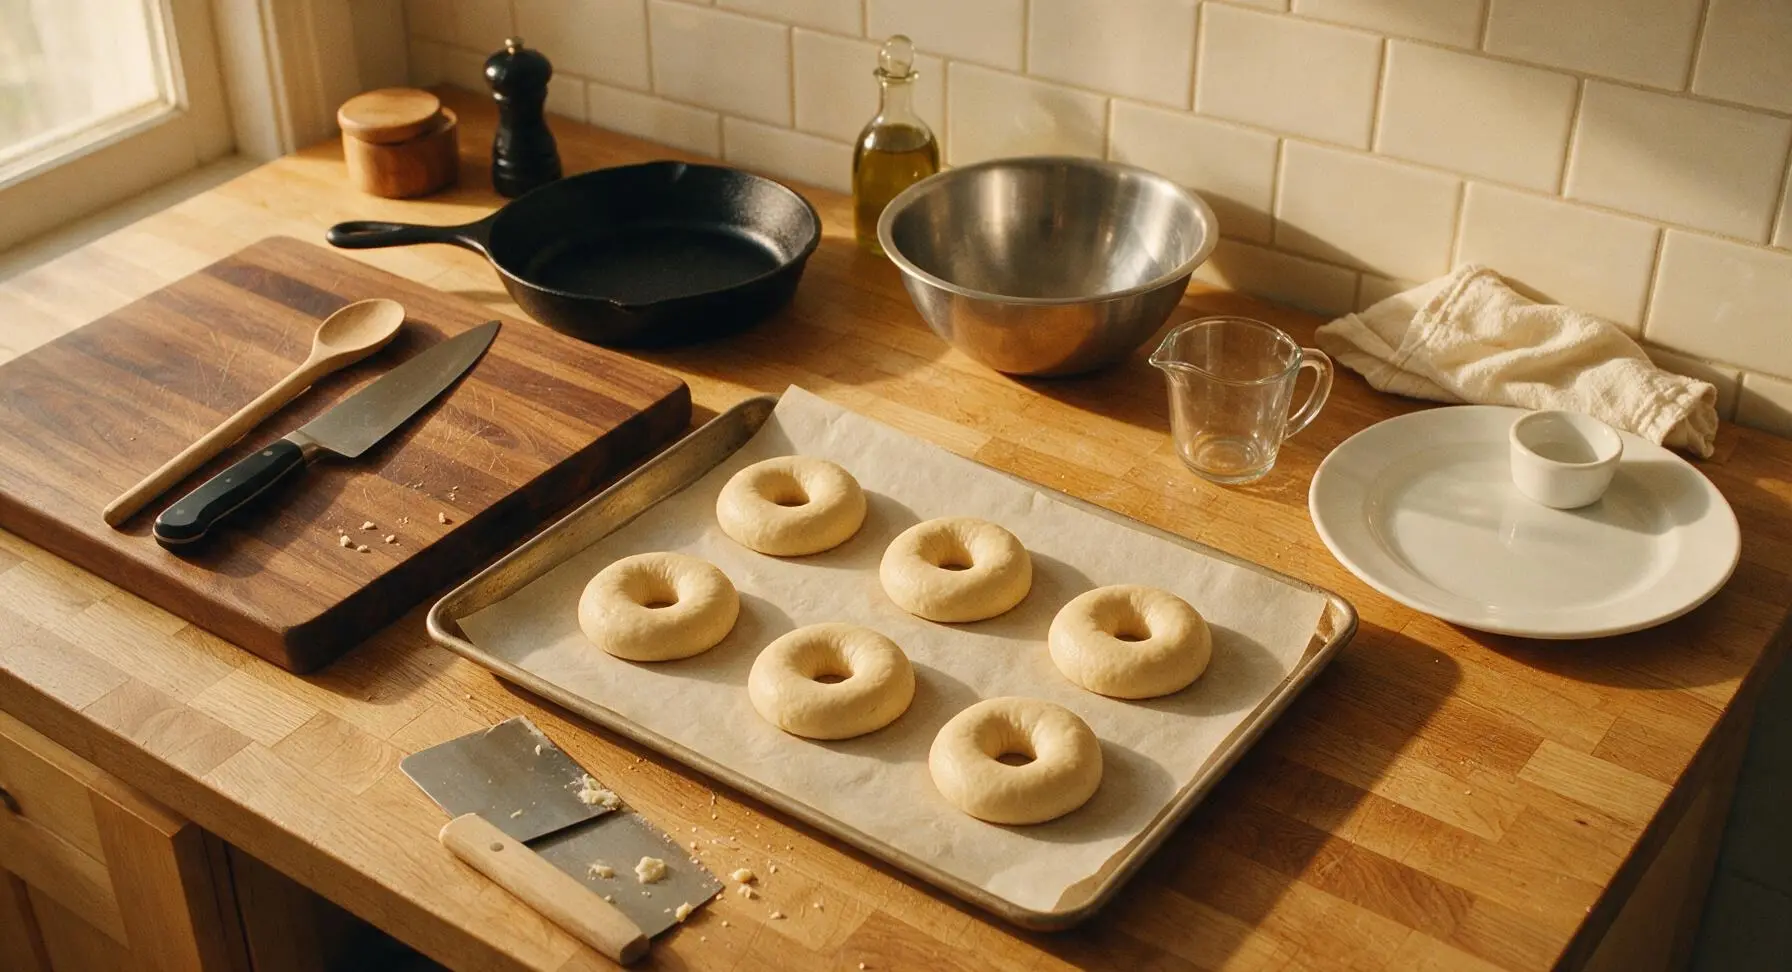
Boil Bagels Briefly
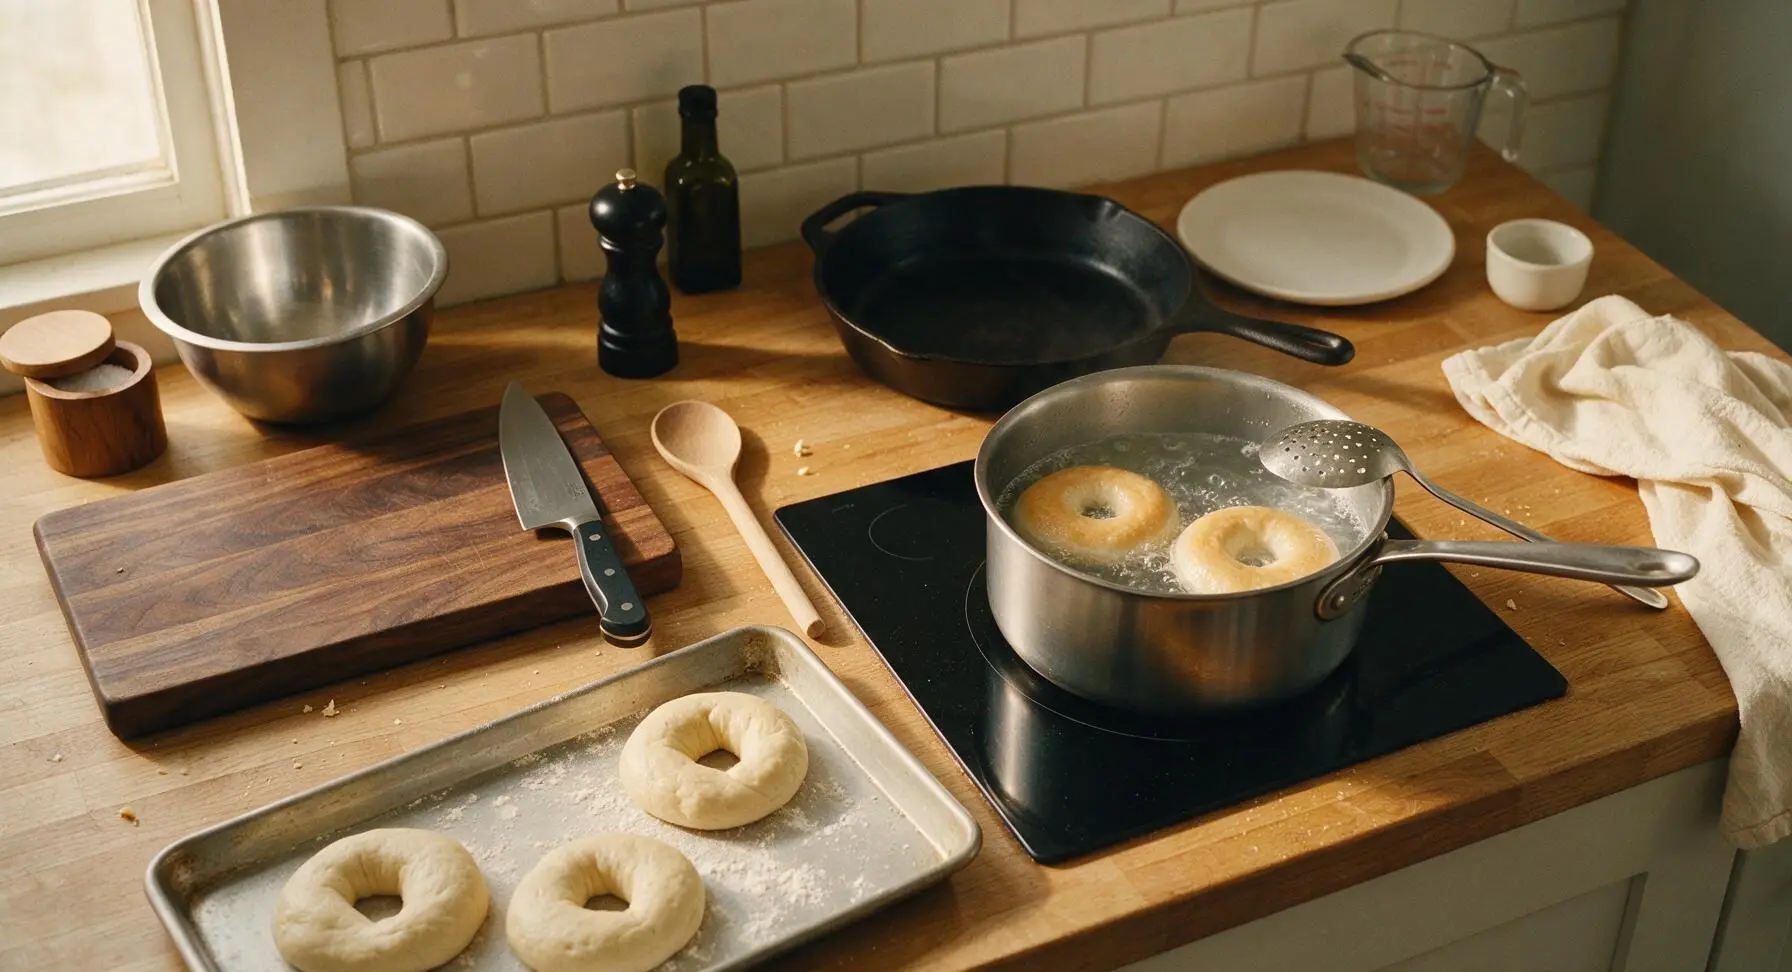
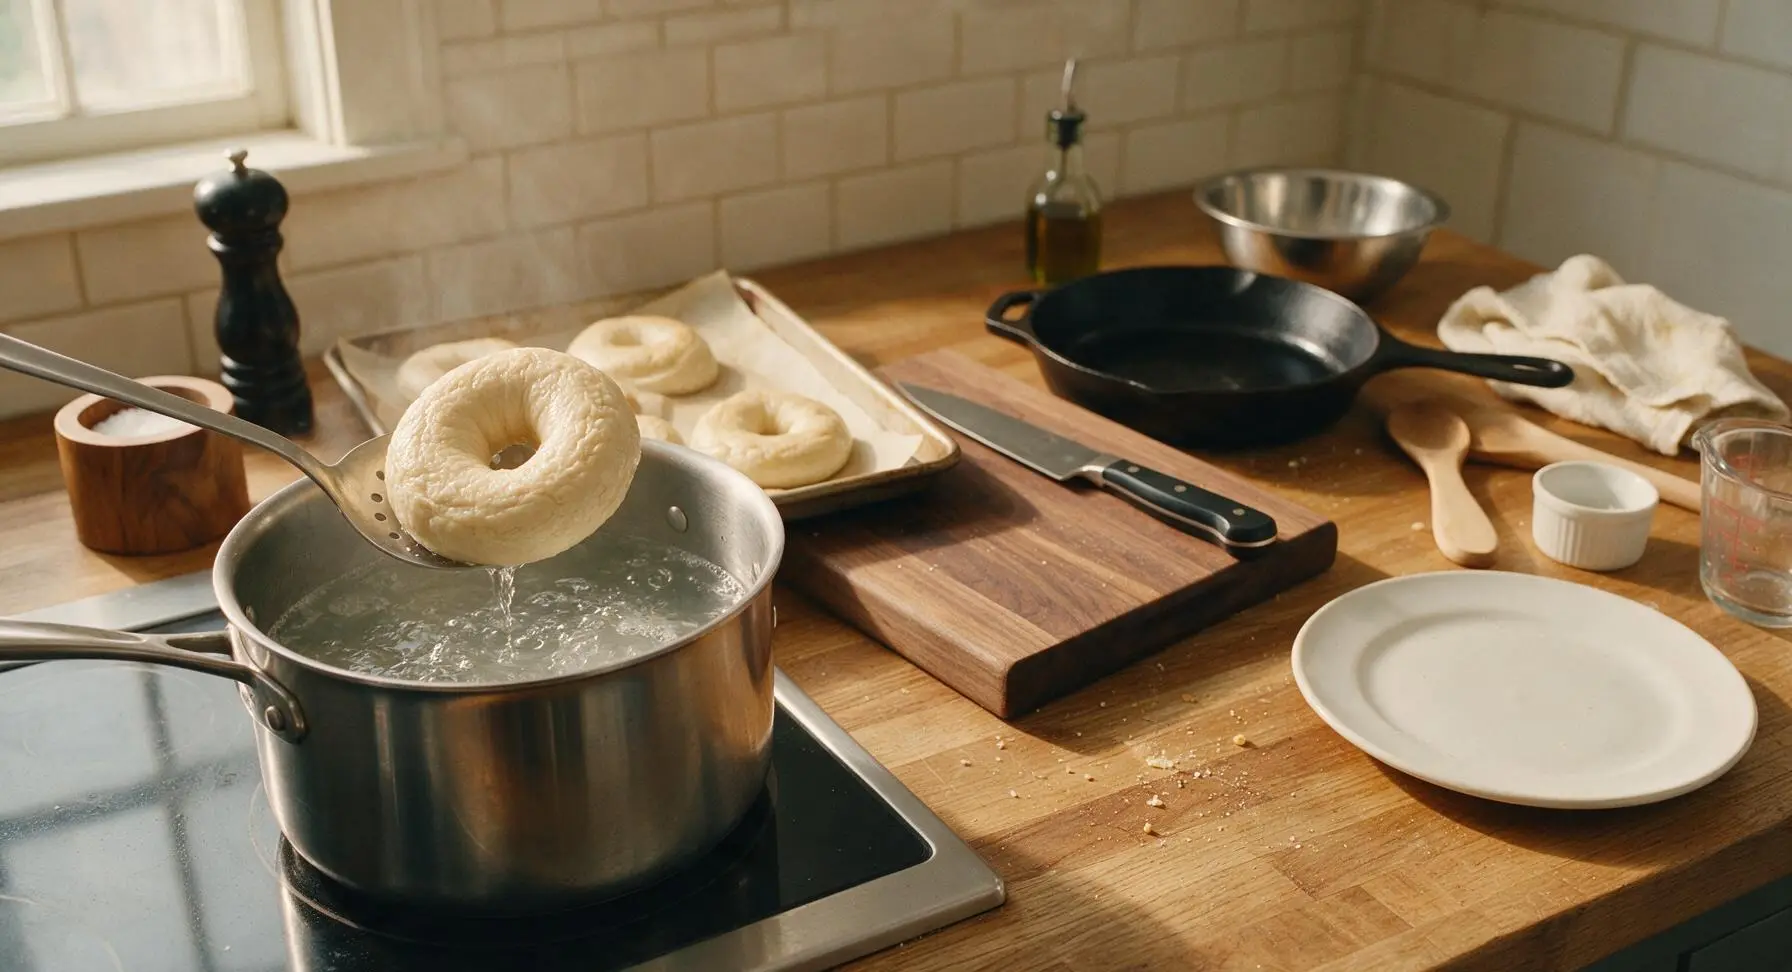
Preheat oven to 200°C/400°F. Fill the 3L stainless steel saucepan two-thirds full of water, set on the induction cooktop, and bring to a rolling boil over medium-high heat. Stir in 1 tablespoon of baking soda (the water will fizz gently when added). Working in batches of 2–3 bagels at a time to avoid crowding, boil each bagel for 1 minute per side, using the slotted spoon to flip them halfway through. Boiled bagels will appear slightly puffed with a matte, wrinkled surface.
Top and Bake Bagels
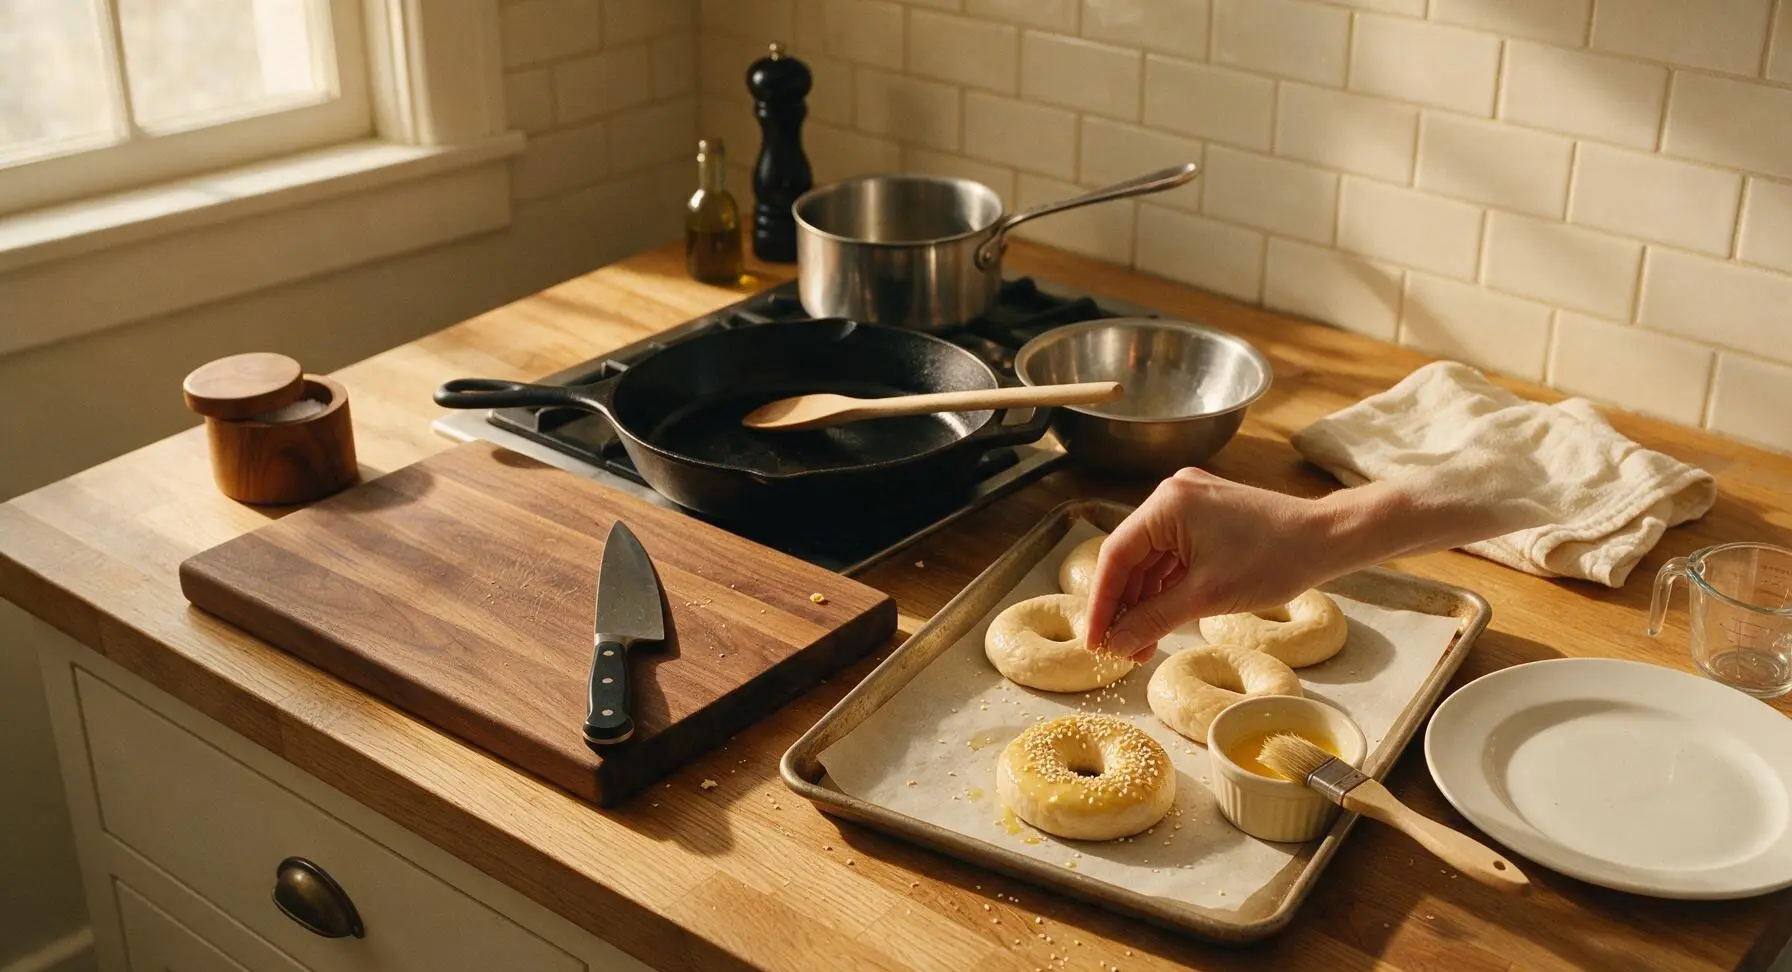
Once all bagels are boiled and returned to the parchment-lined baking sheet, beat 1 egg in the small cream white ramekin to make egg wash. Use the boar-bristle pastry brush to coat the top surface of each bagel evenly with a thin layer of egg wash, then sprinkle with toasted sesame seeds (or poppy seeds, dried onion, or flaky salt as desired). Bake in the preheated 400°F/200°C oven for 20–22 minutes, until bagels are deep golden brown and shiny on top with a crisp outer crust.
Cool Before Serving
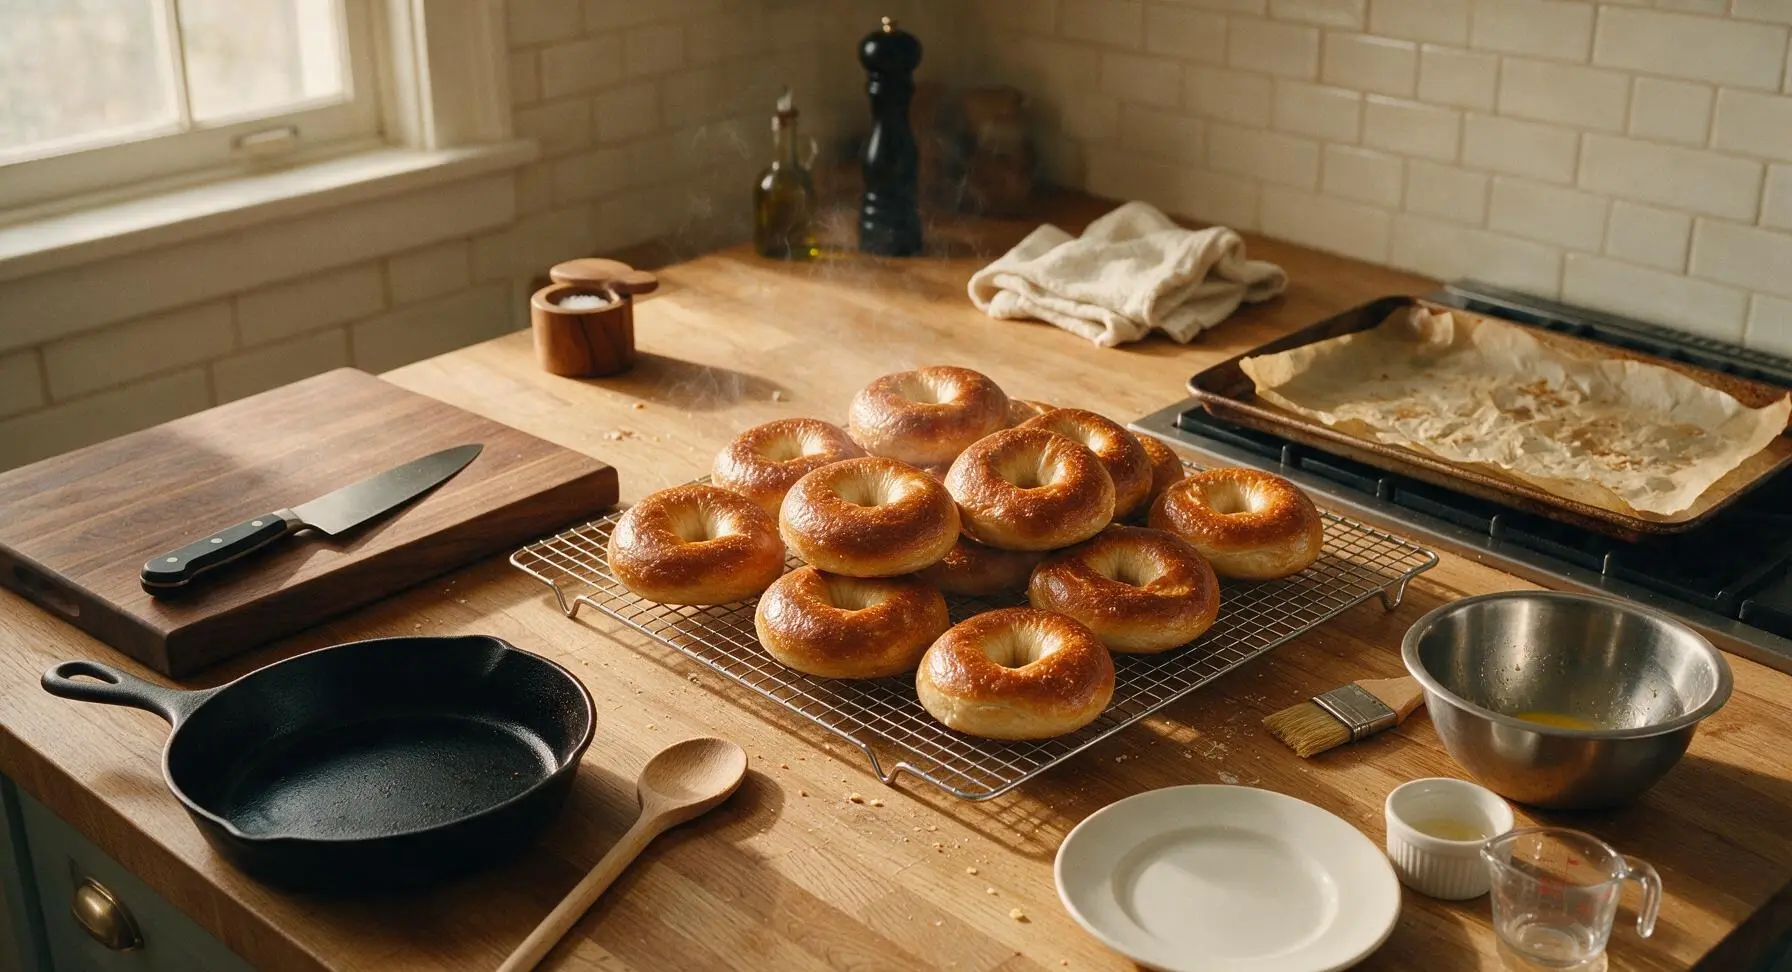
Remove baked bagels from the oven using heat-resistant mitts, transfer immediately to the chrome wire cooling rack set on the center of the counter, and let cool for 10 minutes before slicing. Serve toasted with cream cheese, garnished with fresh chives from the potted plant if desired, or use as a base for breakfast sandwiches.
Tips
2.Use room-temperature eggs for the dough: cold eggs will lower the overall dough temperature, slowing yeast activity and resulting in a denser, less tender crumb instead of the light, chewy texture egg bagels are known for.
3.Avoid overcrowding the pot when boiling bagels: bagels expand rapidly in hot water, and too many in the pot will drop the water temperature and cause bagels to stick together, leading to lopsided shapes and uneven crust texture.






Game changer! I’ve been chasing a good NY egg bagel since I moved to Chicago 3 years ago, and every local spot here just doesn’t hit right. This recipe came out chewy, had that perfect rich egg flavor, and that shiny crust I missed so bad. I prepped a batch for meal prep this week and they toast up perfectly every morning. Worth every minute of the 45 minute cook time!
My kids loved these! I was worried they’d be too fussy for a weeknight bake, but I knocked these out after work last night and the whole family devoured half the batch before dinner. I added a little everything bagel seasoning on top before baking, chef’s kiss. Only question: can I freeze the leftover baked bagels for later?
Wait, hold up — I thought authentic NY bagels needed a long cold ferment? The 45 minute cook time made me almost skip this recipe because I assumed it’d be too quick to get the real texture, but I gave it a shot on a lazy Saturday, and wow, SO good. Chewy, dense but not heavy, perfect egg flavor. I did add a tiny bit of diastatic malt powder to the boiling water like my old bagel shop boss taught me, and it was chef’s kiss.
Made these for my office potluck last week and people were practically begging me for the recipe! I made mini versions so they were easy to grab, and set out cream cheese, lox, capers, and tomato slices for a little build-your-own bagel bar. Total hit, zero leftovers. Will absolutely be making these again for our next big family dinner.
OMG, full transparency, this was my first time ever making bagels of any kind, and I was intimidated by the medium difficulty rating. But I followed the directions exactly, didn’t cut any corners, and they came out perfect! My roommate said they’re better than the fancy bagel shop we walk 20 minutes to on weekends. I’m never buying store bought bagels again.
I’m so excited to try these, but quick question — I only have all-purpose flour at home right now, no bread flour. Has anyone tested this with AP flour? I don’t want to end up with tough, bready bagels instead of that classic chewy texture.
Ugh, I messed up the boiling step my first try — I forgot to add the honey to the water and boiled them way too long, so they came out a little soggy and misshapen. I tried again yesterday, paid way more attention to that step, and they were perfect! So don’t be like me and rush the boiling part, that’s clearly the secret to getting that shiny, chewy crust right. Already made a third batch today, no ragrets.
Just made these for my Sunday brunch with the girls, served with jalapeño cream cheese and crispy bacon, and everyone was raving. I’m convinced homemade bagels taste 100x better than anything you can buy, and this recipe is so straightforward even if you’re not a seasoned baker. 10/10, already sent the link to my whole group chat.
These are a weekend meal prep staple for me now! I make a double batch every other Sunday, slice them up, and keep them in the freezer for quick breakfasts before work. They toast up so evenly, have that perfect rich egg taste, and save me so much money on morning bagel runs. Cannot recommend enough.
Grew up eating egg bagels from my local Jewish deli upstate every Saturday morning, and I was skeptical a home recipe could live up to that nostalgia. Color me shocked — these are dead on. The chew, the slight richness from the egg, the way the crust crunches just a little when you toast it? Absolute perfection. Don’t sleep on this recipe, folks.