
egg casserole for a crowd

title 1
egg casserole for a crowd
⏱️ cook time 50 minutes
🍽️ servings 12
⚡ Difficulty easy

intro

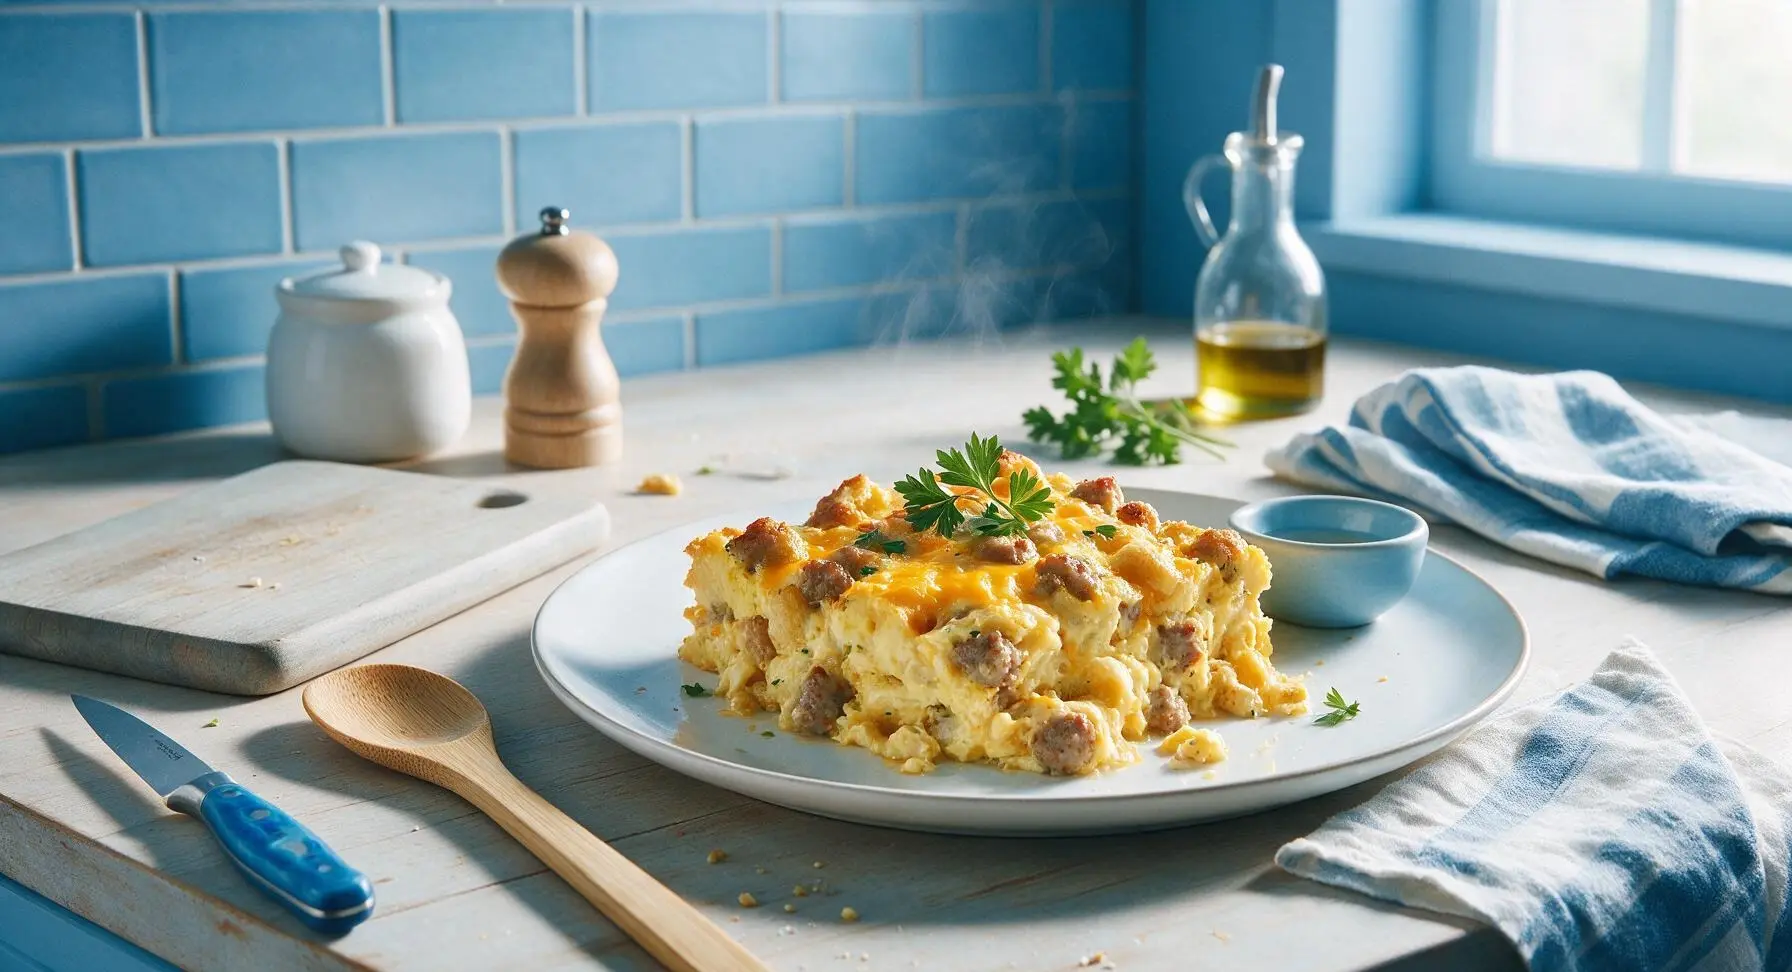
Fluffy, savory egg bake loaded with sausage, melted cheddar, and soft custard-soaked bread, prepped ahead to feed 12 guests with zero last-minute rush, perfect for group gatherings.

Ingredients
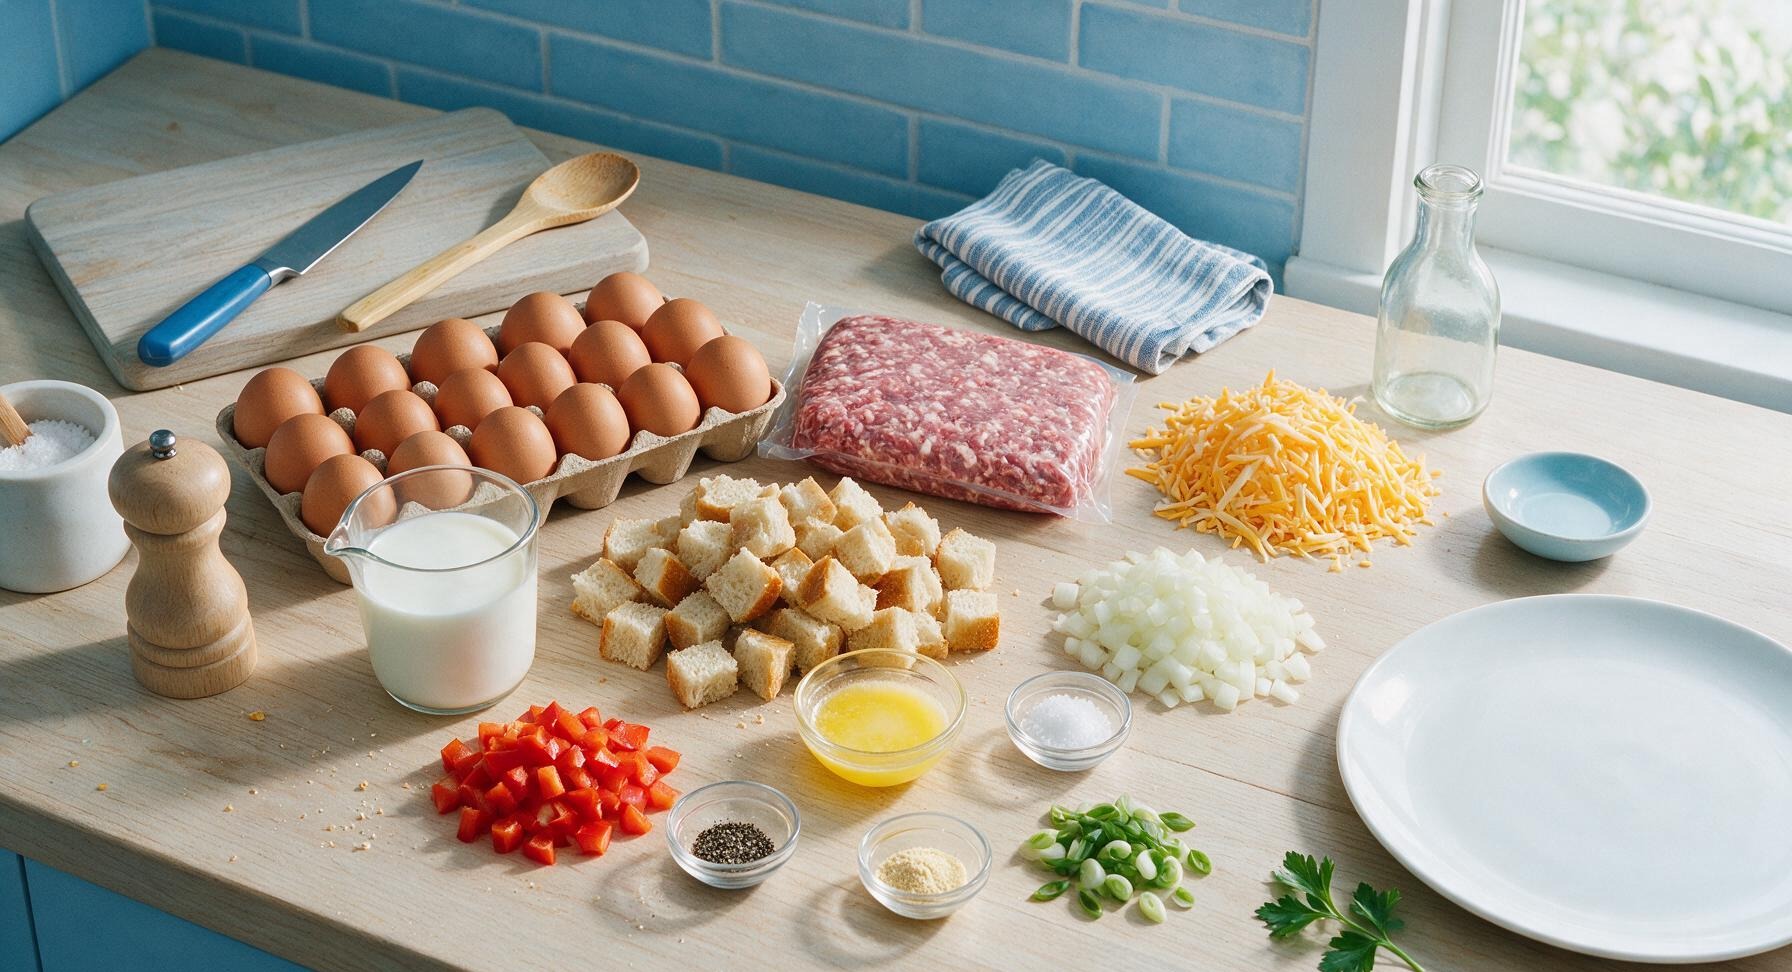
Large eggs 18 count
Bulk pork breakfast sausage 900g (2 lbs)
Shredded sharp cheddar cheese 340g (3 cups)
Whole milk 480ml (2 cups)
Day-old crusty white bread, cubed 1-inch 220g (6 cups)
Diced yellow onion 1 medium (150g)
Diced red bell pepper 1 medium (120g)
Unsalted butter, melted 2 tbsp
Kosher salt 1 tsp
Freshly ground black pepper ½ tsp
Garlic powder ½ tsp
Sliced green onions, for garnish ¼ cup

Steps

1

Preheat Oven and Prep Dish

Preheat your oven to 350°F (175°C). Use 1 tablespoon of the melted butter to generously coat the entire interior of the 9x13 matte light grey ceramic baking dish, making sure to cover the bottom and all sides to prevent sticking. Set the dish in its center counter position while you prep the remaining components.

Step 1
step1:Preheat Oven and Prep Dish
2

Sauté Sausage and Veggies

Place the 12-inch stainless steel skillet over medium heat on the out-of-frame right stovetop. Crumble the bulk breakfast sausage into the pan, cooking for 5 minutes until lightly browned, breaking it apart with the silicone spatula as it cooks. Add the diced yellow onion and red bell pepper to the skillet, sautéing for 4 more minutes until the veggies are soft and translucent, and the sausage is fully cooked with no pink remaining. Remove the pan from heat, transfer it back to its back right counter spot, and drain any excess grease into a small heatproof bowl.


Step 2
step2:Sauté Sausage and Veggies
Step 2
step2:Sauté Sausage and Veggies
3

Layer Casserole Base

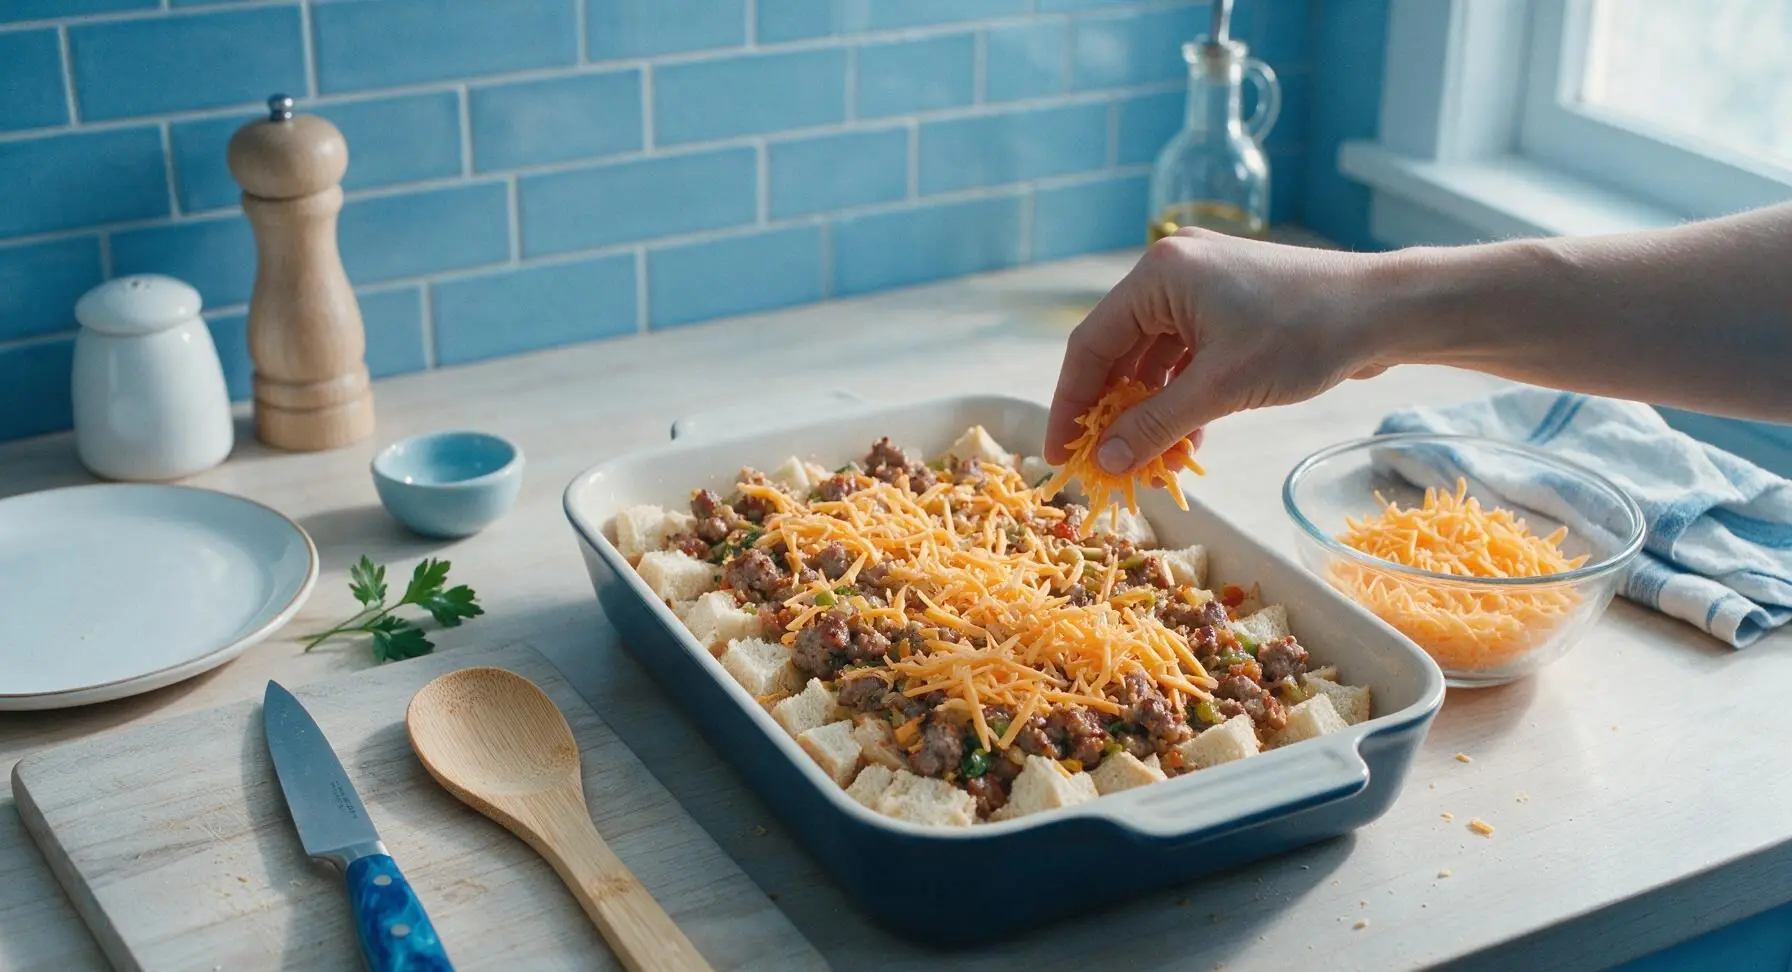
Spread the cubed day-old white bread evenly across the bottom of the buttered 9x13 baking dish. Top the bread evenly with the fully cooked and drained sausage and vegetable mixture, spreading it in a single layer so every bite has evenly distributed filling. Sprinkle 2 cups of the shredded sharp cheddar cheese evenly over the sausage and veggie layer.
Step 3
step3:Layer Casserole Base
4

Whisk Egg Custard Mixture

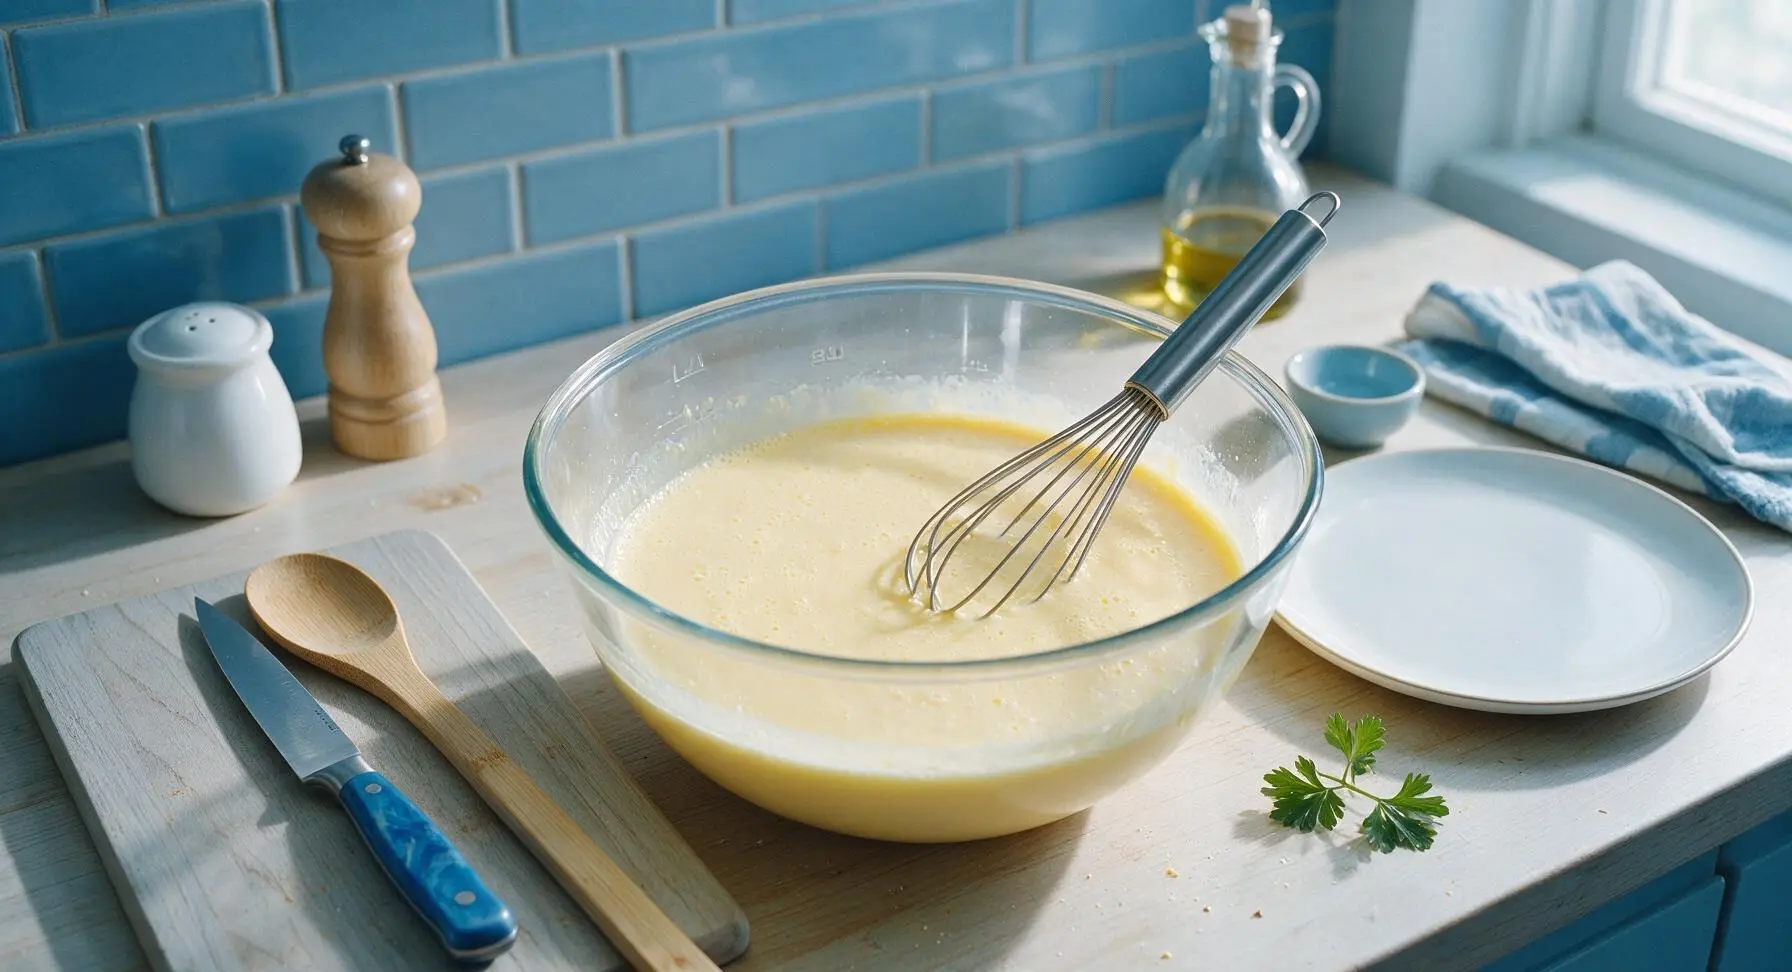
Crack all 18 large eggs into the large 4L clear glass mixing bowl. Add the whole milk, remaining 1 tablespoon melted butter, kosher salt, black pepper, and garlic powder. Use the stainless steel wire whisk to beat the mixture for 2 minutes until fully combined, pale yellow, with no streaks of separate egg white remaining, and a smooth, slightly frothy surface.

Step 4
step4:Whisk Egg Custard Mixture
Step 4
step4:Whisk Egg Custard Mixture
5

Pour Custard Over Layers

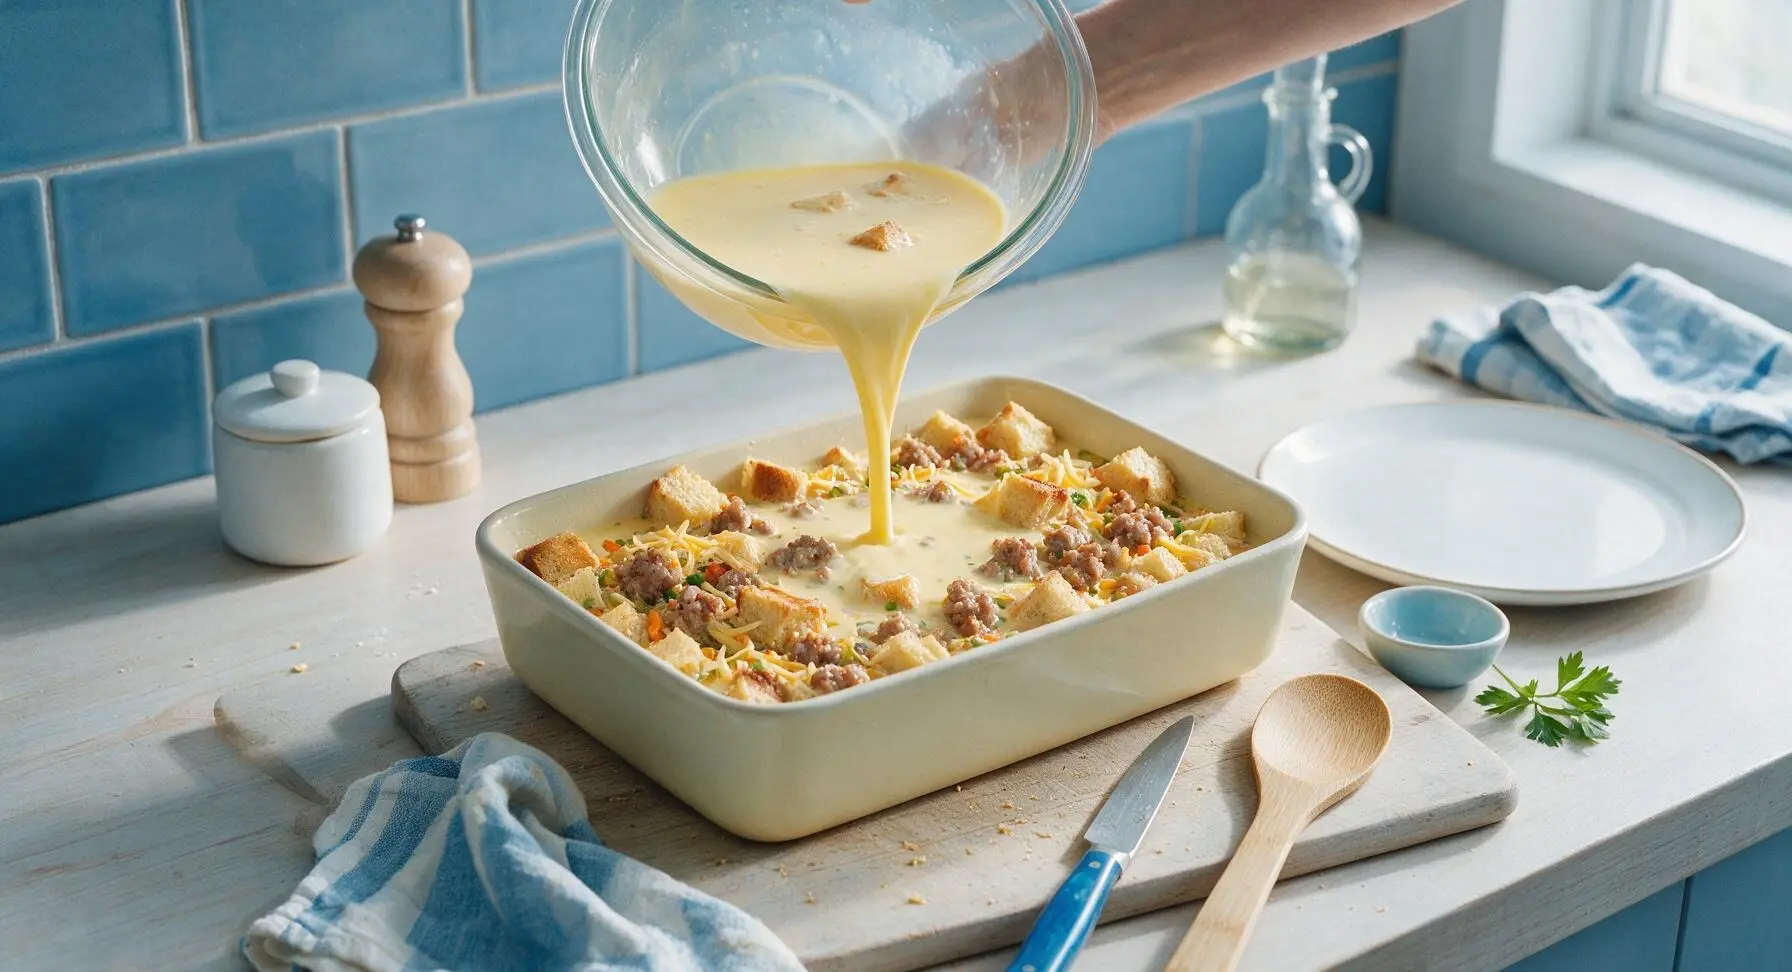
Slowly pour the entire whisked egg custard mixture evenly over the layered bread, sausage, veggies, and cheese in the baking dish. Press down gently on the top layers with the silicone spatula to make sure all bread cubes are fully submerged and soak up the custard, so no dry bread bits are left exposed on the surface.
Step 5
step5:Pour Custard Over Layers
6

Add Final Cheese Layer

Sprinkle the remaining 1 cup of shredded sharp cheddar cheese evenly across the top of the custard-soaked casserole. At this point, you can cover the dish tightly with plastic wrap and refrigerate for up to 24 hours for make-ahead prep, or proceed directly to baking.

Step 6
step6:Add Final Cheese Layer
7

Bake Until Golden Set

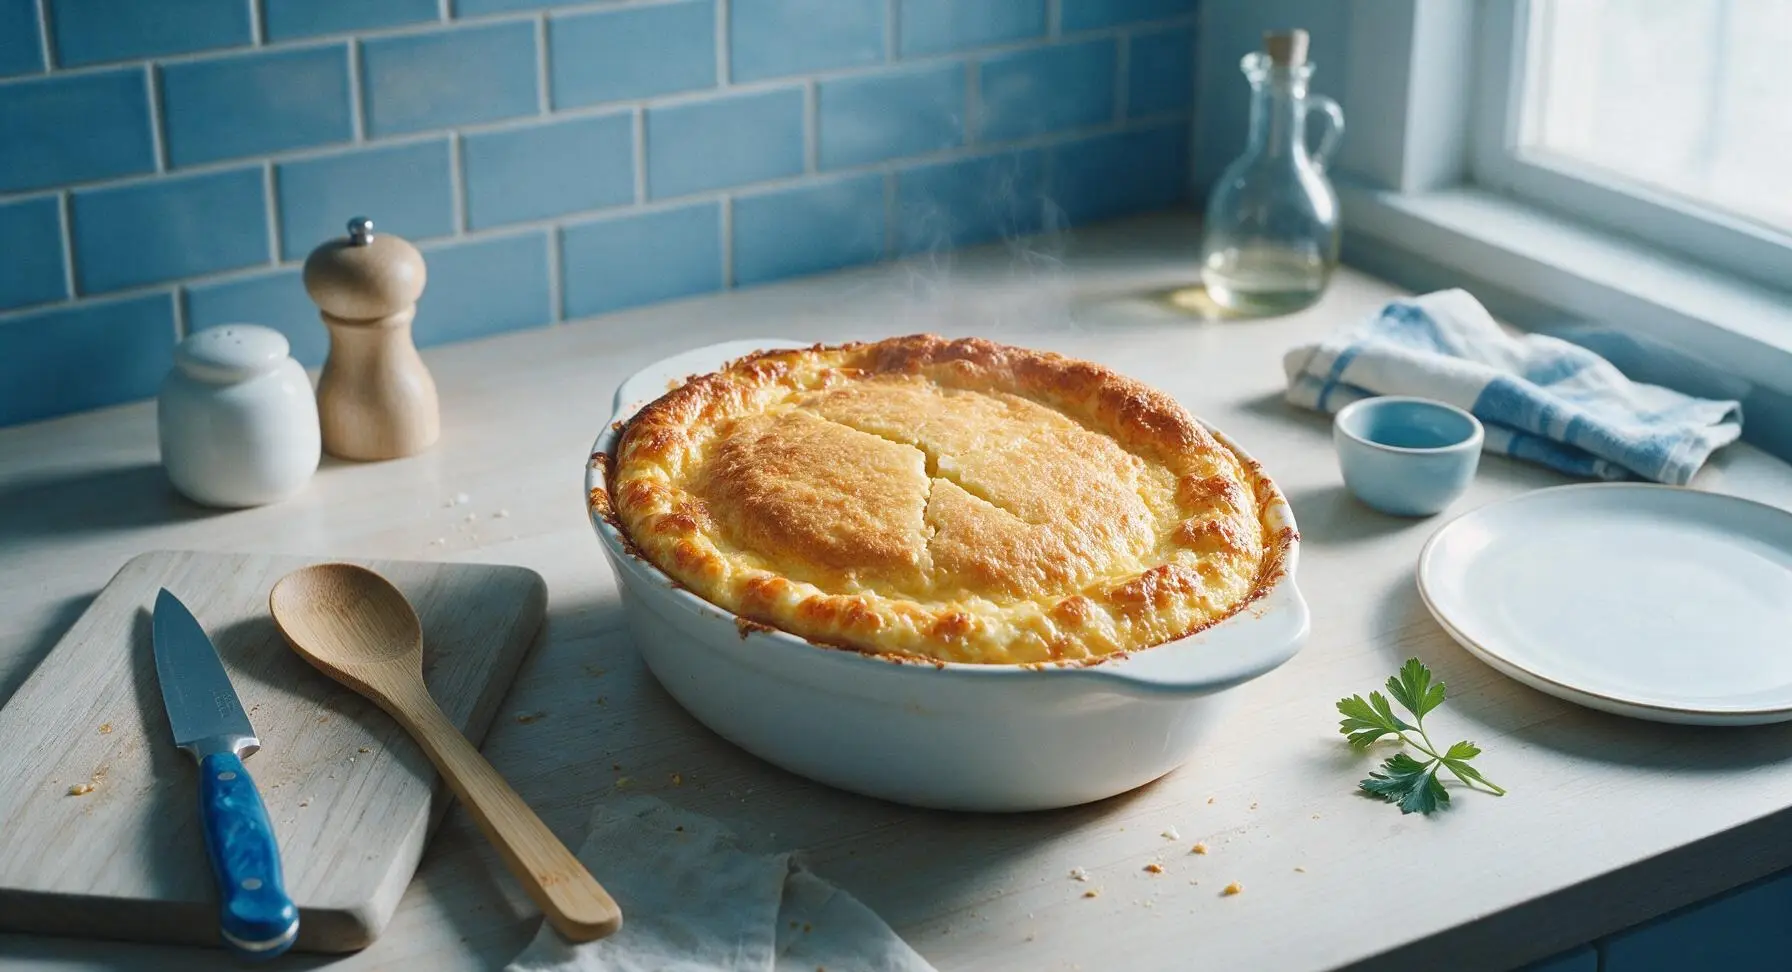
Place the uncovered baking dish in the preheated 350°F (175°C) oven. Bake for 45-50 minutes, until the top is golden brown and puffed, the center is fully set (no liquid jiggling when you gently nudge the dish edge), and a paring knife inserted in the center comes out clean with no runny raw egg attached. Remove from the oven and let rest for 10 minutes on the counter before serving to allow the custard to set fully.

Step 7
step7:Bake Until Golden Set
Step 7
step7:Bake Until Golden Set
8

Garnish and Serve Warm

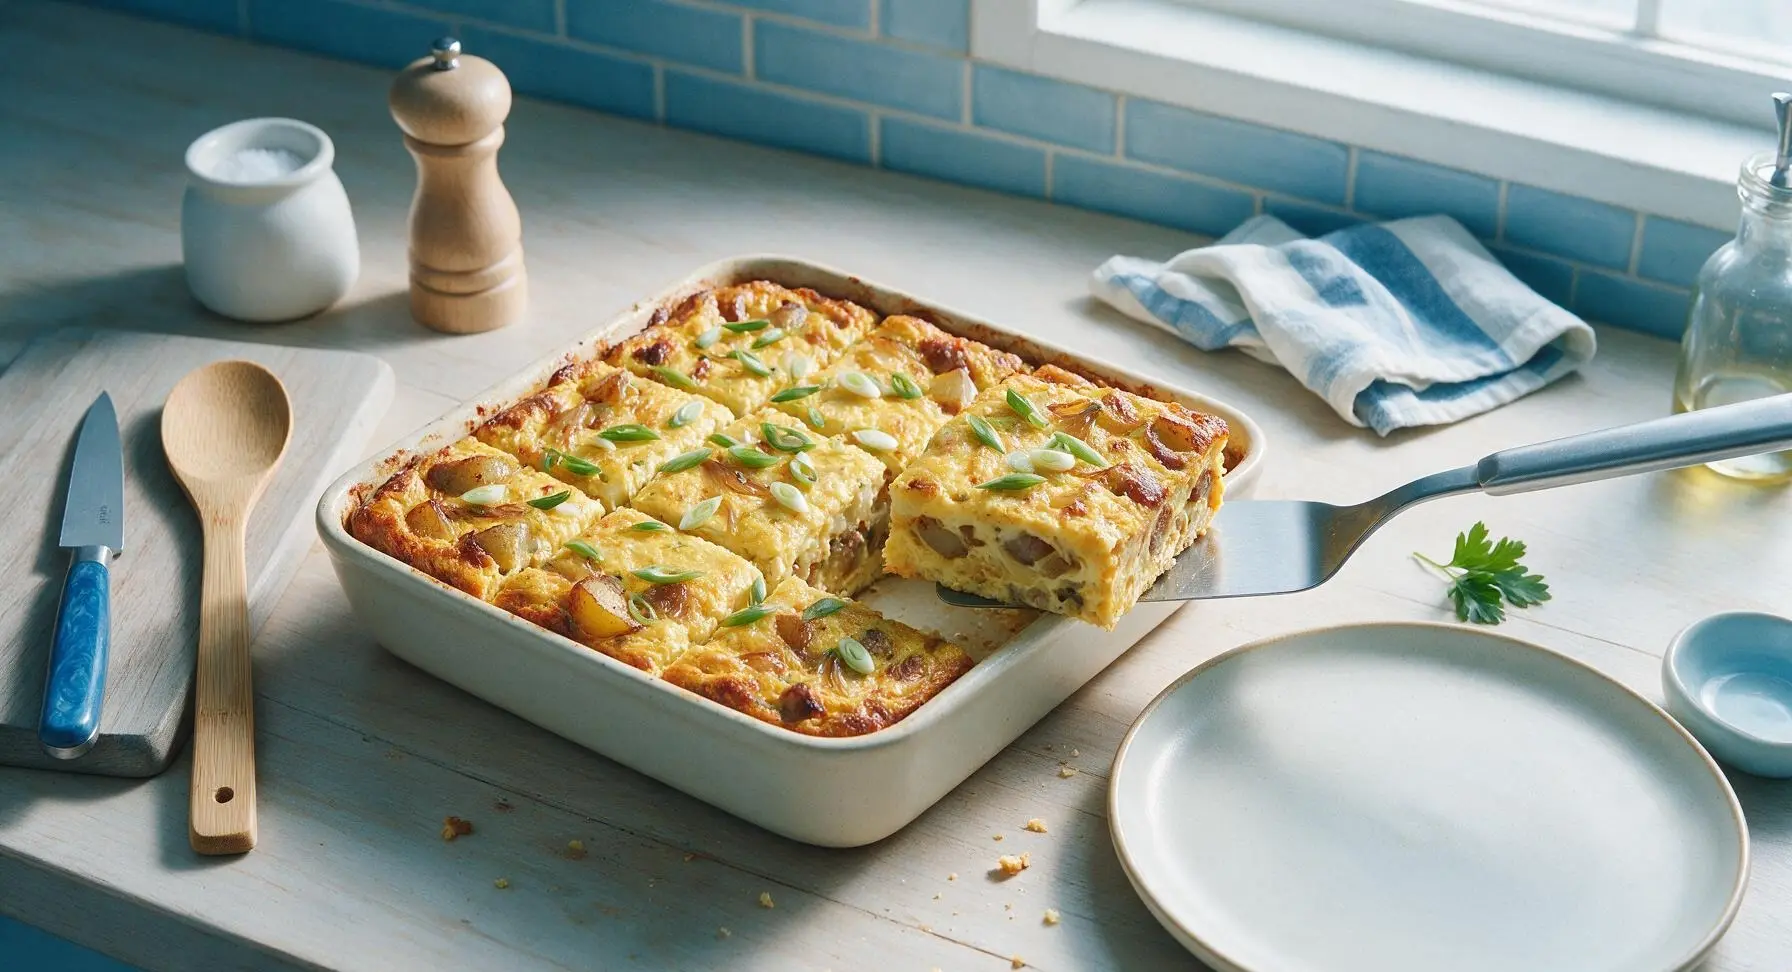
Sprinkle the sliced green onions evenly across the top of the rested casserole. Use the stainless steel serving turner to cut the casserole into 12 equal square slices, lifting each slice onto a matte cream ceramic dinner plate to serve.
Step 8
step8:Garnish and Serve Warm

Tips

1.Use day-old (slightly stale) crusty bread instead of fresh soft bread: stale bread absorbs the egg custard without turning mushy, creating a fluffy, firm texture that holds its shape when served, rather than becoming soggy as it bakes.
2.For easiest crowd prep, assemble the casserole fully (without baking) and refrigerate for up to 24 hours before baking: the bread soaks up more savory custard flavor as it rests, and you eliminate last-minute cooking work for early events or potlucks. Add 5 minutes to the total bake time if cooking straight from the fridge to account for the cold dish.
3.Always drain excess rendered grease from the cooked sausage before layering it into the dish: too much leftover fat will make the casserole greasy and cause the egg custard to separate as it bakes, leading to an oily, unappetizing texture instead of a smooth, evenly set bake.


✨ You May Also Like

Breakfast
🍜 United States

Crisp-edged, fluffy lard griddle cakes are a nostalgic homestyle staple, with rich savoriness from rendered lard, perfect topped with maple syrup or savory gravy.

⏱️ 25 minuteBreakfast ★ 4.8
Breakfast
🍜 United States

Flaky, buttery homemade buttermilk biscuits smothered in creamy, peppery pork sausage gravy: a beloved, hearty Southern American comfort food classic.

⏱️ 35 minuteBreakfast ★ 4.8
Breakfast
🍜 United States

Golden, custardy brioche stuffed with sweet cream cheese and fresh berries, pan-fried to crisp perfection. An indulgent, cozy breakfast perfect for slow weekend mornings.

⏱️ 30 minuteBreakfast ★ 4.7
Breakfast
🍜 United States

Flaky, buttery Southern-style biscuits stuffed with savory salty country ham, a portable, satisfying classic perfect for casual on-the-go meals.

⏱️ 25 minuteBreakfast ★ 4.8
Breakfast
🍜 United States

Iconic puffy baked pancake popularized in Seattle, with crisp golden edges and soft custardy center, served warm with classic sweet toppings.

⏱️ 35 minuteBreakfast ★ 4.6
Breakfast
🍜 United States

Fluffy, golden pancakes studded with juicy peak-summer mixed berries, drizzled with maple syrup for a bright, comforting, crowd-pleasing family breakfast.

⏱️ 25 minuteBreakfast ★ 4.7

egg casserole for a crowd:Frequently Asked Questions

1.How far in advance can I assemble this casserole before baking it? ▾
You can safely assemble the full, unbaked casserole, cover it tightly, and refrigerate it for up to 24 hours before baking. That’s the sweet spot for the bread to soak up the egg custard without getting soggy—just pull it out of the fridge 15 minutes before baking to take the chill off for even, consistent cooking.
2.Can I use fresh bread instead of the recommended day-old crusty white bread? ▾
Fresh bread works in a pinch, but it will make the final casserole a little soggier, since it holds more moisture from the start. If you only have fresh bread, toast the 1-inch cubes lightly on a baking sheet at 350°F for 8–10 minutes first to dry them out, so they hold up to the custard without turning mushy.
3.How do I tell when the casserole is fully baked and safe to serve? ▾
Stick a food thermometer right into the center of the casserole—it should read 160°F, the FDA-recommended safe internal temperature for egg dishes. Visually, the edges will be golden and puffed, the center will be set with no jiggly liquid, and a knife inserted in the middle will come out clean with no runny egg residue.
4.Can I swap the pork breakfast sausage for a different protein? ▾
Absolutely! You can use crumbled turkey breakfast sausage, cooked and crumbled bacon, diced ham, or even plant-based breakfast crumbles for a vegetarian swap. Just make sure any meat you use is fully cooked and drained of excess grease before adding it to the casserole to avoid a greasy final texture.
5.What size baking dish do I need to make the full 12-serving recipe? ▾
You’ll want a 9x13-inch (3-quart) deep baking dish for this full recipe, which yields thick, hearty slices that serve 12 perfectly when cut into 3x4-inch portions. If you only have two smaller 8x8-inch dishes, you can split the mixture evenly between them, just cut total baking time by 5–7 minutes.
6.Can I freeze this casserole, either before or after baking? ▾
Yes, both versions freeze well for up to 3 months. For unbaked casserole, assemble in a freezer-safe dish, wrap tightly in two layers of plastic and one layer of foil, and thaw fully in the fridge for 24 hours before baking. For baked casserole, cool completely, slice, wrap portions, and reheat in the oven or microwave.
7.Do I need to grease my baking dish before adding the casserole ingredients? ▾
Definitely—grease the entire inside of your baking dish, including the sides up to the top rim, with butter, nonstick cooking spray, or a light coating of shortening. This prevents the cheesy, eggy edges from sticking as it bakes, so you can lift clean slices out easily without leaving half the casserole stuck to the pan.
8.Can I use lower-fat milk instead of whole milk for the egg custard? ▾
You can use 2% milk if that’s what you have on hand, but skim milk or thin non-dairy alternatives like unsweetened almond milk will make the custard thinner, less rich, and slightly watery. If you want an extra-luxurious texture, you can even swap 1 cup of the whole milk for half-and-half for a creamier bite.
9.My last egg casserole came out watery—what usually causes that? ▾
Watery casserole usually traces back to three common issues: you used bread that was too fresh to properly soak up custard, you didn’t drain excess grease from your cooked sausage, or you underbaked it so the egg custard didn’t fully set. Next time, dry out fresh bread, drain sausage well, and confirm that 160°F internal temp.
10.Can I mix extra vegetables into this casserole? ▾
Of course! Diced bell peppers, sautéed onions, sliced mushrooms, squeezed-dry roasted spinach, or seeded diced tomatoes all work great, just make sure you cook and fully drain any watery veggies first before stirring them in. Raw, watery veggies will release moisture as they bake and make your casserole soggy.
11.Do I need to cover the casserole with foil while it bakes? ▾
Cover the dish tightly with foil for the first 30 minutes of baking to help the center cook evenly without the top burning, then remove the foil for the last 15–20 minutes to let the top get golden and slightly crispy, and the cheese bubble up nicely. Leaving it covered the whole time will give you a soft, pale, steamed top.
12.How long will leftover baked casserole stay fresh in the fridge? ▾
Properly stored in an airtight container or tightly wrapped in plastic, leftover baked egg casserole will stay fresh in the fridge for 3–4 days. It reheats beautifully—just pop a slice in the microwave for 60–90 seconds, or warm a larger portion in a 325°F oven for 10–12 minutes until heated through for quick weekday breakfasts.
13.Can I use a different type of cheese instead of sharp cheddar? ▾
Sharp cheddar delivers that classic, tangy breakfast flavor, but you can absolutely swap it for other melty cheeses. Try pepper jack for a little kick, smoked gouda for a rich, deep flavor, mozzarella for a milder, stretchy bite, or a Mexican cheese blend—just stick to 4 total cups of shredded cheese to keep ratios correct.
14.Why do you recommend taking the chilled casserole out of the fridge before baking? ▾
Pulling the assembled, refrigerated casserole out 15 minutes before you pop it in the oven lets it come up slightly in temperature so it cooks more evenly. If you put an ice-cold glass or ceramic baking dish straight into a hot oven, you also run the small risk of the dish cracking from the sudden temperature change, a messy, avoidable mishap.
15.Do I need to cut the crusts off the bread before cubing it for the casserole? ▾
Nope, you don’t need to remove the crusts! The crusts from day-old crusty white bread add a nice, subtle chewy texture to the casserole and help the cubed bread hold its structure as it soaks up custard. If you prefer a softer, more uniform texture throughout, you can trim the crusts off first, but it’s totally personal preference.
16.Can I scale this recipe down for smaller groups instead of a crowd of 12? ▾
Absolutely! You can easily halve all the ingredients and bake the casserole in an 8x8-inch square baking dish for 6 servings. Keep the baking temperature the same at 350°F, but reduce total bake time by about 10–15 minutes, and still check for that 160°F internal temperature in the center to confirm it’s done.
17.How much should I beat the eggs when making the custard base? ▾
Whisk the eggs just until the yolks and whites are fully combined before stirring in the milk, salt, and pepper—you don’t need to beat them until they’re frothy, which adds extra air that makes the casserole puff up too much in the oven then sink dramatically as it cools. Gentle, even mixing gives you a smooth, consistent custard every time.
18.What simple seasonings will boost the flavor without overpowering the dish? ▾
The sausage and sharp cheddar already add lots of savoriness, but 1 teaspoon of dry mustard, ½ teaspoon of garlic powder, ¼ teaspoon of black pepper, and a tiny pinch of nutmeg will make the custard taste brighter and more complex. Hold off on extra salt at first, since the sausage and cheese already have plenty of sodium.

Comments (13)

2 days ago

OMG this was a total game changer for our annual church potluck last Sunday! I prepped it the night before, popped it in the oven when we got home from service, and it was perfectly done by the time we were ready to head over. Every single person asked for the recipe, even the picky teen boys who usually turn their nose up at egg dishes. 10/10 will make again for sure!

1 day ago

So glad you mentioned potlucks! I’ve been stressing about what to bring to our neighborhood block party next weekend and this sounds perfect — did you add any extra meat, or stick to the recipe as written?

1 day ago

Love hearing this! A lot of folks swap in cooked crumbled sausage or diced ham for extra heartiness if you want to bulk it up for a bigger crowd, but it’s totally delicious as written too!

1 week ago

I make a version of this every Sunday for my husband’s weekday breakfasts, but this recipe is way better than my old go-to! The cook time is exactly right — no rubbery eggs, which is my biggest pet peeve with make-ahead casseroles. The veggies stay crisp-tender too, not mushy at all. SO good.

6 days ago

So glad the texture worked for you! No one wants rubbery eggs, that’s why we recommend letting the casserole sit at room temp for 10 minutes before baking to help it cook evenly!

3 days ago

Made this for my dorm floor brunch last weekend and it was gone in 10 minutes flat. Super easy even for someone like me who burns toast half the time — I was shocked it turned out so well. Will be making this for every group event from now on!

5 days ago

Wait, can I freeze this after assembling but before baking? I’m trying to get a jump on holiday brunch prep for 20 people and don’t want to be scrambling (pun intended) Christmas morning.

4 days ago

I froze mine for two weeks before baking it for my book club brunch! Just thaw it in the fridge overnight before you pop it in the oven, turned out exactly the same as fresh assembled.

4 days ago

Great question! As mentioned above, it freezes really well for up to 3 months — just make sure it’s tightly wrapped in plastic and foil to avoid freezer burn, and thaw fully in the fridge before baking per the recipe directions.

yesterday

My kids loved it! I was worried the bell peppers would be a hard no for my 6 and 8 year old, but they ate two servings each and asked if we could have it for dinner too, not just breakfast. I added a little extra shredded cheddar on top the last 10 minutes of baking and it was chef’s kiss.

20 hours ago

That extra cheese trick is such a good call! It adds that perfect melty, crispy top everyone goes crazy for. So happy the kids gobbled it up!

2 weeks ago

Made this before our early morning group hike last weekend, wrapped it up in foil, and it stayed warm for almost two hours in the cooler. Hearty, filling, didn’t leave anyone feeling sluggish on the trail. Definitely adding this to our regular rotation for group trips.

30 minutes ago

How far in advance can you assemble this before baking? I’m having family come in town Friday and want to have it ready to pop in the oven Saturday morning without any extra work.

20 minutes ago

Great question! You can fully assemble it, cover it tightly, and store it in the fridge for up to 24 hours before baking — that’s exactly what makes it perfect for hosting, no early morning prep required!

2 hours ago

Is this easy to make gluten free? My sister has celiac and I want to make sure I don’t mess this up for her birthday brunch next month.

1 hour ago

I made it last week with GF bread instead of the regular sourdough, and literally no one could tell the difference! Just make sure your other add-ins (like if you use sausage) don’t have hidden gluten, and you’re golden.

45 minutes ago

Absolutely! Swapping in your favorite gluten-free bread works perfectly here, and all the other base ingredients are naturally gluten-free as long as you check any optional add-in labels. Hope the birthday brunch is a hit!

5 minutes ago

We did a breakfast potluck at work this week and this was the clear star. I loved that it didn’t need any fancy ingredients — I just grabbed everything from my regular grocery store on the way home the night before. So much less stress than making pancakes or waffles for a group.

1 week ago

I swapped in pepper jack for half the cheddar and added a can of diced green chiles for a little kick, and oh my gosh it was unreal. My partner said it’s the best breakfast thing I’ve ever made, and I cook a LOT.

5 days ago

Oh that sounds incredible! I’ve been looking for a way to spice up our regular breakfast rotation, I’m definitely stealing that swap next time I make this.

4 days ago

That pepper jack and green chile twist sounds amazing! We love when folks put their own spin on the recipe — that’s what makes cooking fun. We might even have to test that version ourselves!

3 days ago

Made this for my grandkids when they visited last weekend, and even the teenager who only eats energy drinks and chips went back for thirds. Easy to follow recipe, didn’t require any weird gadgets, cooked up exactly like the directions said. No complaints here.

2 days ago

There’s no higher compliment than a teenager going back for thirds! So glad it worked out for your grandkids’ visit — those are the best kinds of meals.

just now

This is perfect for my post-workout meal prep! High protein, lots of veggies, reheats like a dream in the microwave for 60 seconds. I’ve been eating a slice every morning after my 6am class and it keeps me full clear until lunch. No more sad protein bars for me!

yesterday

Wait, the cook time says 50 minutes total — is that at 350F? My oven runs hot so I want to make sure I adjust the temp correctly so I don’t burn it when I make this for Thanksgiving brunch.

22 hours ago

Great catch! It bakes at 350F, as noted in the recipe steps — if your oven runs hot, we recommend checking it 5-10 minutes early, it’s done when the center is set and no longer jiggly when you nudge the pan!



