
eggless yorkshire pudding

title 1
eggless yorkshire pudding

⏱️ cook time 25 minutes
🍽️ servings 4
⚡ Difficulty easy

intro

Light, shatteringly crisp, golden eggless Yorkshire puddings with fluffy hollow centers, perfect for soaking up rich gravy alongside your favorite cozy Sunday roast.

Ingredients
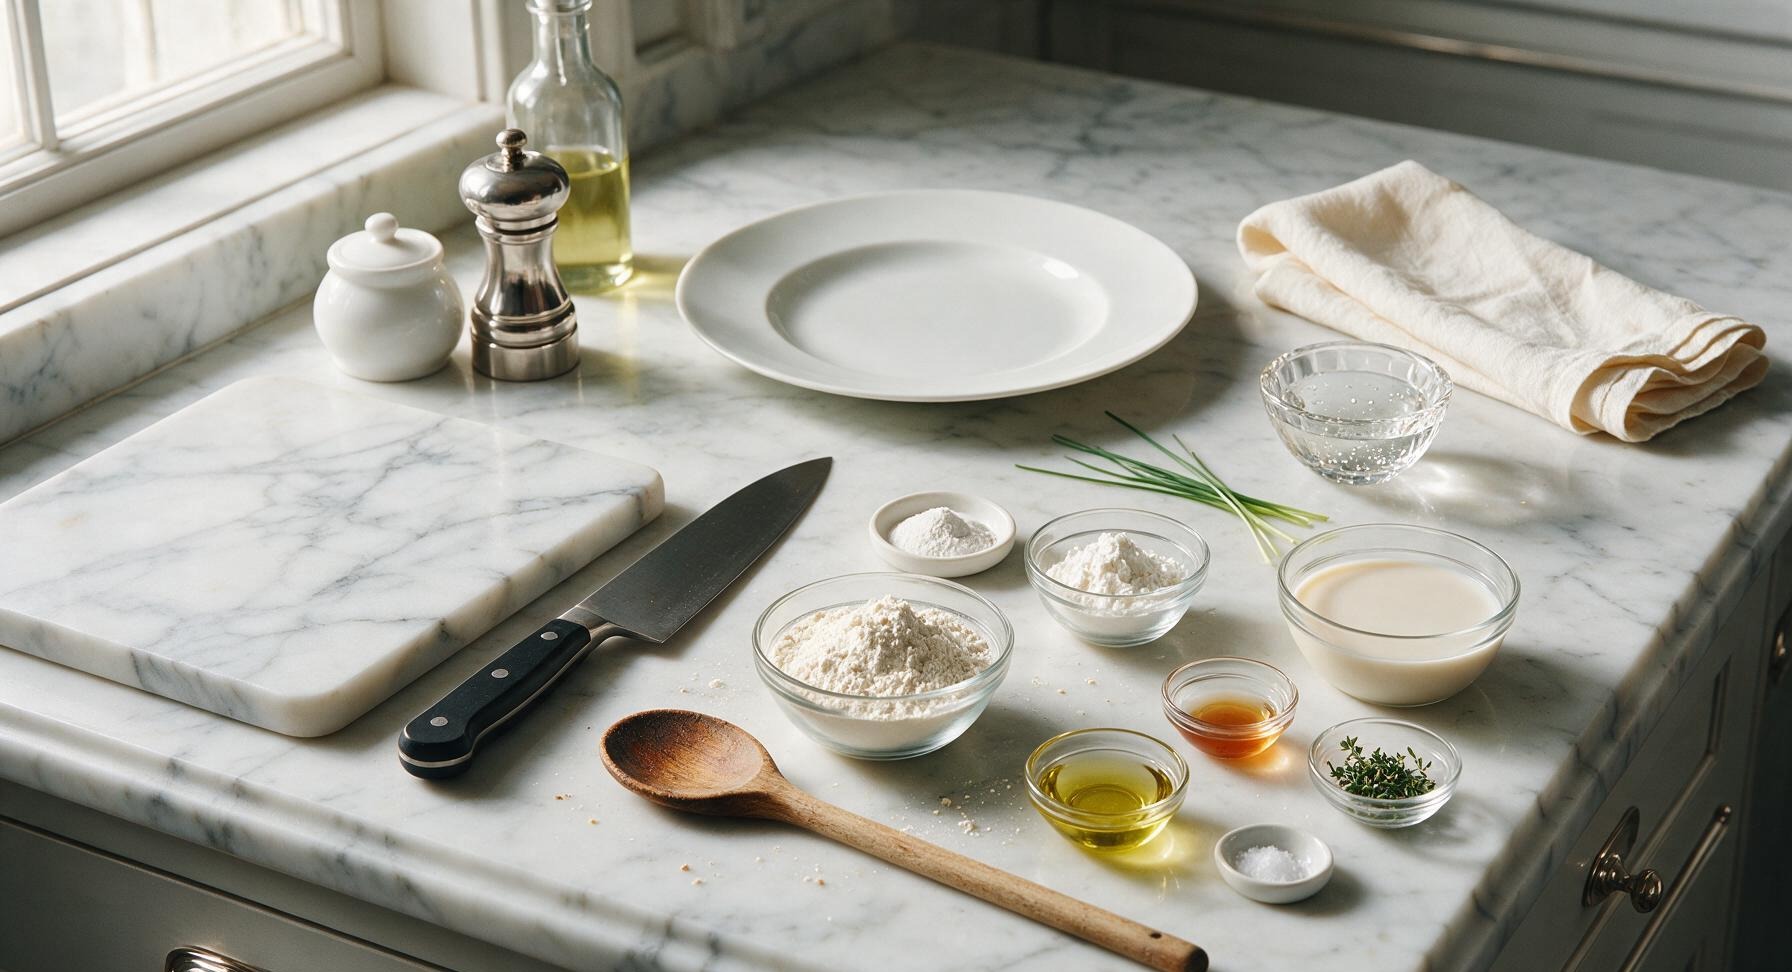
All-purpose plain flour 120g
Cornstarch (cornflour) 30g
Baking powder 1.5 tsp
Fine sea salt 1/4 tsp
Cold unsweetened plain soy milk 200ml
Apple cider vinegar 1 tsp
Neutral sunflower oil (or beef drippings) 4 tbsp
Fresh thyme leaves (optional) 1 tsp

Steps

1

Preheat Oven and Oil

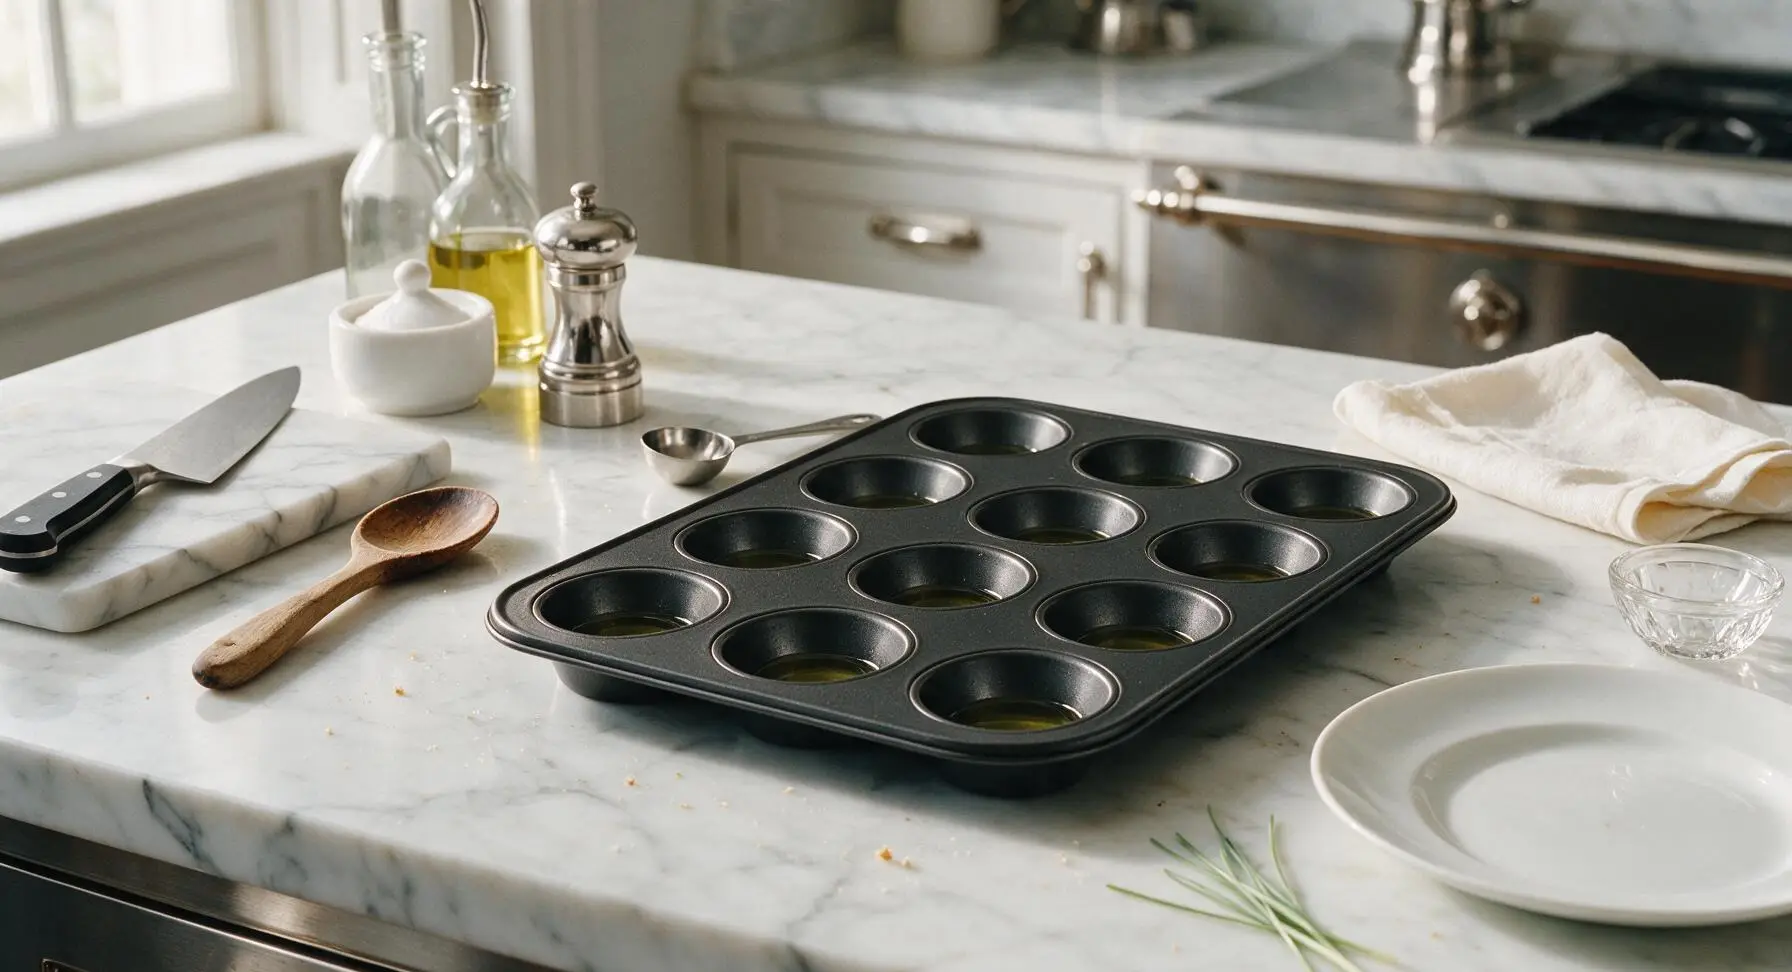
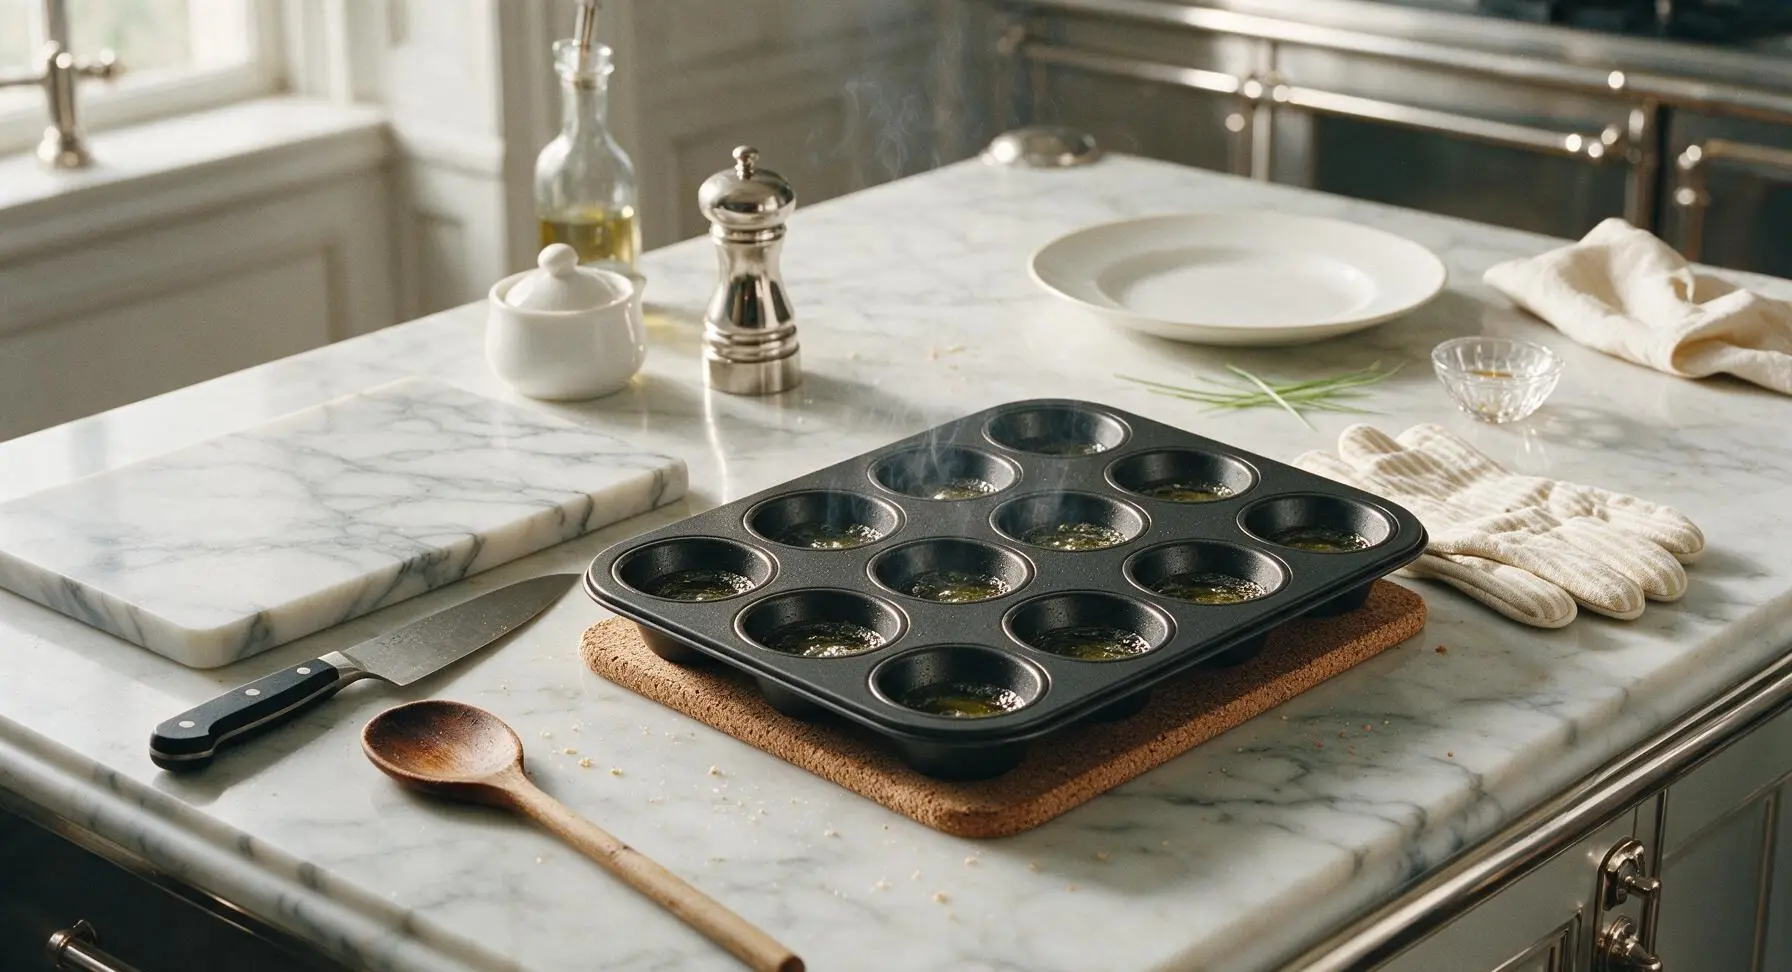
Adjust your oven rack to the middle position, then preheat the oven to 220°C (425°F). Add 1 tsp of neutral sunflower oil (or melted beef drippings) to each cup of the 12-cup matte black non-stick muffin tin, totaling 4 tbsp oil. Carefully slide the tin into the preheating oven to heat for 10–12 minutes, until the oil is shimmering and just beginning to send up thin wisps of smoke. Warning: oil that is not hot enough will produce flat, dense puddings that do not rise.
Step 1
step1:Preheat Oven and Oil
Step 1
step1:Preheat Oven and Oil
2

Sift Dry Ingredients

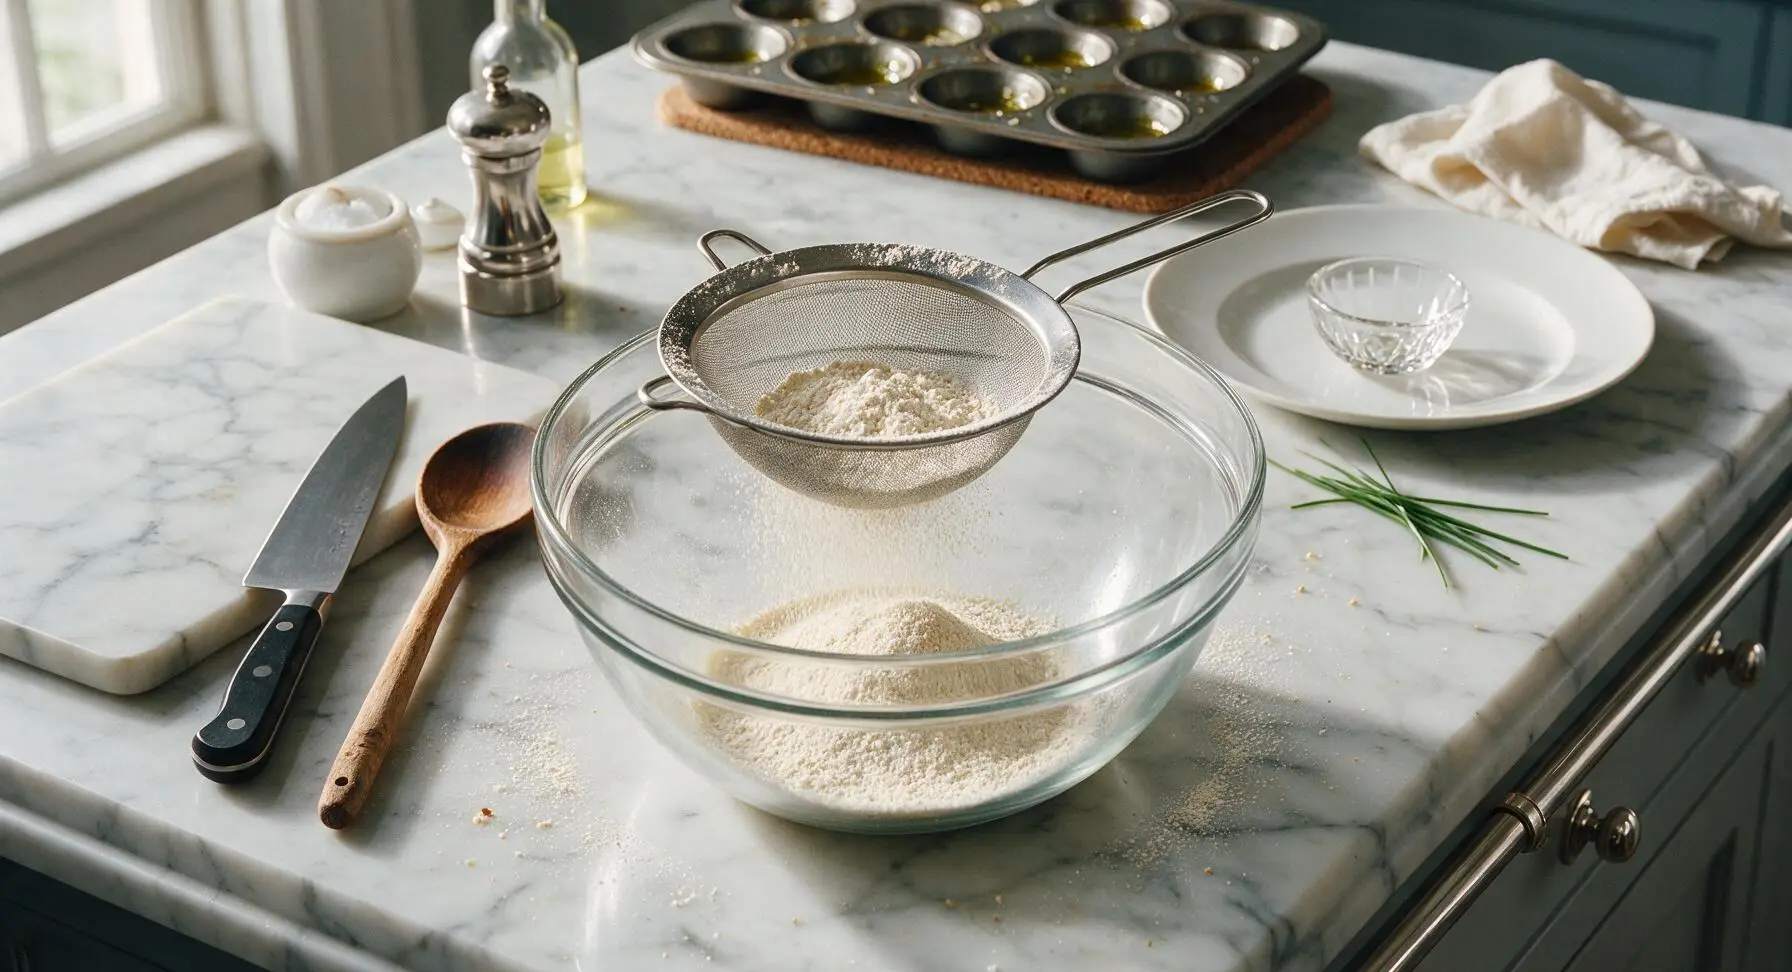
While the oil heats, set the fine mesh stainless steel sieve over the 2L clear glass mixing bowl. Weigh and add 120g all-purpose plain flour, 30g cornstarch, 1.5 tsp baking powder, and 1/4 tsp fine sea salt to the sieve. Tap the sieve edge gently to sift all dry ingredients into the bowl, breaking up any small lumps, until you have a fine, evenly mixed pale powder at the bowl bottom. Stir in 1 tsp optional fresh thyme leaves if using, for subtle herby flavor.
Step 2
step2:Sift Dry Ingredients
3

Mix Curdled Milk

Pour 200ml cold unsweetened plain soy milk into the 250ml clear glass measuring cup. Stir in 1 tsp apple cider vinegar, then let the mixture rest for 2 minutes at room temperature. The milk will thicken slightly and develop tiny visible curdles, mimicking the texture of buttermilk; this acid reaction helps activate the baking powder for a lighter rise without eggs.

Step 3
step3:Mix Curdled Milk
4

Whisk Smooth Batter

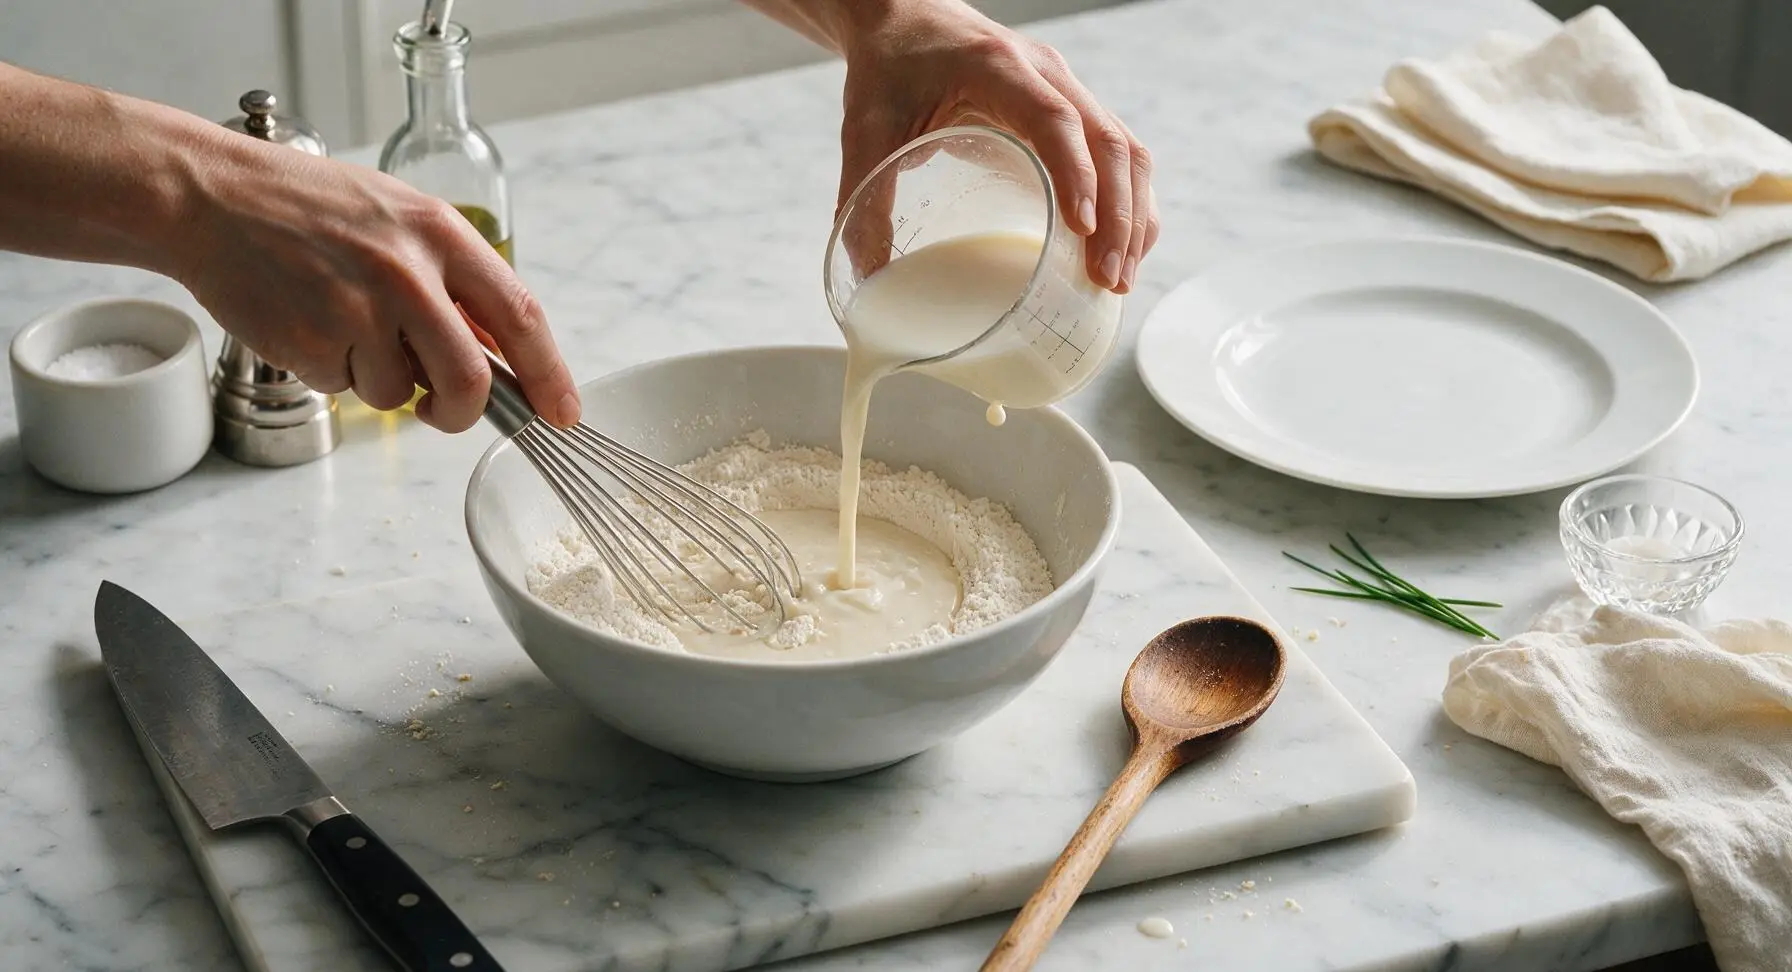
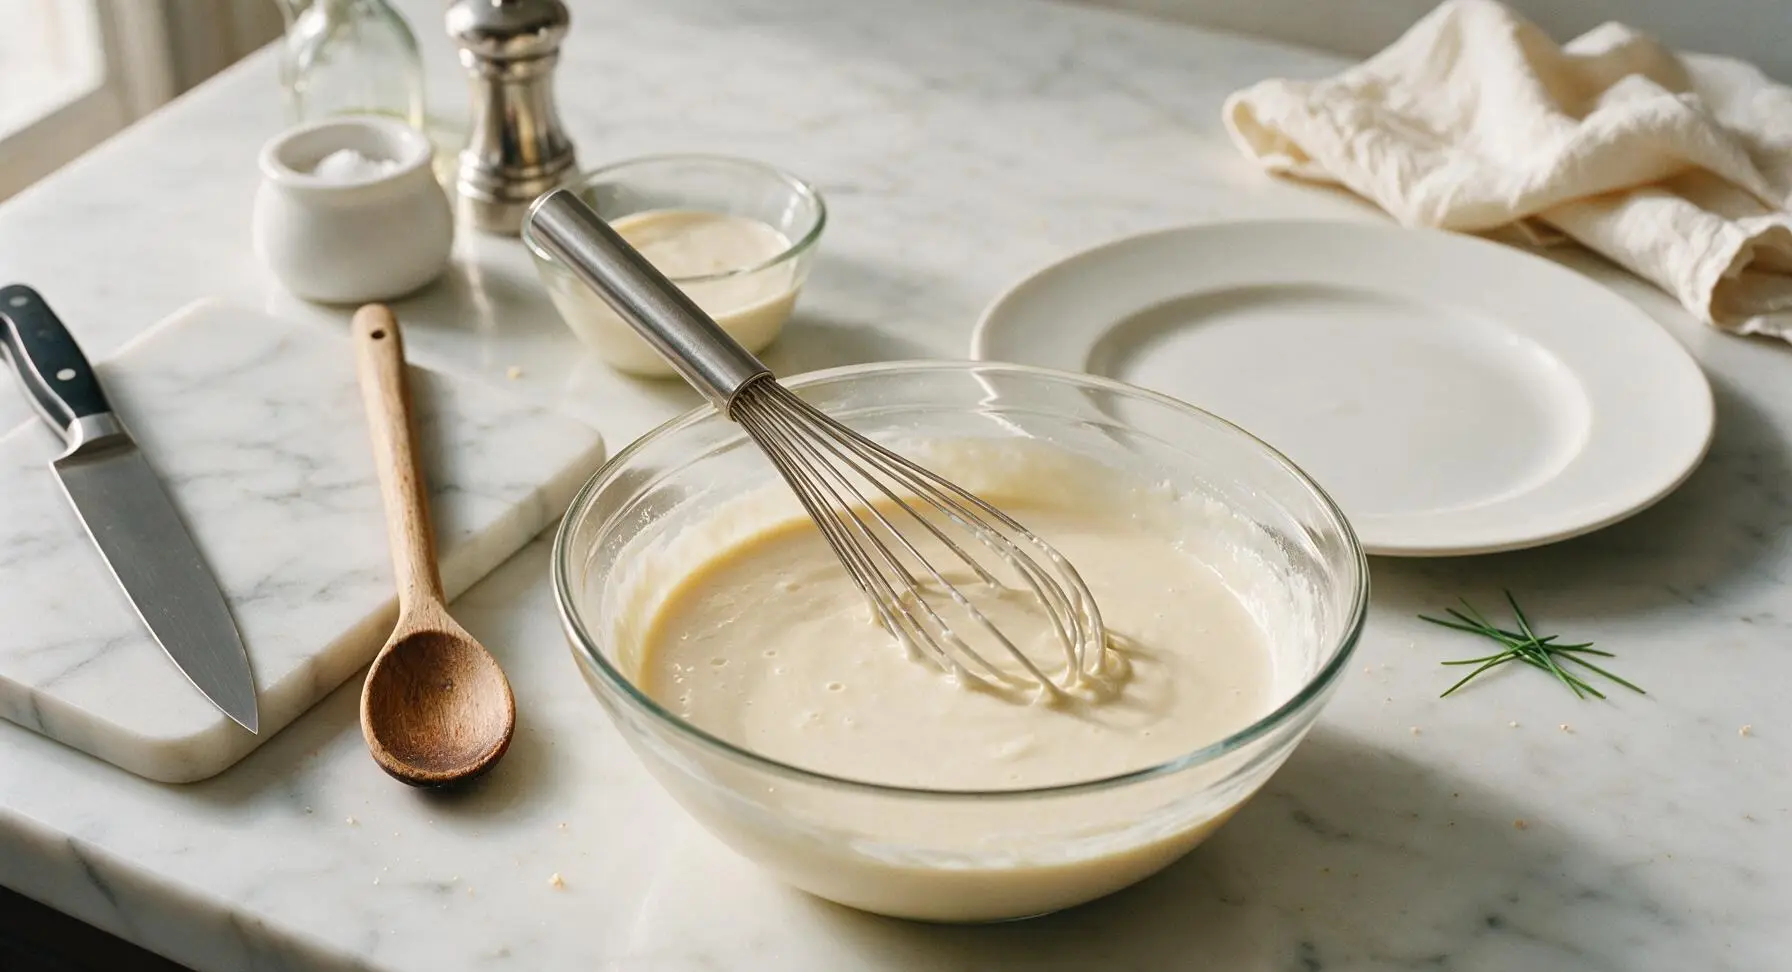
Slowly pour the curdled soy milk into the bowl of sifted dry ingredients, whisking continuously in gentle circles with the stainless steel wire whisk. Mix only until no large lumps remain—stop as soon as the batter comes together, as overmixing will develop gluten and lead to tough, chewy puddings. The finished batter should be thin, with the pouring consistency of heavy cream.
Step 4
step4:Whisk Smooth Batter
Step 4
step4:Whisk Smooth Batter
5

Rest Batter Briefly

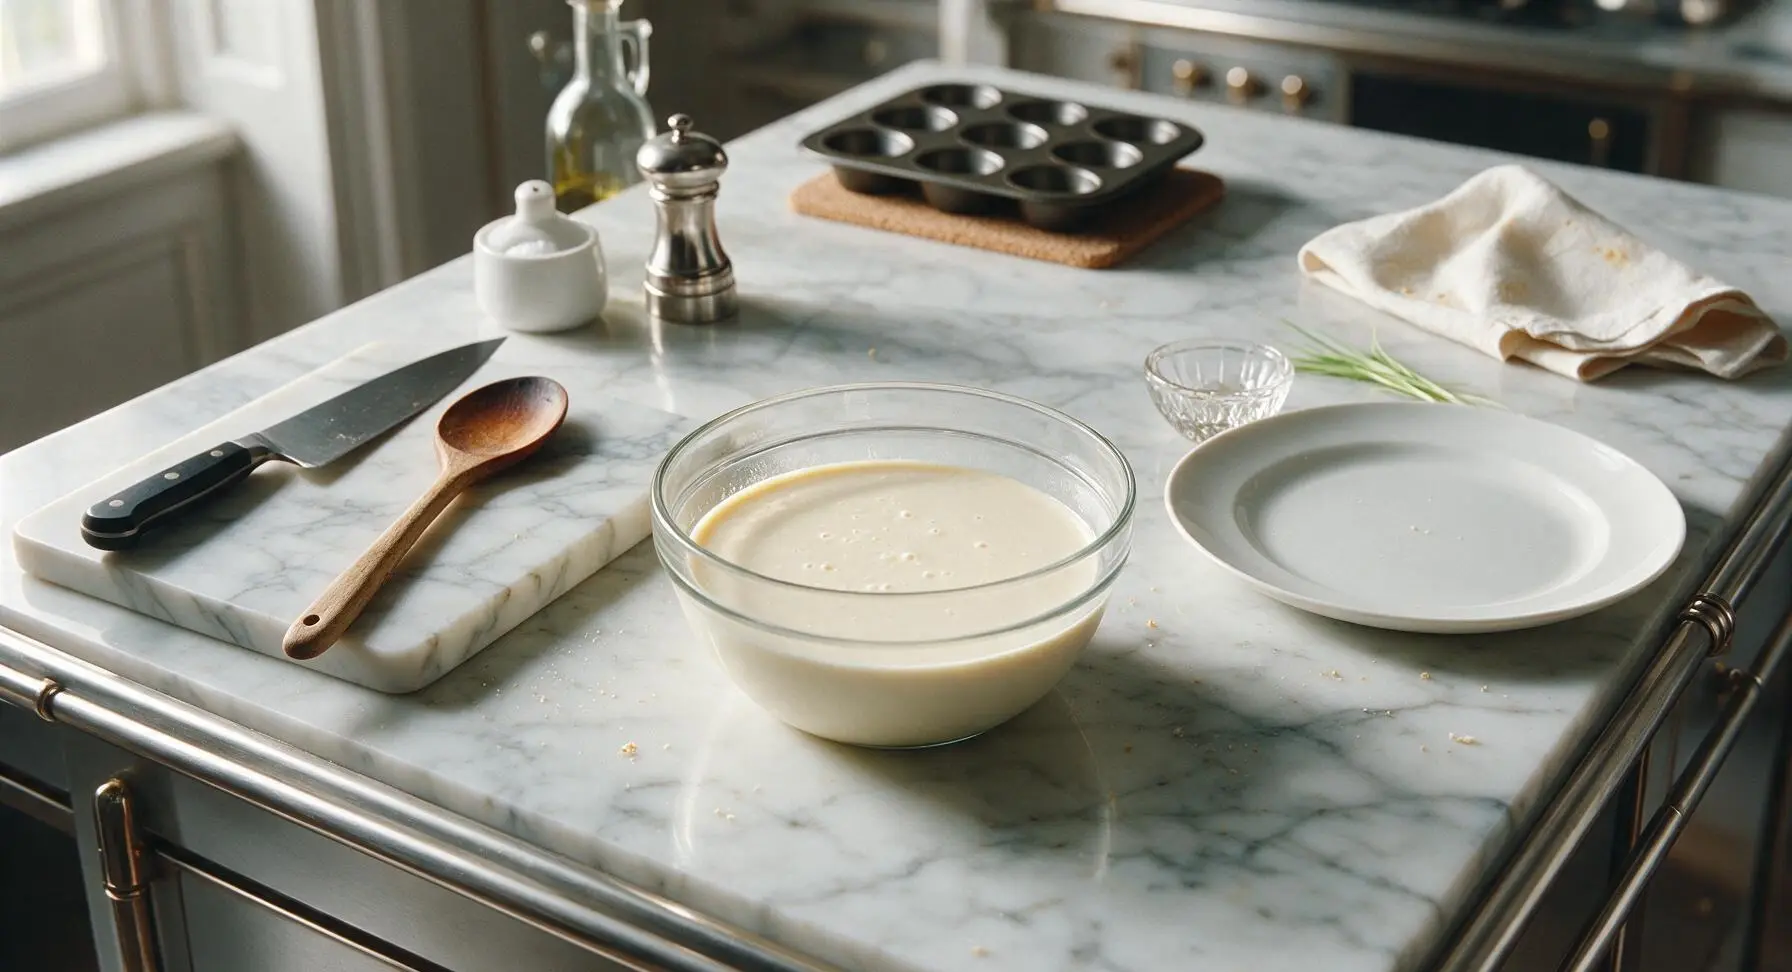
Let the mixed batter rest undisturbed for 5 minutes at room temperature. This short rest allows starch granules to absorb moisture and the baking powder to begin activating, leading to a taller, more even rise when the batter hits hot oil. Do not stir the batter again after this rest, as this will pop early air bubbles.
Step 5
step5:Rest Batter Briefly
6

Pour Batter Into Hot Tin

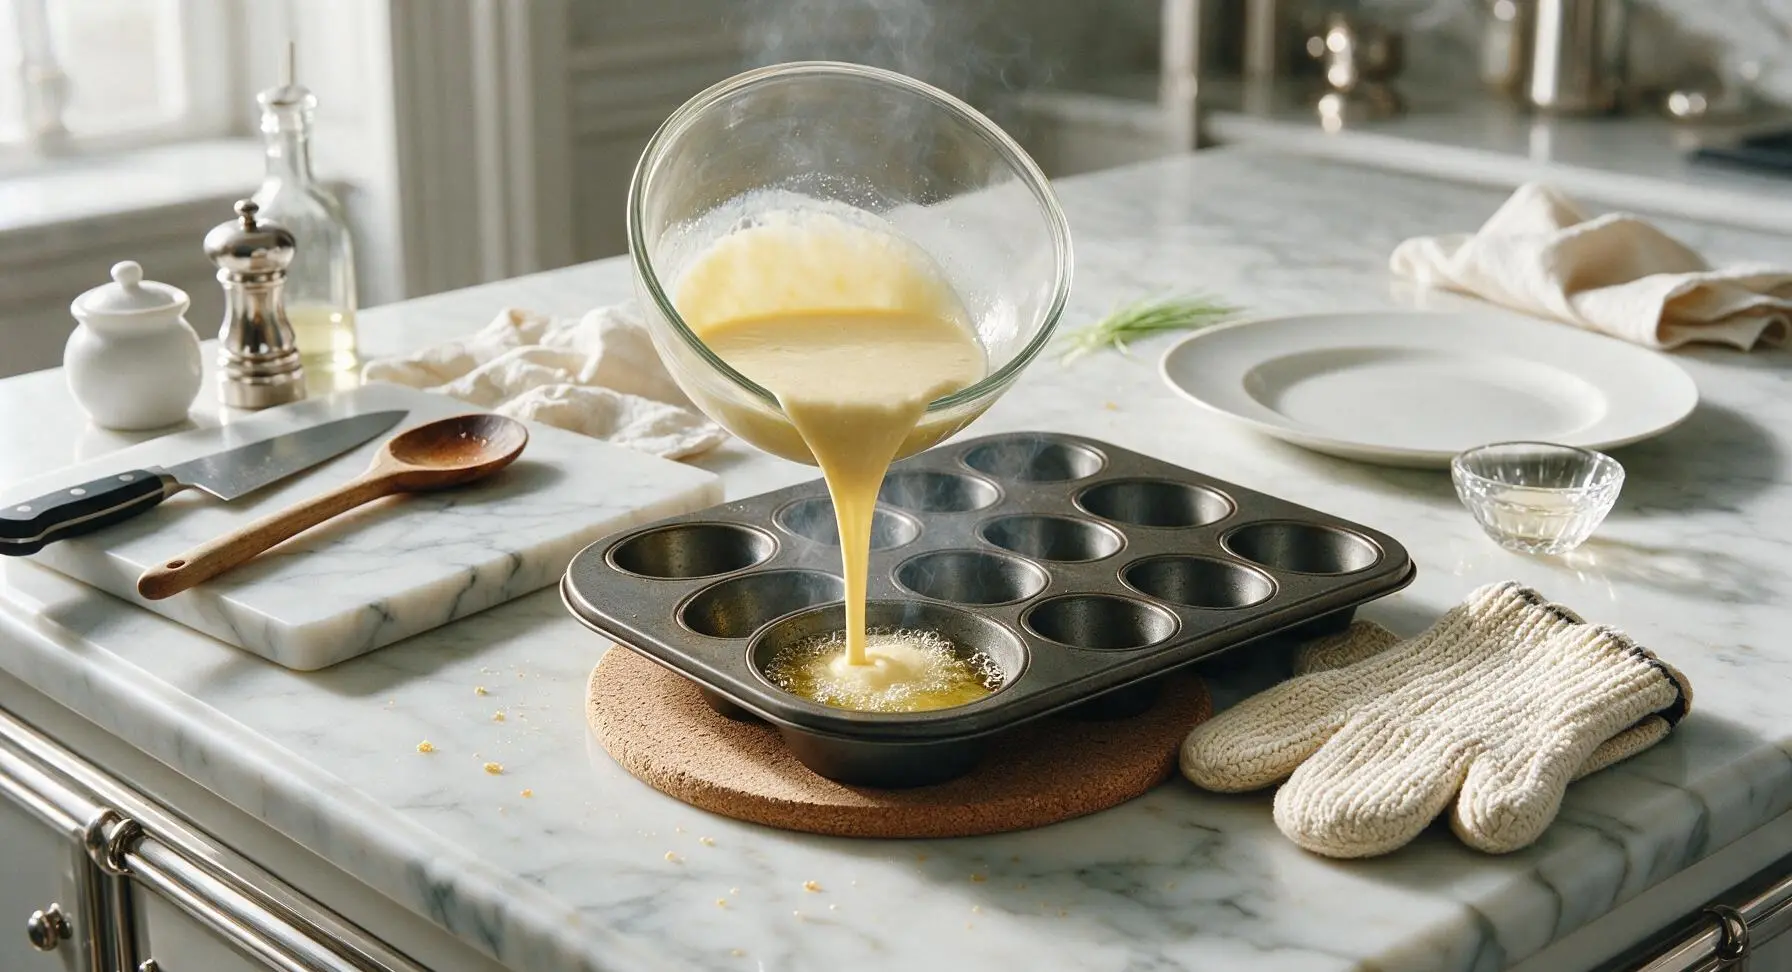
Working as quickly and carefully as possible to avoid heat loss, pour 1.5 tbsp of rested batter directly into each hot, oil-filled cup of the muffin tin (set on the cork trivet to protect counters). The oil should sizzle sharply and bubble immediately the moment batter touches it—if you do not hear a loud sizzle, the oil is too cool and your puddings will not rise. Fill each cup no more than 1/3 full, as the batter will puff dramatically as it bakes.
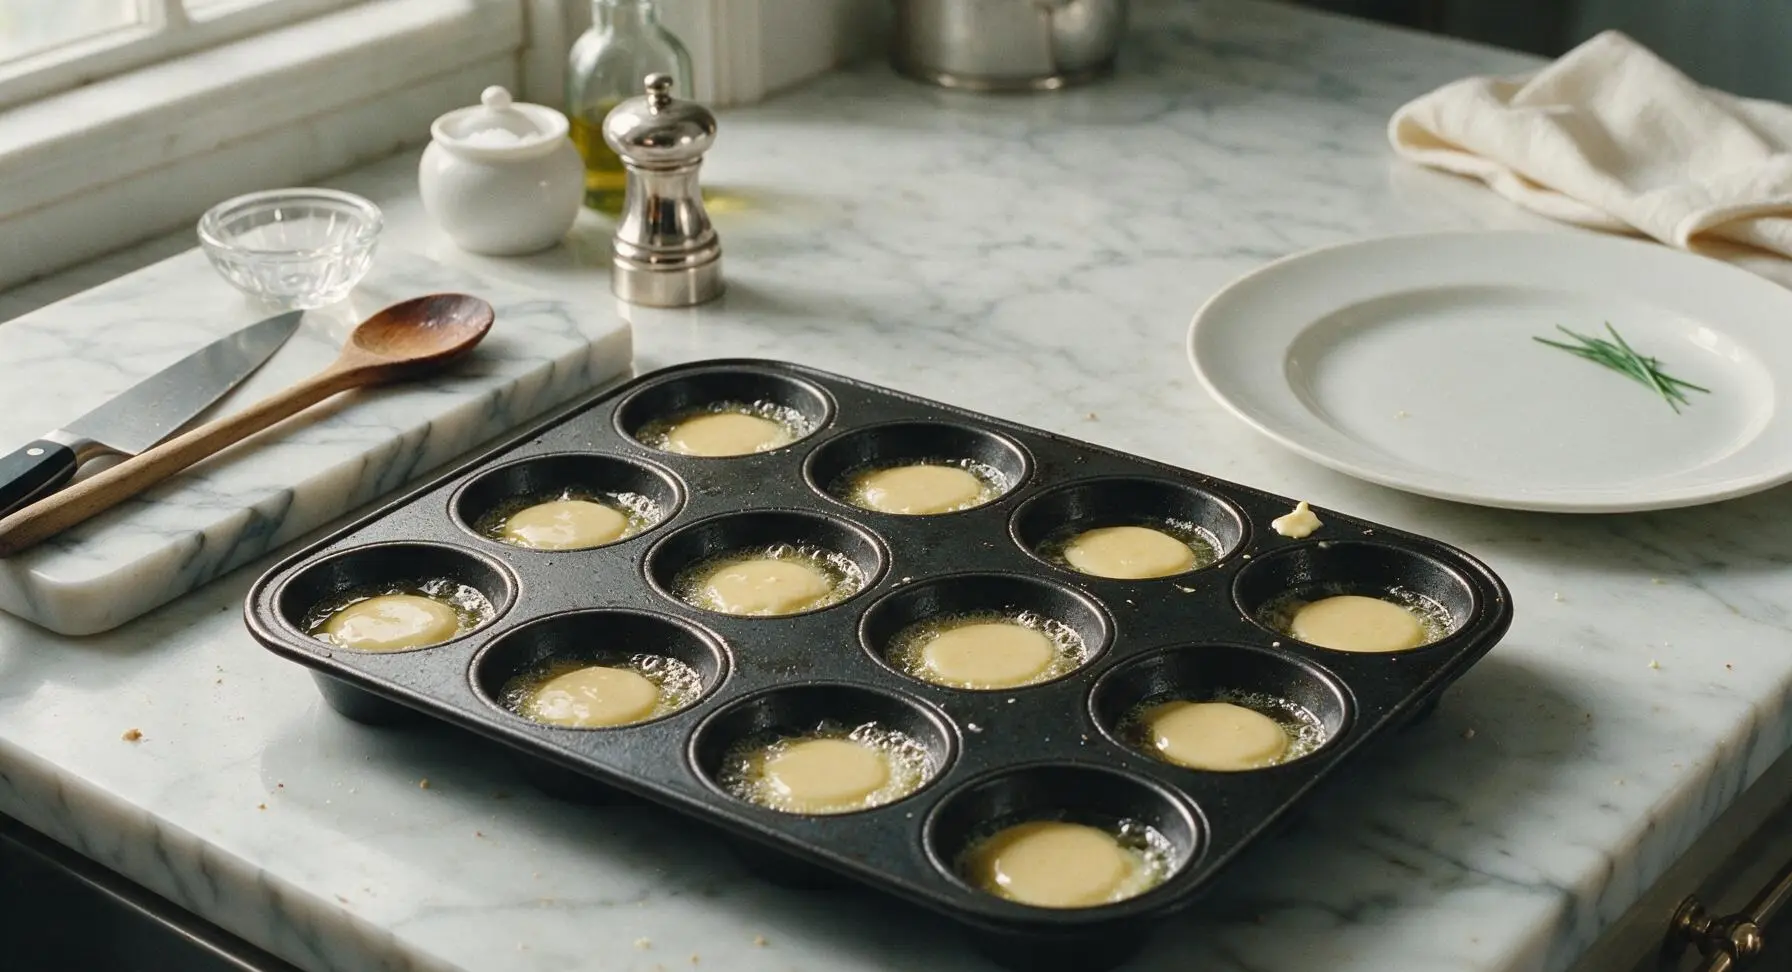
Step 6
step6:Pour Batter Into Hot Tin
Step 6
step6:Pour Batter Into Hot Tin
7

Bake Until Puffed Golden

Immediately slide the tin back onto the middle oven rack. Bake for 20–22 minutes, and do not open the oven door for the first 18 minutes of baking—sudden temperature drops will cause the delicate steam-puffed structure to collapse before it sets. The puddings are done when they are deep golden brown, puffed 2–3 times their original height, with crisp dry edges and light hollow centers.

Step 7
step7:Bake Until Puffed Golden
8

Plate and Serve Hot

Carefully lift the hot puddings from the tin (they will release easily if the oil was sufficiently hot) and transfer them to the 26cm matte cream stoneware dinner plate. Sprinkle with a pinch of flaky sea salt and fresh thyme leaves, then drizzle lightly with warm gravy. Serve immediately, as Yorkshire puddings lose their crisp exterior and deflate quickly as they cool.

Step 8
step8:Plate and Serve Hot

Tips

1.Use ice-cold soy milk for the tallest rise: the dramatic temperature difference between freezing-cold batter and smoking-hot oil creates an immediate burst of steam that puffs puddings light and high, rather than letting them cook dense and flat. For extra lift, chill the mixed batter in the fridge for 10 minutes before pouring.
2.Resist the urge to open the oven door early: the fragile, steam-supported structure of the puddings takes 18 minutes to set, and even a 30-second blast of cool air will make them collapse mid-bake. Use your oven light to check puffing and color through the glass instead.
3.For traditional savory depth, swap sunflower oil for melted beef drippings (for non-vegan servings): beef fat has a high smoke point perfect for high-heat baking, and adds a rich, meaty savoriness that pairs perfectly with roast beef, roasted vegetables, and thick gravy.


✨ You May Also Like

Side Dishes
🍜 India

Velvety, aromatic all-purpose curry sauce perfect for tossing with roasted veggies, grilled protein, or rice for fast, cozy, flavorful meals.

⏱️ 25 minuteSide Dishes ★ 4.8
Side Dishes
🍜 Spain

Tender, starchy boiled yuca tossed in bright, garlicky citrus mojo sauce—an iconic, zesty side that pairs beautifully with roasted pork, grilled meats, and rice and beans.

⏱️ 40 minuteSide Dishes ★ 5
Side Dishes
🍜 United States

Tender, paper-thin potato flatbread, a beloved Norwegian-American Minnesota Christmas staple, griddled until softly spotted and served warm with butter.

⏱️ 1 hour 30Side Dishes ★ 4.6
Side Dishes
🍜 United States

Rich, deeply savory cured salt pork, a long-lasting kitchen staple perfect for frying crispy as a side or adding umami to stews, beans, and chowders.

⏱️ 7 days (2Side Dishes ★ 4.9
Side Dishes
🍜 United States

Crispy, tangy classic Southern fried green tomatoes with a crunchy cornmeal crust, served hot for a nostalgic, comforting summery bite.

⏱️ 25 minuteSide Dishes ★ 4.9
Side Dishes
🍜 United States

Moist, golden-crusted savory muffins with sweet corn, zesty jalapeño, and melted cheddar, perfect for pairing with smoky summer grilled fare.

⏱️ 30 minuteSide Dishes ★ 4.9

eggless yorkshire pudding:Frequently Asked Questions

1.Why does this recipe call for cold soy milk instead of room temperature milk? ▾
Cold, straight-from-the-fridge unsweetened plain soy milk creates a sudden, powerful steam burst when it hits screaming hot fat in the pan, which is the secret to tall, puffed puddings with hollow, fluffy centers. Room temperature milk won’t generate enough fast-acting steam, leading to flat, dense puds that never develop that signature shatteringly crisp crust.
2.Can I swap the soy milk for a different plant-based milk if I don’t have it? ▾
Unsweetened plain soy milk works best because it has a protein content close to dairy milk, which supports structure and crisping. If you need a swap, use unsweetened oat milk as a close second. Skip almond, coconut, or rice milk—their low protein content leads to soggy, flat puddings that won’t hold their classic hollow shape.
3.Why is cornstarch included instead of using only all-purpose flour? ▾
Cornstarch cuts down on excess gluten formation from 100% all-purpose flour, which keeps puddings light and crisp instead of tough or bready. It also boosts that signature golden, crunchy exterior while keeping the inner center soft and fluffy, rather than dense and chewy like a standard dinner roll.
4.Do I really need to rest the batter, and how long should I rest it for? ▾
Yes, resting the batter for 30 minutes at room temperature (or up to 24 hours in the fridge) lets the flour and cornstarch hydrate fully and lets mixing air bubbles dissipate. This leads to even, consistent rise instead of lopsided, unevenly puffed puddings, and creates a smoother, less grainy final texture.
5.What type of fat should I use in the tin for the crispiest results? ▾
For the most authentic flavor and crispness, use beef drippings if you eat meat, heated until almost smoking before adding batter. For a fully vegan version, use high-smoke-point refined avocado or canola oil. Skip olive oil or butter—they burn too quickly at the required high heat, leaving a bitter, off flavor.
6.My puddings came out totally flat—what went wrong? ▾
Flat eggless Yorkshire puddings almost always trace back to three common missteps: the fat in your tin wasn’t hot enough when you added batter, you opened the oven door before the first 20 minutes of baking, or your baking powder was expired and couldn’t generate enough lift for a proper hollow puff.
7.Can I mix the batter ahead of time for my Sunday roast prep? ▾
Absolutely! This batter holds beautifully in a sealed container in the fridge for up to 24 hours, and the extra rest time actually leads to better rise and crispness as the starches fully hydrate. Give it a quick, gentle stir right before pouring into hot fat—don’t overmix, or you’ll develop excess gluten that makes puds tough.
8.Why do my puddings deflate right after I pull them out of the oven? ▾
Minor settling is normal, but major deflation almost always means your puddings didn’t bake long enough to set their structure. Bake until they’re deep golden brown all over, not pale blonde, with edges that feel firm and crisp to the touch. Underbaked puds have soft, weak walls that collapse when hit by cooler room air.
9.Do I need a special Yorkshire pudding pan, or will a regular muffin tin work? ▾
A standard 12-cup metal muffin tin works perfectly for this recipe—you don’t need a specialty popover or Yorkshire pudding pan to get great results. Skip silicone pans, though: they don’t get hot enough to generate the initial steam burst needed for a tall rise, and they won’t crisp edges as well as metal does.
10.Can I stir herbs or cheese into the batter for extra flavor? ▾
You definitely can! Stir in a teaspoon of dried thyme or rosemary, or a quarter cup of finely grated parmesan (or nutritional yeast for a vegan version) right before pouring batter into the tins. Just don’t add too many heavy mix-ins, as they can weigh the batter down and prevent it from puffing into that light, hollow shape.
11.How should I store leftovers, and what’s the best way to reheat them? ▾
Store fully cooled leftover puddings in an airtight container at room temperature for up to 2 days, or freeze them for up to 3 months. To bring back their signature crispness, place them on a baking sheet in a 400°F oven for 3 to 5 minutes. Never microwave them, as that will turn them soggy and rubbery.
12.What oven temperature works best, and is the convection setting helpful? ▾
Preheat your oven to 425°F (400°F if using convection) for the best rise. Convection is actually fantastic for these puddings: it circulates hot air evenly around the tin for more uniform puffing and extra-crisp exteriors. Don’t lower the temperature too much, as consistent high heat is non-negotiable for that steam-powered lift.
13.Why use fine sea salt instead of regular table salt in this recipe? ▾
Fine sea salt dissolves evenly throughout the cold batter, so you get consistent, balanced seasoning in every bite instead of random salty pockets. If you only have table salt, use half the called-for amount—table salt is denser and has a sharper, more concentrated flavor, so a 1:1 swap will lead to overly salty puddings.
14.Can I adapt this recipe to be gluten-free for guests with dietary restrictions? ▾
Yes! Swap the all-purpose flour for a 1:1 gluten-free all-purpose baking blend that contains xanthan gum, and keep the cornstarch, baking powder, fine sea salt, and cold soy milk measurements exactly the same. Add 2 to 3 minutes of extra bake time to fully set the structure, and you’ll still get light, crisp, gravy-ready puds.

Comments (14)

3 days ago

OMG this is a total game changer! My youngest has a severe egg allergy and we thought we’d never get to have proper Yorkshire puddings with our Sunday roast again. These puffed up perfectly, had that crispy edge and soft chewy center we all love. My kids devoured three each before I even got the gravy on the table! 10/10 will be making this every Sunday from now on.

2 days ago

Wait did you use regular all purpose flour or a gluten free blend? My kid has both egg and wheat allergies so I’m curious if this adapts well!

yesterday

So happy your family loved these! For gluten free, we recommend a 1:1 GF baking flour with a tiny pinch of xanthan gum if your blend doesn’t already include it — works like a charm!

3 days ago

Brought these to our neighborhood potluck last night and people were going back for seconds and thirds! Nobody even believed they were eggless until I told them. Super easy to throw together too, I prepped the batter while my oven was preheating and it was totally zero stress. Only note is I added a tiny extra sprinkle of salt because I love that savory kick.

2 days ago

Love that these were a potluck hit! That extra pinch of salt is such a smart call, it really makes the savory flavor pop — thanks for the tip!

1 week ago

SO good for meal prep! I made a big batch on Sunday to pair with pot roast and veggies for my weekday lunches, and they held up perfectly even after reheating in the air fryer. Way cheaper than buying the frozen pre-made ones, and no weird ingredients I can’t pronounce. Obsessed.

5 days ago

Was really skeptical that eggless Yorkies could actually puff right, but I followed the recipe exactly (made sure my oil was screaming hot in the tin first!) and they rose better than the egg-containing ones I used to make. My wife who’s vegan was over the moon. Will be our go-to from now on.

3 days ago

Seconding the hot oil tip! I skimped on that my first try and they came out flat, heated the oil longer the second time and they were perfect!

1 week ago

Wait, total newbie question — can I make the batter ahead of time and keep it in the fridge overnight? I’m hosting Easter dinner this year and want to get as much prep done the day before as possible so I’m not running around like a crazy person when guests show up.

5 days ago

I did this last month for my family dinner! Made the batter 24 hours ahead, gave it a good whisk right before pouring into the hot tins, and they turned out perfect. No difference in puff or flavor at all!

3 days ago

Great question! You can absolutely make the batter up to 24 hours in advance and store it covered in the fridge. Just give it a quick stir before pouring, and make sure your oil is fully heated before adding the batter for the best rise.

2 weeks ago

These are solid! I added a little pinch of garlic powder and black pepper to the batter to give them a little extra zing, and they paired so well with my spicy chili last night. Crispy on the outside, fluffy inside, no weird eggy texture (obviously, duh) which I actually prefer. Will make again.

yesterday

I can’t even put into words how happy I am to find this recipe. My son’s school is having a British themed class party next week, and all the other Yorkshire pudding recipes have eggs which he can’t have. I tested a batch tonight and he said they taste “just like the ones we had in London last summer”. I could cry. Thank you!!

30 minutes ago

This makes our day! So glad your son gets to enjoy a fun treat at his class party without worrying about allergies. Hope the whole class loves them!

30 minutes ago

Wait, do I have to use beef drippings? I don’t eat beef, so I usually have vegetable oil or avocado oil on hand but no drippings. Would that work or will they taste weird?

5 minutes ago

I used avocado oil when I made these last week and they were incredible! Got just as crispy and didn’t have any odd flavor, I actually think I prefer it to beef drippings now.

just now

Great question! Avocado oil, vegetable oil, or even melted vegan butter work perfectly as a swap for beef drippings if you don’t eat beef. Just make sure the oil is shimmering hot before adding the batter!

2 hours ago

Okay I fully messed up my first batch — forgot to preheat the tin, poured the batter into cold oil, and they came out flat as pancakes lmao. Tried again 10 minutes later after reading the comments about hot oil, and they puffed up so high I thought they were gonna hit the top of my oven. These slap, don’t skip the hot oil step y’all.

30 minutes ago

LMAO I did the exact same thing first try! Thought the recipe was broken until I realized I didn’t heat the oil long enough. Second batch was chef’s kiss.

5 days ago

Perfect for quick weeknight roasts! 25 minute cook time is no joke, I had these on the table alongside roasted chicken and steamed broccoli in under 40 minutes total on a busy school night. The whole family cleaned their plates, even my super picky toddler who usually refuses any bread adjacent food. Win!

2 weeks ago

Love that this uses super basic pantry staples! I didn’t have to run to the grocery store for any fancy egg substitutes or anything, just flour, milk, baking powder, salt, and oil. Cost me like 75 cents to make a whole tin of these, which is way better than paying $5 for the frozen ones at the store. 10/10 for value too.

1 week ago

We love a budget-friendly recipe! No fancy ingredients required, just simple pantry staples for a delicious end result — so glad you enjoyed them!

3 days ago

Quick question — what size muffin tin are you using? I have a standard 12-cup tin but also a mini muffin tin for appetizers, and I’m wondering if I need to adjust cook time if I use the mini one for book club next week.

2 days ago

I made mini ones for a baby shower last weekend! Just cut the cook time to 12-15 minutes and keep an eye on them, they get crispy fast. They were the first appetizer gone!

yesterday

Great question! We use a standard 12-cup muffin tin for this recipe. If you’re using a mini muffin tin, reduce cook time to 12-15 minutes, and pull them out when the edges are deep golden and puffed up. They make perfect bite-sized appetizers!

1 week ago

These were pretty good, but I wish they were crispier? I followed the recipe exactly, heated the oil for 10 minutes before pouring batter, but the edges were only slightly crispy and the middle was a little denser than I expected. Maybe my oven runs cool? I’ll try cranking the temp up 25 degrees next time.

5 days ago

Sorry to hear they didn’t crisp up as much as you wanted! Oven temperature can vary a lot, so cranking it up 25 degrees is a great call. You can also try letting them bake 2-3 minutes longer once they’re puffed up to get extra crispy edges — hope your next batch turns out perfect!

just now

Wait who says Yorkies are only for dinner? I made these for brunch today, served them with vegan sausage and maple syrup, and it was elite. The slightly savory, fluffy texture pairs so well with sweet toppings too. 10/10 will be adding these to my regular brunch rotation.



