1.What kind of green tomatoes do I need for authentic Southern fried green tomatoes?
▾
You want firm, fully unripe regular red tomatoes, not a special ripe green heirloom variety. Look for hard, bright green specimens with no pink or red blushing, soft spots, or bruising—their tight, tart flesh holds up perfectly to frying and delivers that classic tangy bite.
2.Can I use ripe green heirloom tomatoes for this recipe?
▾
I don’t recommend it! Ripe green heirlooms have soft, juicy, sweet flesh that will leak excess moisture during frying, turn mushy inside the crust, and lack the signature bright tartness that makes this dish iconic. Save those for salads, and stick to hard, unripe red tomatoes for best results.
3.Why does the recipe call for buttermilk instead of regular milk?
▾
Buttermilk’s thick, tangy consistency sticks far better to tomato slices than thin regular milk, adds a subtle bright zing that cuts through the rich fried crust, and its mild acidity tenderizes the coating to avoid tough, chewy breading. If you don’t have it, make a quick substitute with 1 cup milk + 1 tbsp white vinegar left to sit 5 minutes.
4.What’s the best oil to use for frying these Southern-style?
▾
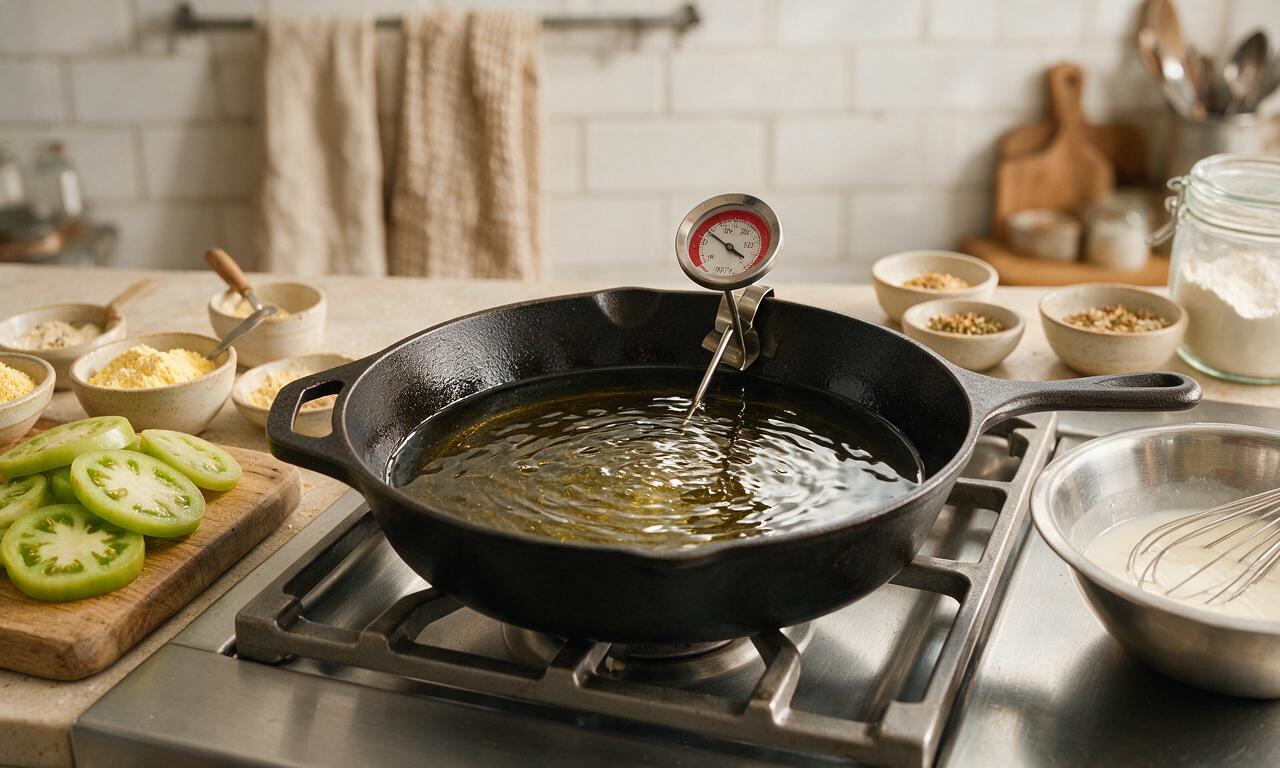
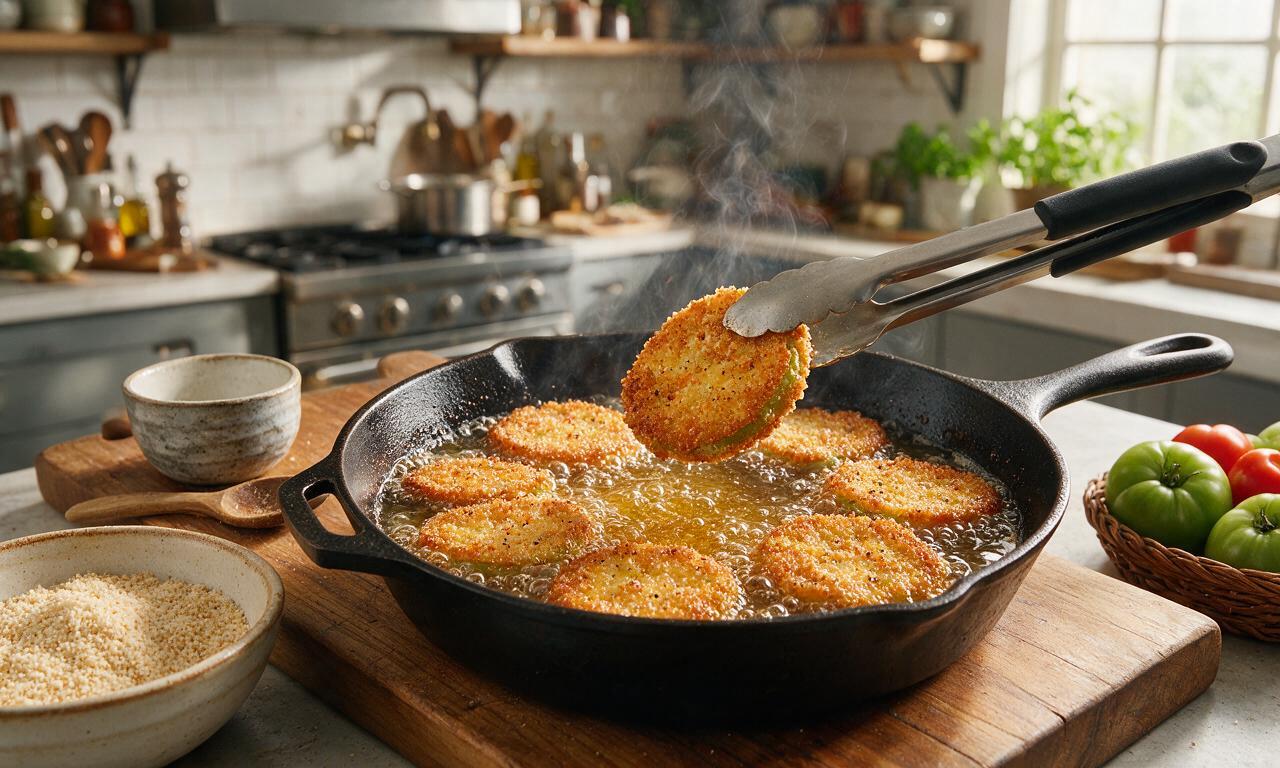
Reach for a high-smoke-point neutral oil like canola, vegetable, or peanut oil—peanut oil is my classic Southern kitchen pick for its faint nutty depth that never overpowers the tomato flavor. Heat it to a steady 375°F; too low makes crusts soggy and greasy, too high burns cornmeal before the tomato cooks through.
5.How thick should I slice my green tomatoes for frying?
▾
Aim for perfectly uniform ¼-inch thick slices! Any thinner and the tomato will cook too fast, turn mushy, and the crust will overbrown before you know it. Any thicker and the cornmeal crust will burn before the tomato center softens to that ideal tender-tangy texture, leaving you with raw, crunchy tomato inside.
6.My cornmeal crust keeps falling off when I fry—what am I doing wrong?
▾
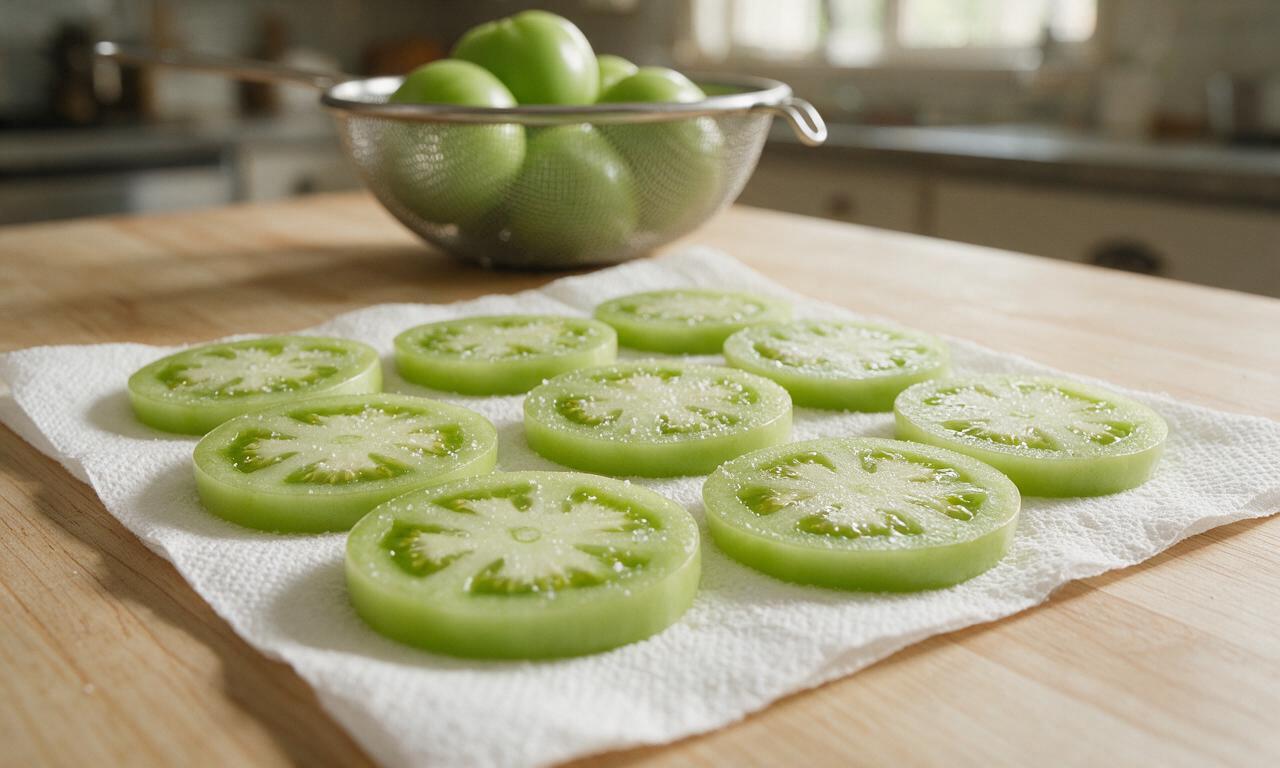
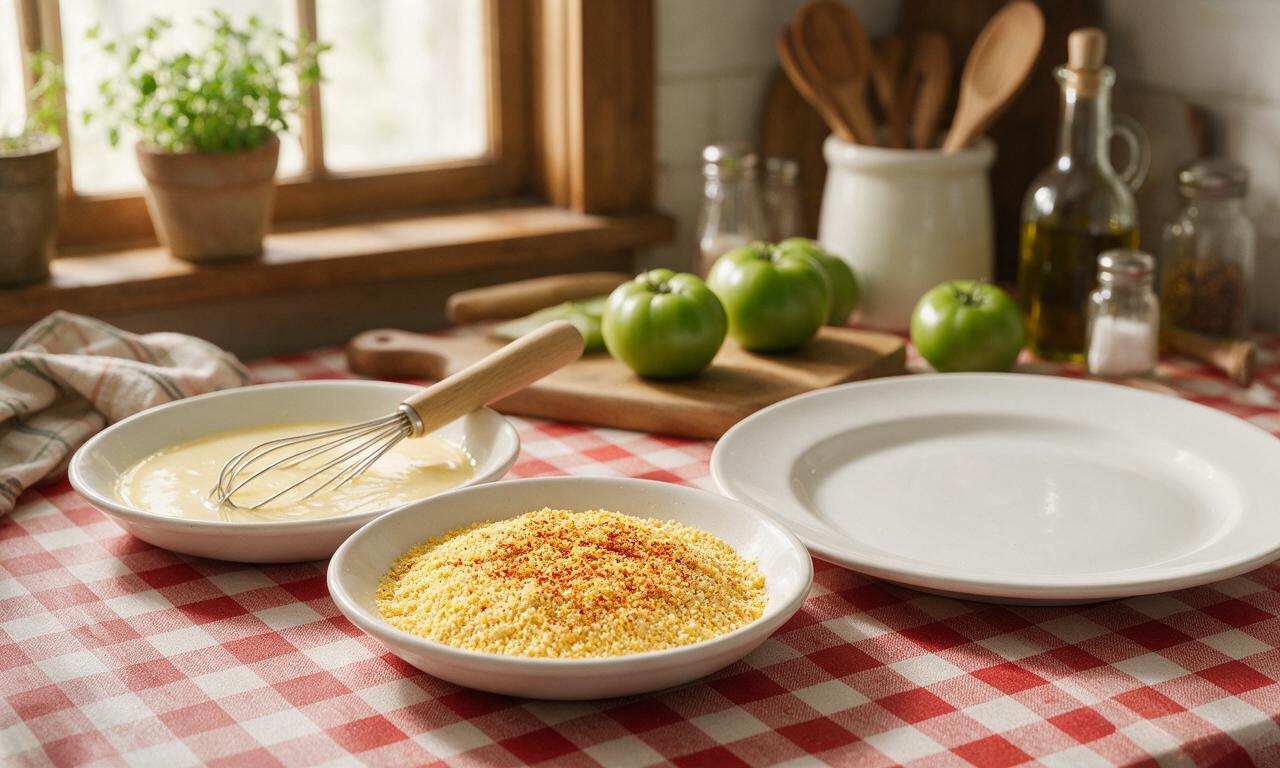
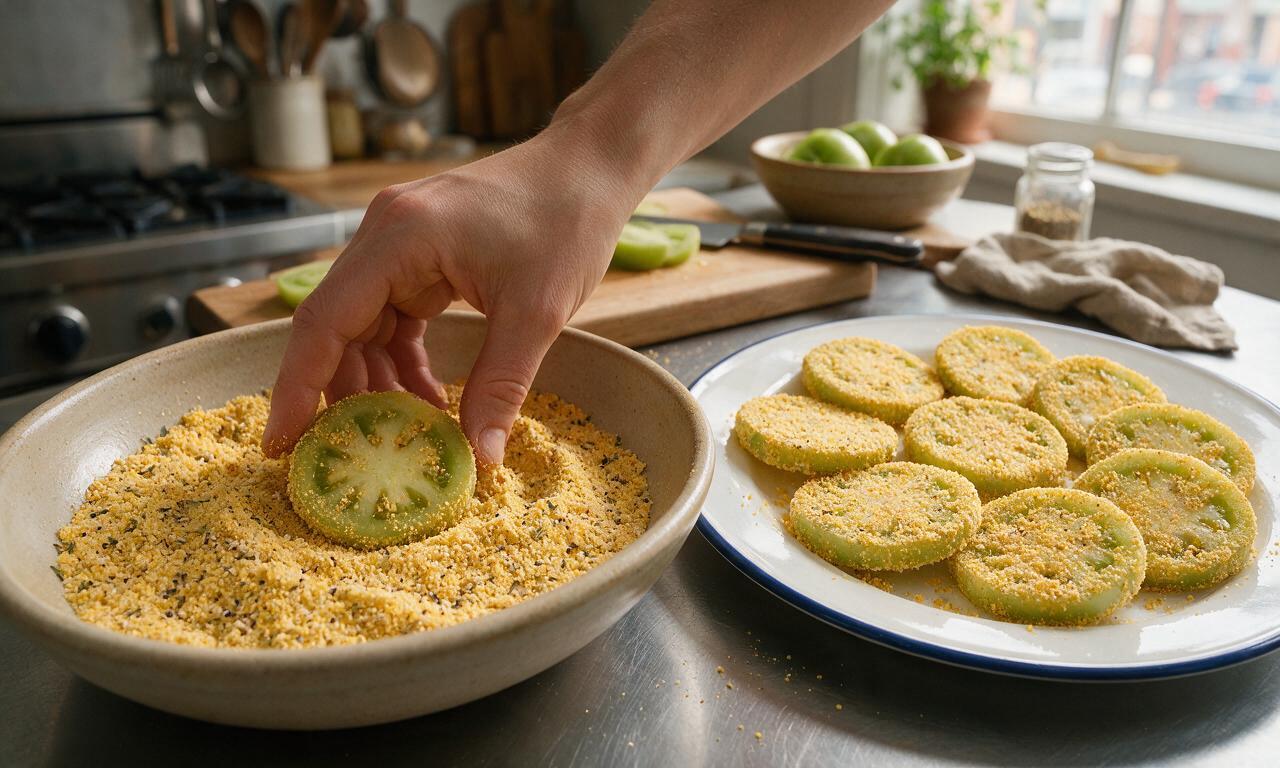
This almost always traces back to excess tomato moisture or skipping the setting step. Pat slices fully dry with paper towels first, dredge lightly in flour before dipping in the egg-buttermilk mix, press firmly into cornmeal, and let coated slices rest 10 minutes on a wire rack before frying so the coating sets tight.
7.Can I adapt this recipe to be gluten-free?
▾
Absolutely! Swap the all-purpose flour for a 1:1 gluten-free all-purpose baking blend, and double-check that your cornmeal is certified gluten-free (some brands have cross-contamination with wheat during processing). The crust will still turn out perfectly crispy, and you won’t lose that classic tangy, crunchy bite everyone loves.
8.Should I salt my tomato slices ahead of dredging them?
▾
That’s a total pro move! Lightly salt both sides of sliced tomatoes and let them sit on paper towels for 15 minutes to draw out excess bitter, watery juice. This prevents a soggy crust and seasons the tomato flesh all the way through. Just pat slices fully dry before dredging so your coating sticks properly.
9.What type of cornmeal works best for the crispy crust?
▾
Stick to fine yellow cornmeal for that classic Southern crunch! Coarse cornmeal creates a rough, gritty crust that slides off easily, and white cornmeal has a milder flavor that doesn’t match the traditional profile. Skip self-rising cornmeal mix (it has added leavening and salt) unless you adjust seasoning to account for it.
10.Can I bake these instead of frying for a lighter version?
▾
You can, for a lower-oil take! Arrange coated slices on a wire rack set over a baking sheet, spritz both sides generously with olive oil cooking spray, and bake at 425°F for 12 to 15 minutes per side until golden and crisp. Note they won’t be quite as rich or shatteringly crisp as the fried version, but they’re still tasty.
11.How do I keep fried green tomatoes crispy while I cook multiple batches?
▾
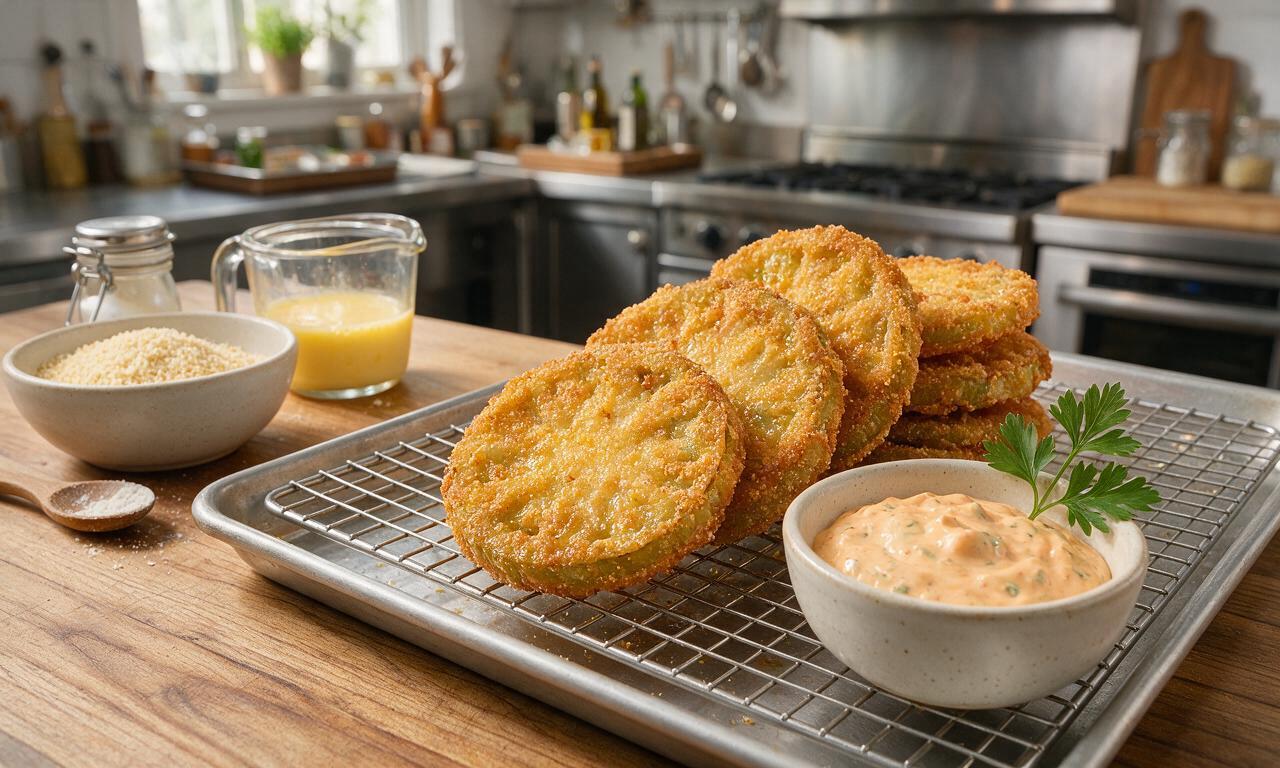
Never stack cooked slices on a paper towel-lined plate—that traps steam and turns the crust soggy in minutes! Instead, set cooked slices on a wire rack set over a baking sheet in a 200°F oven while you fry remaining batches. This lets air circulate around every slice, keeping crusts crisp until serving.
12.What are classic Southern dips or toppings to serve with these?
▾
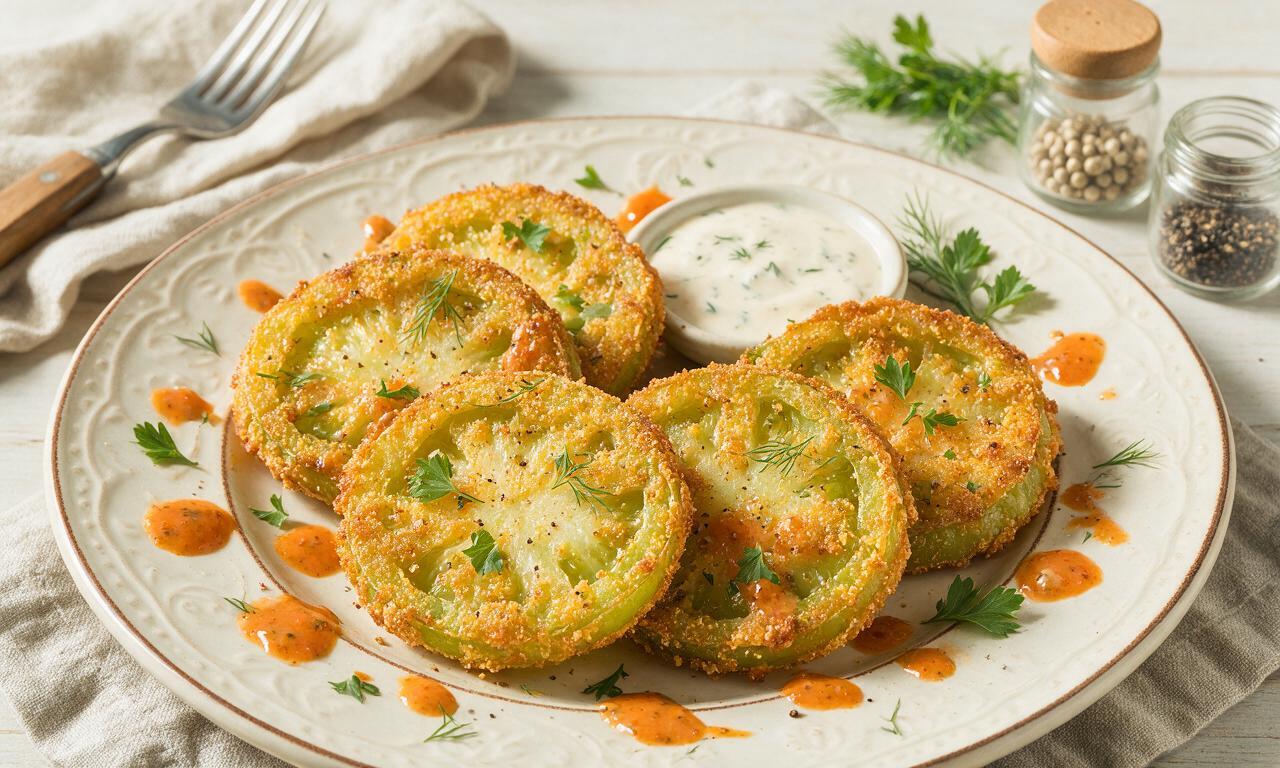
The most traditional pairings are creamy Creole remoulade, pimento cheese spread, or a simple dash of hot sauce! You’ll also see them served with buttermilk ranch, crumbled goat cheese, a drizzle of hot honey, or even stacked on a BLT in place of ripe tomatoes for a fun, tangy twist.
13.My fried tomatoes come out greasy instead of crisp—what’s the mistake?
▾
That’s almost always from oil that’s too cold! If oil drops below 350°F when you add slices, the cornmeal crust soaks up excess oil instead of searing crisp immediately. Don’t overcrowd the pan (that drops oil temp fast too), and use a candy thermometer to hold oil steady between 365 and 375°F for perfect results.
14.Do I need homegrown green tomatoes, or will grocery store ones work?
▾
Firm, unripe green tomatoes from the grocery store work totally fine! Just skip any that have soft spots, bruising, or pink/red blushing (that means they’re starting to ripen and will be too soft). Homegrown vine-picked green tomatoes have a brighter tang, but grocery store picks make a delicious, authentic batch too.
15.How do I store leftovers, and what’s the best way to reheat them?
▾
Leftovers keep in an airtight container in the fridge for up to 3 days. Skip the microwave—it turns the crust soggy and rubbery fast! Reheat slices on a wire rack over a baking sheet at 400°F for 8 to 10 minutes until hot and crisp again, or crisp them 2 minutes per side in a dry cast iron skillet over medium heat.
16.Do I need a deep fryer to make these, or can I use a regular skillet?
▾
You don’t need a fancy deep fryer at all! A 12-inch cast iron skillet is the traditional Southern choice—just pour in ½ inch of oil, heat it to the correct temperature, and fry in small batches. Cast iron holds heat super evenly, so you’ll get a perfectly golden, evenly crisp crust every time with minimal oil.
17.Can I freeze fried green tomatoes to make ahead for later?
▾
You can freeze uncooked, coated slices for up to 3 months! Arrange dredged slices in a single layer on a baking sheet, freeze until solid, then transfer to a labeled freezer bag. Fry straight from frozen at 375°F, adding 1 to 2 minutes to cook time. Cooked slices don’t freeze well, as the crust turns mushy when thawed.
18.Why does the coating include all-purpose flour instead of just cornmeal?
▾
The light initial flour dredge creates a dry, starchy base that helps the egg-buttermilk wash stick to the smooth tomato surface, so the cornmeal has something to grip instead of sliding off during frying. It also creates a lighter, less dense crust than using cornmeal alone, for that perfect shatteringly crisp bite.
19.What texture should the inside of a perfect fried green tomato be?
▾
The ideal slice has a crisp, golden outer crust and a tender, slightly firm, tangy center—not rock-hard raw tomato, and not mushy overcooked pulp. If you slice them ¼-inch thick and fry at 375°F for 2 to 3 minutes per side, you’ll hit that sweet spot every time, with no raw crunch or mushy middle.
20.Can I add extra seasonings to the cornmeal crust for more flavor?
▾
Of course! The classic base is simple, but you can amp it up with ½ tsp each of garlic powder, smoked paprika, black pepper, and a pinch of cayenne for a little warm kick. Just don’t overdo it—you want the bright, tangy tomato flavor to be the star, with the crust adding crunch, not overpowering the dish.


OMG y’all, this is the exact fried green tomato recipe my grandma used to make! I grabbed a bunch of unripe tomatoes from my garden last weekend and whipped these up for our Sunday family dinner, and even my picky 7-year-old ate three slices. The crust is perfectly crispy, not soggy at all — total game changer. SO good, I’ll never use another recipe again!
Made these for our neighborhood potluck last weekend and they were gone in 10 minutes flat! Everyone was asking for the recipe, I felt like a celebrity. I added a little extra cajun seasoning to the cornmeal crust and served them with a side of spicy remoulade, chef’s kiss. Easy enough for a weeknight too, 25 minutes is no joke!
As a mom of three who’s always scrambling for quick weeknight meals, this recipe was a total win! I prepped the dredge stations the night before for meal prep, so when I got home from work it took literally 20 minutes to get these on the table. My kids loved dipping them in ranch, even my husband who swears he ‘hates fried veggies’ went back for seconds. Will be making these all summer long!
Tried this for the first time ever last night — I’d never even had fried green tomatoes before, but my roommate is from Alabama and kept raving about them, so I gave it a shot. Turned out pretty good! My only note is I wish I’d sliced my tomatoes a little thicker, mine got a little too crisp around the edges. Also, is there a way to make these in the air fryer to cut down on oil?
I’ve been making fried green tomatoes for 20+ years and I can honestly say this batter ratio is perfect. No more clumpy cornmeal falling off mid-fry, no more undercooked tomato centers. I brought these to our church potluck on Sunday and the older ladies in the congregation were all asking for my secret — I told them it wasn’t my secret, it was this recipe! 10/10.
Made these after a morning hike with some friends last weekend, we had a bunch of green tomatoes left over from our farm share box and had no clue what to do with them. This recipe was so easy, even after we were all tired from being out on the trail! We dipped them in pimento cheese and it was the best post-hike snack I’ve ever had. Will definitely be adding these to our regular rotation.
Ran a small diner in western North Carolina for 18 years, so I know my way around a good fried green tomato. This recipe is dead on — the cornmeal to flour ratio, the seasoning, the cook time per side, it’s exactly how we used to make ‘em. I made a batch for my grandkids tonight and they said they taste just like the ones they used to get at my diner. Brought a tear to my eye, not gonna lie.
So happy I found this recipe! I’m gluten free so I swapped the regular flour for a 1:1 gluten free all purpose flour, and it worked perfectly! The crust stayed crispy, the flavor was spot on, and my whole family loved them. We had them with crispy bacon and eggs for brunch last Saturday, and it felt like such a special treat without being a ton of work.