
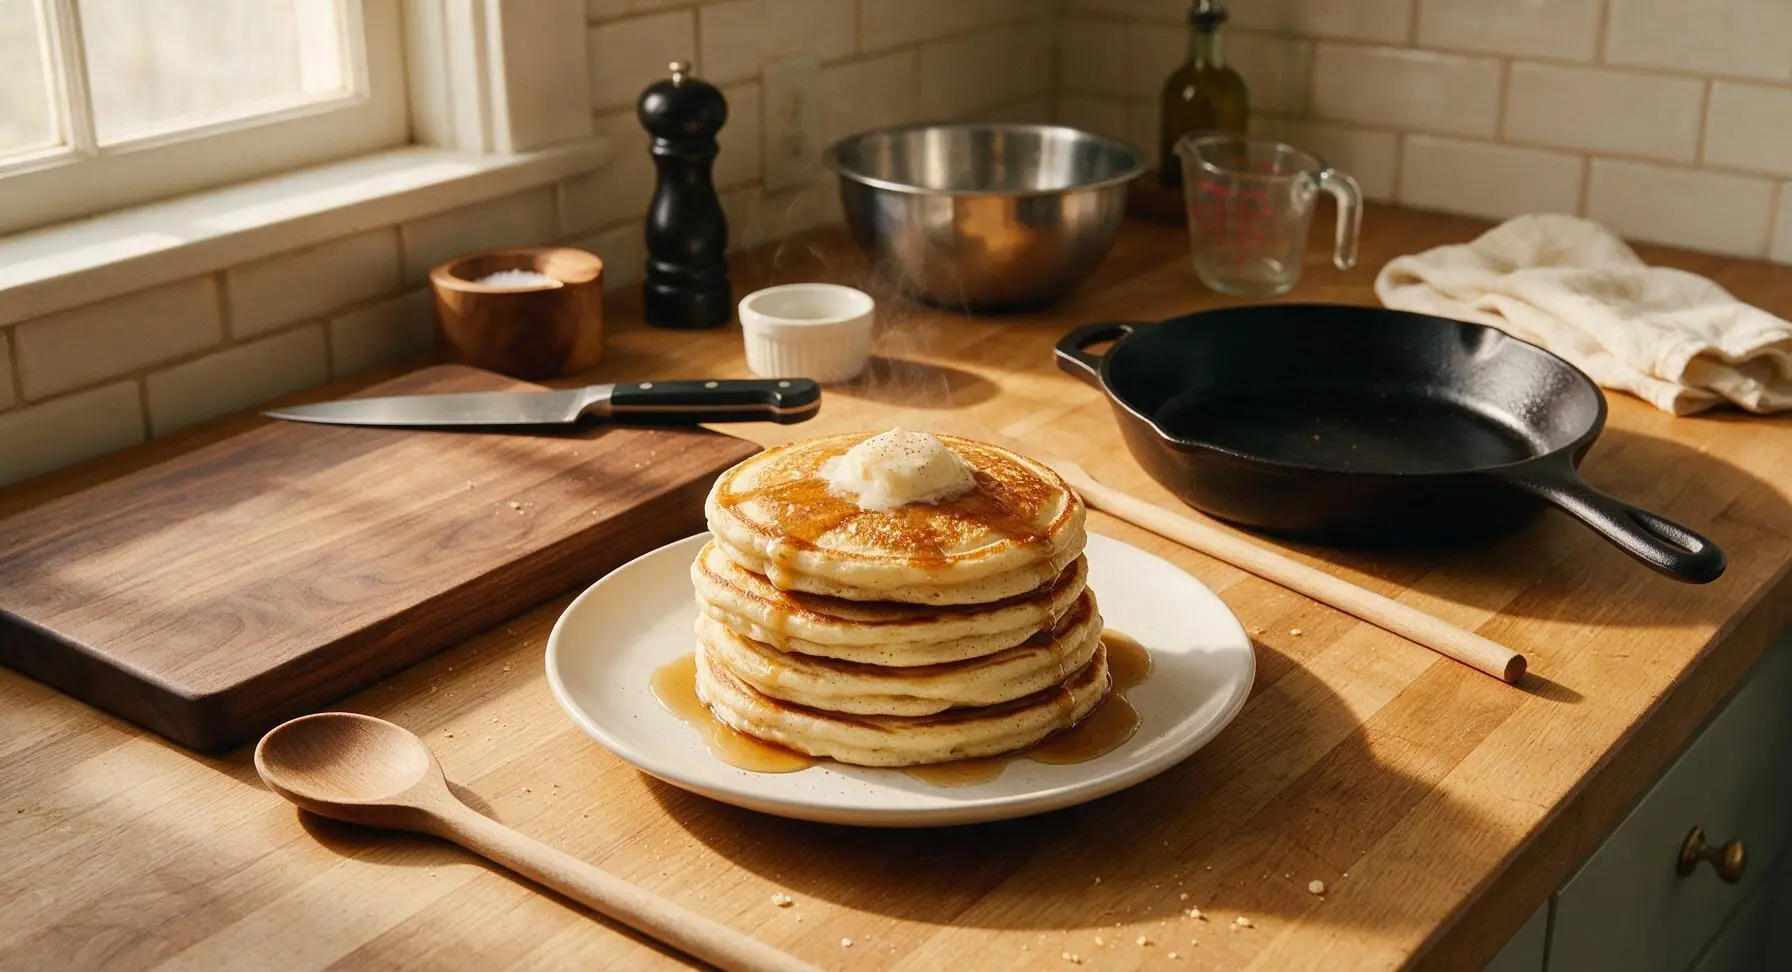
Eggnog Pancakes

title 1
Eggnog Pancakes
⏱️ cook time 15 minutes
🍽️ servings 4
⚡ Difficulty easy

intro

Light, fluffy spiced pancakes infused with creamy, nutmeg-kissed eggnog, served warm with maple syrup for a cozy, nostalgic Christmas morning breakfast.

Ingredients
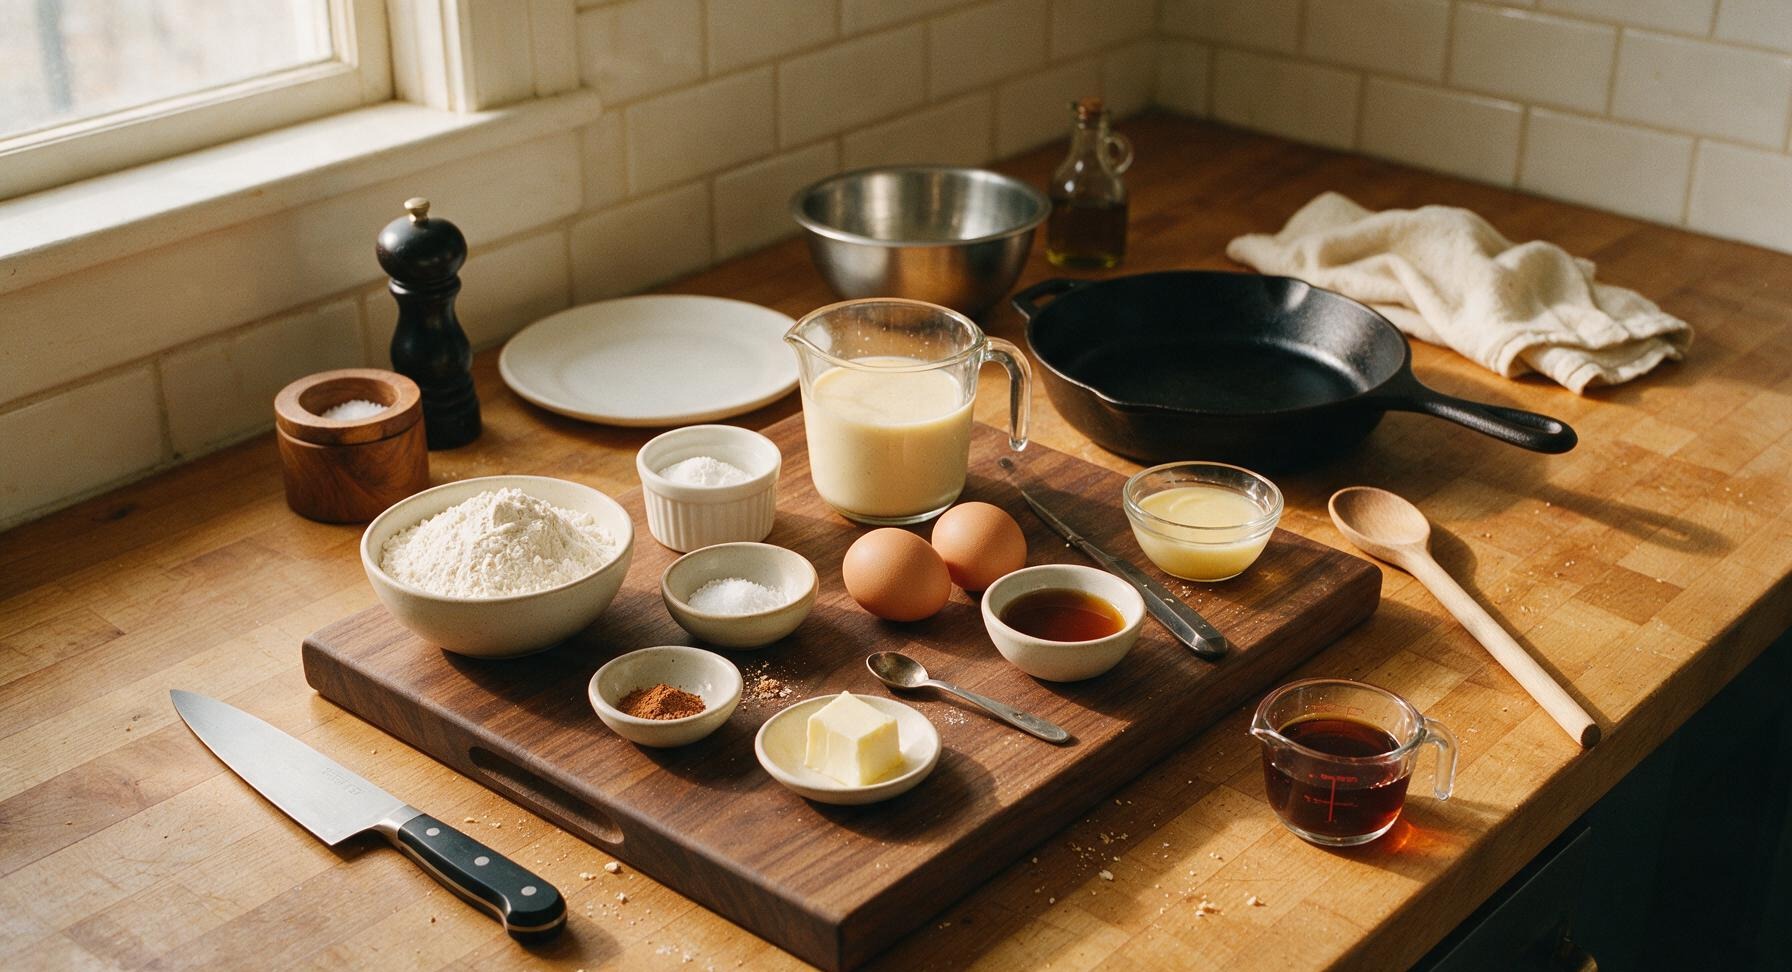
All-purpose flour 2 cups (240g)
Baking powder 2 tsp
Fine sea salt 1/2 tsp
Ground cinnamon 1/2 tsp
Freshly grated nutmeg 1/4 tsp (plus extra for garnish)
Full-fat prepared eggnog 1.5 cups (360ml)
Large eggs 2
Unsalted butter 2 tbsp (28g, plus extra for greasing)
Pure vanilla extract 1 tsp
Pure maple syrup 1/2 cup (120ml, for serving)

Steps

1

Whisk Dry Ingredients

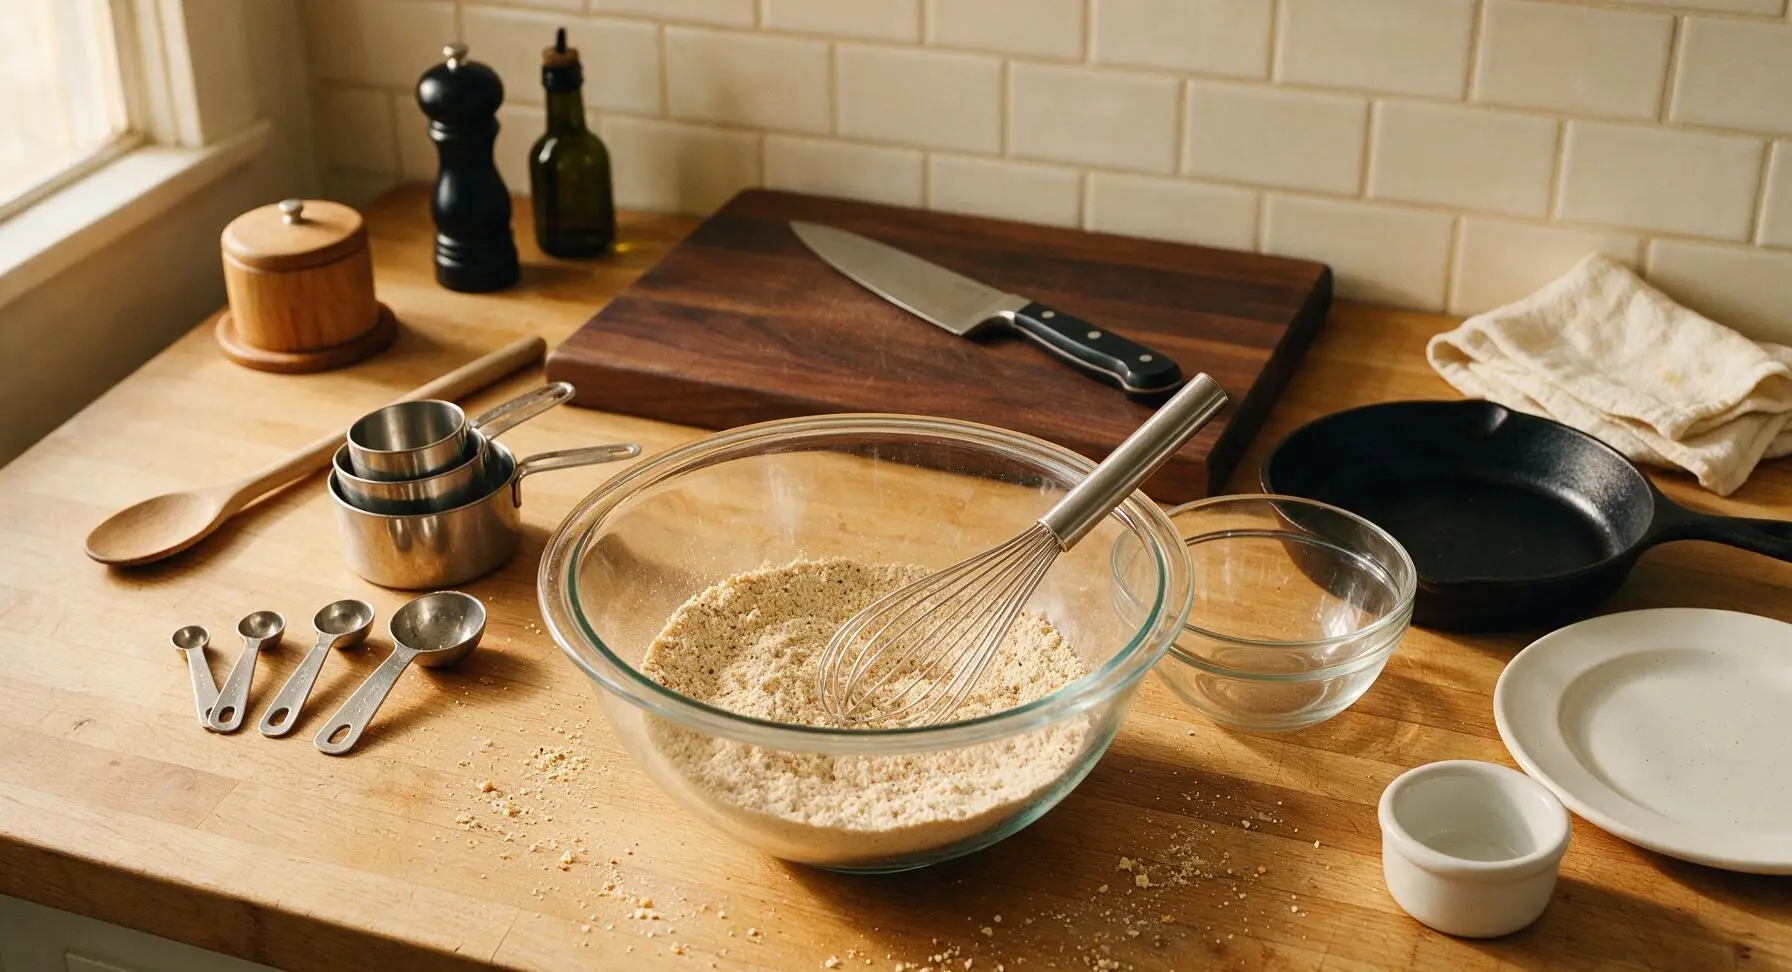
In the large clear glass mixing bowl, combine 2 cups (240g) all-purpose flour, 2 tsp baking powder, 1/2 tsp fine sea salt, 1/2 tsp ground cinnamon, and 1/4 tsp freshly grated nutmeg. Use the stainless steel balloon whisk to stir for 30 seconds until all dry ingredients are evenly combined, with no clumps of spice or baking powder visible.
Step 1
step1:Whisk Dry Ingredients
2

Combine Wet Ingredients

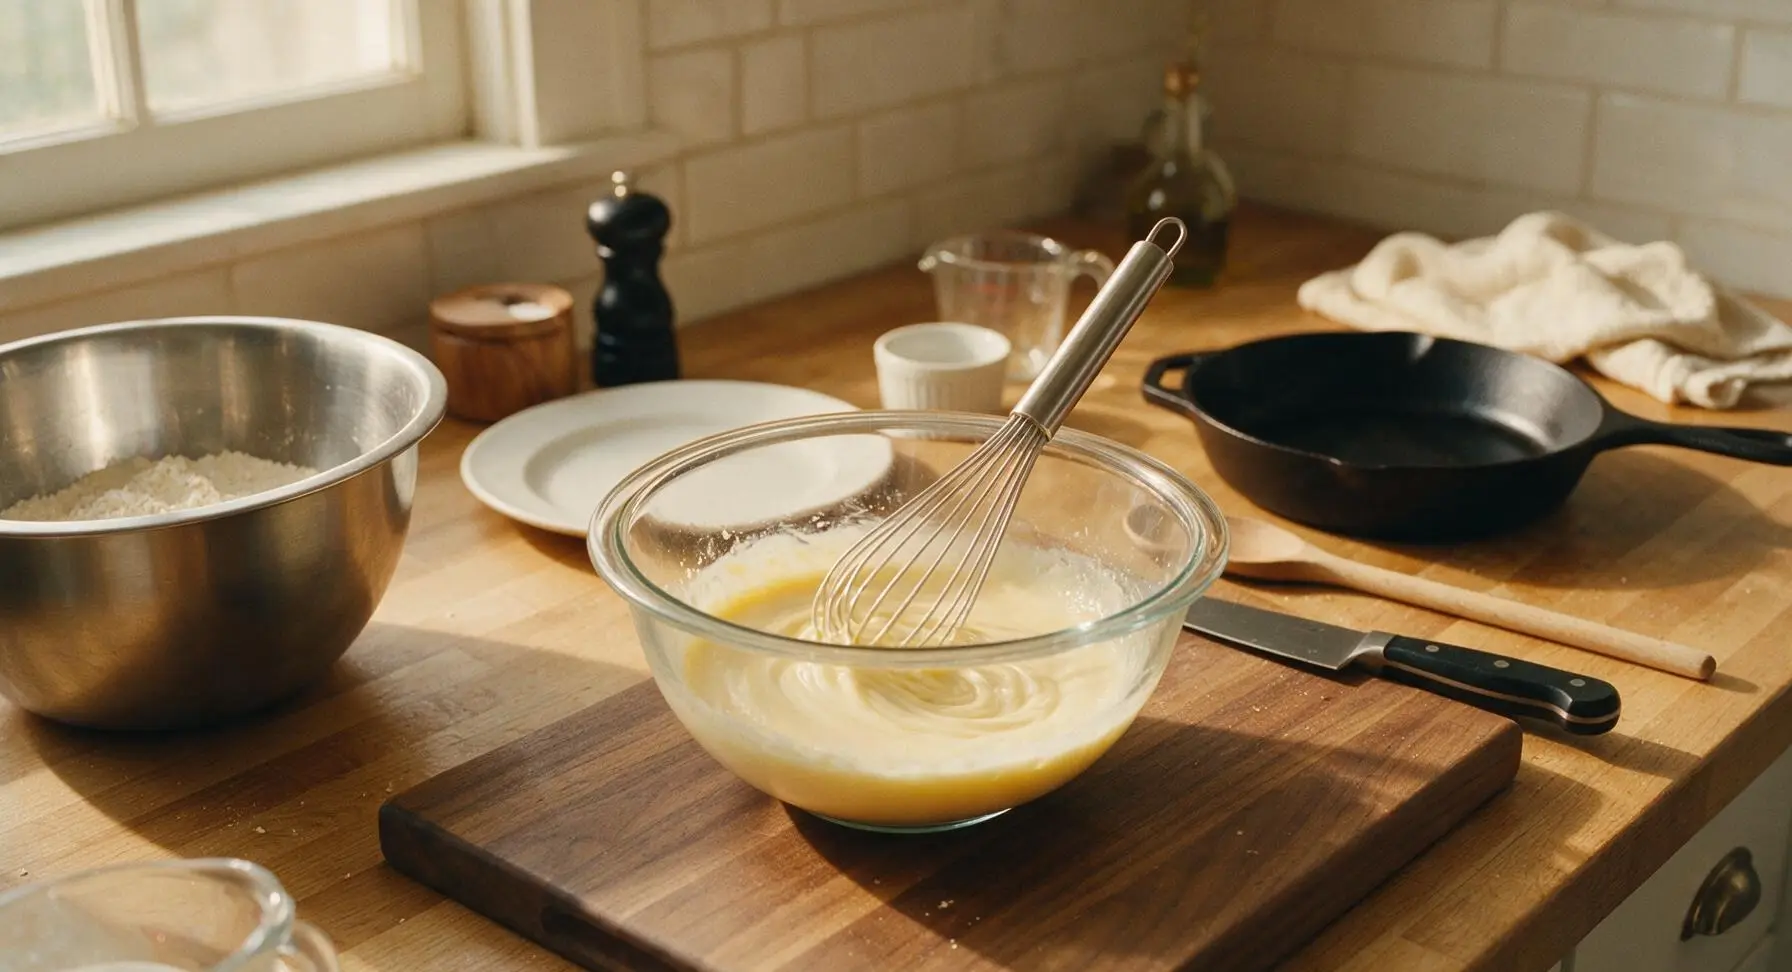
In the medium clear glass mixing bowl, crack 2 large eggs, then add 1.5 cups (360ml) prepared full-fat eggnog, 2 tbsp melted and slightly cooled unsalted butter, and 1 tsp pure vanilla extract. Whisk gently with the stainless steel balloon whisk for 20 seconds until the mixture is smooth, with eggs fully incorporated and no streaks of egg white remaining.
Step 2
step2:Combine Wet Ingredients
3

Fold Batter Together

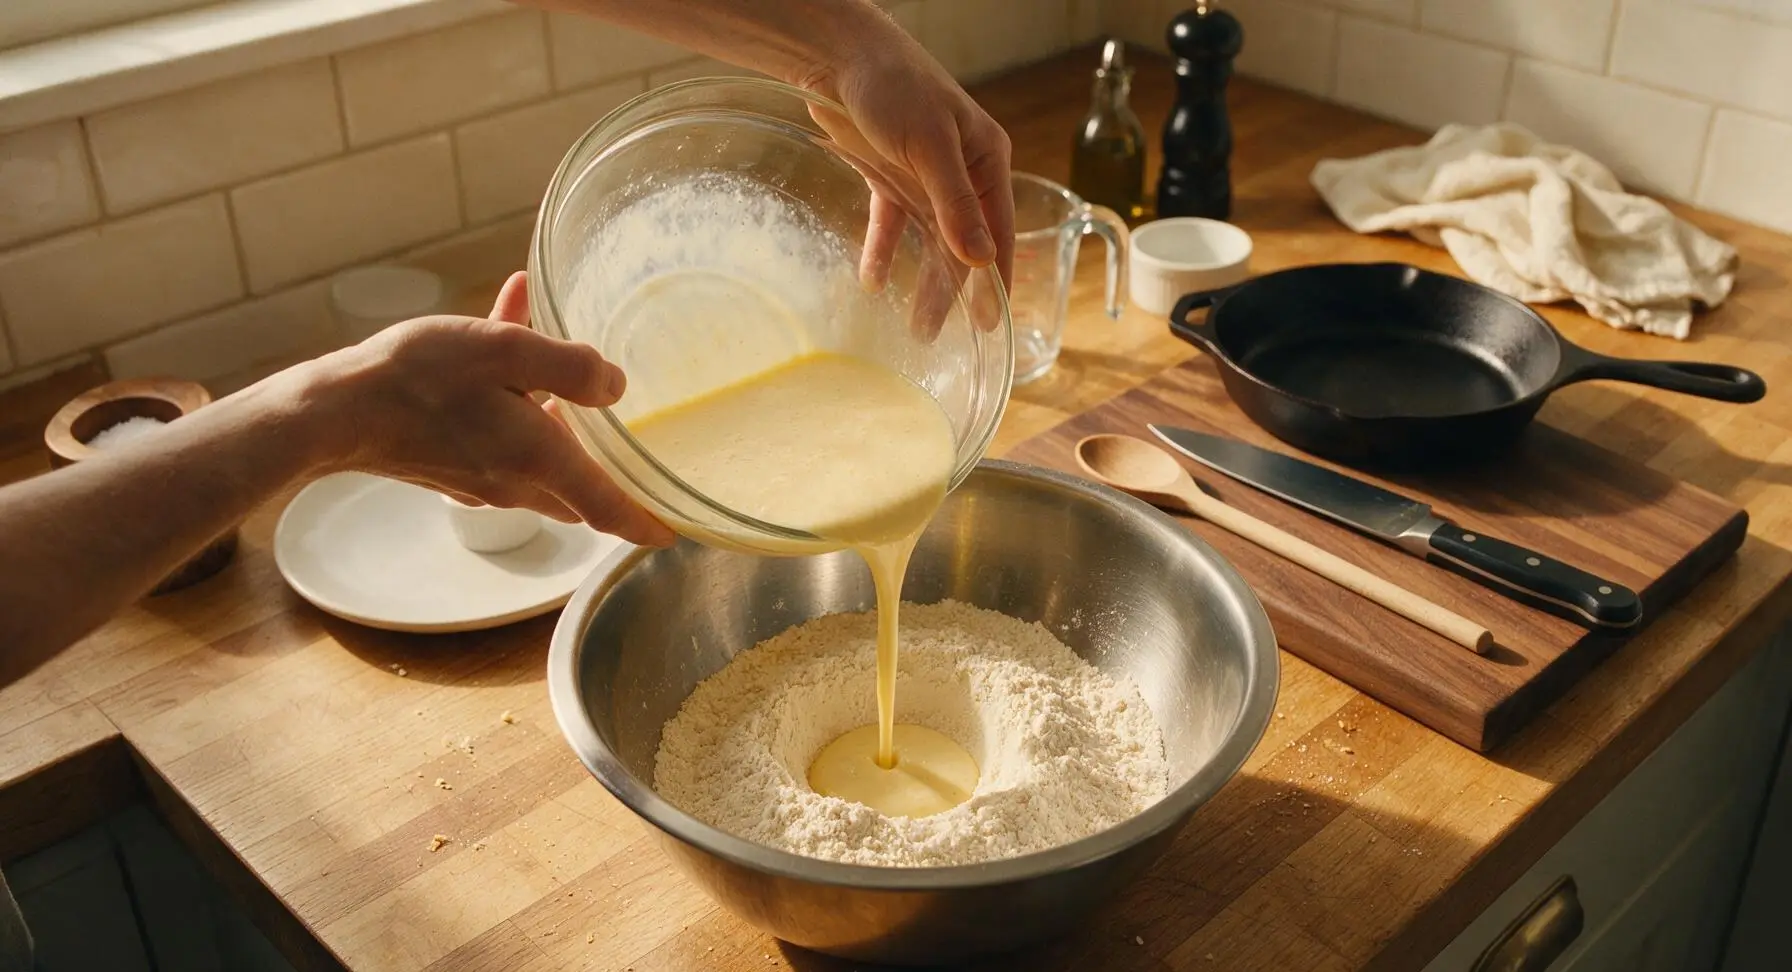
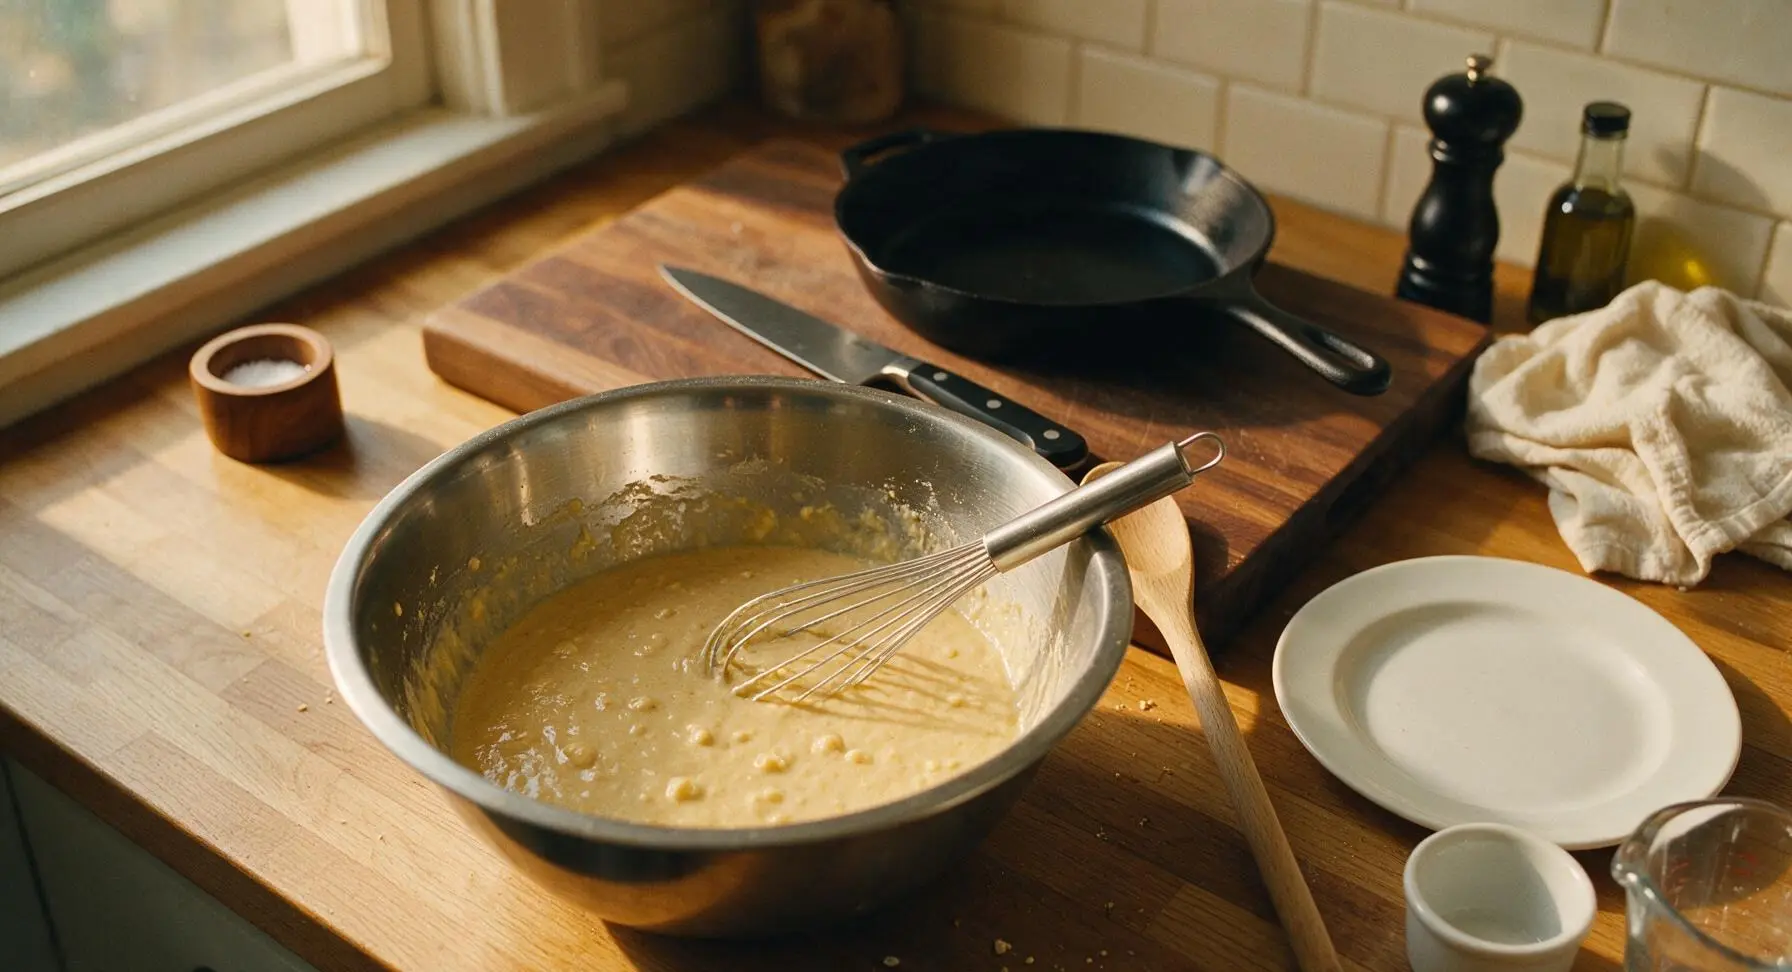
Pour the entire wet ingredient mixture into the large bowl of dry ingredients. Use the whisk to gently fold the mixtures together, stirring only just until no large dry flour streaks remain. The batter will be slightly lumpy with pea-sized lumps—do not overmix, as this will create tough, dense pancakes. Stop stirring as soon as the last dry flour patch disappears.
Step 3
step3:Fold Batter Together
Step 3
step3:Fold Batter Together
4

Preheat Cooking Griddle

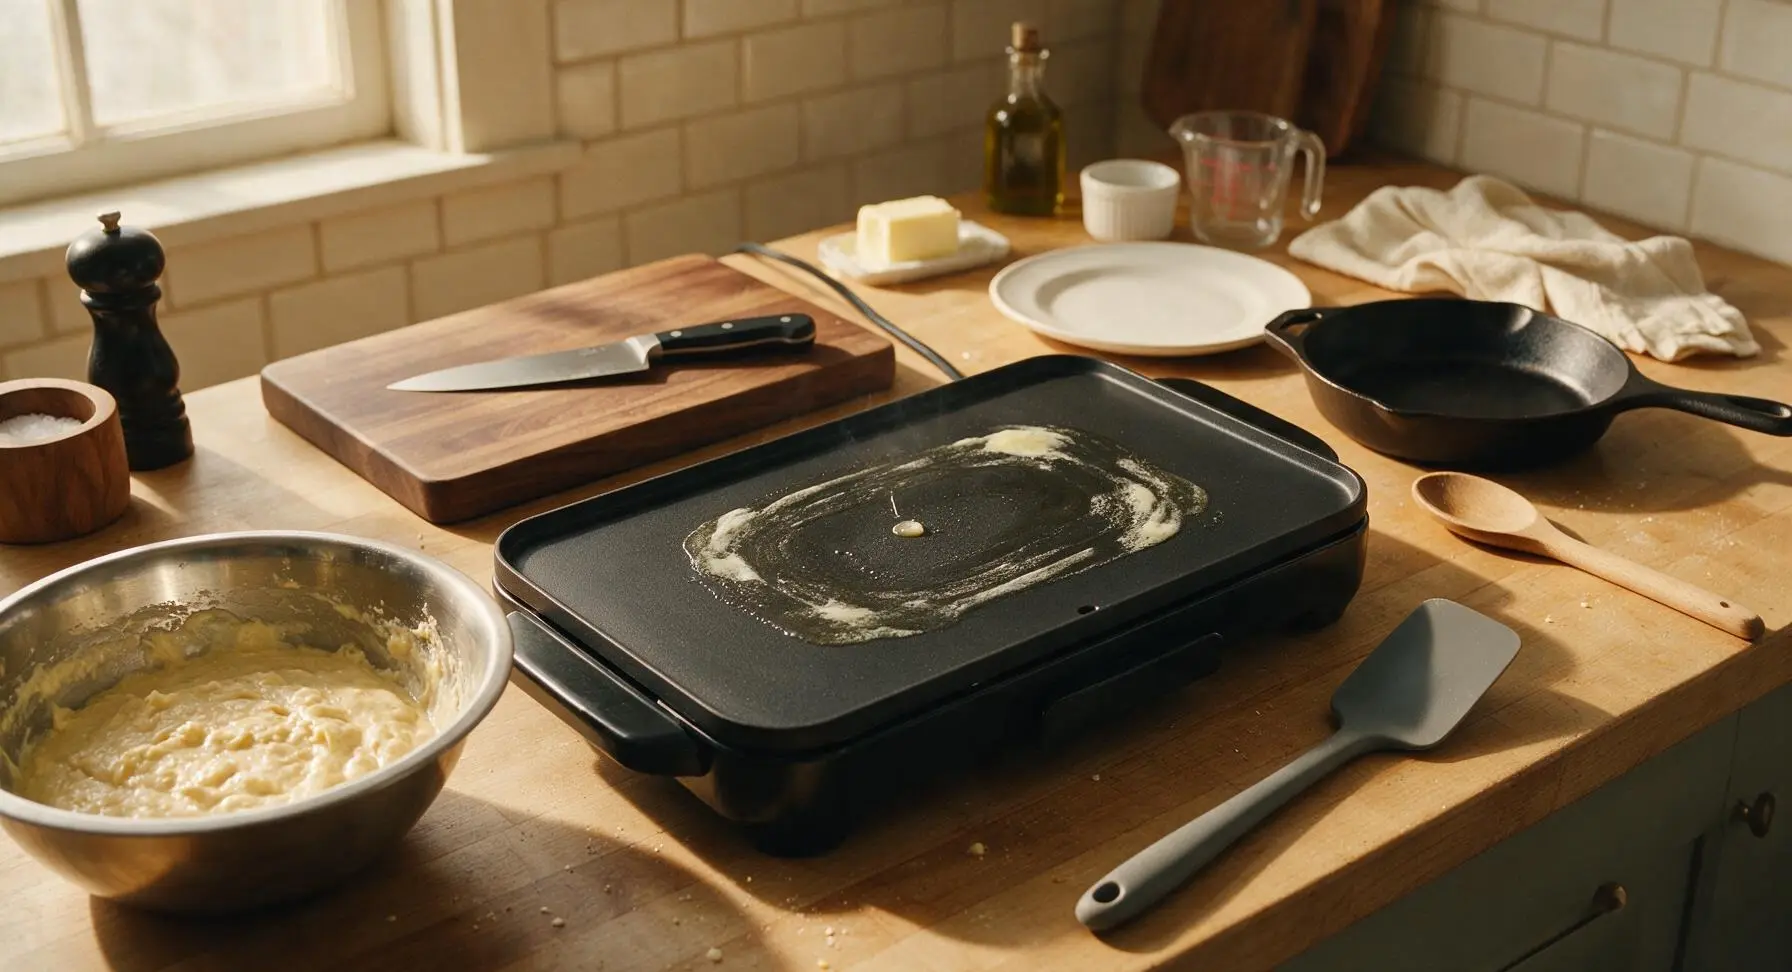
Place the 12-inch matte black nonstick electric griddle in the center of the counter work area. Preheat to 375°F (190°C). Test the temperature by sprinkling a single drop of water on the surface: it should dance and sizzle immediately, evaporating in 2-3 seconds. Lightly grease the surface with a tiny pat of butter from the fixed back-center butter stick, wiping any excess with the edge of the cream linen towel.
Step 4
step4:Preheat Cooking Griddle
5

Portion Batter Onto Griddle

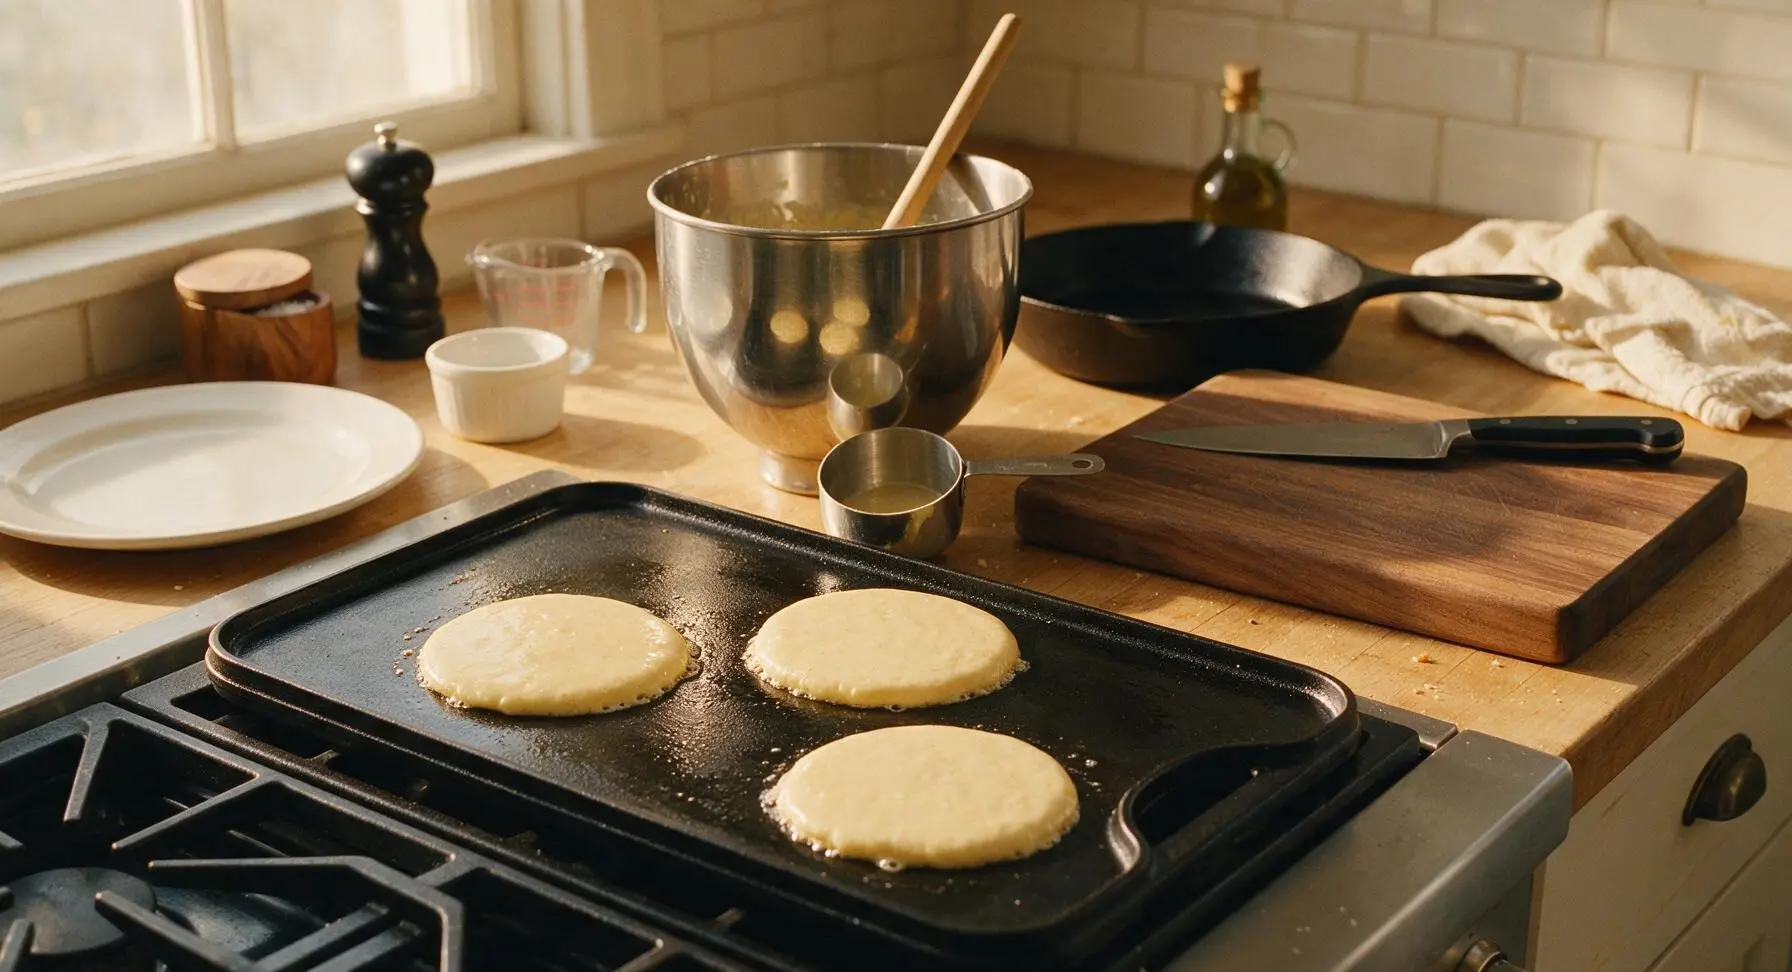
Use the 1/4 cup stainless steel measuring cup to scoop batter, pouring 4-inch wide rounds onto the preheated greased griddle, leaving 2 inches of space between each pancake to allow for spreading. Do not spread the batter with the measuring cup; let it spread naturally into even rounds.
Step 5
step5:Portion Batter Onto Griddle
6

Cook First Pancake Side

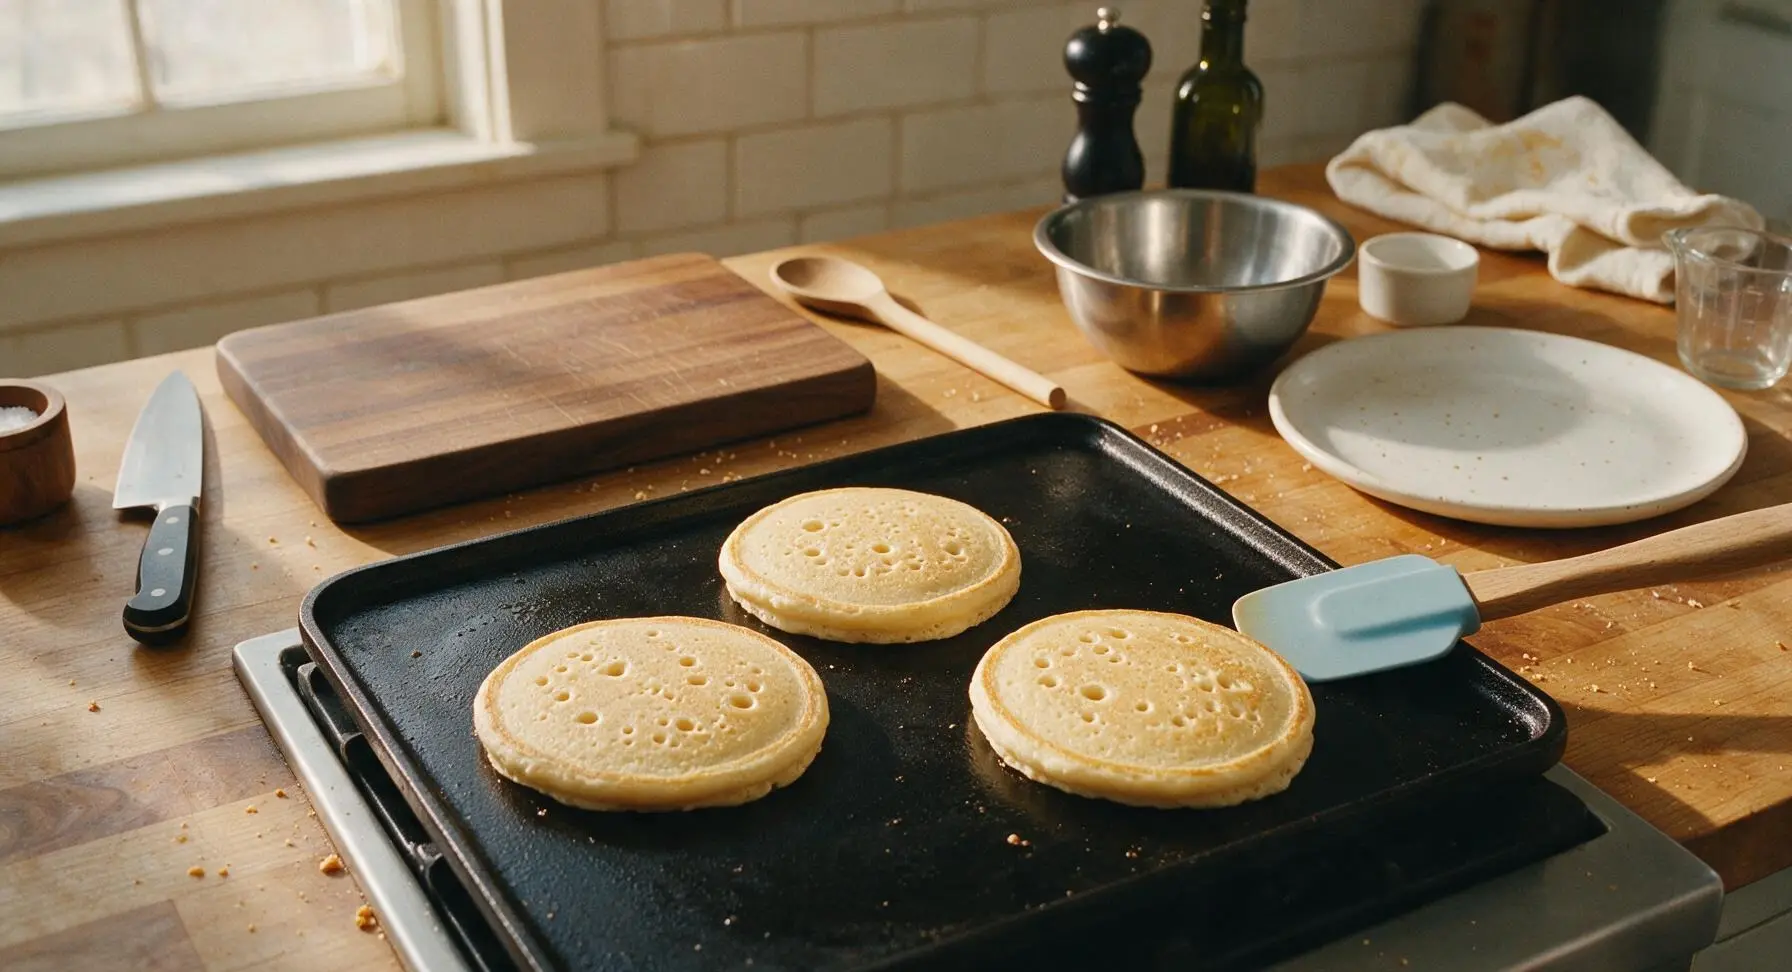
Let the pancakes cook on the first side for 2-3 minutes, until small bubbles form and pop across the entire top surface of the pancake, leaving tiny craters, and the edges look set and matte with a light golden tint. Do not lift the pancakes early to check, as this will cause them to deflate.
Step 6
step6:Cook First Pancake Side
7

Flip And Finish Cooking

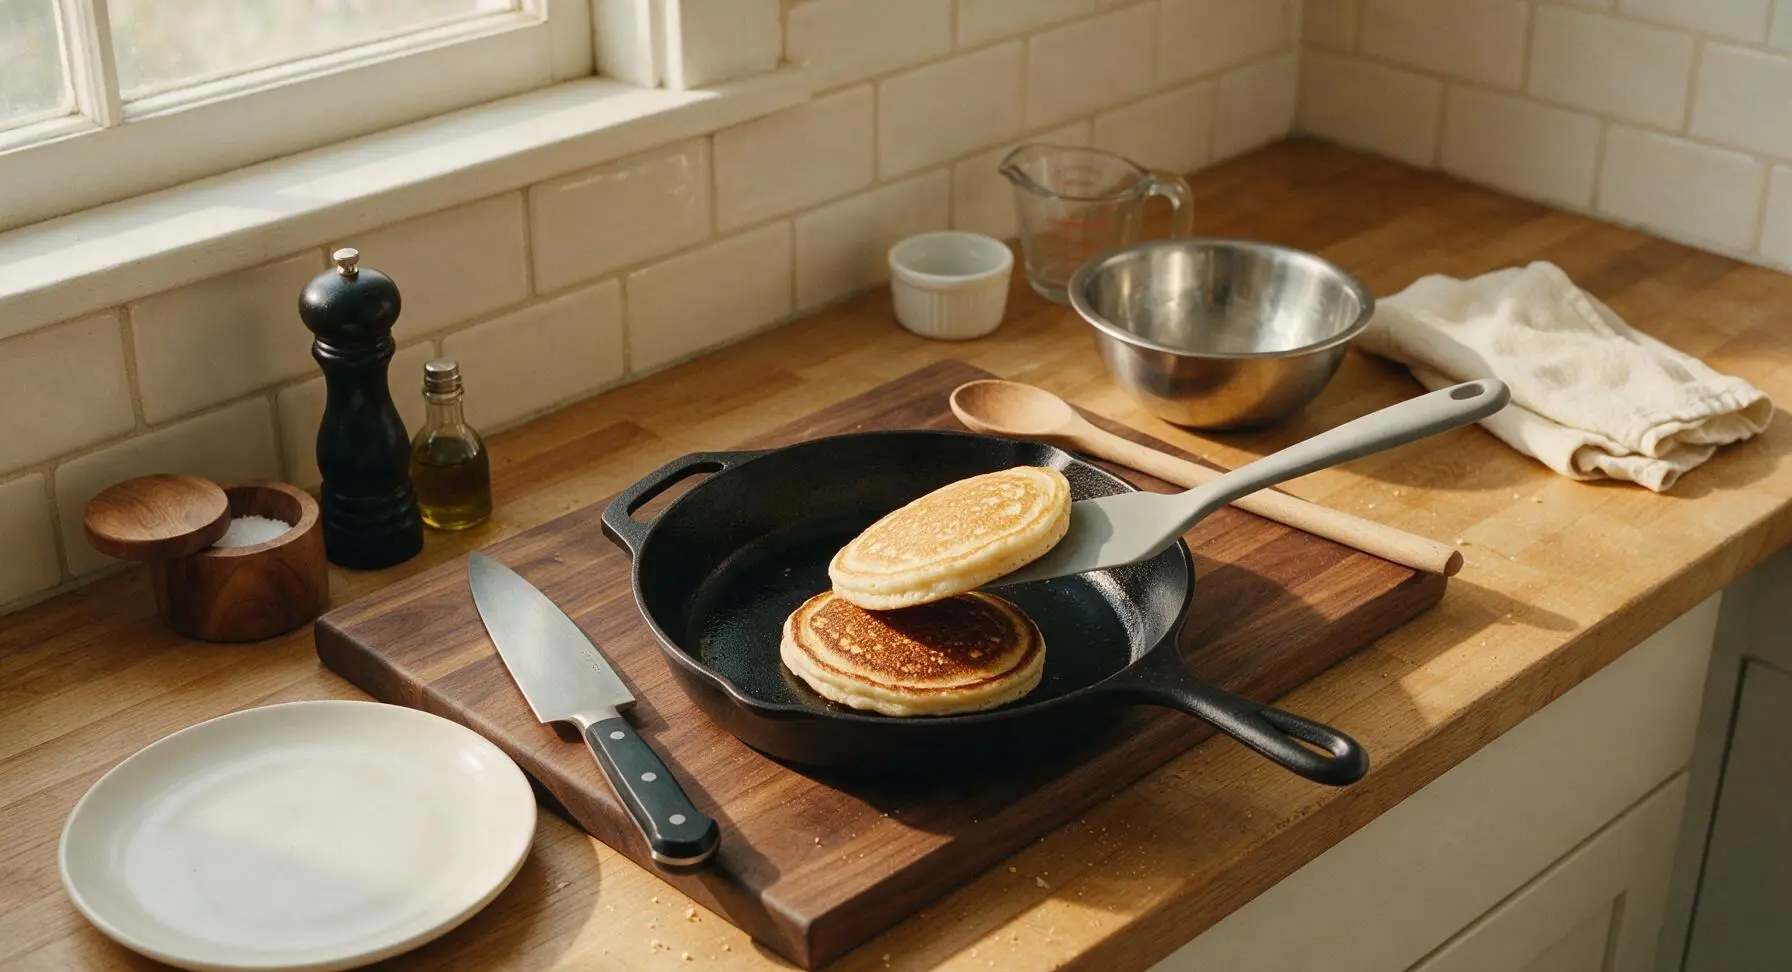
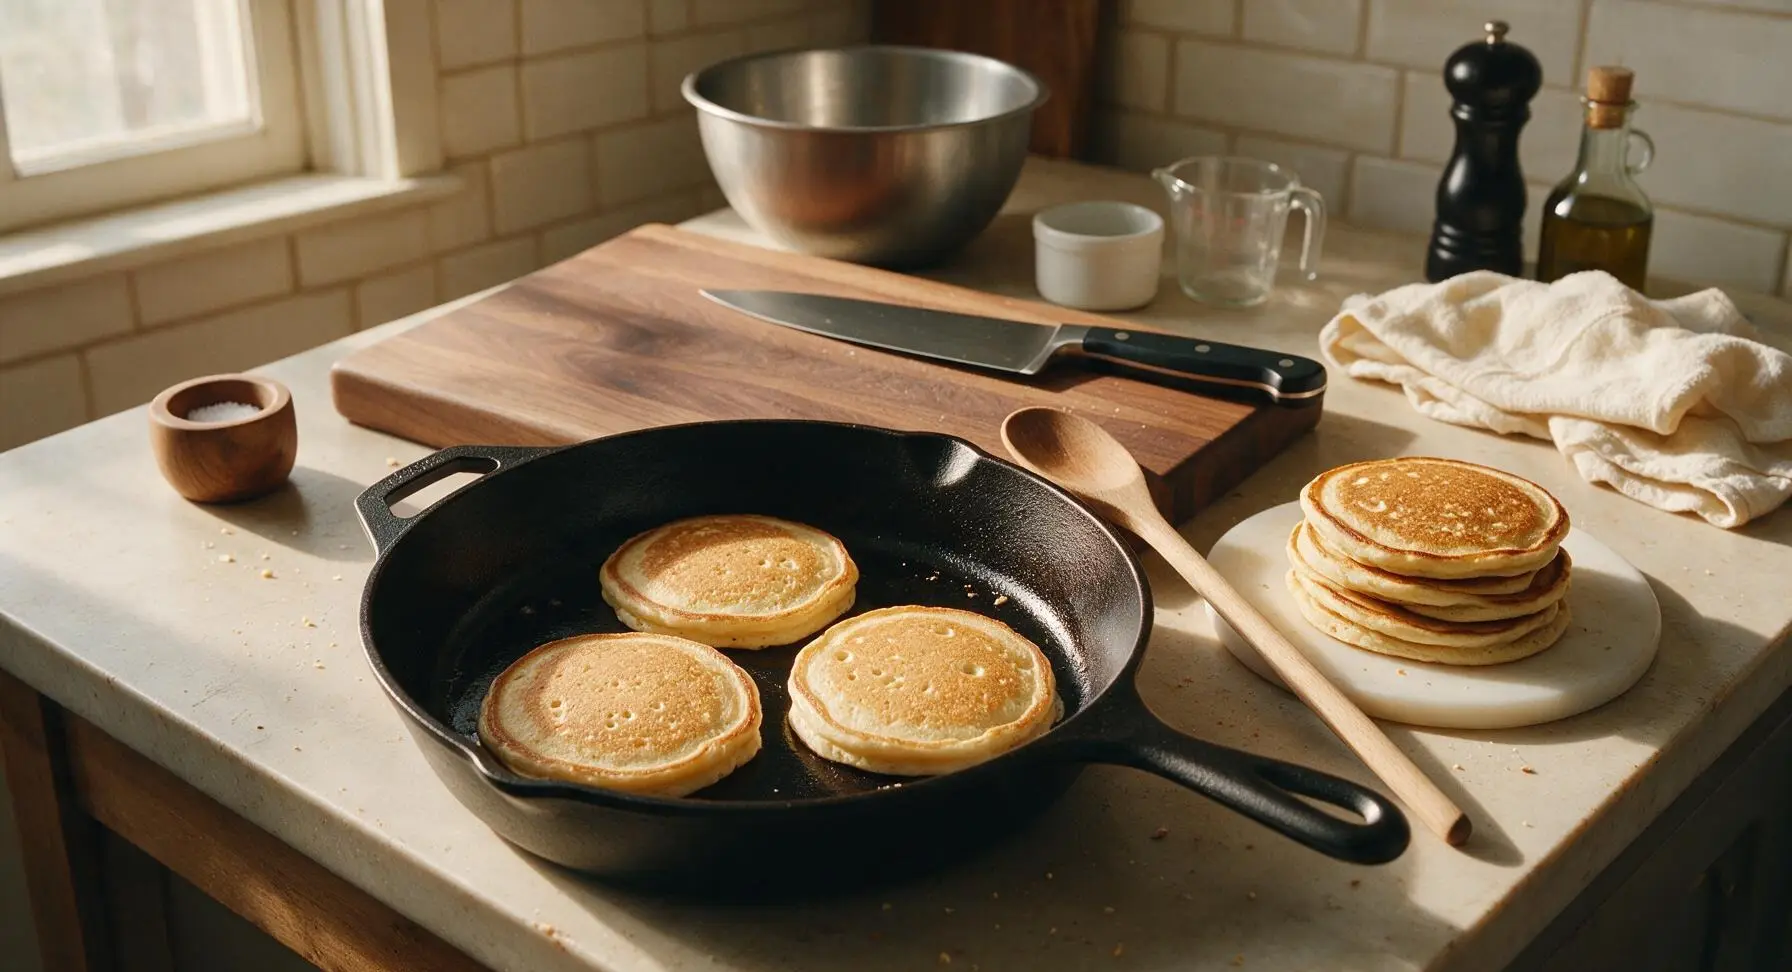
Slide the thin silicone spatula under each pancake in one smooth motion, then flip quickly to cook the second side. Cook for an additional 1-2 minutes, until the second side is evenly golden brown and the center of the pancake springs back immediately when gently pressed with the spatula, with no wet batter oozing out. Transfer cooked pancakes to a temporary prep plate as you work, repeating the portioning and cooking process with remaining batter, greasing the griddle lightly between batches if needed.
Step 7
step7:Flip And Finish Cooking
Step 7
step7:Flip And Finish Cooking
8

Plate And Garnish Pancakes

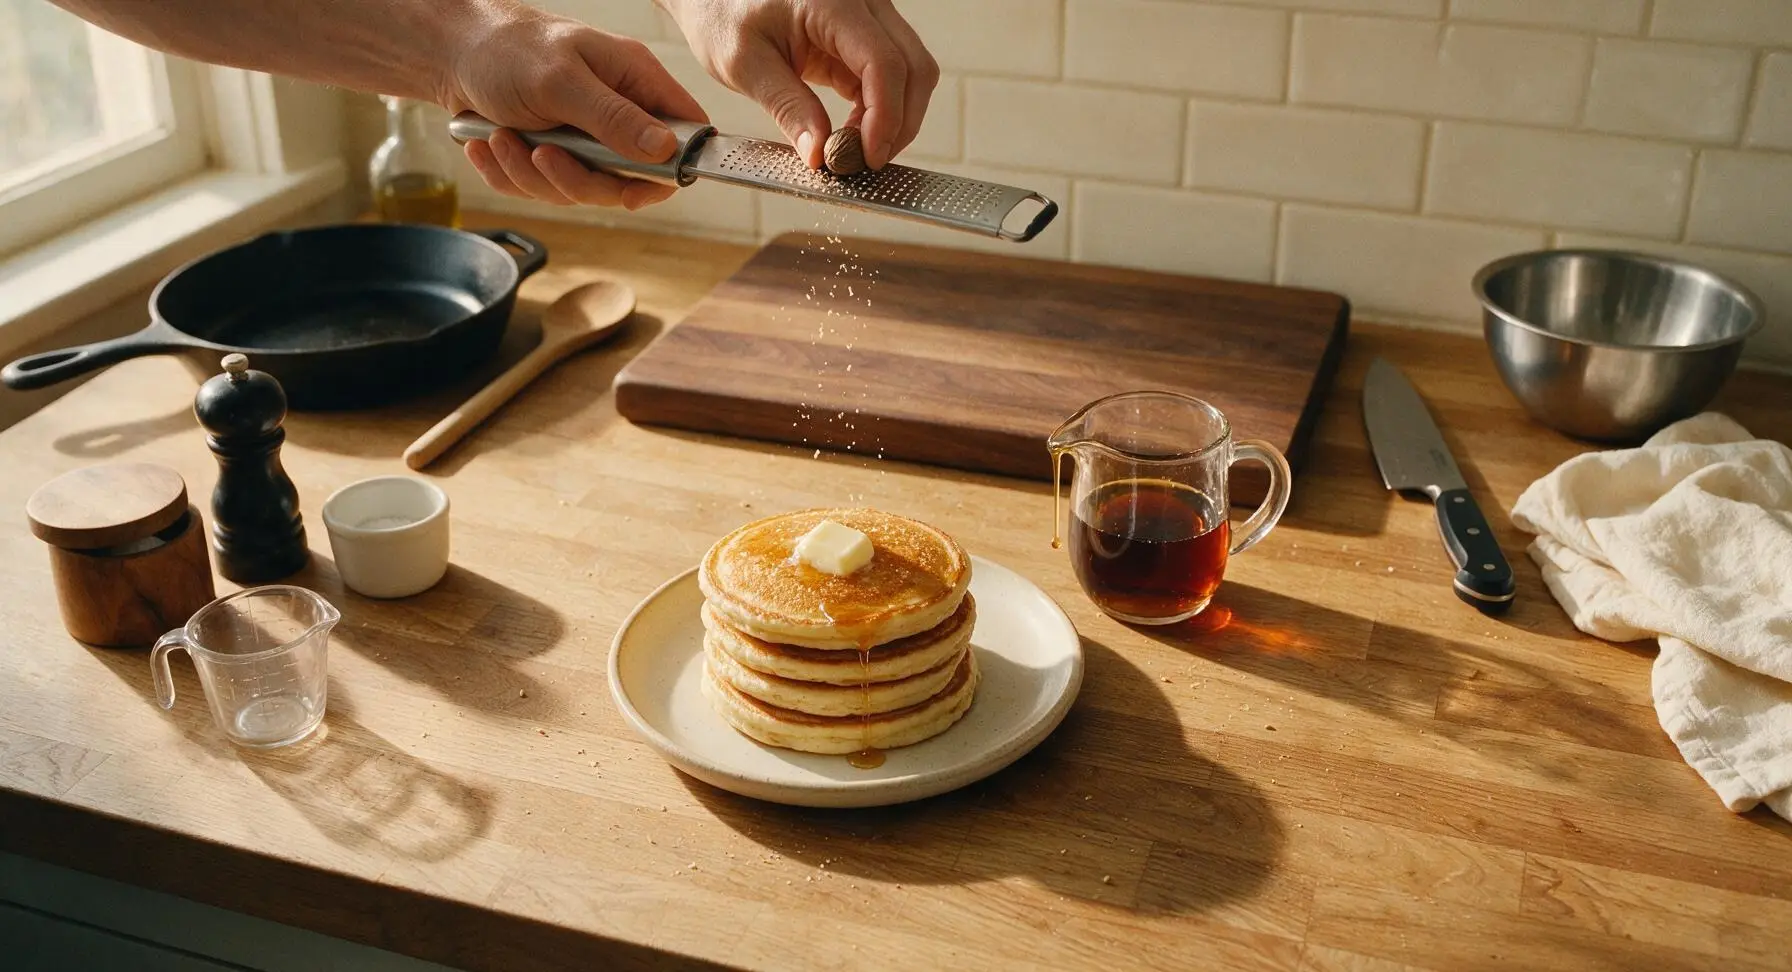
Stack 4 warm cooked pancakes centered on the off-white hand-thrown ceramic dinner plate. Top with a 1-tsp pat of softened butter, grate a light dusting of fresh nutmeg over the top using the fixed microplane grater from the top left prop area, then drizzle 2 tbsp of warm maple syrup over the stack in a slow zigzag pattern. Serve immediately while pancakes are hot, with extra syrup and nutmeg available on the side.
Step 8
step8:Plate And Garnish Pancakes

Tips

1.Avoid overmixing the pancake batter: small, pea-sized lumps are completely normal and desirable. Overmixing develops gluten in the flour, which will result in dense, tough pancakes instead of the light, fluffy texture eggnog pancakes are known for.
2.Use full-fat, regular eggnog for the best results: low-fat or 'light' eggnog contains added water and artificial thickeners that can make pancakes thin, bland, or rubbery, with less of that classic rich, spiced eggnog flavor.
3.Wait until bubbles form and pop across the entire top surface of each pancake before flipping: flipping too early causes uncooked center batter to run, creating lopsided, undercooked pancakes. The popped craters are a reliable visual cue that the pancake structure has set enough to flip without deflating.


✨ You May Also Like

Breakfast
🍜 United States

Crisp-edged, fluffy lard griddle cakes are a nostalgic homestyle staple, with rich savoriness from rendered lard, perfect topped with maple syrup or savory gravy.

⏱️ 25 minuteBreakfast ★ 4.8
Breakfast
🍜 United States

Flaky, buttery homemade buttermilk biscuits smothered in creamy, peppery pork sausage gravy: a beloved, hearty Southern American comfort food classic.

⏱️ 35 minuteBreakfast ★ 4.8
Breakfast
🍜 United States

Golden, custardy brioche stuffed with sweet cream cheese and fresh berries, pan-fried to crisp perfection. An indulgent, cozy breakfast perfect for slow weekend mornings.

⏱️ 30 minuteBreakfast ★ 4.7
Breakfast
🍜 United States

Flaky, buttery Southern-style biscuits stuffed with savory salty country ham, a portable, satisfying classic perfect for casual on-the-go meals.

⏱️ 25 minuteBreakfast ★ 4.8
Breakfast
🍜 United States

Iconic puffy baked pancake popularized in Seattle, with crisp golden edges and soft custardy center, served warm with classic sweet toppings.

⏱️ 35 minuteBreakfast ★ 4.6
Breakfast
🍜 United States

Fluffy, golden pancakes studded with juicy peak-summer mixed berries, drizzled with maple syrup for a bright, comforting, crowd-pleasing family breakfast.

⏱️ 25 minuteBreakfast ★ 4.7

Eggnog Pancakes:Frequently Asked Questions

1.Can I use store-bought eggnog for this recipe, or do I need to make homemade? ▾
Store-bought eggnog works perfectly here, no homemade version required! Opt for full-fat classic eggnog for the richest, creamiest flavor, rather than low-fat or light variants. If your store-bought eggnog is extra thick, thin it with 1–2 tablespoons of regular milk to get the ideal pourable batter consistency that cooks up light and fluffy.
2.Why did my eggnog pancakes turn out dense instead of light and fluffy? ▾
Dense pancakes almost always stem from overmixing the batter or using expired baking powder that’s lost its leavening power. Mix dry and wet ingredients only until just combined—small lumps are totally normal, and a perfectly smooth batter means you’ve overworked the gluten. Always check that your baking powder is less than 6 months old for maximum lift.
3.Can I prep the pancake batter ahead to make Christmas morning easier? ▾
I don’t recommend mixing the full batter more than 15 minutes before cooking, as the baking powder will start reacting early and lose its lift as it sits. That said, you can pre-mix all dry ingredients in an airtight container the night before, so you only need to stir in wet ingredients the next morning for fast, no-fuss prep.
4.I don’t have fresh nutmeg—can I use pre-ground nutmeg instead? ▾
Pre-ground nutmeg works as a substitute, though it has a milder, less bright flavor than freshly grated. Use ½ teaspoon of pre-ground nutmeg for every 1 teaspoon of freshly grated called for, since pre-ground spices lose potency quickly. Avoid adding extra, as too much nutmeg can give pancakes a bitter, soapy aftertaste.
5.What pan temperature gives evenly cooked, golden eggnog pancakes? ▾
Aim for medium-low heat, around 350°F if you’re using an electric griddle. For stovetop skillets, test the heat by sprinkling a drop of water on the surface—it should sizzle and dance across the pan, not instantly evaporate or sit still. Cook 2–3 minutes per side, until surface bubbles form and pop before you flip.
6.Can I adjust this recipe for dairy-free or egg-free holiday guests? ▾
Absolutely! Swap traditional dairy eggnog for barista-blend oat milk eggnog, which has the creamiest, closest texture to regular eggnog. For egg-free batches, use 1 tablespoon of ground flax mixed with 3 tablespoons of water per egg. Add a pinch of extra cinnamon and nutmeg to make up for any muted spice in dairy-free eggnog.

Comments (6)

just now

OMG these are SO good! I made them for Christmas morning brunch and my entire family went crazy for them. The eggnog flavor is perfectly cozy, not too overpowering, and they were so quick to whip up on a busy holiday morning. 10/10 will be making these every holiday season from now on!

5 minutes ago

Made these for my girlfriend’s birthday breakfast in bed and she said they’re better than the fancy restaurant ones we got on our ski trip last month. Super easy to follow, only took 15 minutes total like the recipe says, and I didn’t even mess them up (I burn toast 90% of the time, so that’s saying something). Dusted a little cinnamon on top with whipped cream, 10/10 would make again.

yesterday

Wait has anyone tried making these with dairy-free eggnog? My son is lactose intolerant and I want to make these for our New Year’s Day brunch but don’t want them to turn out rubbery or weird. Would oat milk eggnog work alright?

2 hours ago

I made them with oat milk eggnog last week and they turned out amazing! Just add a tiny splash of vanilla extract to make up for the slightly milder flavor, no weird texture at all. My lactose intolerant sister had three stacked high and didn’t have any issues!

3 days ago

Really tasty base recipe! I only had low-fat eggnog in the fridge when I made these this morning, so they turned out a little thinner than I expected, but the flavor was still chef’s kiss. Quick question: do you have a tip for making them fluffier when using lower-fat eggnog?

2 days ago

Great question! If using low-fat eggnog, just add an extra 2 tablespoons of all-purpose flour to the batter to thicken it up, and let the batter rest for 5 minutes before cooking – that’ll give you extra fluffy pancakes every time! Extra nutmeg on top is never a bad call in our book 😉

1 week ago

Perfect easy recipe for weekday meal prep! I made a double batch on Sunday, froze the leftovers, and just pop them in the toaster for a quick 2 minute breakfast before work all week. The eggnog flavor holds up so well even after freezing, no sogginess at all. 10/10 for busy folks who don’t have time to cook in the morning.

5 days ago

Wait how do you freeze them? Do you stack them with parchment paper between so they don’t stick together? I’ve been looking for easy make-ahead breakfasts for my early work shifts and this sounds perfect!

2 days ago

@Tasha M. Yep! Parchment paper between each pancake, then store in an airtight freezer bag, they last for up to 3 months! I do the same thing with these, they’re a lifesaver on busy school mornings for my two teens.

2 weeks ago

Game changer!!! I’ve been making regular pancakes for my kids every Saturday for years, and I swapped in this recipe last weekend when we had leftover eggnog from our Christmas party. My kids loved it so much they’ve already asked for it three times this week. Even my picky 7-year-old who hates all “Christmas flavors” cleaned his plate! Pro tip: add a handful of white chocolate chips to the batter, *chef’s kiss*.

1 week ago

Oh my gosh the white chocolate chip tip is genius! I made these for our neighborhood potluck brunch last weekend and added those, everyone was begging me for the recipe. Total hit!

5 days ago

We’re so thrilled your family loved them! The white chocolate chip add-in sounds incredible – we’re definitely testing that in our kitchen this week. So glad these are becoming a new Saturday tradition for your crew!



