
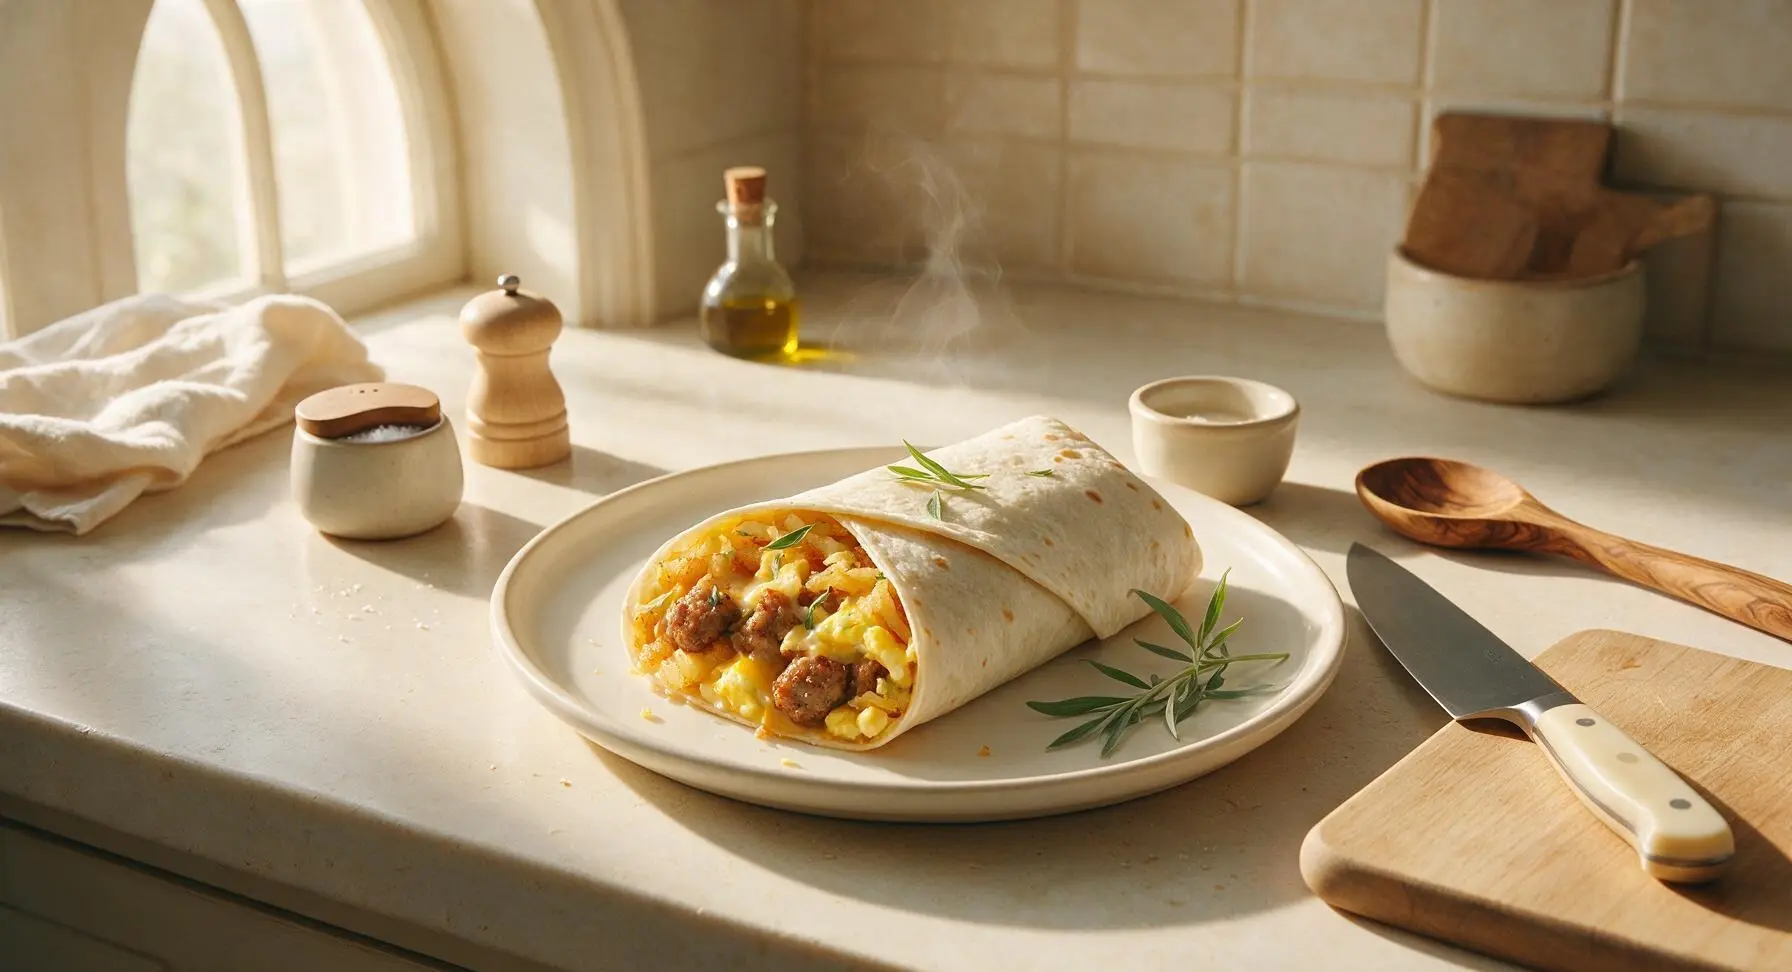
el monterey turkey sausage breakfast burrito

title 1
el monterey turkey sausage breakfast burrito
⏱️ cook time 20 minutes
🍽️ servings 4
⚡ Difficulty easy

intro

Hearty, savory handhelds packed with spiced turkey sausage, fluffy eggs, melted cheese, and crispy hash browns, wrapped in a warm toasted tortilla for a satisfying, grab-and-go meal.

Ingredients
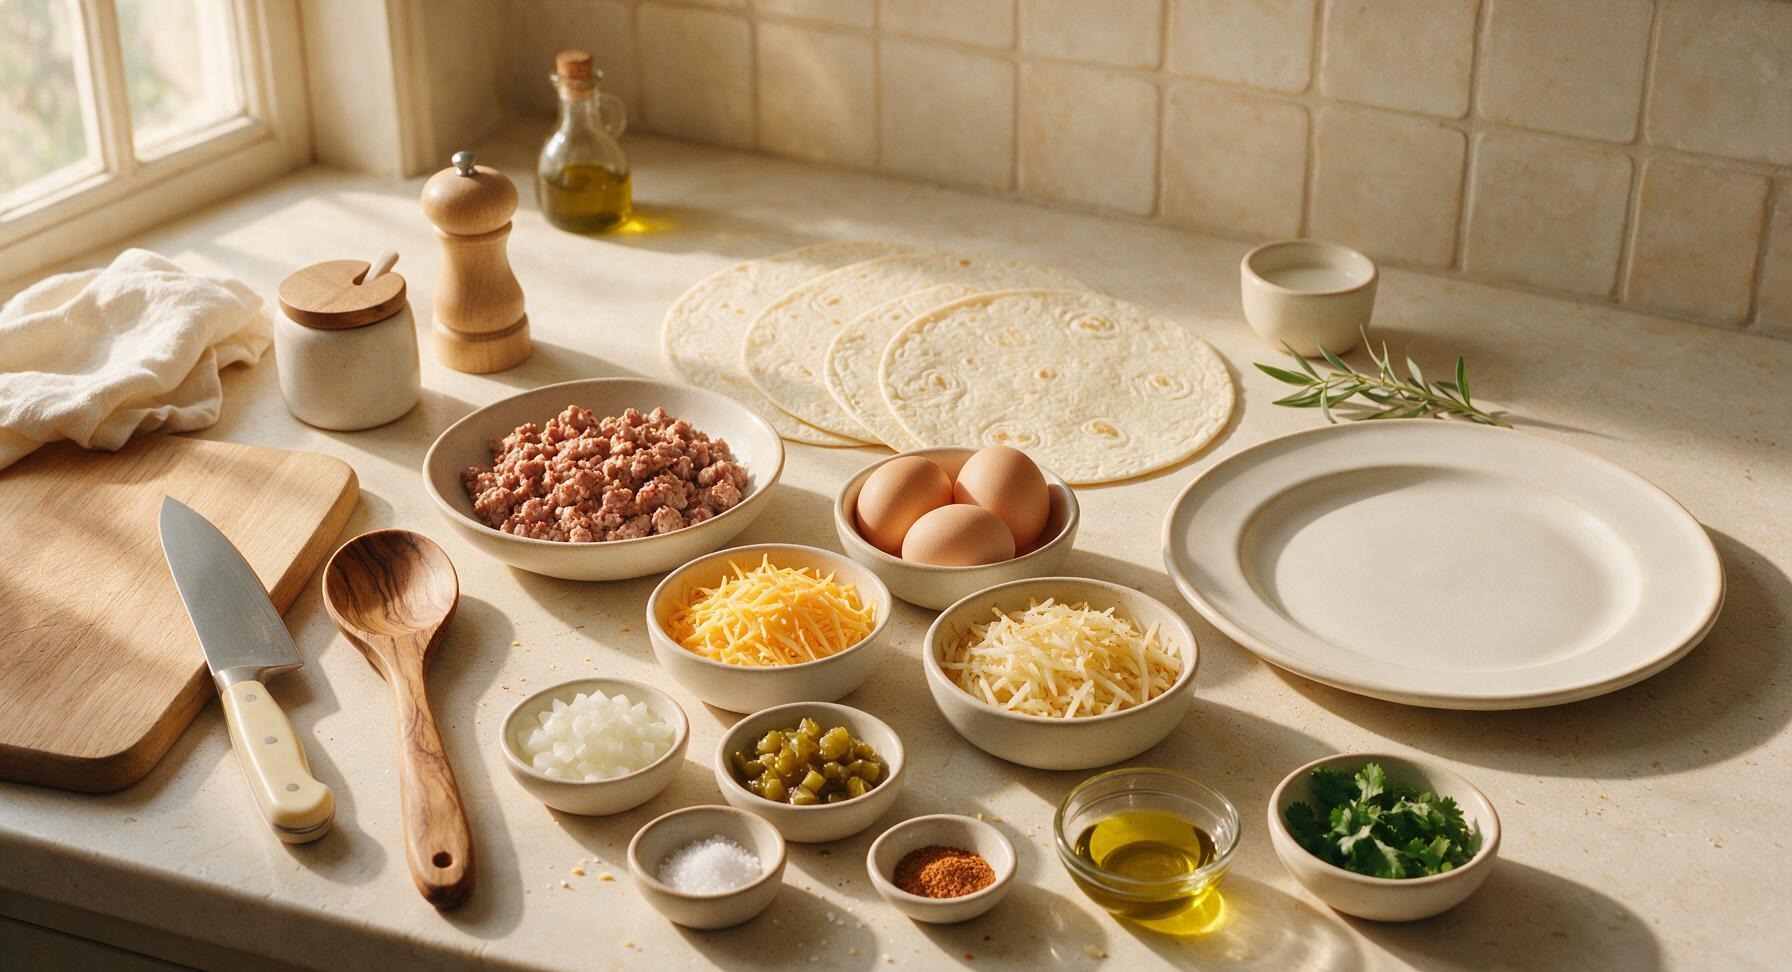
10-inch burrito-size flour tortillas 4 each
Mild breakfast ground turkey sausage 8 oz (225g)
Large eggs 4 each
Shredded sharp cheddar cheese 1 cup (113g)
Frozen shredded hash browns (thawed) 1 cup (120g)
Diced yellow onion 1/4 cup (40g)
Canned diced mild green chiles (drained) 4 oz (113g)
Mild taco seasoning 1 tsp
Kosher salt 1/2 tsp
Freshly ground black pepper 1/4 tsp
Olive oil 1 tbsp
Fresh cilantro (for garnish) 2 tbsp

Steps

1

Prep Filling Ingredients

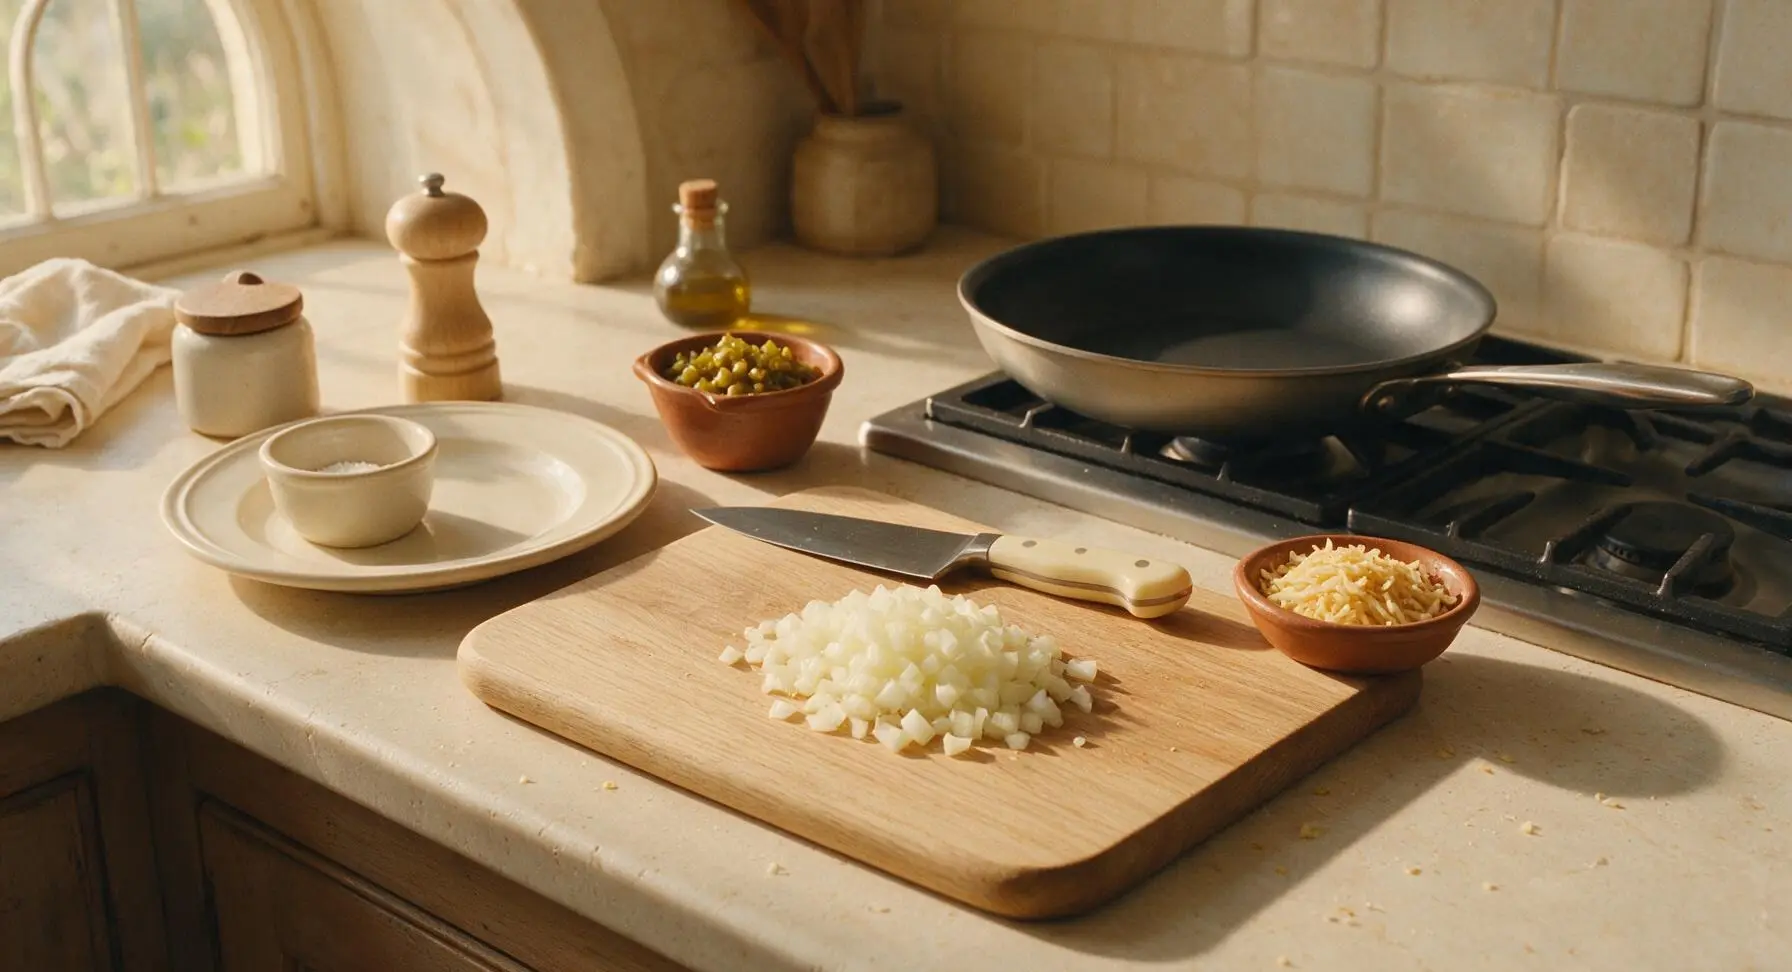
Place the light maple cutting board at front center of the counter. Dice the 1/4 cup yellow onion into 1/4-inch pieces using the 8-inch chef’s knife, then drain the 4oz can of diced green chiles and squeeze out excess moisture with a corner of the linen towel. Pat the thawed 1 cup shredded hash browns completely dry with the linen towel to remove excess starch and moisture, which ensures they crisp instead of steaming. Place the 10-inch non-stick skillet on the back right stovetop burner and preheat over medium heat (350°F/175°C).
Step 1
step1:Prep Filling Ingredients
2

Brown Turkey Sausage

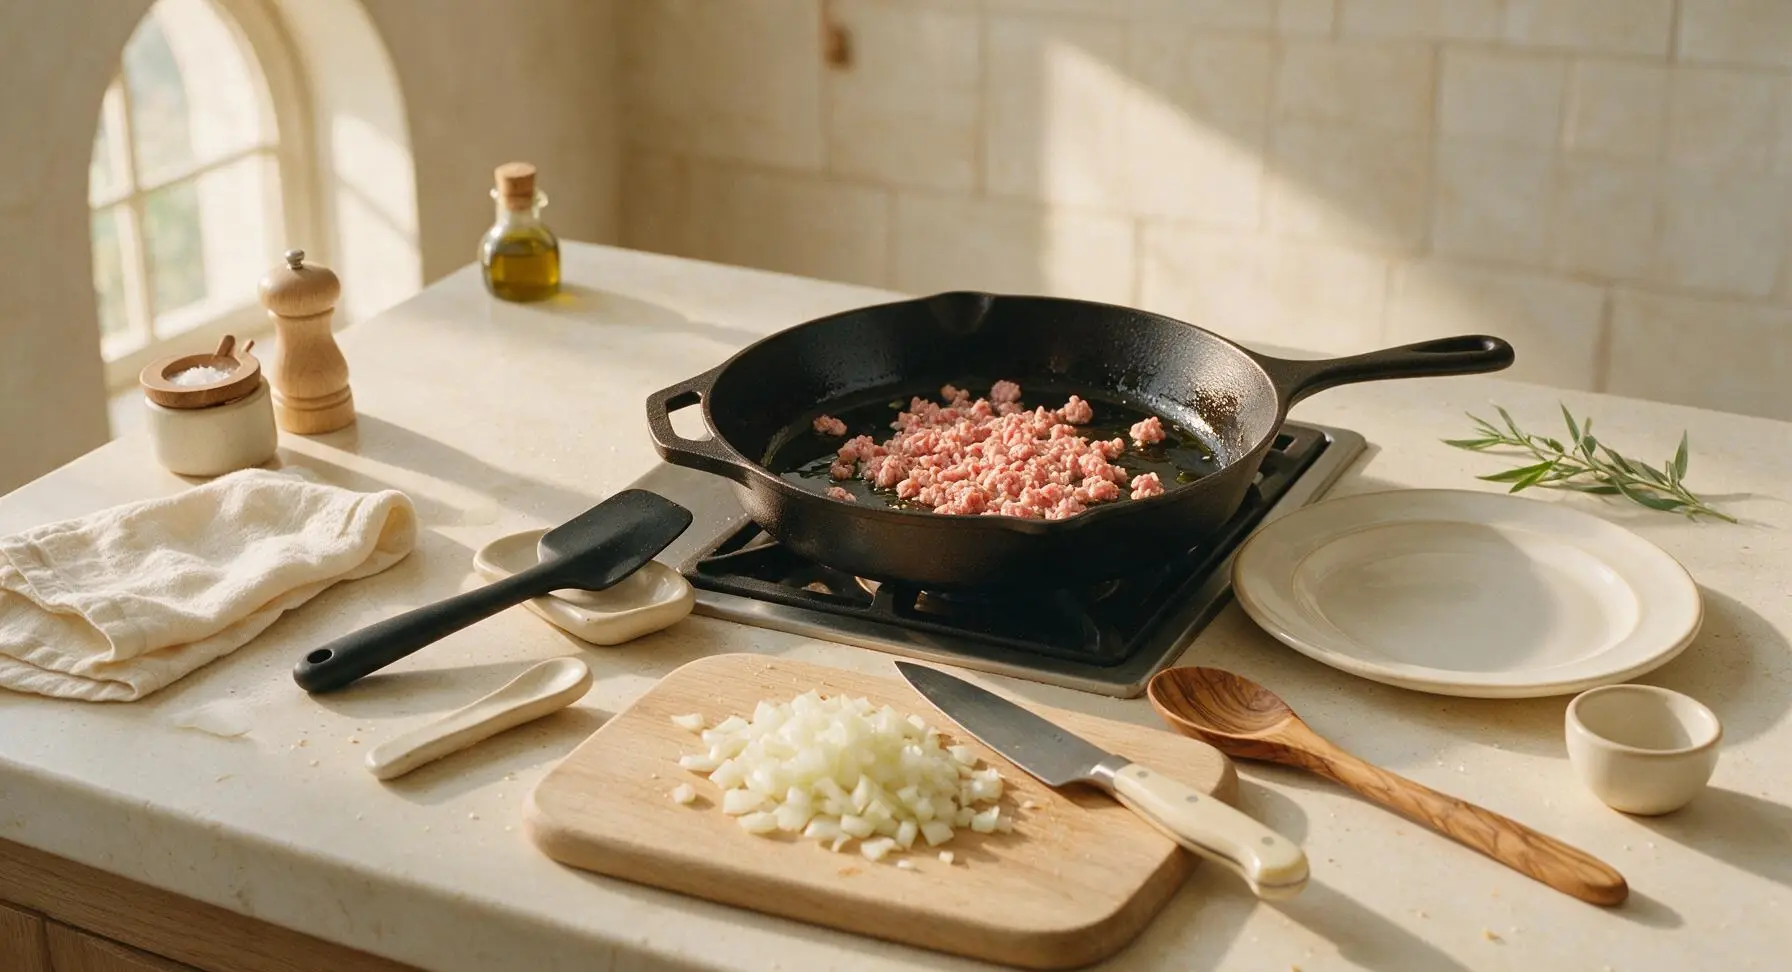
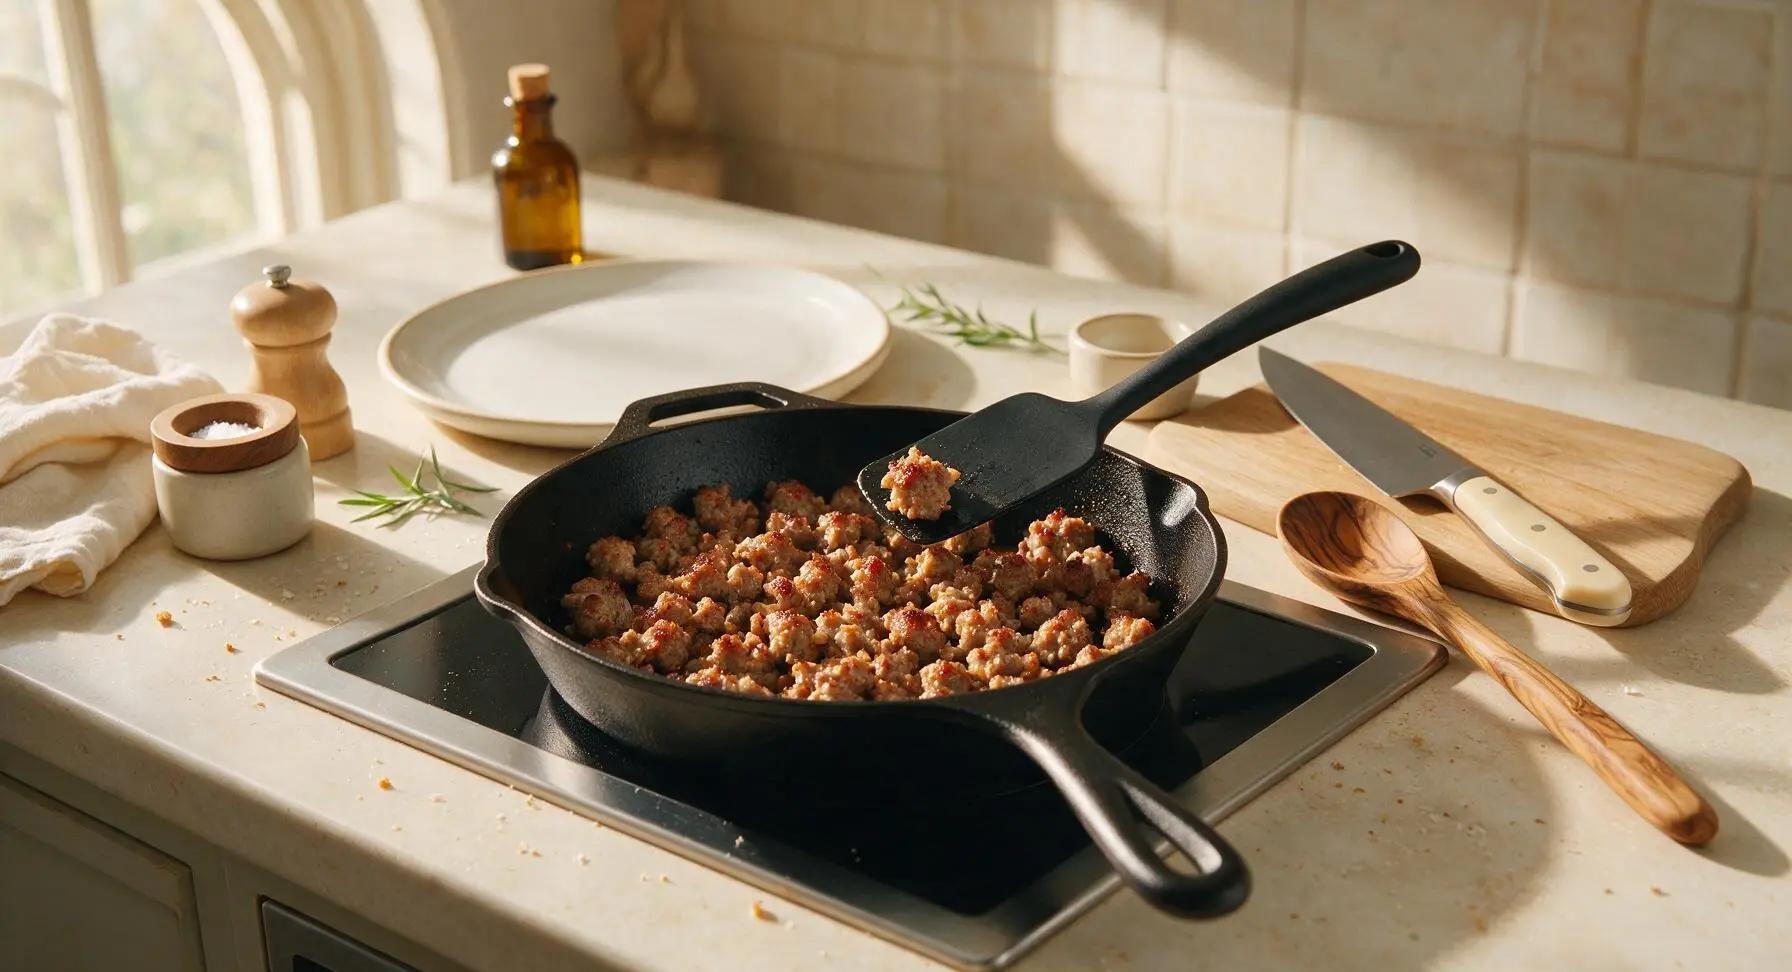
Add 1 teaspoon of olive oil from the amber bottle to the preheated skillet, swirling to coat the pan. Crumble the 8oz ground turkey sausage into the pan, sprinkle with 1/2 teaspoon taco seasoning, and cook for 5-6 minutes, breaking it apart into pea-sized crumbles with the black silicone spatula. The sausage is done when it is fully opaque, no pink remains, and edges are slightly golden brown. Use the spatula to transfer the cooked sausage to a clean cream stoneware plate, leaving any rendered fat in the skillet.
Step 2
step2:Brown Turkey Sausage
Step 2
step2:Brown Turkey Sausage
3

Crisp Shredded Hash Browns

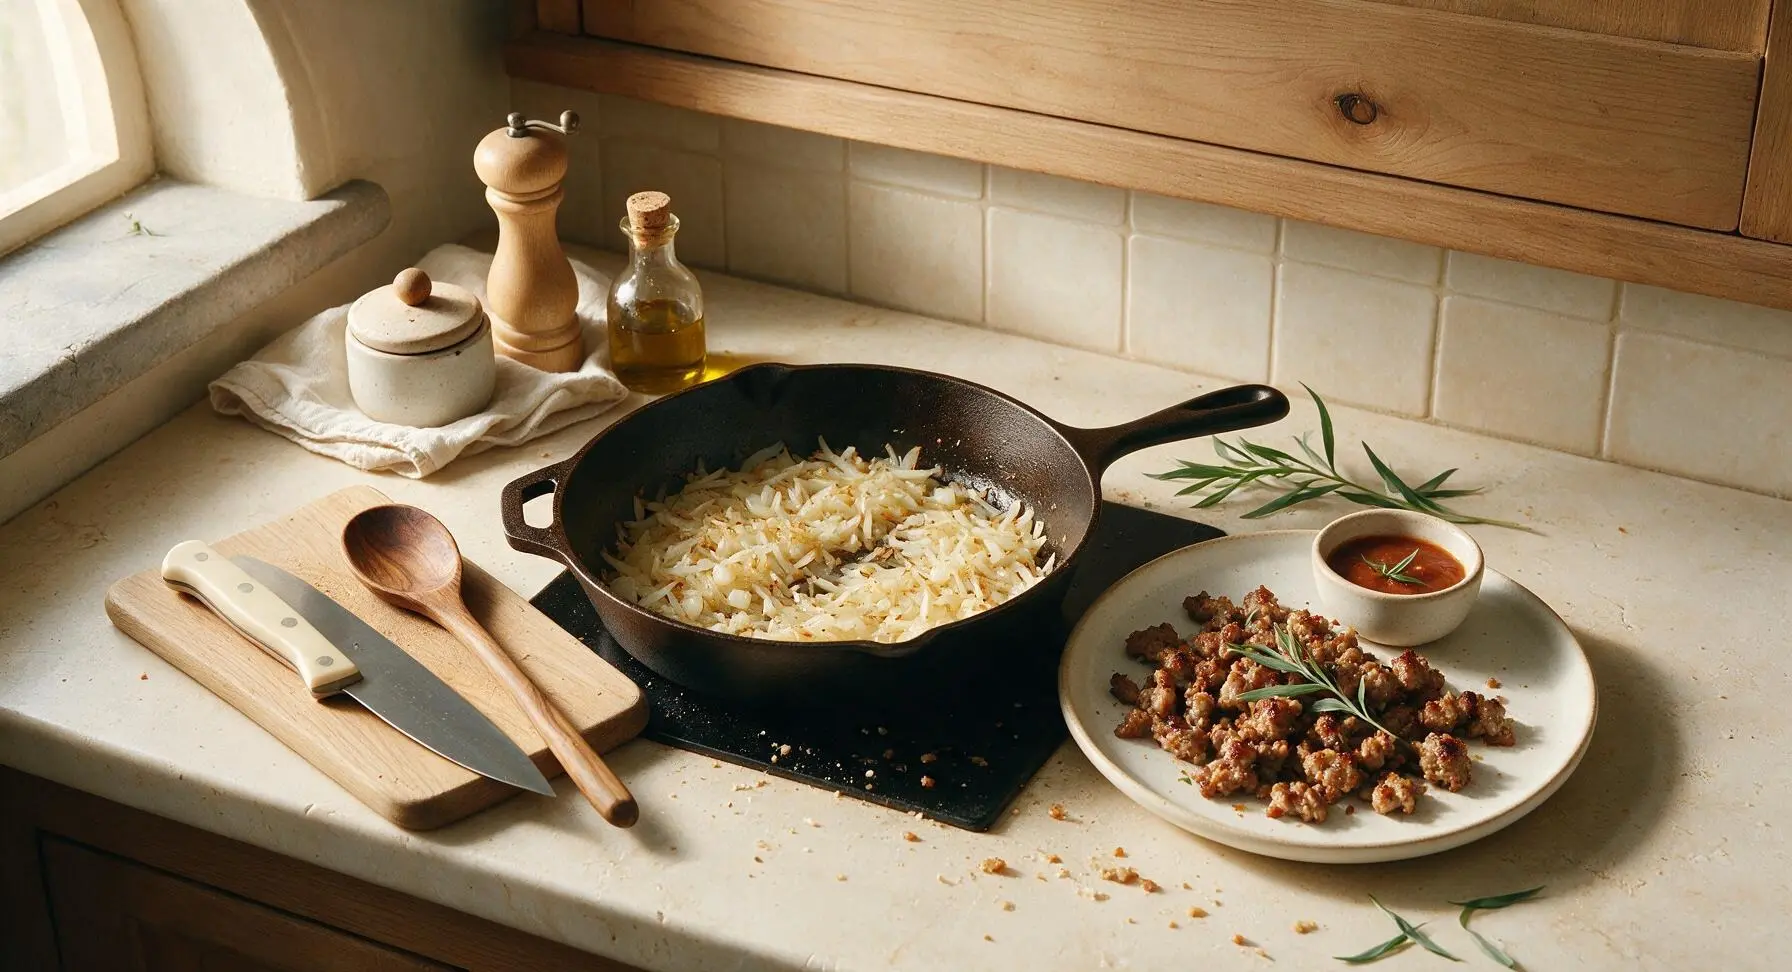
Add the dried shredded hash browns and diced onion to the same skillet with the remaining sausage fat, season with 1/4 teaspoon kosher salt. Cook for 4-5 minutes, stirring occasionally with the spatula, until hash browns are crispy and golden brown on all sides and onions are soft and translucent. Transfer the hash brown and onion mixture to the same plate holding the cooked sausage.
Step 3
step3:Crisp Shredded Hash Browns
4

Whisk and Scramble Eggs

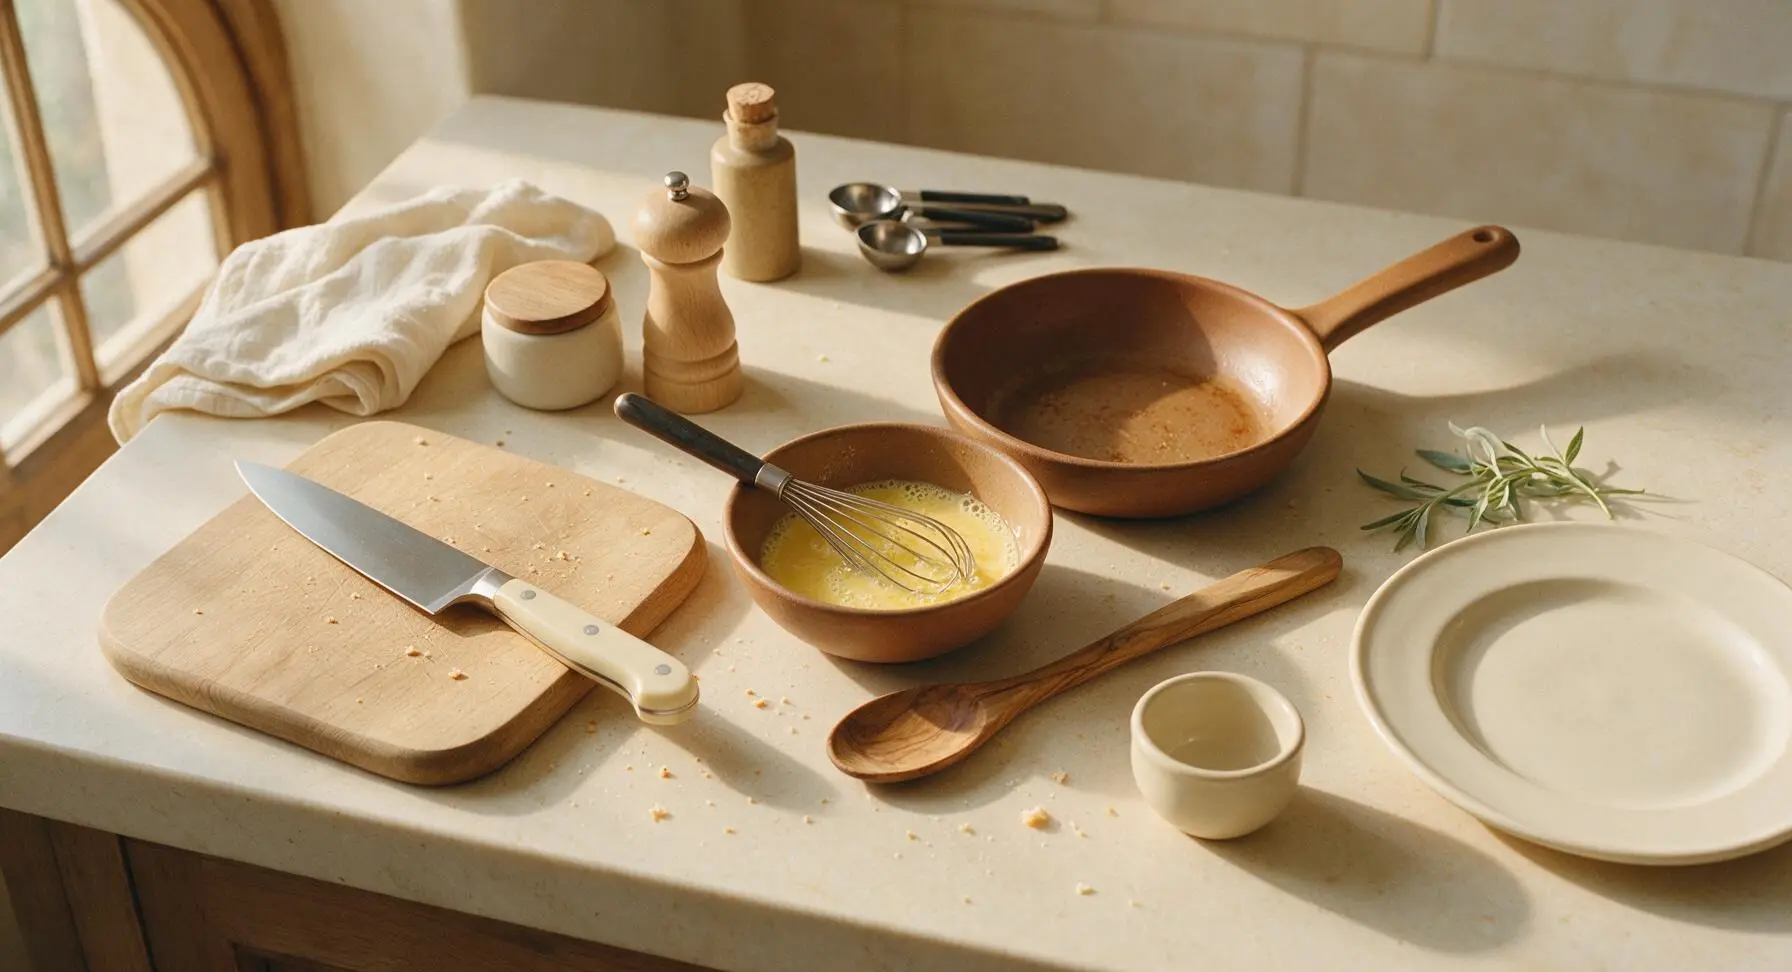
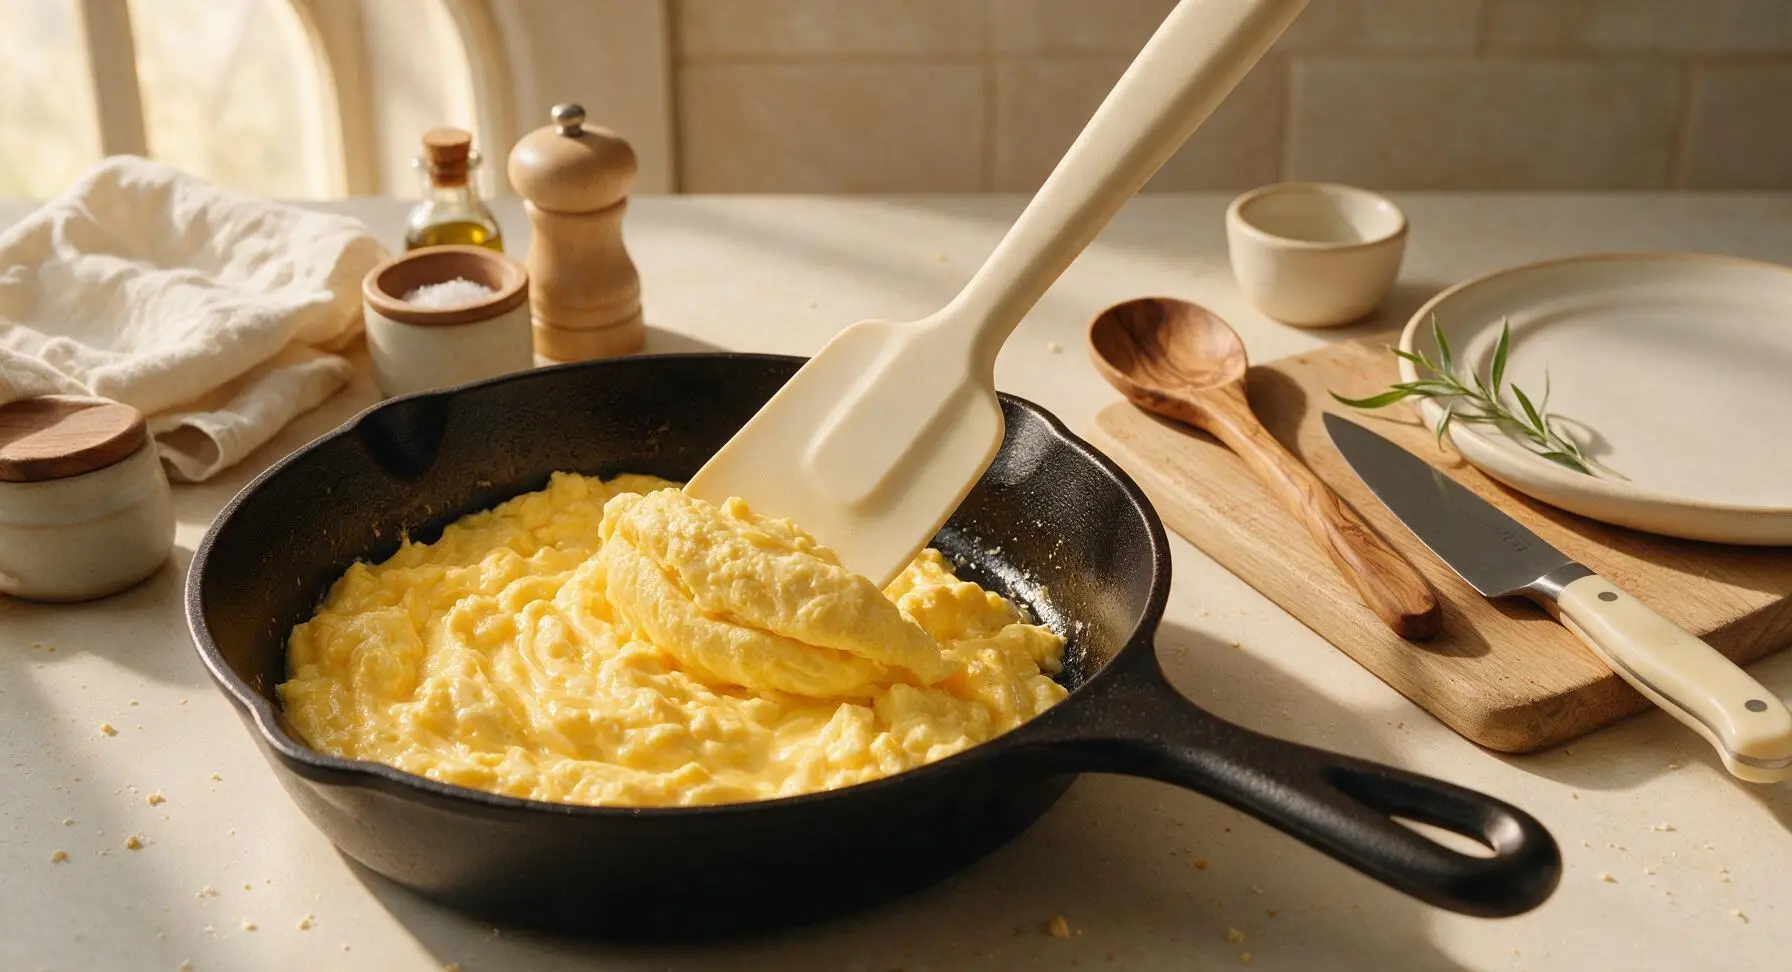
Reduce stovetop heat to medium-low (325°F/160°C). Crack the 4 large eggs into a small terracotta pinch bowl, add remaining 1/2 teaspoon taco seasoning, 1/4 teaspoon kosher salt, and 1/4 teaspoon freshly ground black pepper. Whisk until fully combined with no streaks of egg white remaining using the stainless steel whisk. Pour the egg mixture into the skillet, stirring gently with the silicone spatula for 2-3 minutes, until eggs are soft, fluffy, and just set (no runny liquid remains, but not dry or rubbery). Turn off the stovetop heat, then transfer eggs to the plate with sausage and hash browns.
Step 4
step4:Whisk and Scramble Eggs
Step 4
step4:Whisk and Scramble Eggs
5

Layer Burrito Fillings

Return stovetop heat to low. Warm the 4 large 10-inch flour tortillas one at a time in the dry skillet for 10 seconds per side, until soft and pliable (this prevents tearing when rolling). Lay one warm tortilla flat on the maple cutting board. Layer 1/4 of the scrambled eggs, 1/4 of the sausage and hash brown mixture, 2 tablespoons of drained green chiles, and 1/4 cup shredded sharp cheddar cheese down the center of the tortilla, leaving a 2-inch border at the top and bottom to fold.
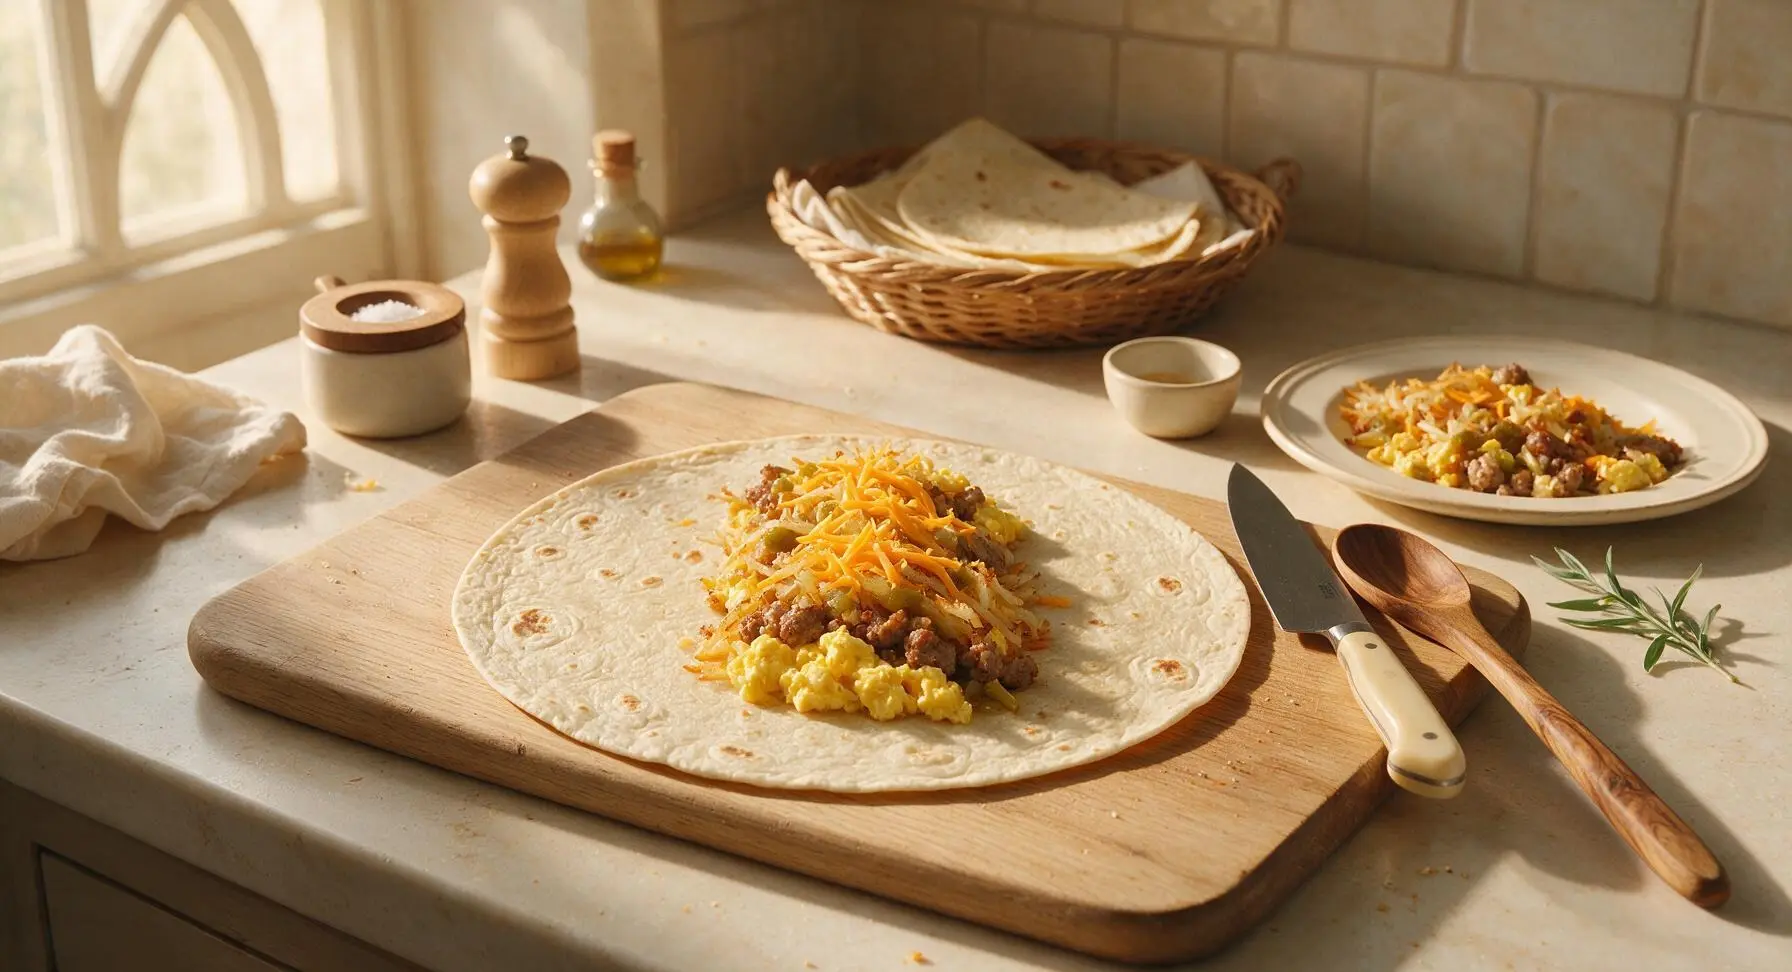
Step 5
step5:Layer Burrito Fillings
6

Roll and Toast Burritos

Fold the top and bottom 2-inch borders of the tortilla in over the filling, then roll tightly from one long side to the other to form a sealed burrito, tucking edges in as you roll to prevent filling from falling out. Return the rolled burritos seam-side down to the skillet over medium heat, toasting for 1-2 minutes per side, until the tortilla is golden with slight crisp marks and the cheese inside is fully melted. Press gently with the spatula while toasting to help the burrito hold its sealed shape.
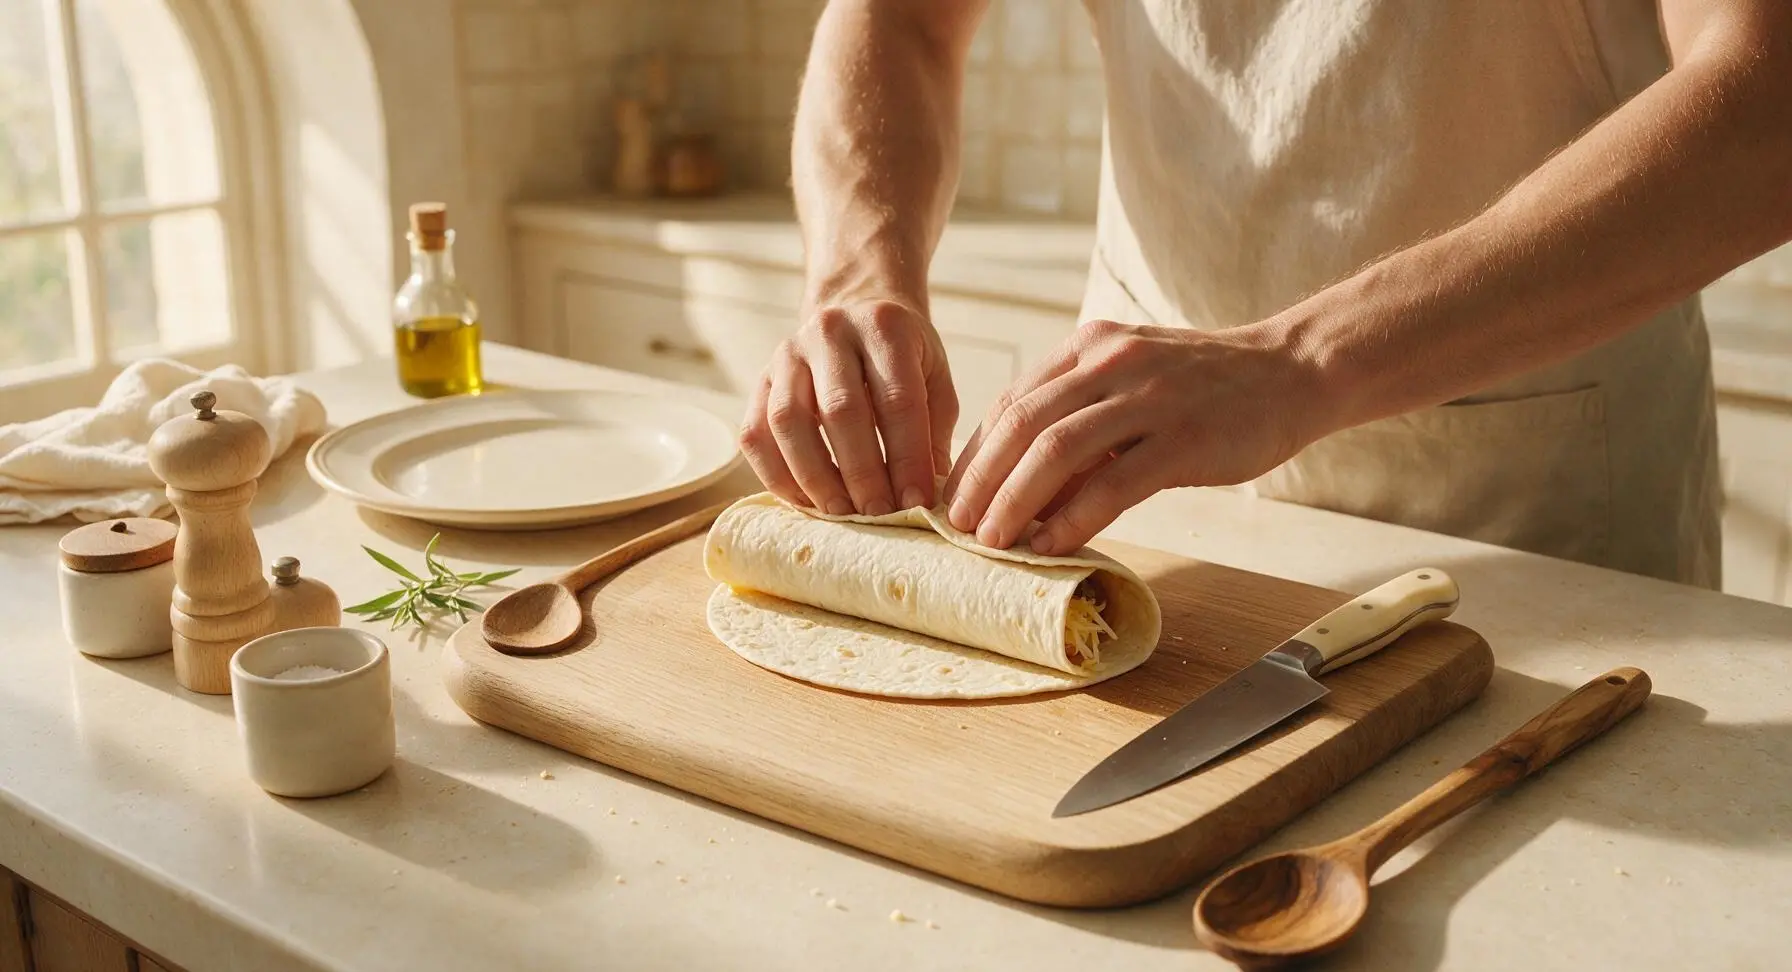
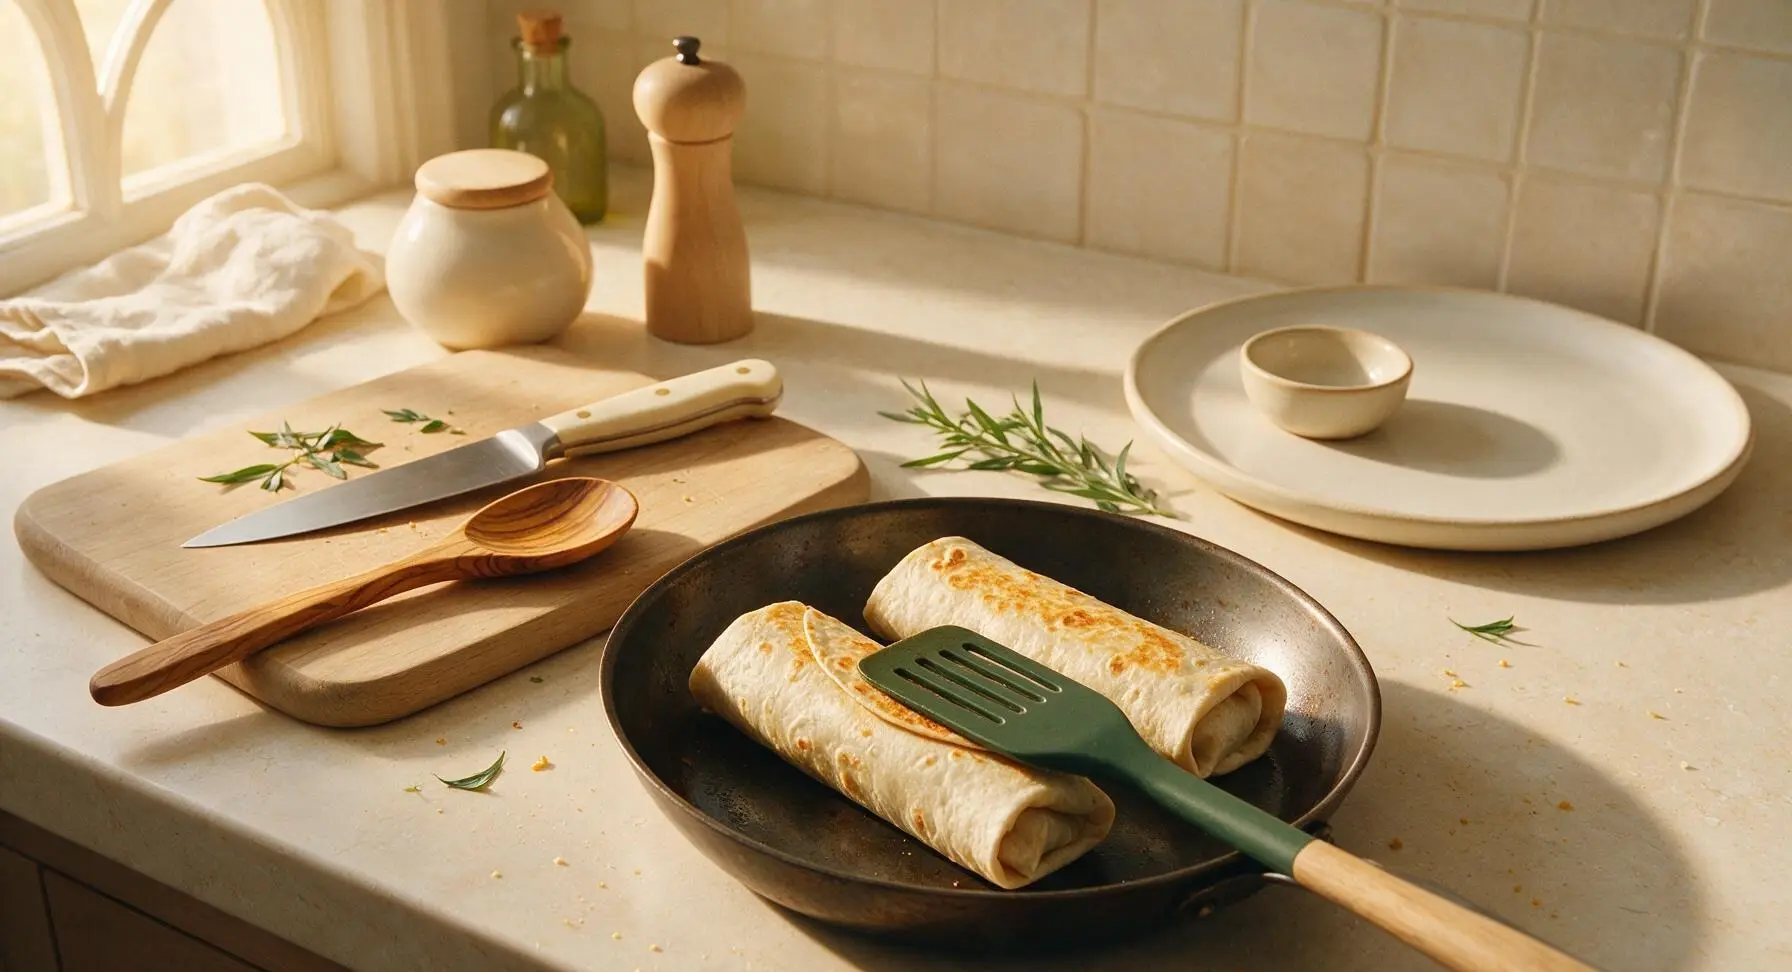
Step 6
step6:Roll and Toast Burritos
Step 6
step6:Roll and Toast Burritos

Tips

1.Pat thawed hash browns completely dry with a linen towel before cooking: excess trapped moisture will cause the potatoes to steam instead of crisp, leading to soggy burrito filling that can soak through the tortilla.
2.Warm tortillas for 10 seconds per side in the dry skillet before filling: cold tortillas are stiff and prone to cracking or splitting when rolled, while warmed tortillas are pliable enough to tuck and roll tightly without leaks.
3.Cool fully toasted burritos completely before wrapping in foil to freeze for up to 3 months: reheat directly from frozen in a 350°F (175°C) oven for 20 minutes to replicate the classic crispy El Monterey frozen burrito texture, avoiding the soggy tortilla that comes from microwave reheating.


✨ You May Also Like

Breakfast
🍜 United States

Crisp-edged, fluffy lard griddle cakes are a nostalgic homestyle staple, with rich savoriness from rendered lard, perfect topped with maple syrup or savory gravy.

⏱️ 25 minuteBreakfast ★ 4.8
Breakfast
🍜 United States

Flaky, buttery homemade buttermilk biscuits smothered in creamy, peppery pork sausage gravy: a beloved, hearty Southern American comfort food classic.

⏱️ 35 minuteBreakfast ★ 4.8
Breakfast
🍜 United States

Golden, custardy brioche stuffed with sweet cream cheese and fresh berries, pan-fried to crisp perfection. An indulgent, cozy breakfast perfect for slow weekend mornings.

⏱️ 30 minuteBreakfast ★ 4.7
Breakfast
🍜 United States

Flaky, buttery Southern-style biscuits stuffed with savory salty country ham, a portable, satisfying classic perfect for casual on-the-go meals.

⏱️ 25 minuteBreakfast ★ 4.8
Breakfast
🍜 United States

Iconic puffy baked pancake popularized in Seattle, with crisp golden edges and soft custardy center, served warm with classic sweet toppings.

⏱️ 35 minuteBreakfast ★ 4.6
Breakfast
🍜 United States

Fluffy, golden pancakes studded with juicy peak-summer mixed berries, drizzled with maple syrup for a bright, comforting, crowd-pleasing family breakfast.

⏱️ 25 minuteBreakfast ★ 4.7

el monterey turkey sausage breakfast burrito:Frequently Asked Questions

1.Can I make these copycat burritos ahead to freeze for quick weekday breakfasts? ▾
Absolutely—these are ideal for freezer meal prep. Let fully assembled burritos cool completely, wrap each tightly in plastic wrap then a layer of aluminum foil, label, and freeze for up to 3 months. Reheat straight from frozen in the microwave for 2–3 minutes, or crisp in a 375°F oven for 15 minutes for that classic toasted tortilla crunch.
2.What can I use if I can’t find pre-mixed mild ground turkey breakfast sausage? ▾
No stress! Use plain ground turkey and mix in 1 tsp dried sage, ½ tsp black pepper, ½ tsp garlic powder, ¼ tsp red pepper flakes, and a pinch of nutmeg per 1 lb of meat to match classic breakfast sausage flavor. Bump up the red pepper if you want a spicier kick to mimic El Monterey’s hot variety.
3.How do I keep the hash browns crispy instead of soggy inside the burrito? ▾
The number one trick is squeezing as much excess moisture out of thawed shredded hash browns as possible before cooking—press them between paper towels or a clean kitchen towel until no more water releases. Pan-fry in a thin layer over medium-high heat for 8–10 minutes until golden, then drain on paper towels before adding to fillings.
4.Can I swap the sharp cheddar for a different type of cheese? ▾
Definitely! While sharp cheddar matches the classic El Monterey flavor, you can swap in shredded Monterey Jack, pepper Jack for subtle heat, a pre-mixed Mexican cheese blend, or even crumbled queso fresco. Stick to smoothly melting cheeses to get that signature gooey, stringy pull in every bite.
5.What tortilla size works best to prevent fillings from spilling out when wrapping? ▾
Stick to the recommended 10-inch burrito-size flour tortillas, as this size gives you enough surface area to tuck and roll without overstuffing. Warm tortillas for 10–15 seconds in the microwave or on a dry skillet before wrapping to make them extra pliable, so they don’t crack or split as you fold.
6.How do I wrap the burrito properly so fillings don’t leak while I eat it? ▾
Lay your warmed tortilla flat, piling fillings in a tight line down the center and leaving a 2-inch border at the bottom and sides. Fold the two side edges in over the fillings, then fold the bottom flap up, tucking it tight as you roll the burrito away from you to form a fully sealed, leak-proof handheld.
7.Can I add extra veggies to these burritos without ruining the copycat flavor? ▾
Absolutely! Diced sautéed bell peppers, onions, roasted poblano, or a handful of chopped spinach work beautifully, just cook veggies first and drain off all excess moisture so they don’t make your burrito soggy. Stick to small, evenly diced pieces so every bite has a balanced mix of fillings.
8.How do I get that signature lightly crispy toasted tortilla like the store-bought version? ▾
After wrapping your burritos, cook them seam-side down on a dry, preheated skillet or griddle over medium heat for 1–2 minutes per side, pressing gently with a spatula, until the tortilla is golden with light toasty spots. You can also give microwaved frozen burritos a quick 30-second sear to bring back that crisp texture.
9.Can I use egg substitute instead of whole eggs for a lower-cholesterol version? ▾
Yes, that swap works perfectly! Use ¼ cup of liquid egg substitute per large whole egg called for, scrambling gently over low heat just until set (don’t overcook, as eggs turn rubbery when reheated). The flavor and texture will be nearly identical to whole eggs, with less saturated fat and cholesterol per serving.
10.How long do pre-assembled burritos last in the fridge for weekly meal prep? ▾
Fully cooled, assembled burritos will stay fresh in an airtight container in the fridge for up to 4 days. When you’re ready to eat, reheat in the microwave for 60–90 seconds, flipping halfway through, or crisp in a 350°F toaster oven for 8–10 minutes until the filling is piping hot all the way through.
11.Why do my scrambled eggs turn rubbery when I reheat these burritos? ▾
That almost always happens if you overcook the eggs before assembling the burritos. Cook scrambled eggs just until soft, slightly underdone, and creamy—they’ll finish cooking as the burrito rests and during reheating. Avoid high heat when cooking eggs, and skip extra milk that can separate and make eggs watery when reheated.
12.Can I use fresh shredded potatoes instead of frozen hash browns? ▾
Sure! Shred 1 medium russet potato per 1 cup of frozen hash browns called for, then soak the shreds in cold water for 10 minutes to remove excess starch before draining and squeezing completely dry. Cook them the same way you would thawed frozen hash browns for a crispy, fresh potato texture that works perfectly.
13.Is there a way to adapt these burritos to be dairy-free? ▾
Absolutely! Swap the sharp cheddar for your favorite dairy-free shredded melting cheese—look for a cheddar or Mexican blend made with coconut or oat base for the best melt—and double-check that your turkey sausage has no hidden dairy fillers. Most standard flour tortillas are naturally dairy-free, but always confirm the label.
14.How much filling should I add per burrito to avoid overstuffing? ▾
Aim for roughly ⅓ cup of combined fillings per 10-inch tortilla: that works out to about 2 tbsp cooked turkey sausage, 2 tbsp scrambled egg, 1 tbsp crispy hash browns, and 1 tbsp shredded cheese. Overloading the tortilla makes it impossible to seal properly, leading to leaks and messy eating when you pick it up.
15.Can I use pork breakfast sausage instead of turkey if I don’t prefer turkey? ▾
Of course! Regular mild ground pork breakfast sausage is actually the base of the original El Monterey burrito, so that swap will get you even closer to the classic store-bought flavor. Just be sure to drain off any excess rendered fat from cooked pork before adding it to burritos to avoid a greasy final texture.
16.What’s the best way to reheat frozen burritos so they don’t turn out soggy? ▾
For the least soggy result, unwrap frozen burritos from plastic and foil, wrap in a damp paper towel, and microwave for 2 minutes, then finish seam-side down on a dry skillet over medium heat for 1 minute per side to crisp the tortilla. For extra crunch, bake straight from frozen at 375°F for 20 minutes for even heating.

Comments (9)

2 days ago

OMG these are a total game changer! I make a big batch on Sunday for my husband and two teens to grab on school/work mornings and they fight over the last one every week. Way better than the store bought version, way less sodium too! I added a little extra diced bell pepper because we love veggies, worked perfectly. 10/10

yesterday

Wait how do you reheat them through without the tortilla getting soggy? I tried freezing homemade burritos once and they were a mushy mess!

2 hours ago

So glad your family loves them! For less soggy burritos, make sure your filling is fully cooled before rolling, and wrap each tightly in plastic wrap then foil before freezing. Reheat unwrapped on a paper towel in the microwave for 1.5-2 minutes, flipping halfway, and the tortilla stays perfectly chewy!

3 days ago

Super easy to make in my tiny dorm kitchen! I didn’t have turkey sausage so I swapped in regular pork sausage, and it still slapped. Cook time was actually even faster than 20 minutes for me because I pre-shredded the cheese the night before. Will be making these nonstop now

2 days ago

Love that swap! Pork sausage works beautifully here, and pre-shredding cheese ahead is such a smart time-saver for busy weeks. So stoked this works for dorm cooking!

1 week ago

Made these for a quick potluck brunch last weekend and every single one was gone before I even got a second one! People kept asking for the recipe, total hit. SO good.

5 days ago

I was skeptical a copycat could live up to my go-to gas station breakfast burrito but wow, this is spot on. The only thing I missed was that little crispy edge the frozen ones get when you air fry them, so I popped these in the air fryer at 400 for 3 minutes after microwaving and chef’s kiss. Even my picky roommate who only eats name brand stuff said these are better.

3 days ago

Oh that air fryer tip is genius! I’ve been baking mine in the oven to crisp them up but that takes way too long on busy mornings, can’t wait to try your method!

2 days ago

That air fryer crisp trick is *chef’s kiss* — I do the exact same thing! So glad you and your roommate enjoyed them, that’s the highest praise coming from a name brand fan.

yesterday

Quick question — has anyone tried these with a gluten free tortilla? My youngest has celiac so I have to swap all our wheat products, but I don’t want the tortilla to fall apart when I roll them.

2 hours ago

I made them with the Mission gluten free tortillas last week! Just warm the tortillas up for 10 seconds in the microwave before rolling so they’re flexible, they didn’t crack or fall apart at all, even after freezing!

30 minutes ago

These are perfect for my post-workout breakfast! I added a scoop of scrambled egg whites to bump up the protein, and they keep me full all the way until lunch. Way cheaper than buying the frozen ones every week too, I’ve already saved like $15 this month making my own.

2 hours ago

Okay I am literally the worst at cooking, I burn toast half the time, but these came out perfect first try! The instructions were so straightforward, no weird ingredients I had to run to three stores for. My girlfriend thought I ordered takeout lmao. 10/10 will make again.

30 minutes ago

LMAO same, I burn water so this is high praise! Did you use regular flour tortillas or the bigger burrito size ones? I always overstuff them and they burst open.

5 minutes ago

This makes me so happy to hear! These are totally beginner-friendly, I’m so proud they came out great for you. Pro tip for you and @ChefWannabe2024: stick to the large burrito size tortillas, and don’t overfill with more than ~1/2 cup of filling, they’ll roll up tight without bursting!

just now

Made these for my girls’ brunch this past weekend and served them with a side of salsa and guac, everyone was raving! I loved that the whole thing came together in 20 minutes flat, so I didn’t have to spend all morning in the kitchen instead of hanging out with my friends. Will absolutely be adding this to my regular rotation.

2 weeks ago

These are really tasty! My only note is that I wish there was a little more seasoning in the sausage mix — I added a dash of cumin and paprika and that kicked it up a notch for us. My kids loved it though, even the picky 7 year old ate two without complaining, so that’s a massive win.

1 week ago

So glad the kids loved them — that’s the best win ever! Great call adding cumin and paprika, those warm spices pair so well with the turkey sausage, I’m definitely going to note that as an optional add-in for the recipe!



