
Enchilada Burnt Ends

title 1
Enchilada Burnt Ends
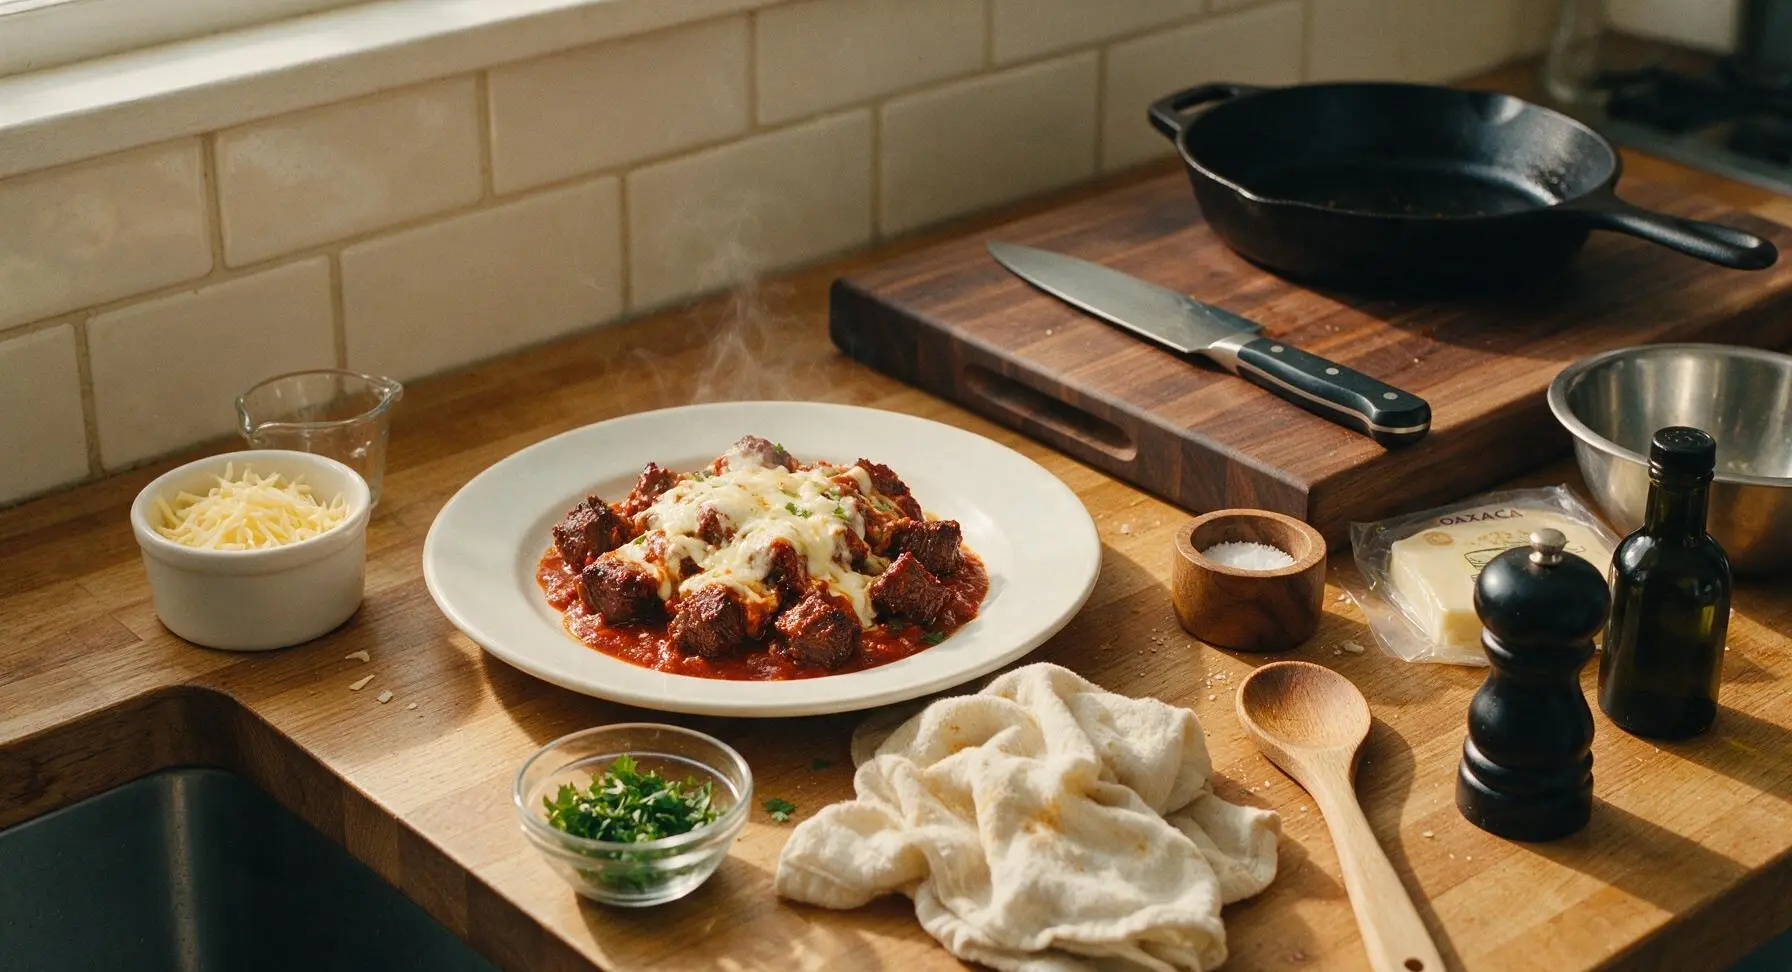
⏱️ cook time 3 hours 45 minutes
🍽️ servings 6
⚡ Difficulty medium

intro

Smoky, tender beef cubes coated in rich red enchilada sauce and melted Oaxaca cheese, these sticky, bold burnt ends are a delicious Tex-Mex twist on classic BBQ fare.

Ingredients
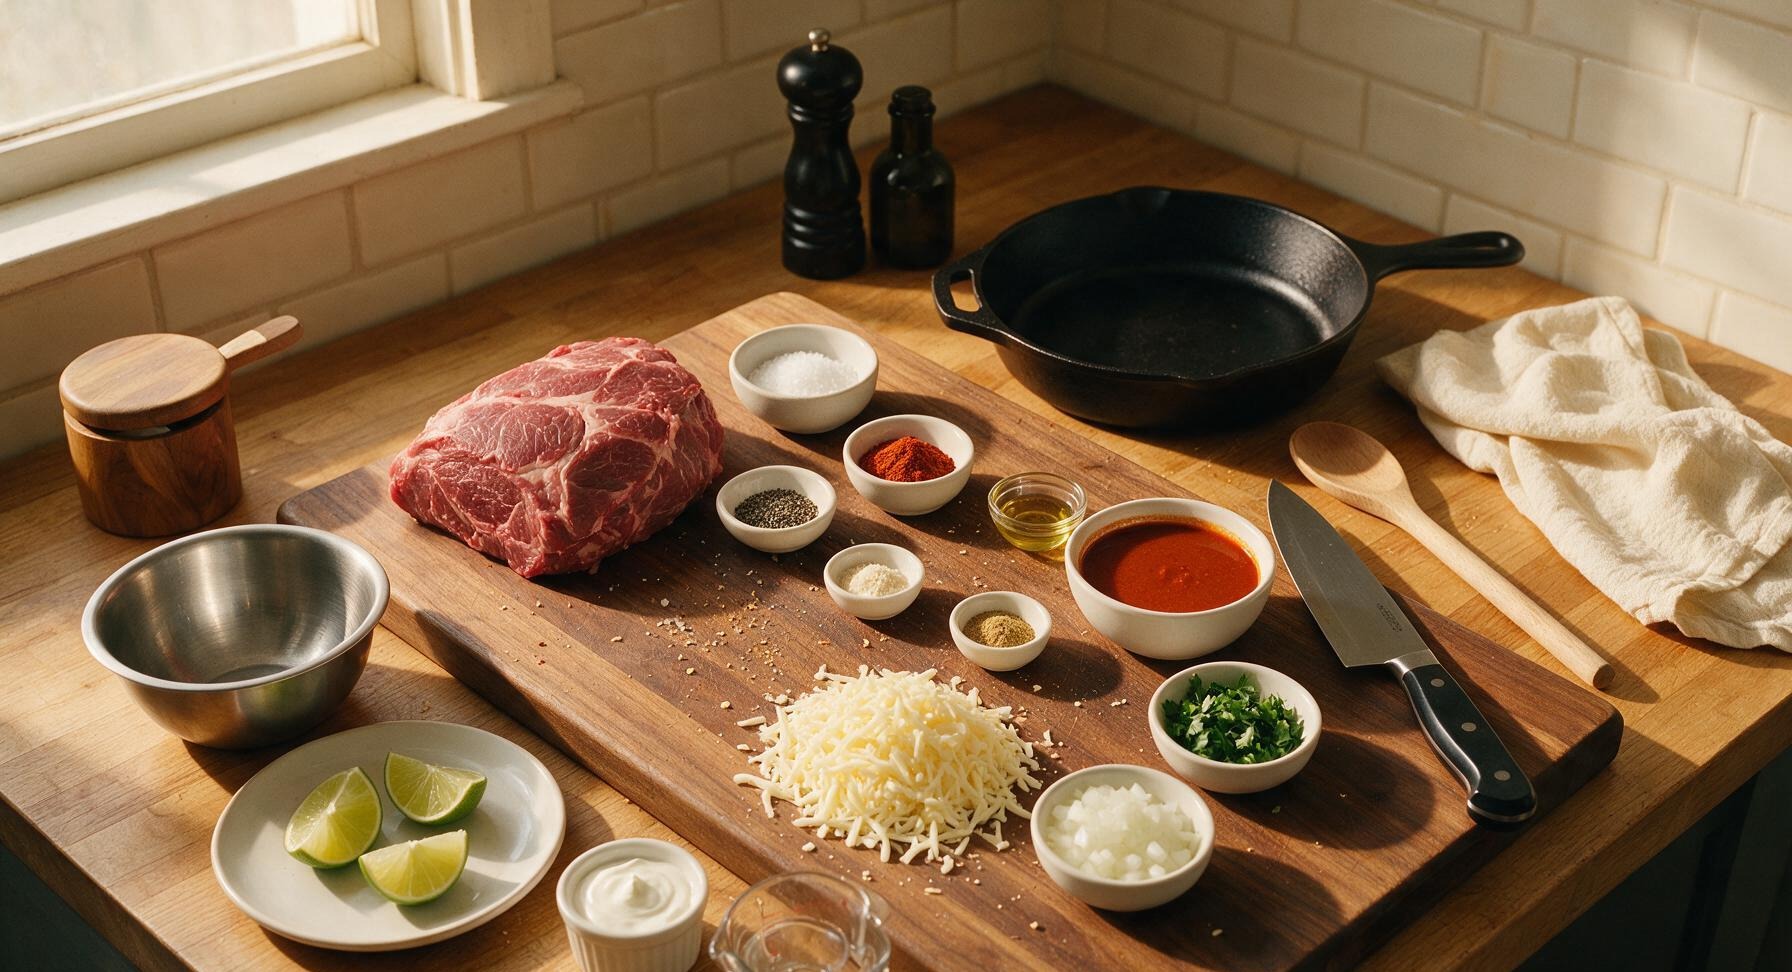
Boneless beef chuck roast 2.5 lbs (1.1kg)
Kosher salt 2 tbsp
Coarse ground black pepper 1 tbsp
Smoked paprika 1 tbsp
Garlic powder 1 tsp
Ground cumin 1 tsp
Neutral canola oil 1 tsp
Red enchilada sauce 2 cups
Oaxaca cheese, shredded 1.5 cups
White onion, finely diced 1/2 cup
Fresh cilantro, chopped 1/4 cup
Mexican crema 1/4 cup
Fresh limes, cut into wedges 2 whole

Steps

1

Prep Beef Chuck Roast

Place the boneless beef chuck roast on the acacia wood cutting board. Use the 8-inch chef knife to trim excess hard fat and silver skin from the surface, leaving a 1/4-inch thick layer of soft fat on one side. Pat the entire roast completely dry with a corner of the indigo cotton towel, then rub all surfaces with 1 tsp of neutral canola oil to help the rub adhere. The meat should have a smooth, dry, lightly oiled surface with no ragged fat edges.
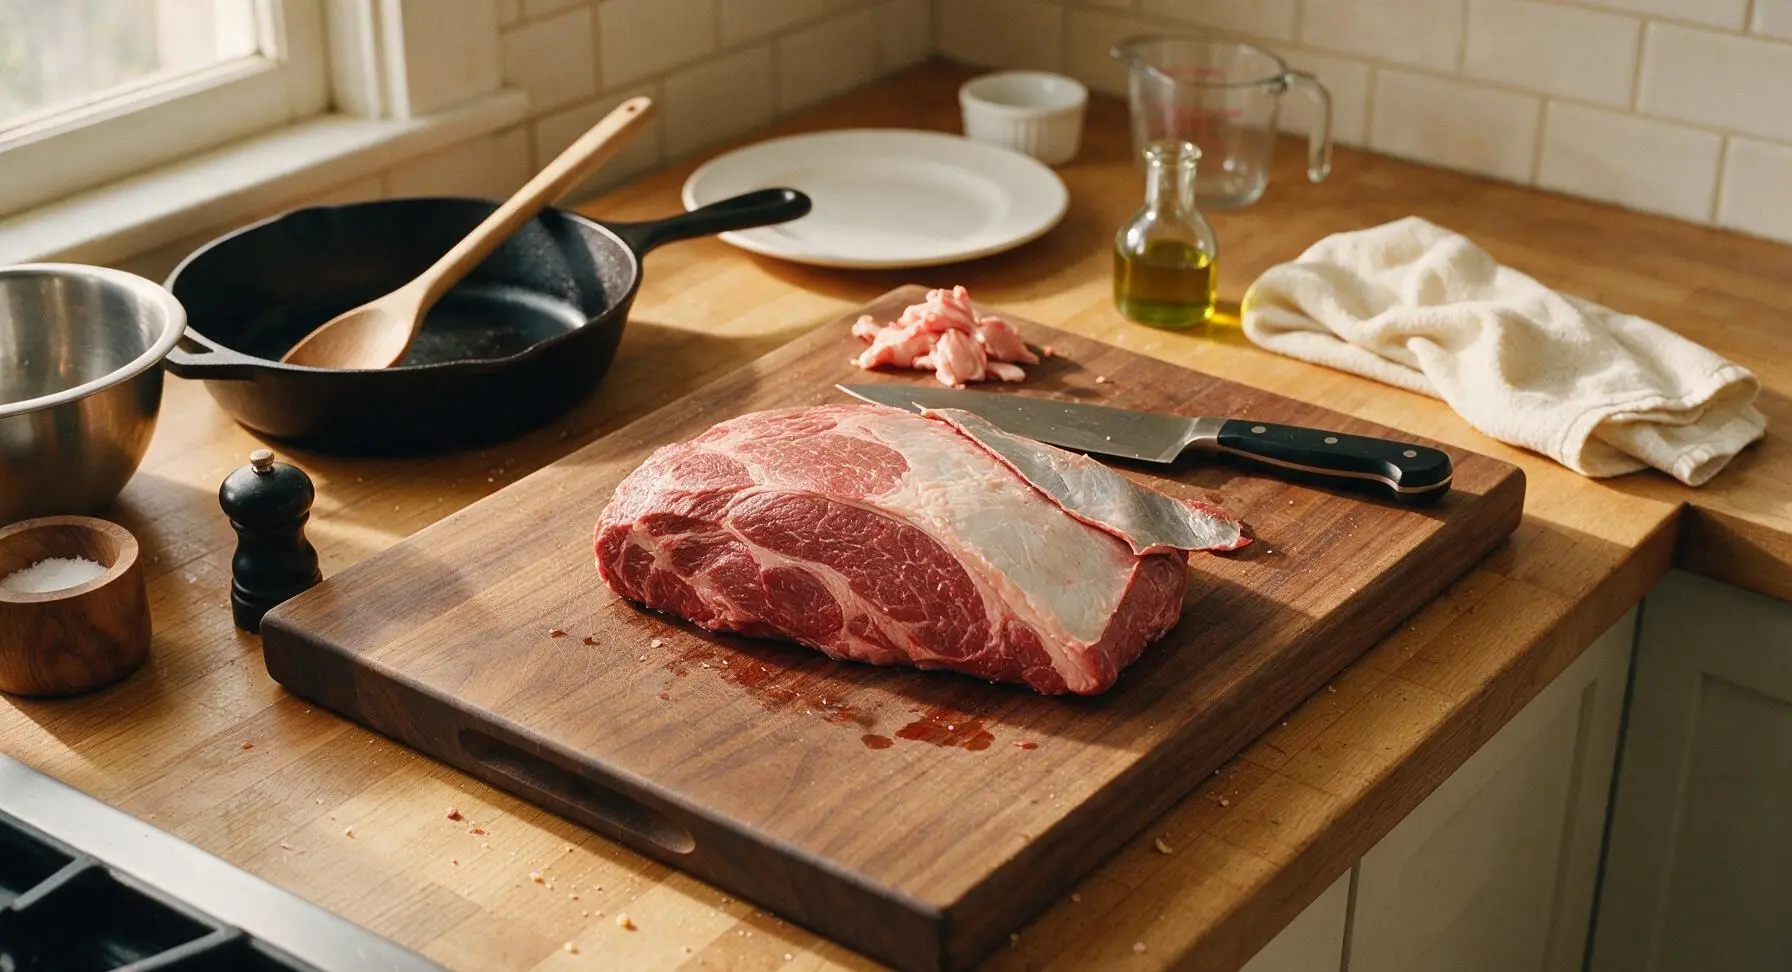
Step 1
step1:Prep Beef Chuck Roast
2

Apply Dry Rub

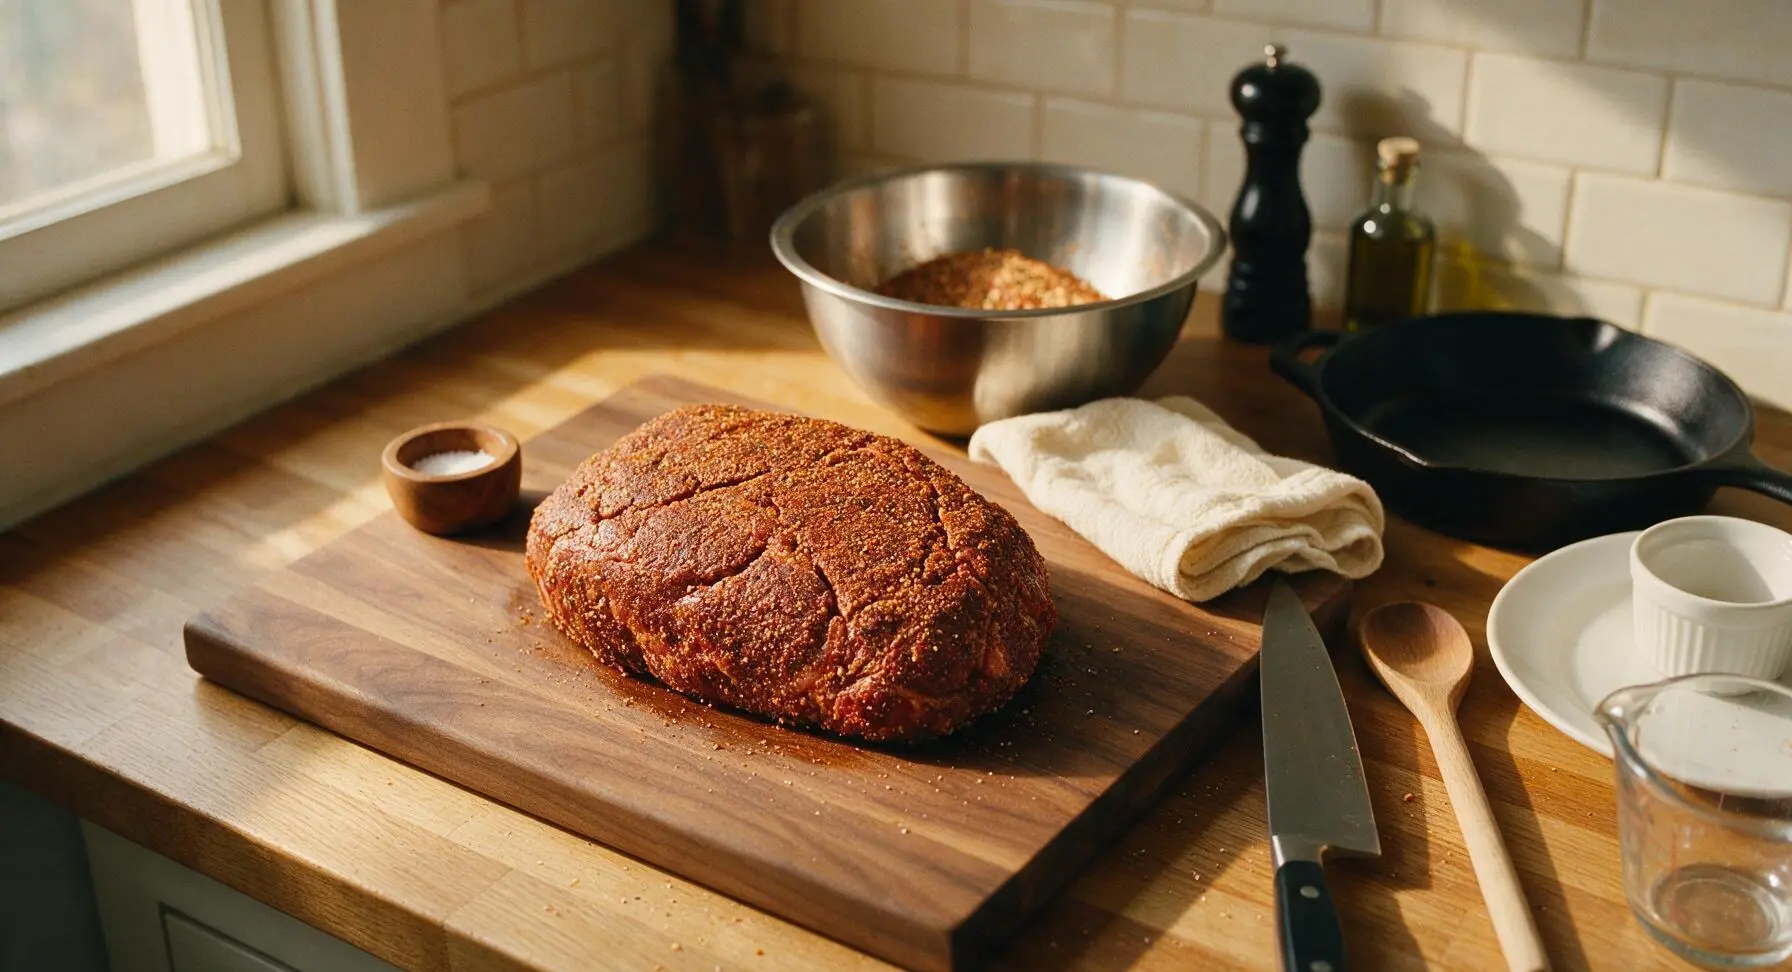
In the 1.5-quart brushed stainless steel mixing bowl, combine the kosher salt, black pepper, smoked paprika, garlic powder, and ground cumin, stirring to fully combine. Generously sprinkle the rub over every surface of the oiled chuck roast, pressing gently with your palm to help the spices adhere to the meat. There should be no bare patches of meat visible once coated. Let the rubbed roast rest at room temperature for 20 minutes while you preheat your smoker to 225°F (107°C) using hickory wood for smoke.
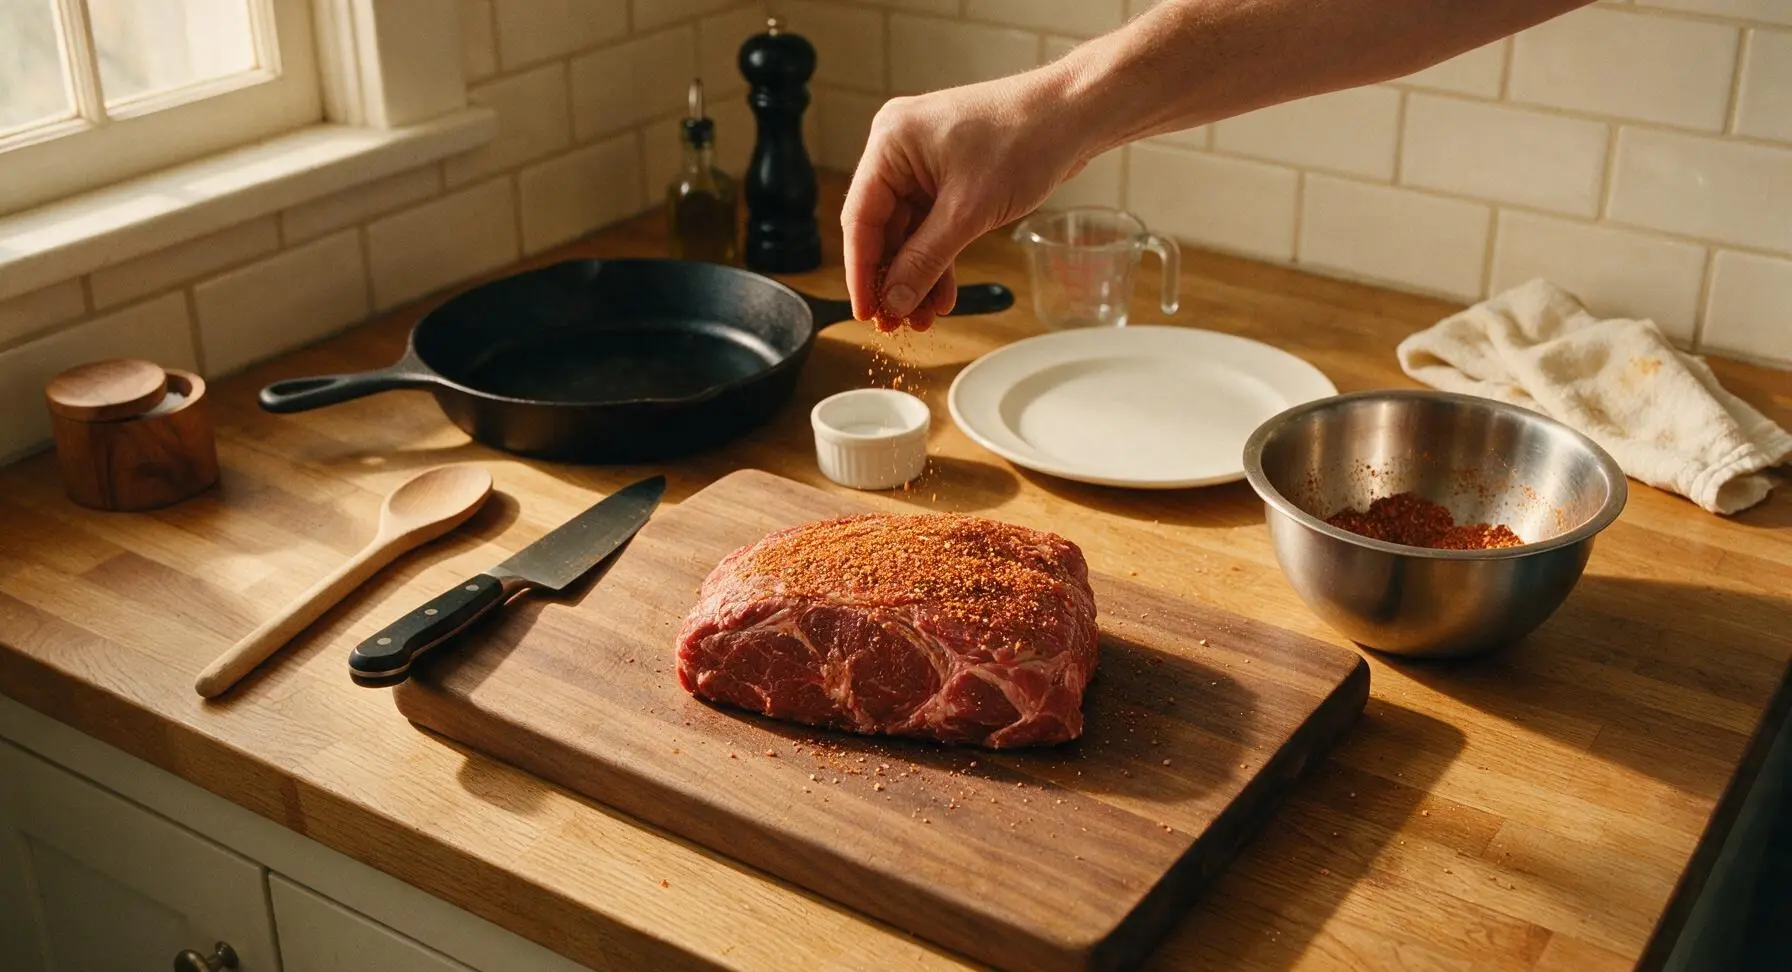
Step 2
step2:Apply Dry Rub
Step 2
step2:Apply Dry Rub
3

Smoke Until Tender

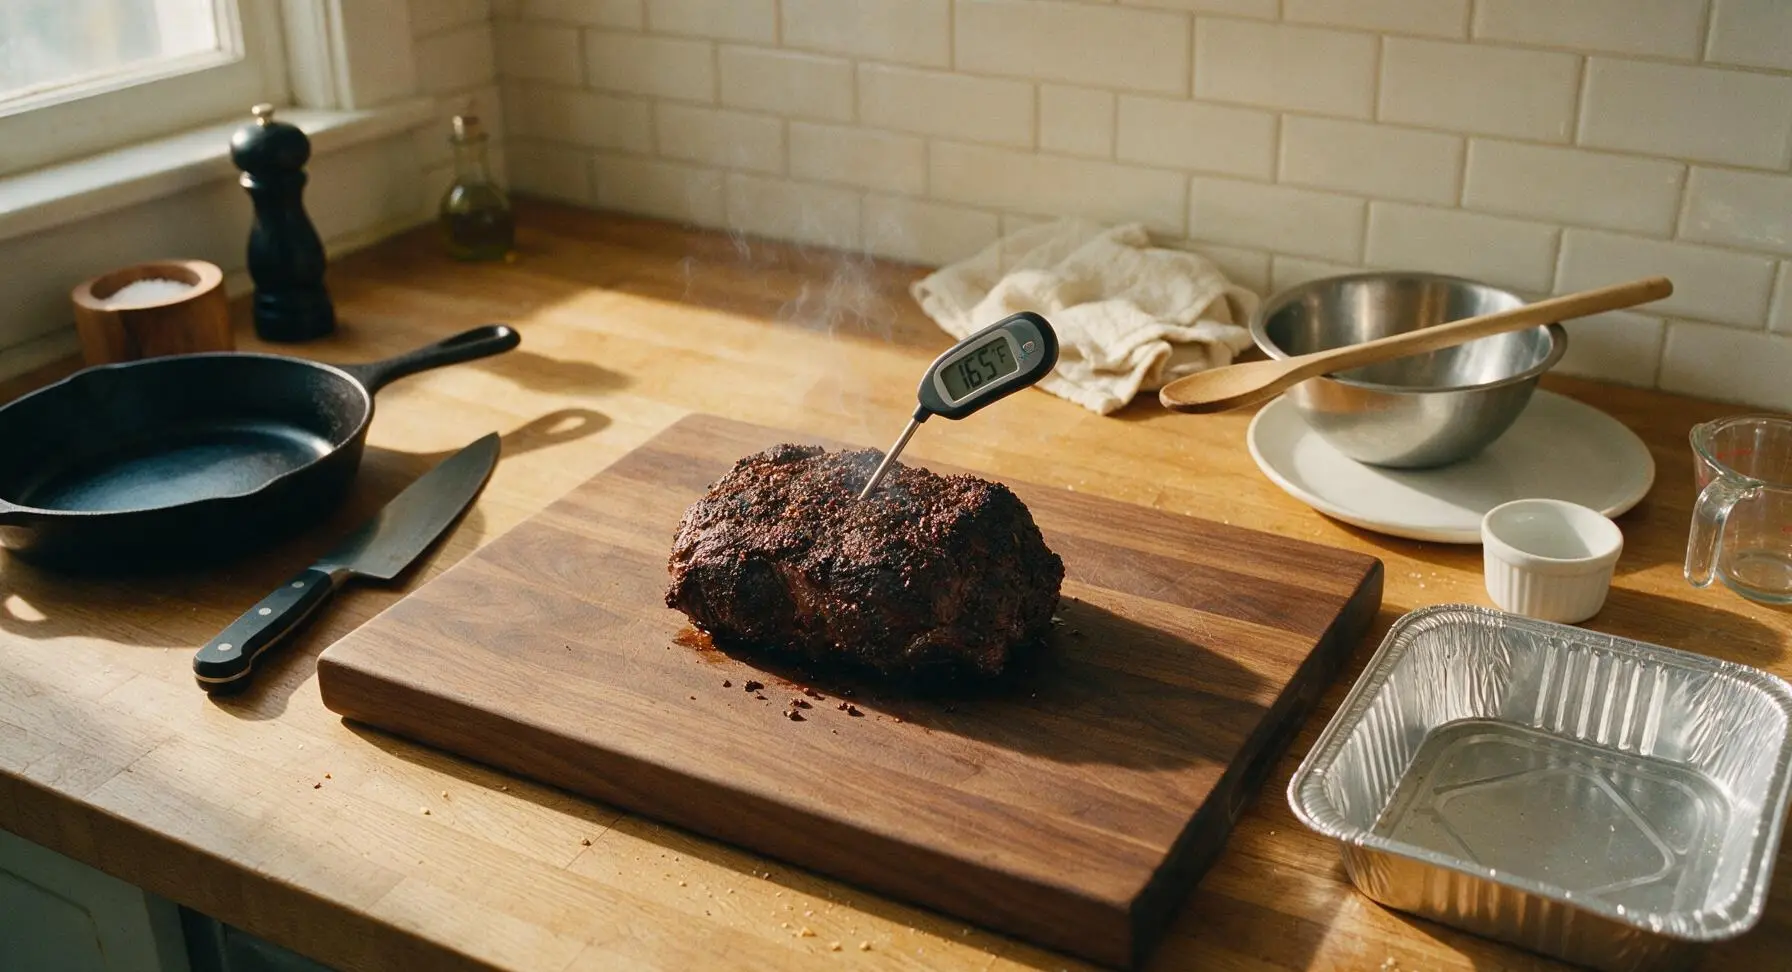
Once the smoker is preheated to 225°F (107°C), place the seasoned chuck roast directly on the smoker grates, fat-side up. Smoke for 2.5 to 3 hours, maintaining consistent temperature with hickory wood smoke, until the roast develops a dark, firm spice bark and reaches 165°F (74°C) internal temperature. Remove the roast from the smoker and transfer it back to the acacia cutting board on the kitchen counter, inserting the digital instant-read thermometer into the thickest part to confirm temperature.
Step 3
step3:Smoke Until Tender
4

Cube Smoked Roast

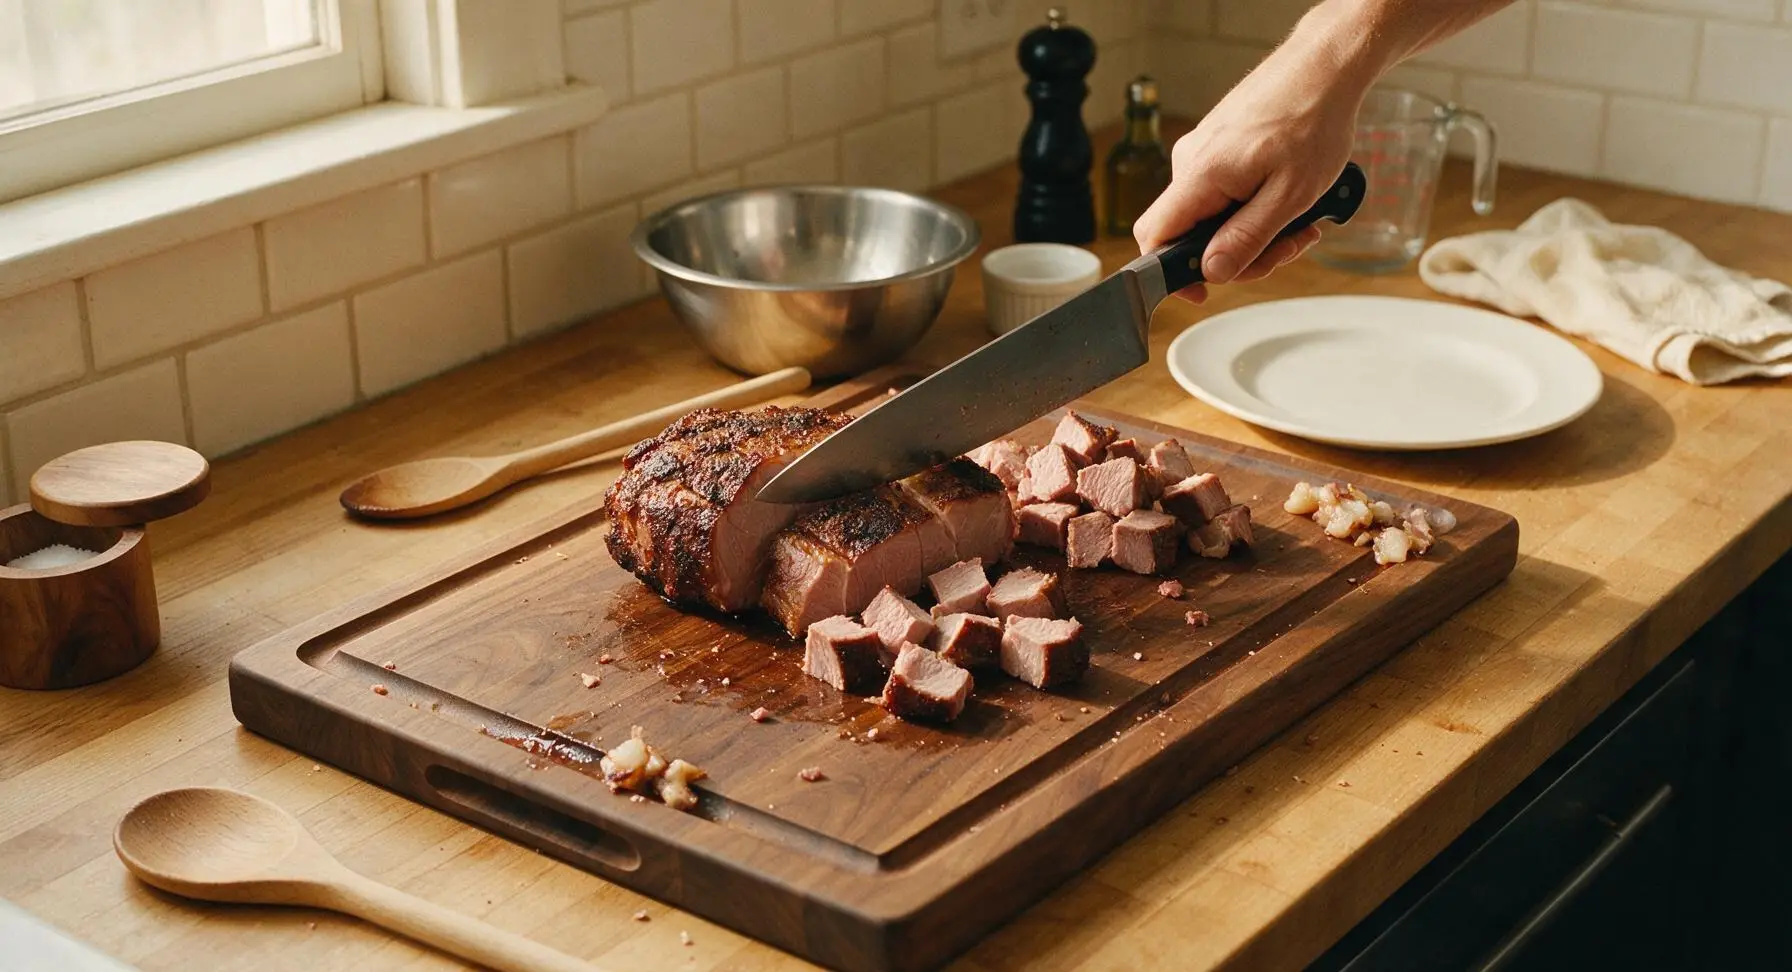
Once the roast is cool enough to handle (about 5 minutes resting on the board), use the 8-inch chef knife to cut the entire roast into uniform 1.5-inch cubes. Make clean, straight cuts through the bark and tender meat, ensuring every cube has a portion of the dark smoky bark on at least one side. Discard any overly large chunks of hard fat that did not render during smoking. The cubes should hold their shape easily, with no falling-apart tender meat at this stage.
Step 4
step4:Cube Smoked Roast
5

Toss with Enchilada Sauce

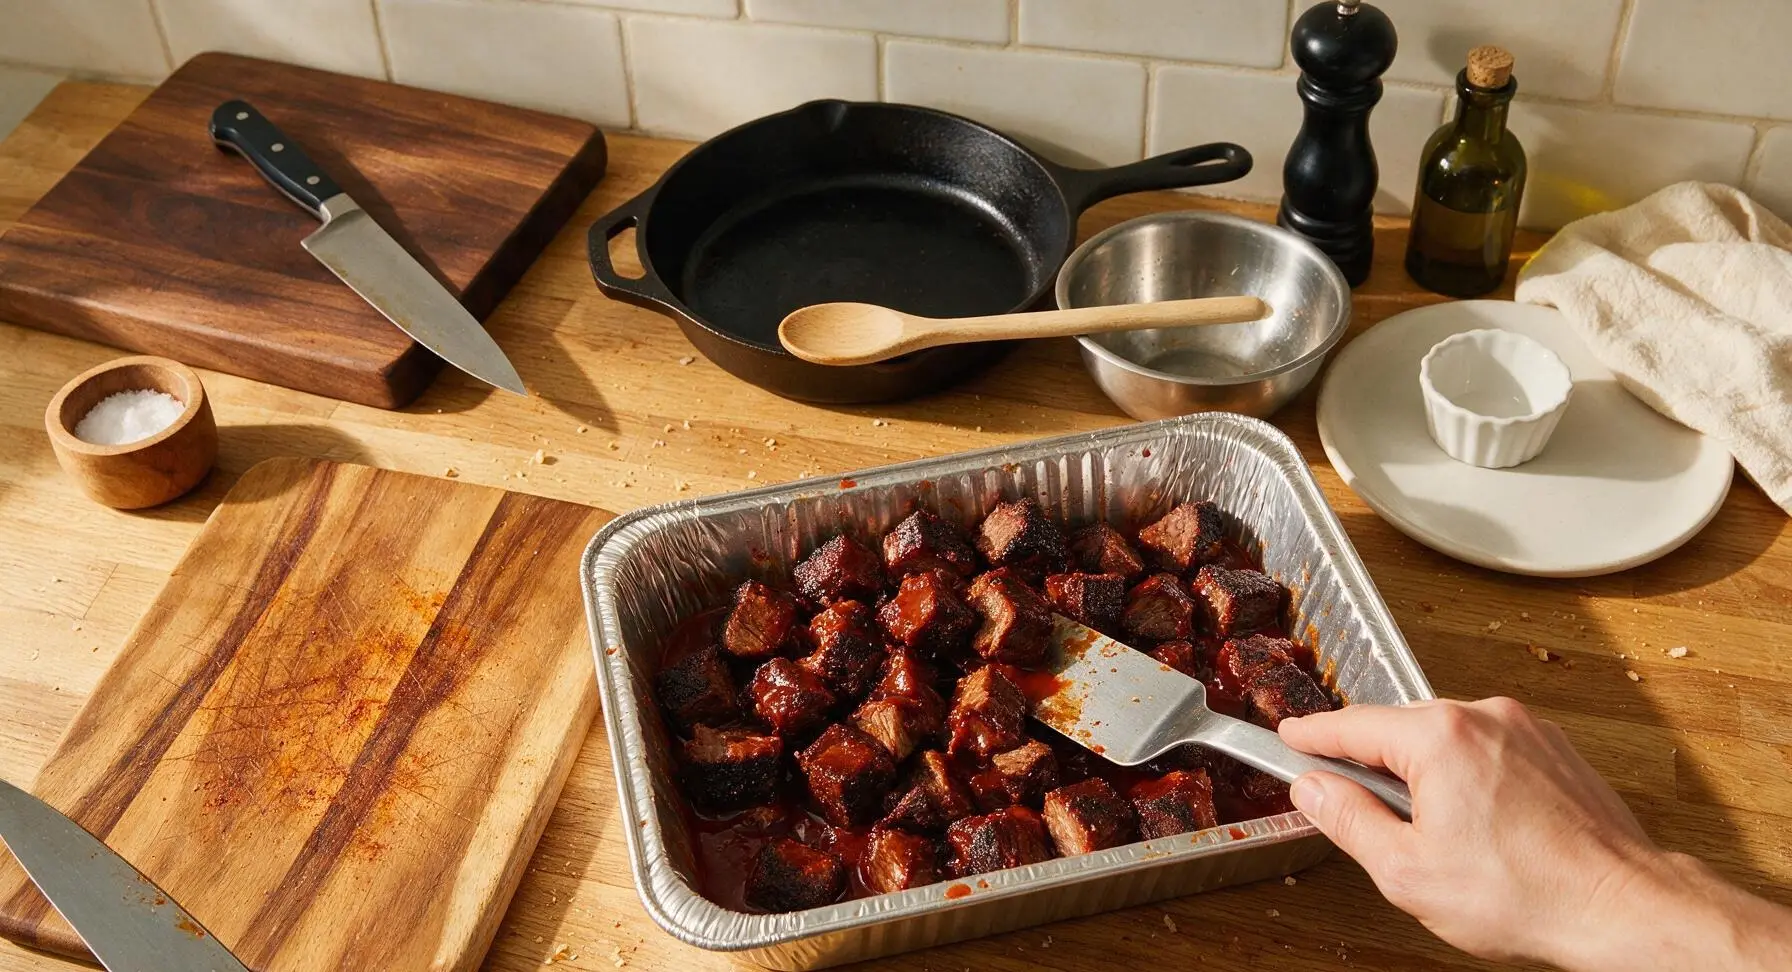
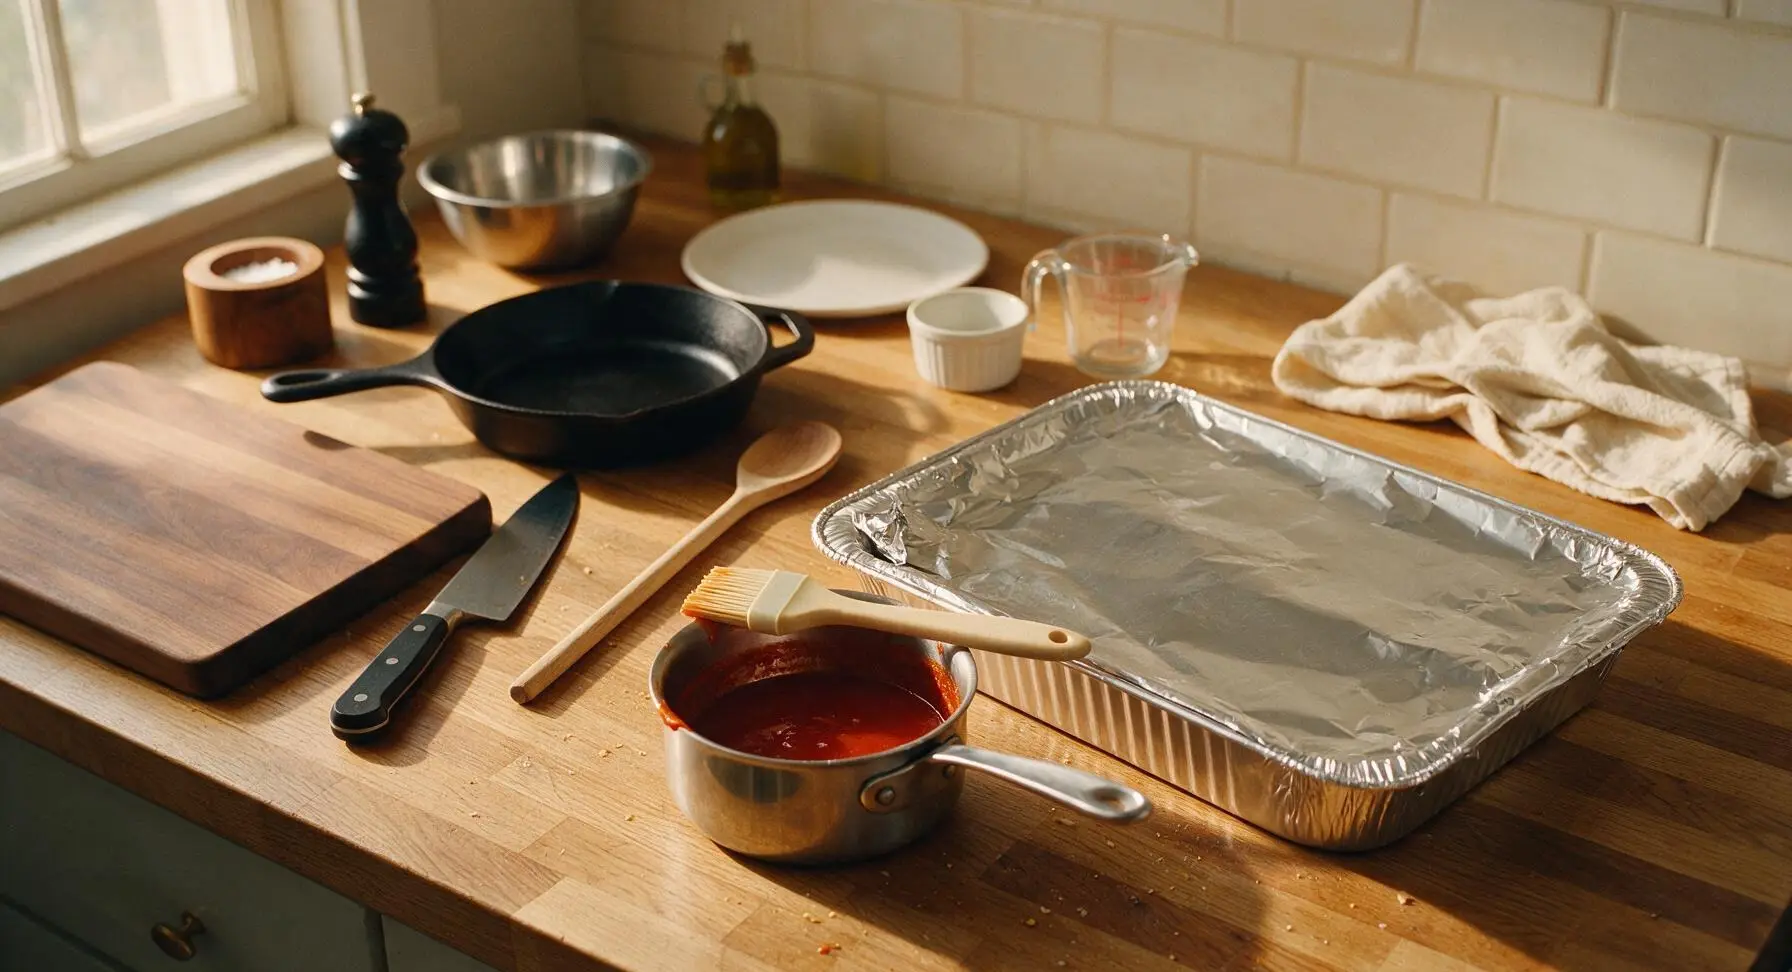
Transfer all the cubed smoked beef to the 9x13 inch aluminum foil pan. Pour 1 cup of the red enchilada sauce over the cubes, using the offset metal spatula to toss gently until every cube is evenly coated in glossy red sauce. Cover the pan tightly with heavy-duty aluminum foil, then return it to the smoker (or 350°F / 175°C oven) for 45 minutes, until the cubes are tender when pierced with a fork. While the cubes cook, warm the remaining 1 cup of enchilada sauce in the 2-quart stainless steel saucepan over low heat on the stovetop.
Step 5
step5:Toss with Enchilada Sauce
Step 5
step5:Toss with Enchilada Sauce
6

Top with Cheese and Finish

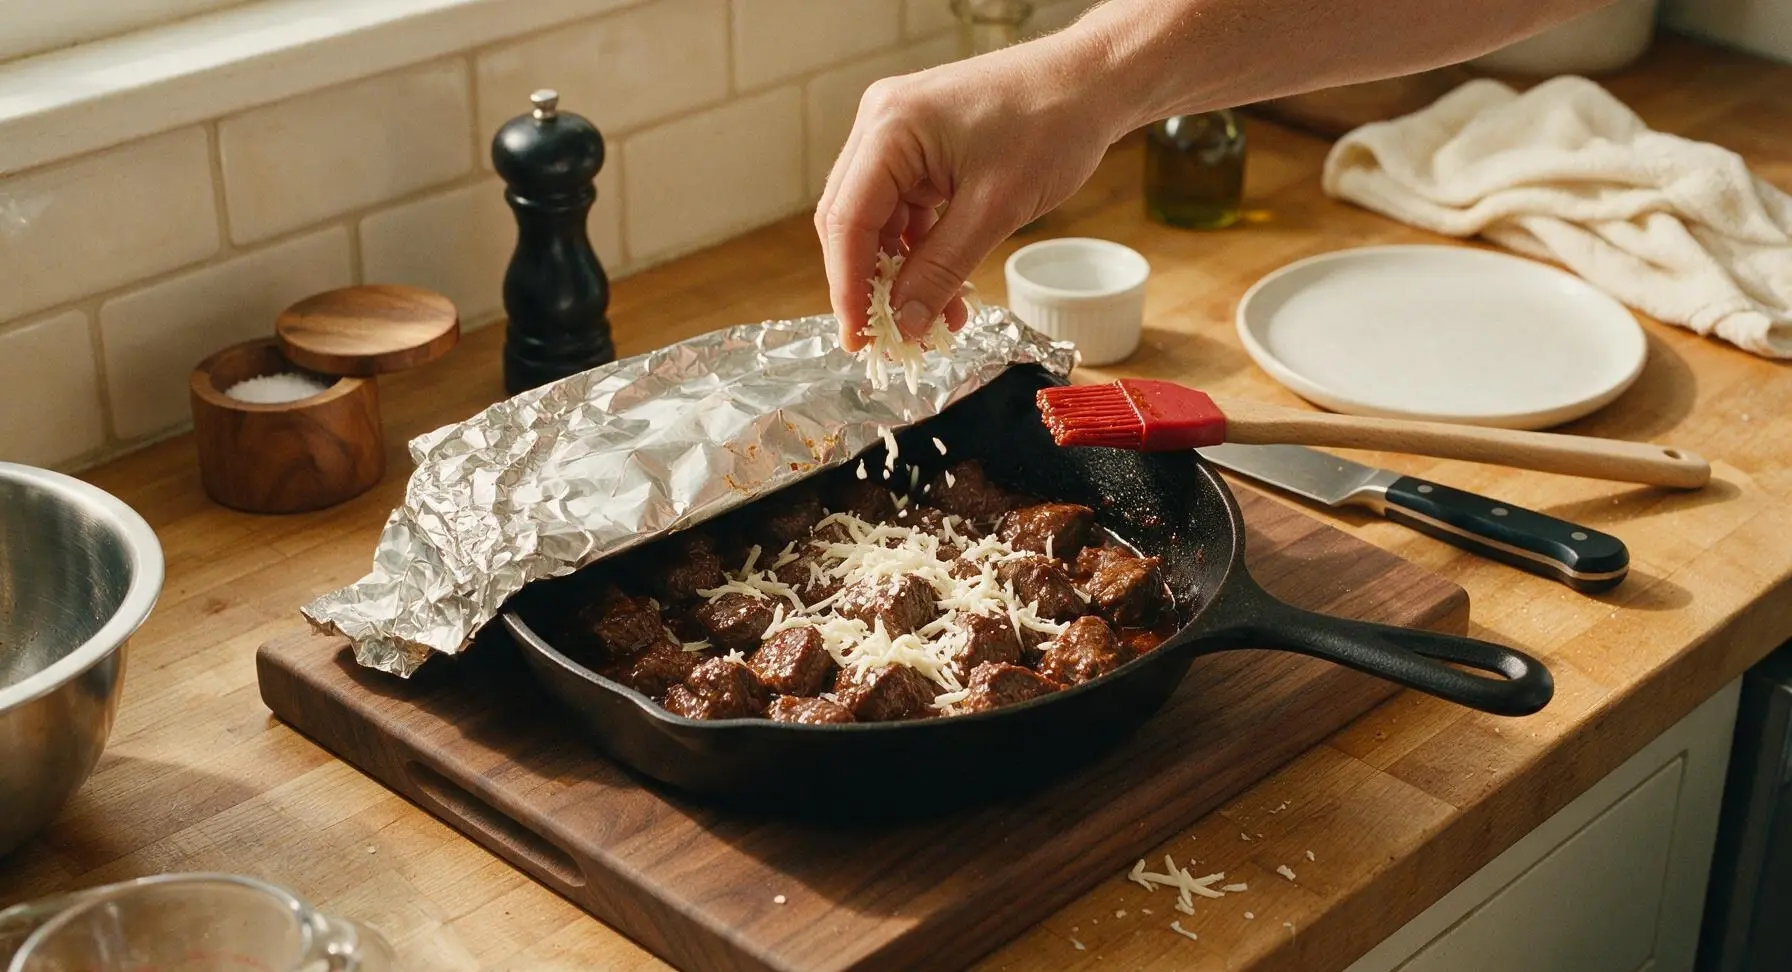
After 45 minutes of covered cooking, carefully remove the foil cover from the pan (watch for escaping hot steam). Use the silicone basting brush to spread the remaining warm enchilada sauce evenly over any dry spots on the cube surfaces. Sprinkle the shredded Oaxaca cheese evenly over the top of the sauced cubes. Return the uncovered pan to the smoker (or oven) for 10 more minutes, until the cheese is fully melted, bubbly, and just starting to brown in spots, and the cubes reach 200°F (93°C) internal temperature for perfect tender burnt end texture.
Step 6
step6:Top with Cheese and Finish
7

Plate and Garnish

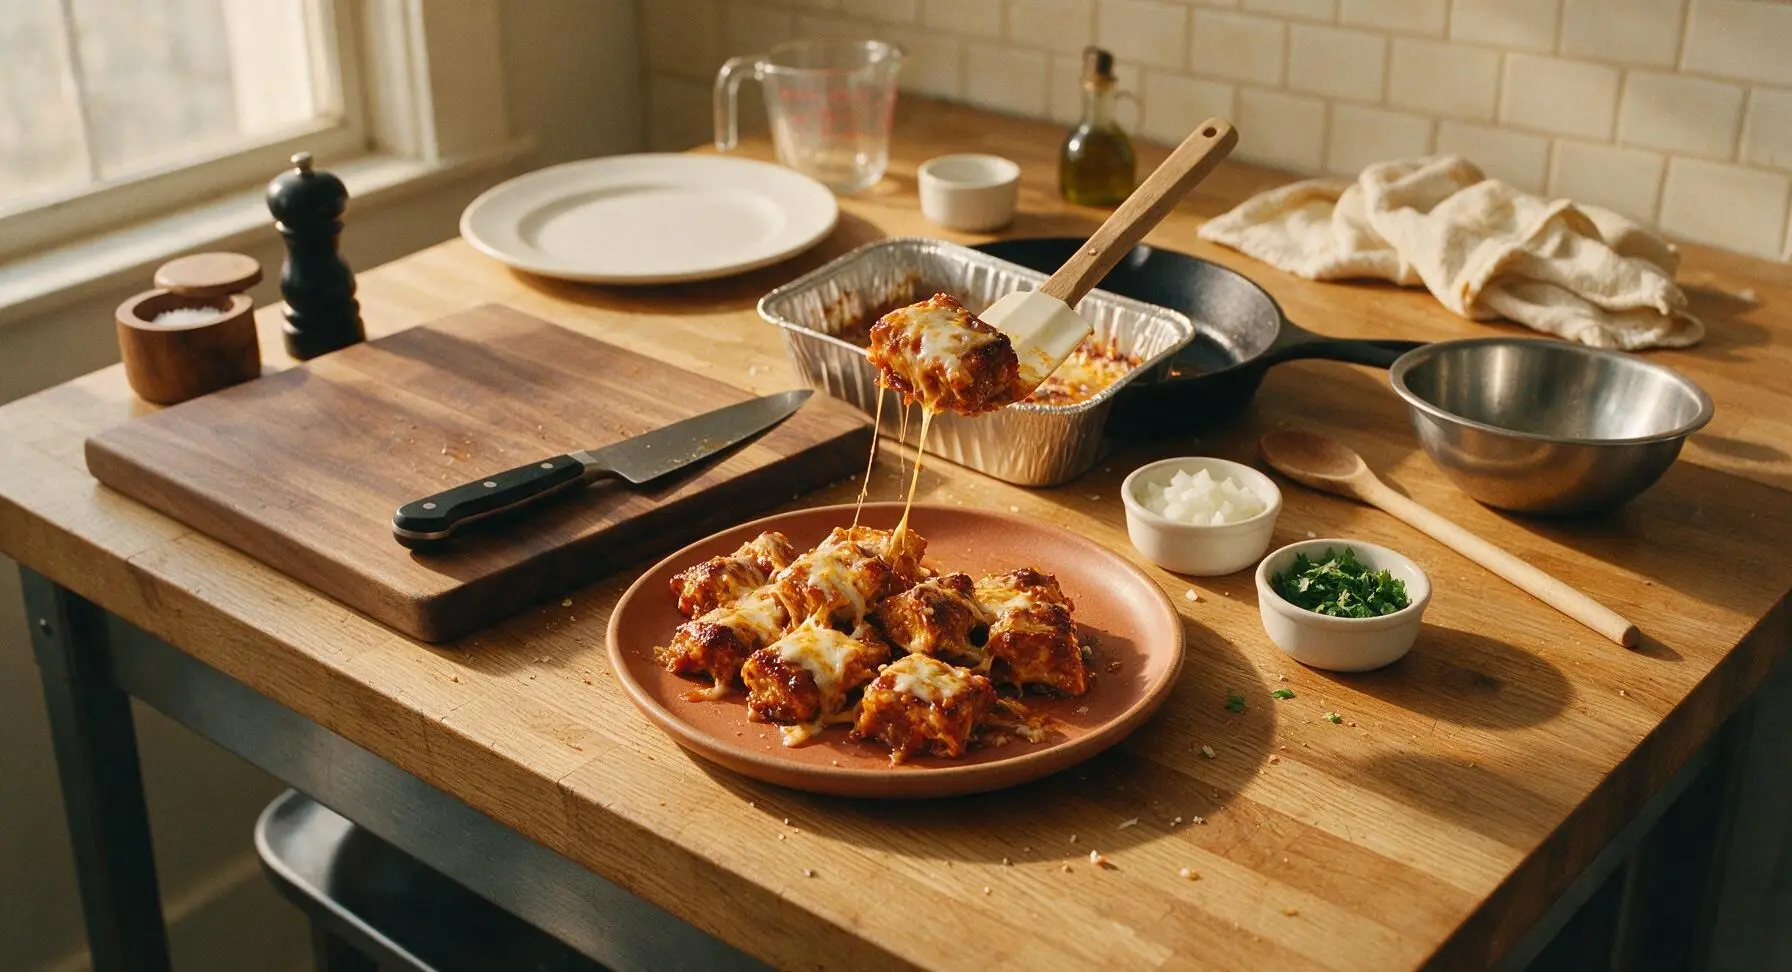
Once the cheese is fully melted and bubbly with light golden edges, remove the pan from heat. Use the offset spatula to transfer the hot sauced burnt ends to the center of the matte terracotta serving platter, piling them in a loose, tall stack. Drizzle Mexican crema in a thin zig-zag pattern over the top, then sprinkle with finely diced white onion and chopped fresh cilantro. Tuck lime wedges around the edge of the platter for squeezing over the top before serving.
Step 7
step7:Plate and Garnish

Tips

1.Avoid cutting beef cubes smaller than 1.5 inches before the second cook: smaller pieces will dry out quickly under high heat, losing the juicy, tender texture that defines perfect burnt ends.
2.Let the rubbed roast rest 20 minutes at room temperature before smoking: this allows salt to penetrate the meat surface, helping the spice bark form a tight, flavorful crust that won’t rub off during handling.
3.Use block Oaxaca cheese shredded fresh at home instead of pre-shredded cheese: pre-shredded varieties are coated in anti-caking agents that prevent smooth, stringy melting, while fresh Oaxaca melts into the perfect gooey, enchilada-style cheese layer.


✨ You May Also Like

BBQ & Grilling
🍜 United States

Tender, melt-in-your-mouth beef brisket with a crisp, spiced bark, slow-smoked to deep smoky perfection, the iconic centerpiece of Texas backyard barbecue.

⏱️ 12 hours BBQ & Grilling ★ 4.4
BBQ & Grilling
🍜 Korea

Tender, sweet-savory marinated beef short ribs, a beloved Korean BBQ staple with caramelized, slightly charred edges and deep umami flavor, perfect for outdoor summer gatherings.

⏱️ 4 hours 2BBQ & Grilling ★ 4.8
BBQ & Grilling
🍜 United States

Juicy grilled beef patties topped with smoky homemade chili, melted cheddar, and tangy pickles on toasted brioche buns for a hearty, flavor-packed handheld meal.

⏱️ 40 minuteBBQ & Grilling ★ 4.7
BBQ & Grilling
🍜 United States

A sweet, smoky, tangy BBQ sauce brightened with peak-season dark cherries, ideal for glazing grilled ribs, chicken, pork, or summer roasted veggies.

⏱️ 35 minuteBBQ & Grilling ★ 4.7
BBQ & Grilling
🍜 United States

Rich, smoky, slightly sweet homemade bourbon BBQ sauce with deep caramel notes, ideal for glazing grilled ribs, chicken, and burgers at cookouts.

⏱️ 25 minuteBBQ & Grilling ★ 4.7
BBQ & Grilling
🍜 United States

Iconic Alabama-style BBQ featuring tender hickory-smoked chicken slathered in tangy creamy white sauce, a beloved regional Southern cookout staple.

⏱️ 3 hoursBBQ & Grilling ★ 5

Enchilada Burnt Ends:Frequently Asked Questions

1.What cut of beef works best for enchilada burnt ends, and why? ▾
Boneless beef chuck roast is the ideal pick for this recipe. Its generous intramuscular marbling melts during low-and-slow cooking to create that signature juicy, pull-apart texture without drying out, unlike leaner cuts like sirloin or round. Trim thick, hard surface fat first, then cut it into uniform 1.5-inch cubes for even cooking.
2.Do I need a dedicated smoker to make enchilada burnt ends, or can I use my home oven? ▾
You don’t need a fancy dedicated smoker to nail this recipe! For oven prep, cook seasoned beef cubes at 275°F on a wire rack set over a baking sheet for 2.5 to 3 hours until tender, then toss with sauce and cheese. Add a pinch of extra smoked paprika to mimic that classic smoky depth if you don’t have wood chips for the oven.
3.What dry rub seasonings should I use on the beef before adding enchilada sauce? ▾
Stick to a simple, bold rub that lets the beef flavor shine: for a 3lb chuck roast, mix 1 tablespoon kosher salt, 1 tablespoon coarse ground black pepper, 2 tablespoons smoked paprika, and 1 tablespoon garlic powder. Toss cubed beef evenly in this mix before cooking, and hold off on adding sauce until cubes are almost tender to build a nice savory crust.
4.What can I substitute for Oaxaca cheese if I can’t find it at my local grocery store? ▾
Oaxaca is beloved here for its ultra-stretchy, mild, creamy melt, but you can easily swap it for low-moisture mozzarella if it’s hard to track down. For a little extra tang, mix 3 parts mozzarella with 1 part shredded Monterey Jack. Skip pre-shredded cheese with anti-caking additives, as those won’t melt into that gooey, sticky coating we want.
5.How do I tell when my enchilada burnt ends are fully done and ready to serve? ▾
Your burnt ends are perfectly cooked when the beef cubes are probe-tender—meaning a meat thermometer or fork slides in with almost no resistance, at an internal temp of 200–205°F. After tossing with red enchilada sauce and cheese, pop them back in the heat just long enough for the sauce to turn sticky and cheese to fully melt, about 10 more minutes.
6.What type of red enchilada sauce works best for this recipe? ▾
Reach for a rich, slightly thick red enchilada sauce, not the thin, watery budget canned variety. You can use homemade sauce for the brightest, freshest flavor, or a high-quality store-bought medium-heat red sauce for balanced depth. Avoid extra-spicy sauce on your first batch, so it doesn’t overpower the smoky beef and melted cheese.
7.My burnt ends came out tough and chewy—what did I do wrong, and can I fix them? ▾
Tough, chewy burnt ends almost always come from cutting cook time too short, or using too lean a cut of beef. Chuck roast needs steady low heat to break down tough connective tissue into tender, juicy bites. If your cubes are chewy, pop them back in 275°F heat, covered, for 20–30 minutes until they soften to that perfect pull-apart texture.
8.Can I prep enchilada burnt ends ahead of time for game day or a party? ▾
These are ideal for prepping ahead for gatherings! Smoke or bake the seasoned beef cubes up to 2 days in advance, store them in an airtight container in the fridge, then toss with enchilada sauce and cheese and bake at 350°F for 15 minutes right before serving. They hold up great in a slow cooker on the warm setting for easy self-serve, too.
9.Should I wrap the beef cubes in foil during the cooking process? ▾
Skip wrapping the beef cubes for the first 2 hours of cook time to let that smoky, seasoned crust form on the outside. Once the cubes hit about 190°F internal temp, toss them with sauce, top with cheese, and cover loosely with foil for the final 10–15 minutes to lock in moisture and let cheese melt evenly without burning.
10.What are the best sides to serve with enchilada burnt ends? ▾
These bold, sticky bites pair perfectly with classic Tex-Mex sides that cut through their richness. Serve them with cilantro-lime rice, charro beans, a crisp green salad with lime vinaigrette, warm corn tortillas, or creamy street corn. Top bites with a sprinkle of chopped cilantro and fresh lime squeeze right before serving for a bright, zesty pop.
11.Can I make this recipe with a different protein instead of beef chuck roast? ▾
You can absolutely swap proteins if you prefer, though chuck delivers the most classic tender result. Boneless pork shoulder works beautifully, with similar rich marbling that holds up to low-and-slow cooking. If you use leaner chicken thighs, cut cook time by about a third to avoid drying out the meat, and keep the same seasoning and sauce steps.

Comments (6)

2 days ago

OMG these enchilada burnt ends were an absolute game changer for our Sunday football watch party! I was a little nervous about the 3hr+ cook time but it was 100% worth it. The outside was crispy, the inside was juicy, and that enchilada glaze had just the right kick. My buddies kept asking for the recipe before halftime even hit. Only note is I added a little extra cheese on top the last 10 mins because I’m a cheese fiend, no regrets. 10/10 will make again for our next potluck!

yesterday

Wait adding extra cheese is genius! Did you use cotija or regular shredded Mexican blend?

yesterday

So glad these were a hit at your watch party! Extra cheese is always a welcome addition in our book – both cotija and Mexican blend work great, we love a mix of both for extra savoriness!

yesterday

Made these for family dinner last night and my kids loved it, they went back for seconds AND thirds! I was worried the medium difficulty level would be too much for a weeknight, but I prepped the rub the night before which cut down on day-of work. The only reason I’m not giving 5 stars is my first batch got a little crispier than I wanted on the edges because I got distracted helping with homework, totally my bad though. Still SO good, even the slightly burnt burnt ends, lol.

3 days ago

Tried these for the first time last week and immediately knew I wanted to add them to my weekly meal prep rotation! They’re so flavorful, way better than the boring chicken I usually make. Quick question for folks or the chef – do they reheat well? I froze half the batch and am worried they’ll get mushy when I warm them up.

2 days ago

Great question! These reheat fantastically – just pop them in a 375°F oven or air fryer for 8-10 minutes from frozen, no need to thaw first, and they’ll get nice and crispy again. The microwave works in a pinch but won’t give you that same crisp exterior, so air fryer is definitely our go-to for meal prep!

1 week ago

Brought these to our neighborhood block party this past weekend and they were GONE in 15 minutes. People were hovering over the platter asking where I got the recipe, I felt like a celebrity! I used chuck roast like the recipe said, and the enchilada sauce was so much better than the canned stuff I usually buy. Worth every minute of cook time, no shortcuts needed here.

5 days ago

Wait were you the guy who brought the burnt ends on 5th street? I had three of those and was asking everyone who made them! They were unreal, can’t wait to make them myself for our next tailgate.

3 days ago

That was me! So glad you liked them – pro tip, make a double batch because they disappear faster than you think. I brought 3lbs last weekend and it still wasn’t enough!

5 days ago

First time ever making burnt ends of any kind, and I was stressed about nailing the texture. Turns out the recipe steps were super easy to follow even for a medium difficulty dish! My only feedback is that 3 hours 45 minutes was a little short for my smoker – mine needed an extra 20 minutes to get that perfect pull-apart tenderness, so just a heads up for anyone with an older offset smoker like me. Flavor was 10/10 though, can’t wait to mess around with different sauce variations next time.

3 days ago

Thanks for the heads up about older offset smokers! I’ve got a beat up old one from my dad that always runs a little cool, so I’ll make sure to budget extra time when I make these this weekend.

2 weeks ago

SO good. I made these for my partner’s birthday dinner and he said they’re better than the burnt ends we get at our local BBQ joint. I used a little extra chipotle powder in the rub because we love smoky heat, and it paired perfectly with the enchilada sauce. Already sent the recipe to my whole family, my sister is making them for her birthday next month!



