
English Stout
intro
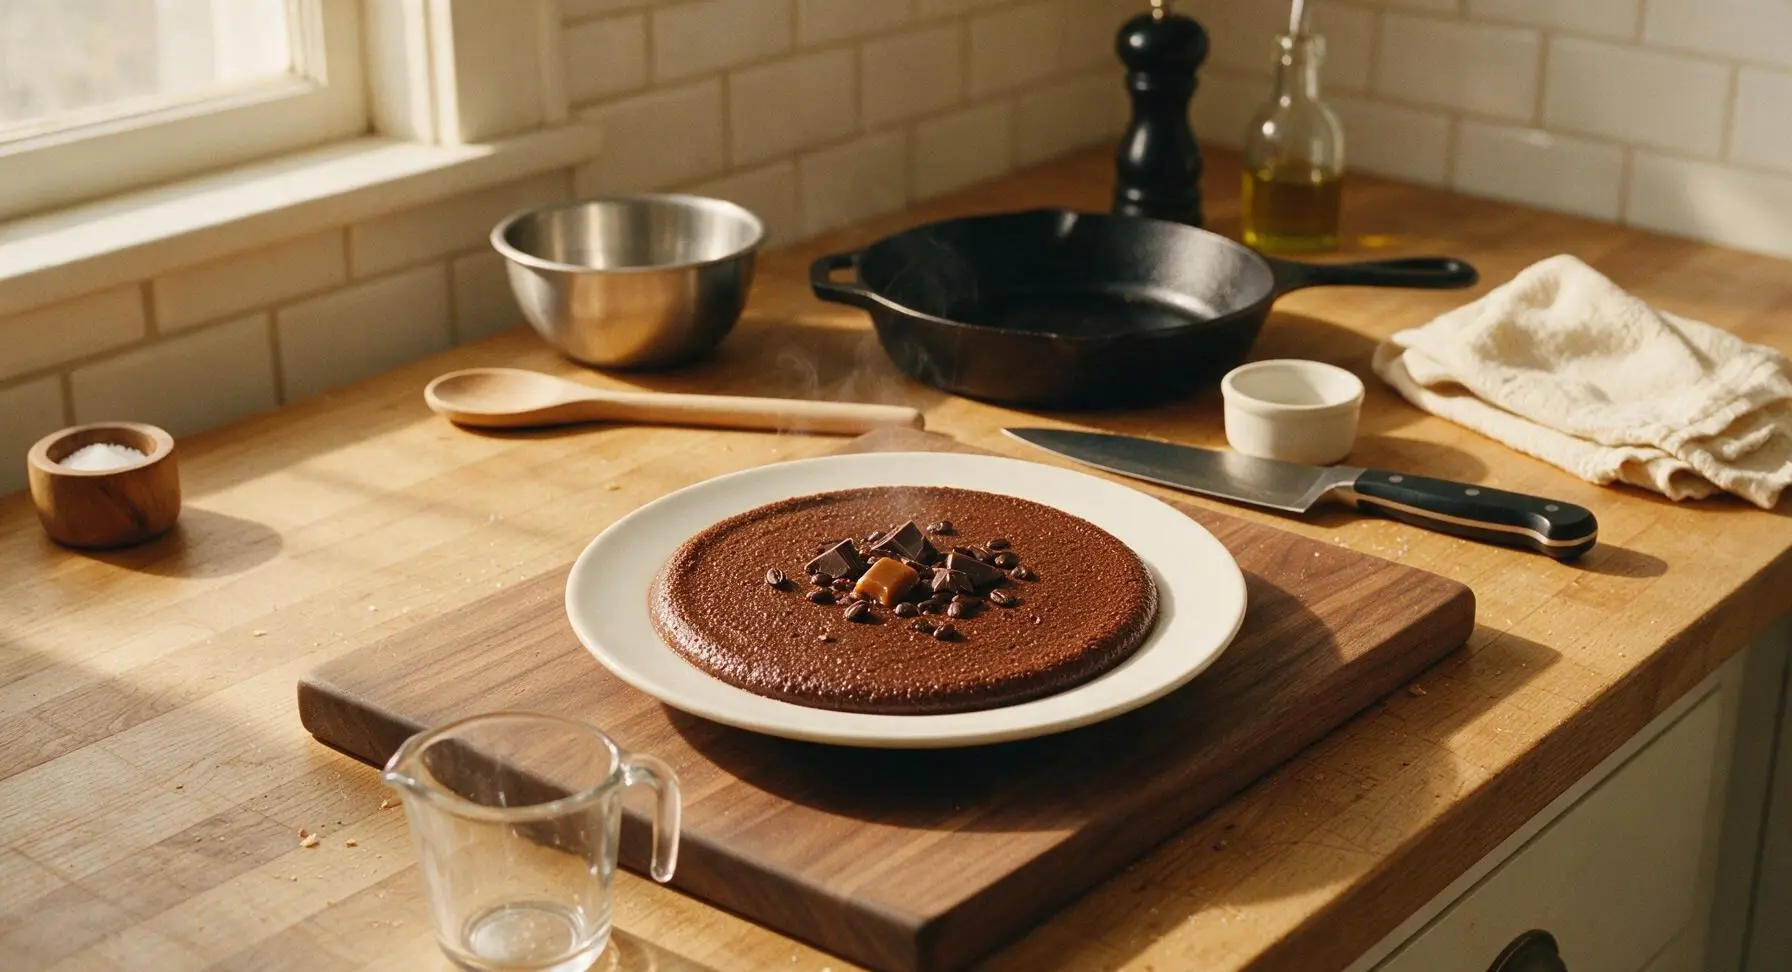
Rich, roasty, velvety traditional English stout with dark chocolate, coffee, and subtle caramel notes, boasting the smooth, creamy carbonation of a classic pub pour.
Ingredients
Steps
Sanitize All Equipment
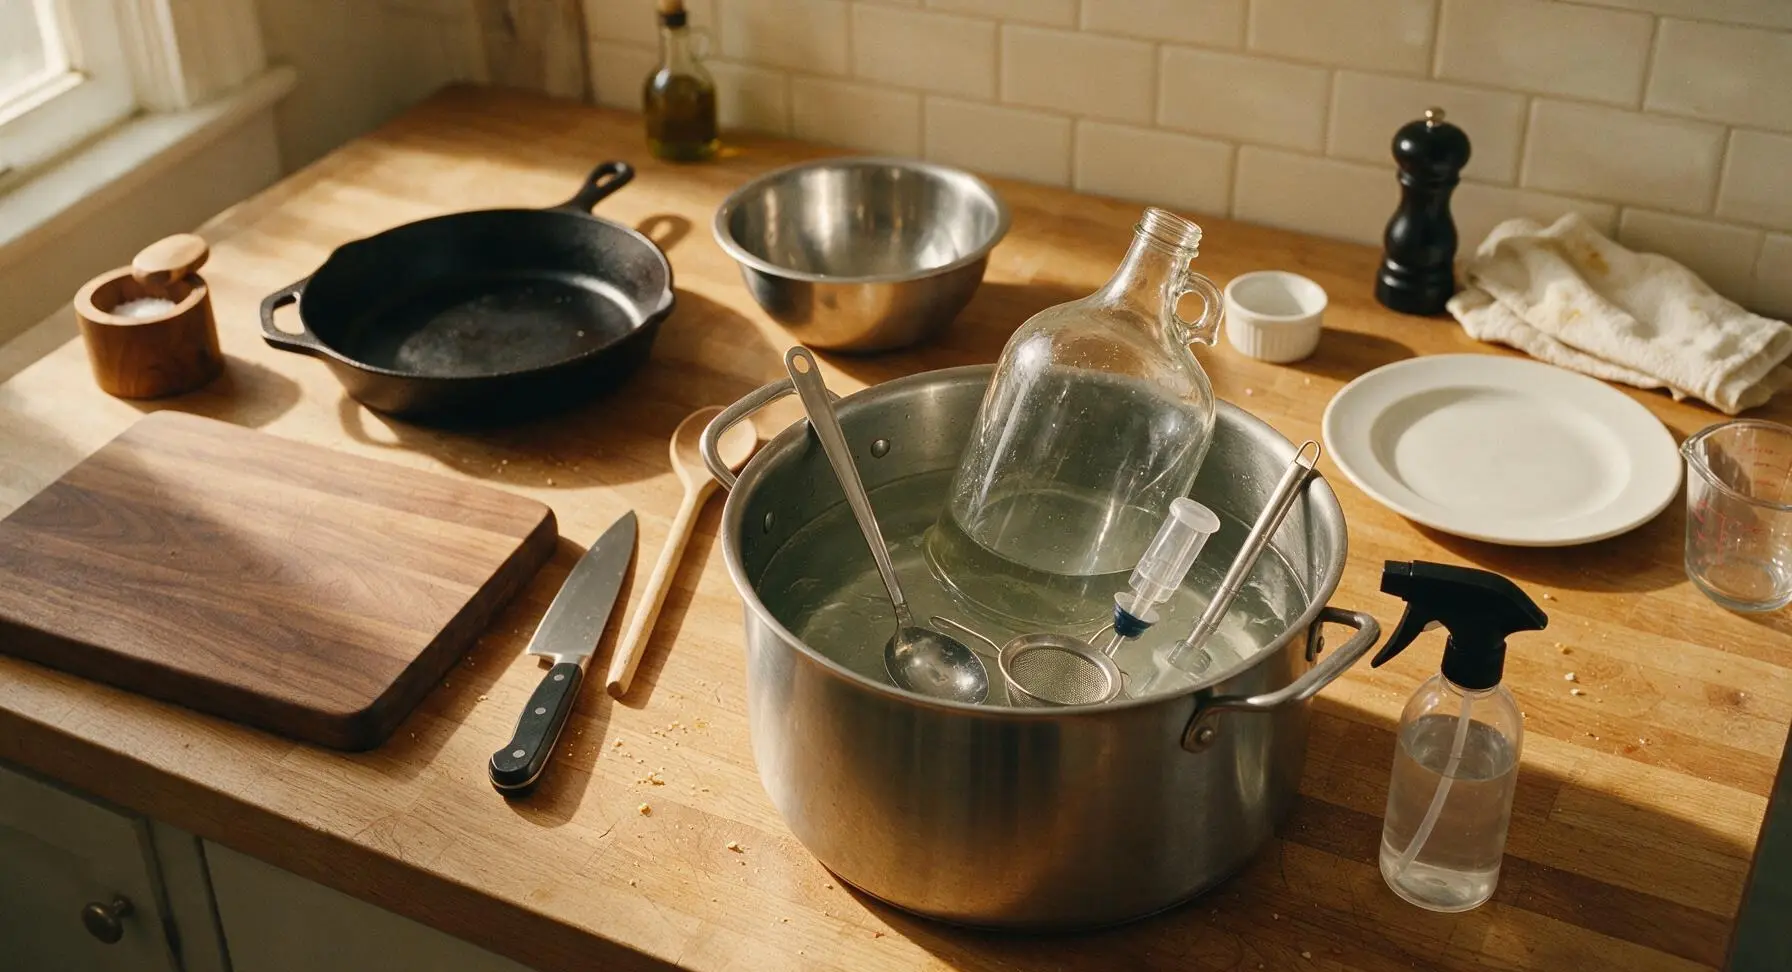
Mix no-rinse food-grade sanitizer per package directions in the 8L stainless steel stock pot. Submerge the 1-gallon fermentation jug, long stirring spoon, fine mesh strainer, airlock, and auto-siphon in the solution for 60 seconds, then use the sanitizer spray bottle to coat the interiors of all amber bottles, crown caps, 1L measuring cup, and the bottle capper contact points. Allow all equipment to air dry completely on the clean counter; do not wipe, as the sanitizer leaves a food-safe residue. Visual cue: all equipment glistens faintly with sanitizer, with no visible dust or debris on surfaces.
Heat Mash Water
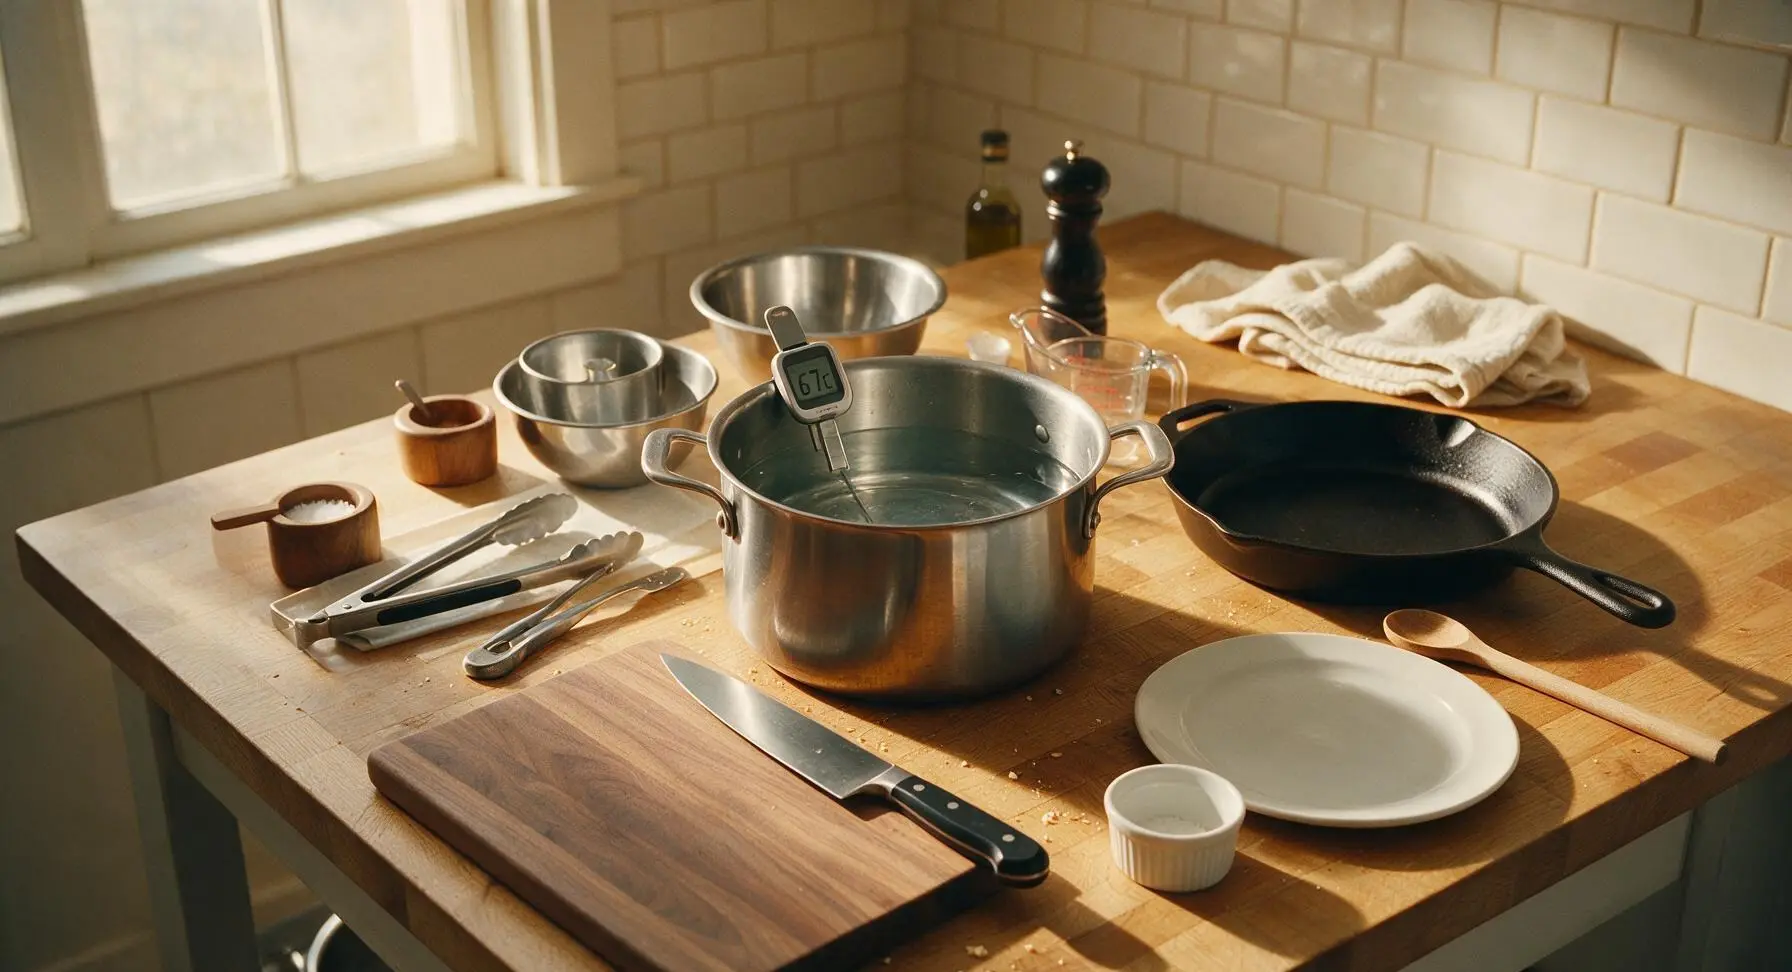
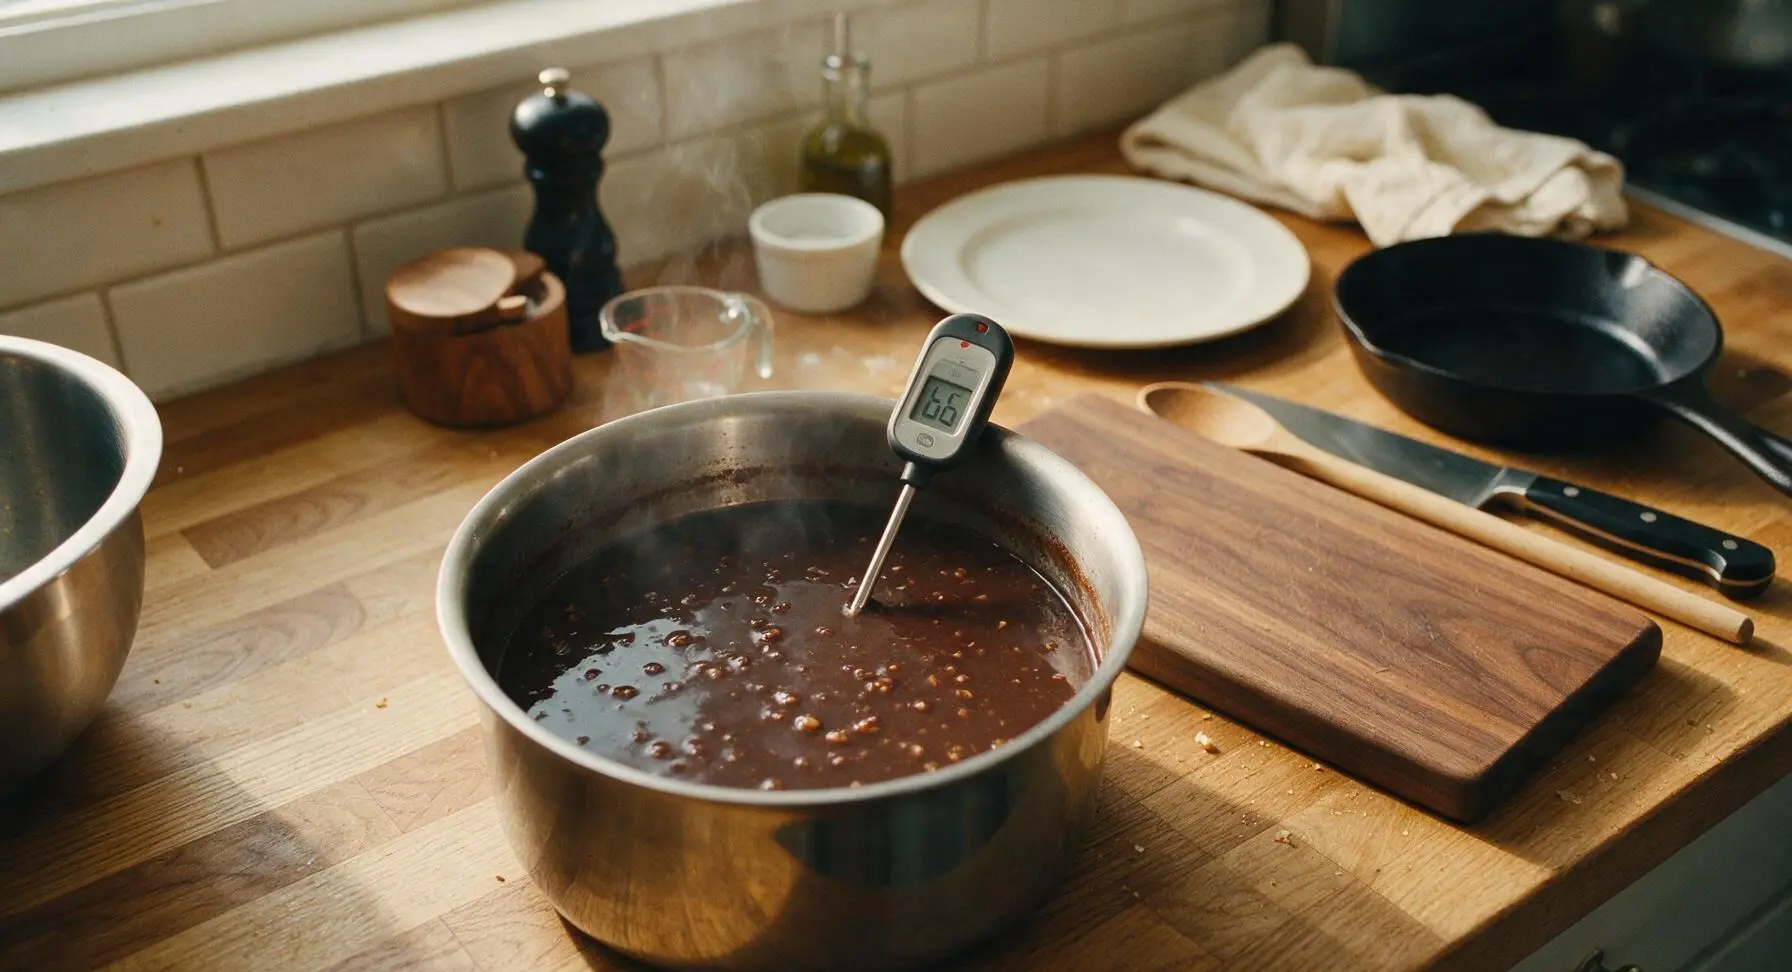
After emptying sanitizer from the stock pot, pour 3L of filtered water into the pot and warm over medium heat to exactly 67C (153F), monitoring temperature closely with the digital instant-read thermometer clipped to the pot rim. Hold this temperature steady, taking care not to let water exceed 70C (158F), as higher temperatures will extract harsh, astringent tannins from grain husks later in the process.
Steep Milled Grains
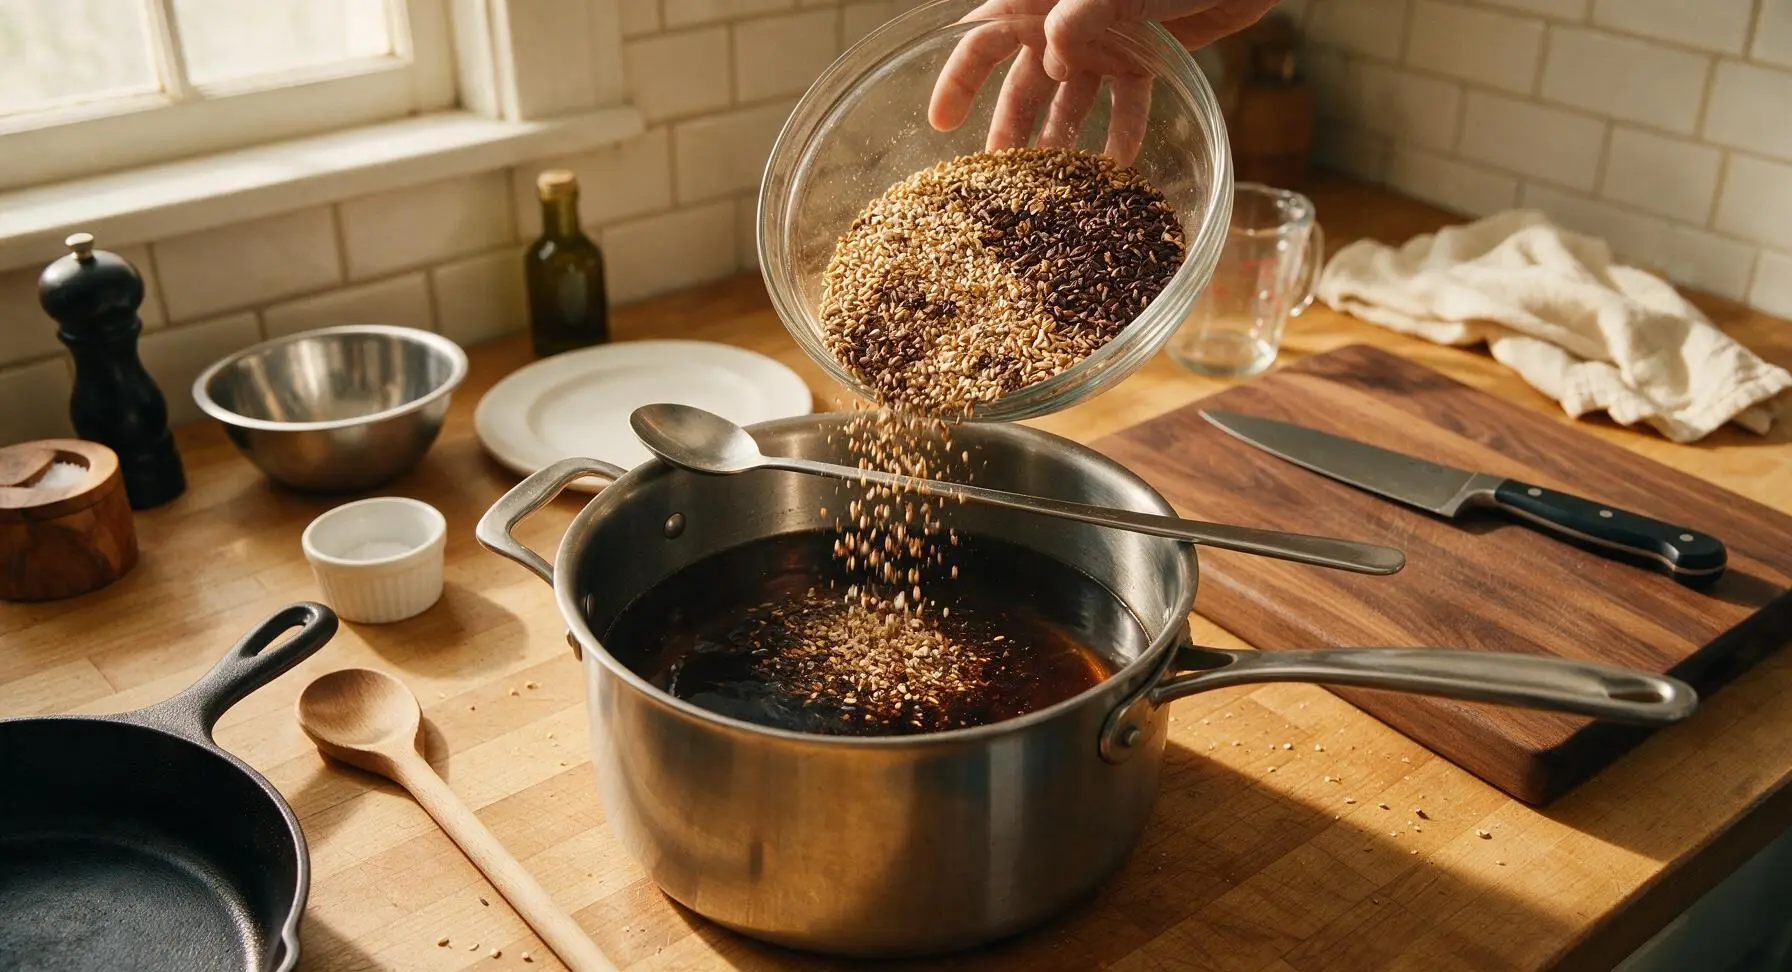
Add all milled pale malt, roasted barley, chocolate malt, and crystal malt to the heated water, stirring gently with the long stainless steel spoon to break up any dry clumps. Cover the pot with its lid and hold the temperature steady at 65-67C (149-153F) for 60 minutes, checking temperature every 10 minutes and adjusting heat as needed. Visual cue: the liquid will deepen to a dark ebony color, releasing a sweet, bready, roasty aroma as the grains steep. Do not stir aggressively, as this can compact grain beds and cause stuck runoff later.
Boil and Add Hops
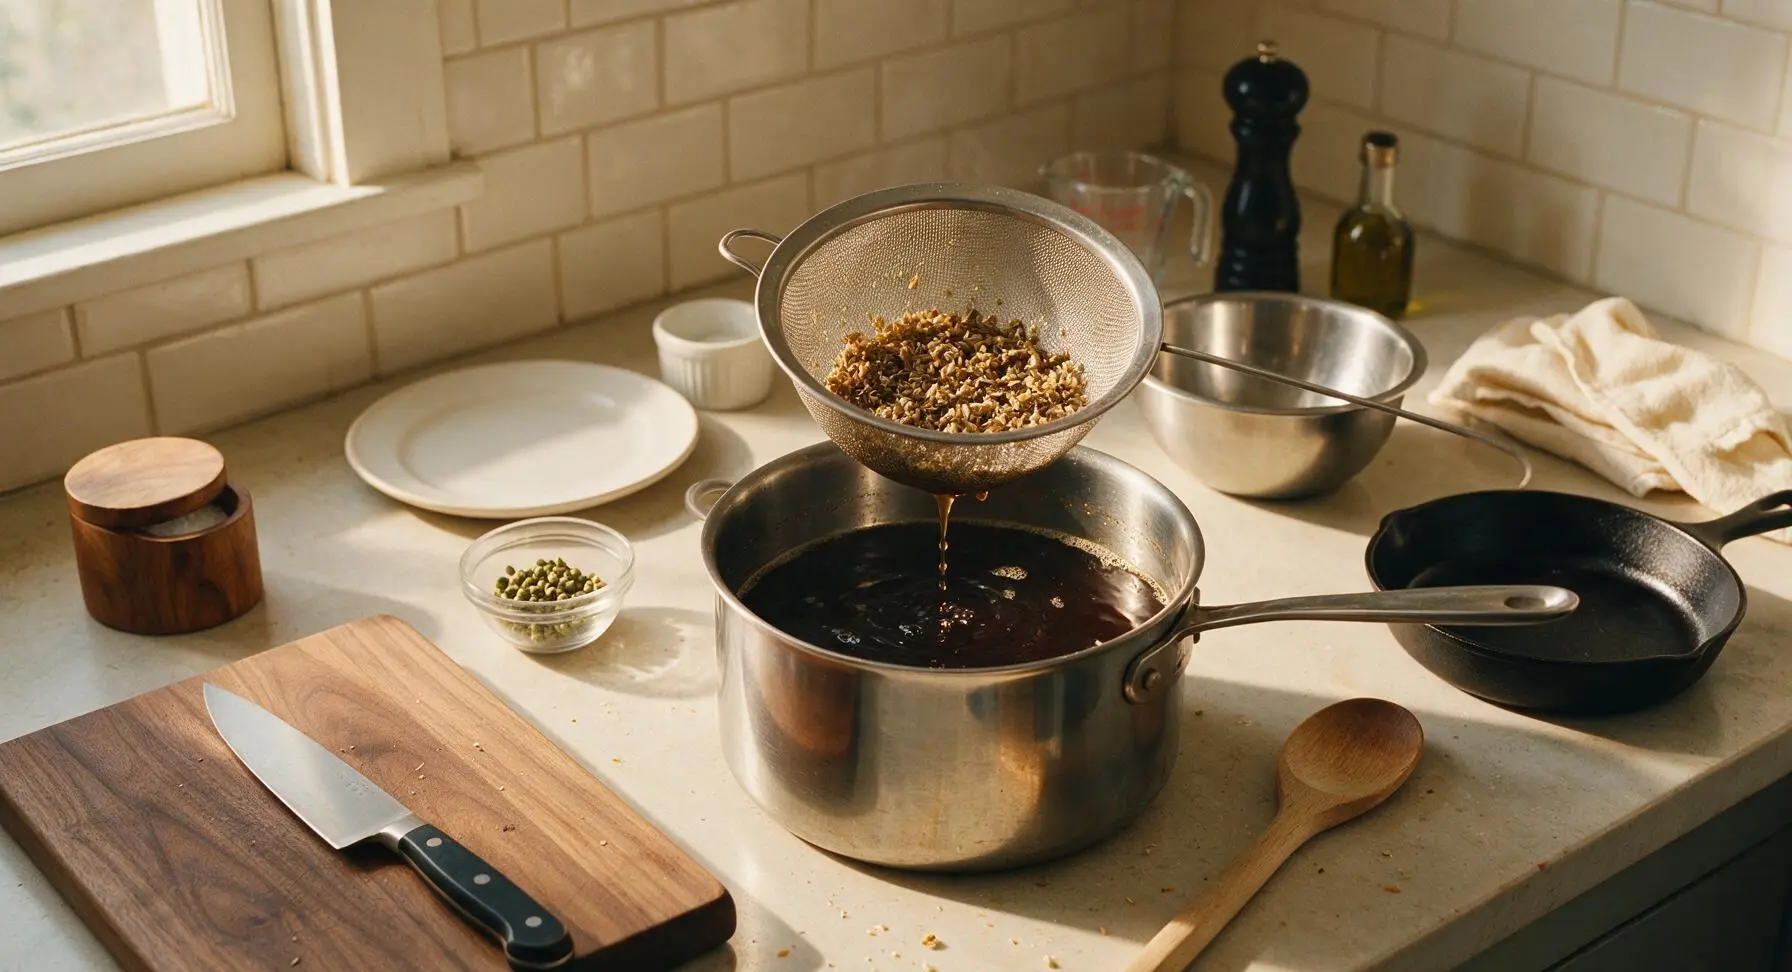
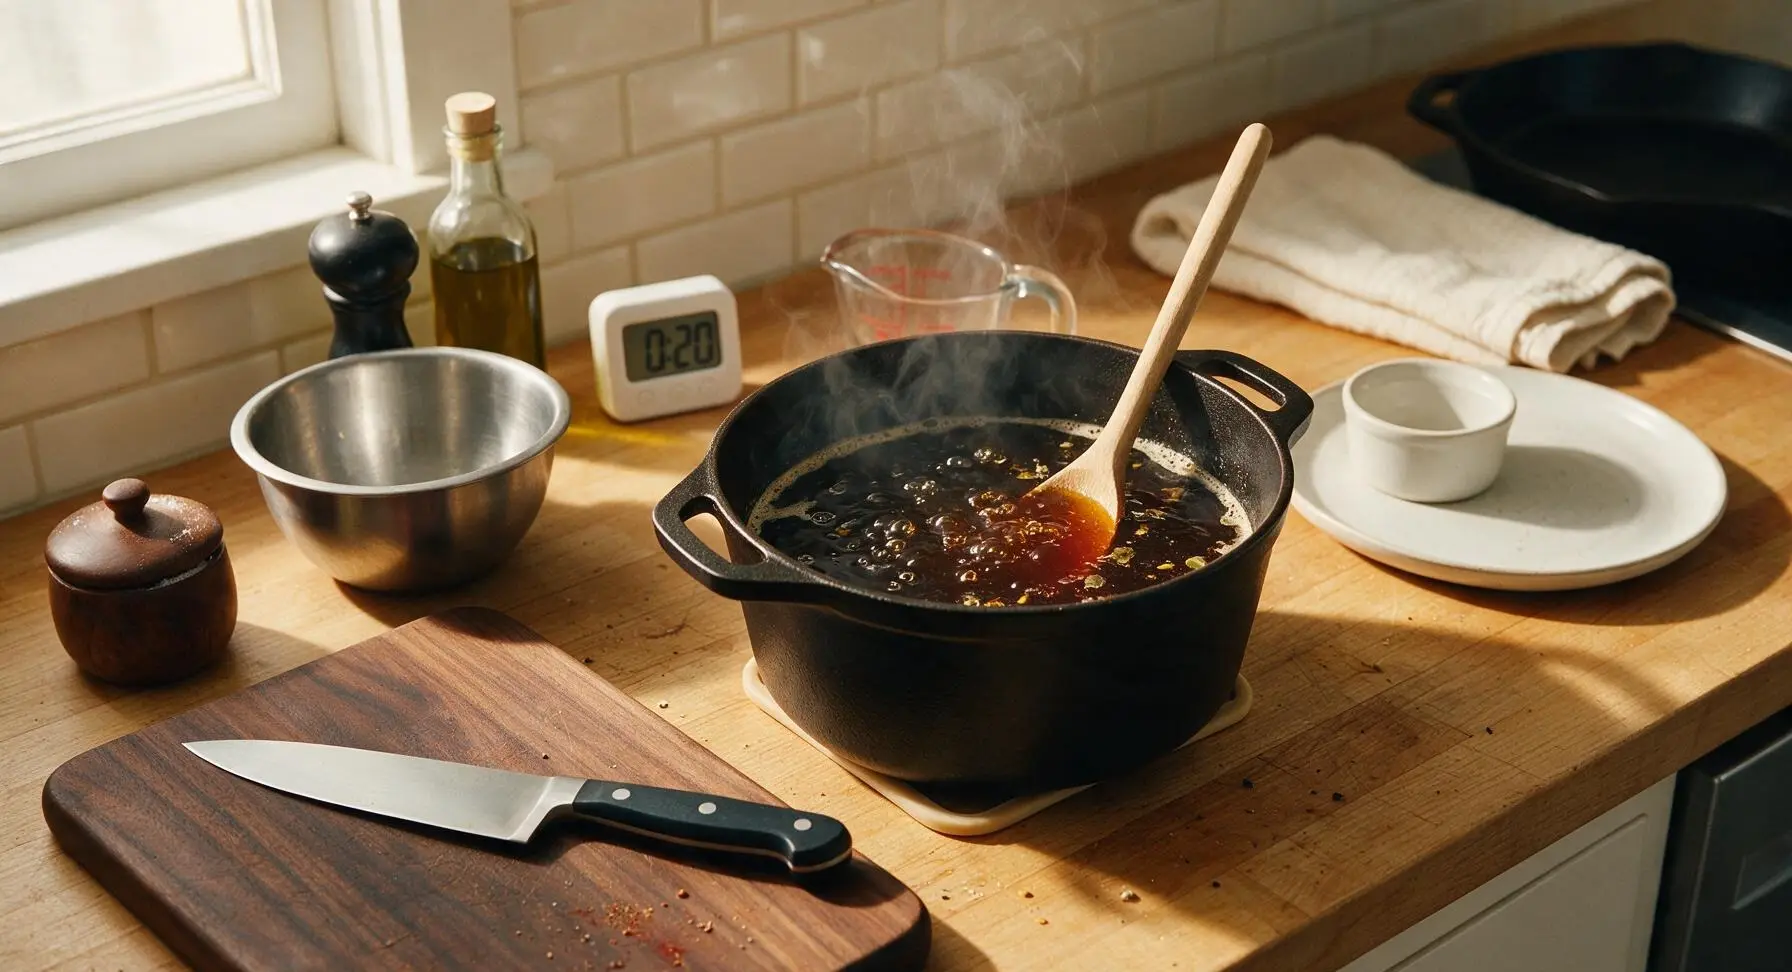
Lift all steeped grains out of the pot using the fine mesh strainer, allowing excess liquid to drain back into the pot (do not squeeze the grains). Bring the remaining dark wort to a gentle, rolling boil, then set a timer for 60 minutes total boil time. Add 10g of East Kent Goldings hops at the start of the boil (for bittering). When 15 minutes remain on the timer, add the remaining 5g East Kent Goldings and all 8g Fuggle hops (for flavor and aroma). When 5 minutes remain, add crushed roasted coffee beans and cacao nibs. Adjust heat to maintain a steady gentle boil, skimming any light white foam that rises to prevent boilovers.
Cool and Pitch Yeast
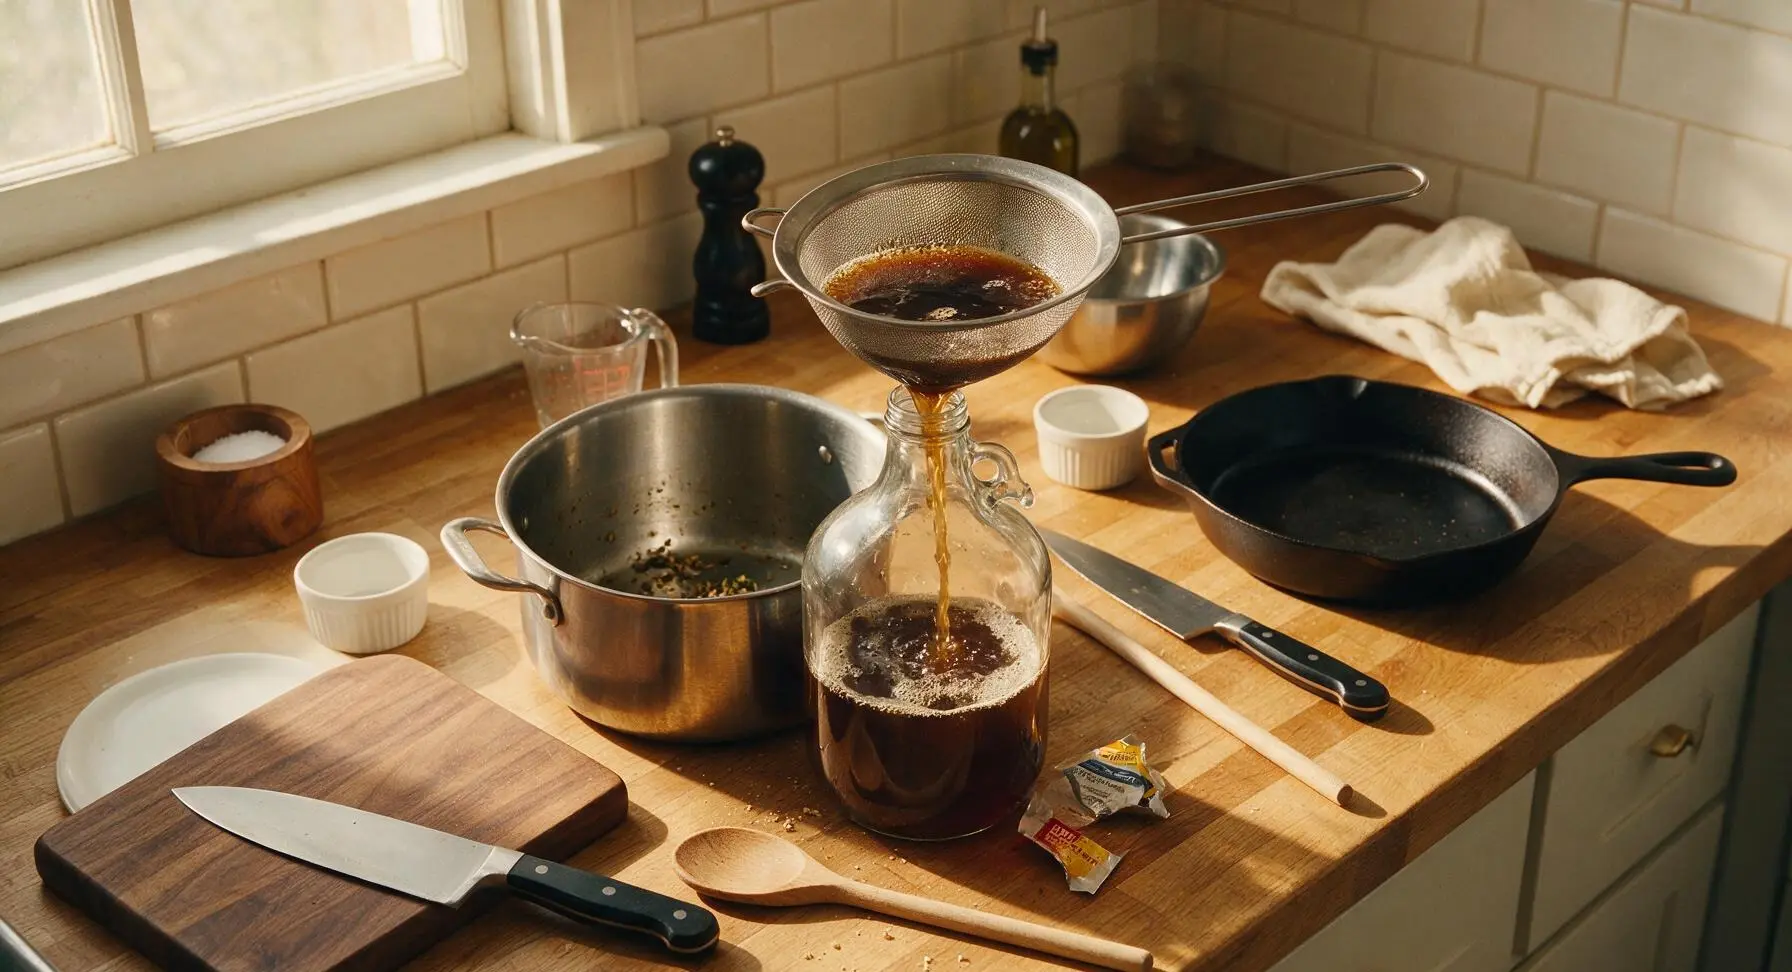
Once the 60-minute boil is complete, remove the pot from heat and cool the wort as quickly as possible to 20C (68F) by setting the pot in a sink of ice water, stirring gently every 5 minutes to speed cooling. Once at target temperature, pour the wort through the fine mesh strainer into the sanitized 1-gallon glass fermentation jug, topping up with remaining filtered water to reach the 3.8L (1 gallon) volume mark if needed. Sprinkle the entire 5g packet of English ale yeast over the wort surface, then seal the jug with the sanitized airlock filled halfway with sanitizer solution.
Ferment for Two Weeks
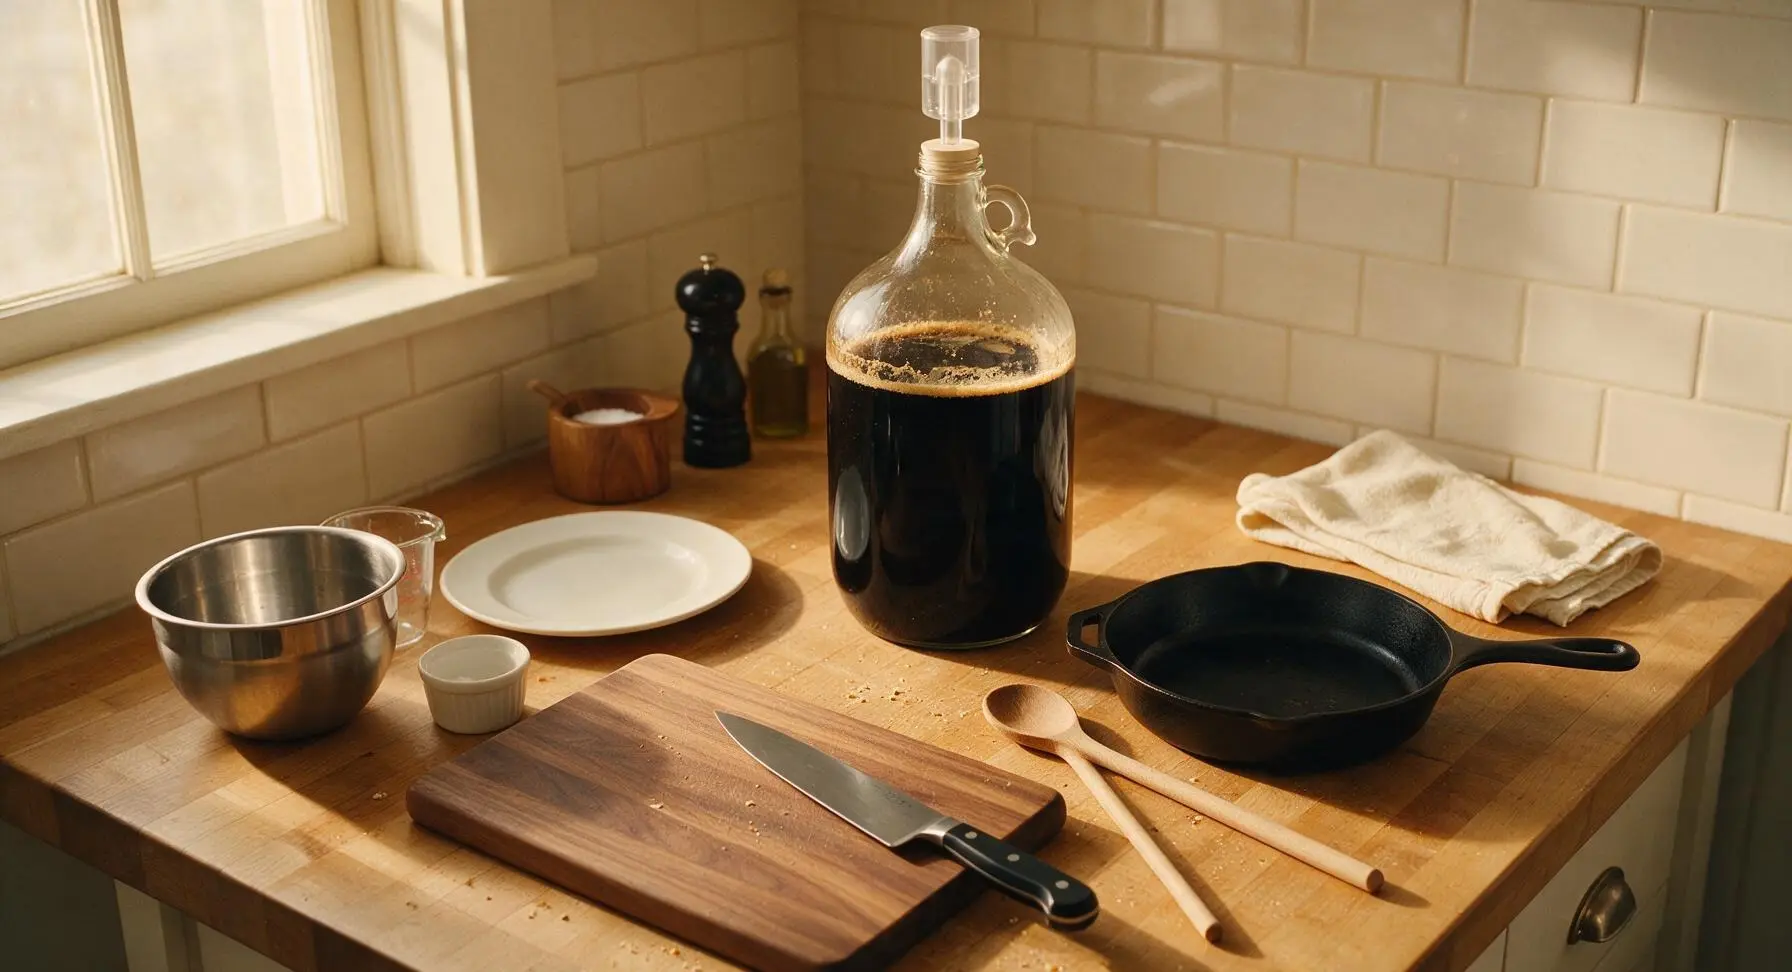
Move the sealed fermentation jug to a dark, temperature-stable spot held at 18-20C (65-68F). Allow primary fermentation to proceed for 14 days; you will see steady bubbles rise through the airlock for the first 3-5 days as yeast converts sugar to alcohol and carbon dioxide. Visual cue: fermentation is complete when the airlock shows no bubbles for 48 consecutive hours, the stout clears from cloudy to translucent dark, and a thin layer of pale tan yeast sediment settles firmly at the bottom of the jug.
Bottle with Priming Sugar
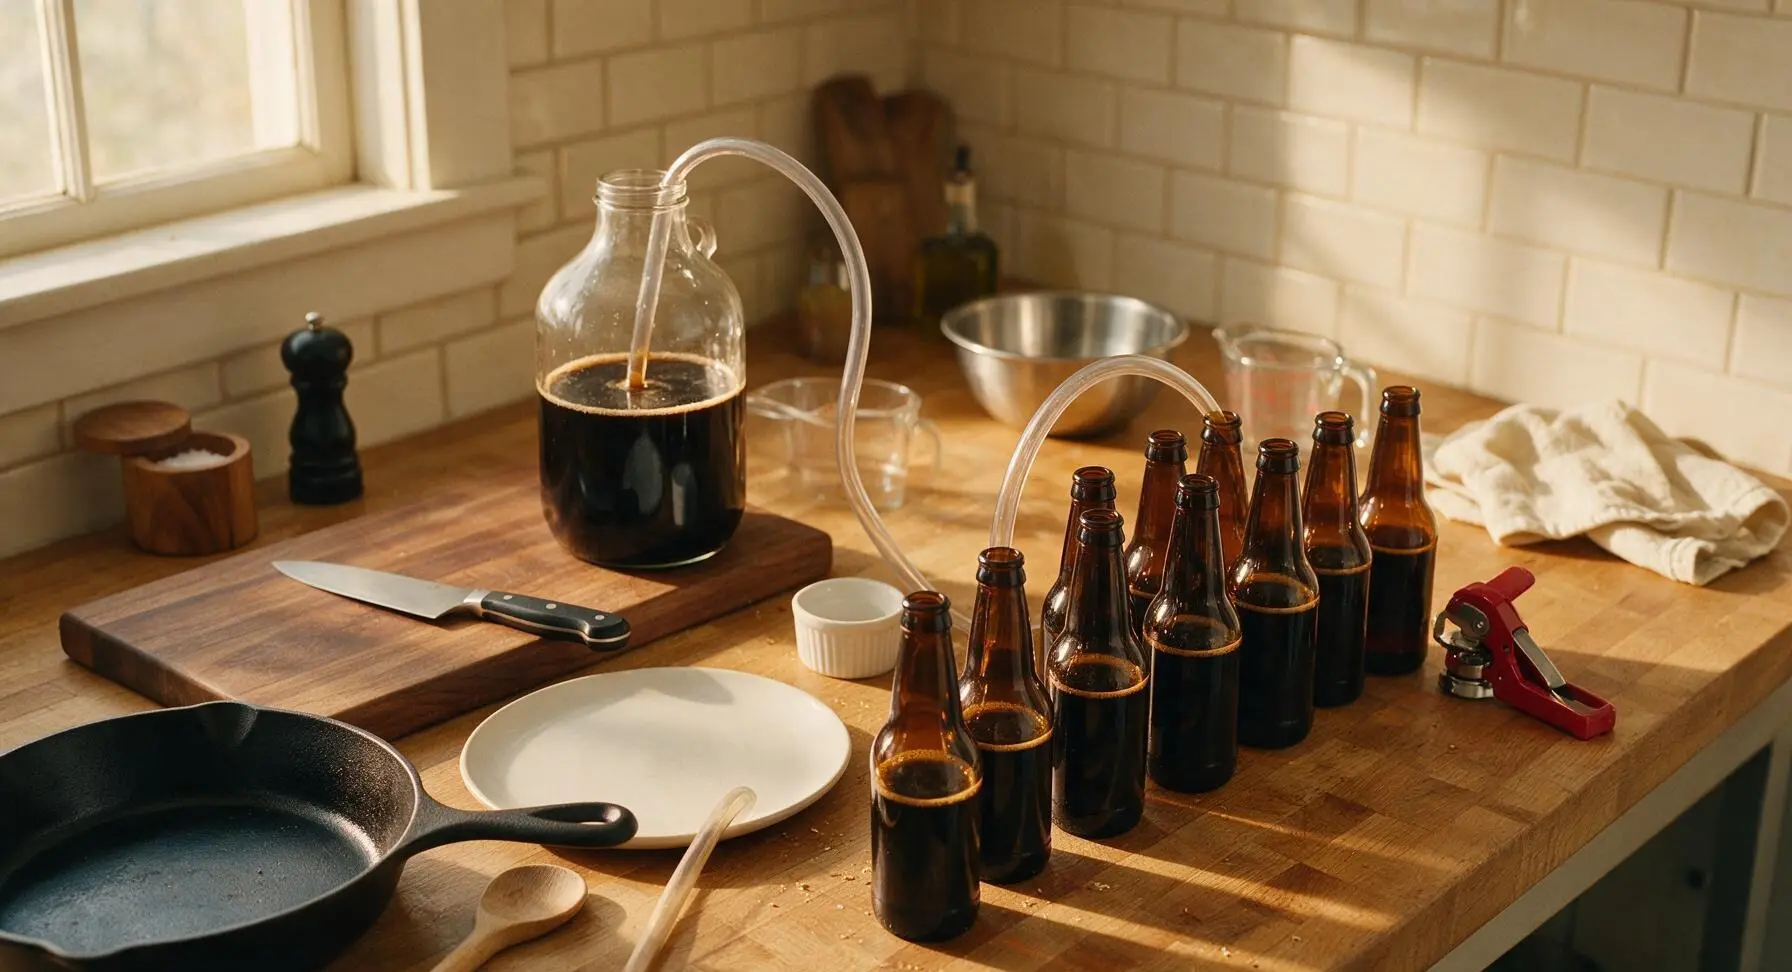
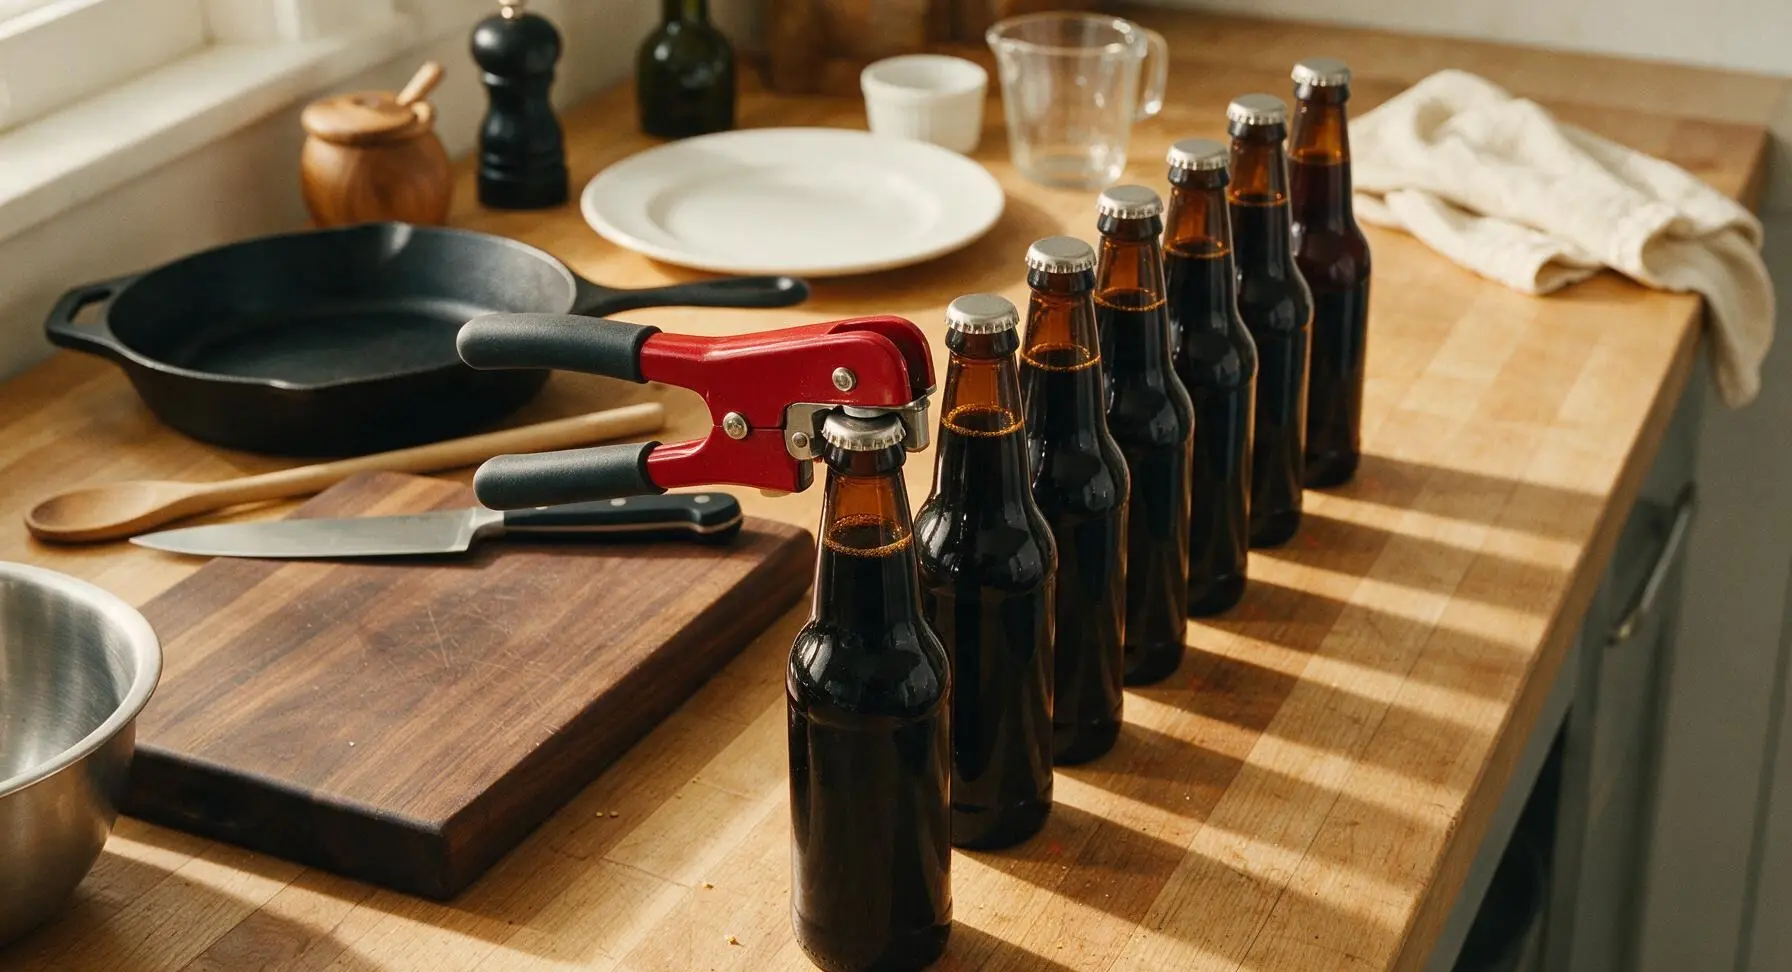
Boil the 30g of corn sugar in 100ml of filtered water for 5 minutes, then cool to room temperature and add to the bottom of the sanitized 1L clear glass measuring cup. Use the food-grade auto-siphon to gently transfer fermented stout from the fermentation jug into the measuring cup, taking care not to siphon up the yeast sediment at the jug bottom. Fill each sanitized 12oz amber glass bottle to 2cm below the rim, then use the red metal bottle capper to seal each bottle with a sanitized crown cap.
Condition and Serve
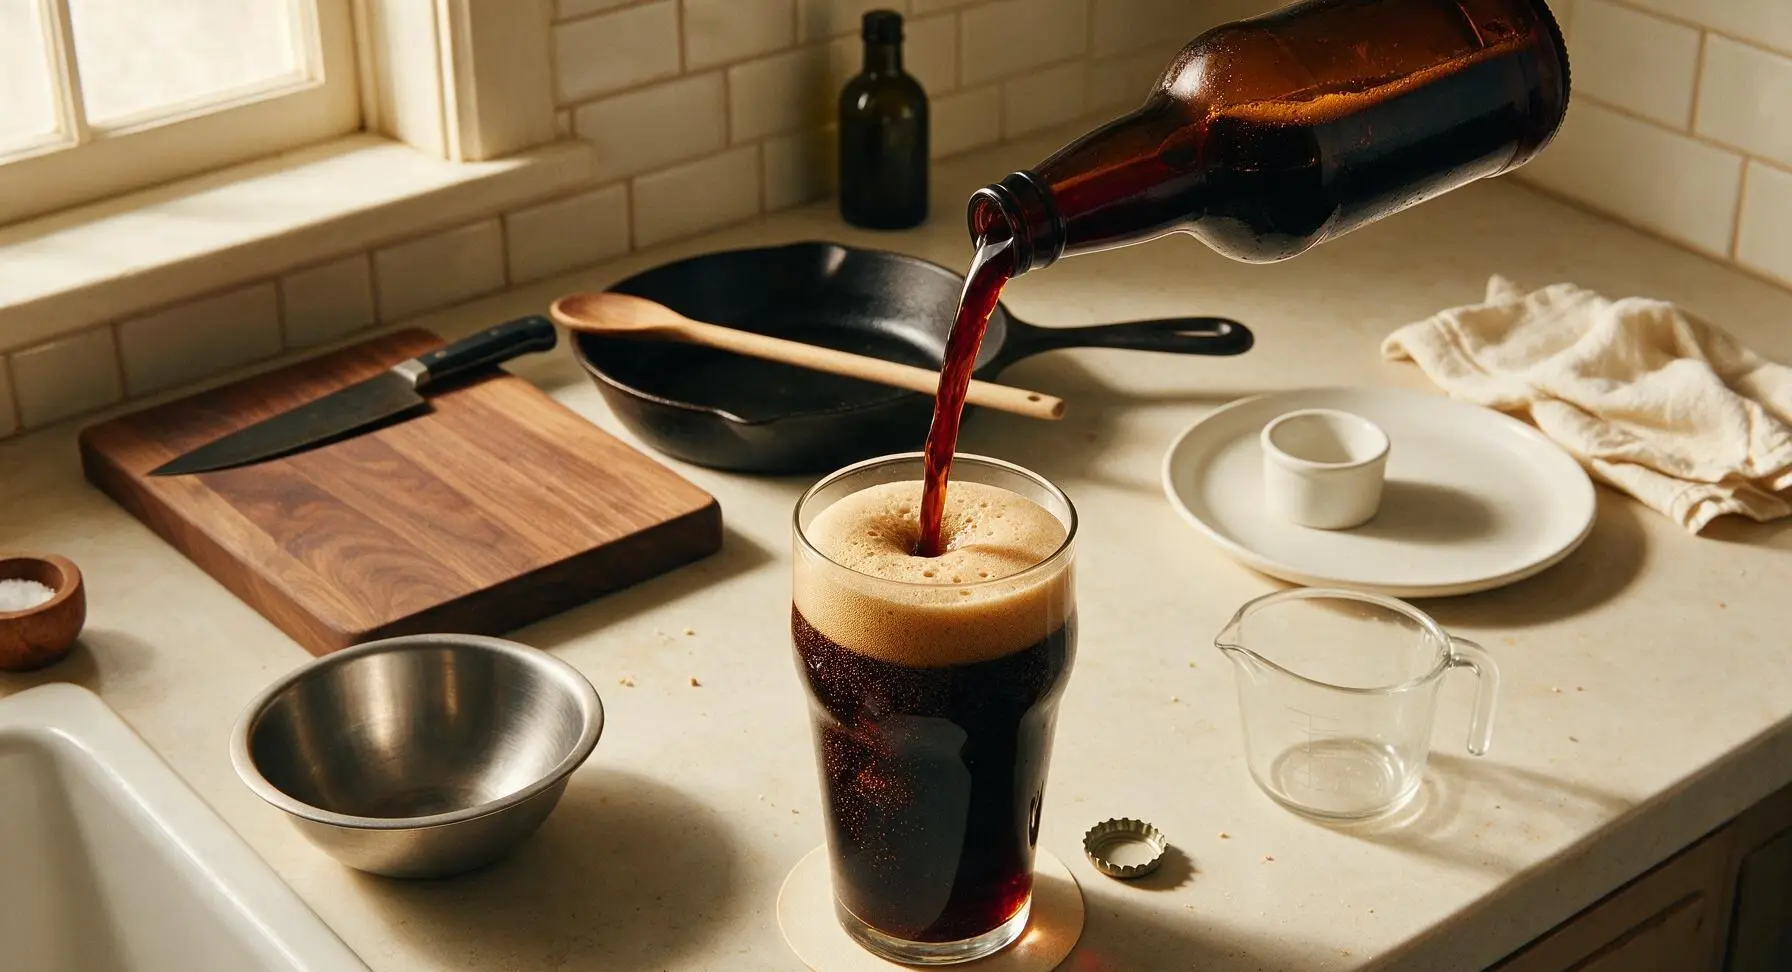
Store sealed bottles in the same dark, 18-20C location for 2 weeks to allow natural carbonation to develop as yeast eats the priming sugar. Before serving, chill bottles to 8C (46F) for 2 hours. Pour slowly into a traditional English pint glass held at a 45-degree angle, tilting the glass upright as it fills to build a 1-inch thick, creamy tan head. The finished stout will have balanced notes of roasted grain, dark coffee, subtle chocolate, earthy hops, and a dry, smooth finish. Note: total passive fermentation and conditioning time is 4 weeks before the stout is ready to drink.
Tips
2.Do not squeeze steeped grains when removing them from the mash: squeezing presses harsh, astringent tannins out of grain husks, which will leave your stout with a dry, puckering, unpleasant aftertaste instead of a smooth roasty finish.
3.Resist the urge to open bottles before the 2-week conditioning period ends: early opening results in flat, under-carbonated beer, as the yeast needs the full two weeks to process priming sugar and produce the soft, creamy carbonation that defines classic English stout.






OMG, this stout turned out SO good! I’ve been messing around with homebrewing for a year and a half, and this is easily the best batch I’ve ever pulled off. Brought a growler to our neighborhood potluck last weekend and people were begging me for the recipe before I even left. The roasted malt depth is perfect, not too bitter, just that smooth, coffee-chocolate kick you want from a classic stout. 10/10, will be making this quarterly from now on.
First time ever attempting a homebrew, and this was way more approachable than I thought it would be for a medium difficulty recipe! Cook time was exactly as stated, no surprise extra steps. My only small note is I wish it had a little more guidance on how long to let it condition after bottling — mine was a little flat at the 1 week mark but it’s getting better every day. Still super tasty, excited for how it’ll taste after another week.
Total game changer for our weekend cookouts. I usually just grab store-bought stout for beer brats and sipping around the fire pit, but homemade blows every grocery store option out of the water. My kids even said the whole house smelled like a cozy coffee shop while it was cooking, which is a win in my book. Just cracked the first bottle last night, perfect creamy head, zero off flavors.
Made this for our annual backcountry camping trip pre-game, and it was the perfect post-hike reward. Not too heavy, that nice malty sweetness balances out the hoppy bite so well. I did add a tiny splash of vanilla extract at bottling, which was chef’s kiss. Would absolutely recommend to anyone looking for a no-fuss classic stout that doesn’t require a ton of fancy equipment.
Followed the recipe exactly, and the flavor is spot on, but I ended up with a slightly lower final ABV than the recipe projected. Not a huge deal, still tastes great, just wondering if anyone else ran into that? I checked my hydrometer calibration before starting so I don’t think that was the issue.
Made a batch for our monthly mystery book club meeting, and everyone was raving. We paired it with chocolate brownies and it was the coziest combo ever. So smooth, no harsh aftertaste, even our friends who say they “don’t like dark beer” went back for seconds. Will absolutely be adding this to my regular rotation.
Uh, I think I messed up the boil step? My stout came out way more bitter than I expected, almost undrinkable. I followed the timings for the hops as written, so I’m not sure what went wrong. Disappointed because I was really looking forward to this.
Brewed this up for our Super Bowl watch party next month, just tested a sample last night and holy cow it’s good. Way better than the expensive craft stout I was gonna grab from the liquor store. Saved me like $40 buying enough for the whole crew, too. 10/10, game day just got upgraded.
As someone who drinks cold brew every single morning, this stout is literally my dream drink. The coffee and dark chocolate notes are so prominent but not overpowering, it goes down way too easy. Already planning my next batch, might add a little cold brew concentrate to the secondary ferment next time for an extra kick.
Did a double batch of this to have on hand for family dinners all fall, and it’s gone over so well even my father in law (who swears by imported Irish stout) said it’s better than the stuff he buys at the pub. Win for the son in law, finally!
I love meal prepping drinks for the week along with my lunches, and this stout is perfect for that! I portioned it into smaller swing top bottles to grab and go for post-work hangouts with friends. Only ding is I wish the recipe noted how much sediment to expect at the bottom of the bottles, I got caught off guard pouring the first one.
Added 2 oz of cacao nibs to the secondary ferment and WOW, that extra chocolate kick is unreal. Tastes like drinking a fancy dark chocolate truffle but in beer form. If you love chocolate stouts, do yourself a favor and add those nibs, you won’t regret it.
As someone on a super tight homebrewing budget, I was stoked this recipe didn’t call for any super fancy specialty grains or hard to find yeast. I picked up all the supplies from my local homebrew shop for under $30 for a full 5 gallon batch, which is way cheaper than buying craft beer every weekend. Flavor is incredible for how low cost it is.
Was worried the cook time (almost 2 hours!) would be a hassle, but it was so hands off once I got the boil going. I got so much done around the house while it simmered, folded laundry, walked my dog, even baked a batch of cookies to go with it. Multi-tasking win!
This tastes exactly like the traditional stouts I used to drink at my local pub back in England when I was studying abroad in college. Total nostalgia trip, I can’t believe I made something that authentic in my own garage. Absolute home run.
Made this last weekend, really good base recipe! I tossed in a cinnamon stick and a couple whole cloves during the last 10 minutes of the boil for a little warm fall spice, and it turned out so cozy. Will definitely be tweaking it more for the holiday season.
Had a bunch of friends over for a bonfire last night, and we went through almost half the batch in one sitting. It’s so smooth drinking around the fire, not heavy enough to make you feel sluggish, just warm and flavorful. Everyone kept asking when I’m making another batch.
I was so intimidated by homebrewing because I thought you needed tons of fancy equipment and years of experience, but this medium difficulty recipe was totally doable as a total newbie. I watched a couple quick YouTube videos to make sure I was sanitizing everything correctly, followed the steps to a T, and my first ever batch of beer turned out perfectly. I feel so proud!