
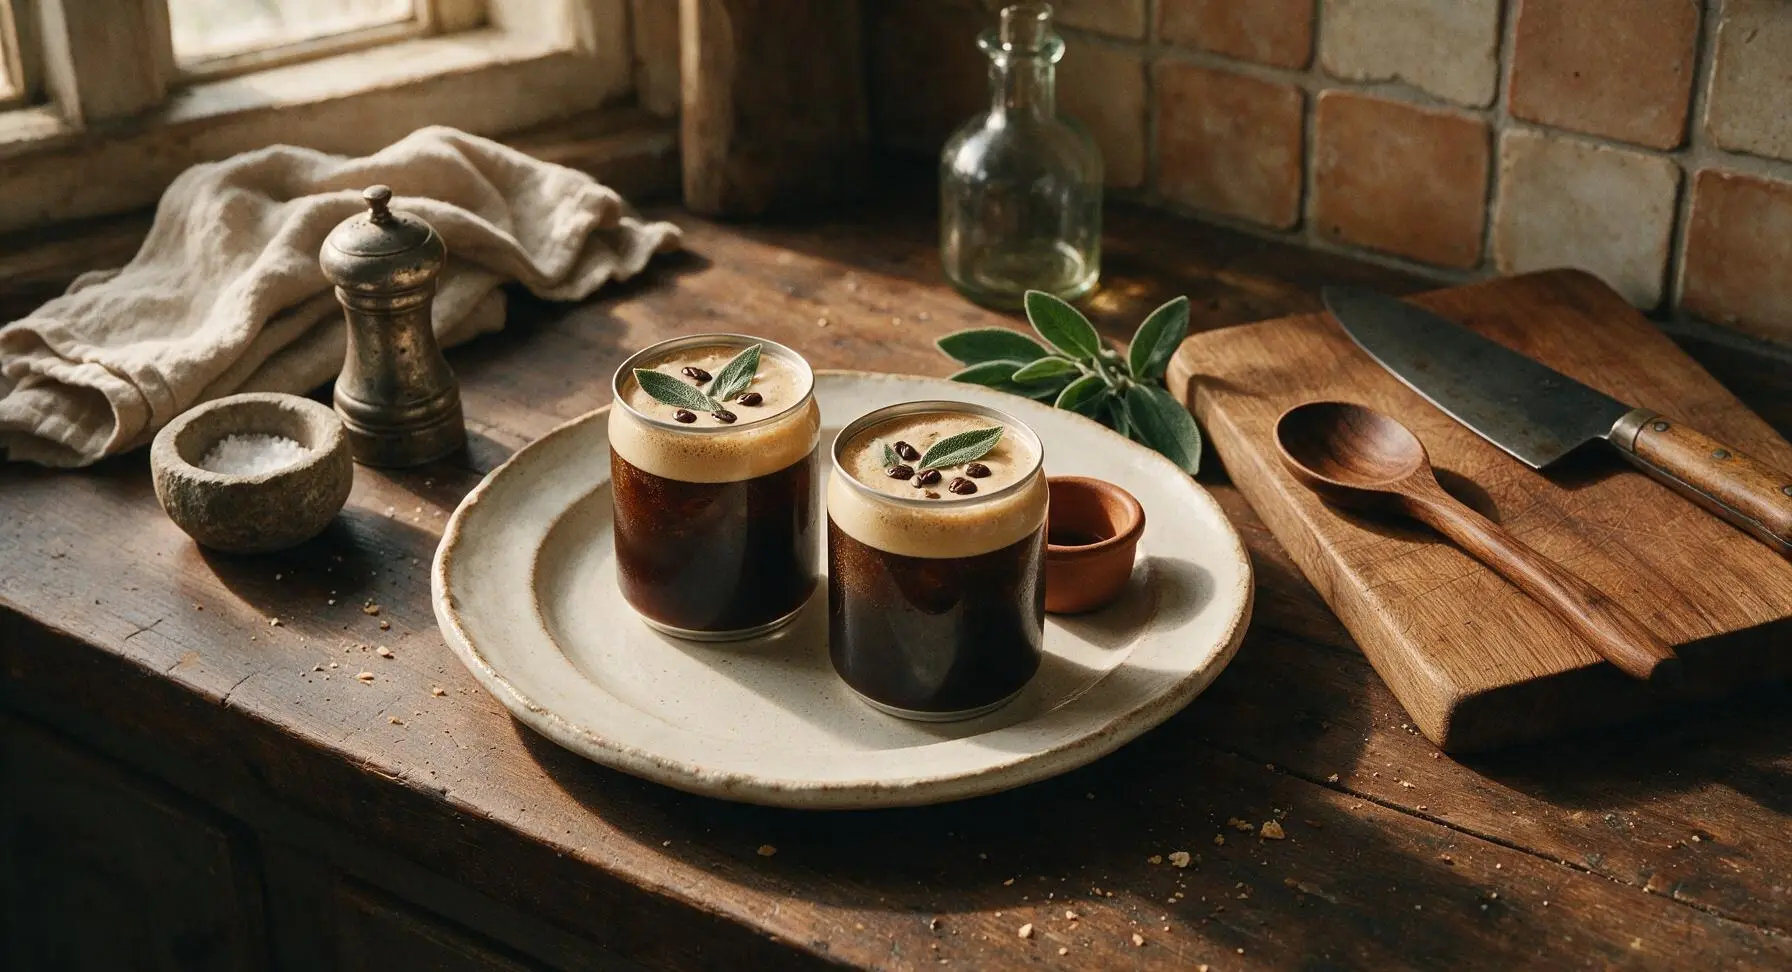
espresso martini in a can

title 1
espresso martini in a can
⏱️ cook time 2 minutes
🍽️ servings 4
⚡ Difficulty easy

intro

Bar-quality, perfectly balanced espresso martinis sealed in portable cans—frothy, bold, and ready to chill, no shaker required for summer picnics or on-the-go gatherings.

Ingredients
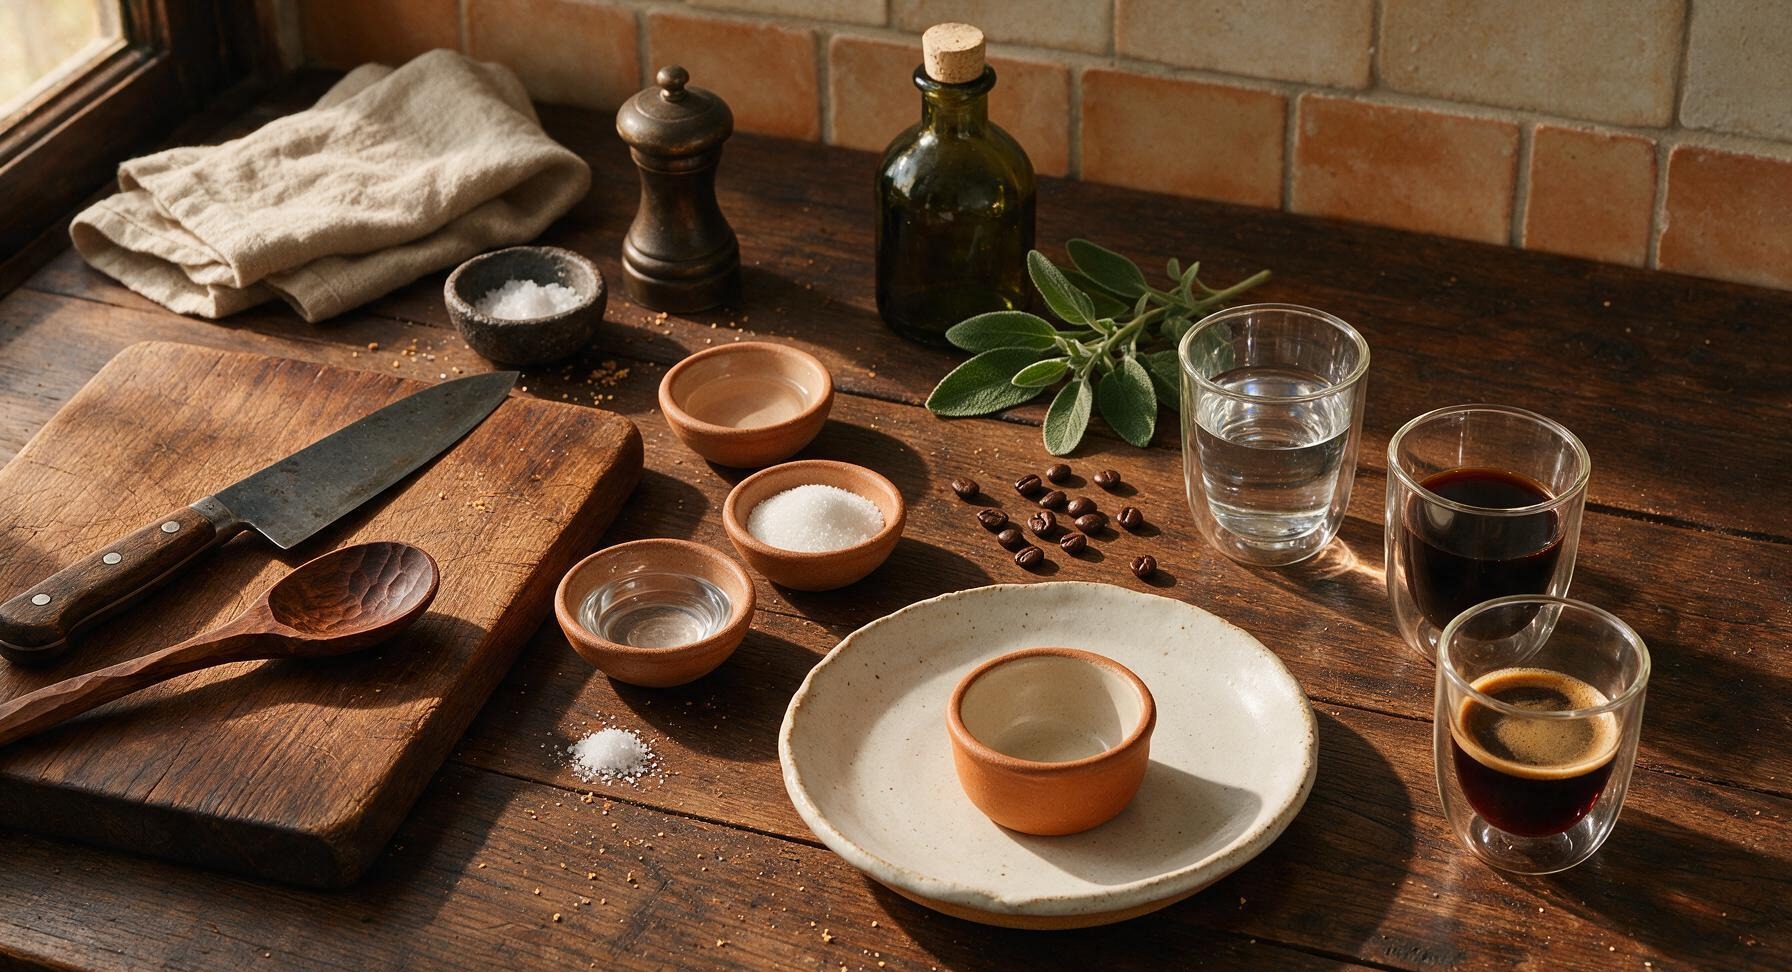
Plain 80-proof vodka 240ml (8oz)
Cold brew coffee liqueur 120ml (4oz)
Dark roast espresso 120ml (4oz)
Granulated white sugar 28g (2 tbsp)
Filtered water 90ml (3oz total; 30ml for syrup, 60ml for cold dilution)
Fine sea salt 1/8 tsp
Whole dark roasted coffee beans 12 count

Steps

1

Make simple syrup

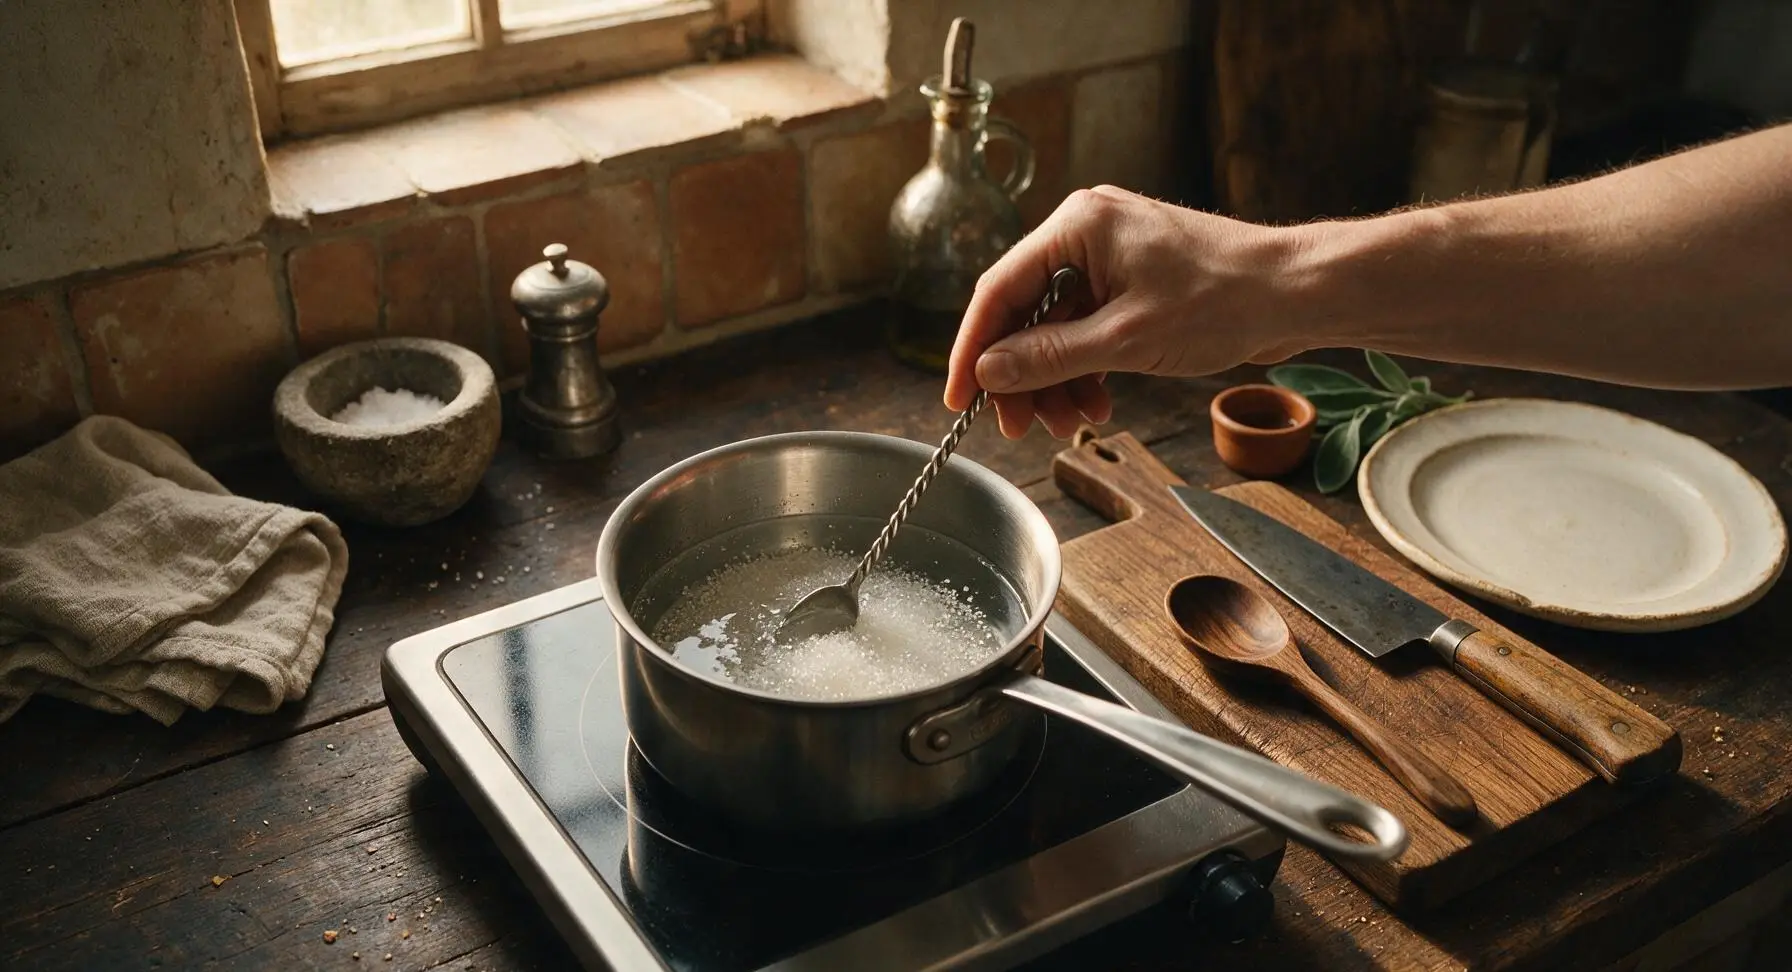
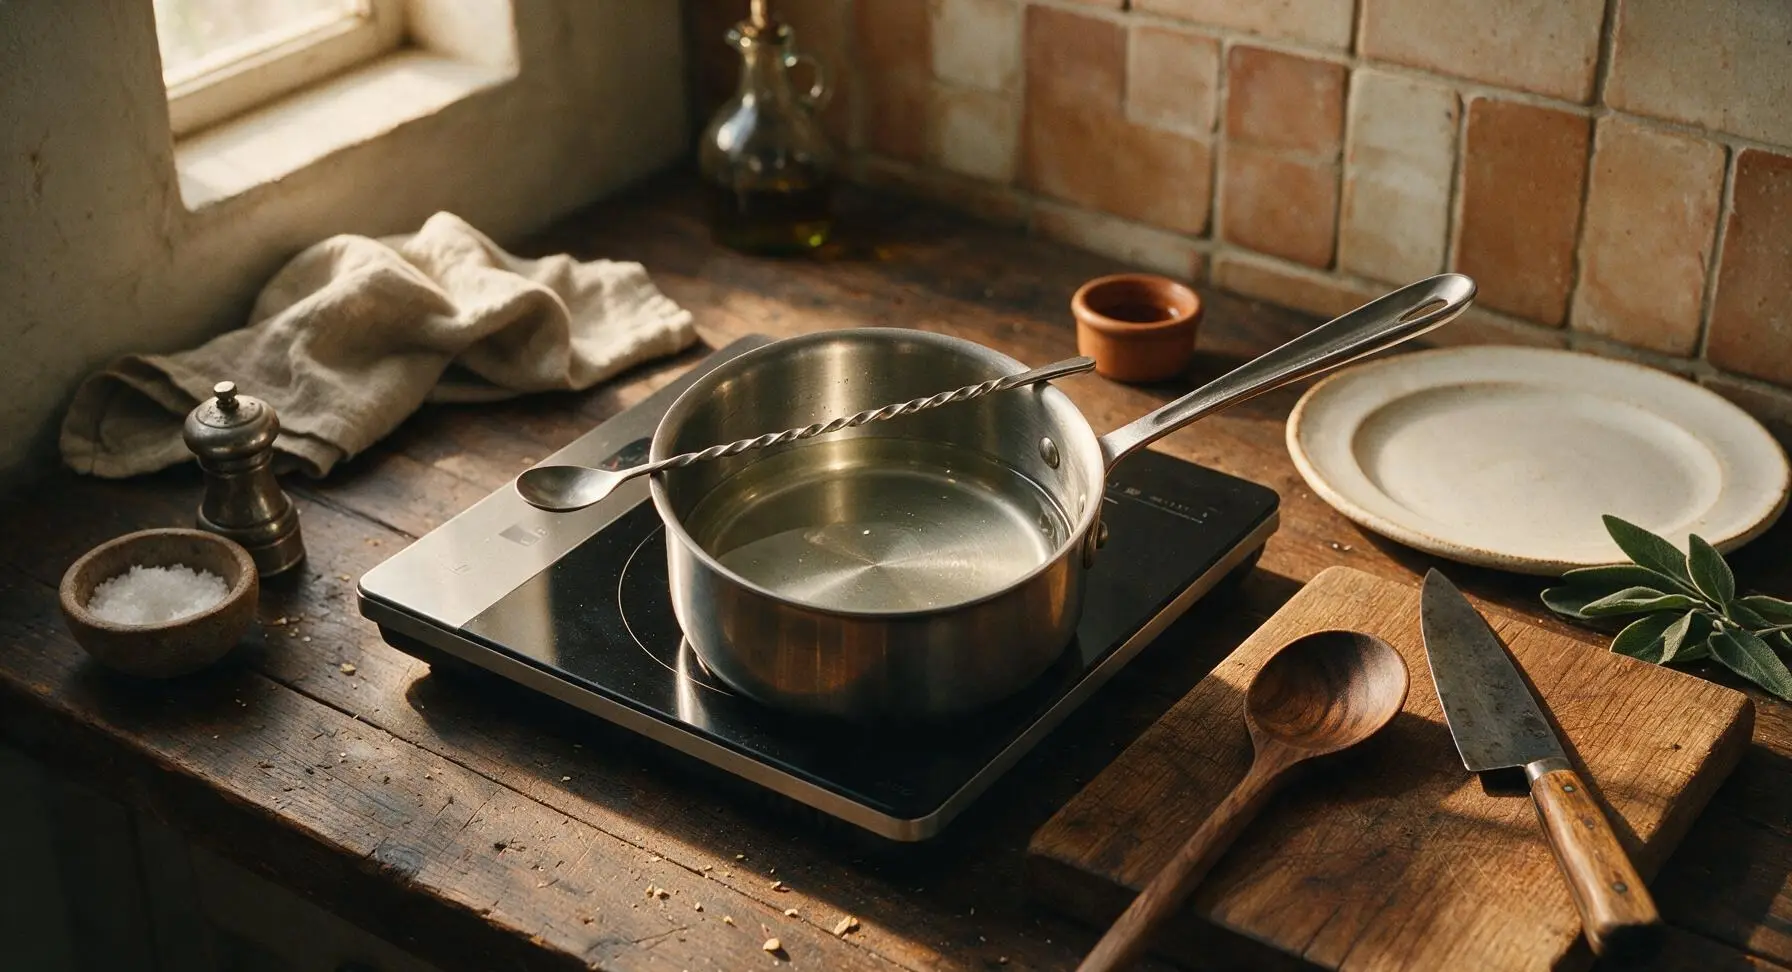
Combine 28g (2 tbsp) granulated sugar and 30ml (1oz) filtered water in the 1-quart stainless steel saucepan on the portable induction cooktop. Heat over medium-low, stirring occasionally with the twisted bar spoon, until sugar fully dissolves (about 2 minutes, do not bring to a rolling boil). Remove the pan from heat and let the simple syrup cool completely to room temperature, approximately 8 minutes, with no visible sugar granules remaining. This yields exactly 60ml (2oz) of simple syrup for the batch.
Step 1
step1:Make simple syrup
Step 1
step1:Make simple syrup
2

Brew fresh espresso

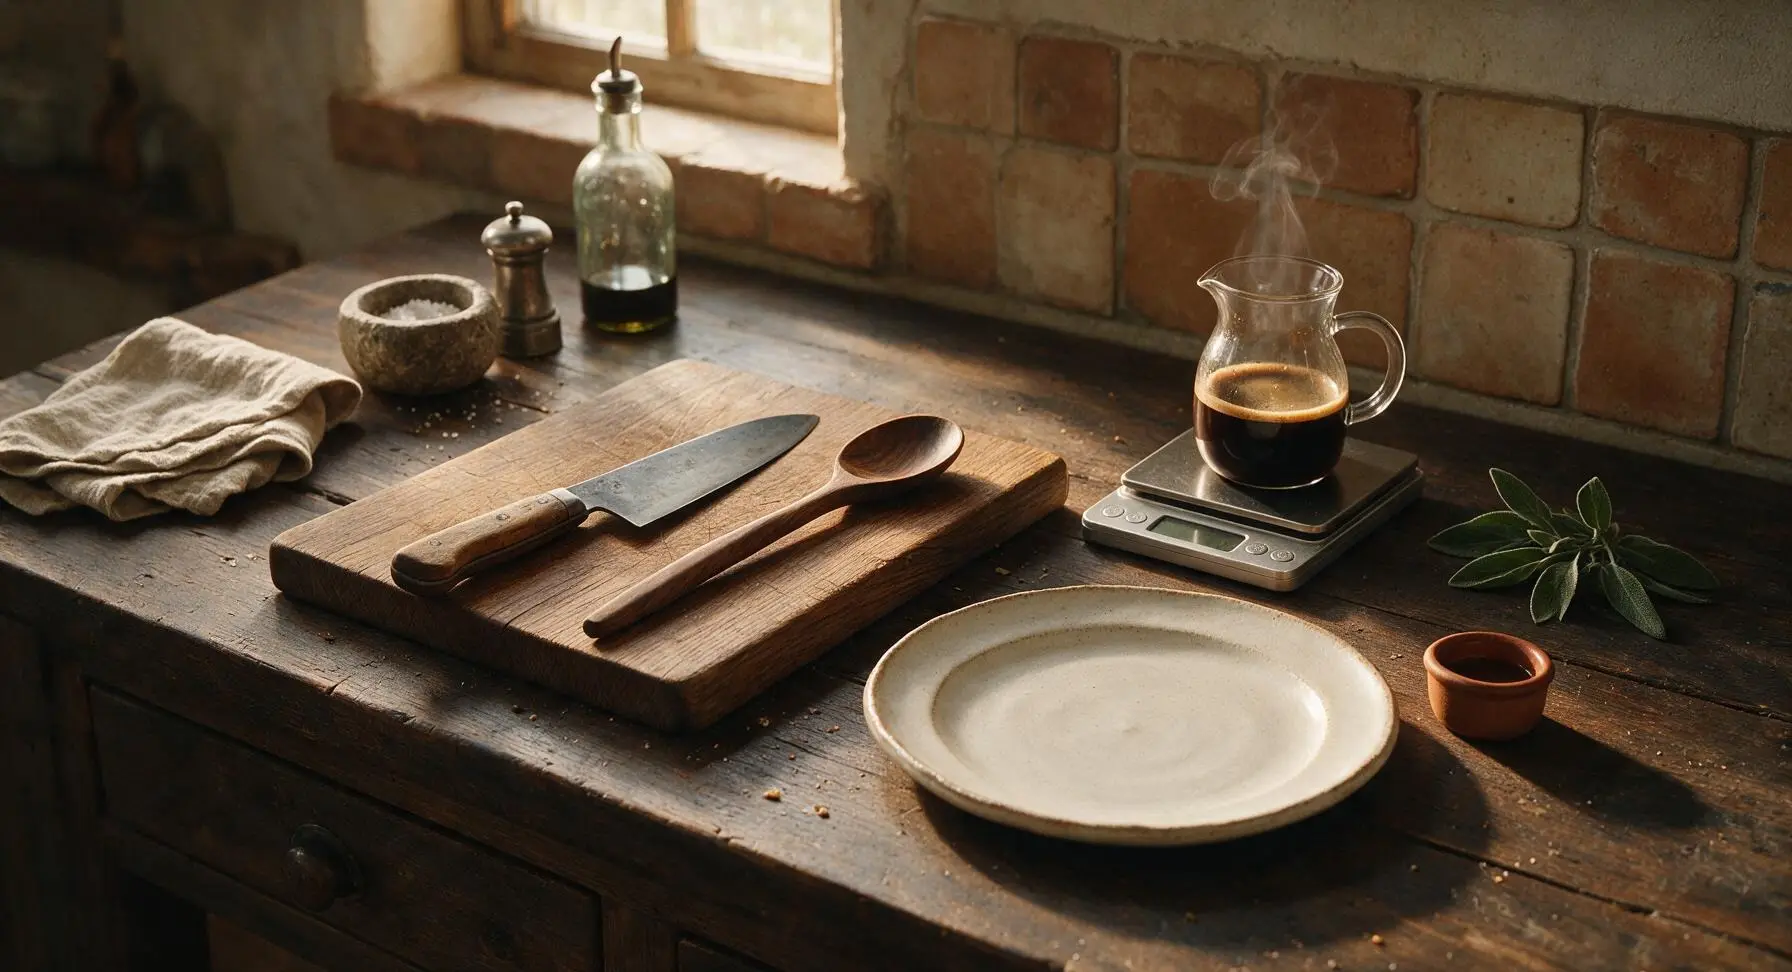
Brew 120ml (4oz) of dark roast espresso using an espresso maker or stovetop moka pot. Pour the hot espresso into a small glass carafe and chill in the refrigerator for 12 minutes until it reaches 4°C (40°F), with no remaining hot spots. Avoid instant espresso for the richest, most authentic coffee flavor.
Step 2
step2:Brew fresh espresso
3

Measure all ingredients

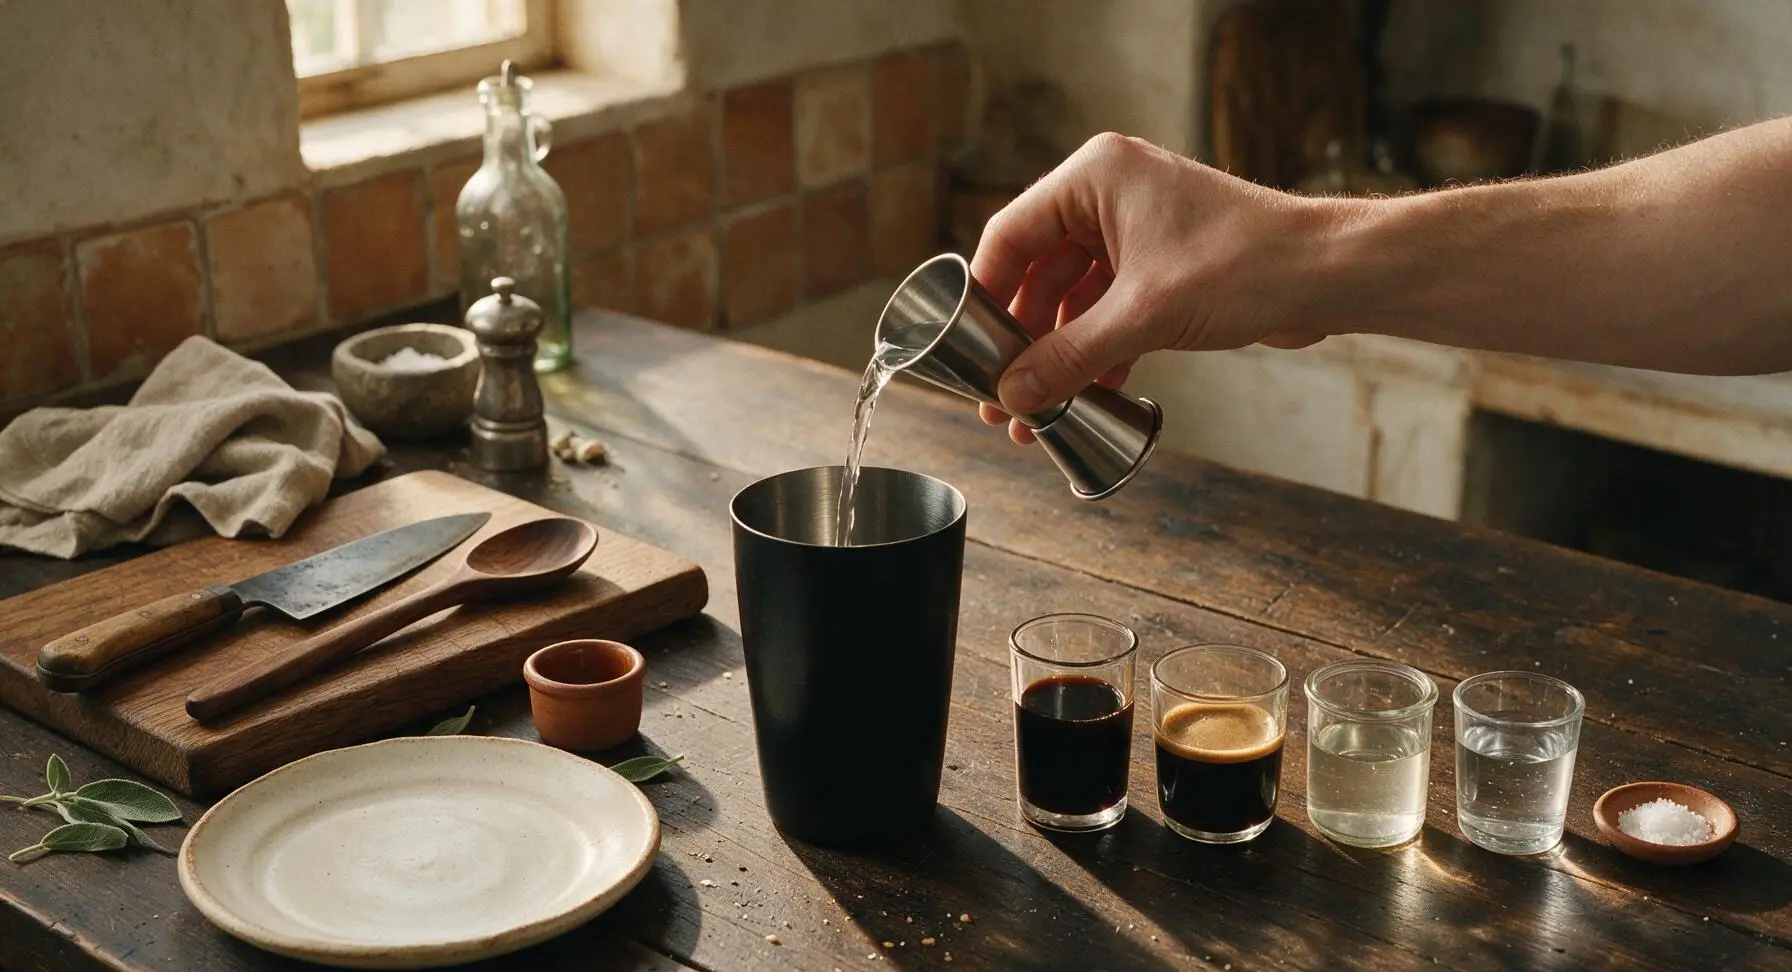
Once simple syrup and espresso are fully chilled, use the double-sided stainless steel jigger to measure and pour 240ml (8oz) vodka, 120ml (4oz) coffee liqueur, 120ml (4oz) chilled espresso, 60ml (2oz) cooled simple syrup, 60ml (2oz) cold filtered water, and 1/8 tsp fine sea salt into the matte black cocktail mixing glass.
Step 3
step3:Measure all ingredients
4

Stir cocktail mixture

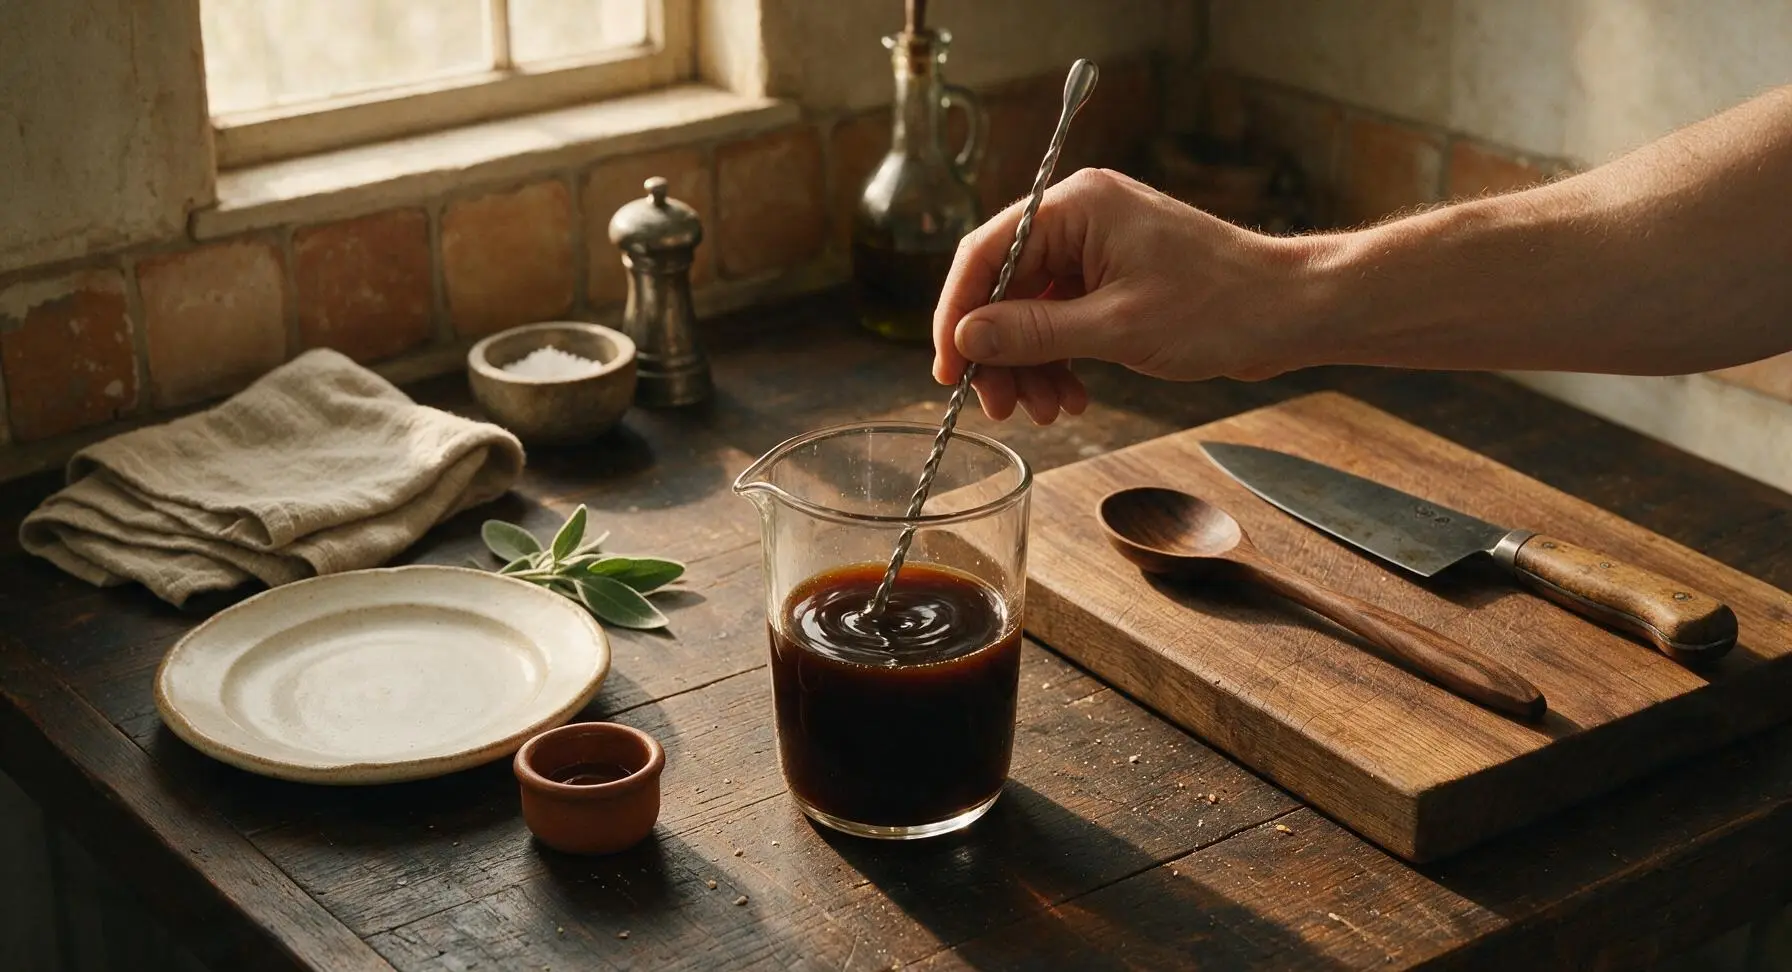
Use the twisted stainless steel bar spoon to stir the combined ingredients in the mixing glass slowly for 30 seconds, until the liquid is a uniform deep dark brown, with no streaks of syrup or liqueur pooled at the bottom of the glass. Do not shake the mixture, as this will create excess foam that interferes with can sealing.
Step 4
step4:Stir cocktail mixture
5

Prep aluminum cans

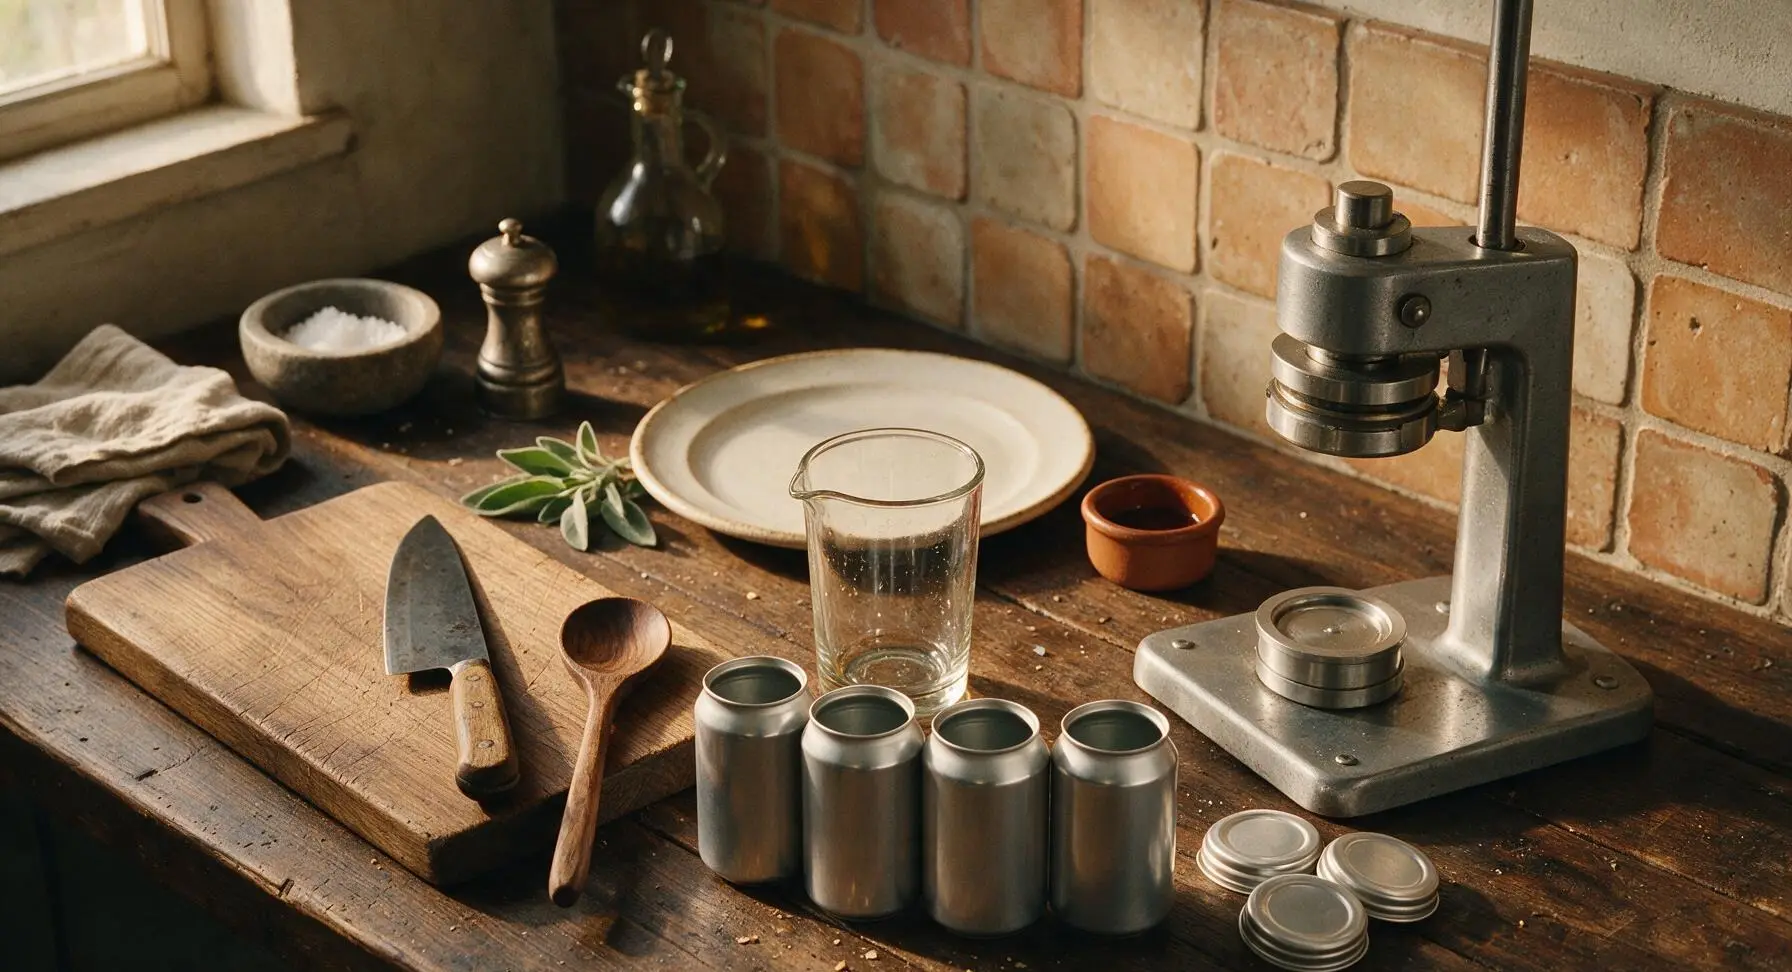
Ensure the four 8oz matte aluminum cans are completely clean and dry inside and out, with no residual dust or moisture. Move the cans to stand in a tight, upright row directly in front of the mixing glass, open ends facing up. Stack the four matching aluminum lids within easy reach next to the manual can seamer.
Step 5
step5:Prep aluminum cans
6

Fill cans with cocktail

Carefully pour 150ml (5oz) of the mixed cocktail into each prepared can, using the digital scale to confirm accuracy (each filled can should weigh 140-145g, excluding the empty can weight). Maintain an exact 3/8 inch of headspace at the top of each can to ensure a proper seal. Wipe any spilled liquid from the can rims using the cotton bar towel to prevent seal failure.
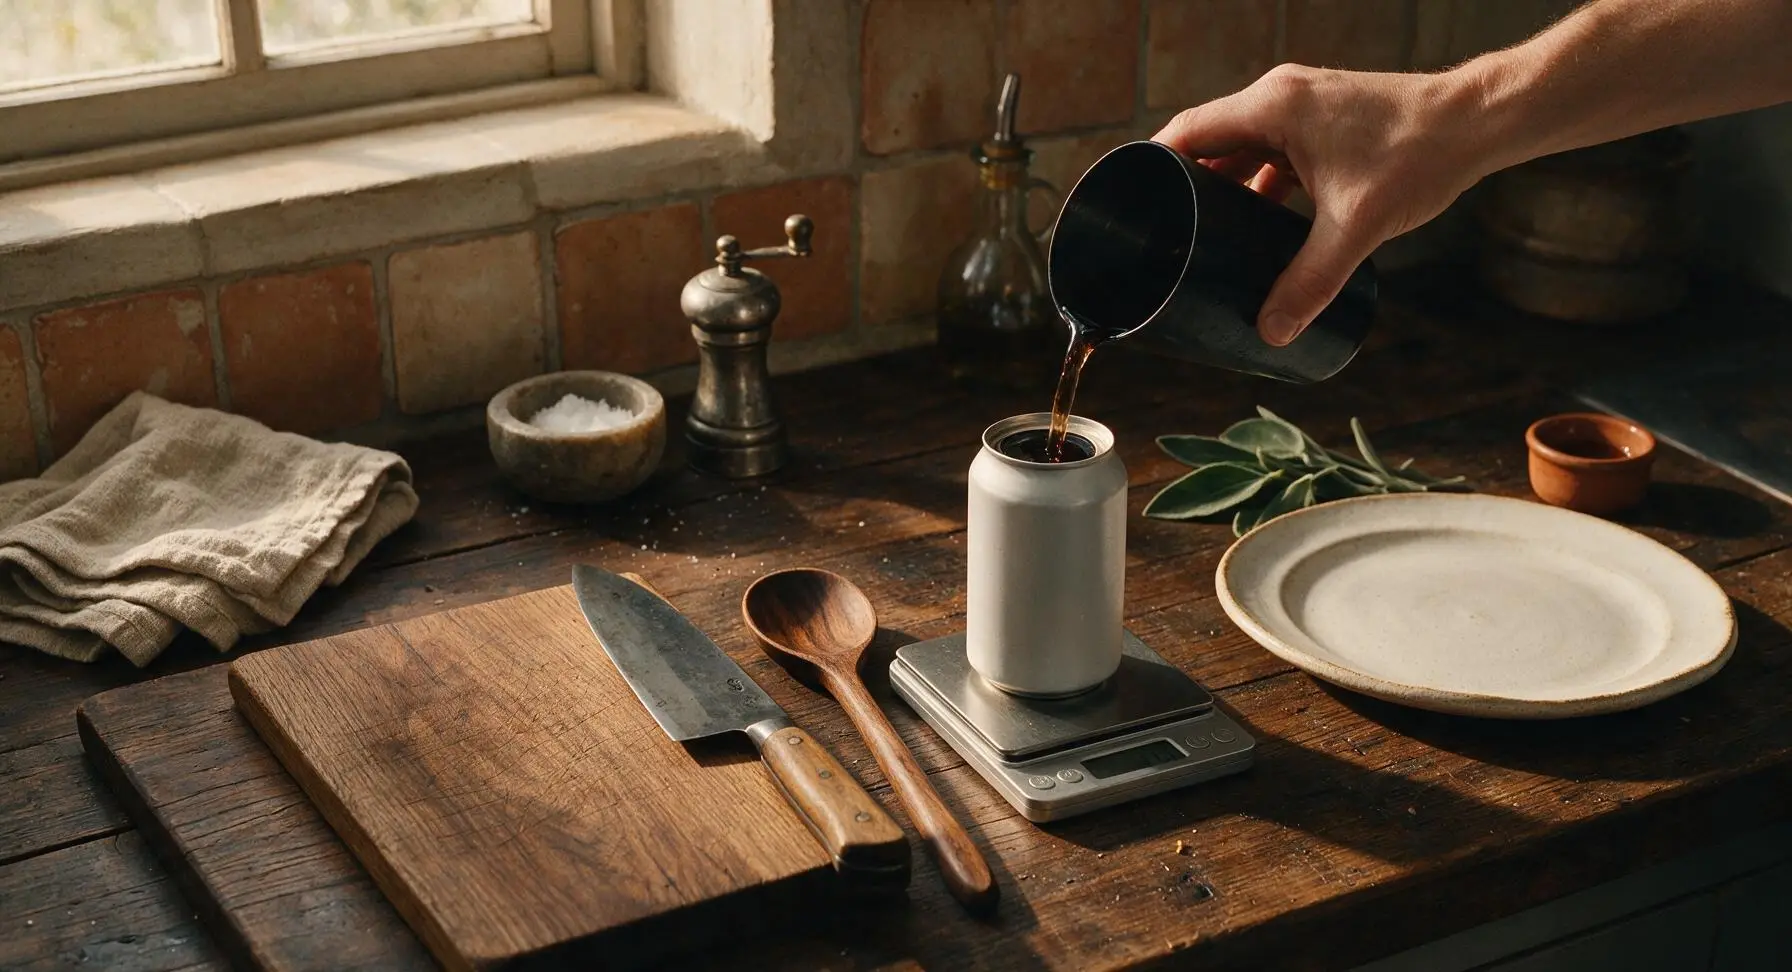
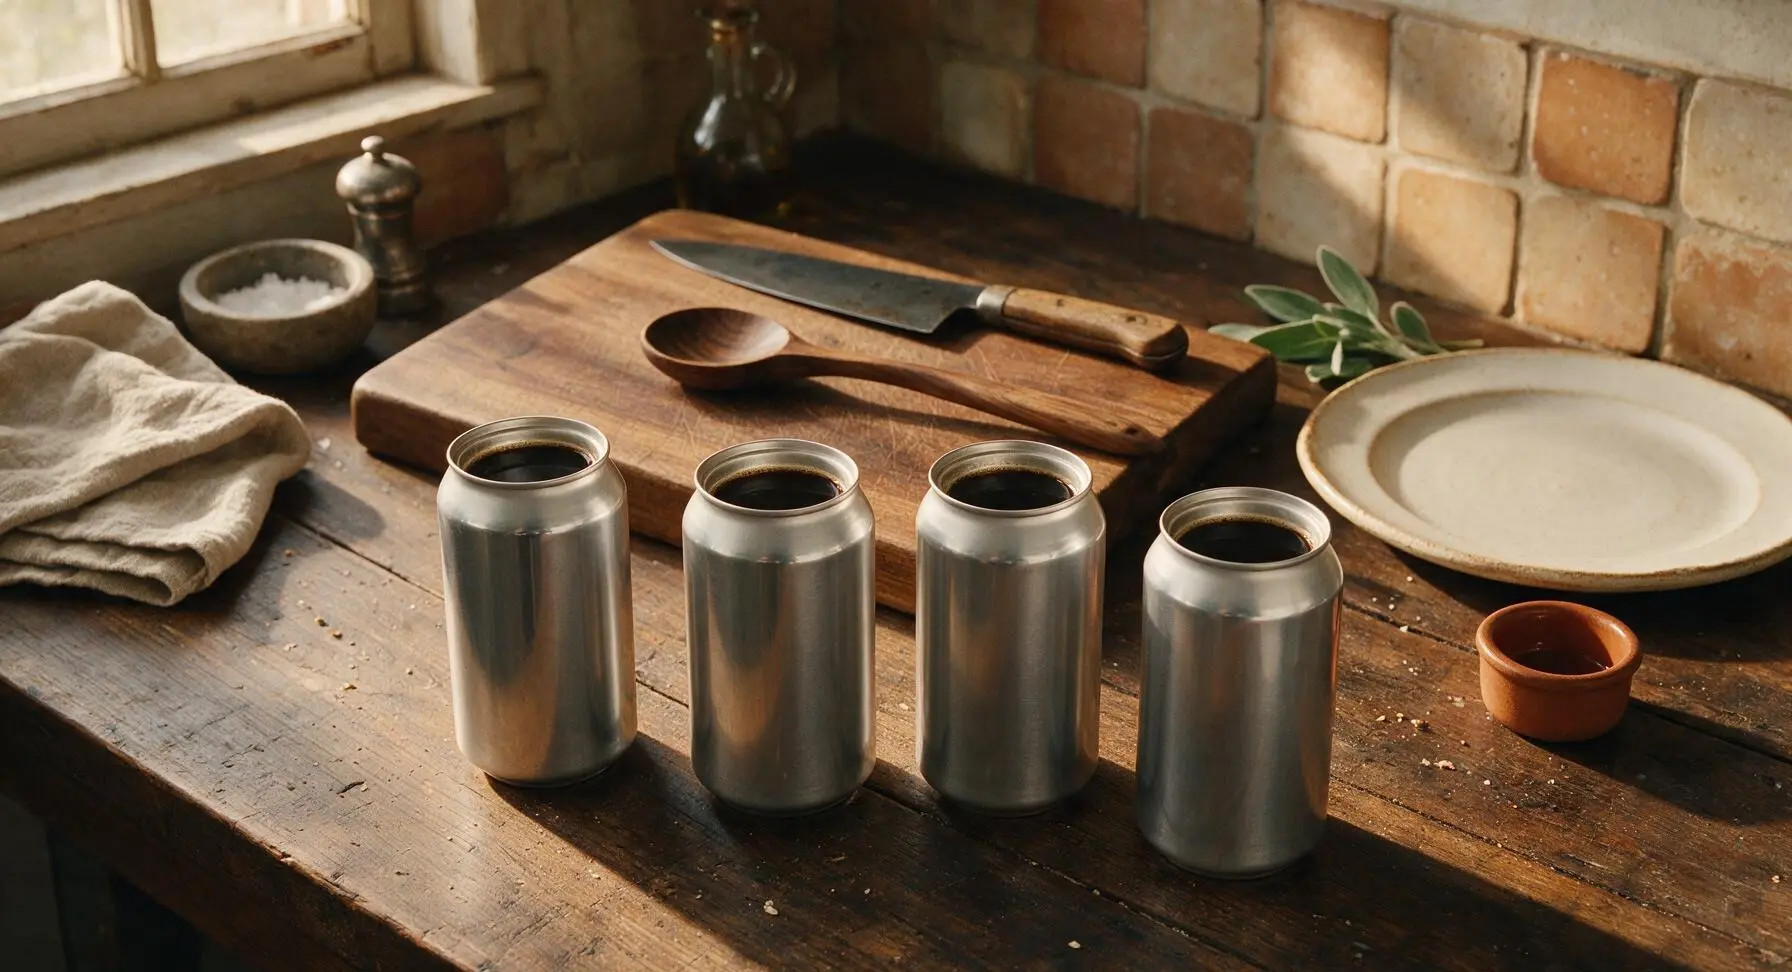
Step 6
step6:Fill cans with cocktail
Step 6
step6:Fill cans with cocktail
7

Seal cans securely

Place one aluminum lid centered on top of each filled can, aligning it evenly with the can rim. Working one can at a time, set the can on the base of the manual can seamer, align the seamer head, and turn the handle per the seamer’s instructions to create a fully airtight, leak-proof crimp. Test each seal by gently inverting the can over a towel; no liquid should seep out. Wipe exterior moisture with the cotton bar towel.
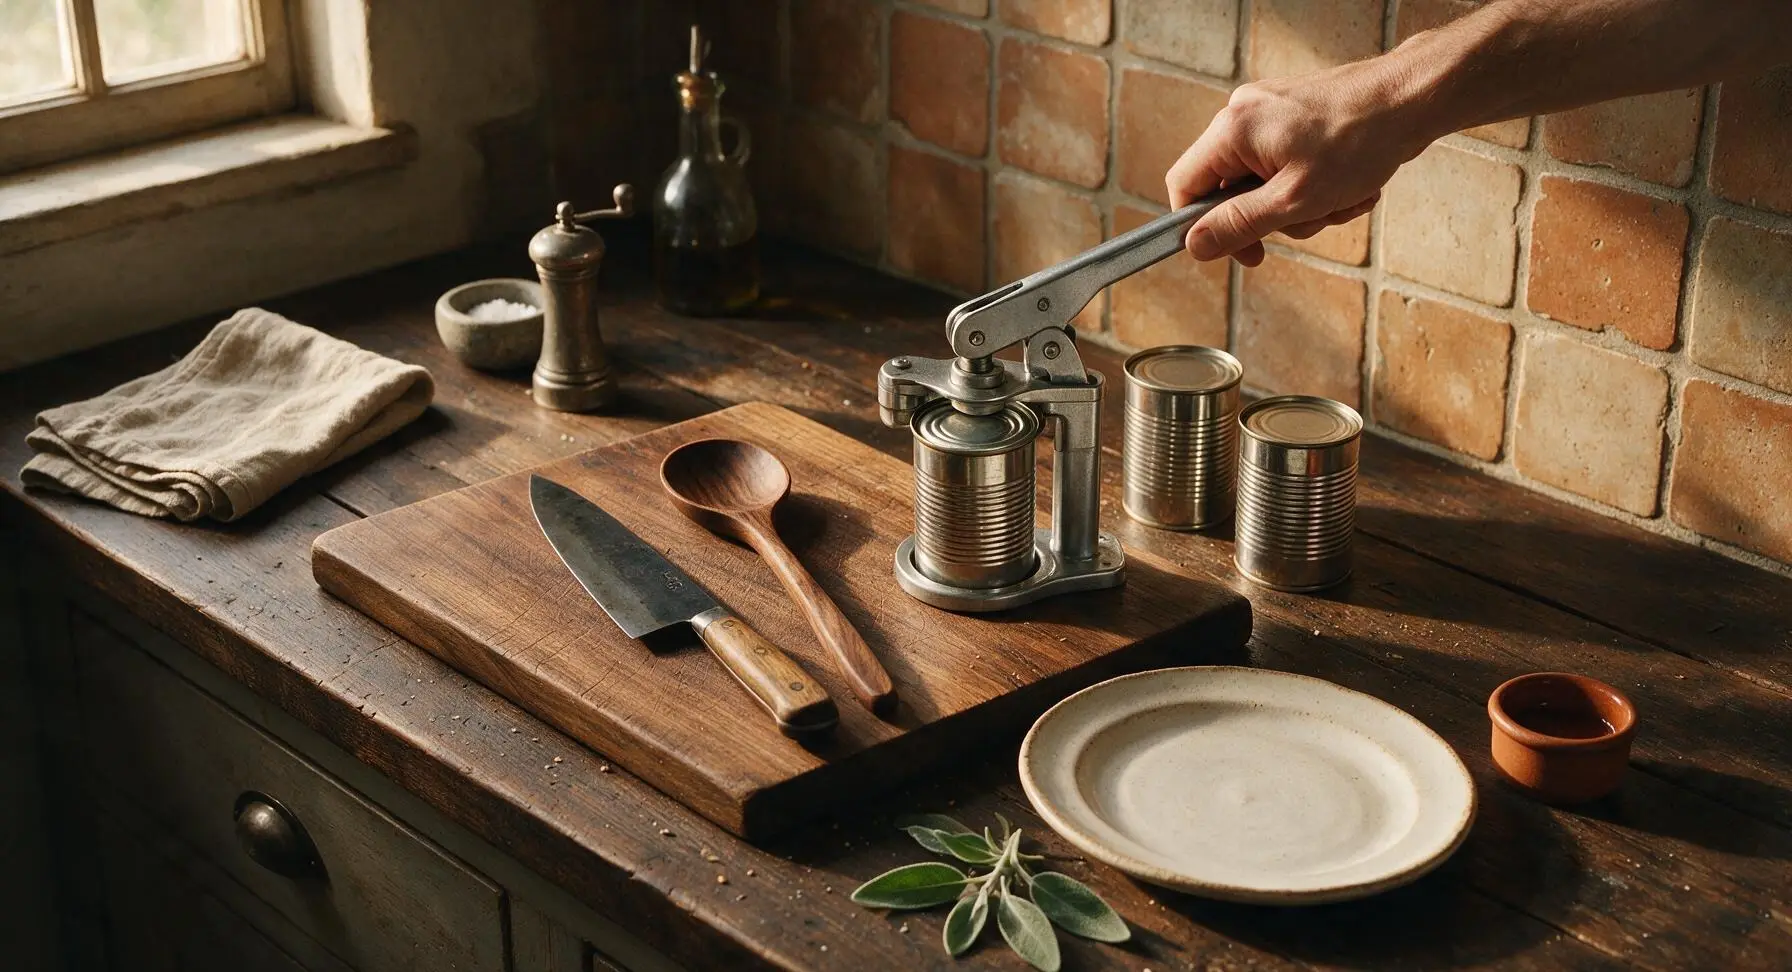
Step 7
step7:Seal cans securely
Step 7
step7:Seal cans securely
8

Chill and garnish cans

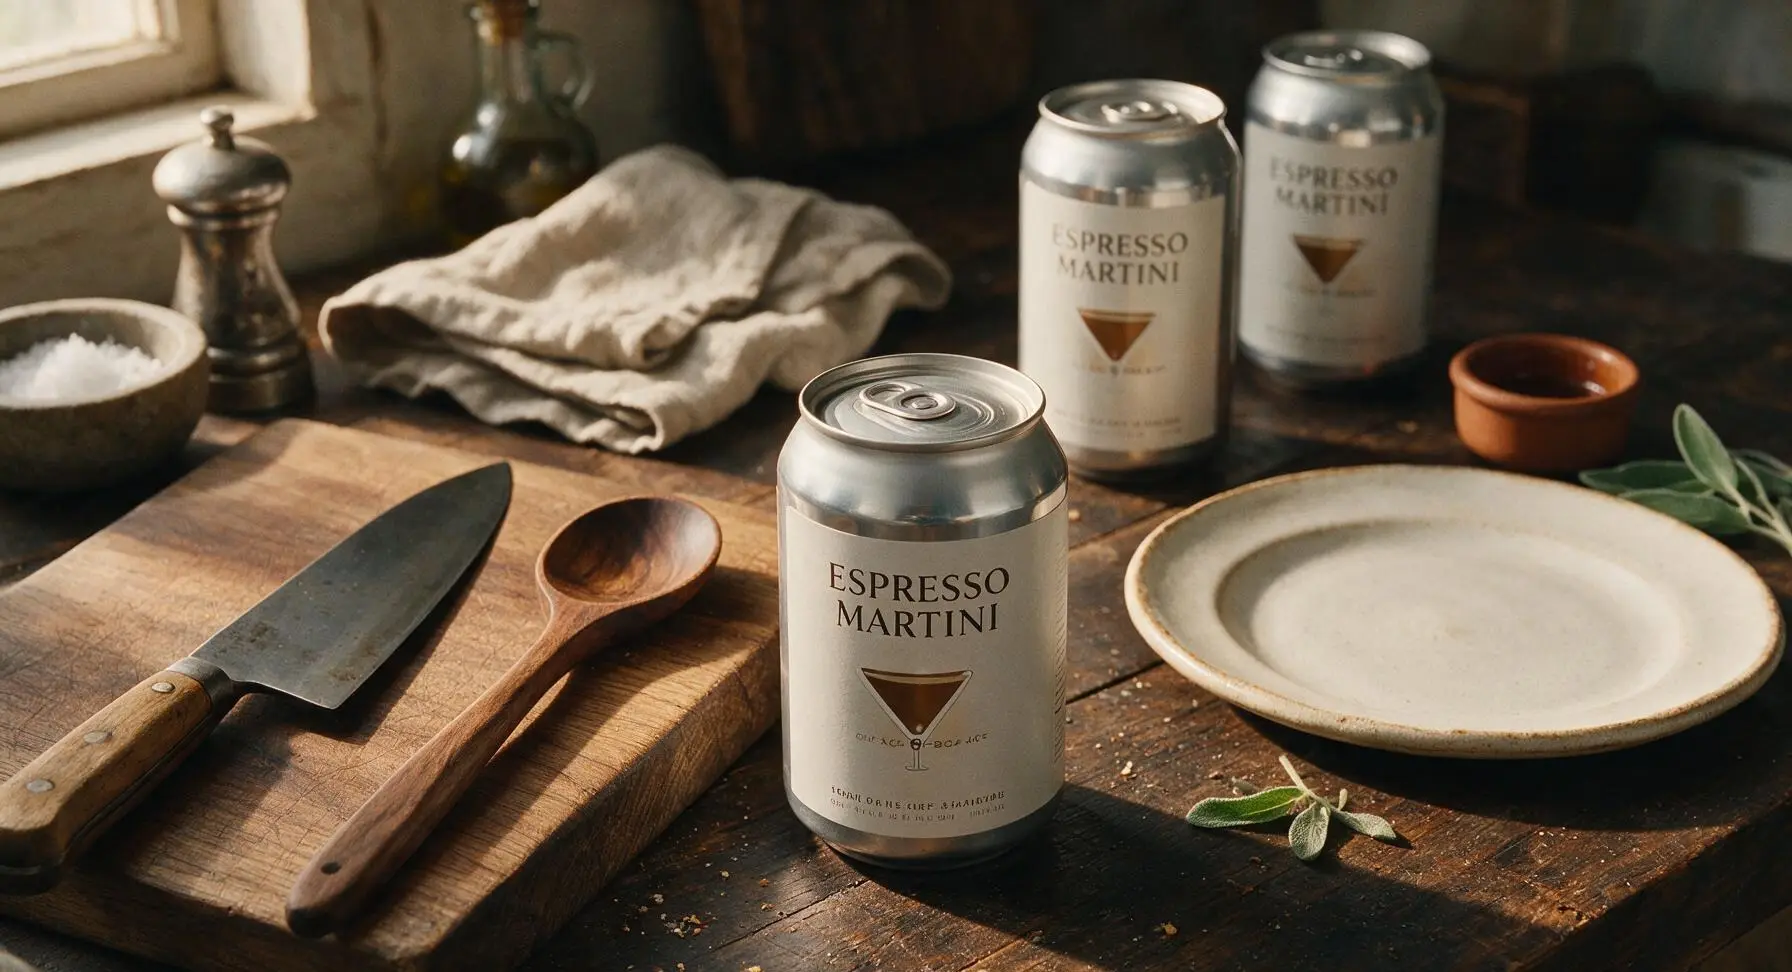
Place all sealed cans in the refrigerator for a minimum of 2 hours, until completely chilled to 3°C (38°F). Right before serving, wipe excess condensation from the can lids with the bar towel, then place three whole roasted coffee beans from the cream ceramic ramekin on top of each can as a classic garnish.
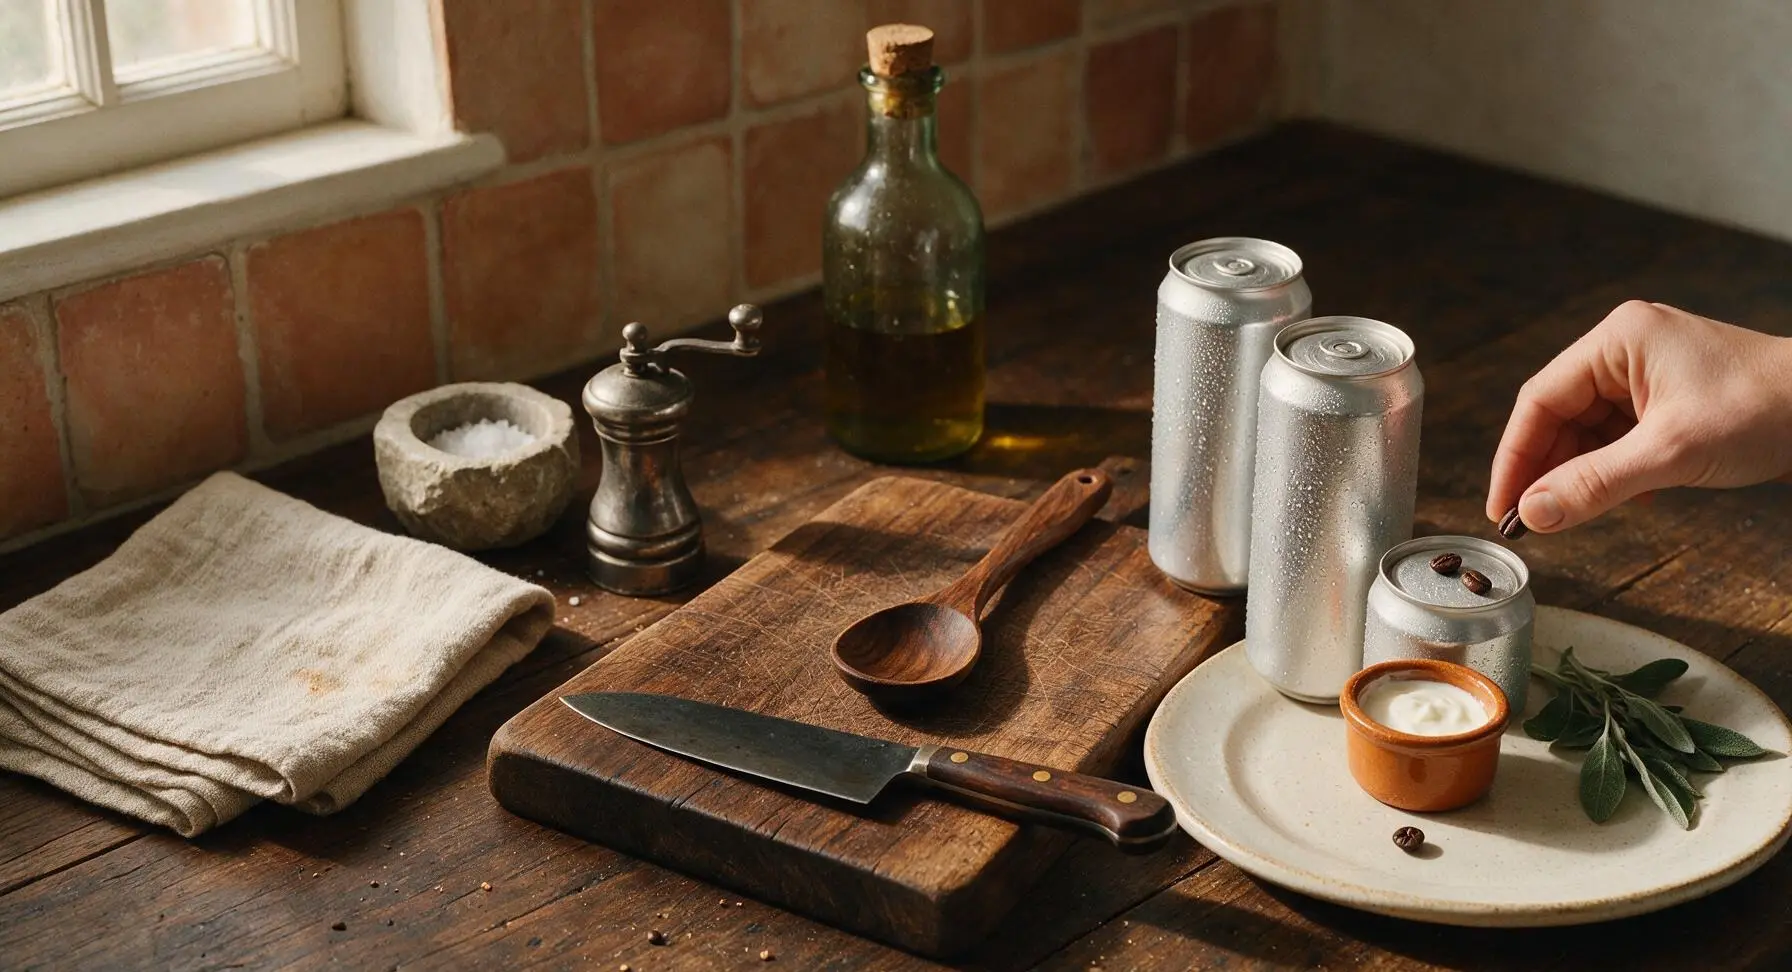
Step 8
step8:Chill and garnish cans

Tips

1.Maintain an exact 3/8 inch of headspace in each can before sealing: too little headspace allows liquid to get trapped in the seamer, causing leaky seals, while too much headspace leaves excess air that oxidizes the cocktail, leading to flat, stale flavor within 2-3 days.
2.Chill all shelf-stable ingredients (vodka, coffee liqueur, dilution water) in the fridge for 1 hour before mixing: this cuts down on post-sealing chill time, and prevents warm espresso from developing bitter, oxidized notes when mixed with room-temperature alcohol.
3.Shake each chilled can vigorously for 10 seconds right before opening: this replicates the frothy, golden crema top of a traditionally bar-shaken espresso martini, so you get perfect texture without needing a cocktail shaker or fresh ice.


✨ You May Also Like

Drinks & Beverages
🍜 Mexico

A bright, balanced tequila-based cocktail with zesty fresh lime, smooth orange liqueur, and a signature salt rim, perfect for warm summer sipping.

⏱️ 5 minutesDrinks & Beverages ★ 4.9
Drinks & Beverages
🍜 United States

Thick, creamy, nostalgic classic vanilla milkshake with a rich, smooth texture, topped with whipped cream and a cherry for cool, sweet refreshment.

⏱️ 5 minutesDrinks & Beverages ★ 4.7
Drinks & Beverages
🍜 United States

A bright, golden strong ale with fruity banana-clove notes, subtle hop spice, and soft carbonation, brewed in classic Trappist Tripel tradition.

⏱️ 2 hours aDrinks & Beverages ★ 4.5
Drinks & Beverages
🍜 United States

A frothy, nostalgic American soda fountain treat pairing bubbly cold root beer with creamy vanilla ice cream, perfect for cooling down at warm weather gatherings.

⏱️ 20 minuteDrinks & Beverages ★ 4.8
Drinks & Beverages
🍜 United States

Tart, funky, effervescent American Wild Ale is a complex fruity craft beer brewed with wild yeast, delivering bright, zesty notes perfect for warm-weather sipping.

⏱️ 2 hours aDrinks & Beverages ★ 4.4
Drinks & Beverages
🍜 United States

Bright, bubbly copycat of the iconic American caramel cola, balanced with citrus and warm spice, perfect for sipping ice-cold on hot days.

⏱️ 15 minuteDrinks & Beverages ★ 4.8

espresso martini in a can:Frequently Asked Questions

1.How long do these canned espresso martinis stay fresh in the fridge? ▾
When properly sealed in sanitized, pressure-safe 12oz beverage cans, these espresso martinis will stay perfectly balanced and fresh for up to 2 weeks in the fridge. Don’t leave sealed cans at room temperature for more than 2 hours after canning to avoid food safety risks, and give each can a gentle flip before cracking to remix settled coffee sediment.
2.Do I need special commercial canning equipment to make these at home? ▾
You don’t need a heavy-duty commercial canner! A basic countertop home beverage can sealer, designed for standard aluminum drink cans and widely available for under $50, works perfectly. Just make sure all cans and lids are fully sanitized with food-grade sanitizer before pouring to prevent off-flavors or premature spoilage.
3.Why don’t I get that signature frothy top right when I crack the can? ▾
The classic velvety espresso martini froth forms as you pour the drink over ice! The sealed can keeps tiny espresso and coffee liqueur emulsions stable during storage, so pouring slowly over a large ice cube in a chilled martini glass delivers that thick crema top every single time, no shaking required.
4.Can I use instant espresso instead of freshly pulled dark roast espresso? ▾
I don’t recommend instant espresso here, as it lends a flat, slightly ashy, bitter note that throws off the drink’s signature balance. If you don’t have an espresso machine, use 2 ounces of extra-strong dark roast cold brew concentrate (1:4 coffee to water ratio) as a smooth, close substitute that won’t taste diluted.
5.What type of vodka works best for this recipe? ▾
Stick to standard 80-proof plain, unflavored vodka for the most authentic, well-balanced result. Higher-proof vodka will make the drink taste harsh and overly alcoholic, while lower-proof options won’t stand up to bold coffee and sweet liqueur notes, leading to a flat, watery, or overly sugary finished drink.
6.Can I use pre-made simple syrup instead of mixing granulated sugar and water? ▾
That’s exactly what the granulated sugar and filtered water step creates! Heat equal parts sugar and water until the sugar fully dissolves, then let it cool completely before mixing into your batch. Plain store-bought simple syrup works too, just skip flavored syrups that will compete with the rich coffee notes.
7.How do I prevent cans from bulging or leaking after I seal them? ▾
First, never overfill your cans—leave ¼ inch of headspace at the top of each 12oz can to give liquid room to expand as it chills. Second, confirm your can sealer is adjusted to form a tight, even seal around every lid, and always store cans upright in the fridge instead of on their sides to prevent slow leaks.
8.Can I bring these to a summer picnic without keeping them on constant ice? ▾
For best taste and food safety, tuck them in a well-insulated cooler with ice packs for picnics or outdoor gatherings. They’ll stay perfectly chilled for 4 to 6 hours in a quality cooler, and you won’t end up with warm espresso that tastes overly bitter or sharp-tasting vodka that ruins the balanced flavor.
9.Can I use regular coffee liqueur instead of cold brew coffee liqueur? ▾
You can, but cold brew coffee liqueur has a smoother, less syrupy, more robust coffee flavor that pairs far better with fresh dark roast espresso. If you use standard coffee liqueur, cut your simple syrup amount by ¼ to keep the drink from being cloyingly sweet, as regular coffee liqueur usually has more added sugar.
10.Should I shake the can hard before opening it, like I would with a canned soda? ▾
Skip the hard shake! A quick, gentle 180-degree flip right before opening is all you need to mix any settled coffee or sugar sediment at the bottom of the can. Shaking hard builds up tiny air bubbles that cause the drink to fizz and spray out when you crack the seal, leaving you with a sticky mess.
11.What’s the right ingredient ratio for a single 12oz can? ▾
For a perfectly balanced pour, mix 2 ounces of 80-proof plain vodka, 1.5 ounces of cold brew coffee liqueur, 2 ounces of cooled freshly pulled dark roast espresso, 0.5 ounces of simple syrup, and 2 ounces of filtered water. This ratio hits that classic bold, not-too-sweet profile without feeling too strong or watery over ice.
12.How far in advance can I make these for a big party or gathering? ▾
You can make these up to 1 week ahead of an event for the absolute best, brightest coffee flavor, though they stay safe to drink for up to 2 weeks total. Mix your full batch in a large sanitized pitcher first to ensure every can has the exact same flavor balance, instead of measuring ingredients individually into each can.
13.Can I make a non-alcoholic version of these canned espresso martinis? ▾
Absolutely! Swap the regular vodka for a plain non-alcoholic vodka alternative, and use a non-alcoholic cold brew coffee liqueur to keep that same rich, balanced flavor. The canning and storage process is identical, though NA versions will stay fresh a few days longer since there’s no alcohol to break down delicate coffee notes over time.
14.Why does my homemade batch taste watery compared to bar-served espresso martinis? ▾
That almost always happens if you use hot espresso that hasn’t fully cooled before canning, which melts ice extra fast when you pour, or if you add too much filtered water to stretch the batch. Make sure your espresso is chilled to at least 40°F before mixing, and stick to the measured ratio for best results.
15.Can I add flavor twists like vanilla or salted caramel to the cans? ▾
Small flavor tweaks work beautifully! Add ¼ teaspoon of pure vanilla extract per can, a tiny pinch of flaky sea salt to the whole batch to amp up coffee notes, or a half-ounce of salted caramel syrup per can for a sweeter take. Just skip creamy add-ins like Irish cream, which separate and spoil much faster in sealed cans.
16.What’s the best way to serve these once I crack open a can? ▾
No shaker required! Chill a martini glass for 10 minutes in the freezer, add one large craft ice cube to the glass, then pour the canned espresso martini slowly over the ice. Garnish with three whole coffee beans on top for that classic bar look, and you’ll have a frothy, bold drink ready in 30 seconds flat.

Comments (19)

2 days ago

OMG this is such a game changer! I made these for my girls' night potluck last weekend and everyone was begging for the recipe. 2 minutes flat? No fancy bar tools needed? I will literally never pay $18 for an espresso martini at a bar again.

yesterday

Right?! I brought a cooler of these to my neighborhood block party and people were raving all night. Way easier than mixing a big batch ahead of time.

yesterday

So glad these were a hit at your gatherings! Pro tip: chill the cans for at least 4 hours ahead for the best frothy, cold pour.

1 week ago

Took these on our weekend camping trip last week and they were perfect. No messy shakers, no spilled coffee liqueur all over the cooler, just crack open and go. Only gripe is I wish I made more, we ran out halfway through the first night around the campfire!

5 days ago

I did these for a backpacking trip too! So lightweight compared to hauling all the separate liquor bottles, 10/10 campsite hack.

5 days ago

Great call bringing these camping! We love making a double batch for trips too, they keep perfectly in the cooler for up to a week.

3 days ago

SO good! I tested these for my Sunday brunch pregame before we headed to a concert, and they were the perfect kickstart. The espresso flavor is strong enough that you get that little caffeine buzz, not just a sweet sugary cocktail. Will absolutely be making these again for my next brunch get together.

2 days ago

Wait how much espresso do you use? I tried a different canned version once and it tasted like straight vodka, no coffee flavor at all

2 days ago

We recommend using 2 oz of freshly brewed, cooled espresso (or cold brew concentrate if you don’t have an espresso machine!) to get that bold, balanced coffee flavor without making it too watery.

5 days ago

Made these for the Ohio State tailgate last weekend and they were a massive hit. Everyone kept asking where I bought the pre-made cans, they had no idea I whipped them up in 2 minutes before leaving the house! So much cheaper than buying the pre-made branded ones at the liquor store too.

3 days ago

Love that you pulled this off for a tailgate! A little trick: add a tiny pinch of salt to each can to make the chocolate and coffee notes pop even more.

2 days ago

Oh that salt trick is genius! I’m making these for the Michigan game next weekend, can’t wait to test that out.

2 weeks ago

As someone who hates hauling out all my bar tools for a single drink, this recipe is made for me. I keep a stack of these pre-portioned in my fridge for after work, it’s literally the easiest wind down ever. Only thing I changed was adding a dash of vanilla syrup for a little extra sweetness, chef’s kiss.

1 week ago

The vanilla syrup add-in sounds amazing! I usually add a little caramel drizzle to mine, will have to try vanilla next time.

1 week ago

Love that customization! Vanilla, caramel, even a little cinnamon on top are all fantastic swaps to make this your go-to weeknight treat.

2 weeks ago

Brought these to my office potluck last week and even the people who “don’t drink coffee” were coming back for seconds. The flavor is so smooth, it doesn’t taste like super strong black coffee at all.

1 week ago

Wait office potluck with espresso martinis? That’s way better than our sad office pizza parties, I need to get my team on this level.

1 week ago

Office potlucks are the best place to test new cocktail recipes! We’ve had so many people say these are a hit with even non-coffee drinkers thanks to the smooth, sweet balance.

1 week ago

Brought these to my monthly book club meeting and everyone loved them! We usually do wine but wanted to switch it up, and these were the perfect fun, fancy-feeling drink without any of the hassle. Will be rotating these in for future meetings for sure.

5 days ago

Wait I’m in a book club too! We did margaritas last month, these would be such a fun swap for our October thriller night pick.

30 minutes ago

First time ever making any kind of cocktail at home and this was so easy! I was nervous I’d mess up the ratios, but the can method made it totally foolproof. Mine came out just like the ones I get at my favorite downtown cocktail bar.

5 minutes ago

That’s what we love to hear! This recipe is designed to be totally beginner-friendly, no fancy bartending skills required. So glad yours turned out great!

yesterday

Made these for my at-home date night with my partner last night and they were such a hit. We paired them with chocolate covered strawberries and it felt like we were at a fancy rooftop bar without the crazy Uber bill.

2 hours ago

The chocolate strawberry pairing is such a good call! My wife and I did these for our anniversary at home too, way more cozy than going out.

2 hours ago

Wait, this is so much cheaper than buying the pre-made espresso martini cans at the grocery store! I did the math and it’s like $1.50 per can vs the $5 they charge for the branded ones. Total game changer for my monthly budget.

30 minutes ago

We love a budget-friendly hack! Buying full-sized bottles of the ingredients upfront pays for itself after just a few batches, you’re totally right about the cost savings.

3 days ago

Made a batch of these to sneak into the show last weekend (don’t tell security 😉) and they were perfect. No glass, no messy spills, just cracked them open in the parking lot and had a great pre-show drink. Will definitely be doing this for every concert from now on.

2 days ago

I did this for a music festival a couple weeks ago! Total pro move, way better than paying $17 for a beer inside the venue.

5 minutes ago

Wait, how do you get that nice frothy top when you pour it out of the can? Mine was a little flat the first time I made it, still tasted great but missing that classic espresso martini foam. Any tips?

just now

Great question! Make sure you shake the can really hard for 15-20 seconds right before you open it, that’s what creates that signature frothy top. Don’t shake it too far ahead of time or the foam will settle before you pour!

just now

Quick question – can I make this with dairy-free coffee liqueur? I have a dairy allergy and most pre-mixed espresso martinis have dairy in them, so I’m excited to make my own version!

just now

Absolutely! Dairy-free coffee liqueur works perfectly here, just make sure to double check your vodka and espresso are dairy-free too (they almost always are!) and you’re good to go.

2 days ago

Made these for our weekly board game night with friends and they were such a hit! Way better than our usual beer and seltzer selection, and they pair so well with snack mix and chocolate chip cookies. 10/10, will make again.

30 minutes ago

As someone who drinks 3 shots of espresso a day and loves a good cocktail, this recipe was made for me. It’s the perfect pick-me-up after a long work day, no need to choose between coffee and a cocktail anymore.

1 week ago

Tested this recipe ahead of my holiday party next month and it is SO good. I’m gonna make a whole big batch, fill up a bunch of cans, and have them ready to go in a cooler so I don’t have to play bartender all night. Total hosting hack.

yesterday

I made these last night and they were pretty good, but I thought they were a little too strong on the vodka taste for my preference. Next time I’ll add a little extra coffee liqueur and a splash of simple syrup to sweeten it up more.

5 days ago

Stuck a bunch of these in my beach cooler last weekend and they were the perfect beach drink. No sand getting in my cocktail glass, no worrying about breaking glass on the boardwalk, just cold, caffeinated boozy goodness all afternoon.

2 weeks ago

I added this to my weekly Sunday meal prep rotation! I make 5 of these cans on Sunday, stick them in the fridge, and have one ready to go every Friday after work. No fuss, no mess, perfect end to the work week.



