
Everything Bagel
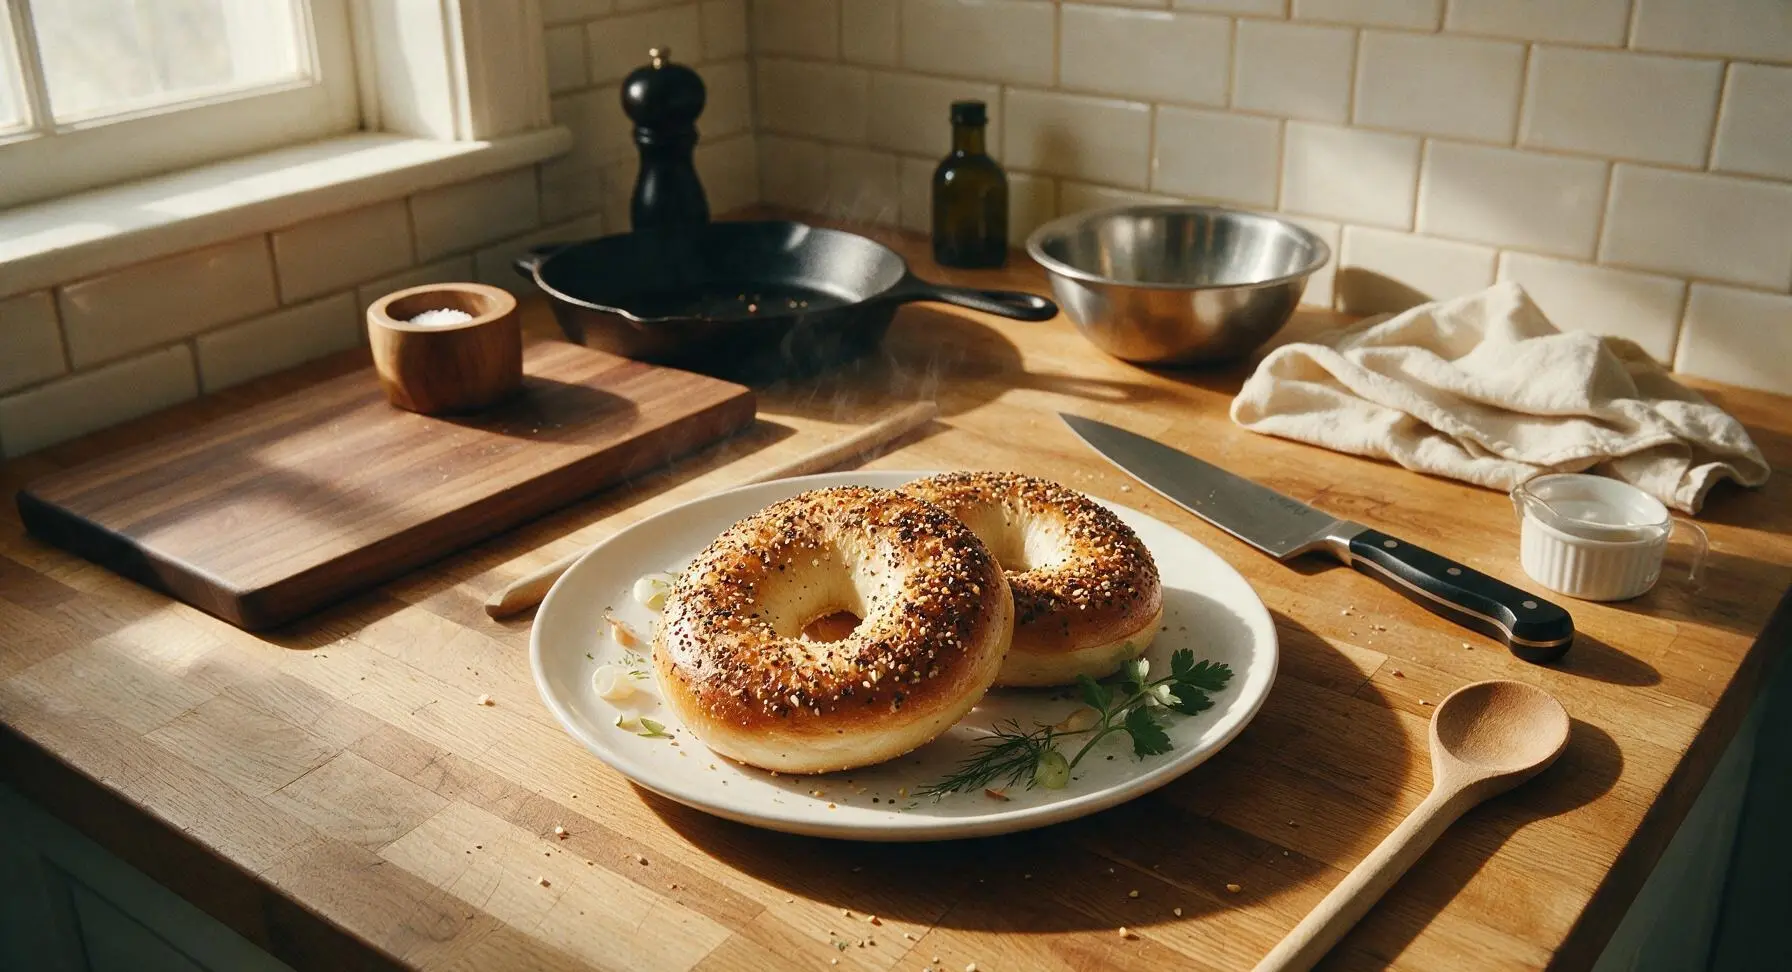
intro
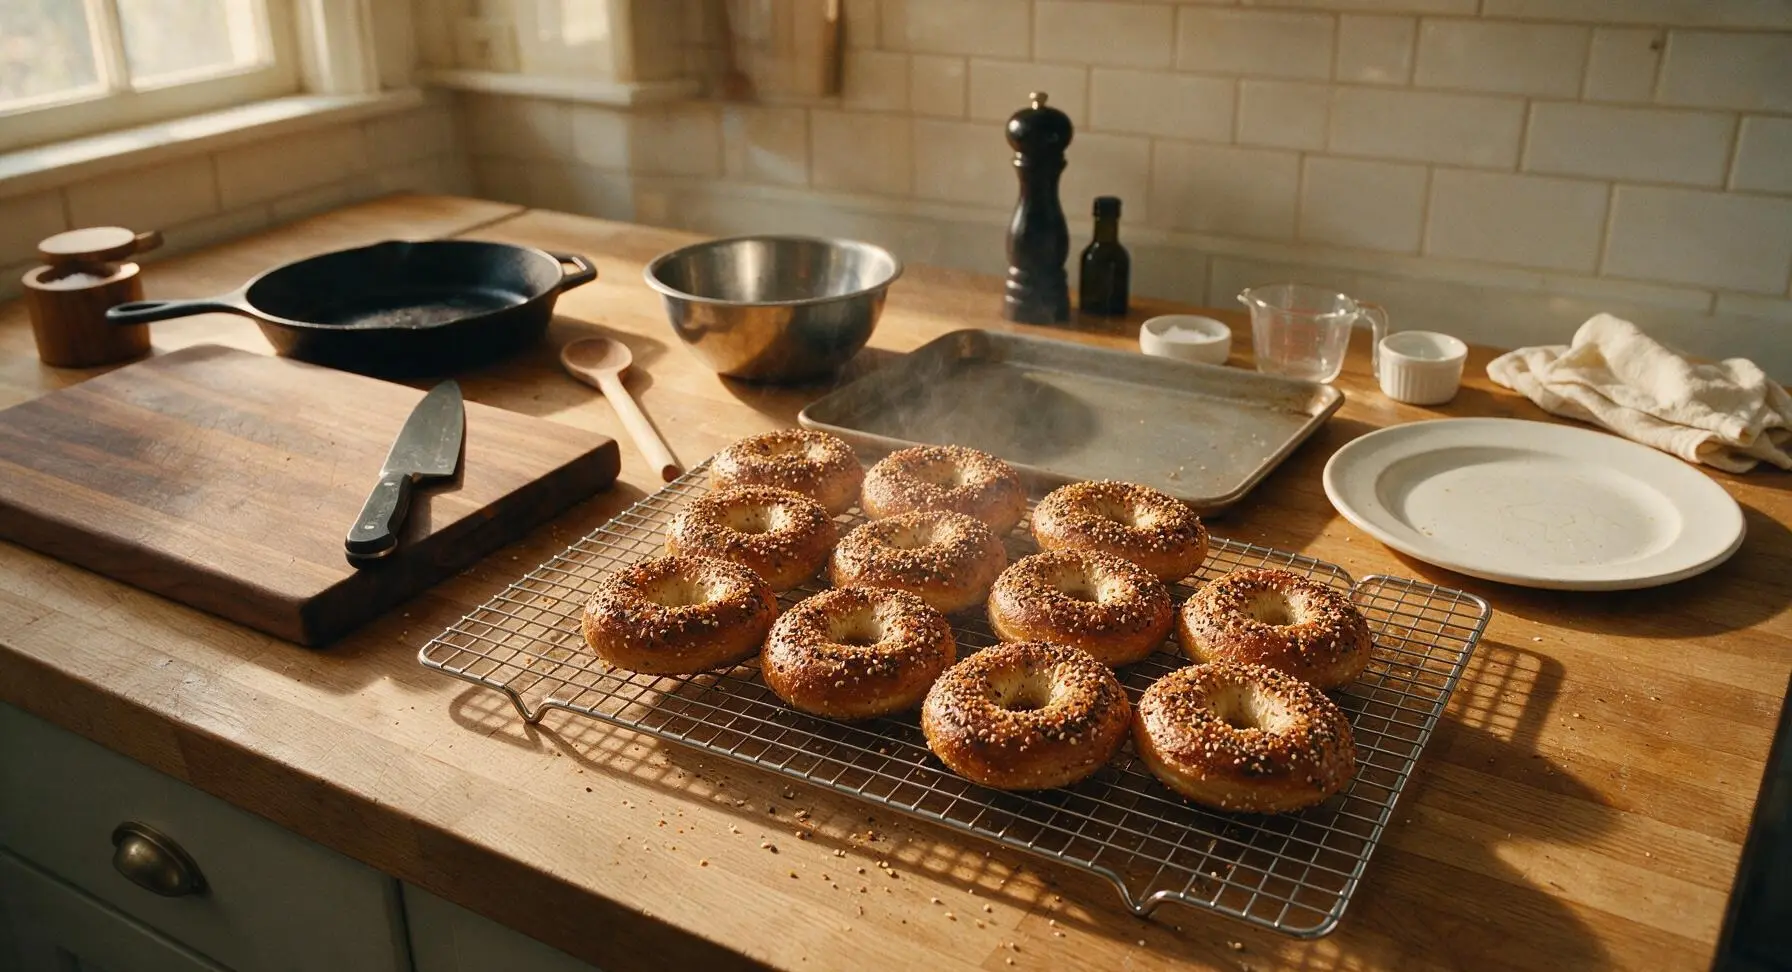
Chewy, golden New York-style everything bagels crusted with a savory seed, garlic, and onion mix, perfect for toasting and slathering with cream cheese at home or on a spring picnic.
Ingredients
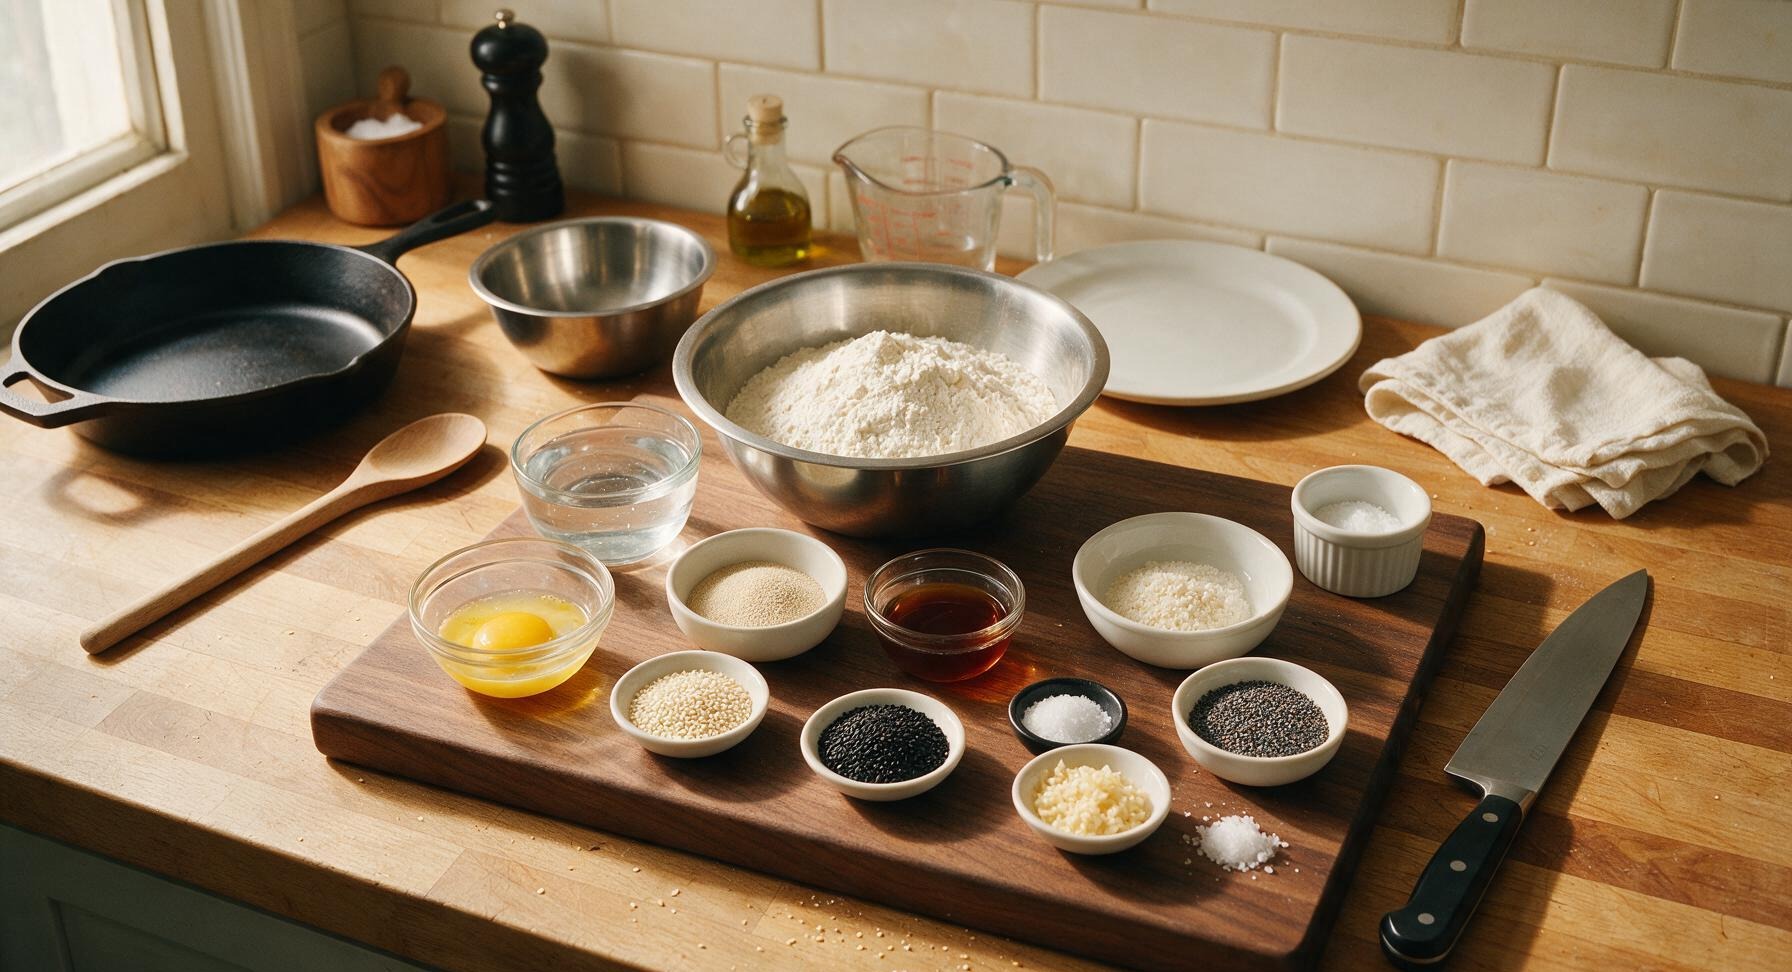
Steps
Activate the Yeast
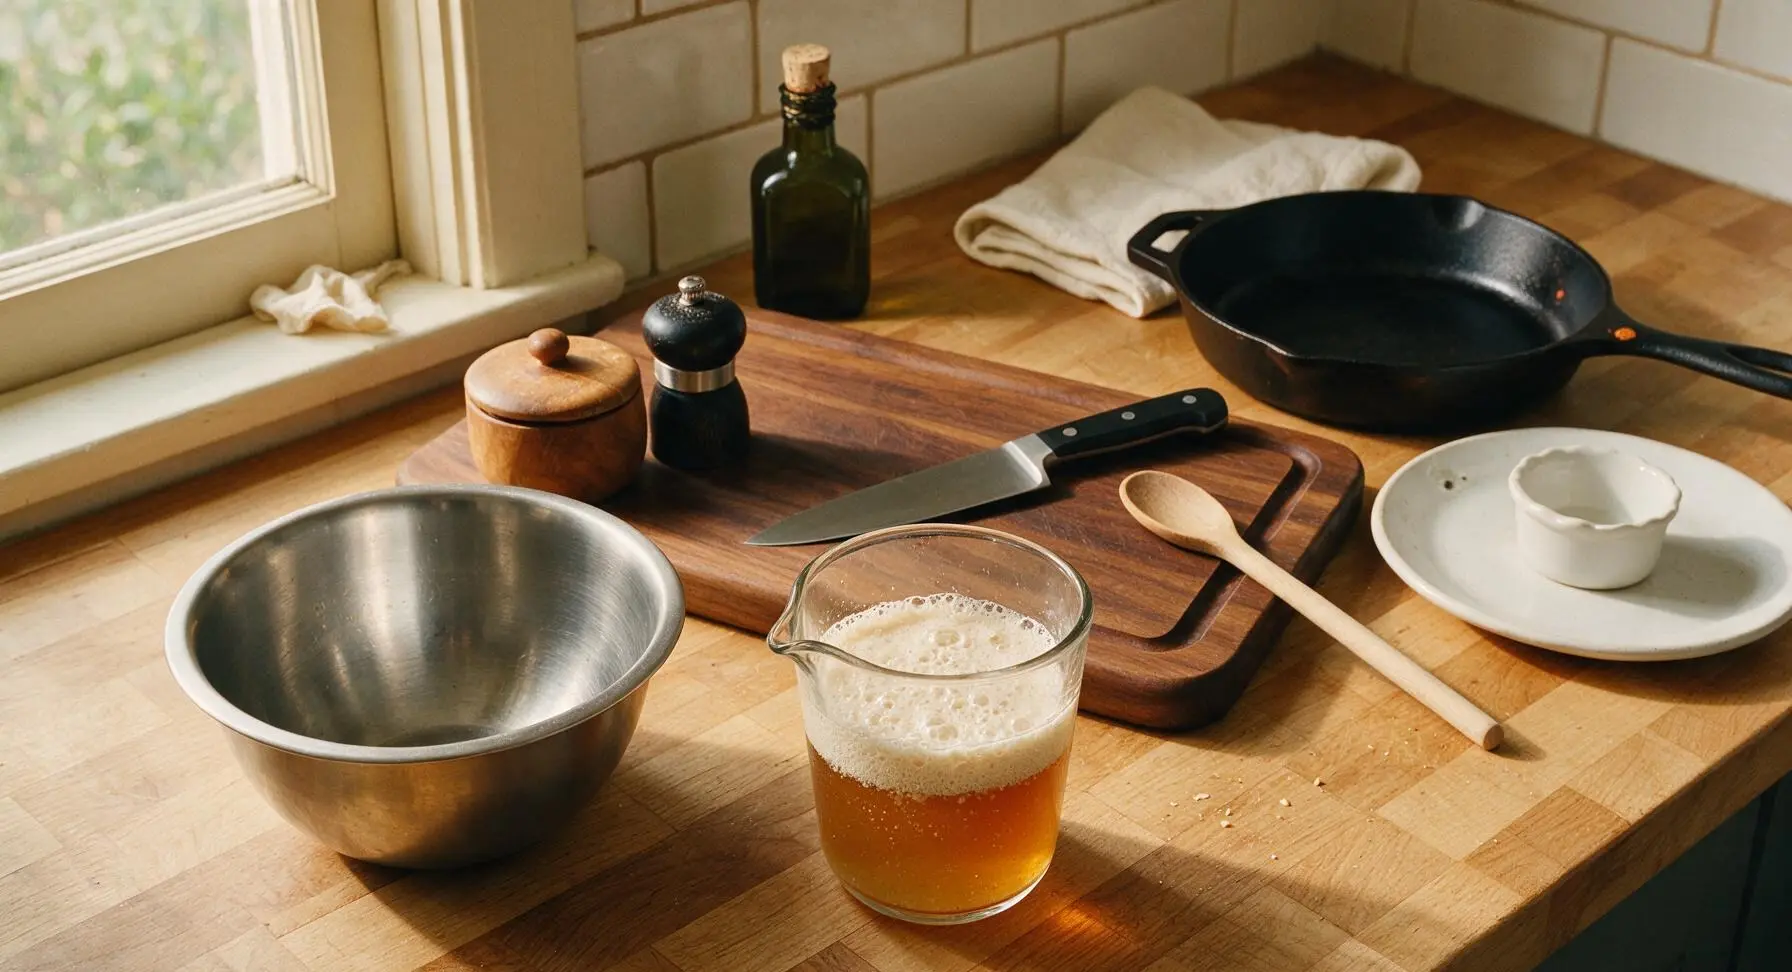
Pour 300ml lukewarm (105-110°F) water into the medium clear glass measuring cup, stir in 1 teaspoon of the barley malt syrup until dissolved, then sprinkle the active dry yeast over the surface. Let rest for 5-7 minutes at room temperature, until the mixture forms a frothy 1/4-inch thick foam layer on top, confirming the yeast is active. If no foam forms after 7 minutes, the yeast is expired and should be replaced before proceeding.
Mix and Knead Dough
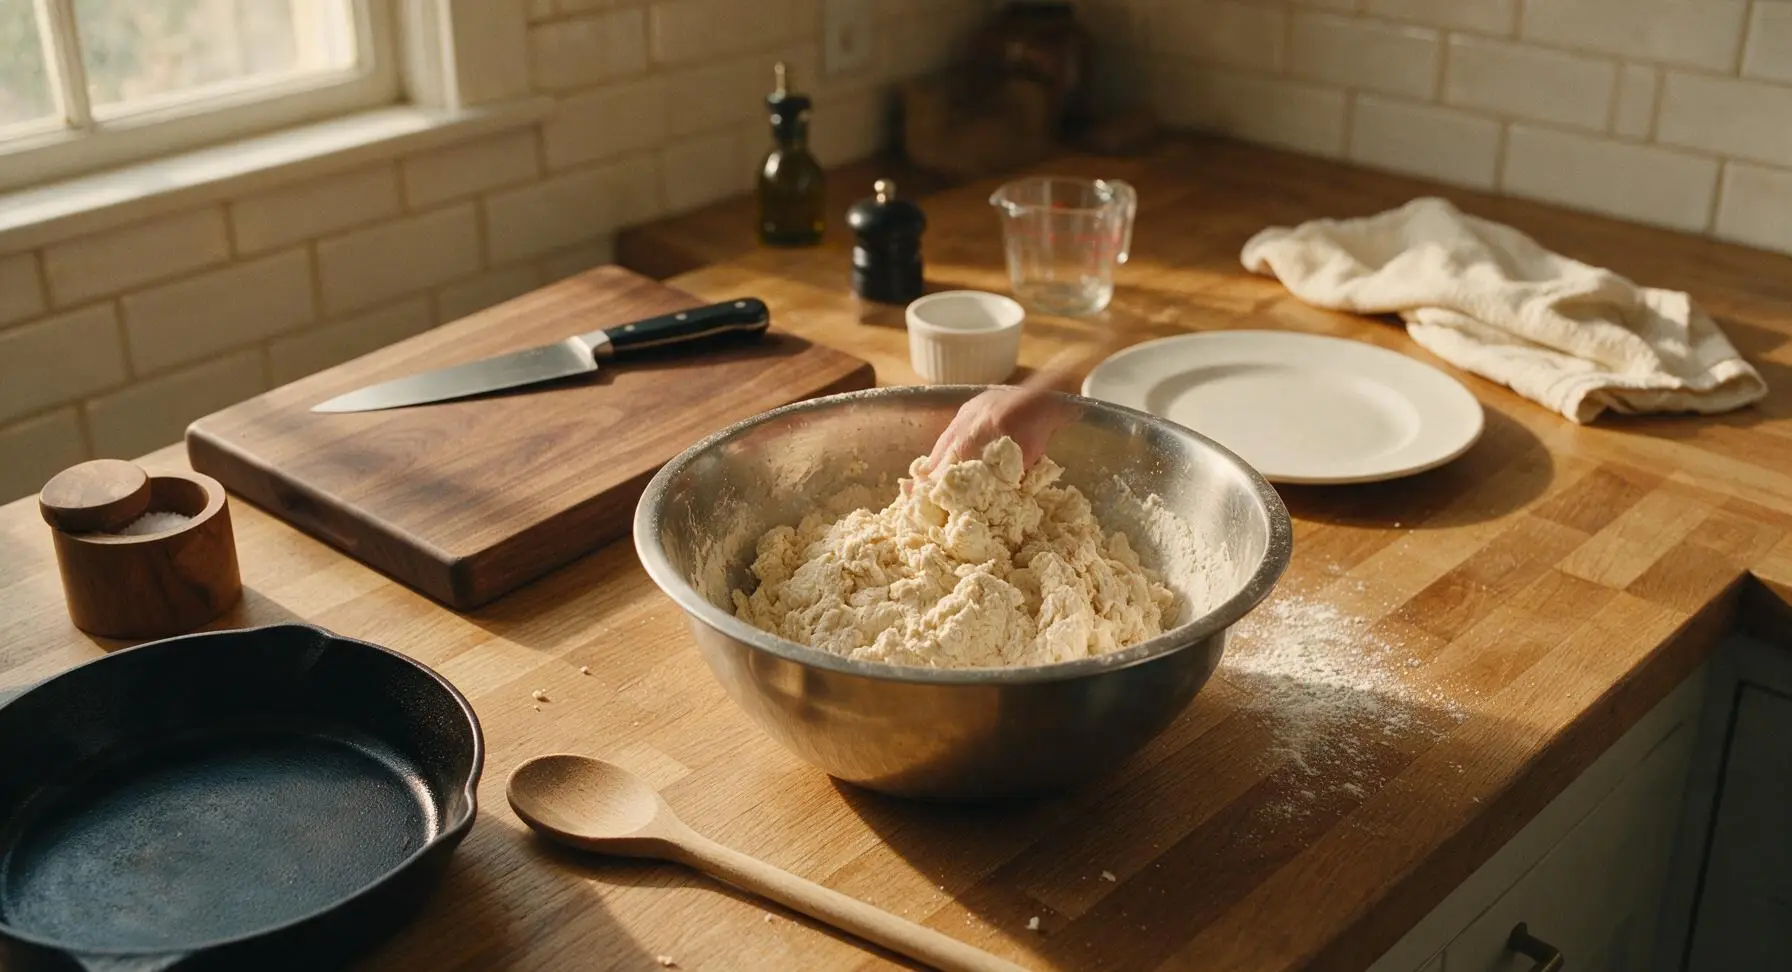
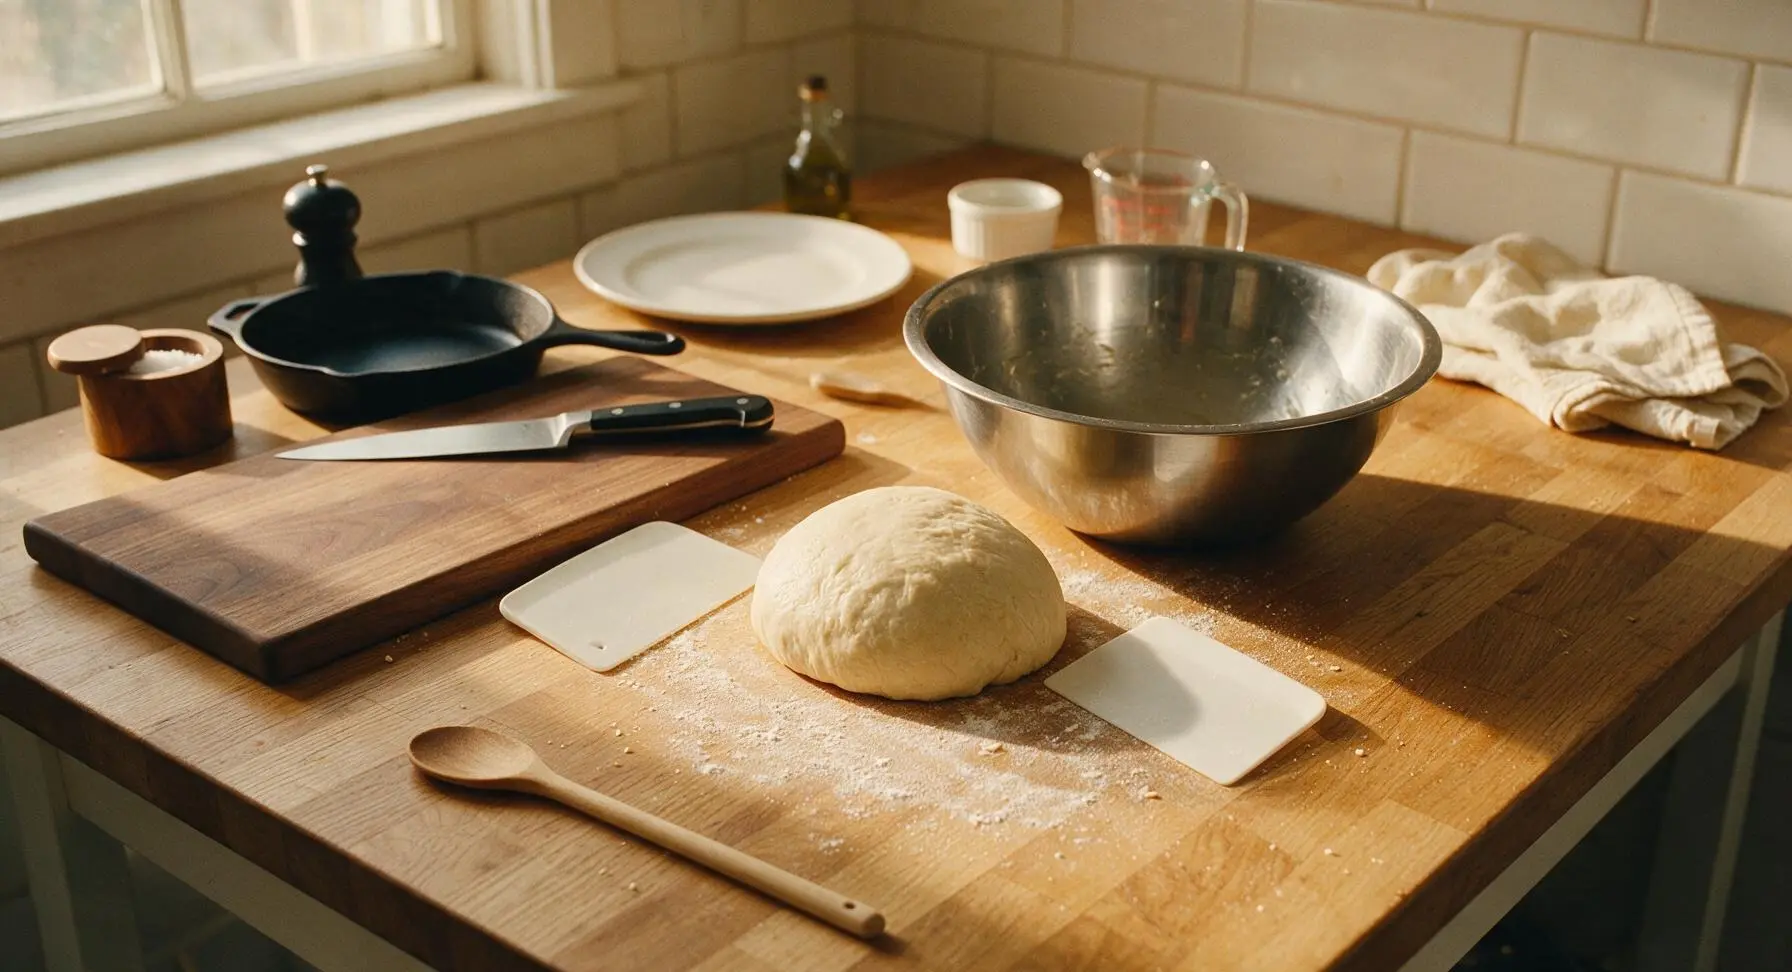
Place the bread flour and fine sea salt into the large stainless steel mixing bowl, stir to combine evenly. Pour the activated yeast mixture and remaining 2 teaspoons barley malt syrup into the flour, stirring by hand until a shaggy, rough dough forms with no dry flour pockets remaining. Turn the dough out onto a lightly floured section of the butcher block, knead steadily for 8-10 minutes, until the dough is smooth, elastic, and springs back slowly when poked with a finger; properly kneaded dough will not stick excessively to your hands or the counter.
Let Dough Rise
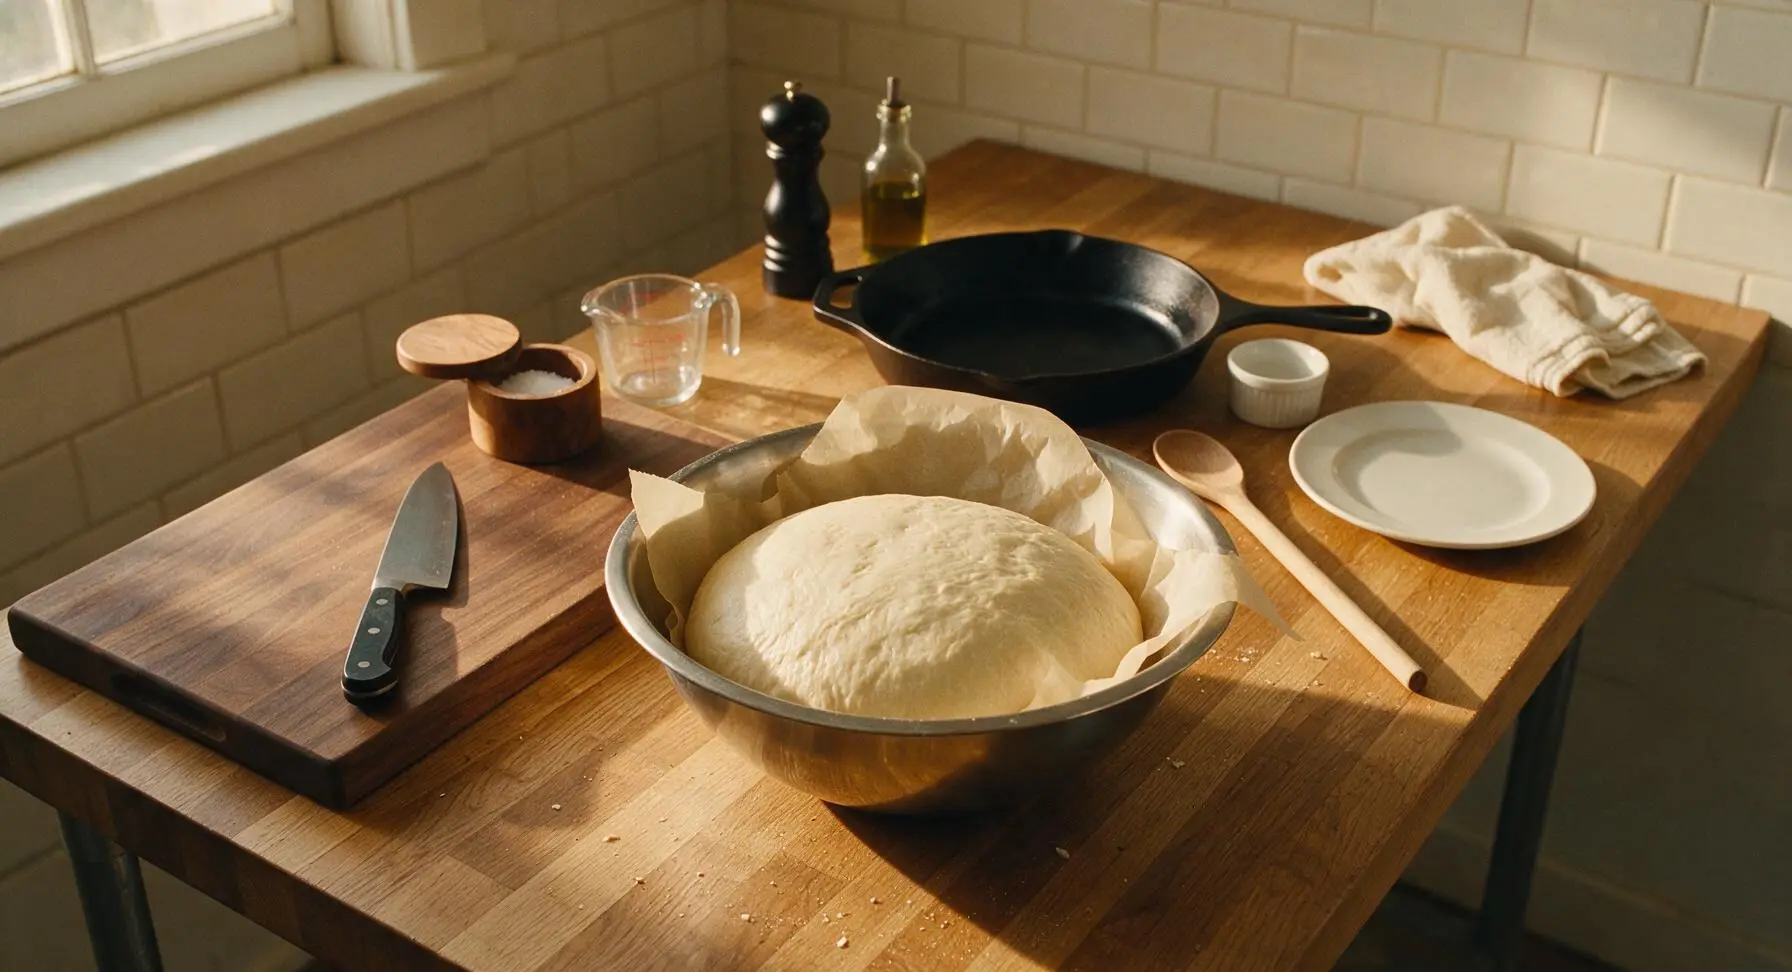
Form the kneaded dough into a tight, smooth ball, place it back into the lightly oiled large stainless steel mixing bowl, and cover the bowl loosely with a sheet of unbleached parchment paper. Let rise in a warm, draft-free spot for 1 hour, until the dough doubles in size. Test for doneness by pressing a floured finger 1 inch into the center of the dough: if the indentation stays in place without bouncing back, the dough is ready.
Shape Bagel Rounds
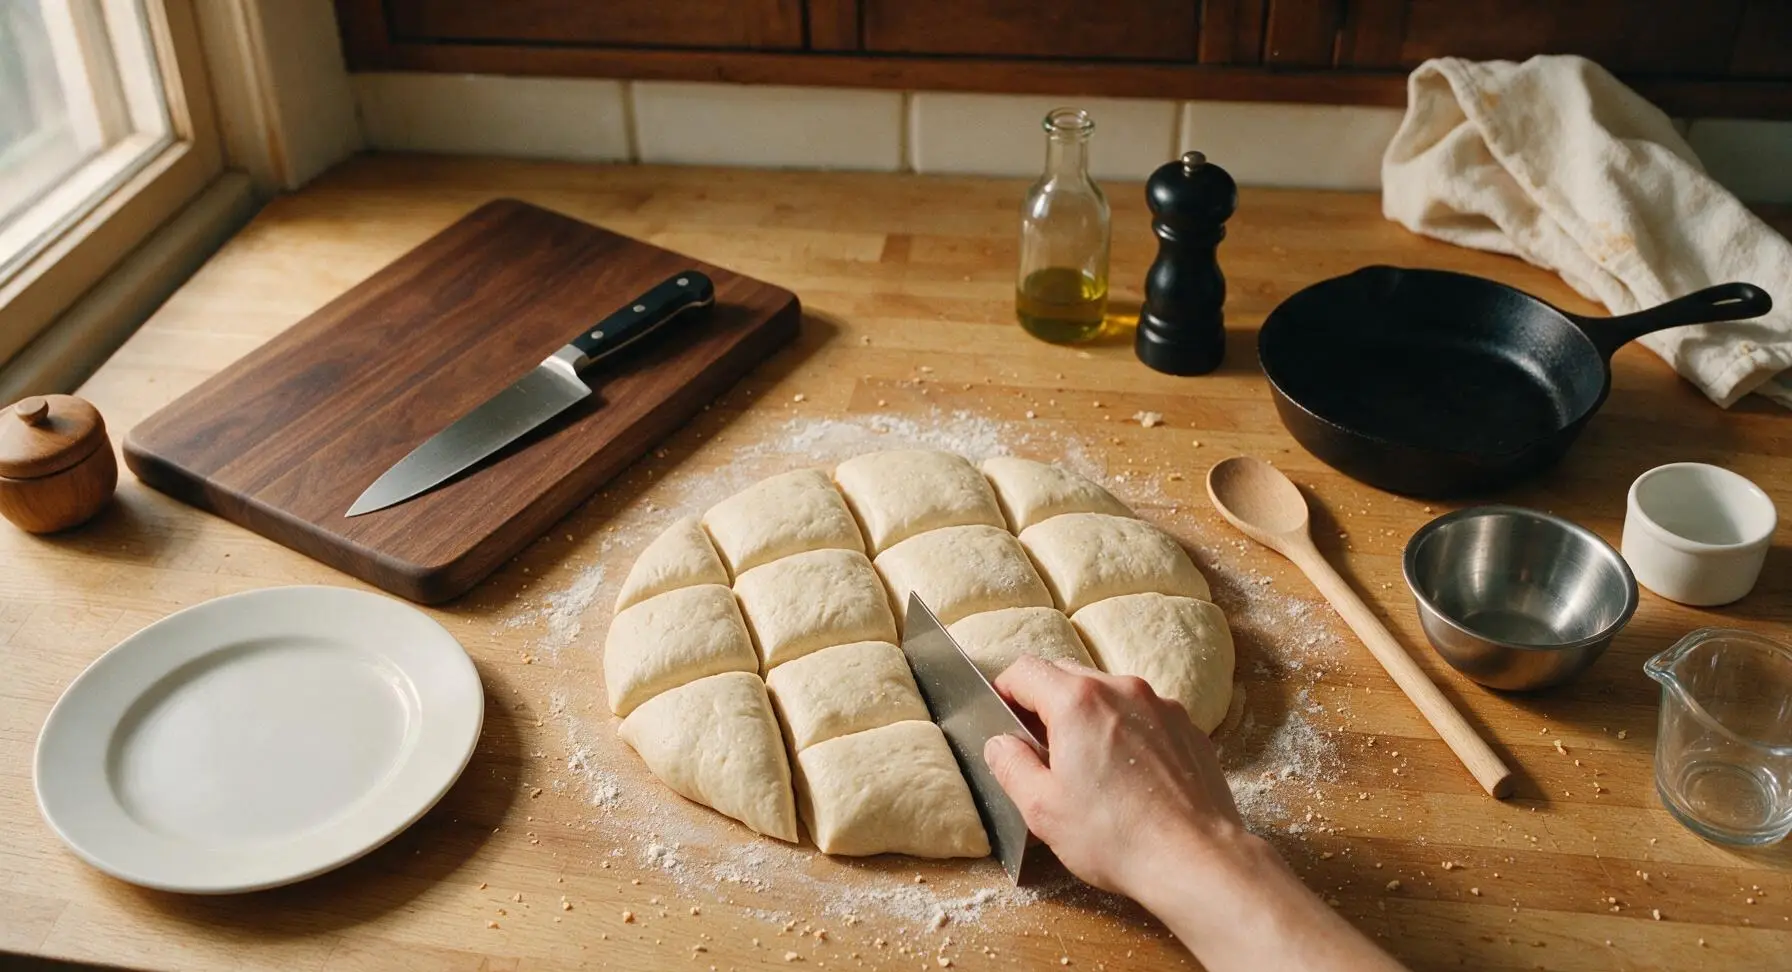
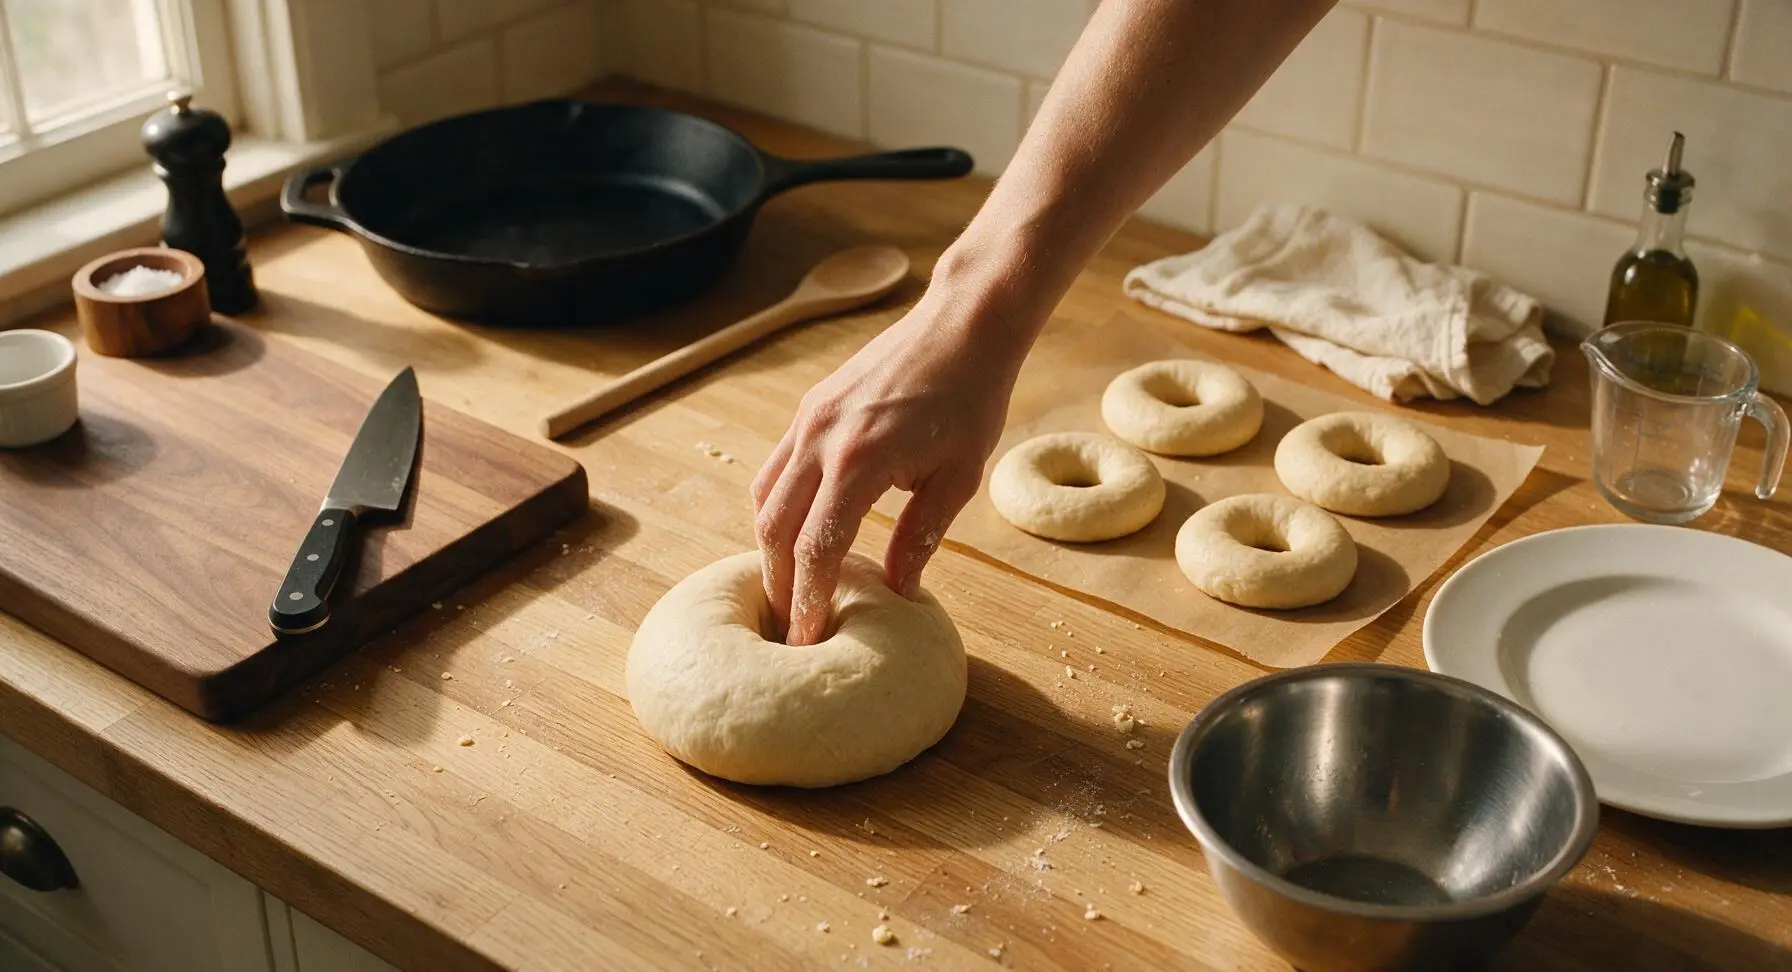
Turn the risen dough out onto the lightly floured counter, pressing gently to deflate it. Use the flexible plastic dough scraper to divide the dough into 8 equal 100g pieces. Roll each piece into a tight, smooth ball, then poke a floured finger through the center of each ball to create a 2-inch wide hole, stretching the dough gently to form a uniform ring shape. Place the shaped bagels 2 inches apart on a parchment-lined section of the counter, cover loosely, and let rest for 30 minutes until slightly puffed. Test readiness by dropping one bagel into a small bowl of cold water: if it floats within 10 seconds, it is ready to boil.
Boil Bagel Dough
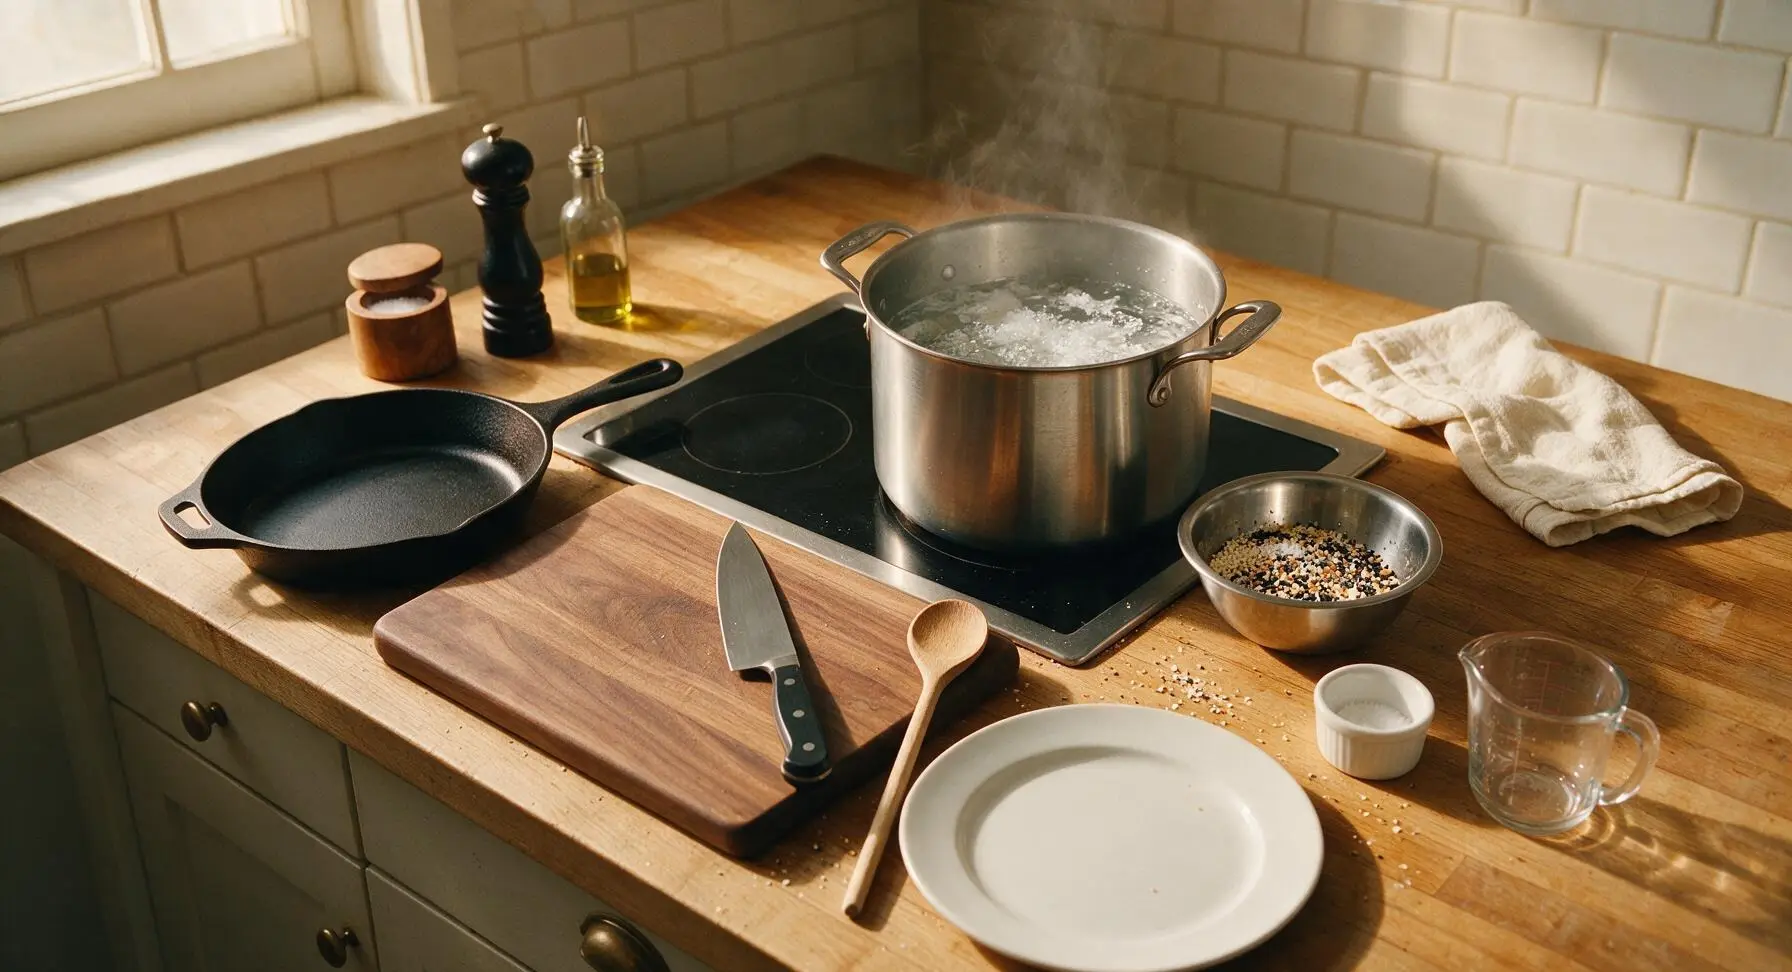
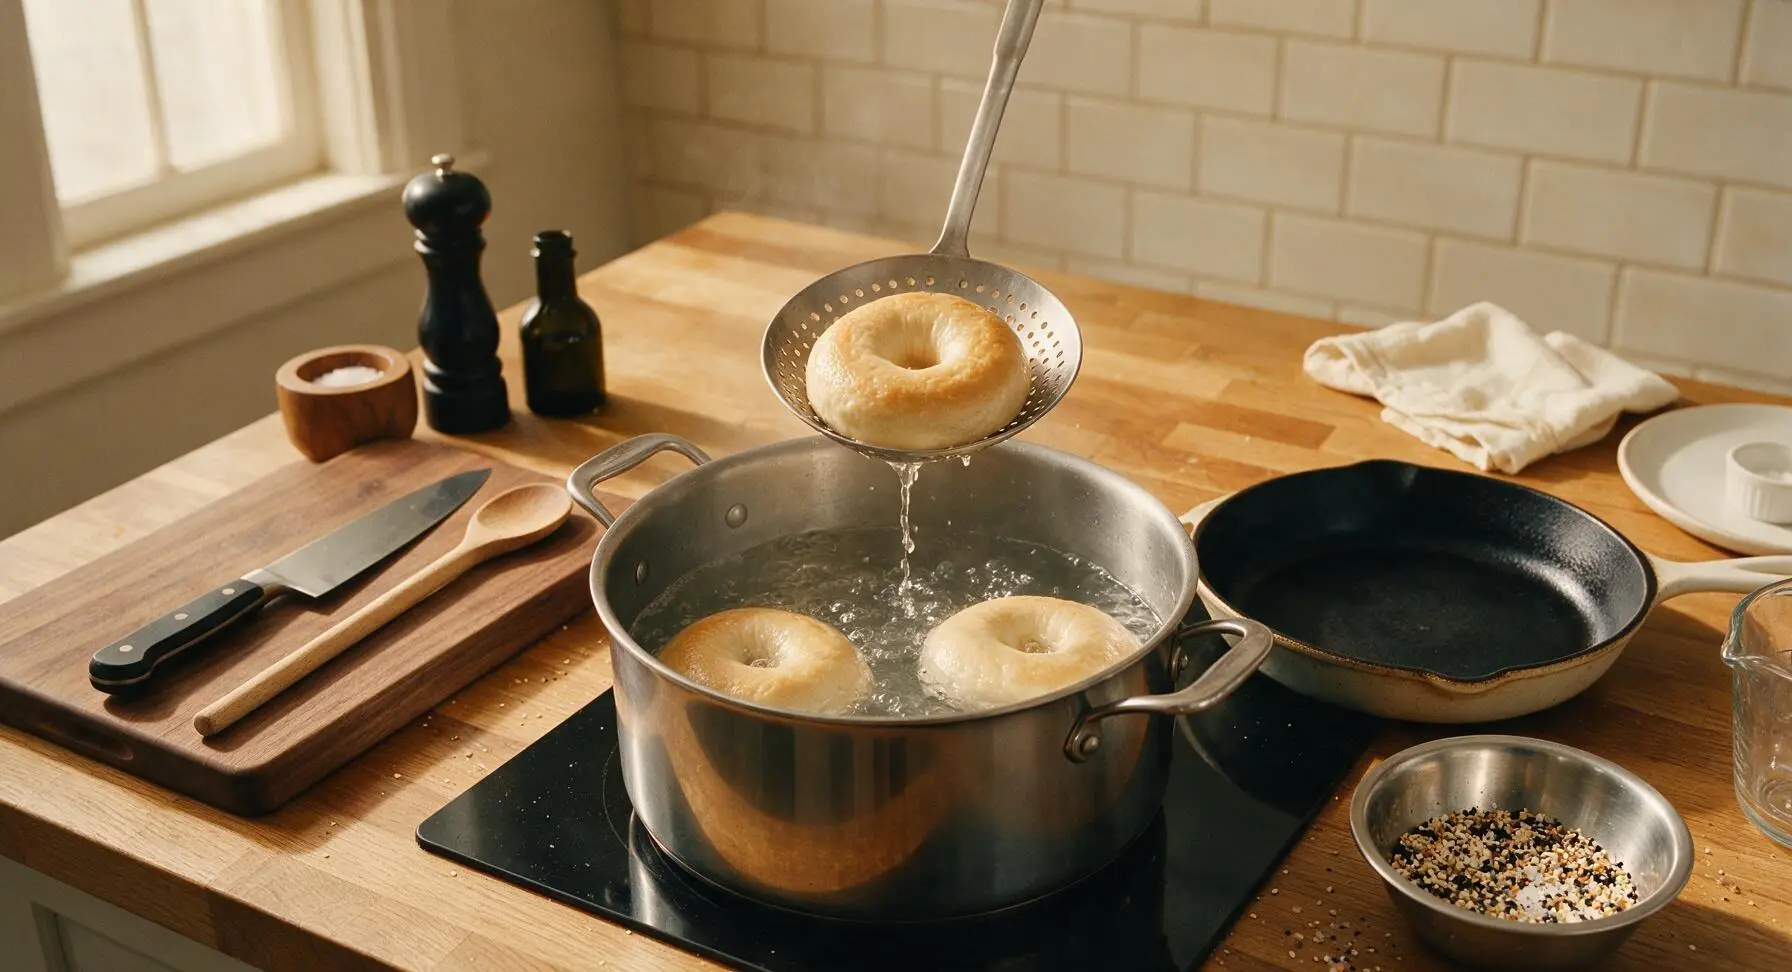
While the shaped bagels rest, fill the 8-quart stainless steel stock pot 2/3 full of water, bring to a rolling boil over high heat on the fixed induction burner, then stir in the 1 tablespoon baking soda. In the small stainless steel mixing bowl, combine white sesame seeds, black sesame seeds, poppy seeds, dried minced garlic, dried minced onion, and flaky sea salt, stirring to mix evenly. Once bagels pass the float test, drop 2-3 bagels at a time into the boiling water, cooking for 1 minute per side, using the slotted spider strainer to flip them halfway through boiling.
Top and Bake Bagels
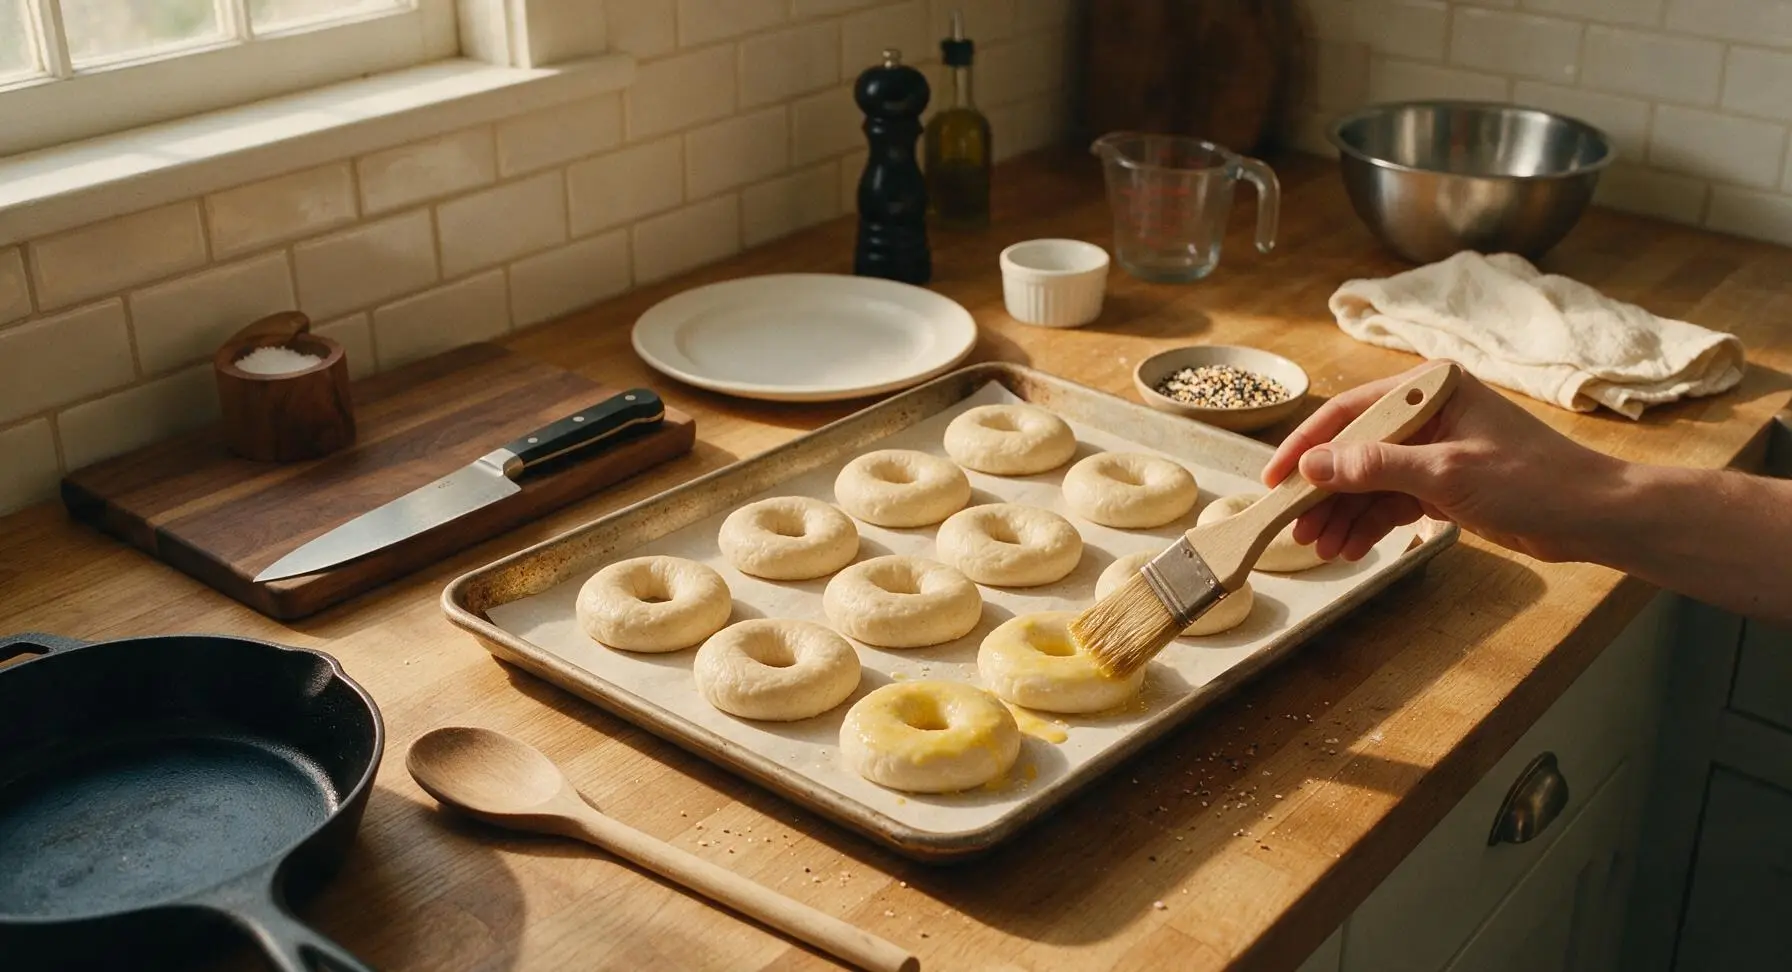
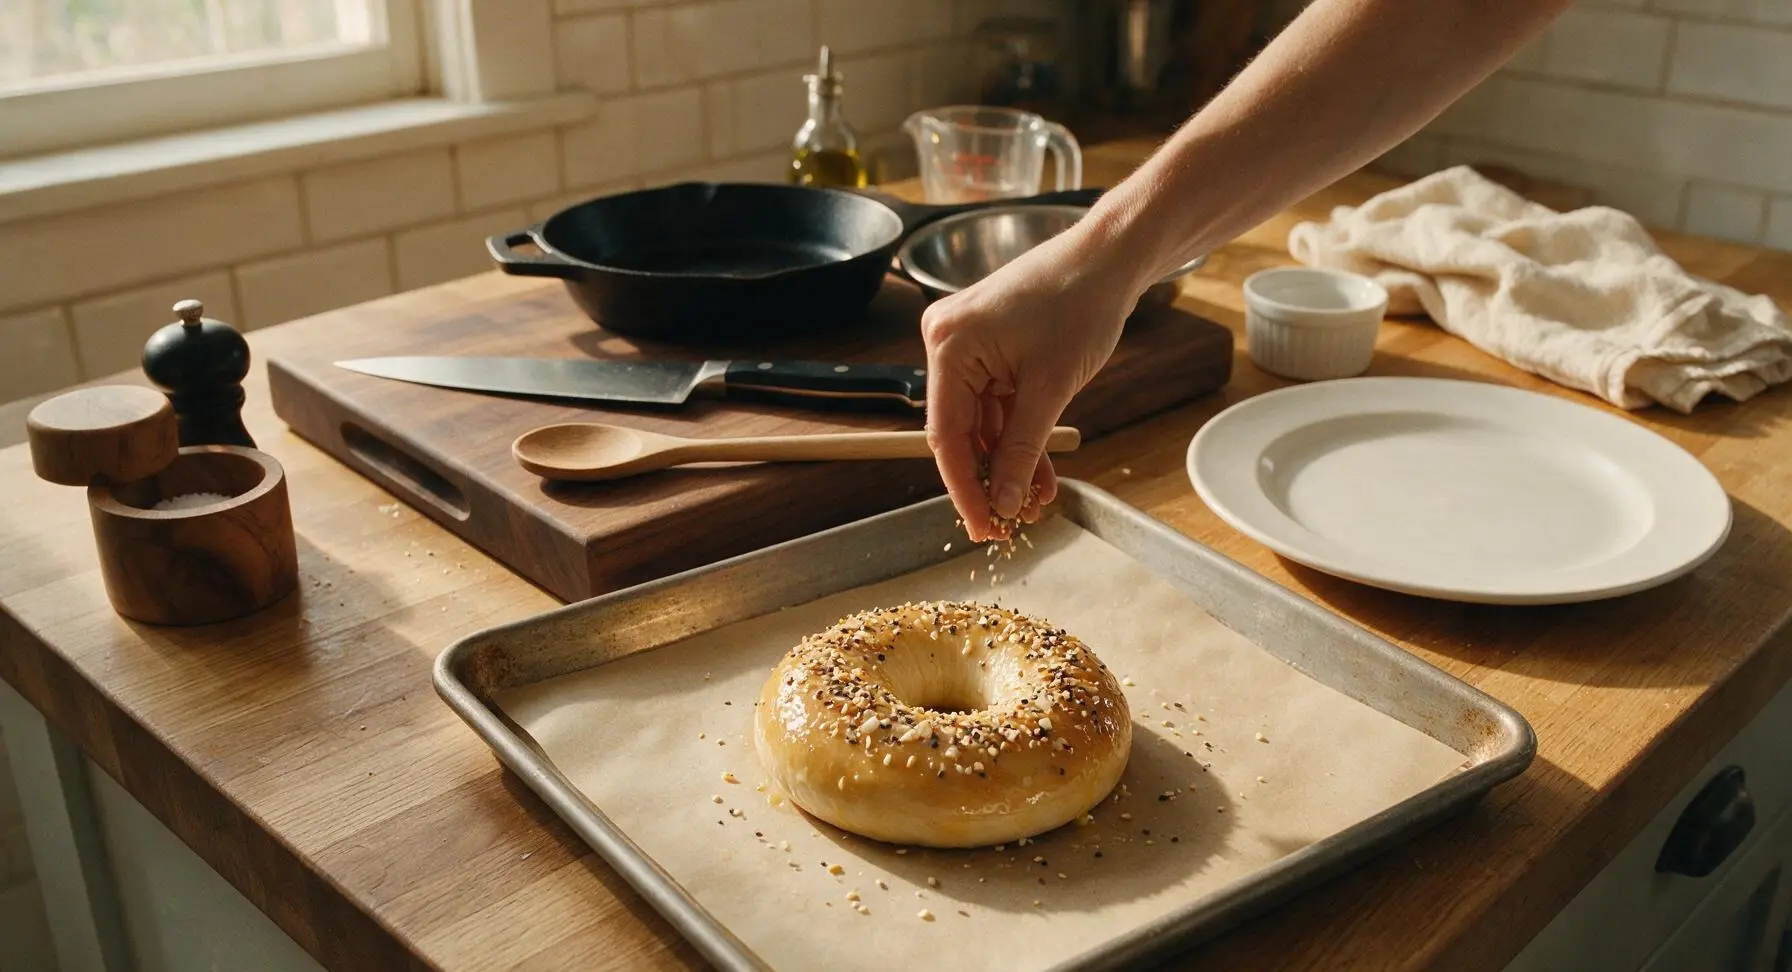
Use the slotted spider strainer to lift boiled bagels from the water, letting excess water drain off for 10 seconds, then place them 2 inches apart on the parchment-lined heavy gauge baking sheet. Use the natural bristle pastry brush to brush the top and sides of each bagel lightly with the beaten egg wash (1 egg mixed with 1 teaspoon water), then sprinkle generously with the everything seed mix, pressing gently to help the topping adhere. Bake at 425°F (220°C) for 20-22 minutes, rotating the pan halfway through baking, until the bagels are deep golden brown and the seed topping is lightly toasted.
Cool Before Serving
Once baked, use the plastic dough scraper to transfer the hot bagels from the baking sheet to the chrome wire cooling rack. Let them cool for at least 15 minutes before slicing, to let the chewy crumb set fully. Cooled bagels can be stored in an airtight container at room temperature for up to 3 days, or frozen for up to 1 month for longer storage.
Tips
2.Never overcrowd the stock pot when boiling bagels: Adding more than 2-3 bagels at a time drops the water temperature below a rolling boil, leading to wrinkled, dense bagels instead of light, chewy ones with a crisp, snappy crust. Give each bagel room to float freely as it cooks.
3.Wait the full 15 minutes for bagels to cool on the rack before slicing: Cutting into a piping hot bagel right out of the oven causes the gelatinized starches in the crumb to compress and turn gummy, as they haven’t had time to set into the signature chewy texture.






OMG these taste exactly like the bagels I grew up grabbing from my corner bodega in Queens! I was so intimidated by the boiling step but it was way easier than I thought. The everything seasoning crust is perfectly crunchy, chewy center, *chef’s kiss*. My roommates devoured half the batch before they even cooled down. Game changer for weekend brunch!
Made these for my kid’s soccer team potluck last weekend and they were a total hit! My son said they’re better than the bagel shop we stop at after games, and I doubled the recipe and still only had 2 leftover bagels by the end of the morning. The only note I have is I wish I’d pressed the everything seasoning a little harder before baking, a bunch fell off when people picked them up. Still SO good though, will absolutely make again.
Okay full transparency, this was my first time ever making any kind of bread from scratch and I was so nervous I’d mess it up. The instructions were super clear and easy to follow! My bagels came out a little lumpy looking but they tasted incredible. My partner said they’re better than the fancy bagel shop downtown. Win in my book!
Added these to my weekly meal prep rotation! I slice and freeze them after they cool, then pop them in the toaster straight from the freezer for quick breakfasts all week. Tastes way better than the grocery store bagels that are loaded with weird preservatives. Worth every minute of the 2 hour cook time for sure.
Tweaked the everything seasoning a little to add extra toasted sesame seeds and a pinch of red pepper flakes for a tiny kick, and oh my GOD it was chef’s kiss. The base recipe is so solid, it’s easy to mess with the seasoning to match exactly what you love. Made breakfast sandwiches with egg, cheese, and bacon on these and my husband asked when we’re having them again this week.
I’ve tried three different NY bagel recipes online and this is by far the closest to the real thing. The chewy texture is spot on, the crust has that perfect snap when you bite into it. My only issue was my bagels puffed up a little too much in the boil and came out more round than the traditional flattish bagel shape. Did I let them rise too long?
Brought these to my neighborhood block party last weekend and people were asking me for the recipe before I even set the platter down! I made a plain cream cheese and a scallion cream cheese to go with them and it was the perfect spread. 10/10, will be making these for every family gathering from now on.
Wait a second, I followed the recipe exactly and my bagels came out a little too dense, not as chewy as I was hoping. Did I knead the dough too little? I kneaded it by hand for about 8 minutes like the recipe said, but maybe I needed longer? Flavor was amazing though, the everything seasoning blend is perfect.
Made these in my tiny dorm kitchen with just a basic mixing bowl and my janky old apartment oven, no fancy stand mixer or anything required! They turned out way better than I expected. I split one with my roommate and we both agreed we’re never paying $5 for a coffee shop bagel again. Gonna save so much money making these for weekend breakfasts going forward.
I’ve been making bagels for over 40 years, starting back when I worked at a corner shop in Brooklyn in the 80s, and I have to say this recipe is dead on for the classic NY style I remember. No weird shortcuts, no unnecessary fancy add-ins, just straight up chewy, perfectly seasoned bagels. Kudos to the team for nailing the ratios. I’ll be passing this along to my grandkids for sure.