
fagioli soup
intro
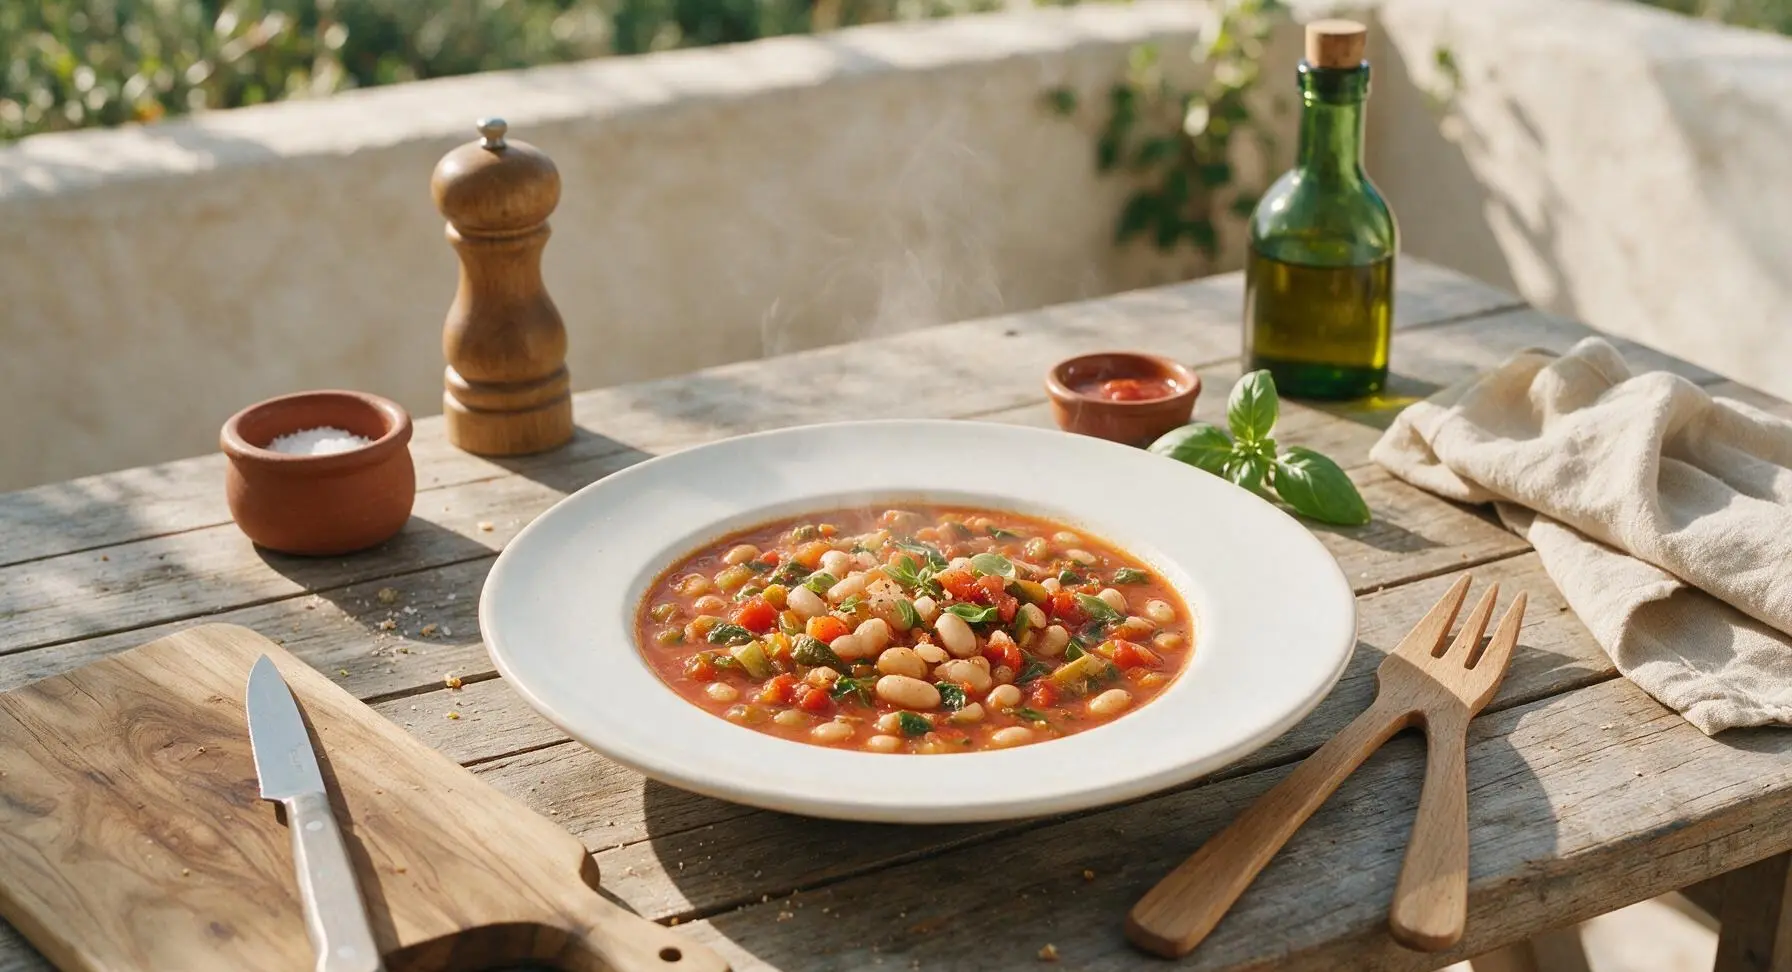
Rustic, hearty Italian bean and pasta soup, brimming with tender vegetables, creamy cannellini beans, and rich tomato broth, perfect for cold winter nights with crusty bread.
Ingredients
Steps
Prep Base Vegetables
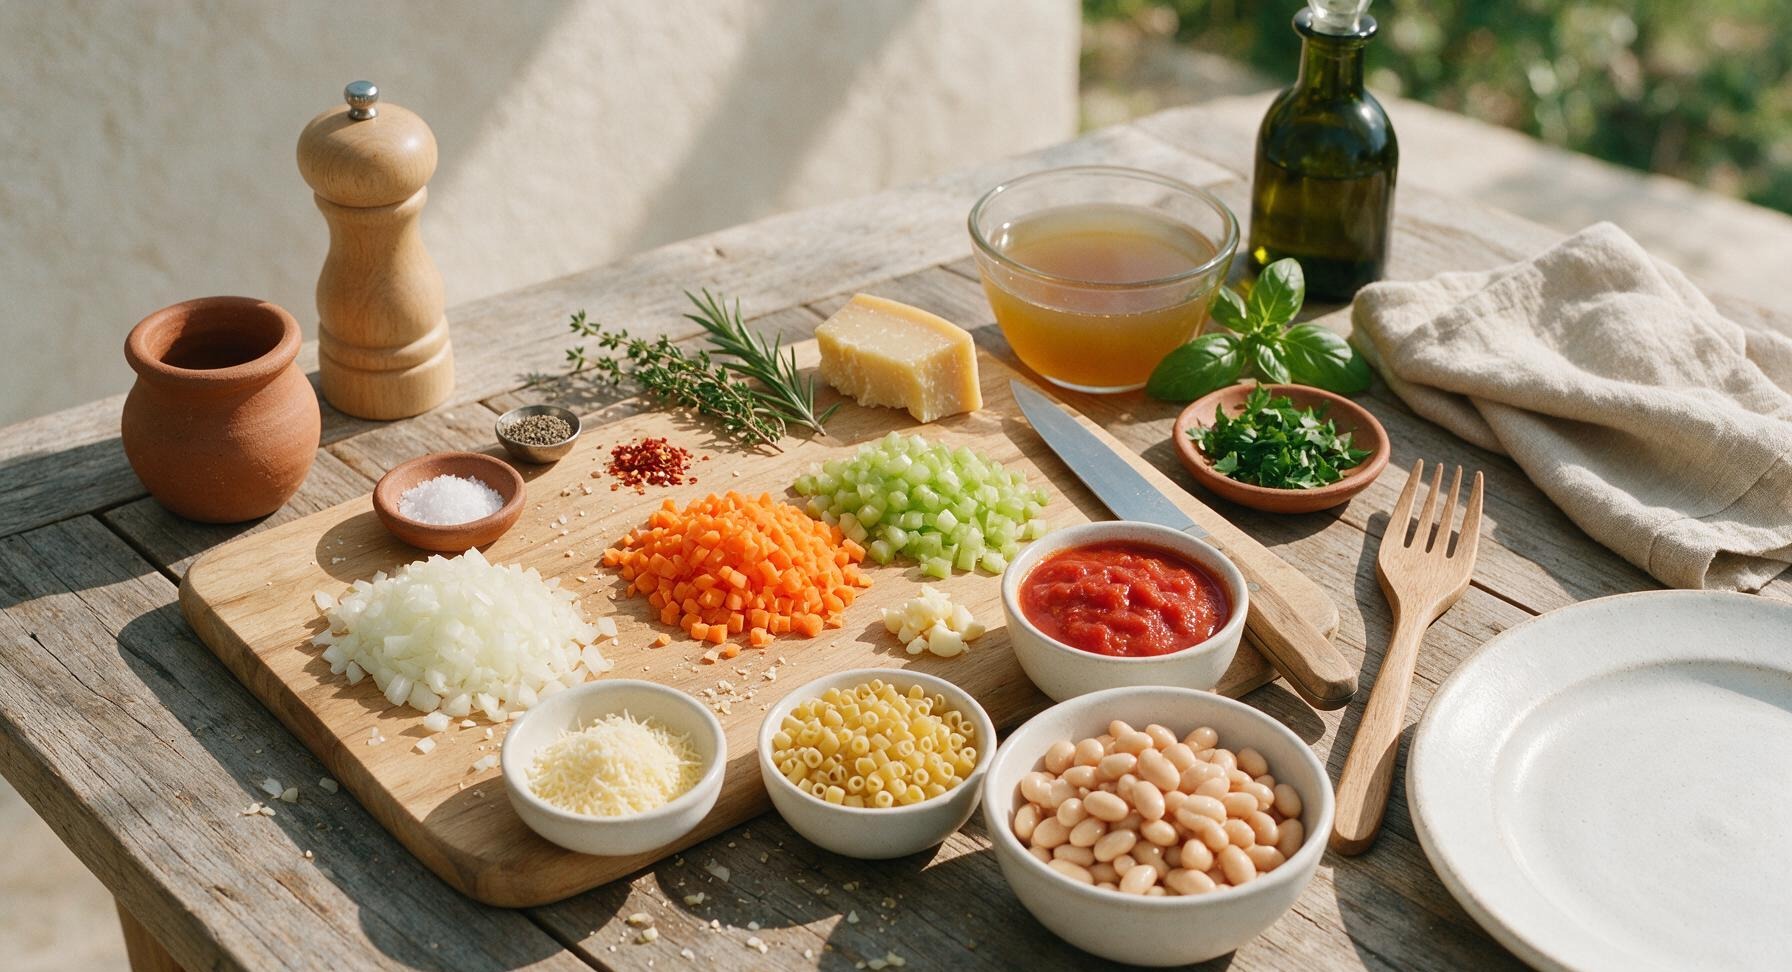
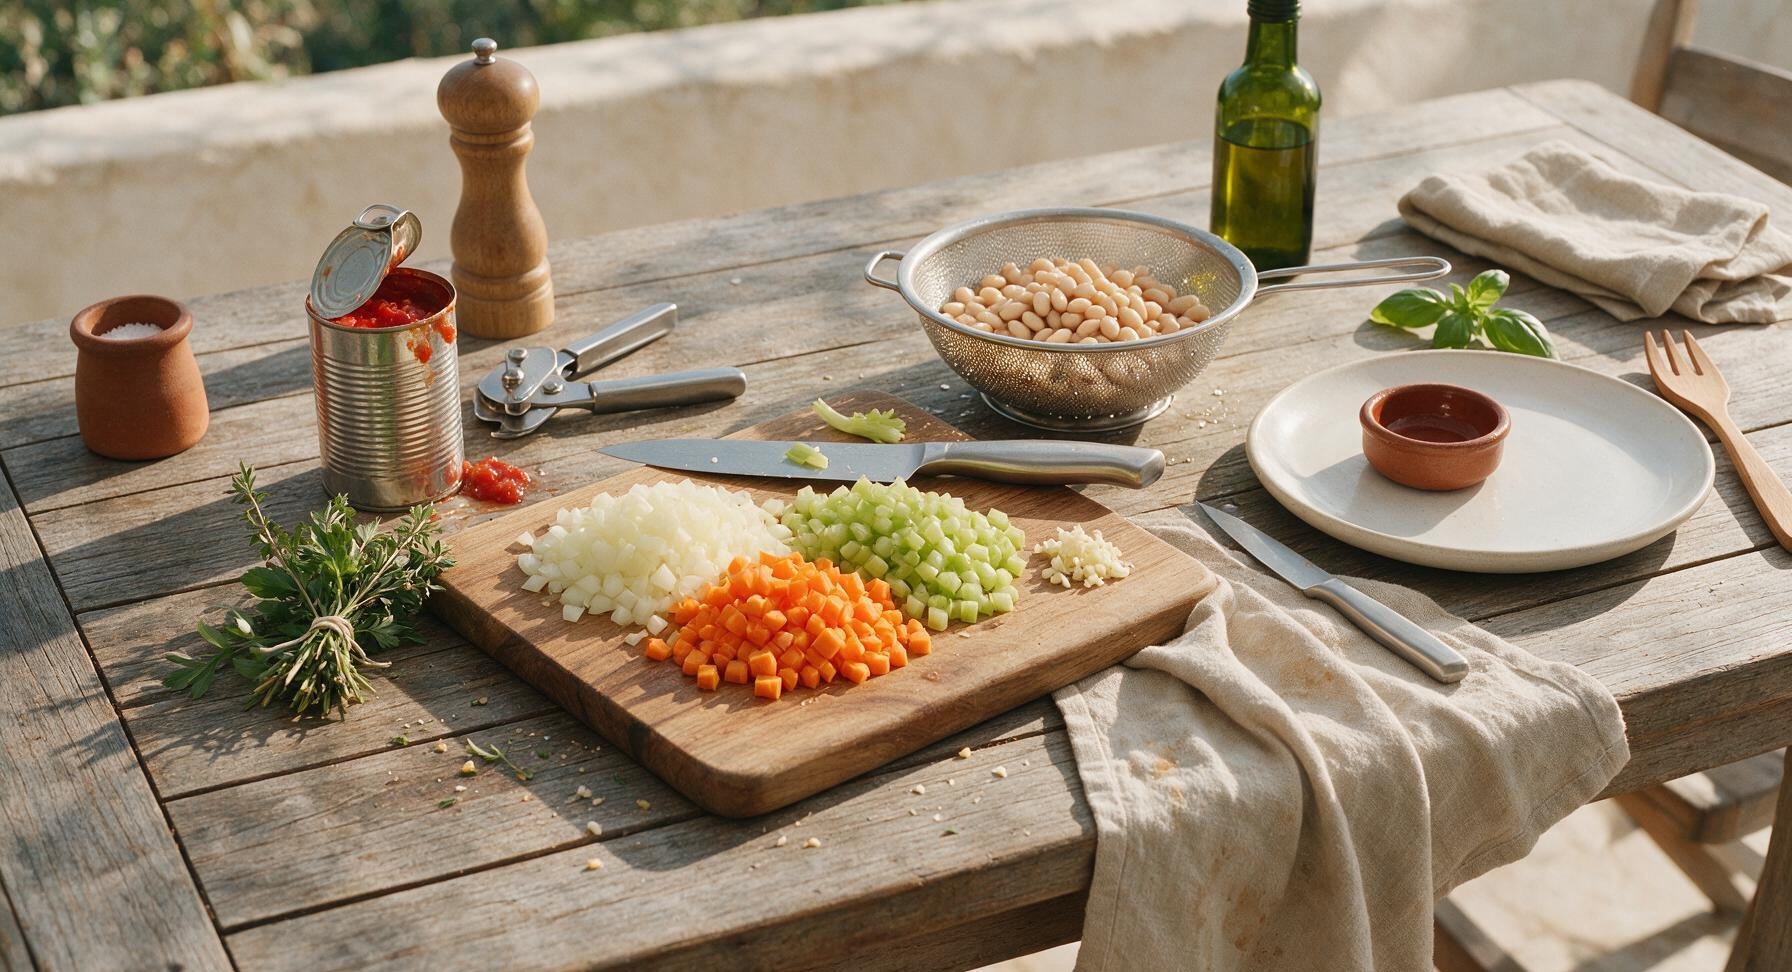
Place the acacia wood cutting board in the center of the travertine counter. Using the 7-inch chef knife, finely dice the yellow onion, carrot, and celery into uniform 5mm pieces, then mince the garlic cloves. Drain and rinse both cans of cannellini beans in the 15cm fine-mesh colander, shaking off excess starchy water. Open the can of crushed tomatoes with the stainless steel can opener, and tie the thyme and rosemary sprigs together with a small piece of kitchen twine to make a bouquet garni for easy removal later.
Sauté Aromatic Mirepoix
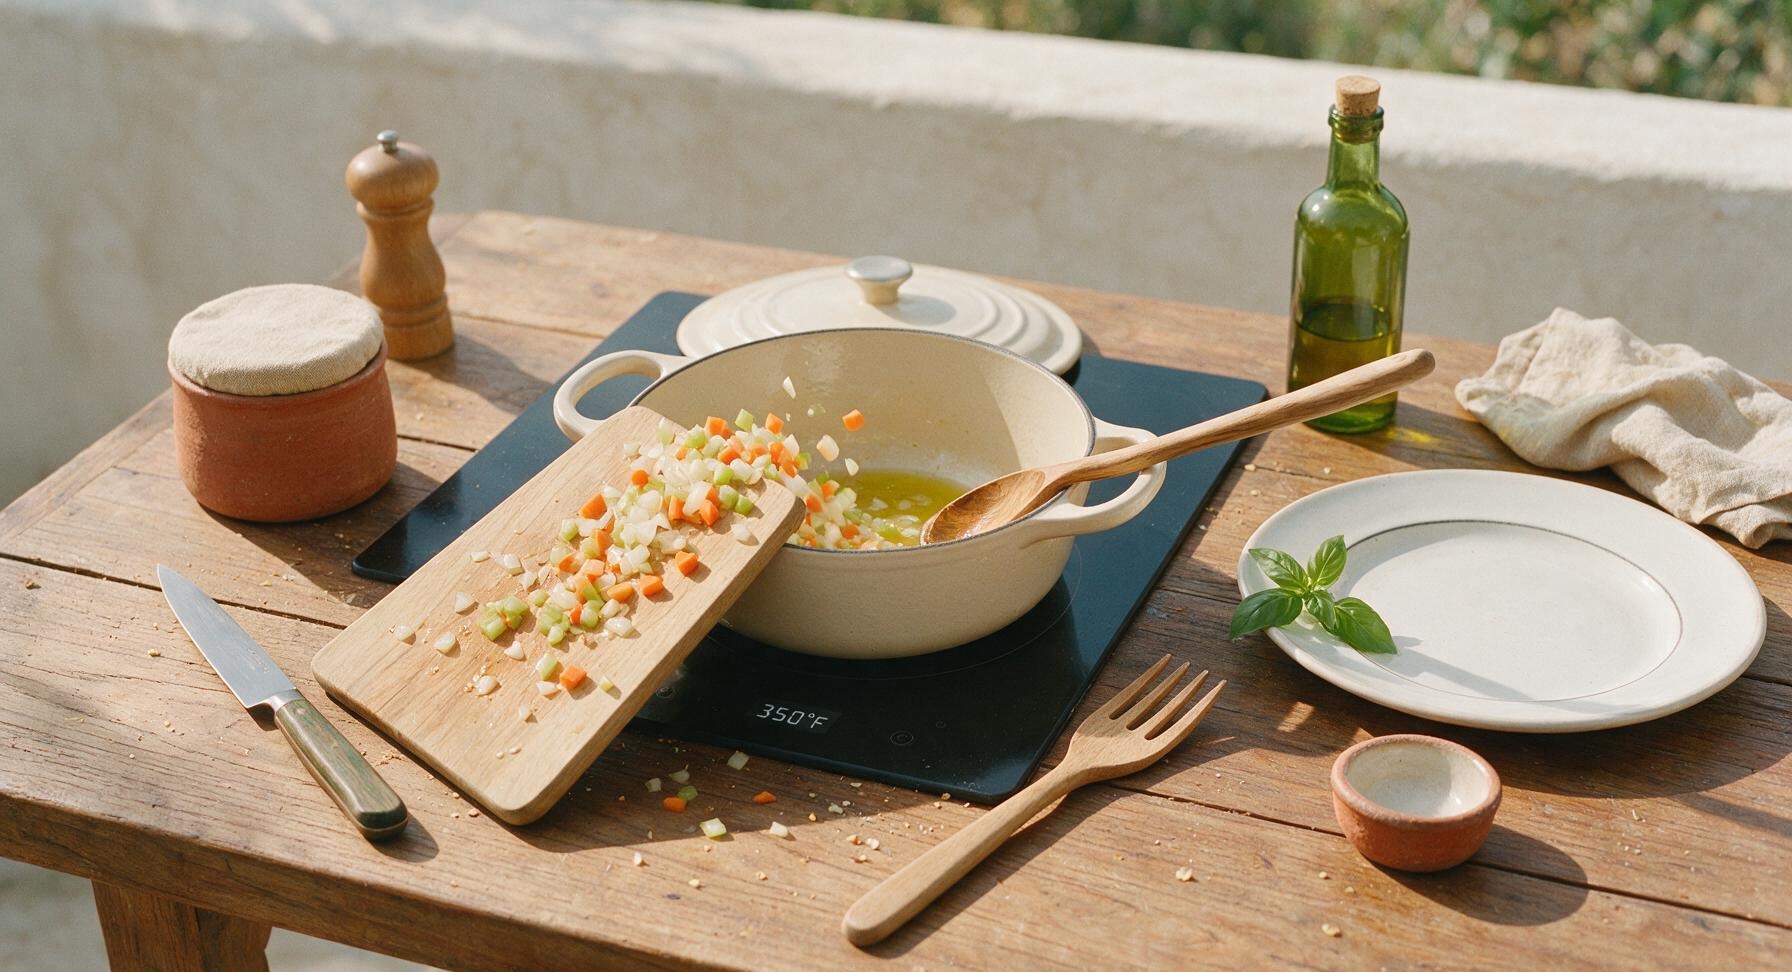
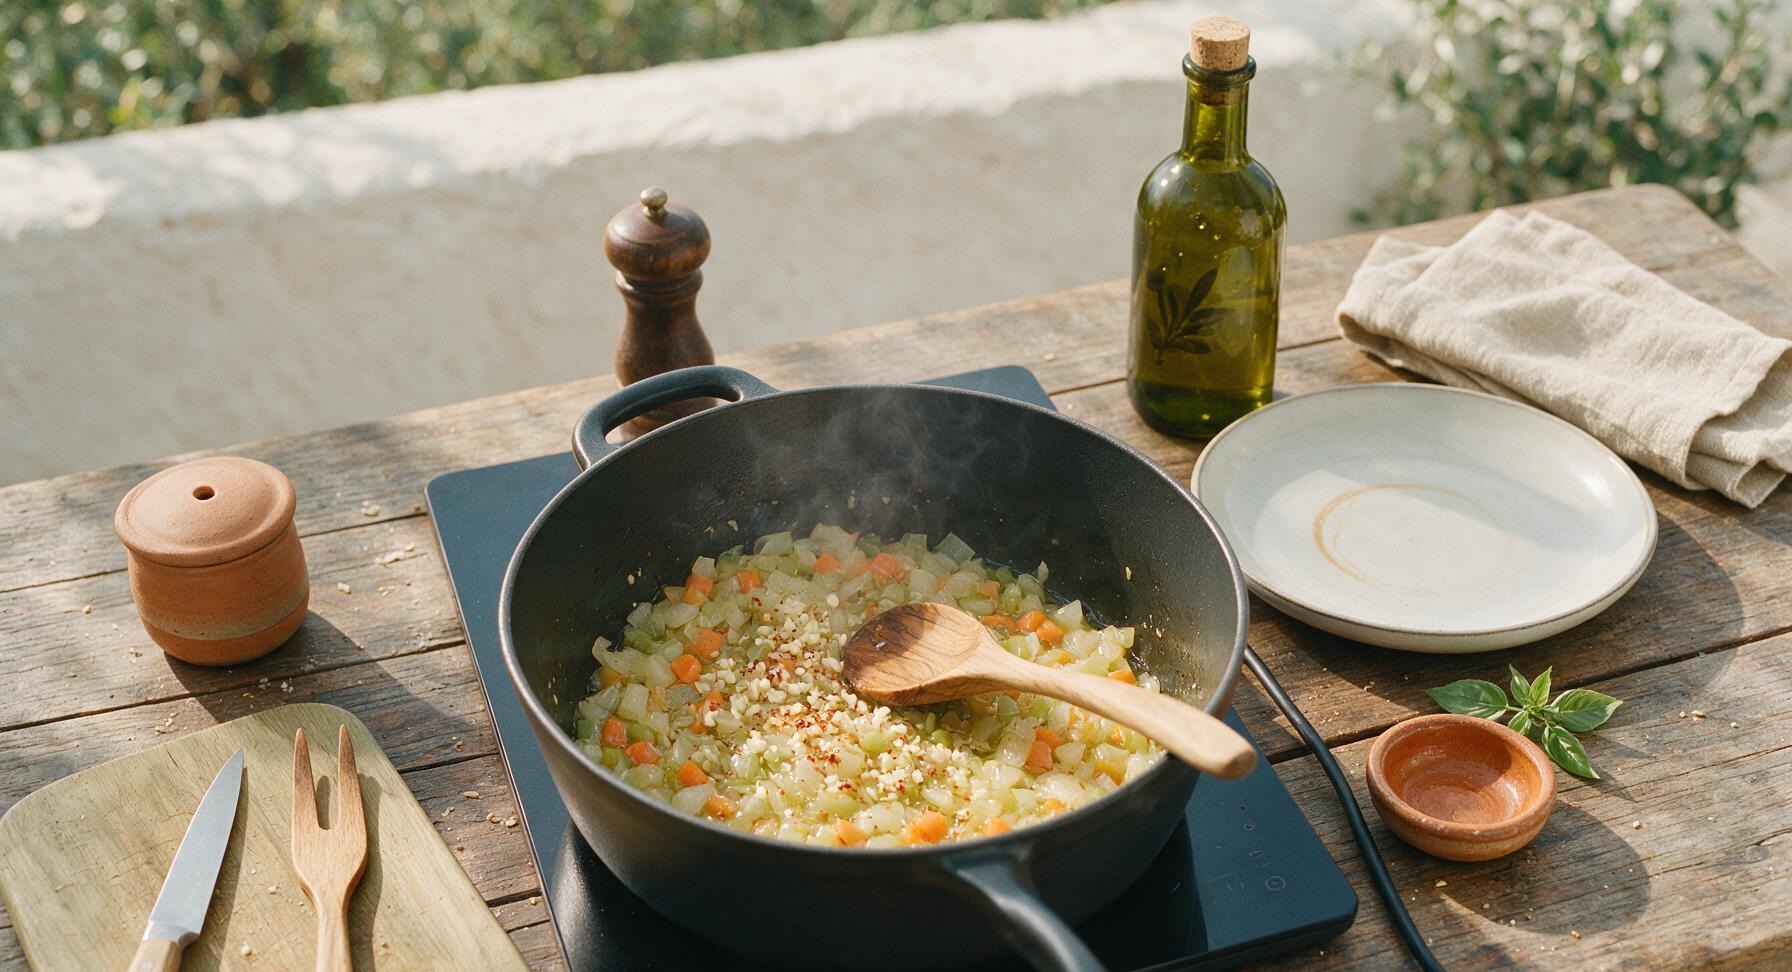
Place the 5.5L enameled cast iron Dutch oven on the center back induction burner, set to medium heat (350°F/175°C). Add 2 tablespoons of extra-virgin olive oil, heating until it shimmers but does not smoke, then add the diced onion, carrot, and celery. Cook for 8 minutes, stirring occasionally with the olive wood spoon, until vegetables are soft and translucent, with no golden browning on the edges. Add the minced garlic and red pepper flakes, and cook for 1 more minute until fragrant, taking care not to burn the garlic (burnt garlic will add a bitter taste to the entire soup).
Build Soup Broth Base
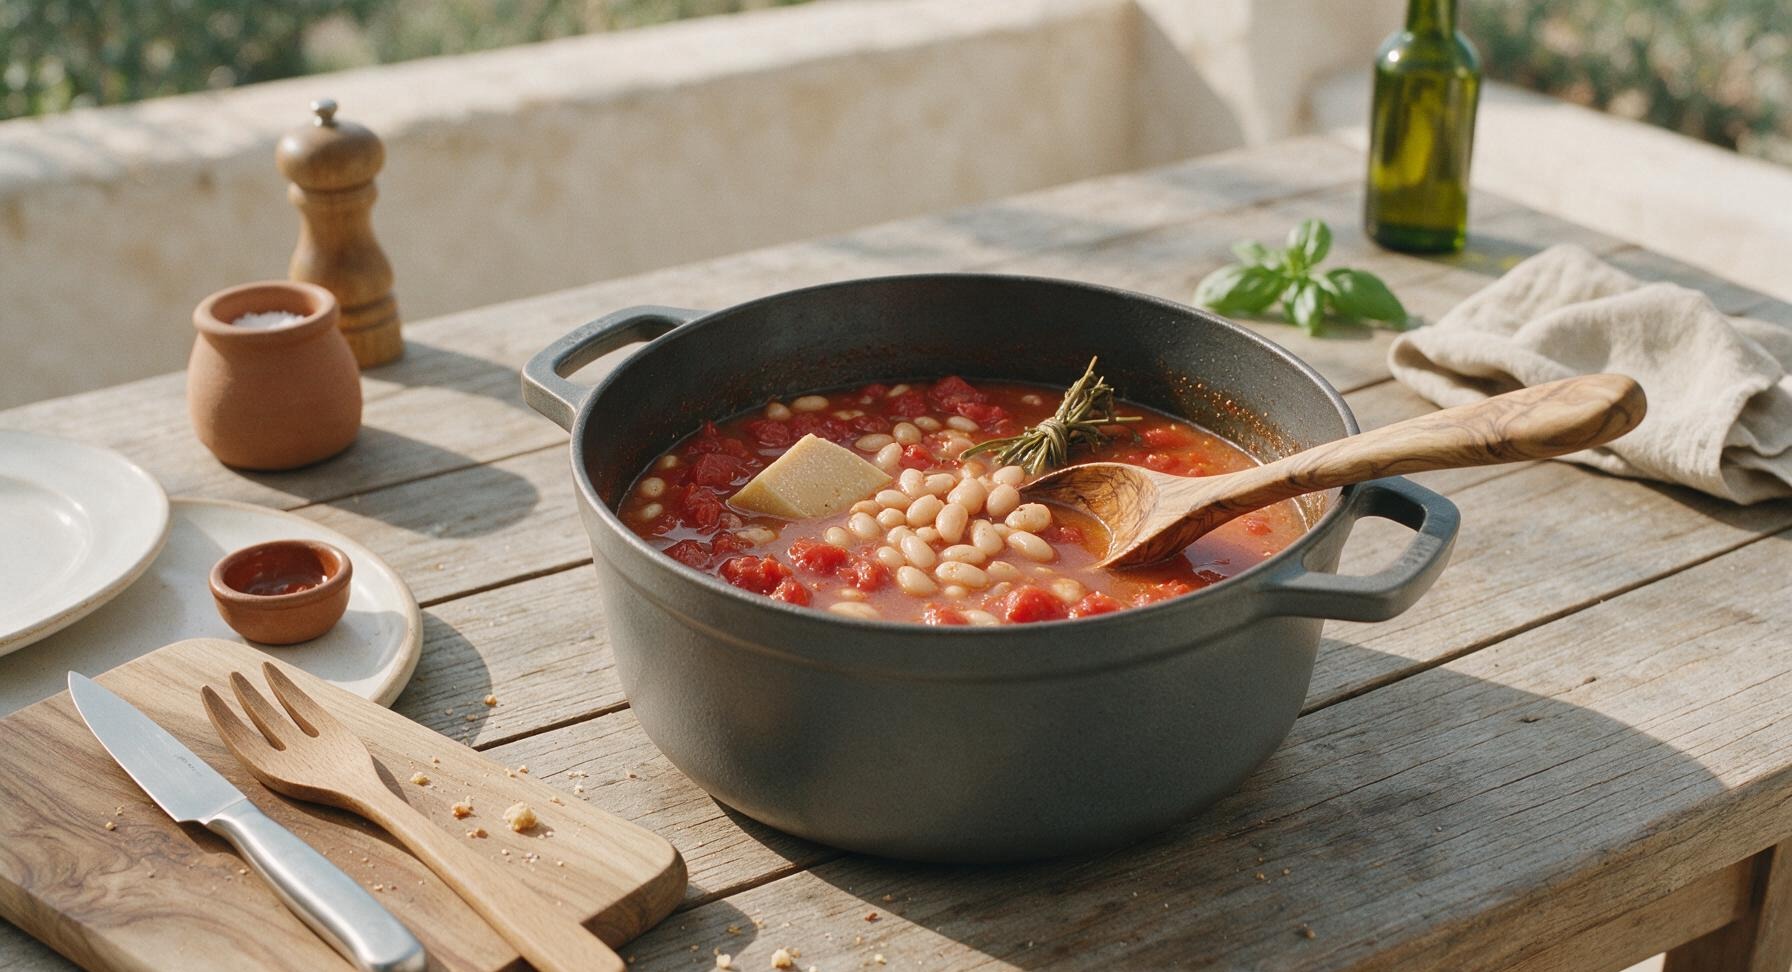
Pour the crushed tomatoes into the Dutch oven with the sautéed vegetables, stirring to combine and coat the vegetables in tomato. Add 1.2L low-sodium vegetable broth, the rinsed cannellini beans, the parmesan rind, and the tied herb bouquet. Stir gently with the olive wood spoon to incorporate all ingredients, then bring the mixture to a gentle simmer, reducing heat to medium-low (275°F/135°C) once small, steady bubbles break the broth surface.
Simmer to Develop Flavor
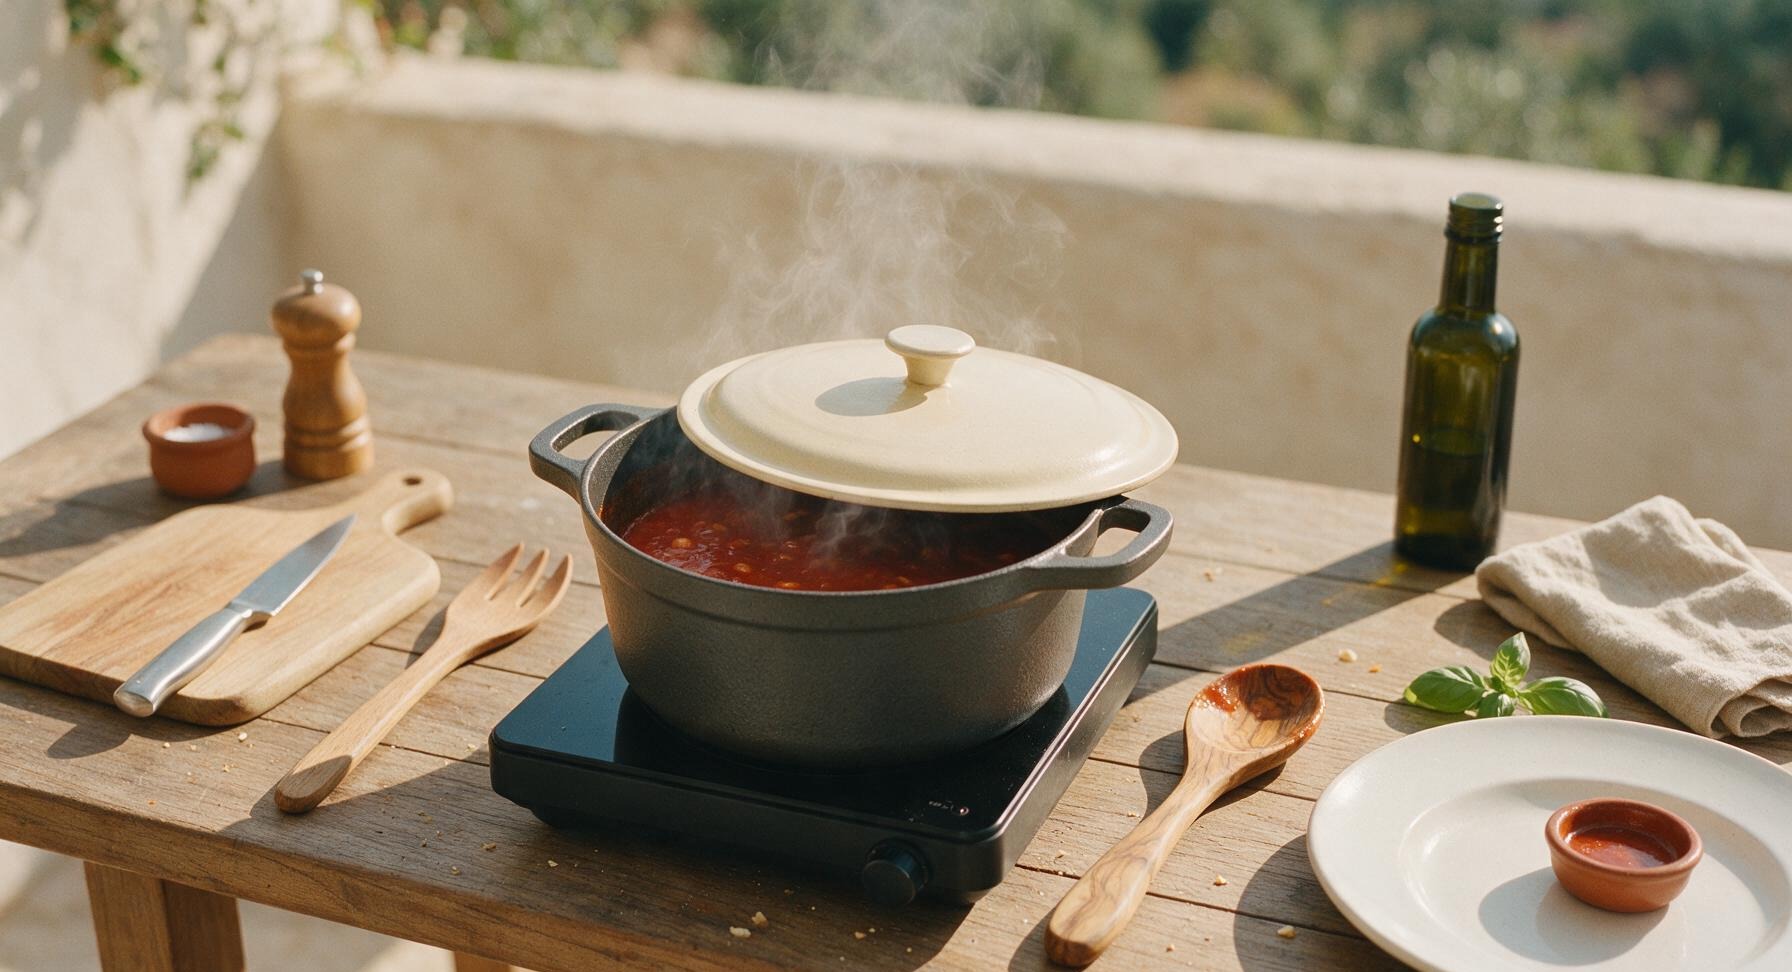
Partially cover the Dutch oven with its cream lid, leaving a 2cm gap to allow steam to escape and prevent boil-over. Let the soup simmer gently for 25 minutes over medium-low heat, stirring every 5 minutes with the olive wood spoon to prevent beans or vegetables from sticking to the pot bottom. The broth will deepen to a rich rust-red color, and the beans will become tender enough to smash gently against the side of the pot with light pressure from the spoon.
Add Pasta to Cook
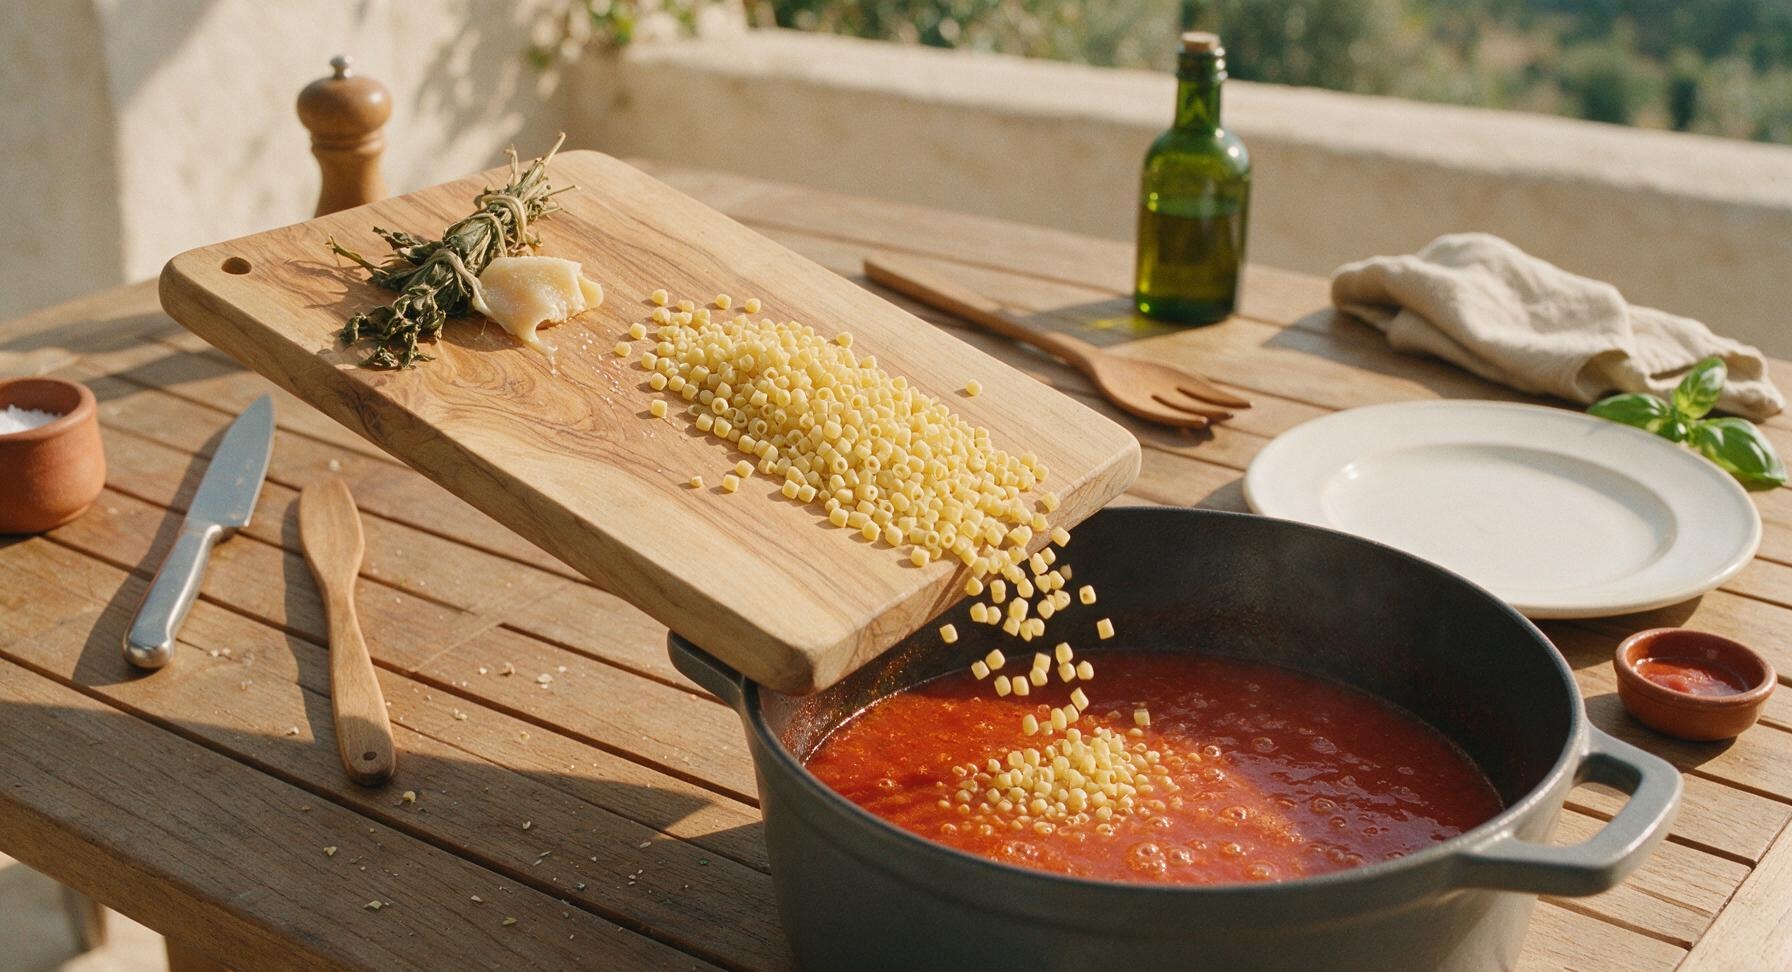
Remove the lid from the Dutch oven, then fish out the tied herb bouquet and parmesan rind with the olive wood spoon, setting both on the edge of the acacia cutting board to discard later. Add the 120g of dry ditalini pasta to the simmering soup, stirring well immediately to prevent pasta from sticking to the pot bottom. Cook for 10 minutes, stirring every 2 minutes, until the pasta is al dente—tender but with a slight firm bite at the center when tasted. If the soup thickens too much as the pasta cooks, add 1/4 cup extra broth or water to reach a loose, spoon-coating consistency.
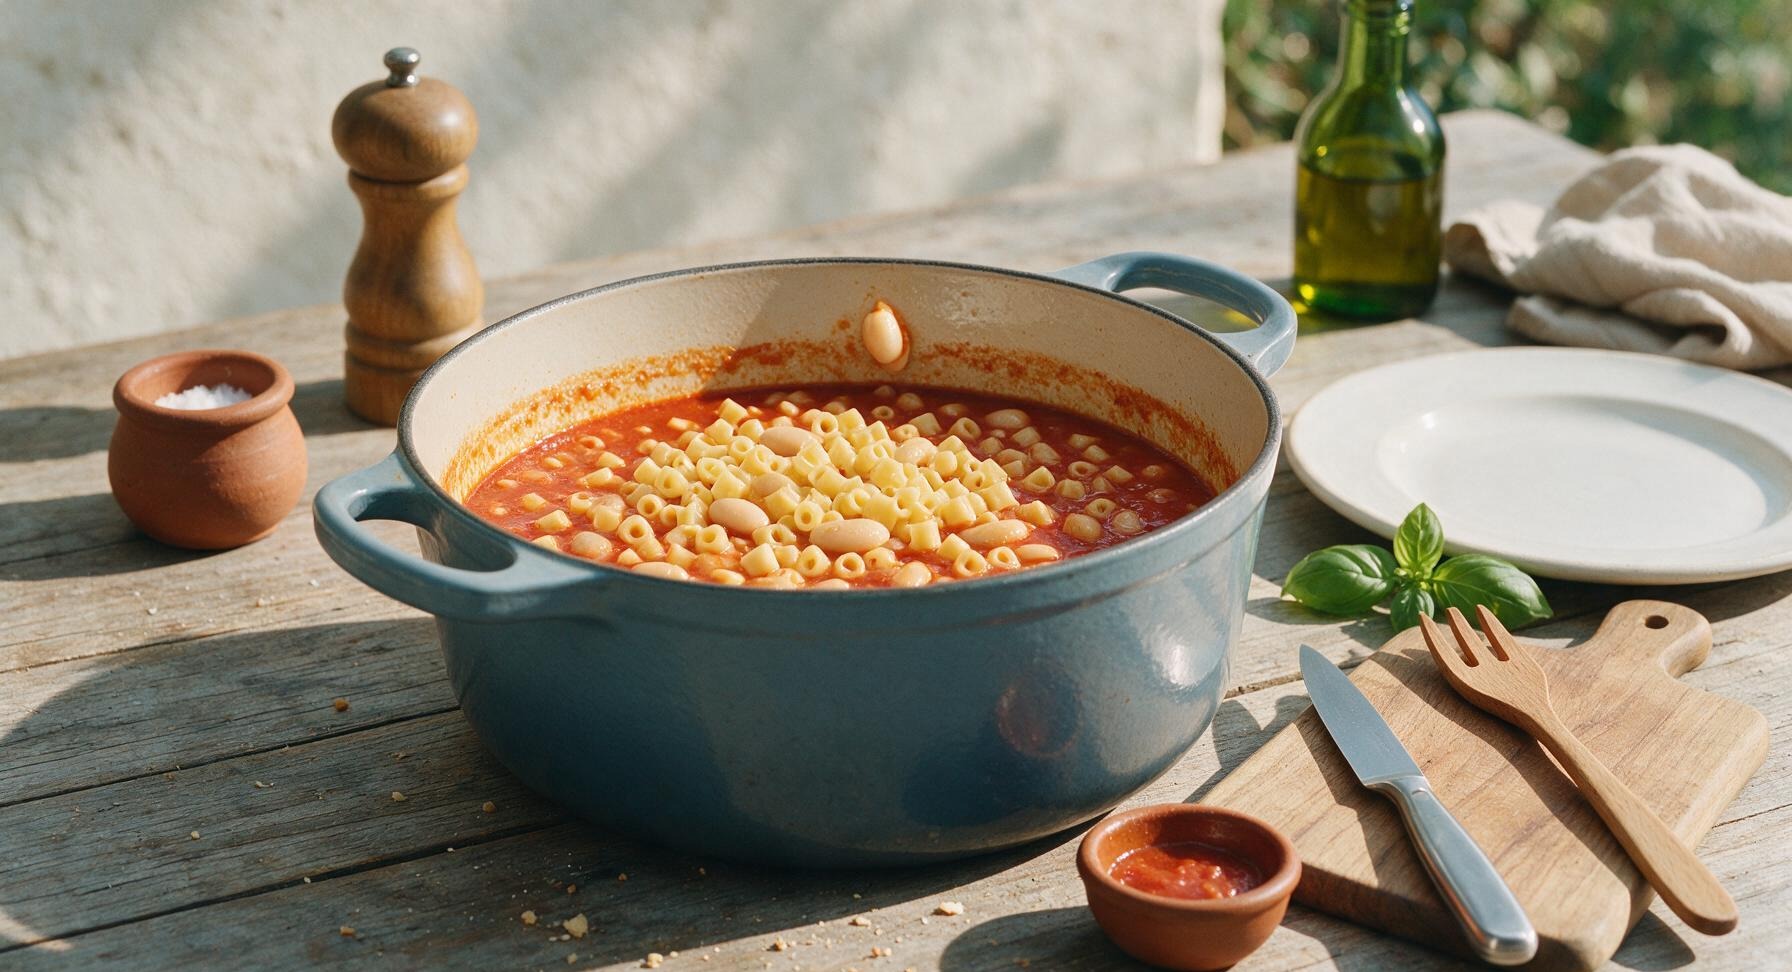
Season and Adjust Texture
Taste a small spoonful of the soup (blowing on it first to cool), then season with 1 teaspoon kosher salt and 1/2 teaspoon freshly ground black pepper, adjusting to taste. For a creamier, more cohesive texture, use the olive wood spoon to smash roughly 1/3 of the cannellini beans against the interior side of the Dutch oven, stirring the mashed beans back into the broth to thicken it naturally. Turn off the induction heat, and let the soup rest for 5 minutes to allow flavors to meld.
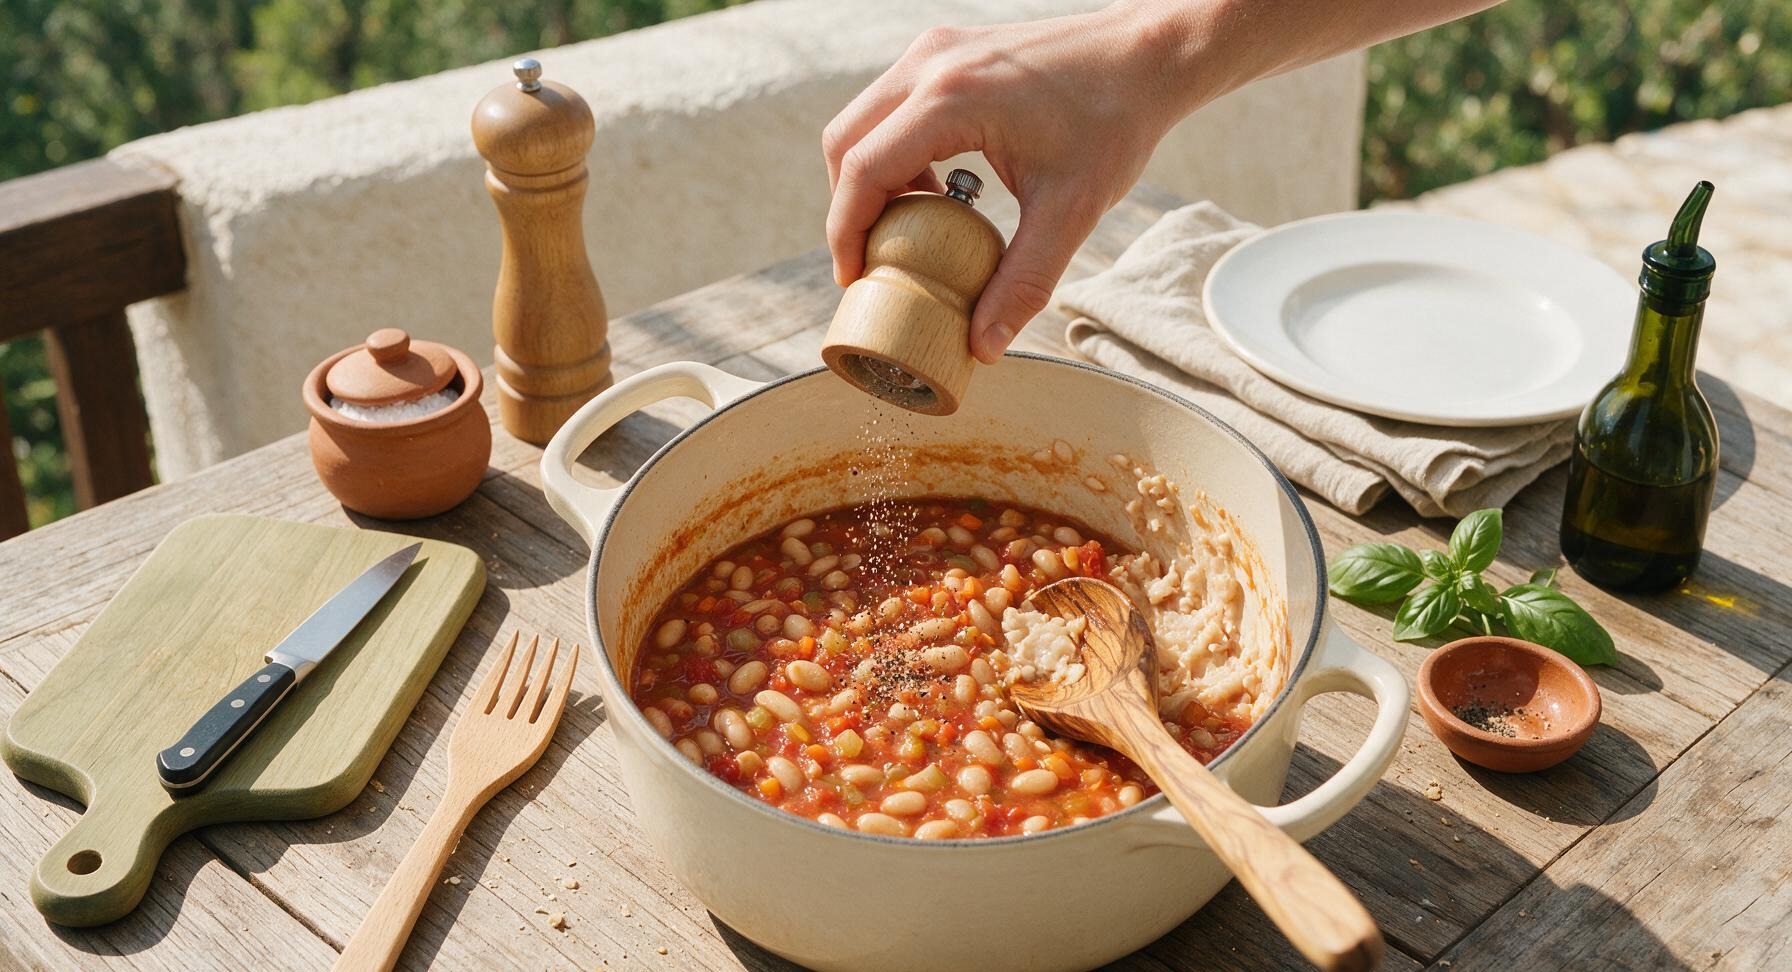
Ladle and Garnish Soup
Set the 24cm hand-thrown terracotta soup bowl on the counter in front of the Dutch oven. Use the stainless steel soup ladle to scoop hot soup into the bowl, filling it to 2cm below the rim. Top the soup with a light drizzle of extra-virgin olive oil, a sprinkle of grated parmesan cheese from the small cream ramekin, and a pinch of chopped fresh parsley. Serve immediately alongside slices of crusty sourdough for dipping.
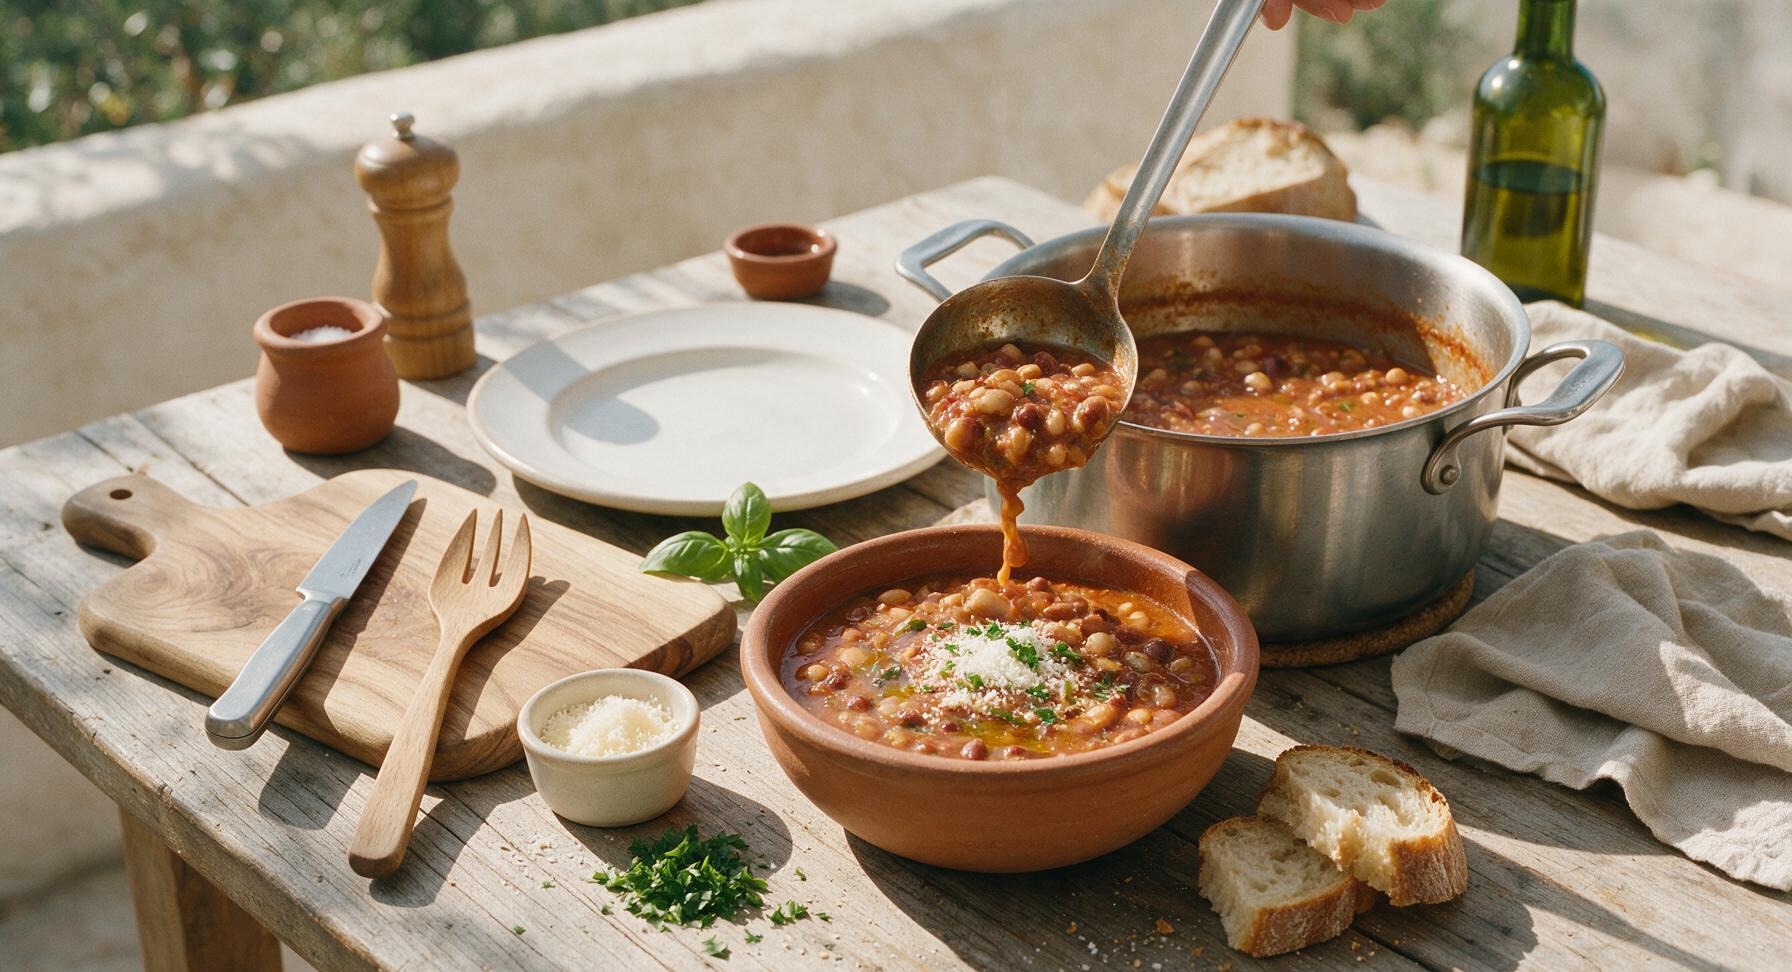
Tips
2.Cook ditalini directly in the soup instead of boiling it separately: the pasta releases starch as it cooks, which naturally thickens the broth and helps it cling to every bean and pasta piece for a more cohesive, flavorful result.
3.Smash only 1/3 of the cannellini beans when adjusting consistency: mashing too many beans will turn the soup mushy, while a small portion of mashed beans creates a perfectly creamy broth without losing the pleasant pop of whole, tender beans.





OMG this Tuscan fagioli soup is SO good! I made it for Sunday family dinner last night and even my super picky 7 year old asked for a second bowl. It was so easy to throw together too, perfect for a busy weeknight when I don’t feel like slaving over the stove for hours. 10/10 will be adding this to my regular meal prep rotation!
Really solid soup! Cook time was spot on at 45 minutes, super straightforward even for someone like me who burns toast half the time. I added a little extra parmesan rind while simmering and it gave it such a deep, savory kick. Only knocked a star because I wish it had a little more kale in it for my taste, but that’s an easy fix next time!
Brought this to my neighborhood potluck over the weekend and people were begging me for the recipe before I even left! It’s hearty enough to be a full meal, tastes like it came from a little Italian restaurant downtown, and it didn’t cost a fortune to make a big batch. Total crowd pleaser, will absolutely be making this again for our next fall gathering.
OMG I made this last night and it was so good! Quick question – how well does this freeze? I made a giant batch because I loved it so much, and I’m trying to stock my freezer with easy grab-and-go lunches for work now that I’m back in the office full time, but I don’t want to freeze the leftovers if they get all mushy when thawed.
Made this after a long chilly hike this weekend and it hit the spot SO hard. Warm, savory, filling, didn’t require a bunch of fancy ingredients I didn’t already have in my pantry. I tossed in a little crumbled Italian sausage I had leftover in the fridge and it was chef’s kiss. 10/10 post-adventure meal.
This is so flavorful! I swapped the regular pasta for gluten-free chickpea pasta to fit my dietary needs and it worked perfectly. My only note is that I wish the recipe specified whether to use canned or dried cannellini beans – I used dried and had to soak them overnight which made the total cook time way longer than 45 minutes. Next time I’ll just use canned to keep it quick!
Wait this is so easy to make in my tiny dorm kitchen? I only have one big pot and a hot plate and this came out perfect! Way cheaper than buying takeout soup from the place down the street, and it makes enough for me to eat for 3 days straight. Game changer for my tight food budget this semester.