
Farmhouse IPA
intro
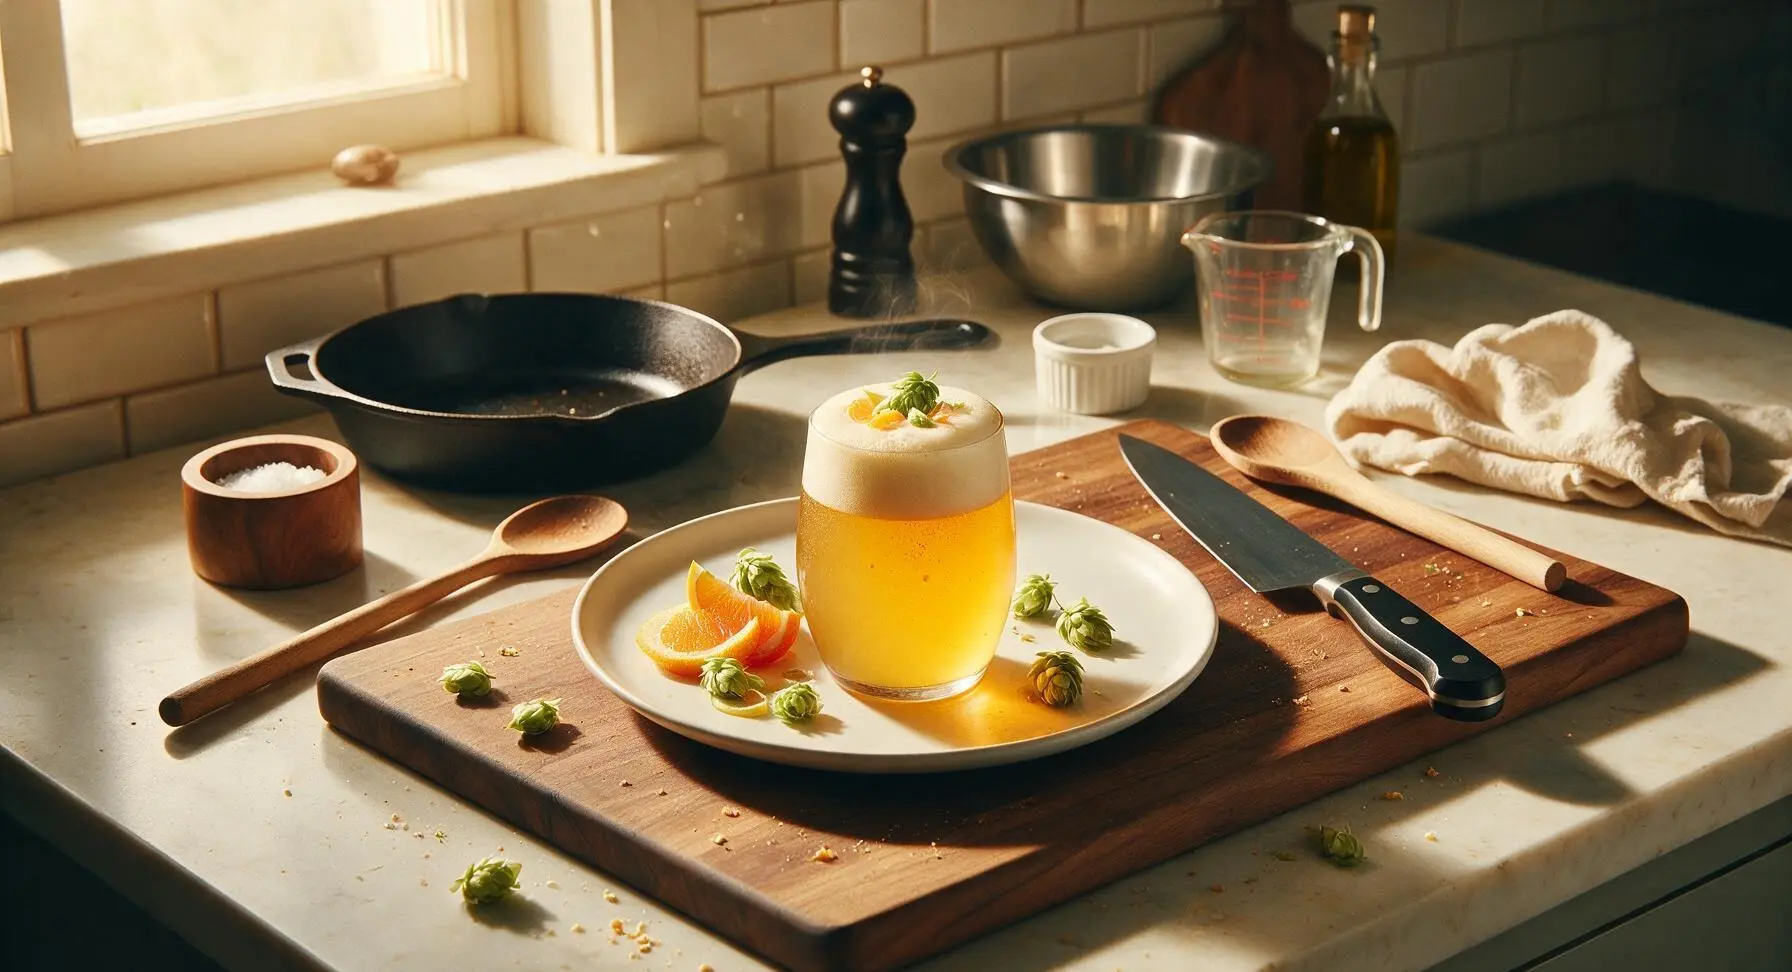
A hazy, unfiltered golden farmhouse IPA bursting with bright citrus hop aroma, subtle bready malt notes, and a crisp dry finish. A refreshing rustic summer sipper perfect for backyard sharing.
Ingredients
Steps
Sanitize Brewing Gear
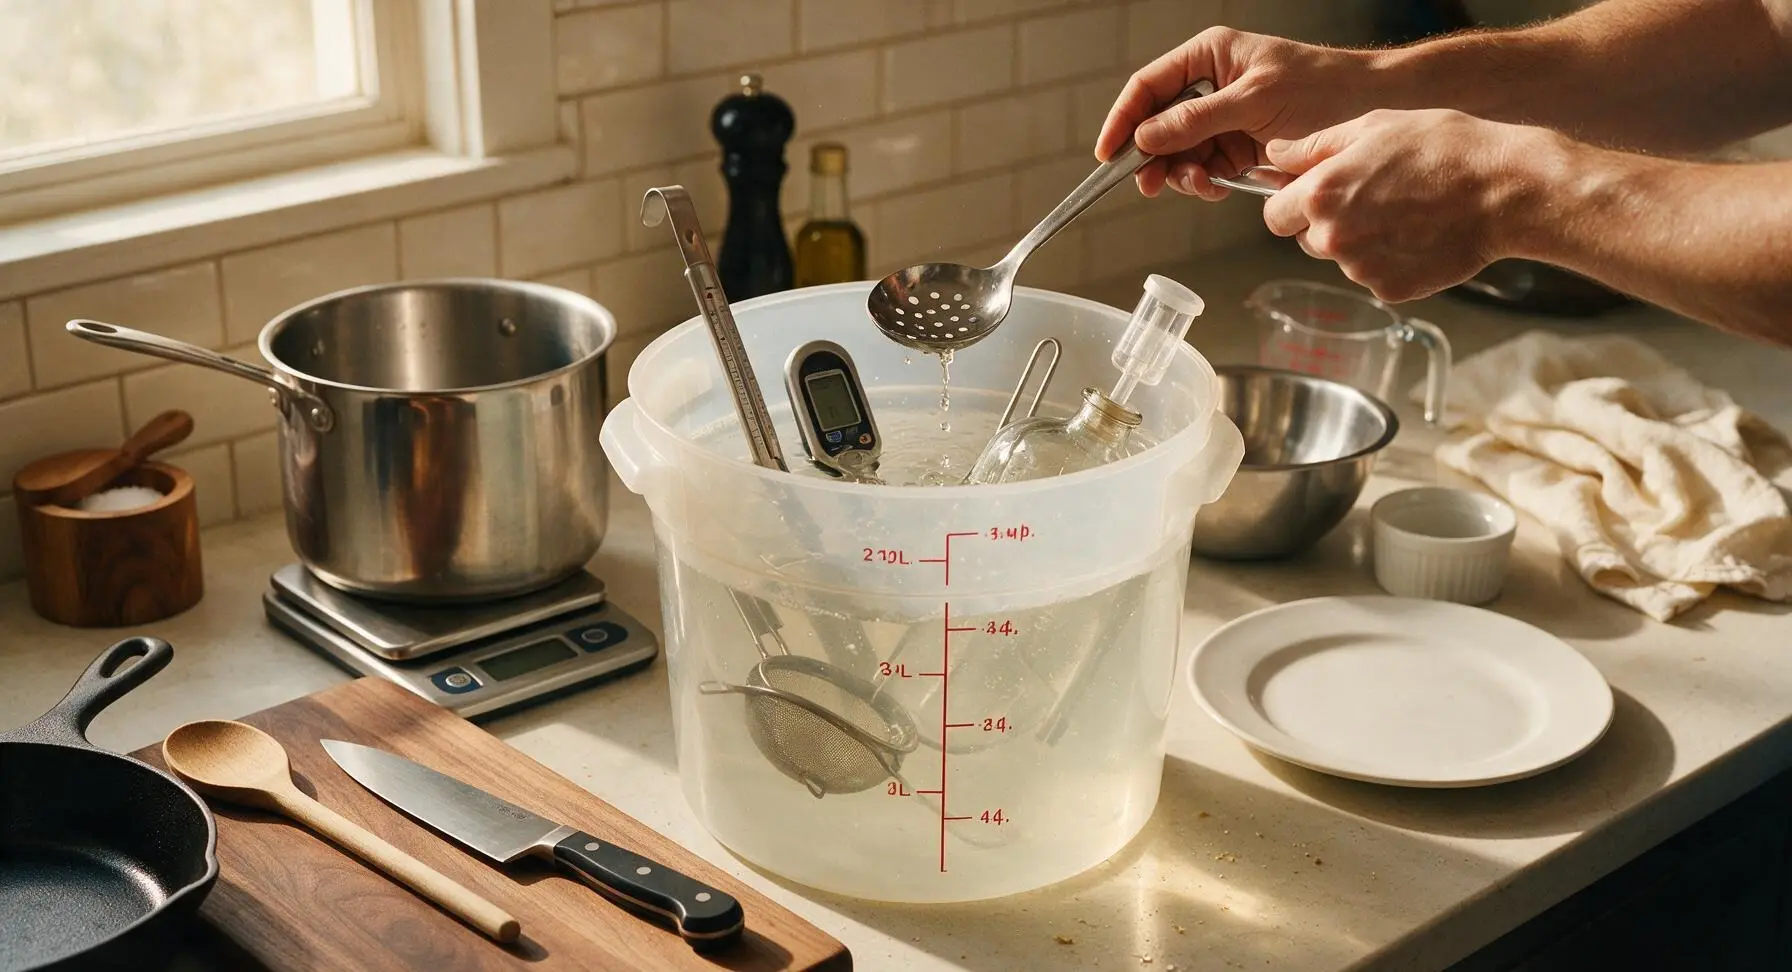
Mix 10ml no-rinse brewer's sanitizer with 4 liters of cool tap water in the 2-gallon translucent sanitizing bucket. Submerge the stainless steel brew pot, slotted stirring spoon, instant-read thermometer, fine-mesh strainer, fermentation jug, and airlock for 2 full minutes. Remove tools and let air dry on the clean counter; do not rinse, as residual sanitizer is flavorless and food-safe. Any surface that touches cooled wort must be sanitized to prevent off-flavors from wild bacteria.
Heat Mash Water
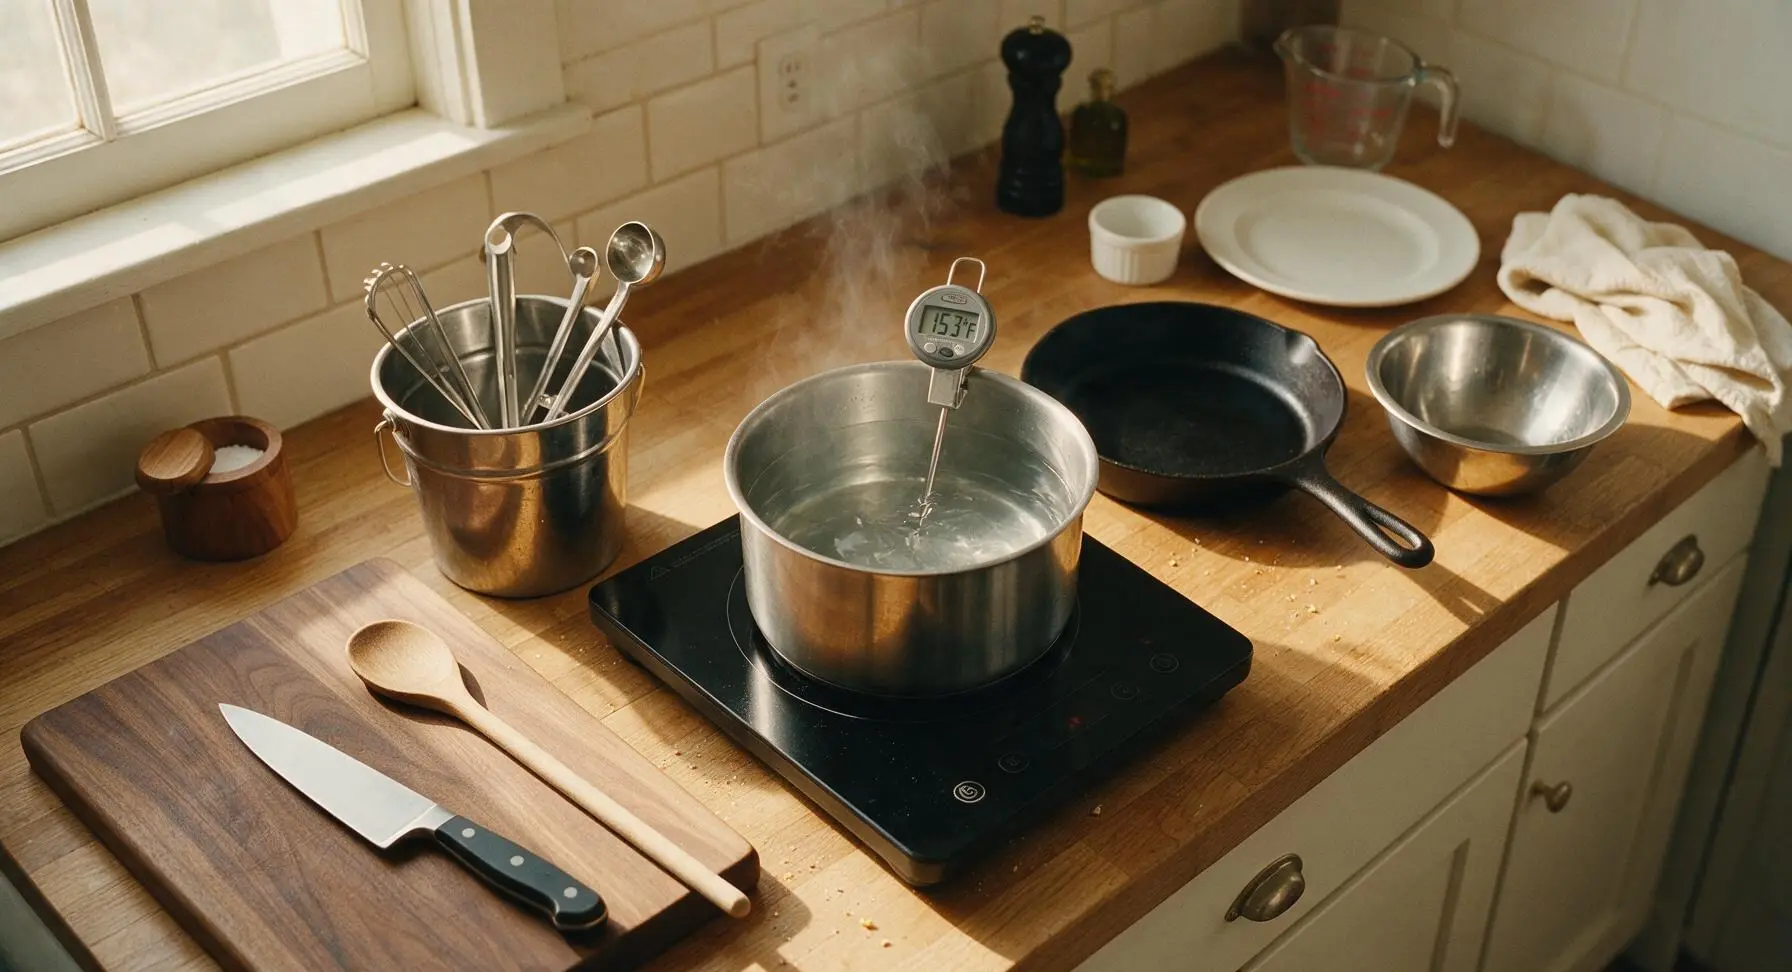
Pour 3 liters of filtered spring water into the sanitized stainless steel brew pot, set the pot on the matte black induction burner. Heat the water to exactly 67°C (153°F), clipping the instant-read thermometer to the pot edge to monitor temperature. Turn off the burner once the target temperature is reached; do not boil the water at this stage, as too-high heat will extract harsh, bitter tannins from the grain.
Steep Crushed Grains
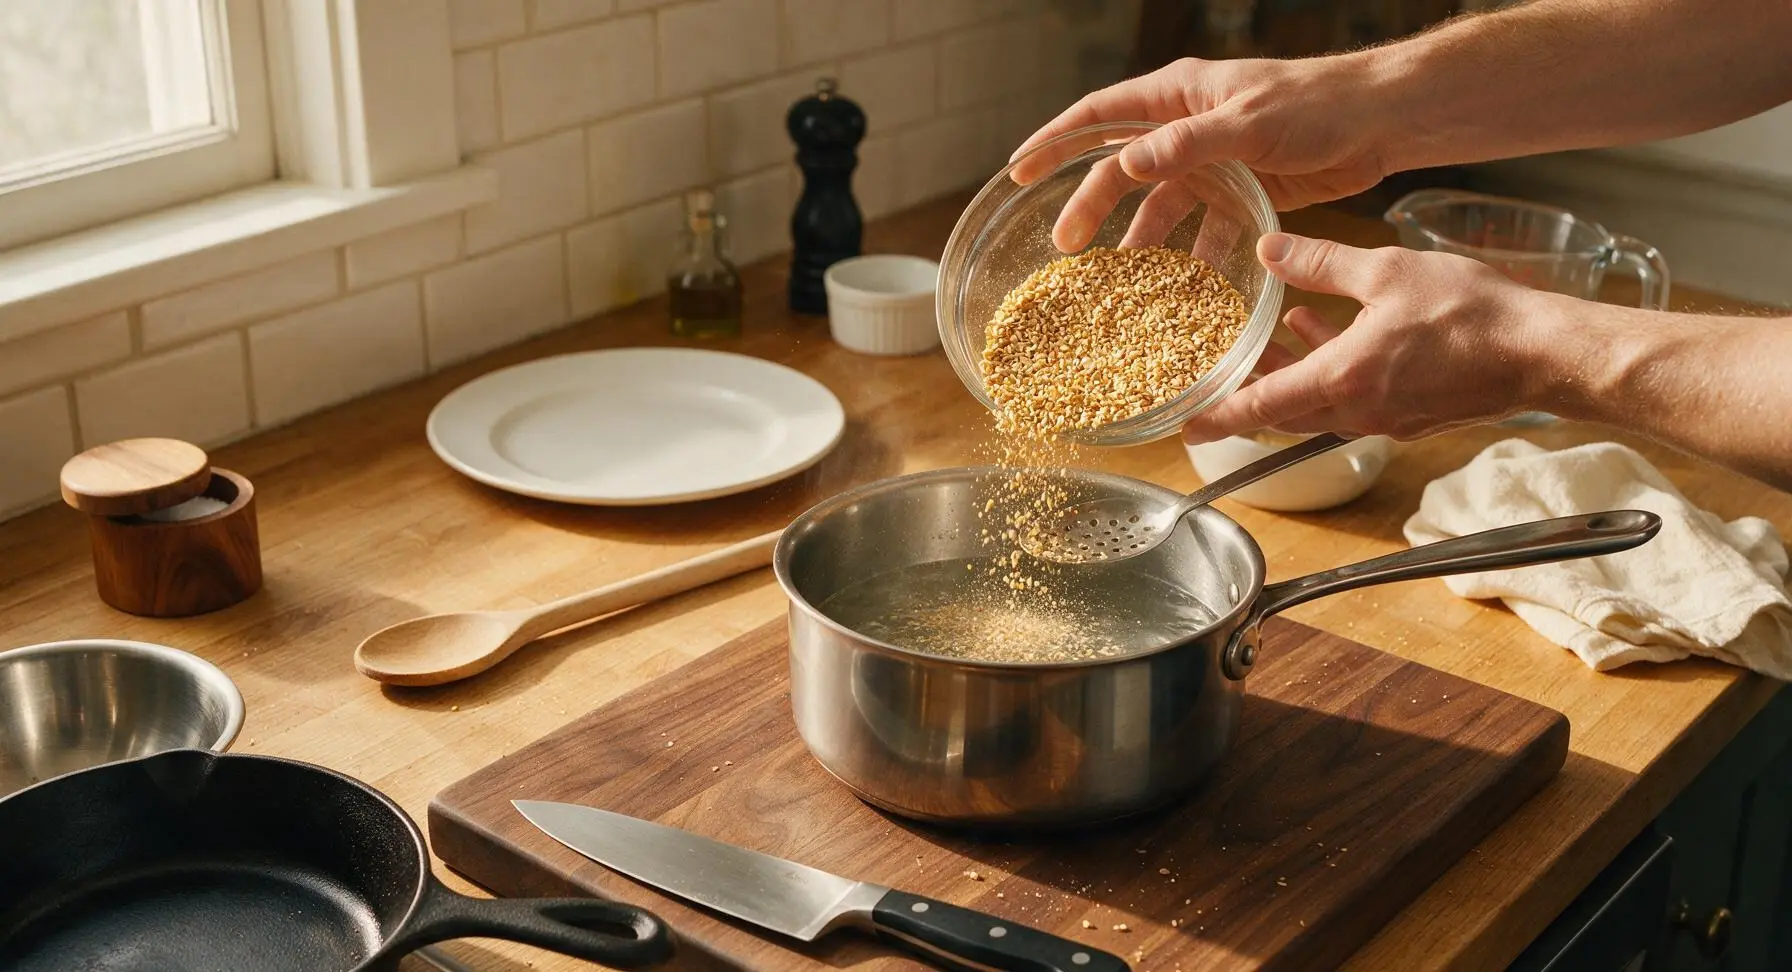
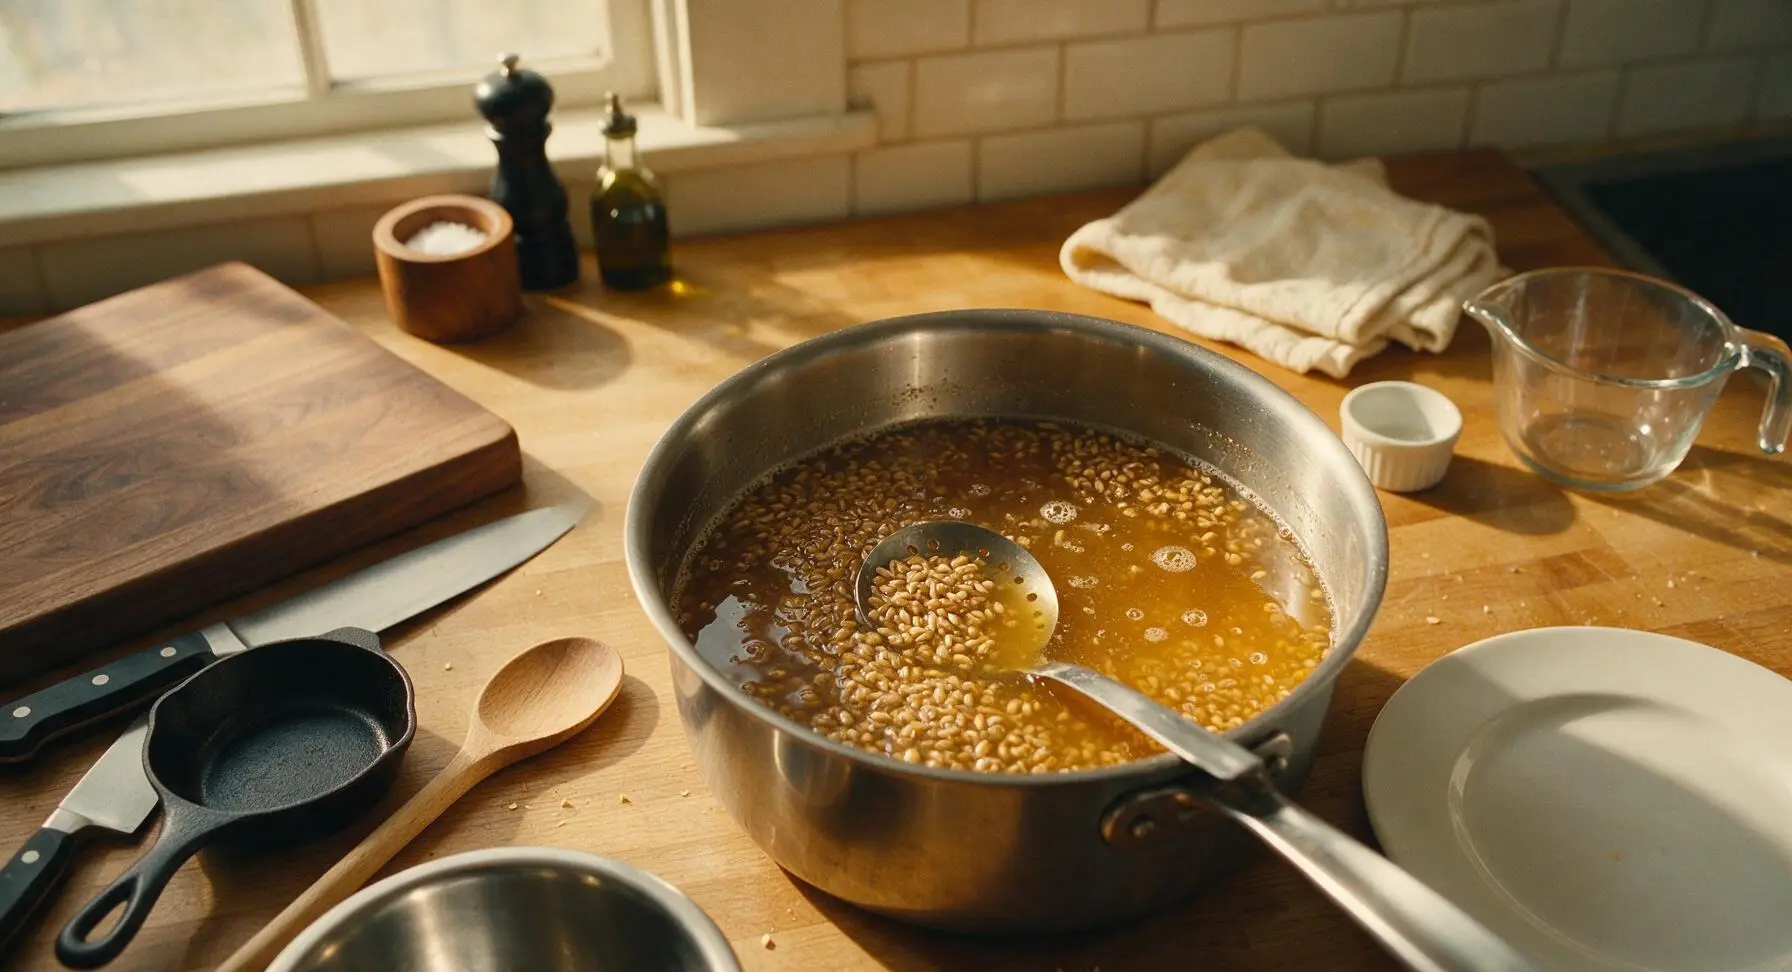
Slowly pour all crushed 2-row pale malt and crushed wheat malt into the 67°C (153°F) water, stirring gently with the slotted spoon to break up any dry clumps. Cover the pot, hold the temperature steady at 65-68°C (149-154°F) for 60 minutes, stirring every 10 minutes to prevent grain from settling to the bottom. The liquid will darken to a hazy honey gold and develop a sweet, bready aroma as grain sugars extract into the wort.
Boil the Wort
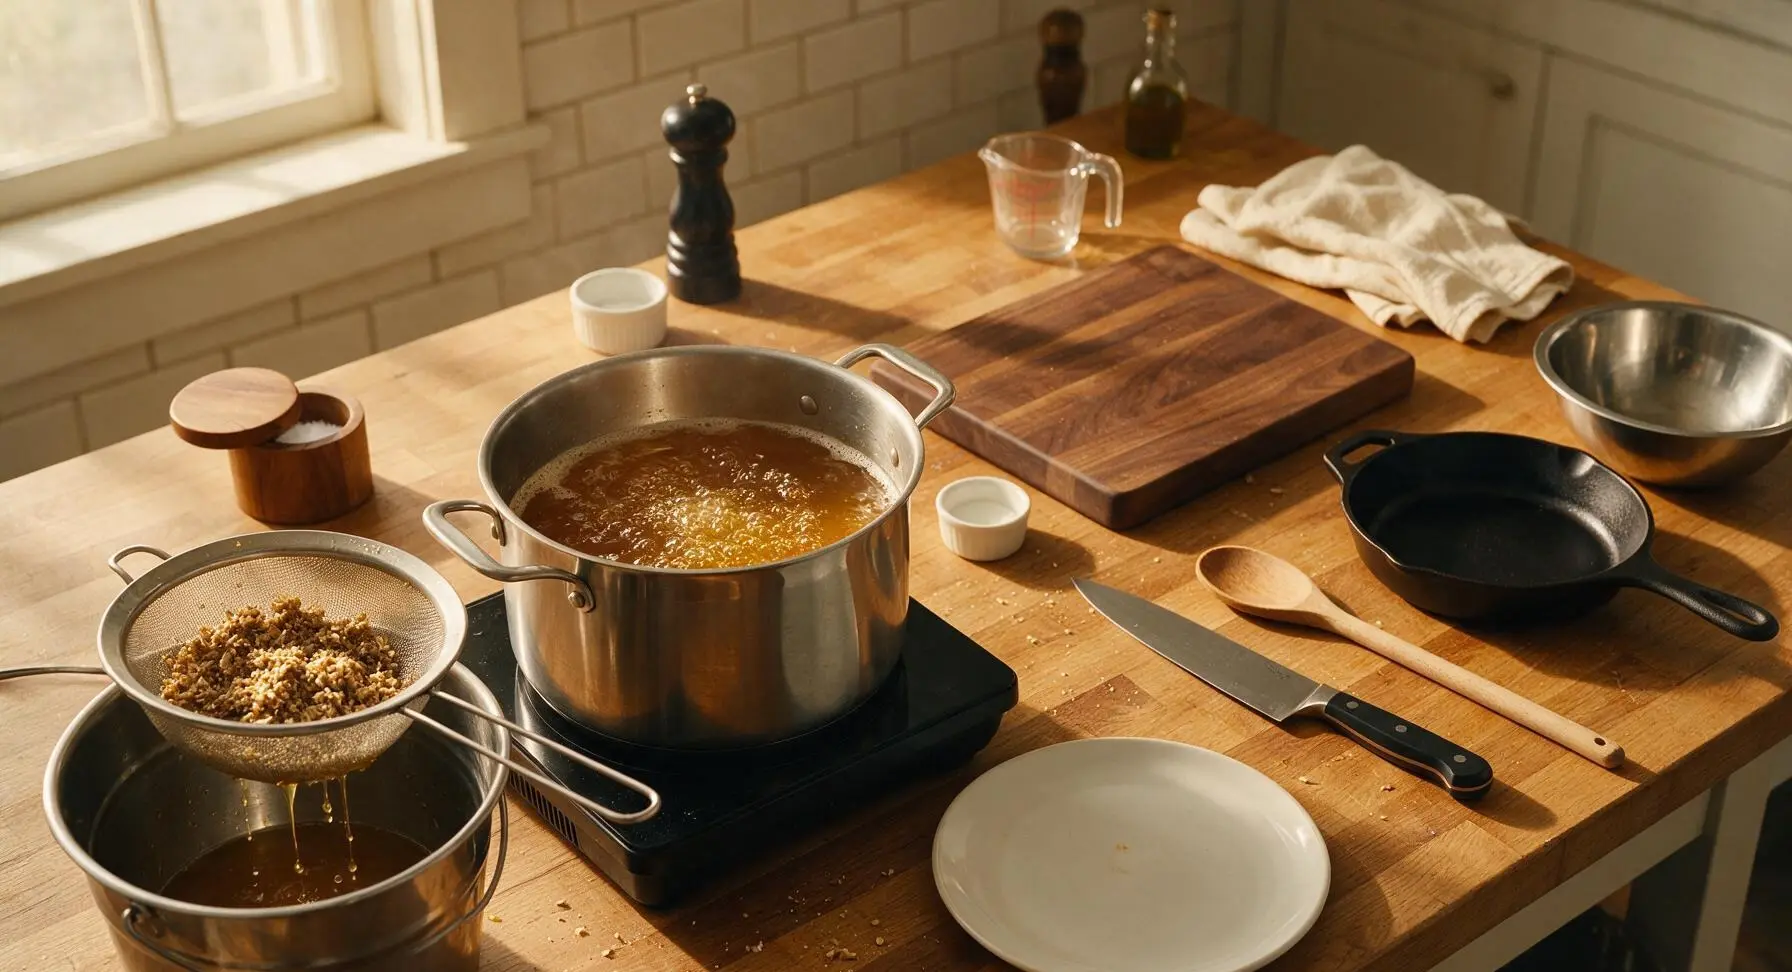
After the 60-minute steep, pour the grain and wort mixture through the fine-mesh stainless steel strainer back into the brew pot, discarding the damp, spent grains caught in the strainer. Top up the pot with extra filtered water to reach 3.8 liters (1 gallon) total volume. Set the pot back on the induction burner, bring the wort to a gentle rolling boil (100°C/212°F), and set a timer for a 60-minute total boil.
Add Hops in Stages
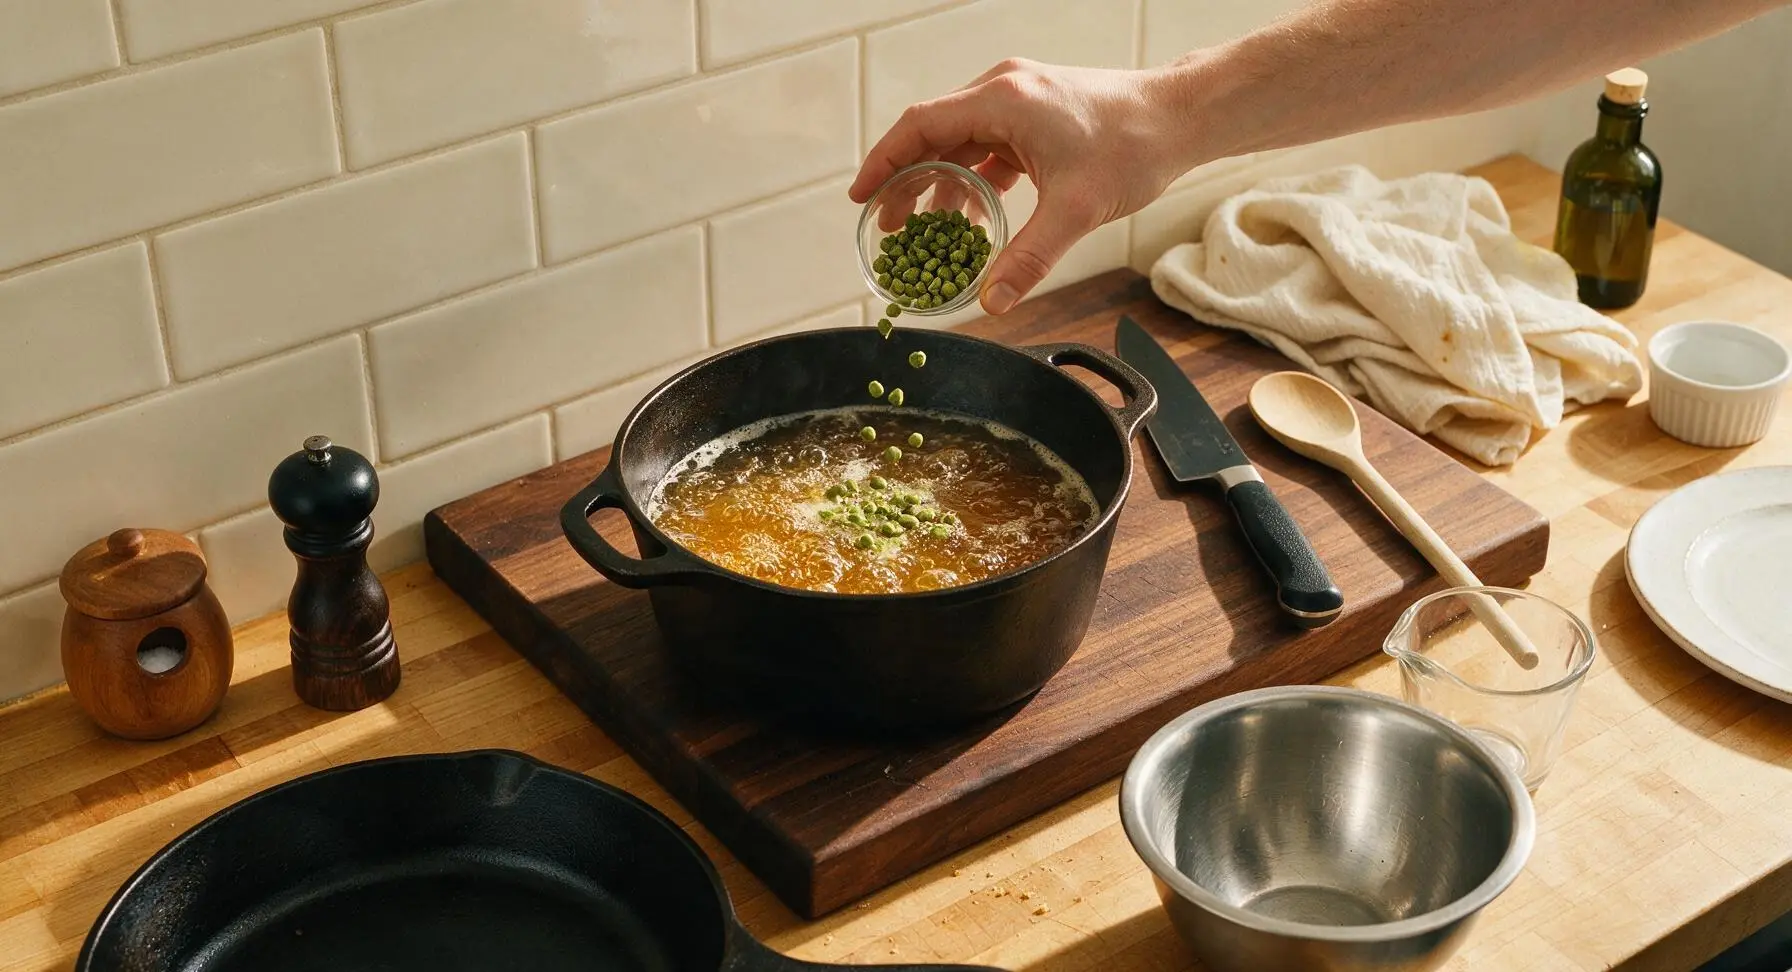
Once the wort reaches a steady rolling boil, add 8g of Cascade hops as the bittering addition, and set a 60-minute timer. With 15 minutes remaining in the boil, add 4g of Cascade hops and all 5g of Mosaic hops as the flavor addition. When the 60-minute boil ends, turn off the heat, add the remaining 3g of Cascade hops and all 10g of Citra hops as the aroma addition, cover the pot, and let the hops steep for 20 minutes. Do not boil the late aroma hops, as high heat destroys their bright citrus notes.
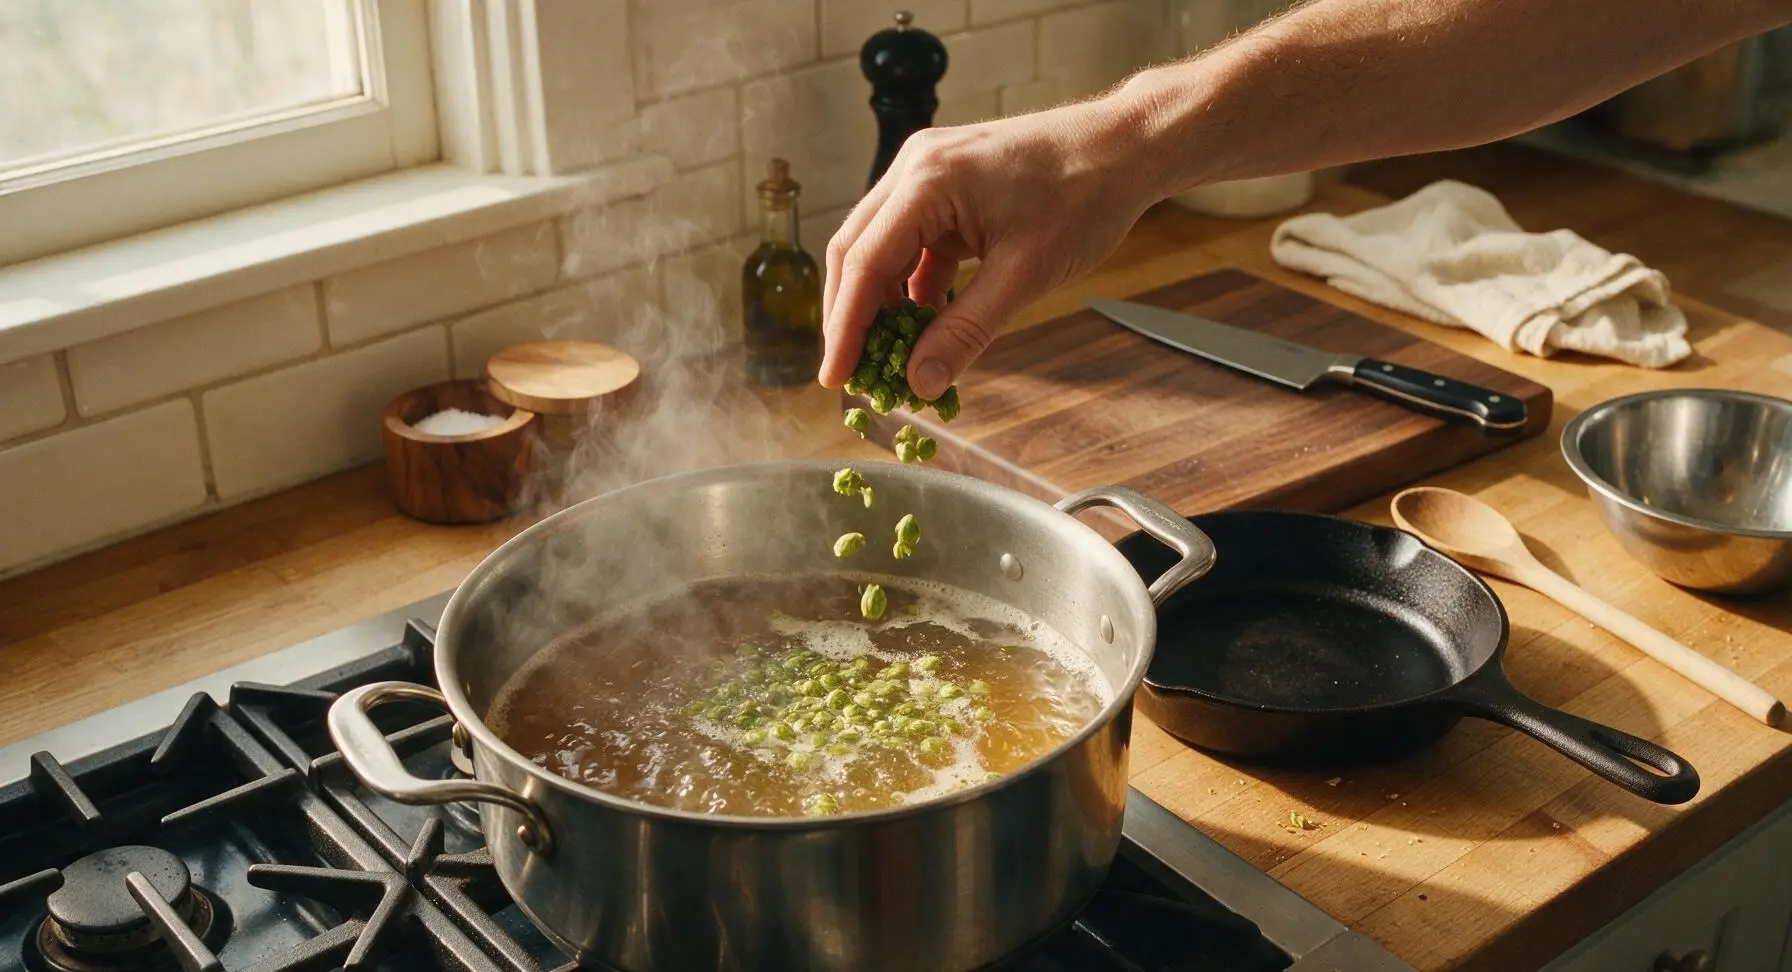
Cool and Pitch Yeast
Set the covered brew pot in a large ice bath to cool the wort as quickly as possible to 21°C (70°F), checking temperature regularly with the instant-read thermometer. Once at target temperature, pour the cooled wort through the clean fine-mesh strainer into the clear 1-gallon glass fermentation jug, leaving hop sediment and trub behind in the pot. Sprinkle the entire 5g packet of farmhouse ale yeast evenly over the wort surface; do not stir, as the yeast will hydrate and activate on its own.
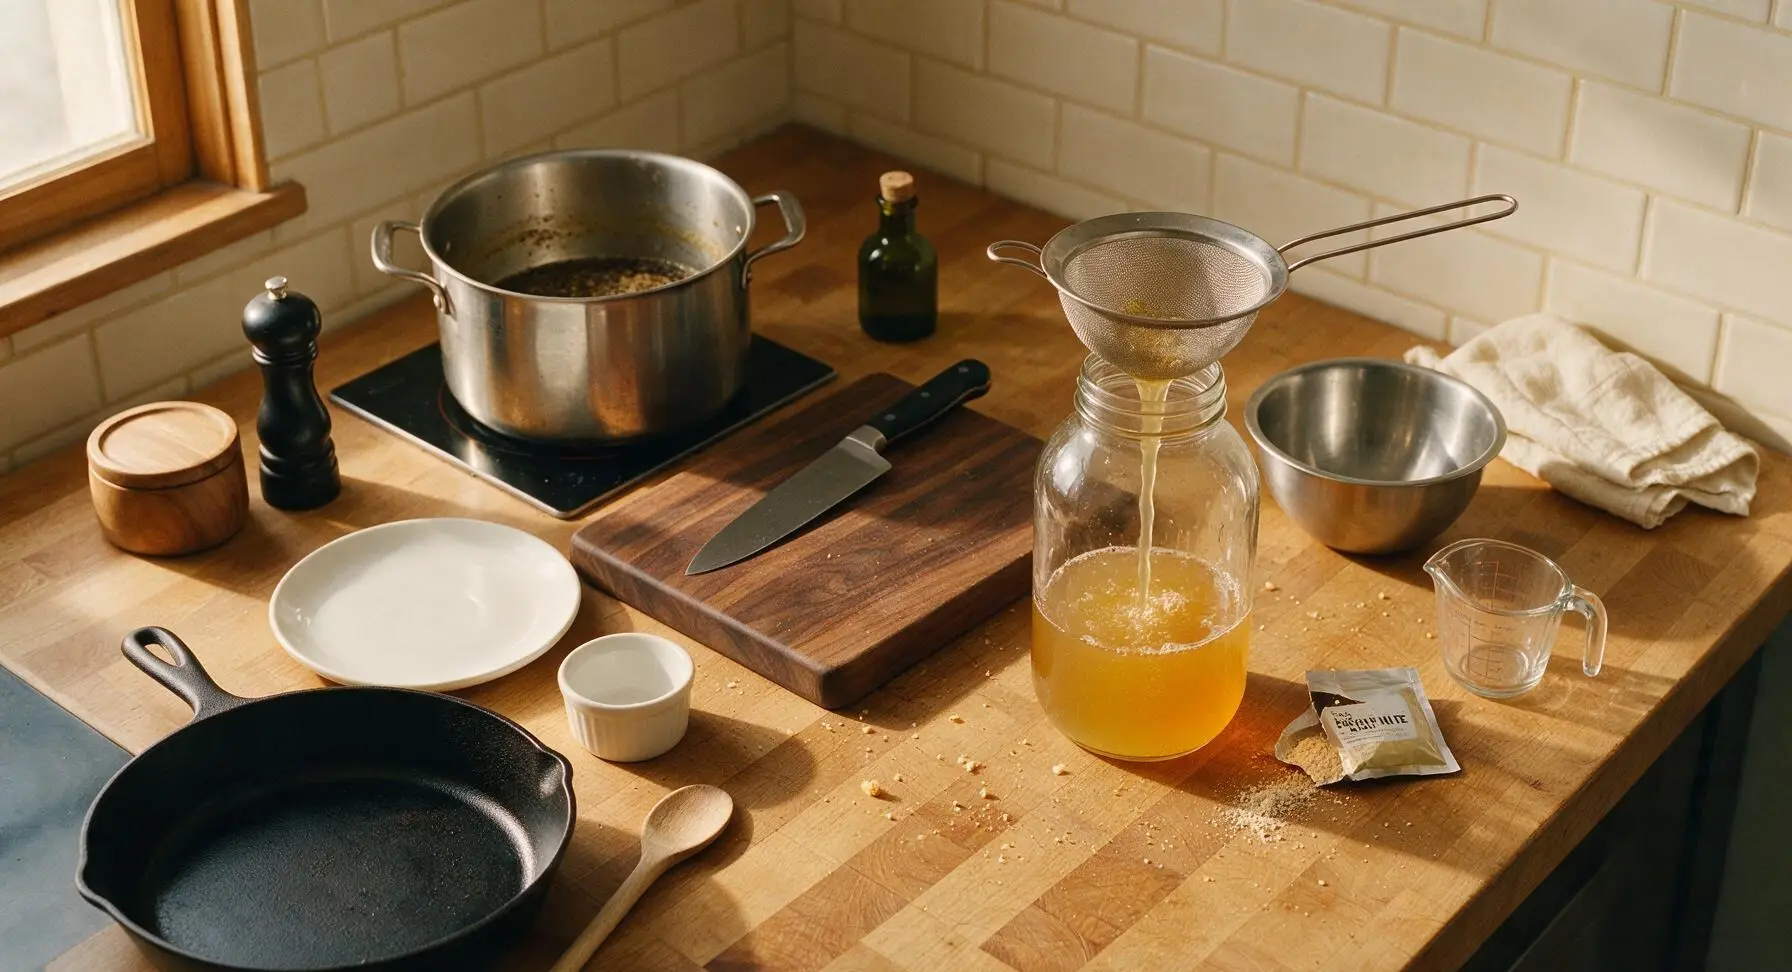
Seal and Ferment
Fit the 3-piece clear plastic airlock snugly into the mouth of the fermentation jug, filling the airlock halfway with diluted sanitizer to create an airtight seal that lets carbon dioxide escape without letting wild bacteria in. Move the jug to a dark, temperature-stable spot (18-22°C / 65-72°F) away from direct sunlight. Let the beer ferment for 14 full days, until bubbling in the airlock stops completely and the beer clears slightly as yeast settles to the bottom.
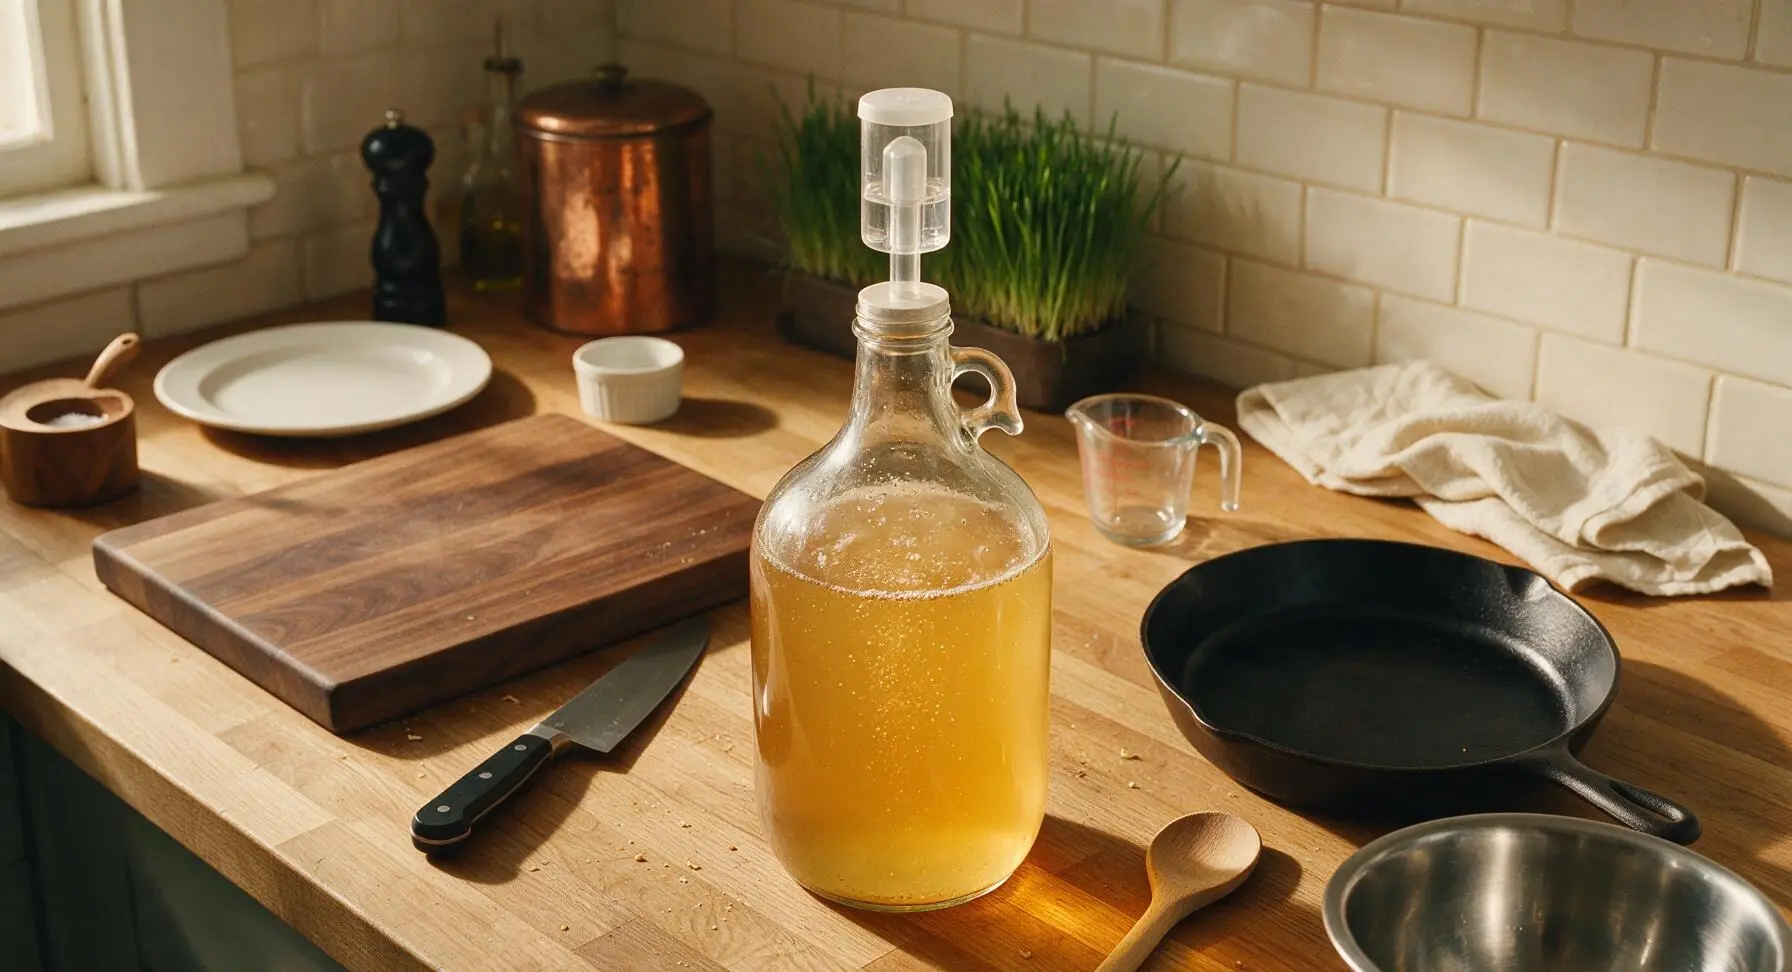
Bottle and Carbonate
After 14 days of fermentation, boil 30g of corn sugar in 100ml of water for 5 minutes, cool completely, and add to the bottom of a sanitized bottling bucket. Siphon the finished beer gently into the bucket to mix evenly with the sugar solution, which will create natural carbonation in the bottle. Fill sanitized 16oz glass beer bottles, leaving 2cm of headspace at the top, and cap tightly using the spring-loaded matte black bottle capper. Let bottles sit at room temperature for 7 days to carbonate fully, then chill for 24 hours before serving.
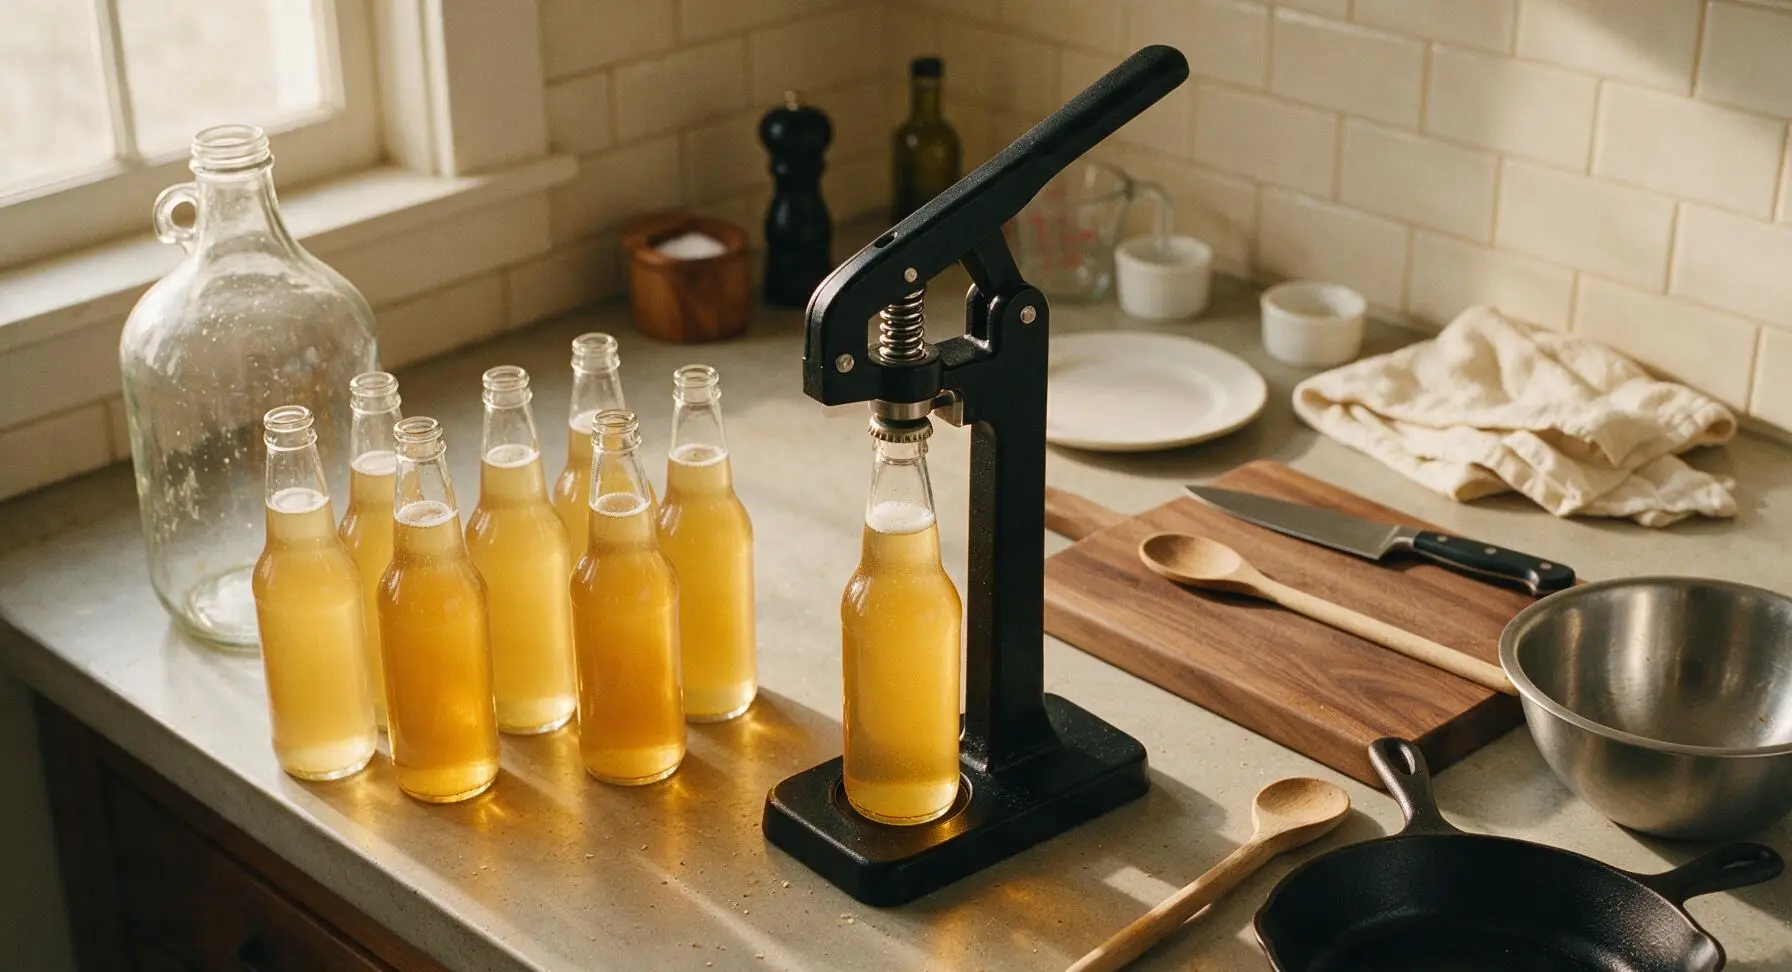
Tips
2.Avoid boiling the late Citra hop addition for longer than 20 minutes: high heat breaks down the delicate tropical citrus and passionfruit aromas that define farmhouse IPA, leading to a flat, overly bitter beer without bright hop character.
3.Chill carbonated bottles for a full 24 hours before opening: warm, freshly carbonated beer foams excessively when poured, wasting carbonation and leaving you with a flat, headless pour instead of a smooth, frothy glass.






OMG, this Farmhouse IPA recipe is an absolute game changer! I brewed a batch last weekend for our annual camping trip with friends and everyone was raving about it. Perfect balance of that earthy farmhouse yeast note and bright hoppy bite, not too bitter at all. Already planning my next batch — might toss in a little extra orange peel next time for a zesty kick. SO good, will be my go-to house IPA from now on!
Tried this for our neighborhood block party potluck and it was such a hit! The only reason I’m not giving 5 stars is I messed up the temperature on the yeast pitch the first go-around and got a little more fruity ester flavor than I wanted — totally my bad, not the recipe’s fault. All our neighbors were asking for the recipe by the end of the night, even the folks who say they ‘don’t like IPAs’ went back for seconds. Would definitely make again!
Made this to pair with my smoked brisket for last Sunday’s family dinner and holy cow, it was the perfect match. I was worried it’d be too hoppy to go with brisket but that smooth, bready malt backbone cuts through the fat so well. My brother-in-law is a total beer snob who brews his own fancy stuff and he said it was better than most of the local brewery’s IPAs. 10/10, no notes.
Just finished the brew day for this and wanted to say the instructions are so easy to follow even for a total beginner like me! I was super intimidated to try my first all-grain batch since I’ve only done extract kits before, but the step-by-step timings made it impossible to mess up. My kitchen smells amazing right now, my kids even wandered in asking what smelled so good, haha, had to remind them it’s a ‘grown-up juice’ project for our upcoming cookout. Can’t wait to taste how it turns out in a few weeks. Already eyeing the other brew recipes on here!
Really solid recipe, but I will say the 2 hour 40 minute cook time had me running around my kitchen a little more than I expected on a Saturday. Ended up skipping the late hop addition because I ran out of time to run to the homebrew shop, and it still came out super drinkable. Brought a growler to my weekly disc golf meetup and the guys loved it.
Brewed a double batch of this for my annual fall potluck and it was gone in under an hour! People were filling up their cups before they even got to the food table, lmao. That crisp, slightly peppery finish is chef’s kiss, especially when it’s served ice cold on a warm afternoon. Already got three texts from friends asking when I’m making more.