
fatback bacon
intro
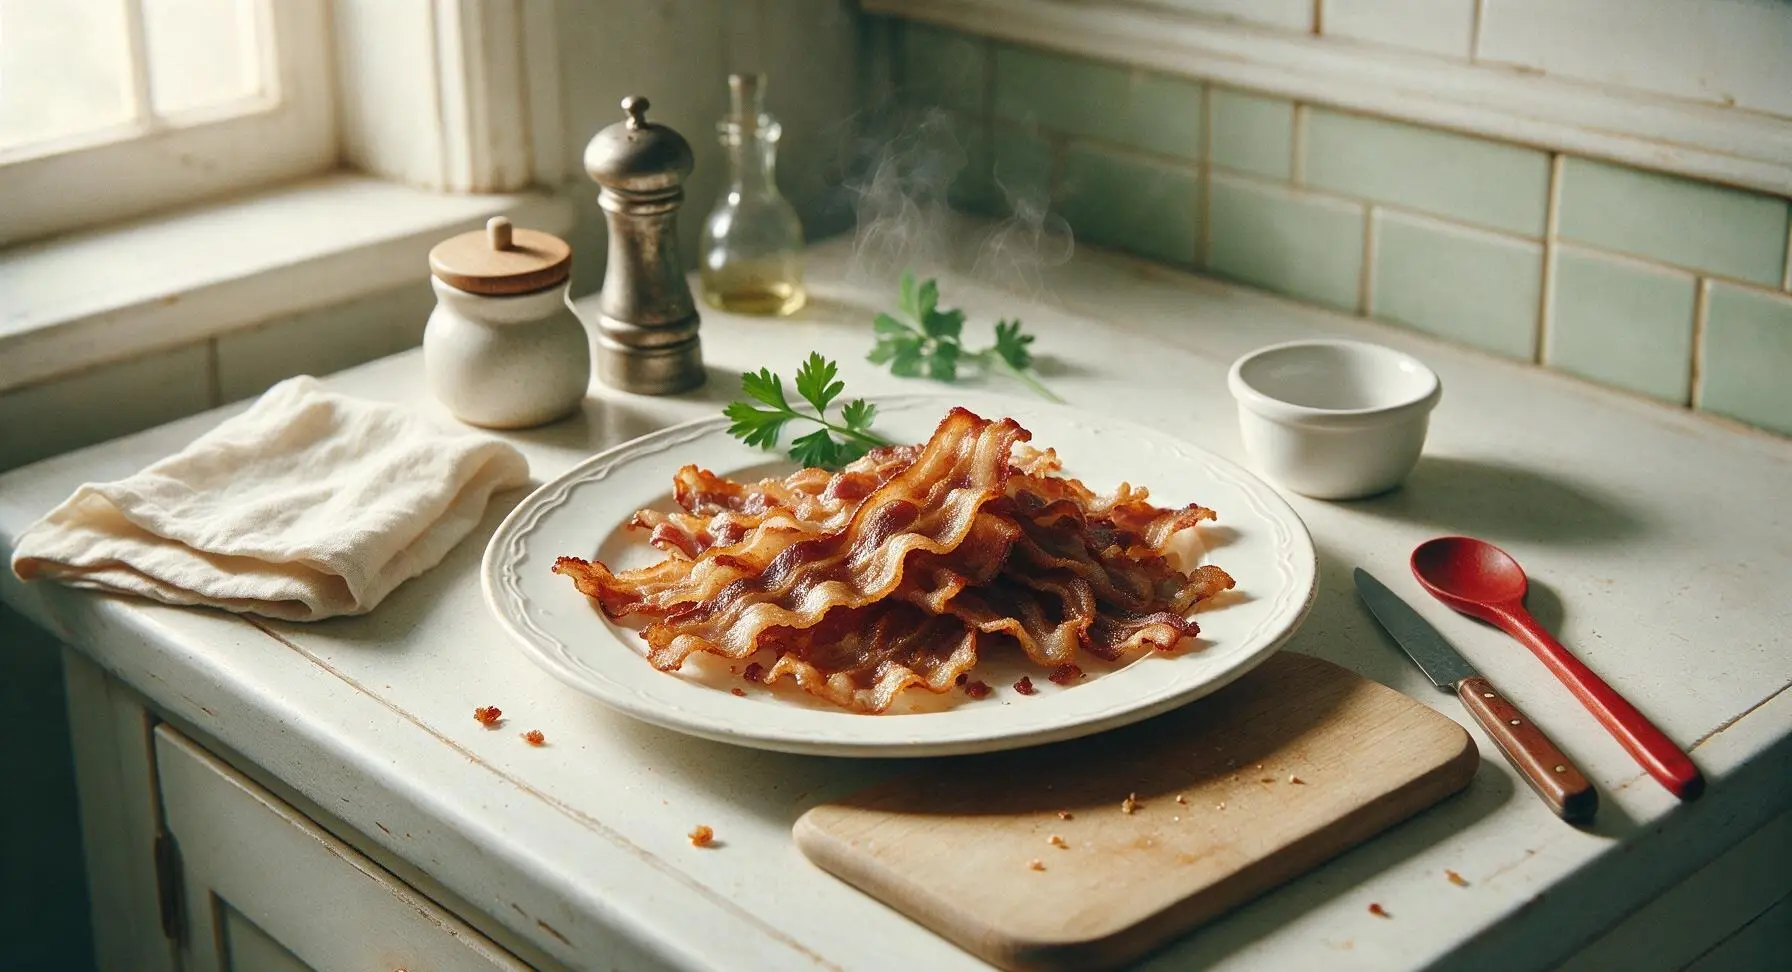
Crisp, salty, rich homemade dry-cured fatback bacon, golden and rendered to perfection, with a deep savor that elevates breakfast, biscuits, and every dish it touches.
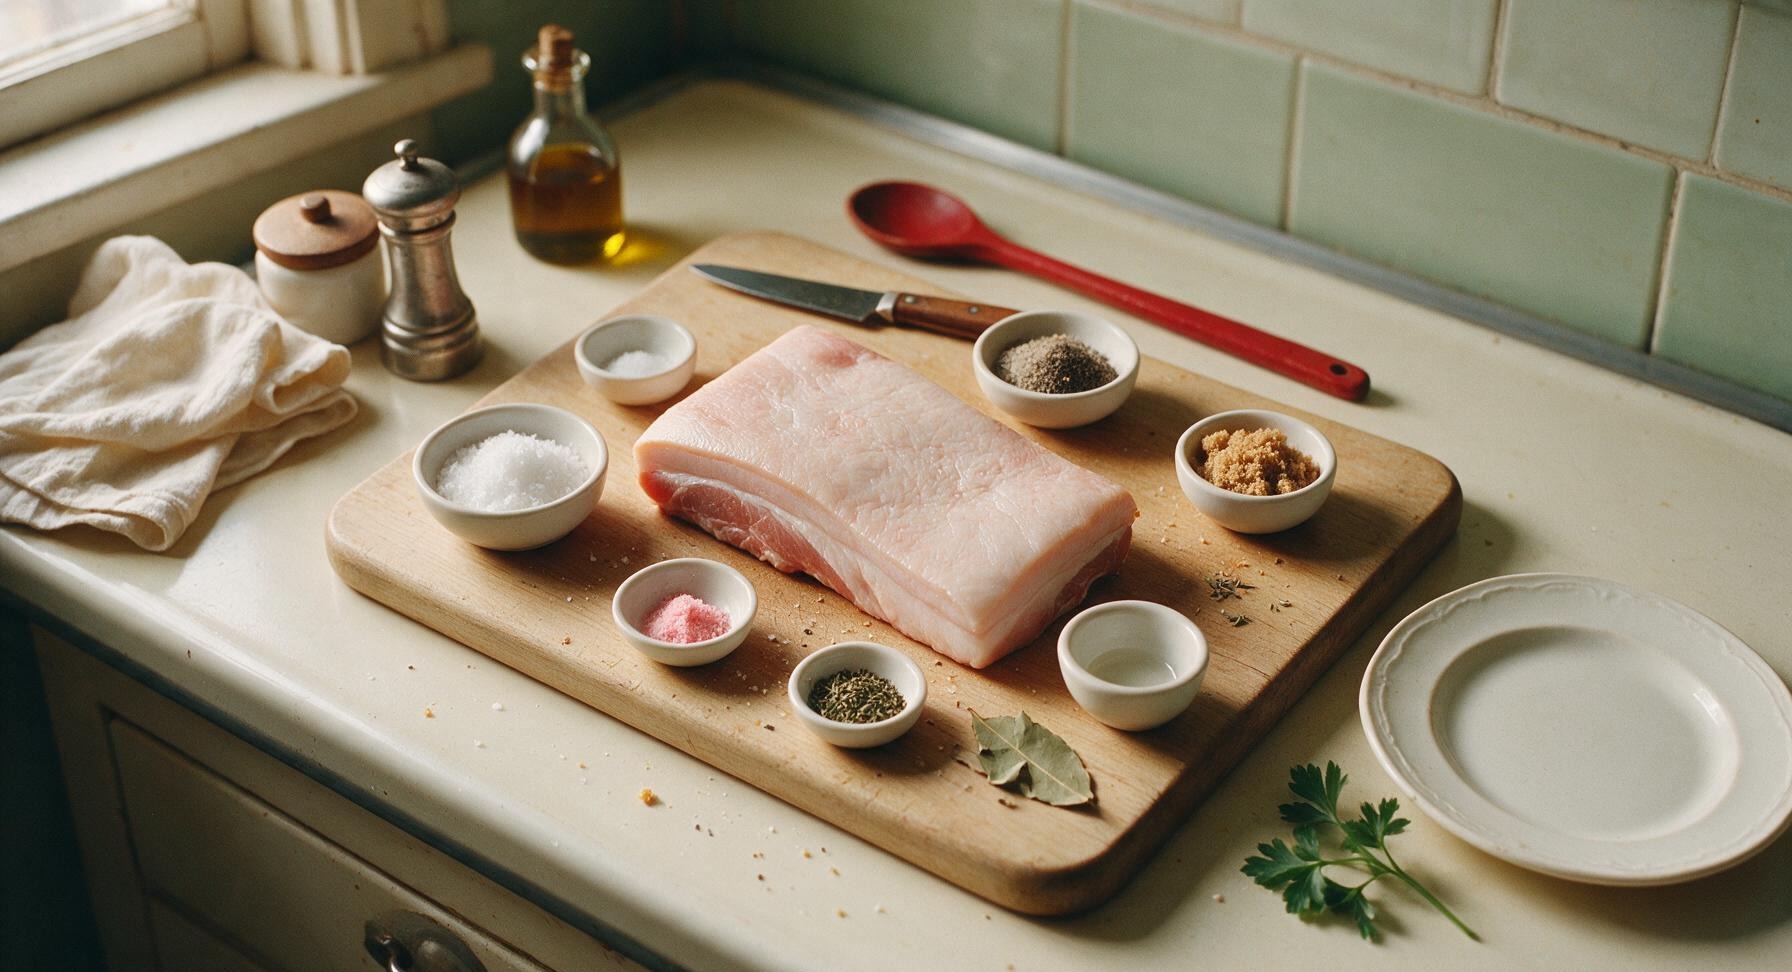
Ingredients
Steps
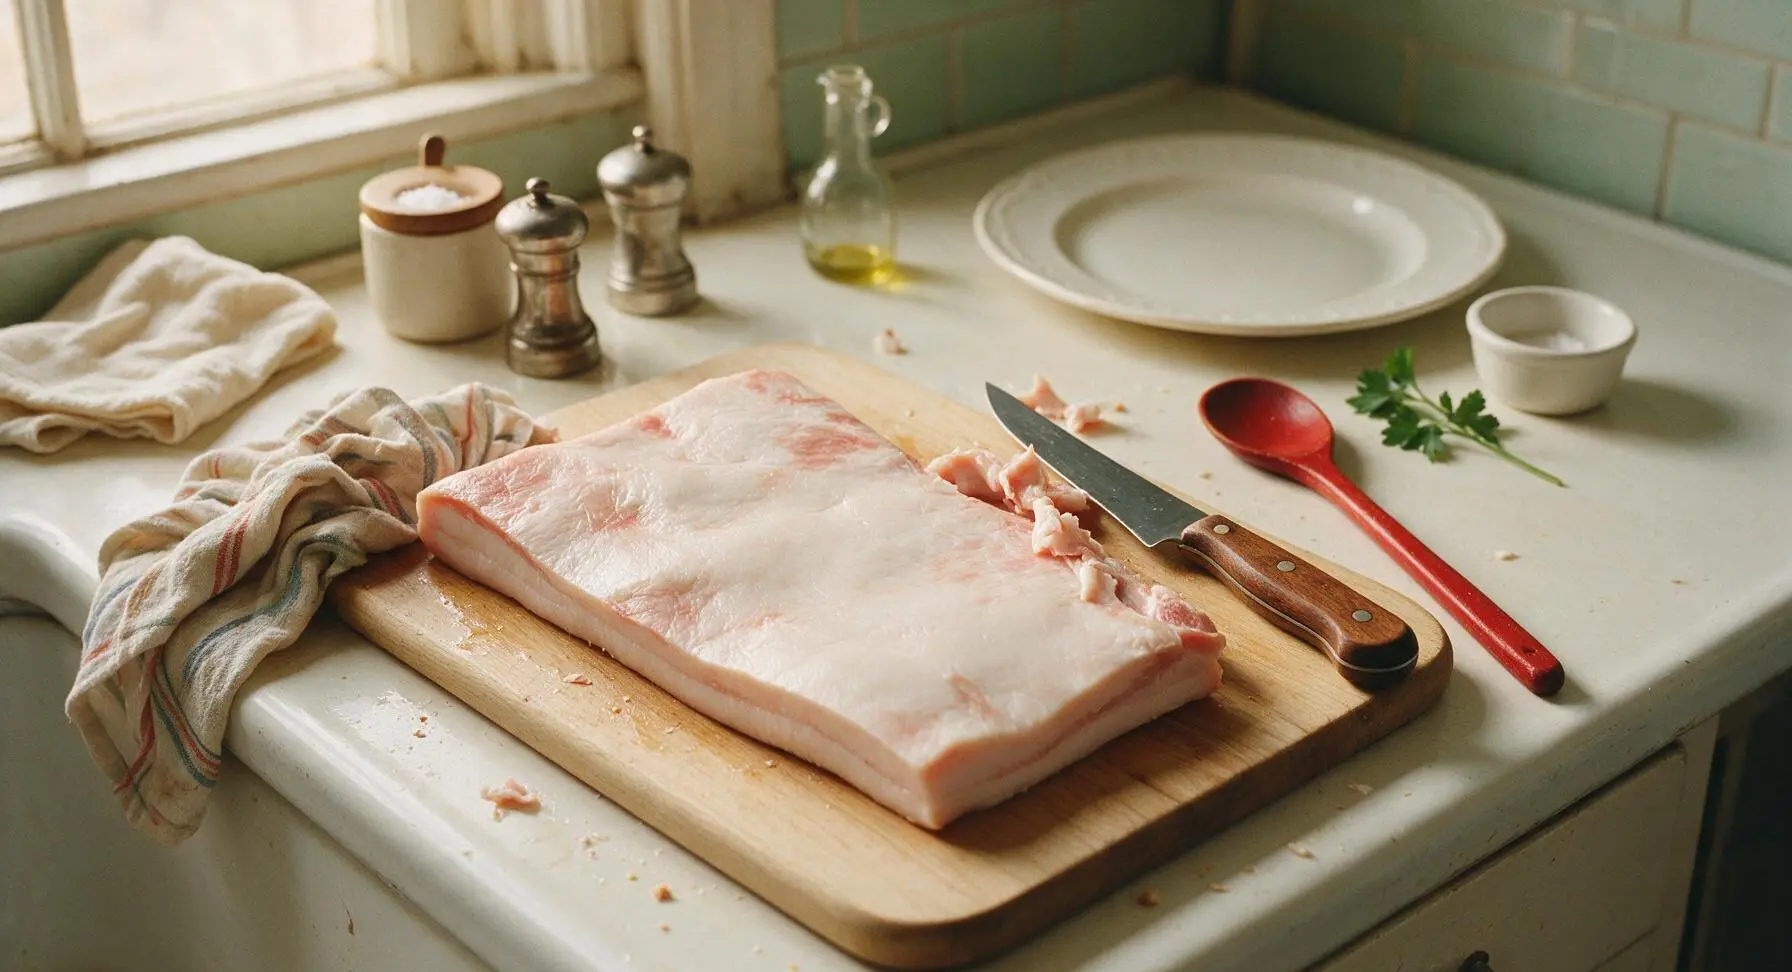
Trim the Fatback Slab
Place the 2lb skin-on pork fatback on the honey maple cutting board. Use the 6-inch walnut-handled boning knife to trim any ragged edges, stray hair follicles, or hard discolored fat from the slab. Leave the skin fully intact, and ensure the thin attached meat cap is evenly distributed across the slab, no more than 1/4 inch thick. Pat every surface of the slab completely dry with the striped cotton kitchen towel.
Mix Dry Cure Blend
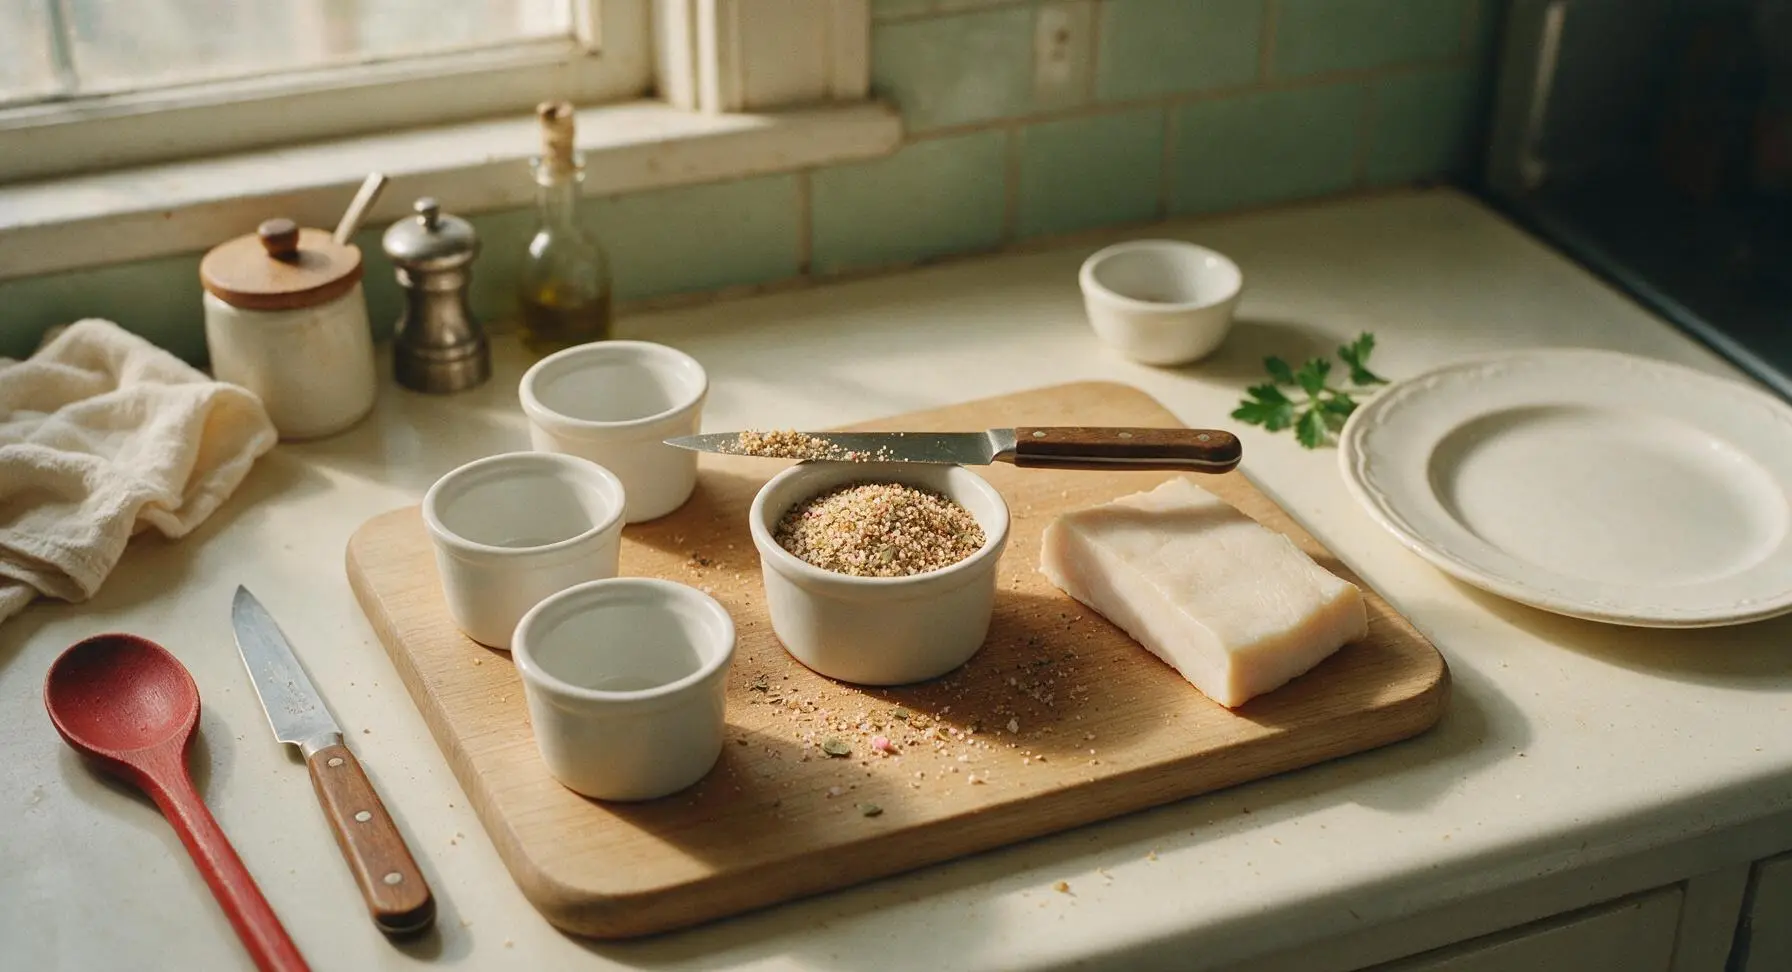
Open all four matte white ramekins. In one ramekin, combine the measured kosher salt, 1/2 teaspoon pink curing salt #1, light brown sugar, black pepper, crumbled dried thyme, and crumbled bay leaves. Stir thoroughly with the tip of the boning knife until all ingredients are evenly distributed, breaking up any clumps of brown sugar to create a uniform, speckled tan cure mix.
Coat Slab Evenly
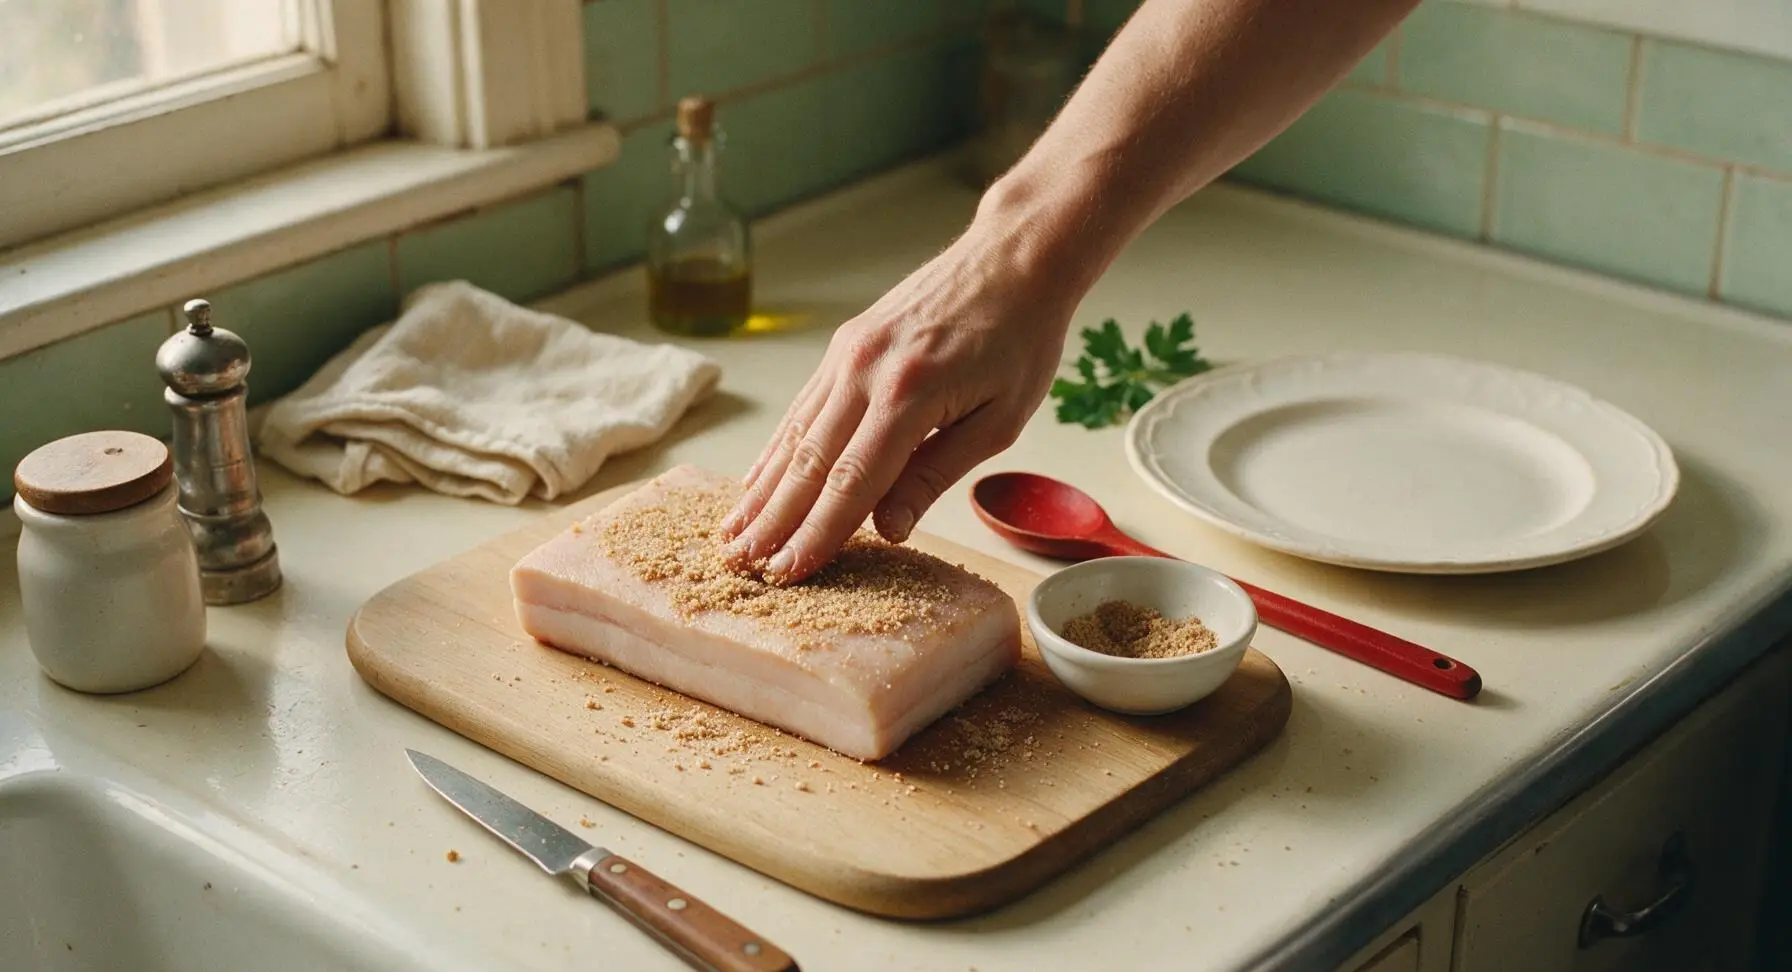
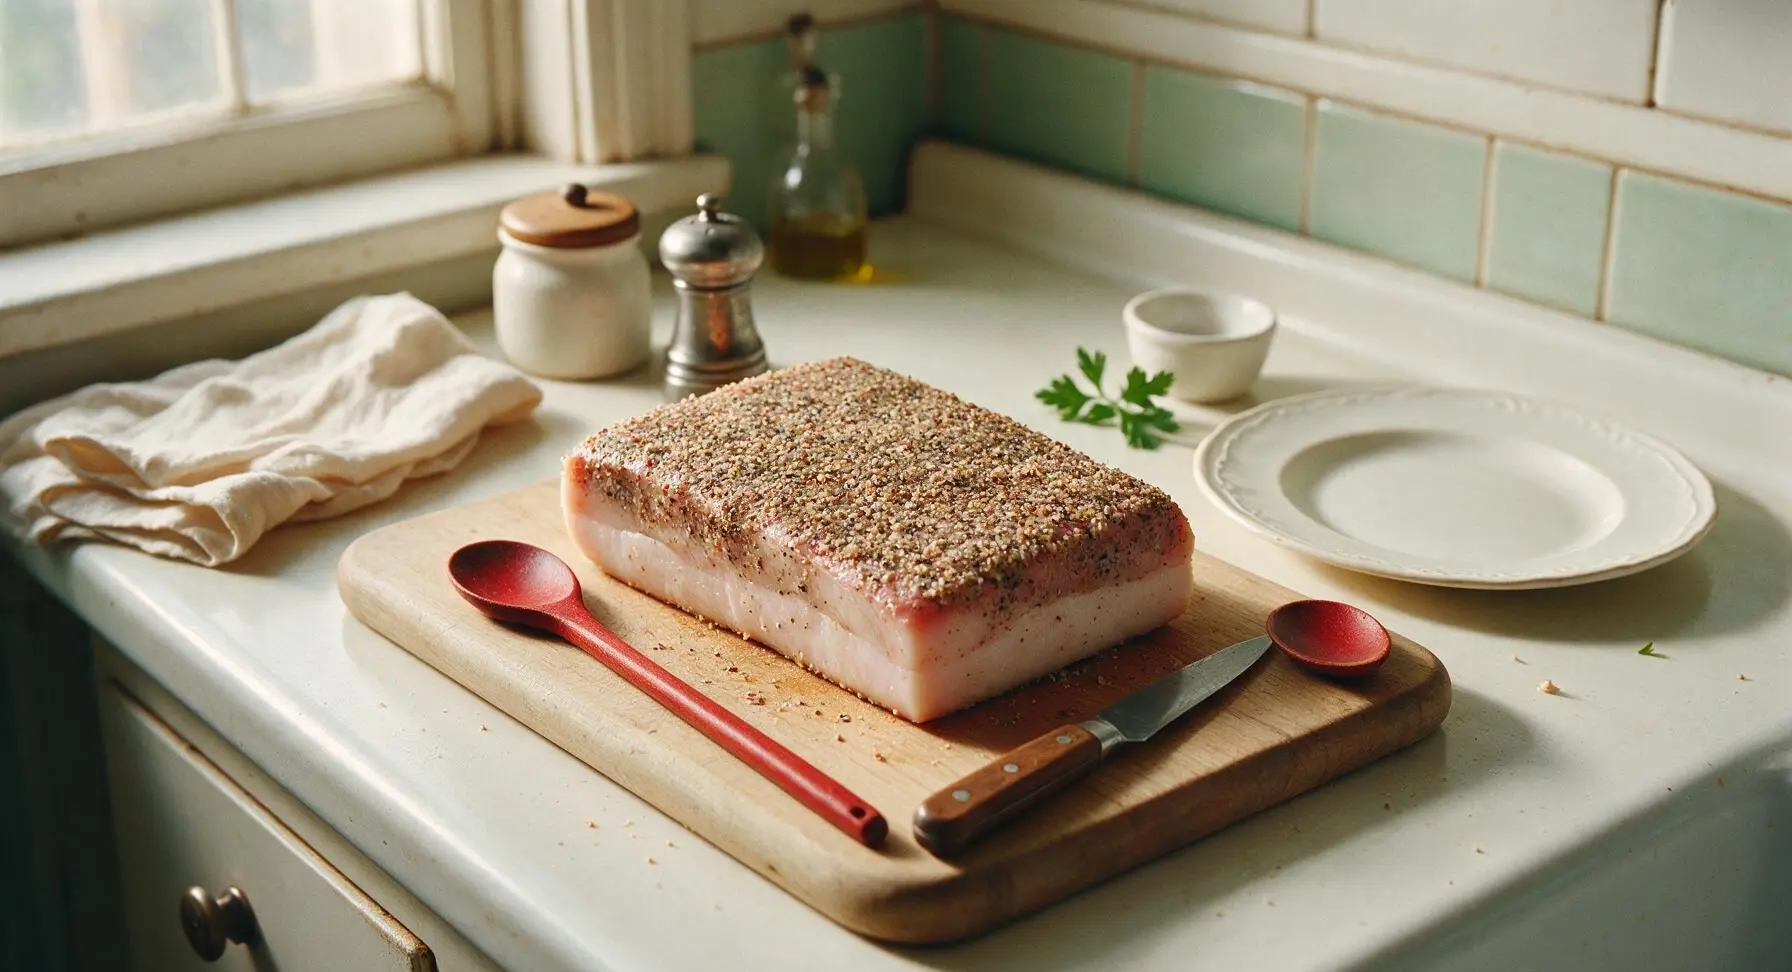
Sprinkle half of the dry cure mixture evenly over the top fat surface, meat cap, skin, and edges of the fatback slab, rubbing firmly with clean hands to press the cure into every surface. Ensure no bare spots remain, as uncovered areas can spoil during curing. Repeat until all cure is used, coating every side of the slab completely.
Cure in Refrigerator
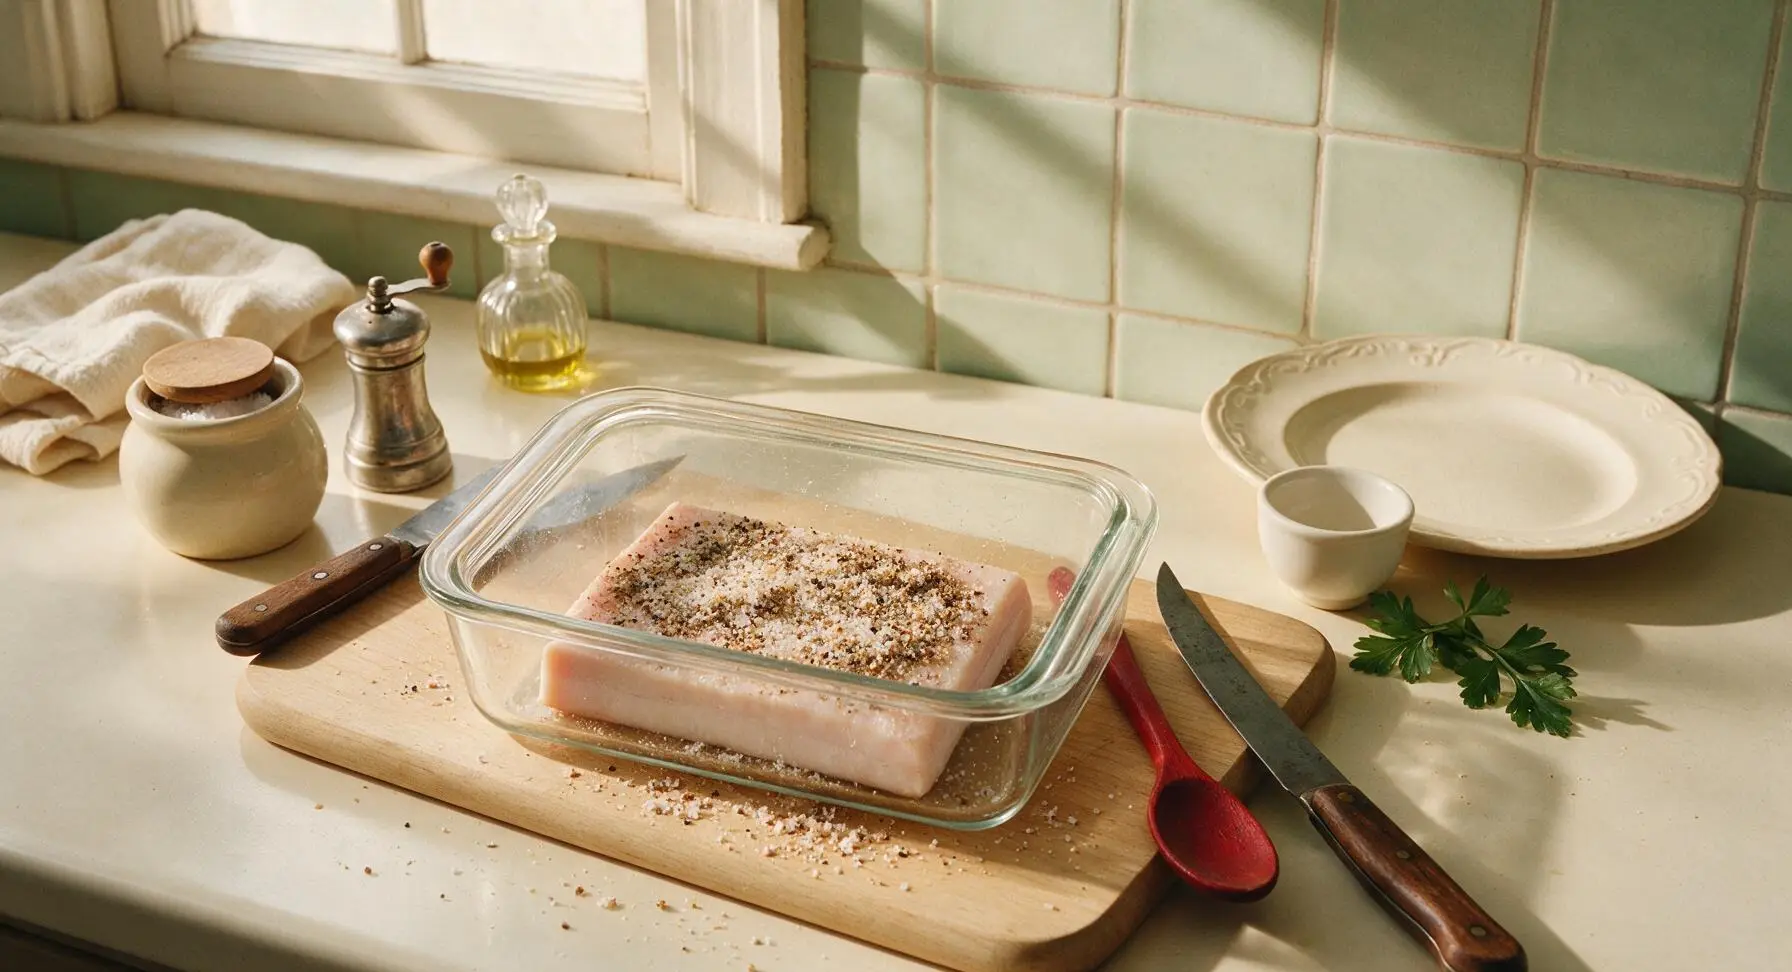
Place the fully cure-coated fatback slab in a lidded non-reactive glass container, skin side down. Pour any remaining cure from the cutting board over the top of the slab. Seal the container tightly and refrigerate for 7 full days, flipping the slab every 2 days to redistribute the briny liquid that leaches out of the fat. The slab is fully cured when it feels uniformly firm to the touch, with no soft, squishy raw fat spots.
Rinse and Air Dry
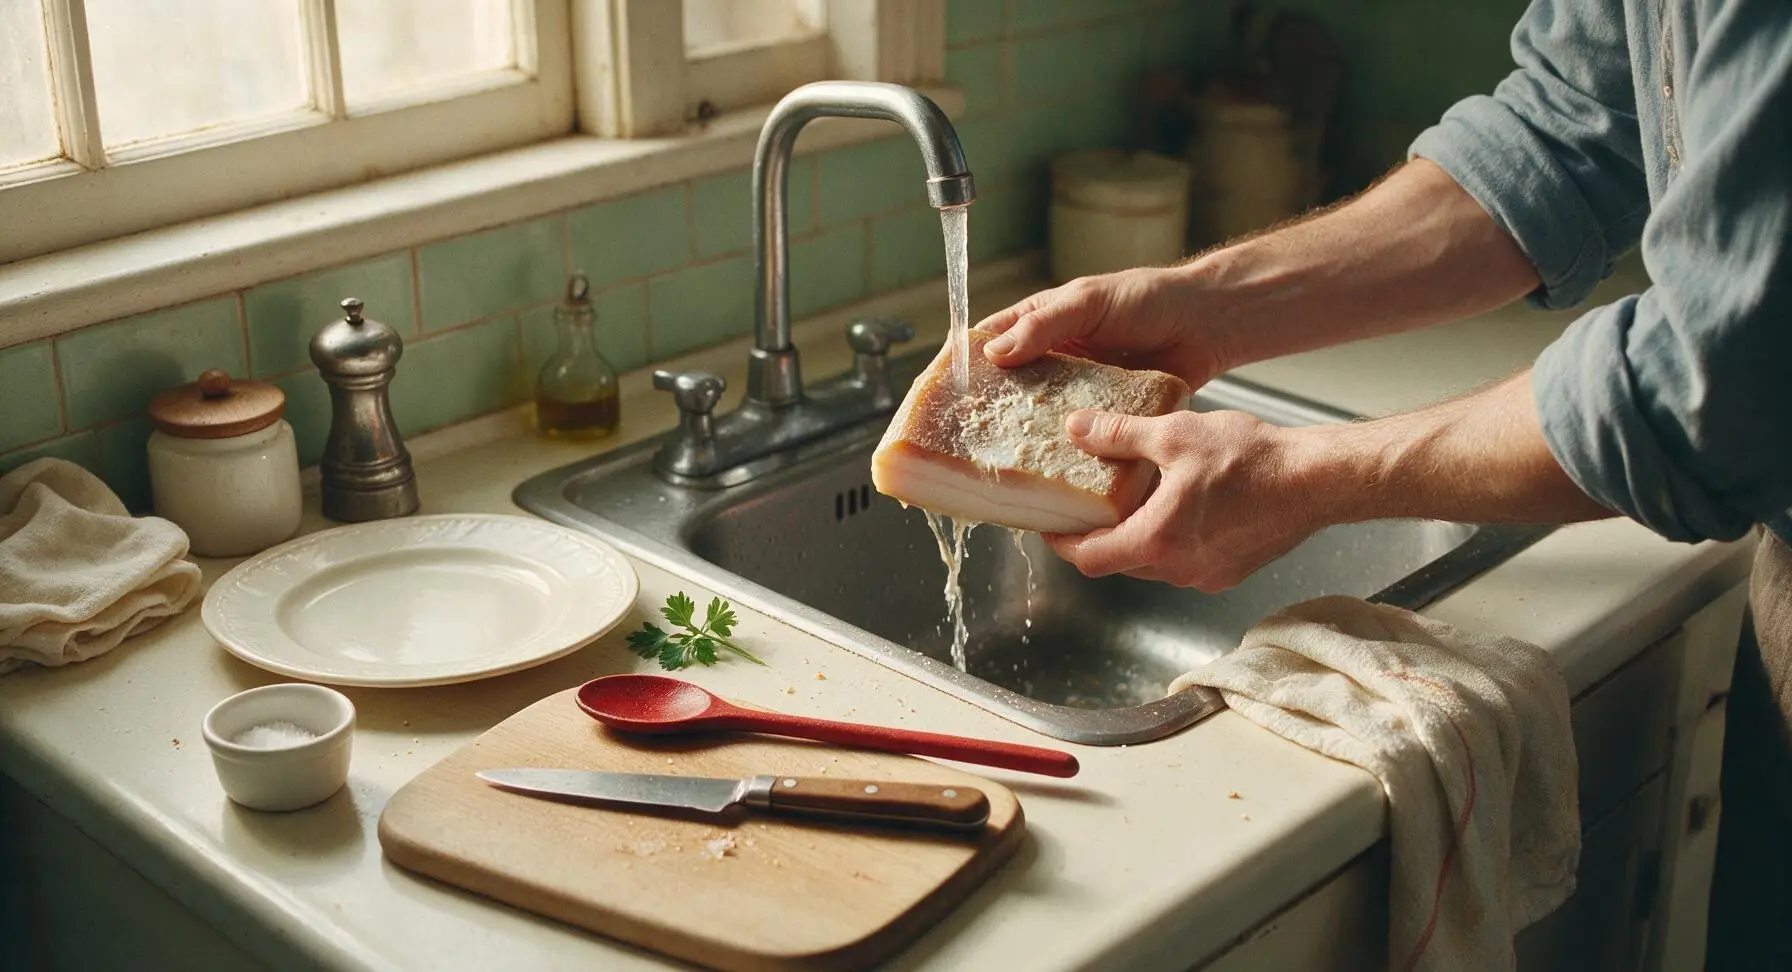
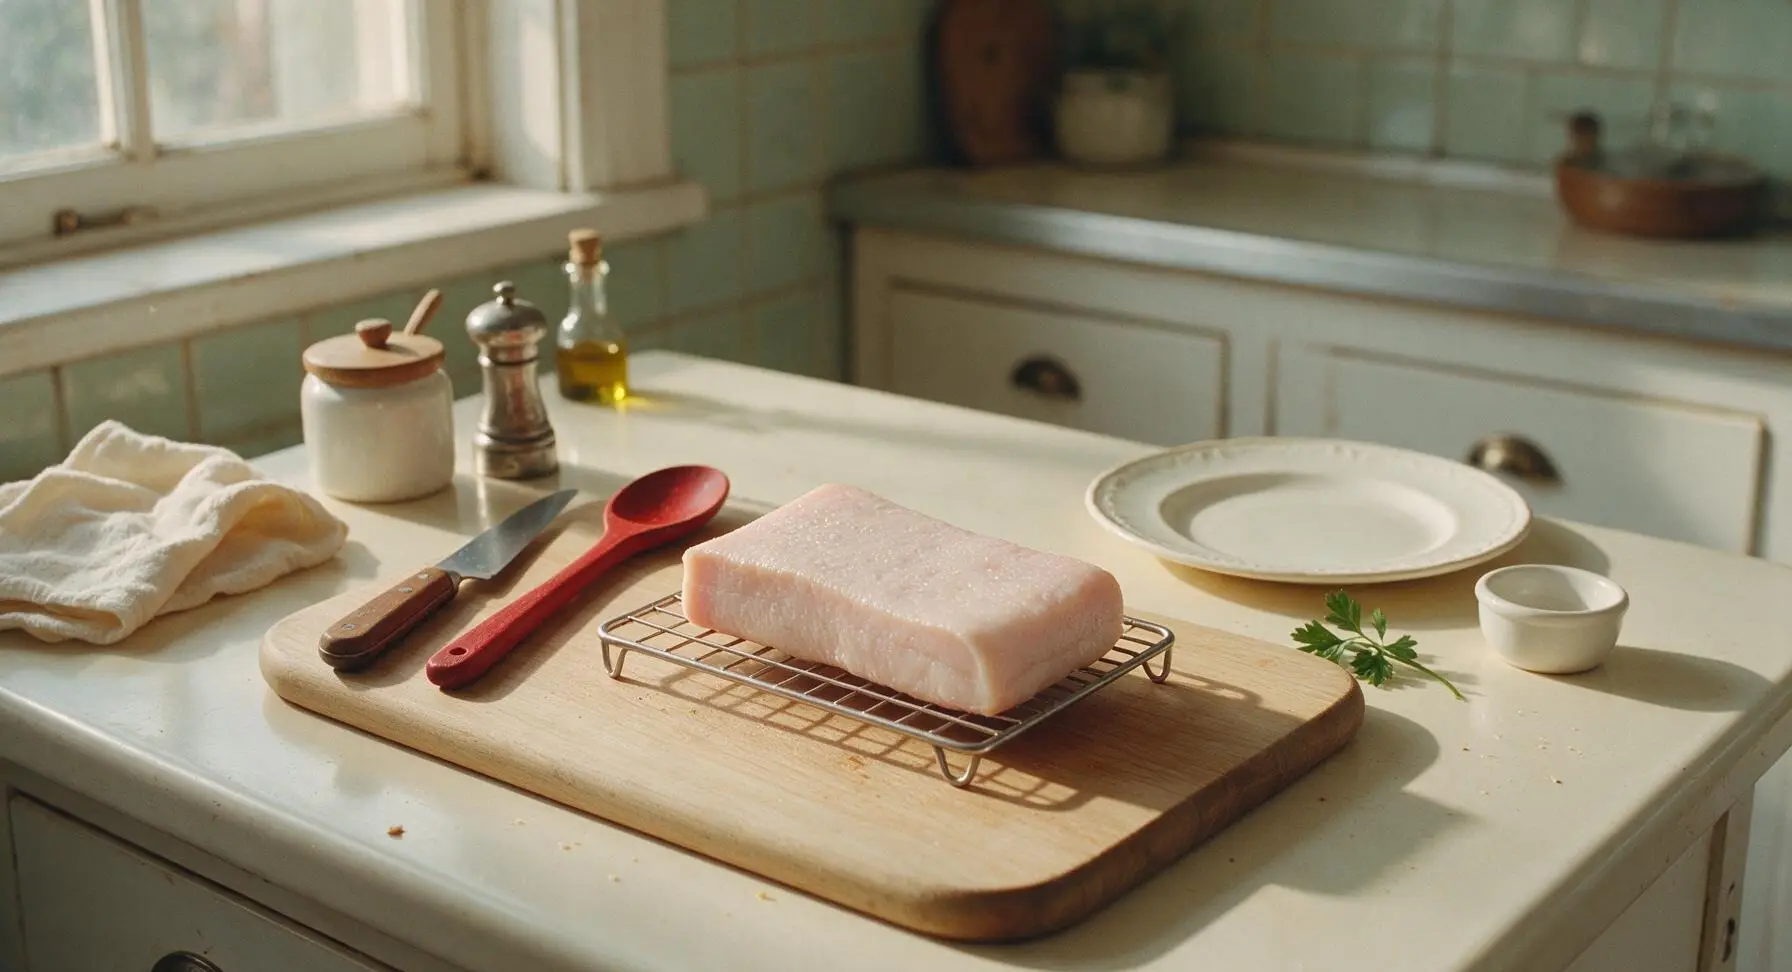
After 7 days of curing, remove the fatback from the refrigerator. Rinse all cure residue off the slab under cold running water, using your fingers to rub away any stuck-on salt or sugar granules. Pat the slab completely dry with the cotton kitchen towel, then set it on a wire rack set over a small plate in the refrigerator, uncovered, for 24 hours. The slab is ready to slice when its surface feels dry and slightly tacky to the touch (this tacky layer is called a pellicle, which ensures even crisping during cooking).
Slice Cured Bacon
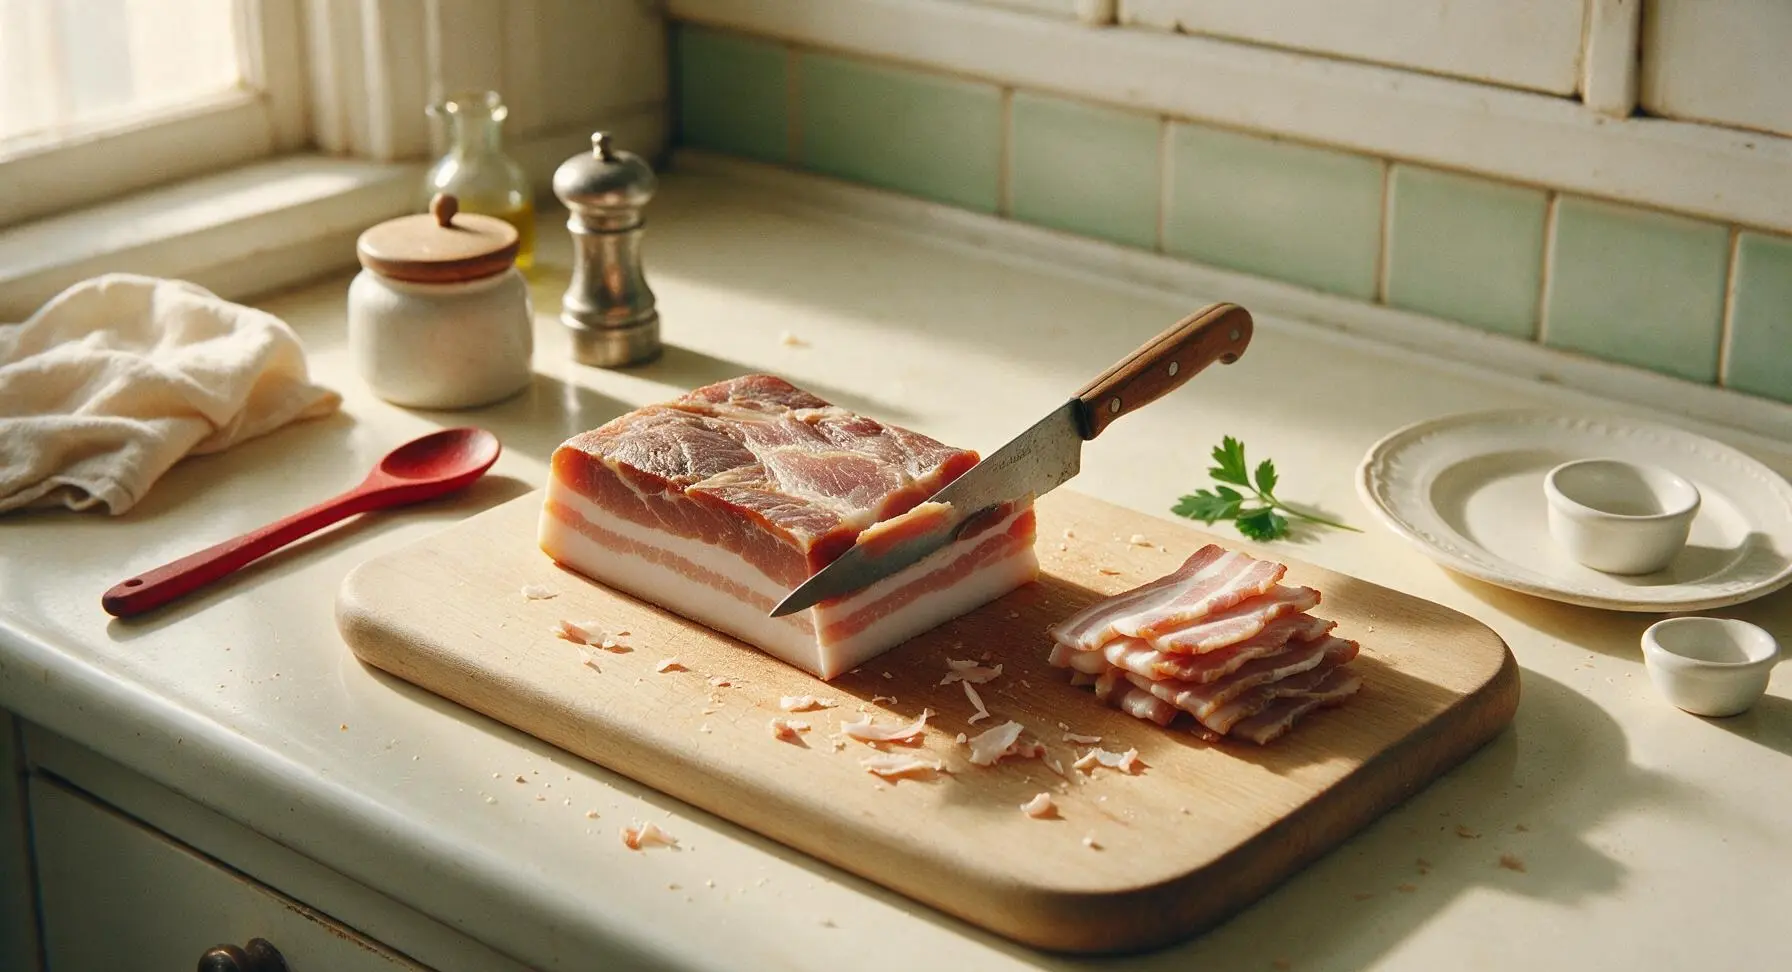
Place the dried, cured fatback on the maple cutting board, skin side down. Use the boning knife to slice the bacon into even 1/8 to 1/4 inch thick slices, cutting straight across the slab for uniform pieces. Slice to 1/8 inch thickness for extra-crispy bacon, or 1/4 inch for chewier, meatier slices. Collect sliced pieces in a small pile on the edge of the cutting board.
Pan-Fry to Crispness
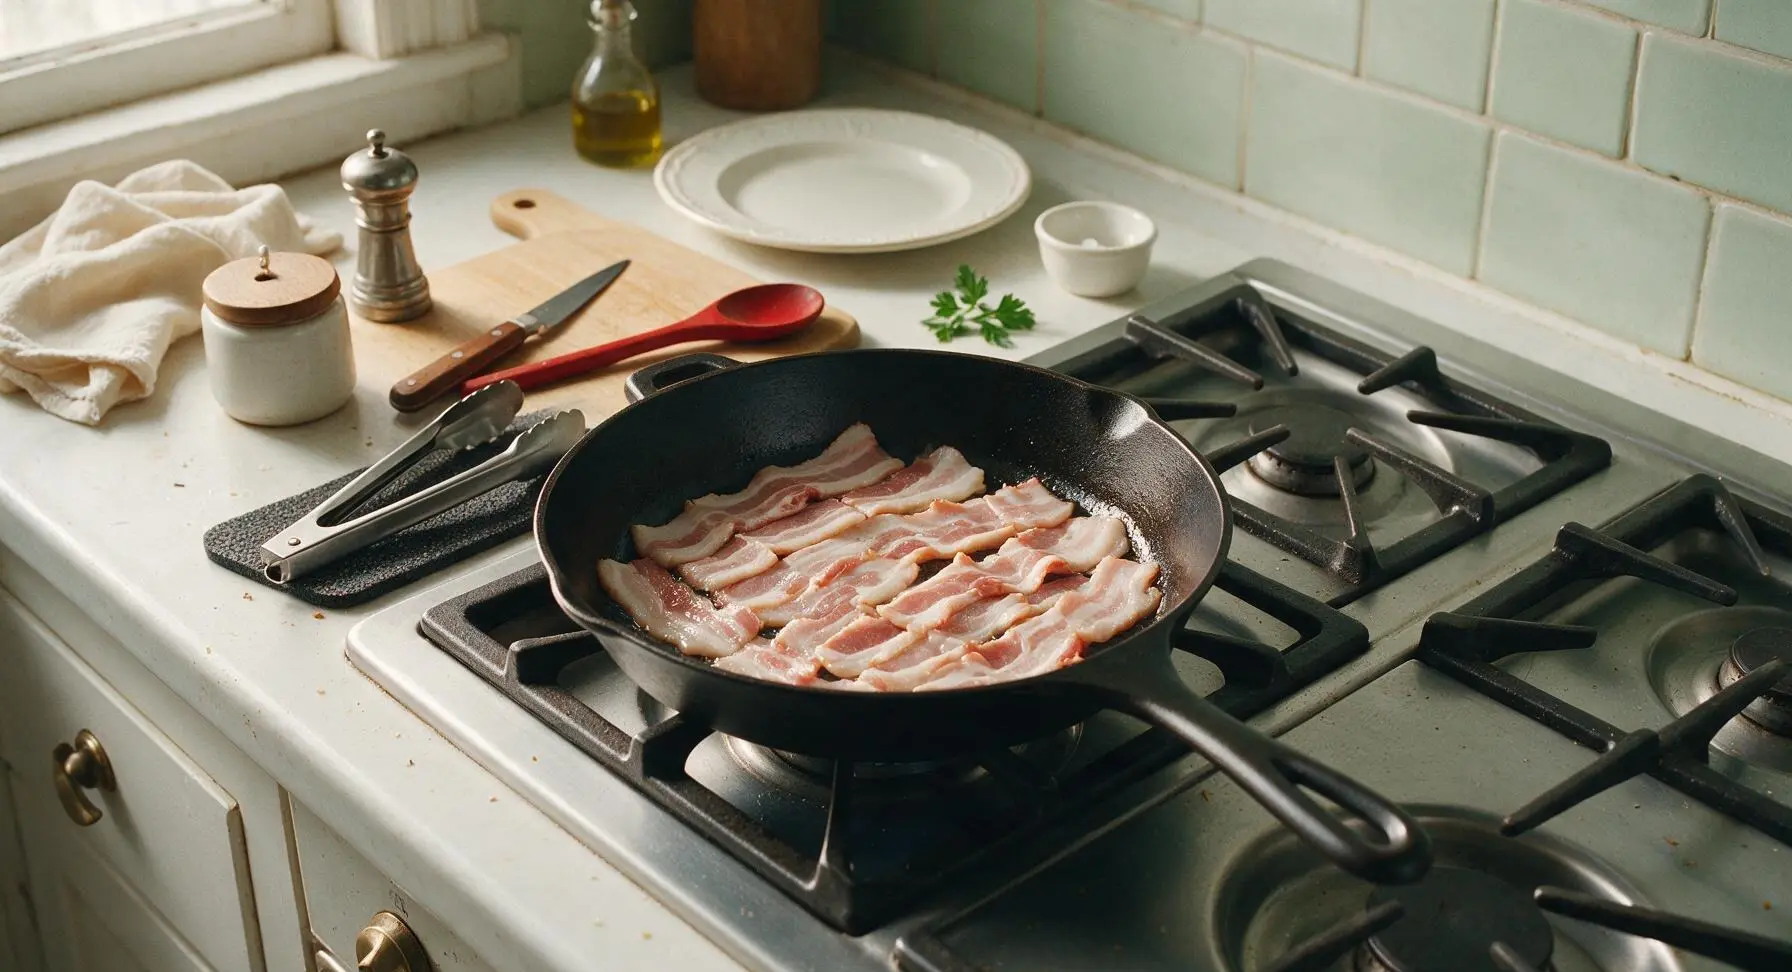
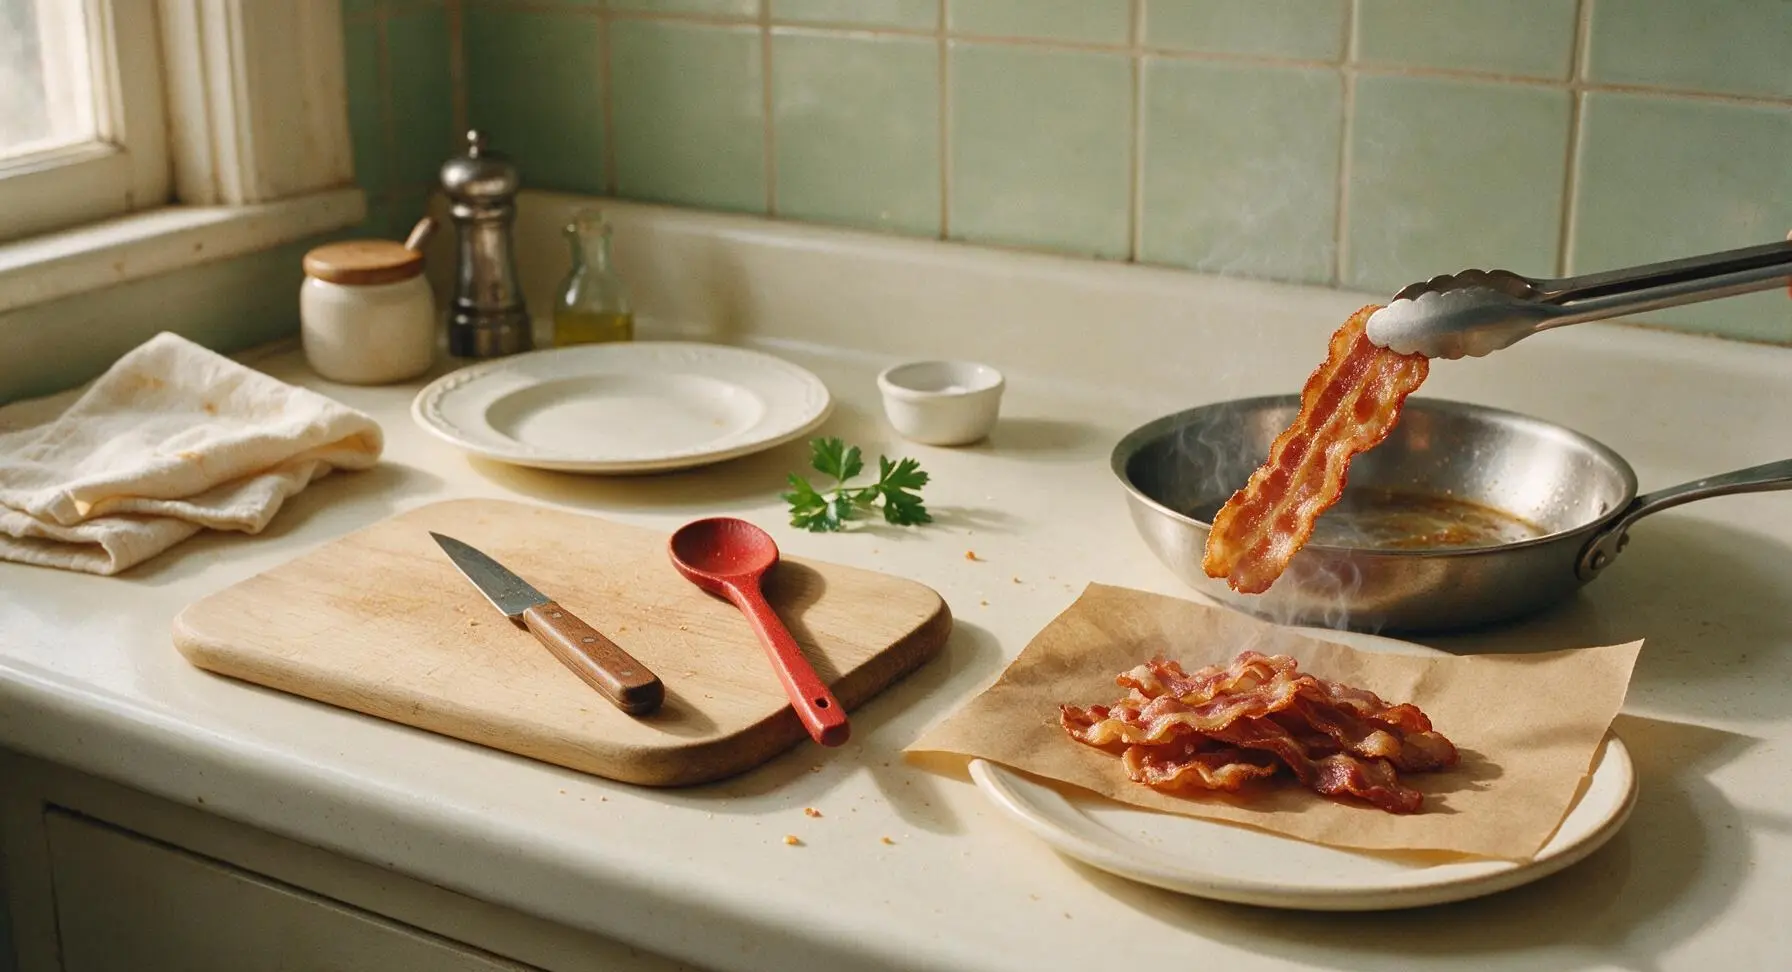
Move the 10-inch carbon steel skillet from the rear right burner to the front center burner, heat over medium-low heat (325°F / 160°C). Lay bacon slices in a single layer in the skillet, taking care not to overcrowd the pan (cook in 2 batches if needed). Cook for 4-5 minutes per side, using the stainless steel tongs to flip slices once the first side is deep golden and fat has rendered. The bacon is done when edges are crisp, fat is translucent, and the meat cap is evenly browned, with no burnt black spots.
Drain and Serve
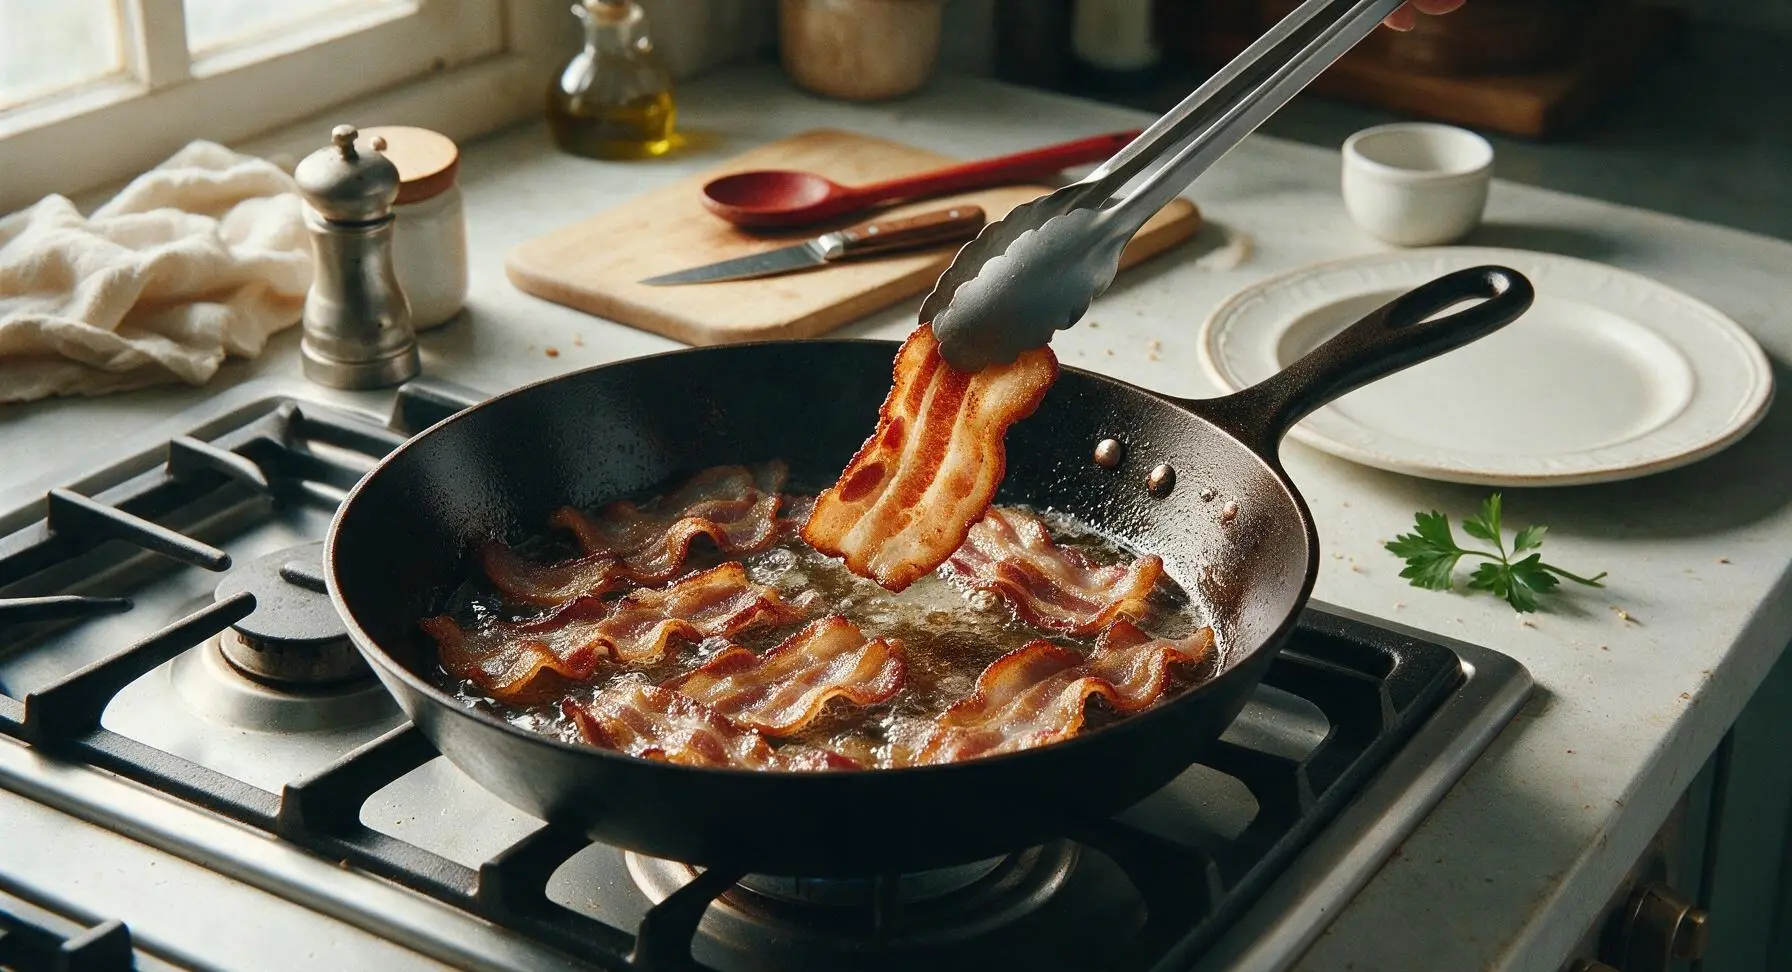
Use the tongs to transfer cooked bacon slices from the skillet to the brown kraft paper sheet to drain excess rendered fat for 30 seconds. Arrange drained slices in a slight fan on the cream white stoneware plate, tuck a small sprig of fresh thyme at the edge for garnish, and serve immediately while hot and crisp. Strain and reserve the rendered fat left in the skillet for future cooking use.
Tips
2.Always cook fatback bacon over medium-low heat, not high heat: high heat will burn the outer fat before the inner fat has a chance to render, leading to bitter, charred edges and undercooked, greasy centers that lack the signature crisp texture.
3.Save every drop of rendered fat left in the skillet: strain it through a fine mesh sieve into a sealed glass jar, store it in the refrigerator for up to 3 months, and use it in place of oil or butter for roasted vegetables, fried eggs, or cornbread to add deep, savory pork flavor.






OMG y’all, this homemade dry-cured fatback bacon is a total game changer! I made it for our Sunday family breakfast last weekend and everyone went back for seconds, even my super picky 10 year old. It’s so much richer and saltier (in the best way) than the store-bought stuff I’ve been grabbing for years. I did add a tiny pinch of smoked paprika to the cure like my grandpa used to, and chef’s kiss. Already planning to make a double batch for our next camping trip!
Made this last week to add to my weekly meal prep—chopped it up to toss into green beans, scrambled eggs, and even baked potato toppings for the week. SO good, way more cost effective than buying pre-made bacon ends too. My only note is that I wish the cure time guide was a little more specific for different thicknesses of fatback, I had a slightly thinner cut and it came out a touch saltier than I prefer. Still totally usable though, will just adjust the cure time next time!
Wait, I was so nervous to try dry curing at home because I thought I needed all kinds of fancy equipment! This recipe made it so straightforward, I cured it in the back of my tiny apartment fridge no problem. The 10 minute cook time is no joke too, it crisps up perfectly so fast. I brought slices to my office potluck yesterday and people were begging for the recipe.
My grandma used to make dry-cured fatback bacon every fall when I was a kid, and I’ve been chasing that flavor for literal years. This recipe is dead on! I rendered the extra fat to keep in a jar for cooking, and it makes the best fried potatoes you’ve ever had. 10/10, will be a staple in my house from now on.
Tasted great overall, but I ran into a little issue with mold on the edge of my fatback during the cure? I followed the instructions to flip it every day like it said, but I think my fridge is a little too humid. I trimmed the moldy parts off and cooked it up, it was fine, but it stressed me out a little. Might try setting a small fan near it next time to get more air flow.
Game changer for weekend brunch! I served this alongside fluffy pancakes and fresh fruit, and my wife said it’s the best bacon she’s ever had. The 10 minute cook time is no joke too, I didn’t have to stand over the stove for forever while everyone else was eating. Only thing I’ll do different next time is make a bigger batch, because we polished off the whole thing in one sitting!