
Flat Iron Burnt Ends

title 1
Flat Iron Burnt Ends
⏱️ cook time 2 hours 30 minutes
🍽️ servings 4
⚡ Difficulty medium

intro

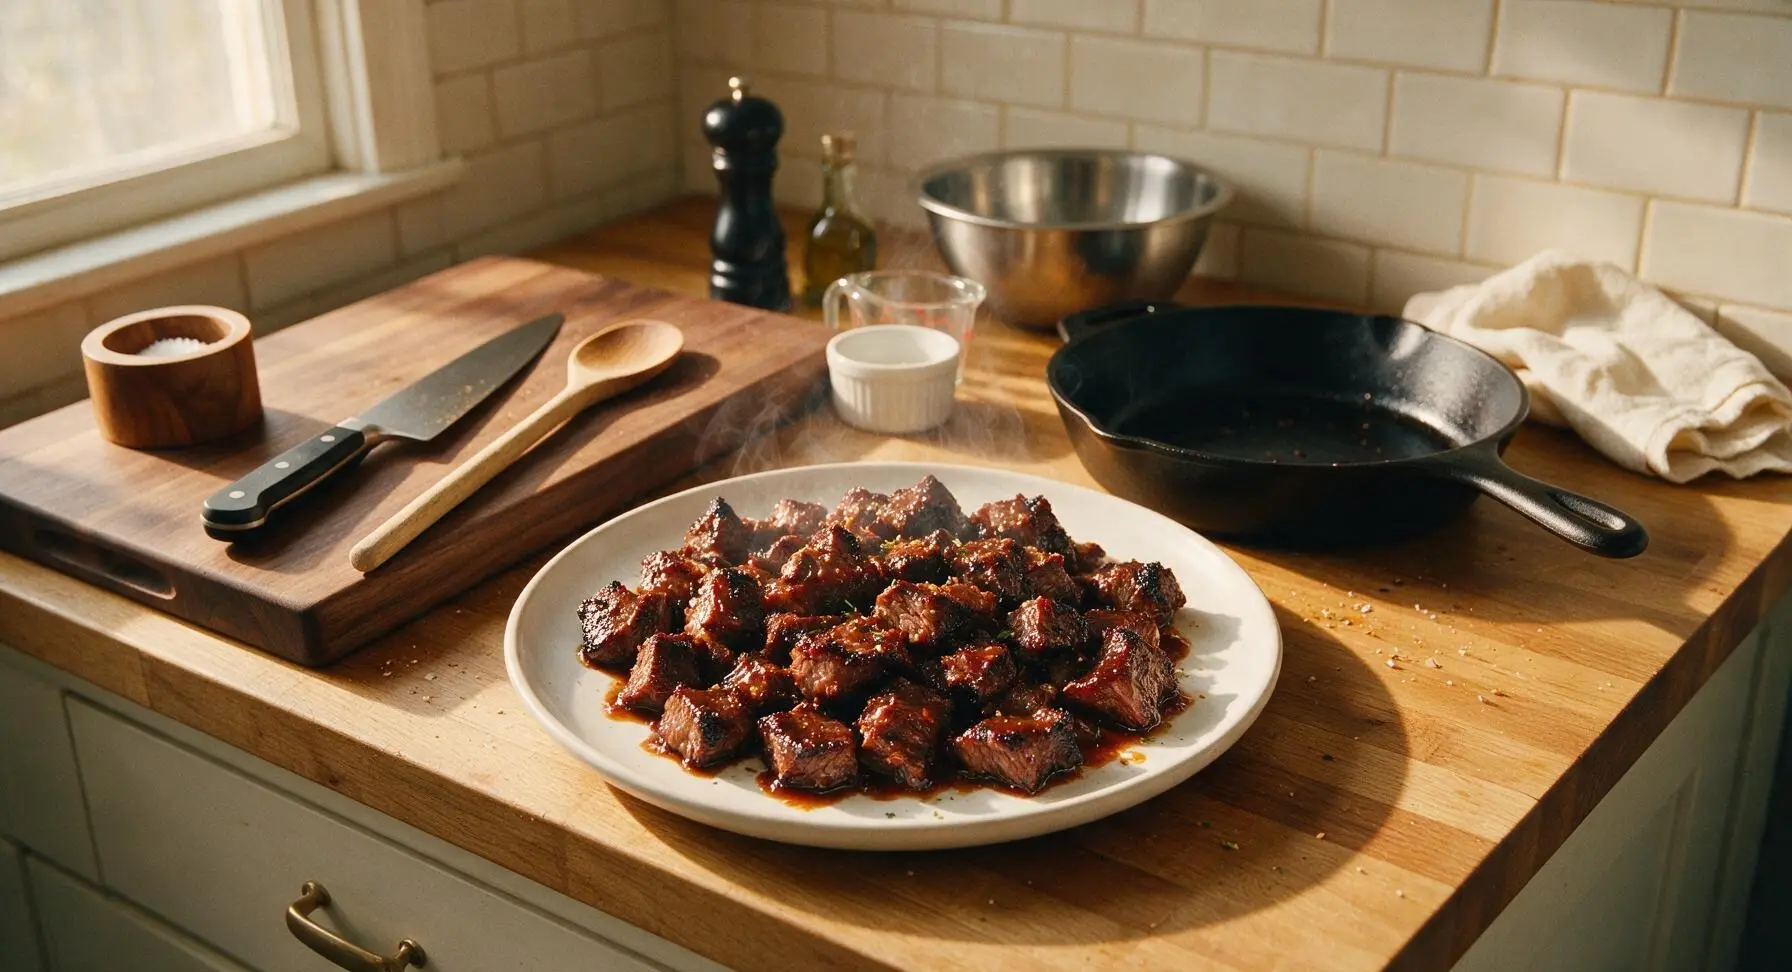
Smoky, caramelized bite-sized flat iron burnt ends tossed in tangy BBQ sauce: crispy edges, juicy tender centers, the ultimate summer backyard cookout crowd-pleaser.

Ingredients
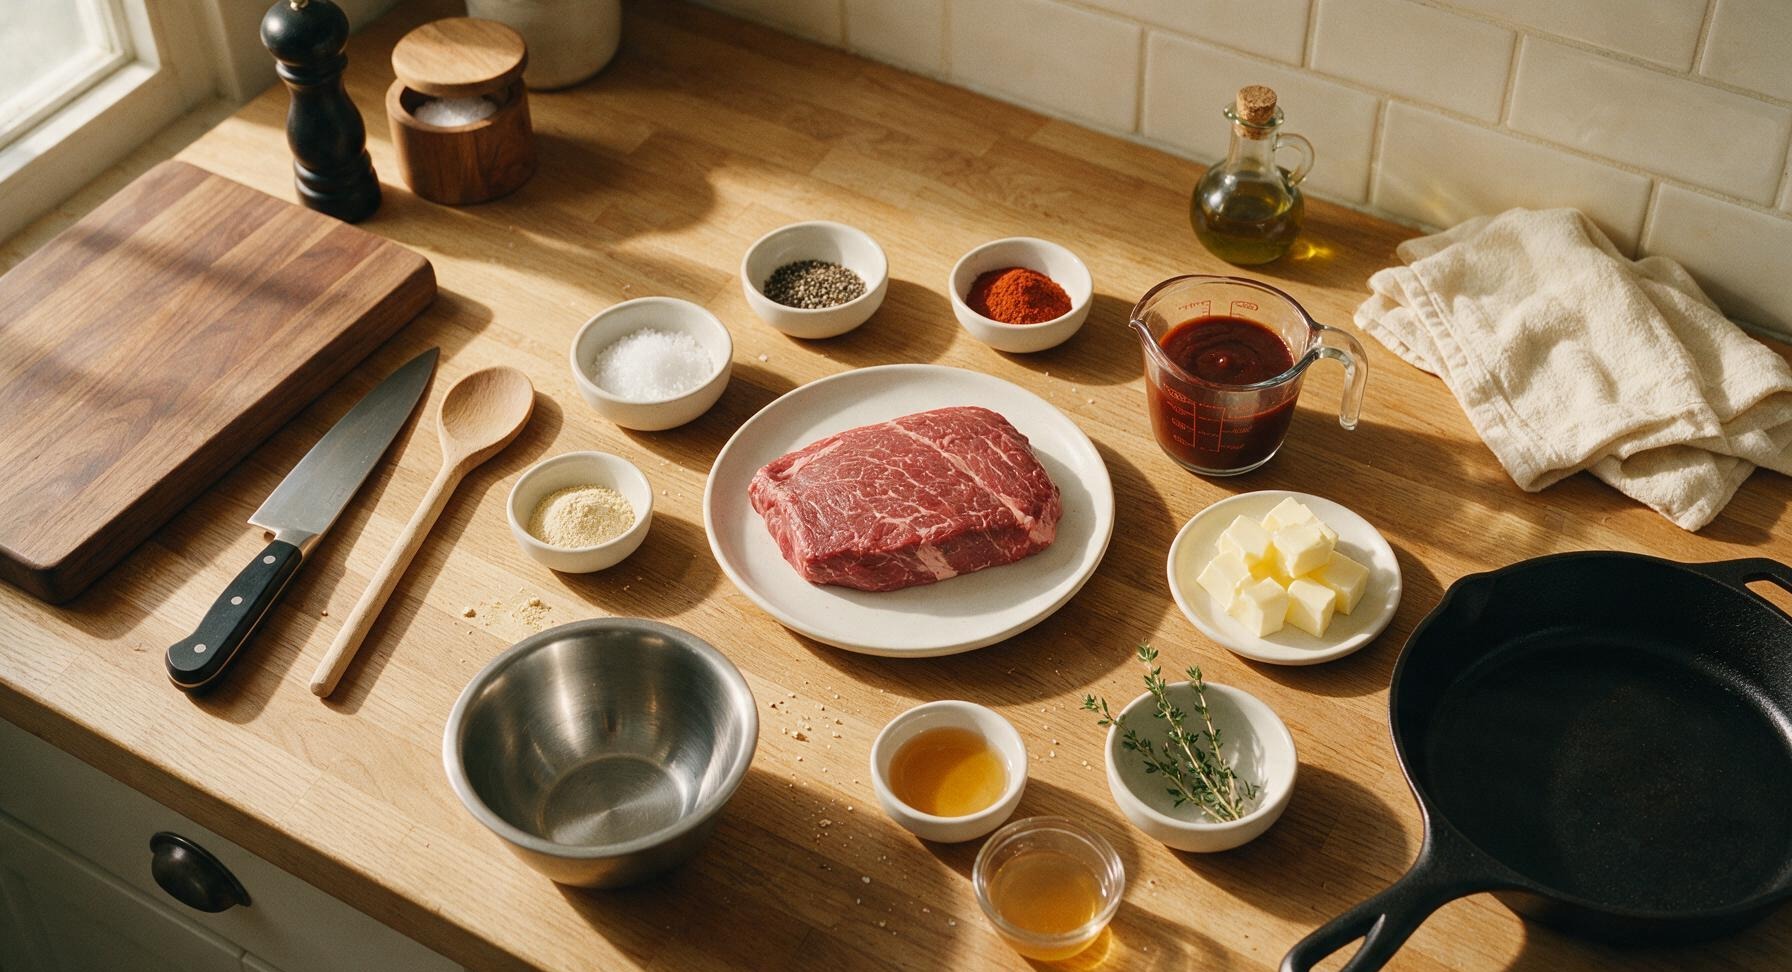
Flat iron steak 1.2kg (2.5 lbs)
Kosher salt 2 tbsp
Coarse black pepper 1 tbsp
Smoked paprika 1 tbsp
Garlic powder 1 tbsp
Onion powder 1 tsp
Dry mustard powder 1/2 tsp
Kansas City-style BBQ sauce 120ml (1/2 cup)
Unsalted butter (cubed) 50g (1/4 cup)
Raw honey 2 tbsp
Apple cider vinegar 1 tbsp
Fresh thyme (for garnish) 3 sprigs

Steps

1

Trim Flat Iron Steak

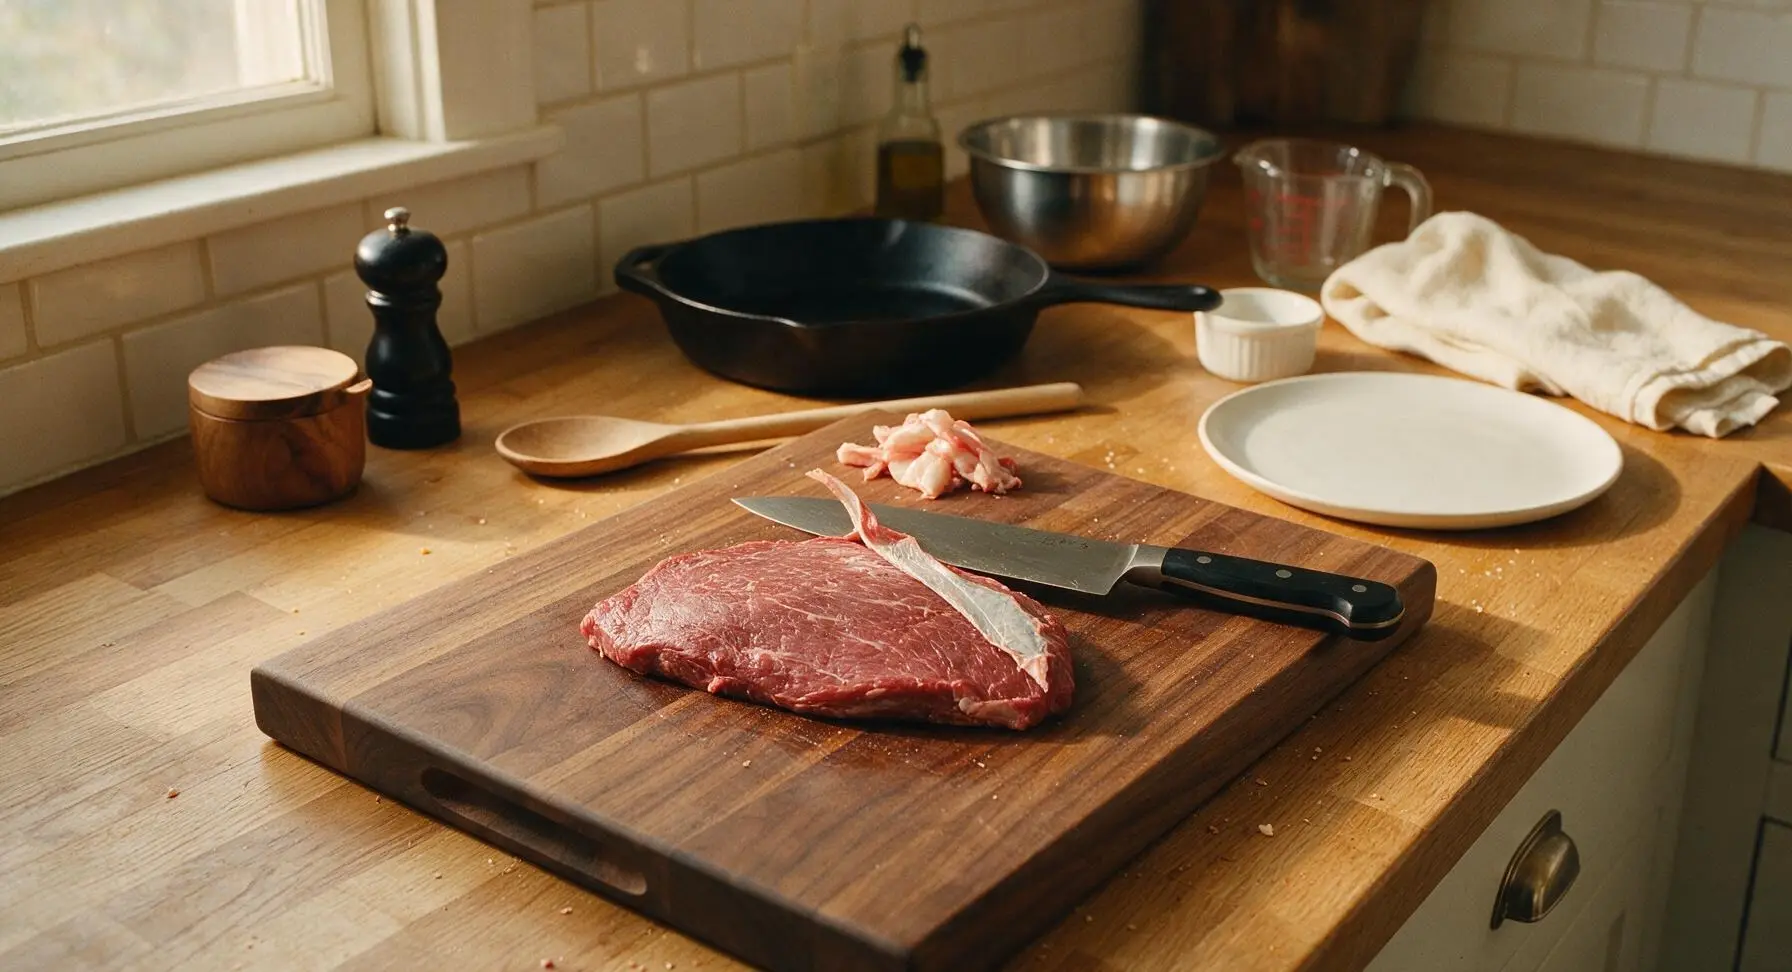
Place the whole raw flat iron steak on the walnut cutting board. Use the 8-inch chef knife to trim away any thick silver skin or hard, waxy fat deposits from the surface, leaving no more than 1/8 inch of soft fat on the meat. Discard trimmings. The meat surface should feel smooth with no tough, chewy patches when you run a finger across it.
Step 1
step1:Trim Flat Iron Steak
2

Mix BBQ Dry Rub

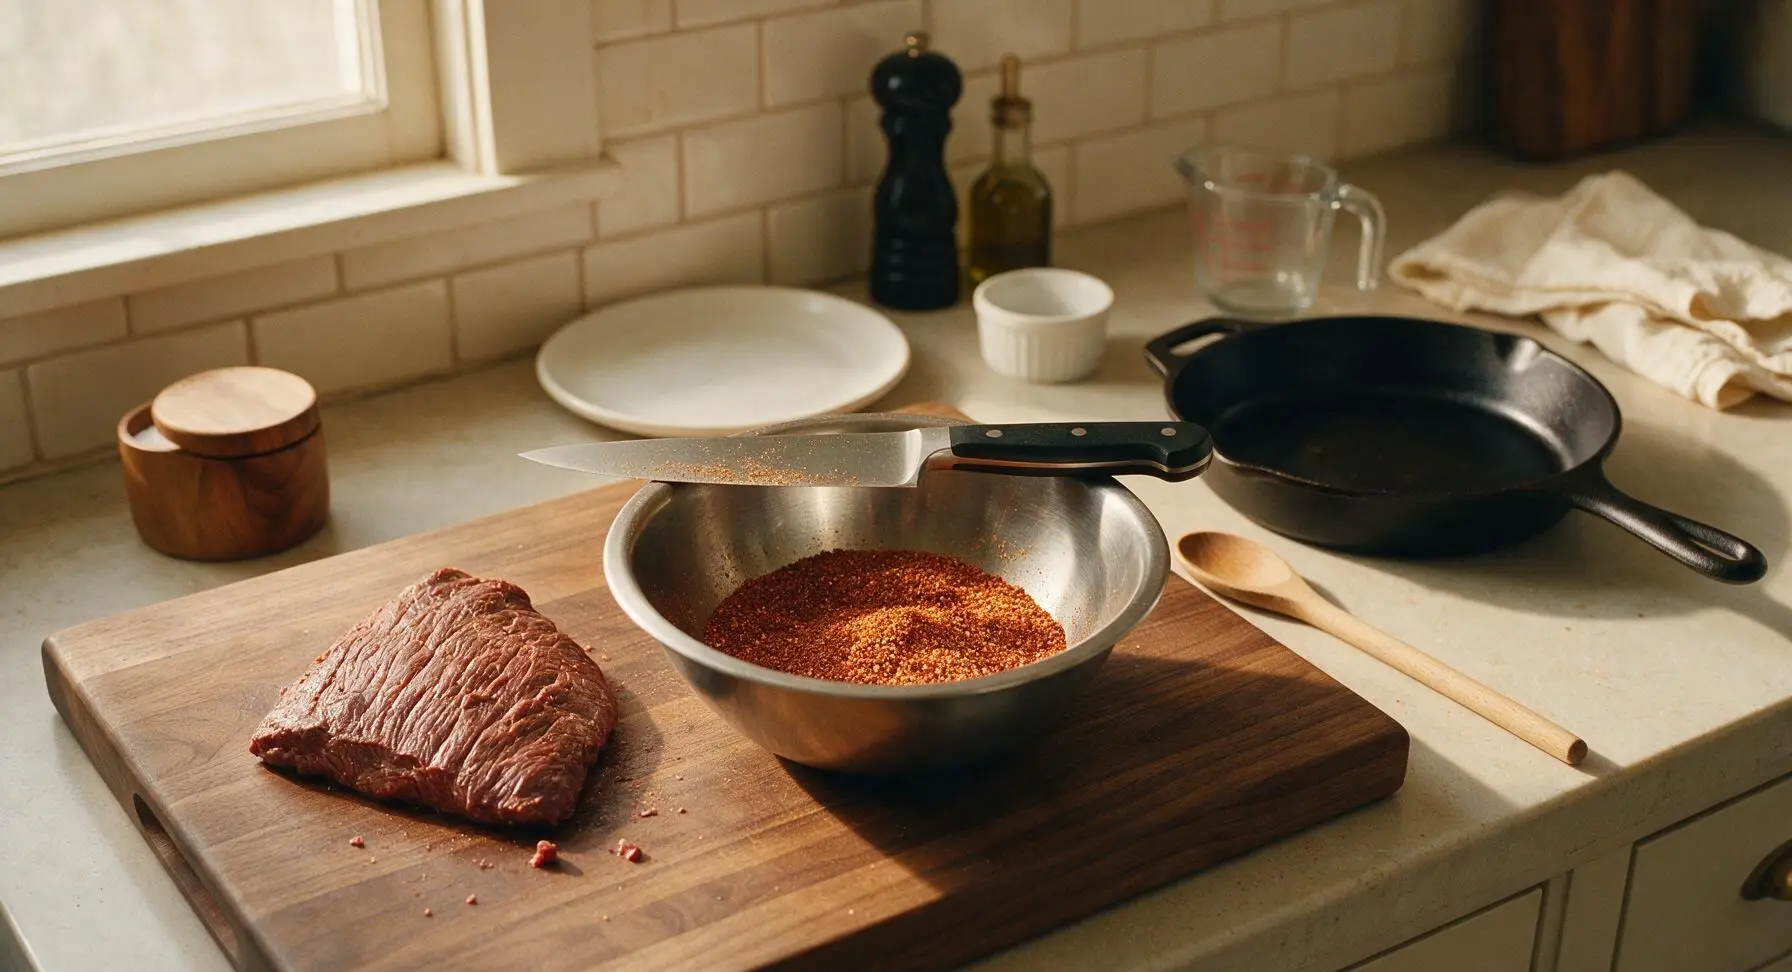
In the medium brushed stainless steel mixing bowl, combine 2 tablespoons kosher salt, 1 tablespoon coarse black pepper, 1 tablespoon smoked paprika, 1 tablespoon garlic powder, 1 teaspoon onion powder, and 1/2 teaspoon dry mustard powder. Stir with the tip of the chef knife for 30 seconds until all spices are evenly blended, with no clumps of paprika or mustard powder visible.
Step 2
step2:Mix BBQ Dry Rub
3

Coat Steak with Rub

Pat the trimmed steak completely dry on all sides using a corner of the cream linen towel. Sprinkle 3/4 of the dry rub evenly across every surface of the steak, pressing gently with your fingertips to help the rub adhere to the meat. You should see no raw red meat visible through the spice coating; reserve the remaining 1/4 of the rub for later. Let the rubbed steak rest at room temperature for 20 minutes while you preheat your smoker to 225°F (107°C) using a mild hardwood like oak or hickory.
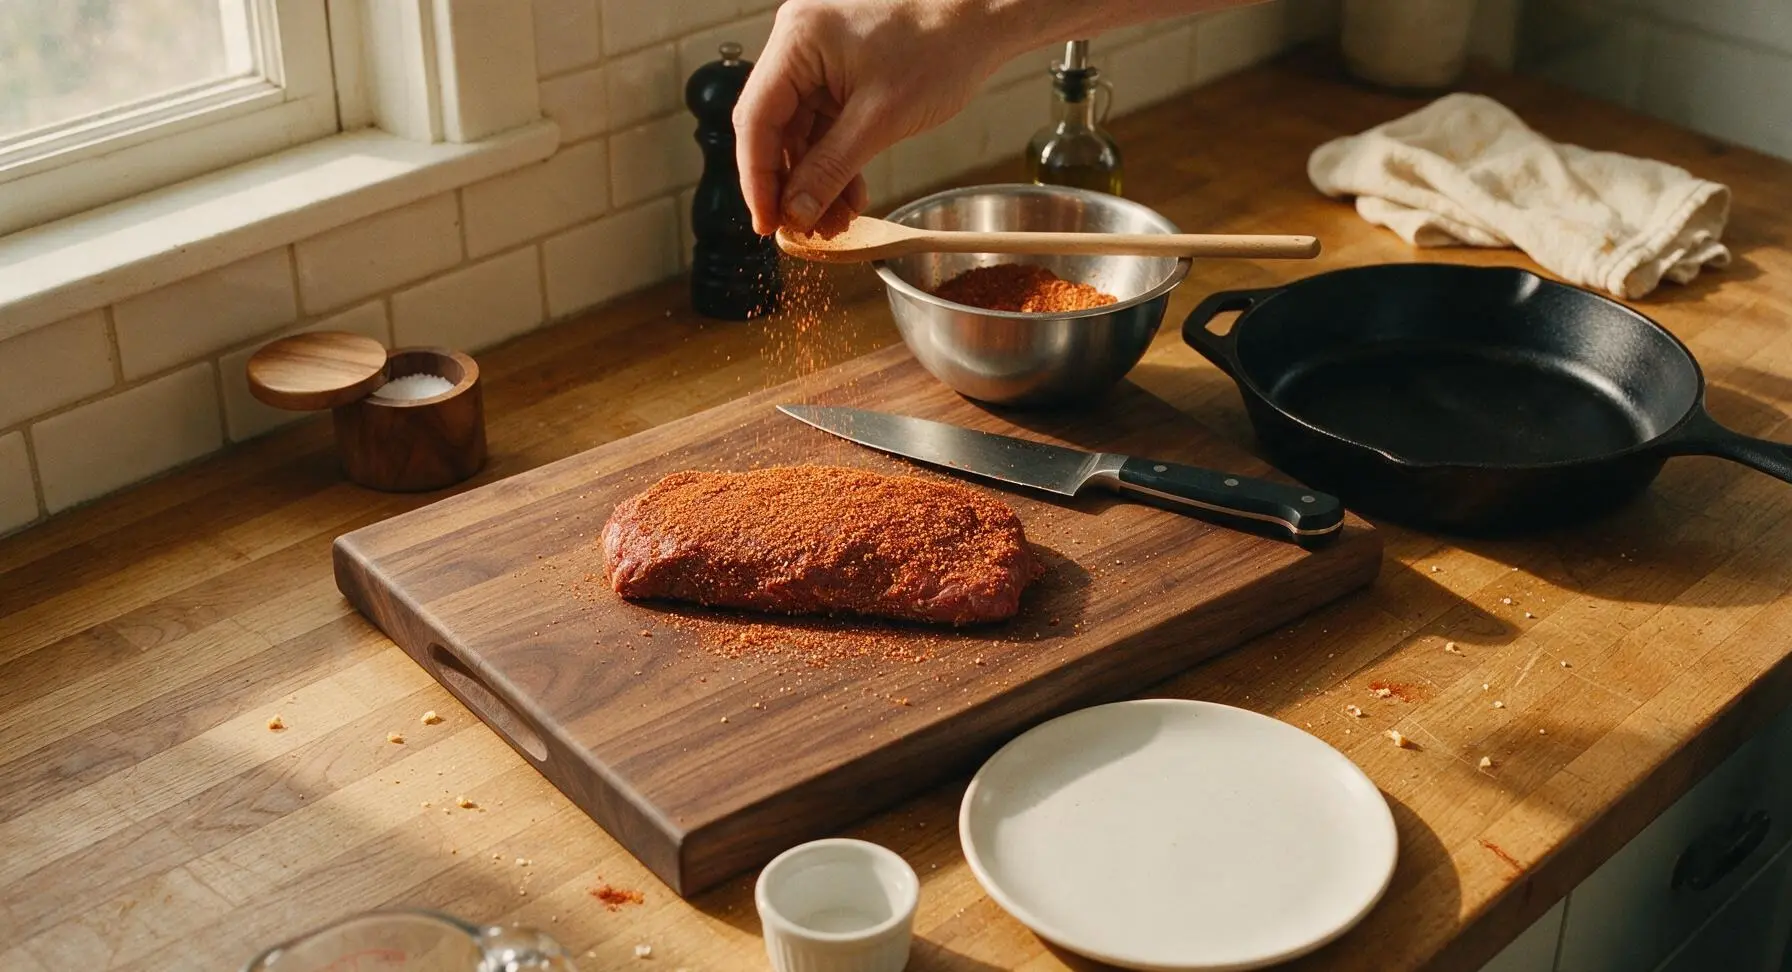
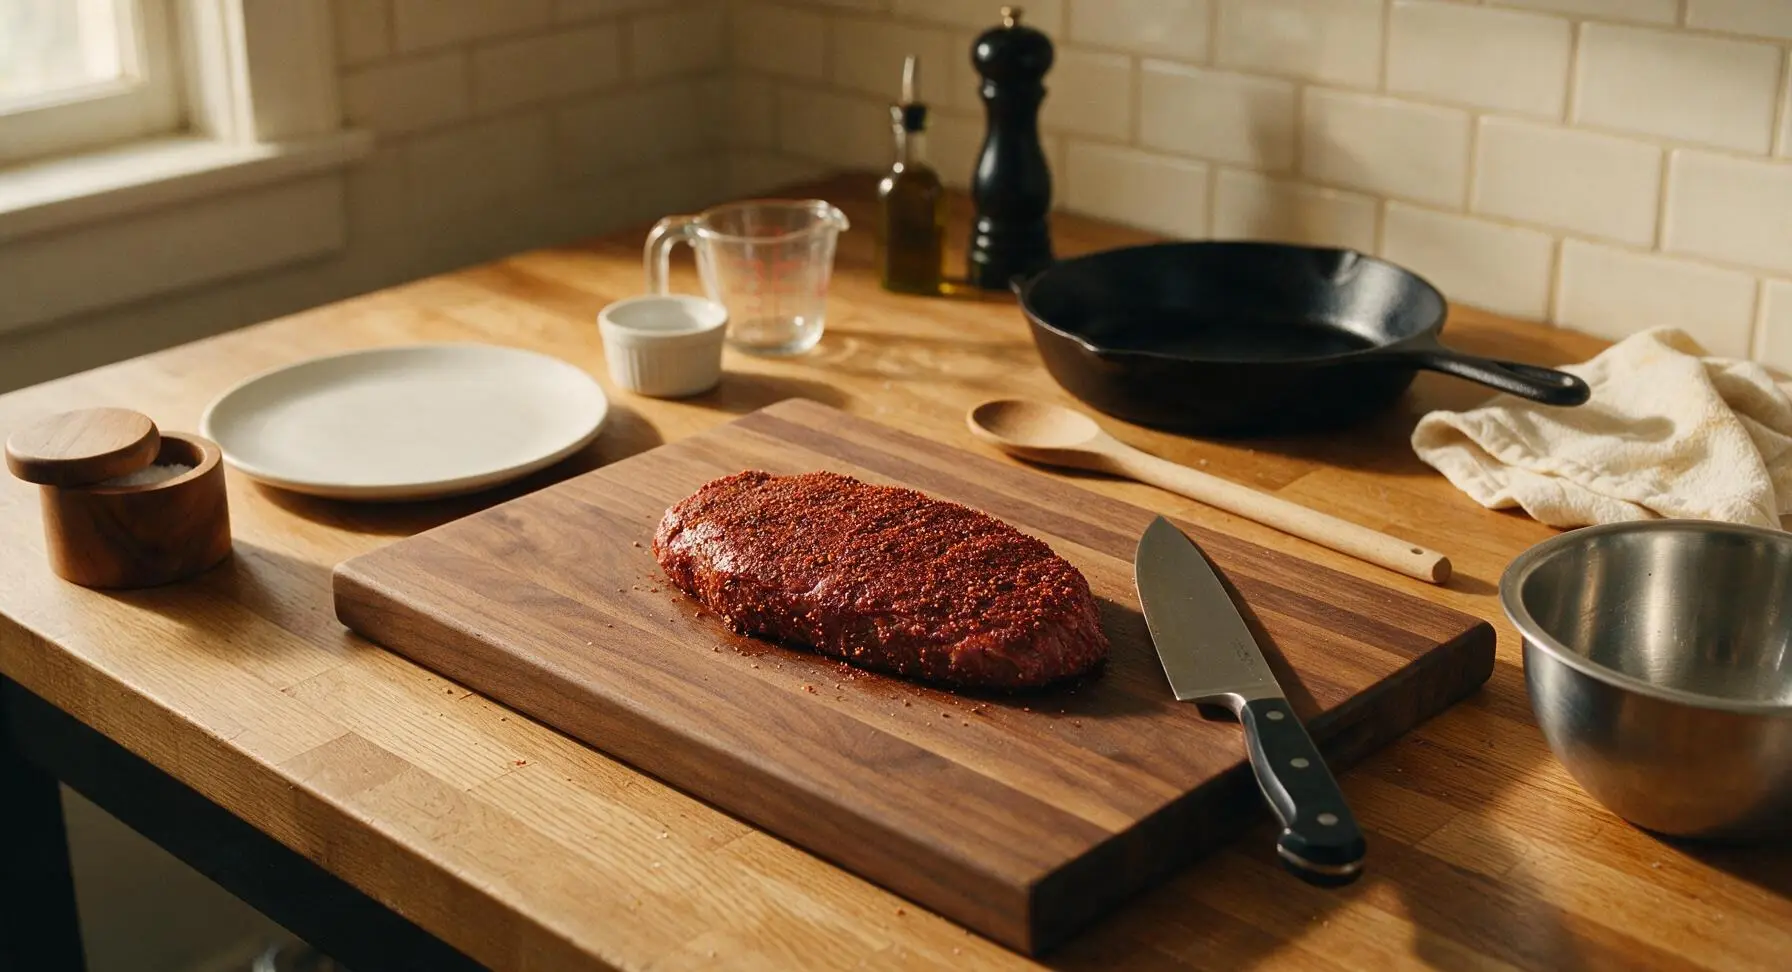
Step 3
step3:Coat Steak with Rub
Step 3
step3:Coat Steak with Rub
4

Smoke Steak Low and Slow

Use the silicone-tipped tongs to transfer the rubbed steak directly to the middle rack of the preheated 225°F smoker. Close the lid and smoke for 1 hour 45 minutes, until the steak reaches an internal temperature of 165°F (74°C) when checked with the digital instant-read thermometer inserted into the thickest part of the meat. The exterior should be a deep, dark reddish-brown with a slightly crisp spice bark.
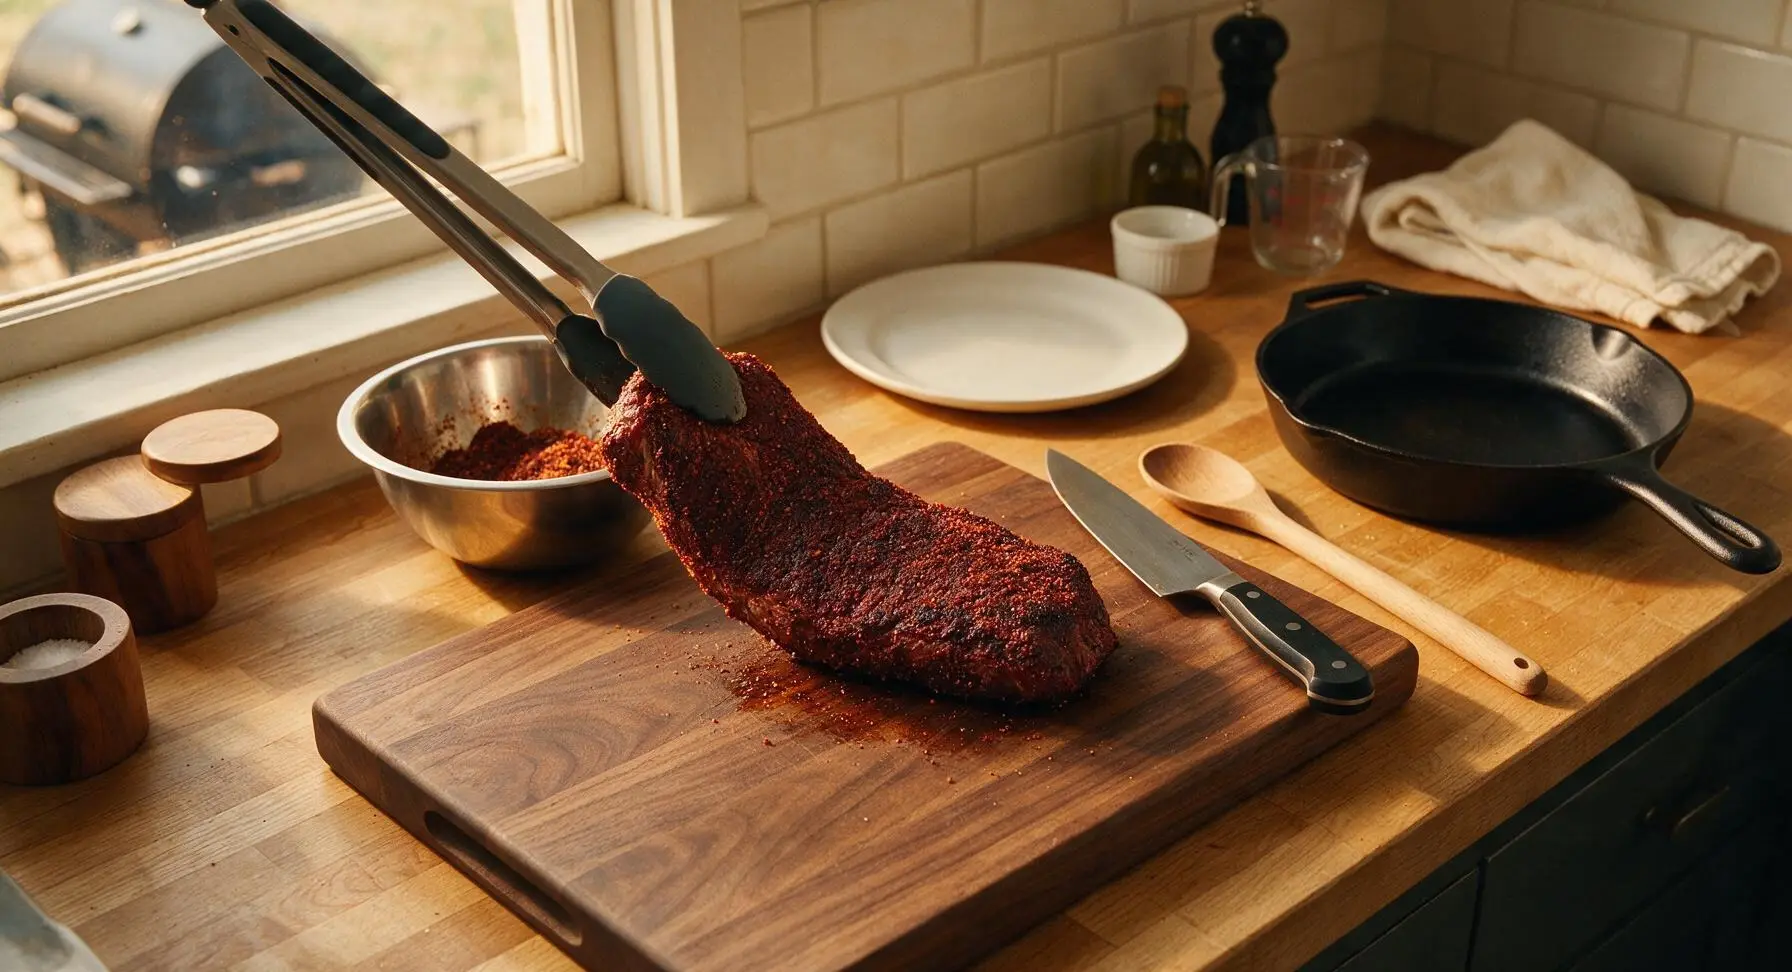
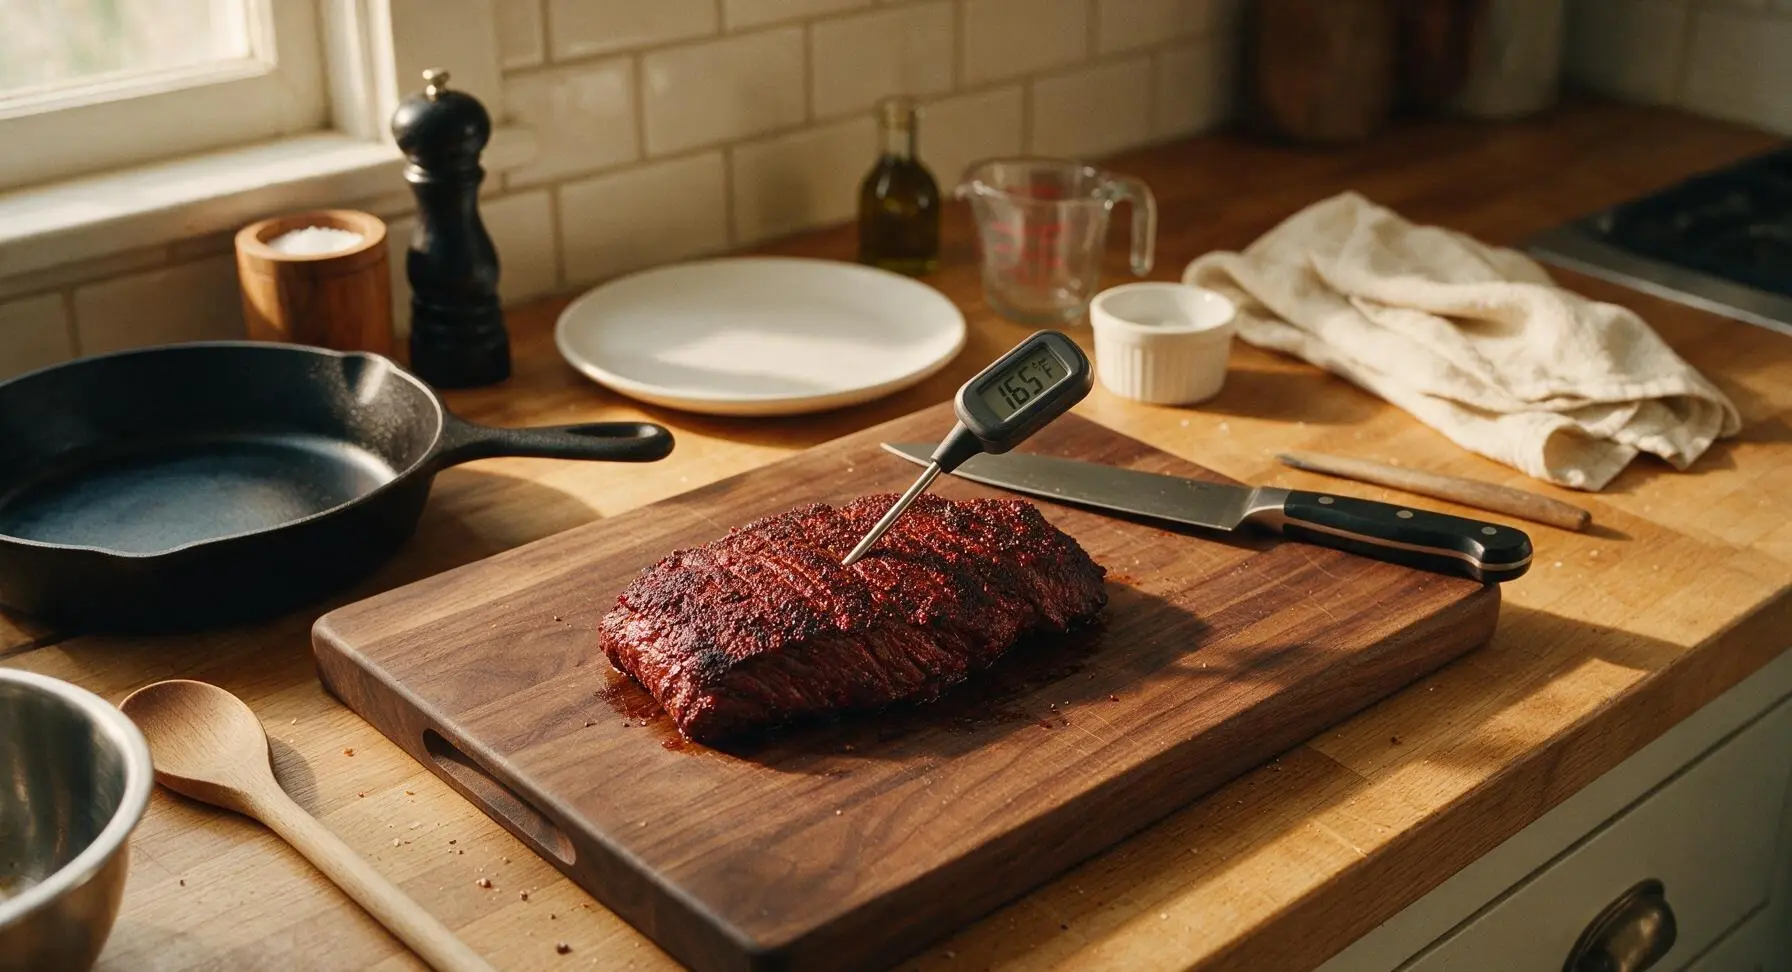
Step 4
step4:Smoke Steak Low and Slow
Step 4
step4:Smoke Steak Low and Slow
5

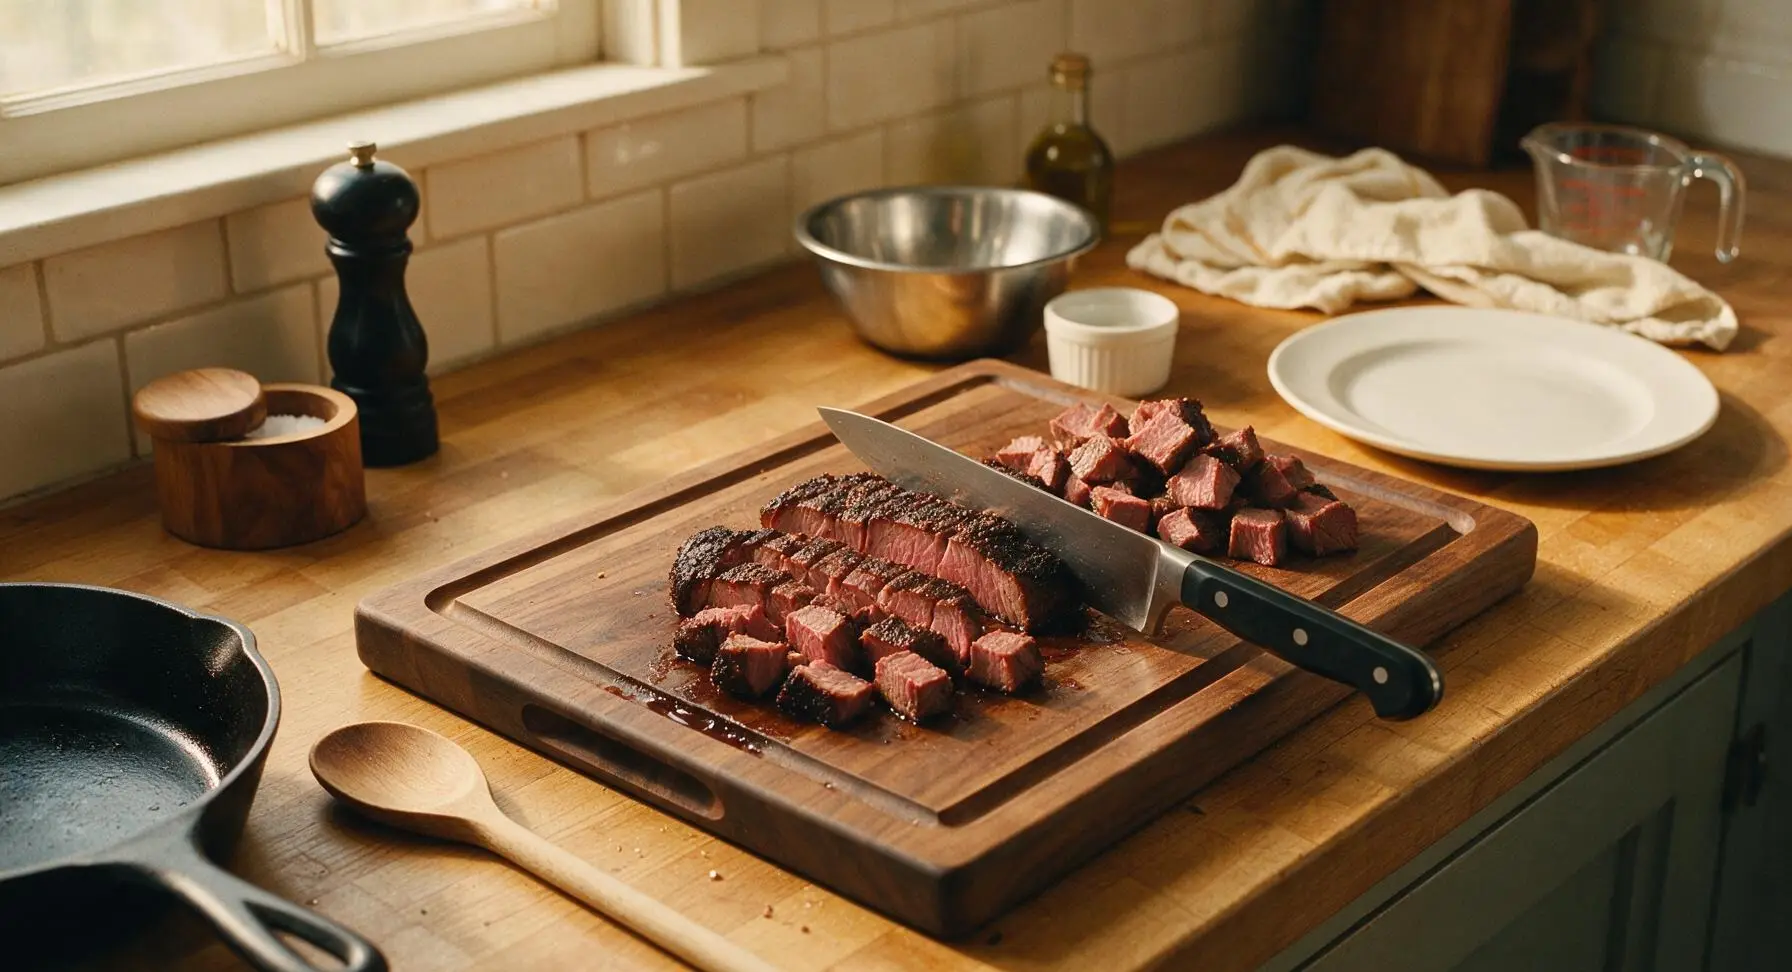
Cube Smoked Steak

Transfer the smoked steak back to the walnut cutting board. Use the chef knife to cut the steak into uniform 2.5cm (1 inch) cubes, cutting cleanly through the bark and tender meat. Try to keep all cubes the same size to ensure even cooking in the next stage; discard any overly fatty or tough edge pieces if needed.
Step 5
step5:Cube Smoked Steak
6

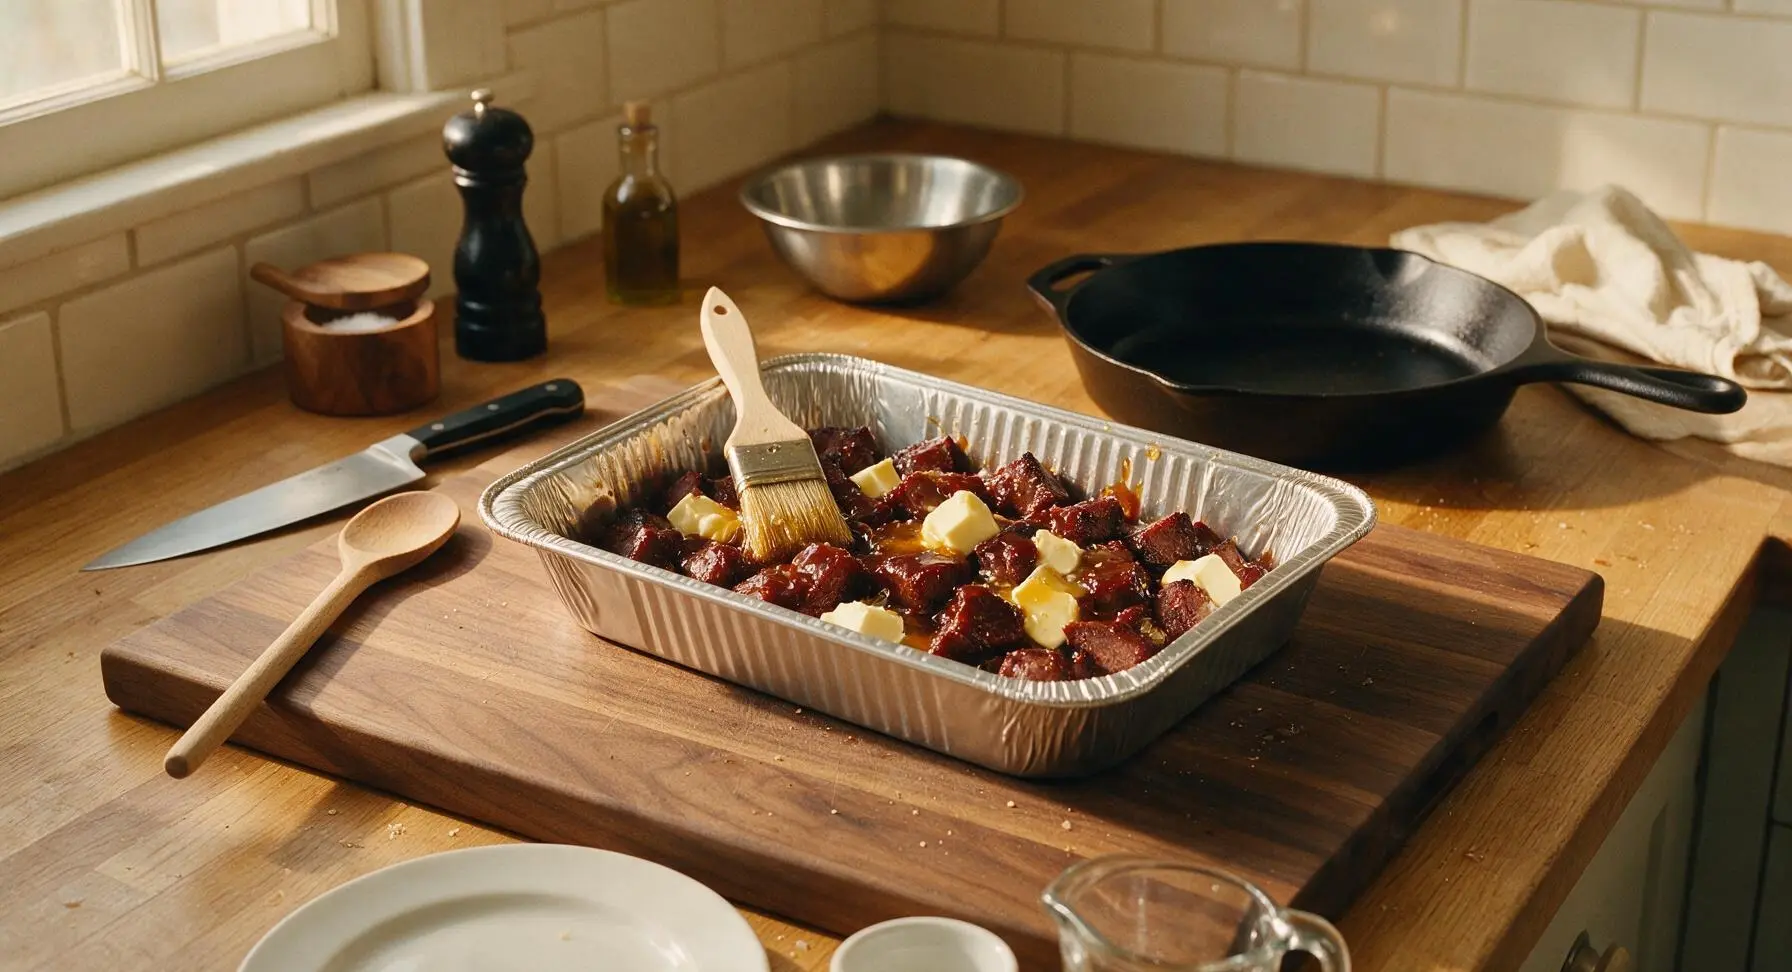
Toss Cubes in Sauce

Place all the cubed steak into the heavy-duty aluminum foil pan. Add the cubed unsalted butter, 120ml Kansas City-style BBQ sauce, 2 tablespoons raw honey, 1 tablespoon apple cider vinegar, and the remaining reserved dry rub. Use the boar bristle pastry brush to toss the cubes until every piece is evenly coated in the glossy sauce mixture, with butter cubes scattered throughout the pan.
Step 6
step6:Toss Cubes in Sauce
7

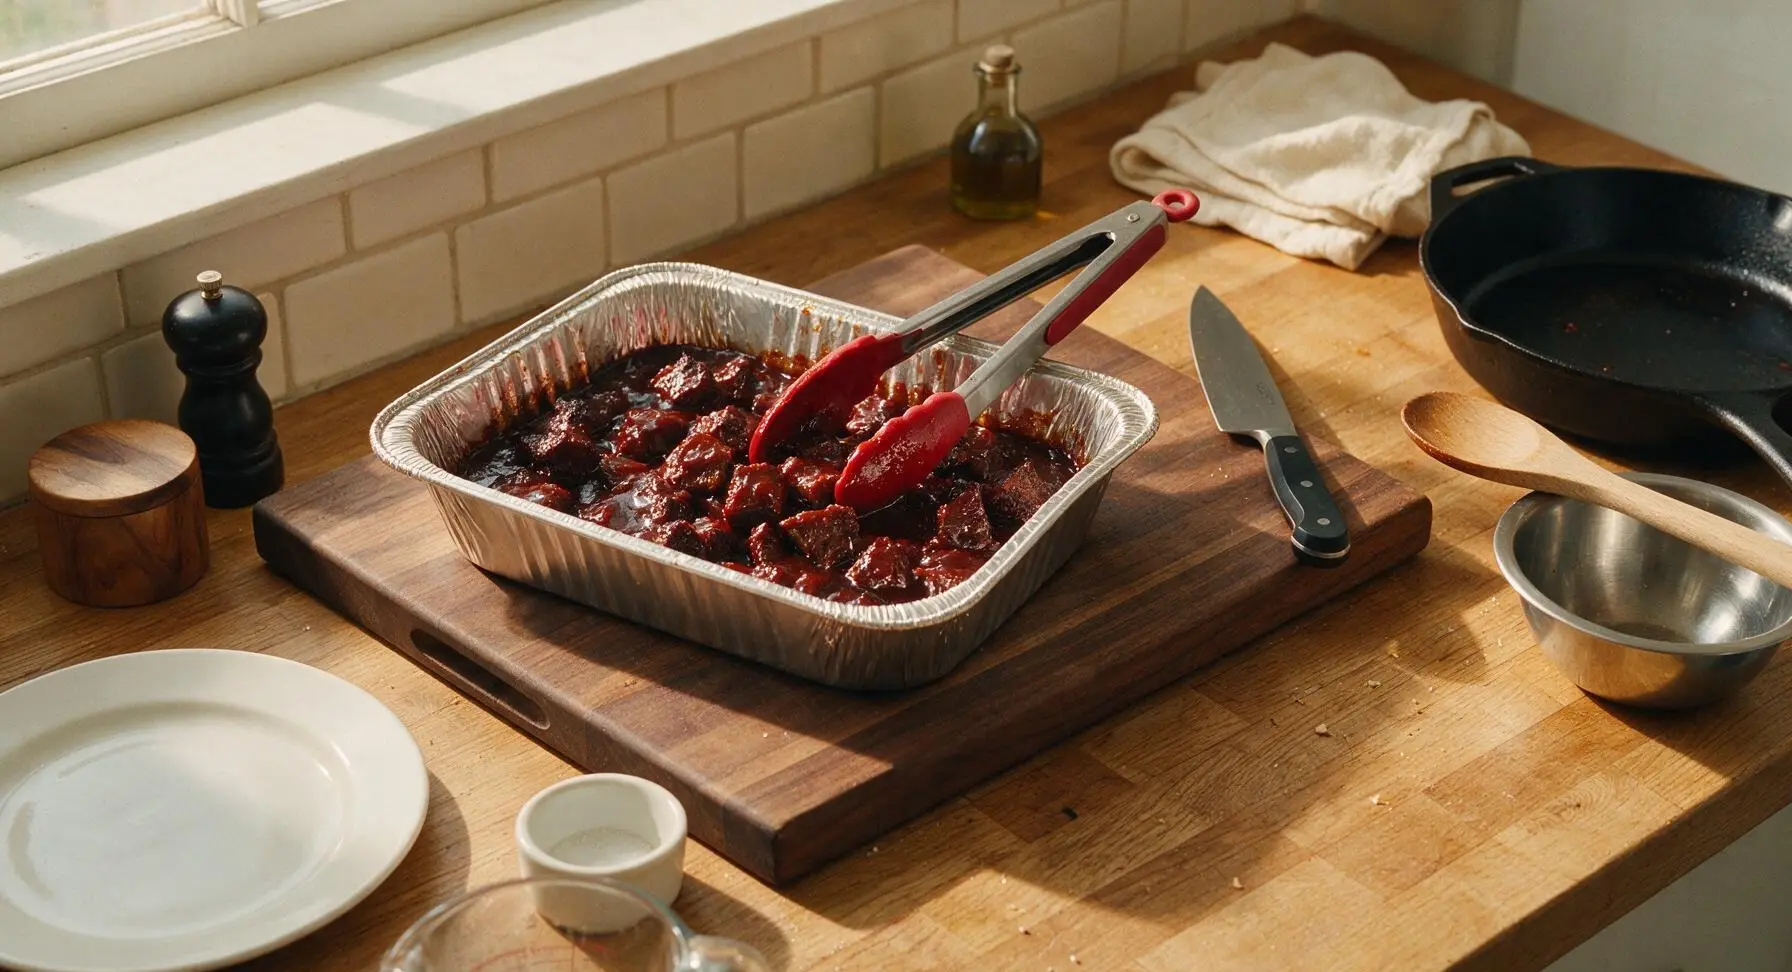
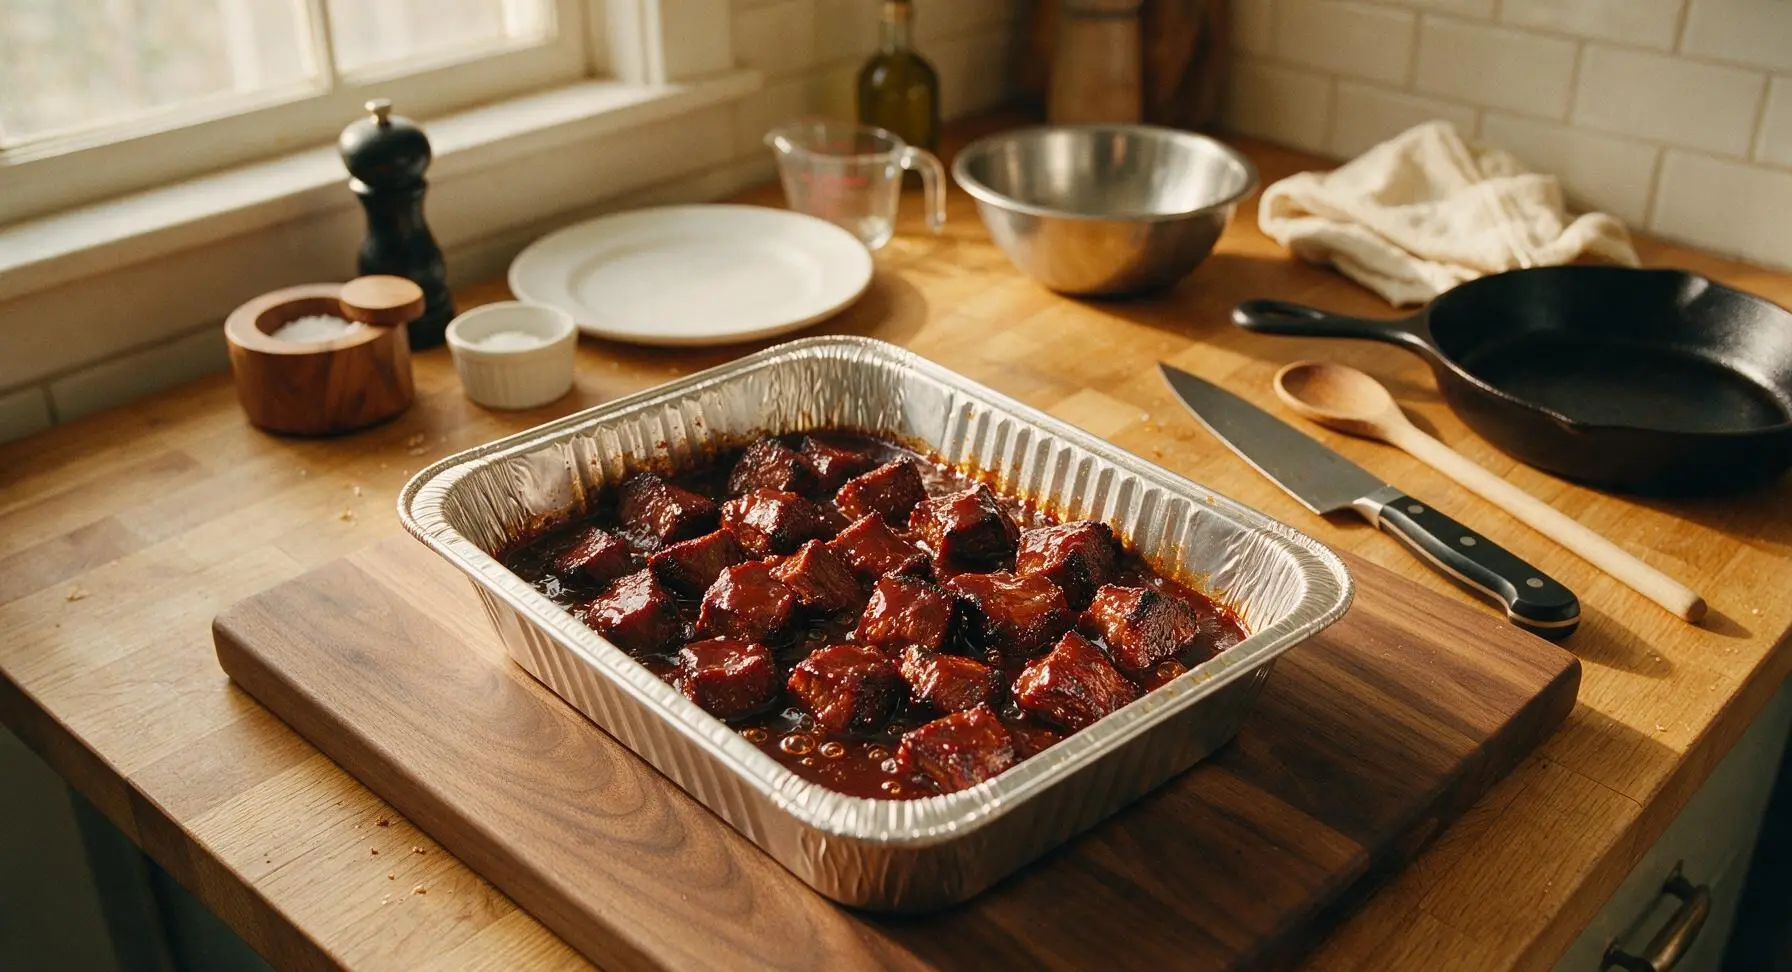
Caramelize Burnt Ends

Place the uncovered foil pan directly back on the middle rack of the 225°F smoker. Cook for 45 minutes, stirring the cubes with the tongs every 15 minutes to ensure even coating and prevent burning. The burnt ends are done when the sauce is thick, sticky, and caramelized on the edges of the cubes, and the meat is tender when pierced with a fork (internal temp of 195°F / 90°C).
Step 7
step7:Caramelize Burnt Ends
Step 7
step7:Caramelize Burnt Ends
8

Plate and Garnish

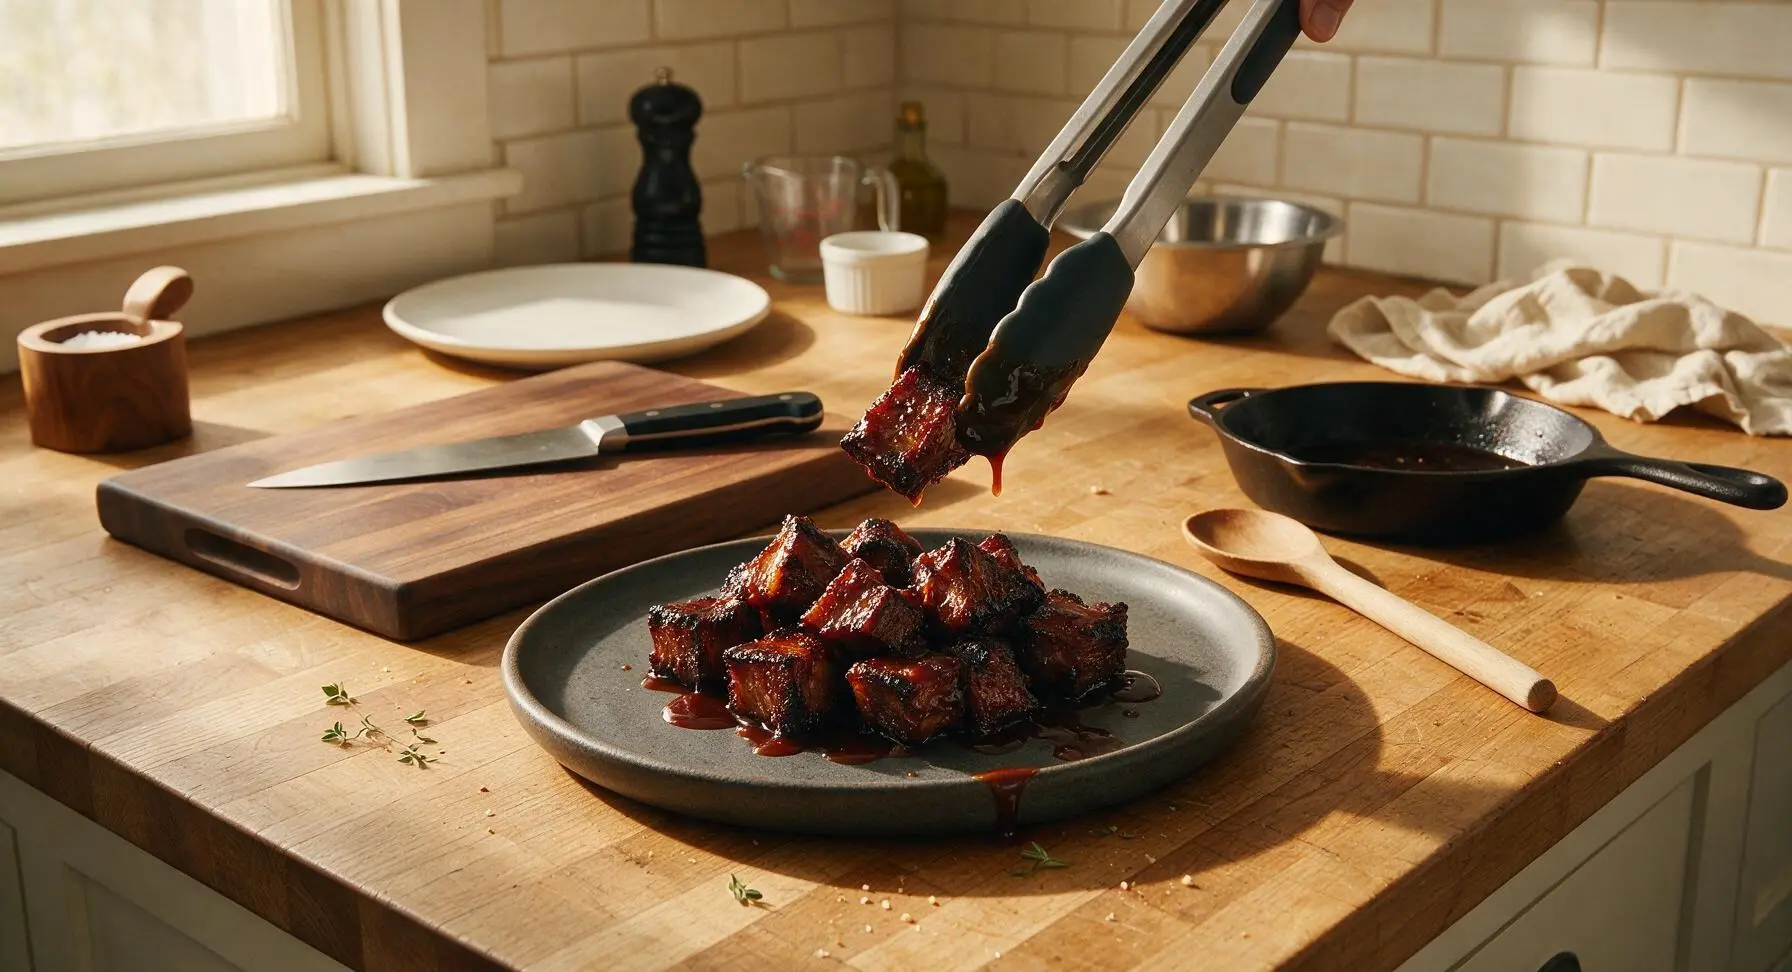
Use the tongs to transfer the hot caramelized burnt ends to the matte charcoal gray stoneware serving platter, piling them loosely in the center. Drizzle any remaining thick sauce from the foil pan over the top of the pile, then garnish with a few picked fresh thyme leaves. Let rest 5 minutes before serving to allow the sauce to set slightly.
Step 8
step8:Plate and Garnish

Tips

1.Do not over-trim the flat iron steak: leaving a 1/8-inch layer of soft surface fat renders slowly during smoking, adding moisture and helping the dry rub form a crisp, flavorful bark, while fully removing tough silver skin eliminates chewy, unpleasantly fibrous bites in the final burnt ends.
2.Stick to mild smoking woods like oak, hickory, or pecan for this recipe: strong, resinous woods like mesquite will overpower the mild, buttery beef flavor of flat iron steak, leading to bitter, acrid notes after the 2+ hour cook time.
3.Avoid stirring the burnt ends more often than every 15 minutes during the caramelization stage: frequent stirring knocks off the developing bark and prevents the sauce from forming a sticky, caramelized crust on each cube, leading to washed-out, mushy burnt ends instead of chewy, crisp-edged bites.


✨ You May Also Like

BBQ & Grilling
🍜 United States

Tender, melt-in-your-mouth beef brisket with a crisp, spiced bark, slow-smoked to deep smoky perfection, the iconic centerpiece of Texas backyard barbecue.

⏱️ 12 hours BBQ & Grilling ★ 4.4
BBQ & Grilling
🍜 Korea

Tender, sweet-savory marinated beef short ribs, a beloved Korean BBQ staple with caramelized, slightly charred edges and deep umami flavor, perfect for outdoor summer gatherings.

⏱️ 4 hours 2BBQ & Grilling ★ 4.8
BBQ & Grilling
🍜 United States

Juicy grilled beef patties topped with smoky homemade chili, melted cheddar, and tangy pickles on toasted brioche buns for a hearty, flavor-packed handheld meal.

⏱️ 40 minuteBBQ & Grilling ★ 4.7
BBQ & Grilling
🍜 United States

A sweet, smoky, tangy BBQ sauce brightened with peak-season dark cherries, ideal for glazing grilled ribs, chicken, pork, or summer roasted veggies.

⏱️ 35 minuteBBQ & Grilling ★ 4.7
BBQ & Grilling
🍜 United States

Rich, smoky, slightly sweet homemade bourbon BBQ sauce with deep caramel notes, ideal for glazing grilled ribs, chicken, and burgers at cookouts.

⏱️ 25 minuteBBQ & Grilling ★ 4.7
BBQ & Grilling
🍜 United States

Iconic Alabama-style BBQ featuring tender hickory-smoked chicken slathered in tangy creamy white sauce, a beloved regional Southern cookout staple.

⏱️ 3 hoursBBQ & Grilling ★ 5

Flat Iron Burnt Ends:Frequently Asked Questions

1.Why use flat iron steak for burnt ends instead of the traditional brisket cut? ▾
Flat iron is a well-marbled, affordable beef shoulder cut that is far more tender than brisket point, cutting total cook time in half while still delivering rich, beefy flavor. It holds smoke and BBQ sauce beautifully, producing juicy bites with crispy edges without the 12+ hour cook traditional brisket burnt ends require.
2.Can I make flat iron burnt ends if I don’t own a dedicated smoker? ▾
Absolutely! For a gas or charcoal grill, set it up for indirect heat at 275°F, and add a foil packet of soaked hickory or oak wood chips over the heat source to generate smoke. If using an oven, roast low and slow, then finish under the broiler for caramelized edges, adding a tiny splash of liquid smoke to your rub if you want that classic smoky note.
3.What size should I cut my flat iron steak cubes for the best results? ▾
Aim for uniform 1 to 1.5 inch cubes across the whole batch. Cut them any smaller and they’ll dry out quickly during the smoke and sauce caramelization step; cut them any larger and they won’t develop that signature crispy, caramelized outer edge all the way around while staying perfectly juicy in the center.
4.Do I need to apply the dry rub ahead of time, or can I season right before cooking? ▾
You’ll get great results seasoning right before cooking, but for deeper, more even flavor, apply your salt, pepper, paprika, and garlic powder rub 45 minutes to an hour before cooking. This gives the salt time to pull out surface moisture, dissolve the spices, and reabsorb to season the meat all the way through, not just the outer layer.
5.What internal temperature should I cook the burnt ends to so they’re tender, not tough? ▾
Pull the cubes from your initial low-and-slow cook when they hit 160°F internal, then toss them in sauce and return to heat until they reach 195–200°F. At that temperature, the small amount of connective tissue in flat iron breaks down fully, leaving tender, pull-apart bites that are juicy, not mushy or chewy.
6.What style of BBQ sauce works best for these burnt ends? ▾
A tangy, tomato-based BBQ sauce with balanced vinegar and brown sugar notes works best, as it cuts through the rich, beefy flavor of the steak. Avoid overly thick, ultra-sweet grocery store sauces that burn easily; thin thick sauce with a splash of apple cider vinegar or beef broth to get a glossy, not gloppy, coating on each bite.
7.Why do my burnt ends always turn out dry, and how do I fix that? ▾
Dry burnt ends usually stem from three common missteps: cutting cubes smaller than 1 inch, cooking at temperatures over 300°F, or skipping the short post-cook rest. Stick to 1–1.5 inch cubes, hold a steady 275°F cook temp, and let finished bites rest 5 minutes tented in foil so juices redistribute instead of running out when you bite in.
8.Can I prep these burnt ends ahead of time for a backyard cookout? ▾
You can prep the seasoned, uncooked steak cubes on a covered tray in the fridge up to 12 hours ahead of your event to cut down on day-of work. I don’t recommend fully cooking them more than an hour before serving, though; they lose their signature crispy edge fast when held warm, and reheated bites often turn mushy.
9.What type of wood is best for smoking flat iron burnt ends? ▾
Stick to medium-intensity hardwoods that won’t overpower the steak’s natural beefy flavor. Hickory and post oak are classic, all-purpose picks that add that traditional smoky BBQ note. Skip strong, resiny woods like mesquite for this cook, as it will make the bites taste bitter instead of balanced and smoky.
10.Do I need to wrap the burnt ends in foil during cooking, like I do for brisket? ▾
Unlike tough brisket burnt ends that need a long wrapped braise to get tender, flat iron is naturally tender enough to skip the wrap. After the initial smoke, when you toss the cubes in sauce, place them in an uncovered disposable foil pan for the final cook so edges get crispy instead of steaming soft.
11.What sides pair best with these burnt ends for a cookout spread? ▾
These tangy, smoky bites pair perfectly with classic cookout sides: creamy coleslaw to cut through the rich beef, sweet baked beans, tangy dill potato salad, or buttery cast-iron cornbread. You can also serve them as an appetizer on toothpicks with extra BBQ sauce for dipping if you’re not serving a full meal.
12.Can I adjust the simple salt, pepper, paprika, and garlic powder rub to my taste? ▾
Absolutely—this base rub is a classic, balanced starting point, but you can tweak it to match your preference. Add a pinch of cayenne for heat, a light sprinkle of brown sugar for extra caramelization, or a dash of onion powder for more savoriness. Just go easy on sugary add-ins, as they burn quickly during the final high-heat step.
13.How do I get that sticky, caramelized sauce coating everyone raves about? ▾
After tossing the partially cooked cubes in sauce, crank your grill or smoker up to 375°F for the final 10–15 minutes of cook time, stirring the cubes every 3 minutes to coat evenly. The high heat caramelizes the sugars in the BBQ sauce, creating that glossy, sticky, slightly charred exterior without overcooking the juicy center of each bite.
14.How long do leftover burnt ends last, and what’s the best way to reheat them? ▾
Leftover burnt ends will keep in an airtight container in the fridge for up to 4 days. For the best texture when reheating, spread them on a baking sheet and warm in a 350°F oven for 8–10 minutes until heated through. Skip the microwave, as it will make the beef tough and turn the crispy sauce coating soggy and rubbery.

Comments (13)

1 week ago

Tried these for my buddy’s birthday potluck last weekend and everyone was hounding me for the recipe! The cook time was way more manageable than traditional brisket burnt ends, which I always mess up by oversmoking. Only note is I tossed in a little extra honey in the sauce and it slapped. 10/10

5 days ago

Wait how much extra honey did you add? I love a sweet glaze and don’t want to overdo it!

3 days ago

So glad these were a hit at the potluck! A tablespoon of extra honey per half cup of BBQ sauce works perfectly for that extra sweet kick without making the glaze too runny.

3 days ago

These were SO good! I made a big batch on Sunday for meal prep and they held up all week for lunches. Even my super picky 8 year old asked for seconds in his school lunch, which never happens. The medium difficulty rating felt totally fair, I’m not a super experienced smoker user and I didn’t mess them up!

2 days ago

That makes us so happy to hear! It’s always a win when the picky eaters approve, and we love that these work great for weekly meal prep too. Pro tip: store them separate from the extra sauce if you want to keep the bark crisp for longer.

2 hours ago

Followed the recipe exactly and these came out perfectly tender, with that crispy sticky bark I crave. The 2.5 hour cook time is no joke, don’t try to rush it by cranking the heat up like I almost did! Worth every minute though, paired great with coleslaw and cornbread for our Sunday dinner.

5 days ago

I had these at a friend’s place last weekend where they smoked them on a big offset smoker and they were incredible! Has anyone tried making these on a gas grill instead of a dedicated smoker? I don’t have one at my apartment complex and would love to give these a shot at home without dropping money on new gear.

3 days ago

I did! Used a smoke box with hickory chips on my gas grill, kept the temp steady at 275 like the recipe says, and they turned out almost identical to the smoker version. Just make sure you keep the chips smoking for the first hour of cook time.

2 days ago

Great question! The gas grill method that Dan mentioned works perfectly, you can also use a liquid smoke add-in to your sauce if you don’t have a smoke box, just go light (1/4 teaspoon max) so it doesn’t overpower the beef.

2 days ago

Made these for our post-game team dinner last night and the kids (and coaches!) devoured them. I was worried the cook time would be tight between work and the game, but I prepped the rub the night before and it came together so smoothly. Will absolutely be adding this to our regular rotation.

30 minutes ago

Oh this is perfect! I’m on snack duty for next week’s game and was sick of making hot dogs. Definitely adding these to the menu!

2 weeks ago

Bro. I’m a total beginner at grilling and I was able to pull these off for my fraternity’s tailgate. Everybody thought I bought them from that fancy BBQ place downtown. 10/10, only thing is I ran out way too fast because people were grabbing them before I even got the sides out.

1 week ago

That’s such a fun win! We recommend making a double batch for tailgates, they always disappear faster than you expect. So stoked you impressed your fraternity brothers with these!

5 minutes ago

Made these for our backcountry car camping trip last weekend, cooked them on my portable pellet grill. They were the perfect high-protein, satisfying meal after a long day on the trails. The bark got extra crispy in the dry mountain air, chef’s kiss.

3 days ago

Wait, flat iron for burnt ends? I was skeptical at first because I always use brisket point, but this cut is so much cheaper and I didn’t have to trim a ton of fat off. The texture was spot on, maybe even more tender than the brisket ones I usually make. My only gripe is I wish I made more, my husband ate half the pan before dinner even started.

2 days ago

Right?! I was shocked how much cheaper flat iron is compared to brisket point right now. Tastes just as good for half the grocery bill, total win for family dinners on a budget.

1 day ago

That’s exactly why we developed this recipe! Brisket can be pricy and tricky to get right, and flat iron is such an underrated cut for that same tender, meaty bite with way less prep work. We agree a double batch is non-negotiable once you see how fast they go!

2 weeks ago

Made these for my wife for our first at-home date night after we got married, and she said they’re better than the burnt ends we had at our wedding reception. Win for me! The cook time was easy to work around while we set the table and opened a bottle of wine.

1 week ago

Aww this is so sweet! I’m making these for my anniversary next week, any tips for sides that pair well?

30 minutes ago

OMG, I adjusted the rub to add a little extra cayenne for a kick, and it was perfect. The sweet and spicy balance was exactly what I look for in burnt ends. Don’t skip the final sauce toss at the end, that’s what makes the bark get all sticky and caramelized. So good.

yesterday

I brought these to my office potluck yesterday and there was literally nothing left in the tray by the time I made it through the lunch line. People were scraping the pan for the little burnt edge pieces. A few people asked if I catered them, felt like a total grill pro.

30 minutes ago

Wait were you the one who brought those?! I had three pieces and was going back for more and they were gone. Best thing at the potluck by a mile, thanks for sharing!

5 minutes ago

Nothing beats being the potluck MVP! Those little crispy edge pieces are always the first to go, we won’t tell if you save a few for yourself before setting the tray out next time.

just now

These were really good! I overcooked the first batch a little because I misjudged my smoker temp, but the second try came out perfect. The rub ratio is spot on, I didn’t have to adjust a single thing in the seasoning. Will be practicing these a lot this summer.

5 days ago

These fit perfectly into my low-carb diet when I used a sugar-free BBQ sauce! I was worried I’d miss the sweet glaze, but the rub has so much flavor and the sugar-free sauce caramelized just as well as the regular stuff. Total game changer for my summer cookouts without the sugar crash.

3 days ago

That’s such a great swap! We’re so glad this recipe works for your low-carb lifestyle, the sugar-free sauce works amazing here because the high heat at the end helps it get that same sticky caramelized texture without the added sugar.



