1.Why do you specifically recommend spotty, very ripe bananas for these muffins?
▾
Spotty, heavily browned bananas have far higher natural sugar content and softer, more aromatic flesh than firm, underripe bananas. This lets you use less added sweetener while getting that rich, classic banana flavor with no starchy, bitter aftertaste. If your bananas aren’t ripe yet, roast unpeeled at 350°F for 10 minutes to speed up sweetening.
2.Can I use instant oats instead of old-fashioned rolled oats for this recipe?
▾
Instant oats are cut much finer and processed to cook faster, so they’ll create a denser, mushier final texture if swapped 1:1. If that’s all you have on hand, reduce the oat measurement by 2 tablespoons per cup called for, and avoid over-blending the batter to keep muffins from turning gummy.
3.Do I need a blender to make these flourless banana oat muffins?
▾
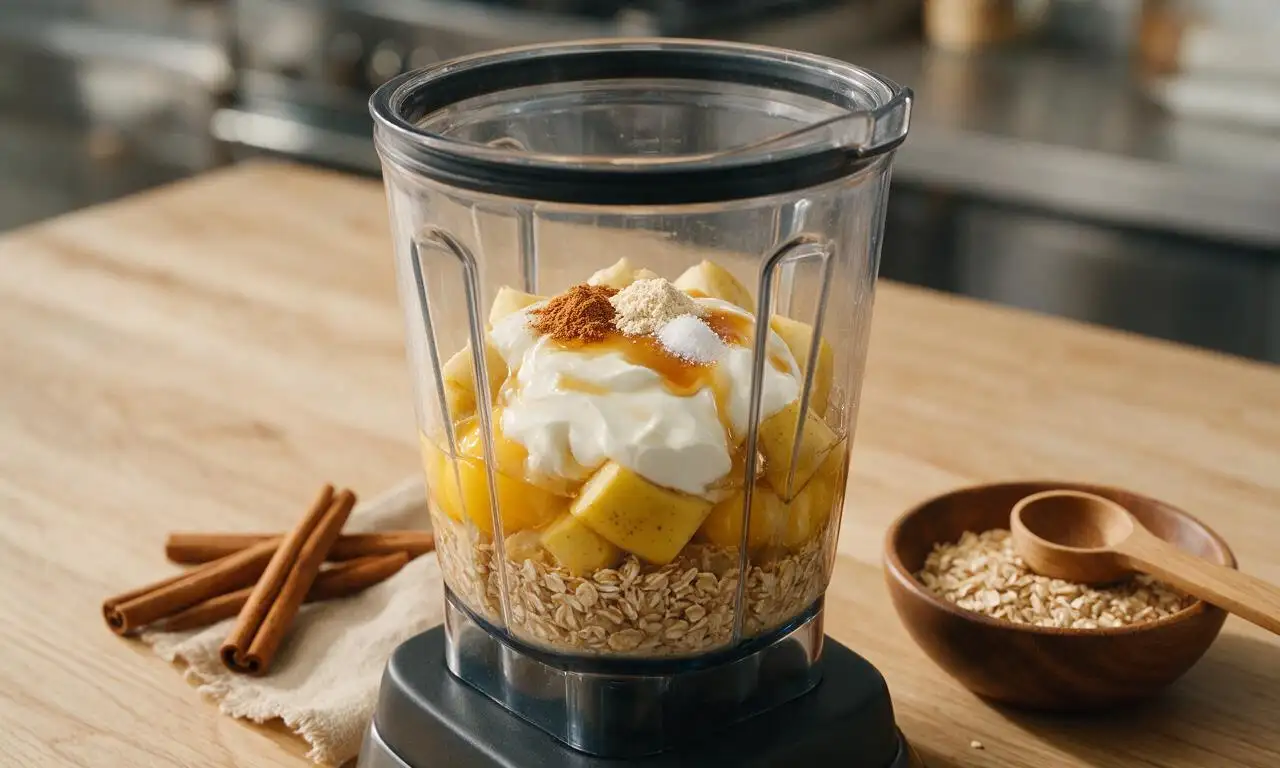
A high-speed blender or food processor gives the smoothest, most tender crumb by breaking down rolled oats into a fine, flour-like consistency, but you don’t absolutely need one. If you don’t have a blender, use store-bought oat flour, and mash bananas extremely smooth before mixing all ingredients by hand.
4.How do I keep these flourless muffins from turning out dense or gummy?
▾
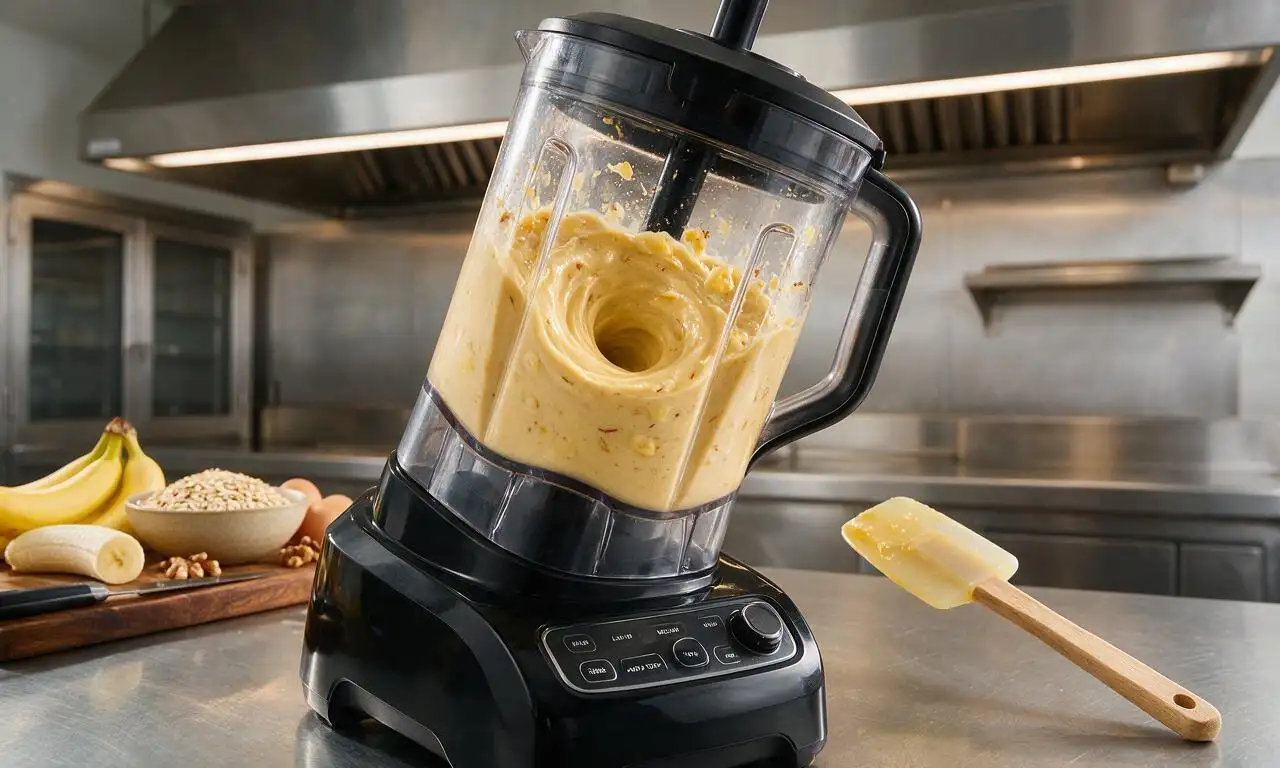
The two most common culprits are over-blending the batter and using underripe bananas. Blend just until oats are broken down and ingredients are combined—over-mixing develops excess oat starch that makes muffins gummy. Also, let muffins cool 10 minutes in the tin before moving them to a rack to avoid soggy bottoms from trapped steam.
5.Can I make these muffins egg-free for a vegan version?
▾
Absolutely! For a vegan swap, replace each large egg with ¼ cup unsweetened applesauce or 1 flax egg (1 tablespoon ground flaxseed mixed with 3 tablespoons water, left to thicken 5 minutes). Swap the Greek yogurt for plain unsweetened coconut yogurt to keep the same moist, tender texture without dairy.
6.What can I use if I don’t have plain unsweetened Greek yogurt on hand?
▾
You can swap Greek yogurt 1:1 for plain unsweetened skyr, regular or low-fat sour cream, or even smooth unsweetened applesauce if you need a dairy-free option. Skip flavored yogurts, as they have added sugar and artificial flavor that will throw off the balanced, natural sweetness of the muffins.
7.Can I replace the pure maple syrup with another sweetener?
▾
Yes, you can swap maple syrup 1:1 for raw honey (if you don’t need a vegan recipe) or brown rice syrup for a lower-glycemic option. If you use a granulated sweetener like brown sugar, add 2 extra tablespoons of dairy or oat milk to the batter to make up for lost liquid and keep the crumb moist.
8.How should I store these muffins to keep them fresh?
▾
Let muffins cool completely to room temperature first, then store them in an airtight container lined with a paper towel to absorb excess moisture. They’ll stay fresh on the counter for up to 3 days, in the fridge for up to 1 week, or wrapped tightly and frozen for up to 3 months for quick grab-and-go meals.
9.Why aren’t my muffins rising properly?
▾
Muffins usually fall flat if your added baking powder (used for light, tender structure here) is expired, or if you fill muffin liners more than ¾ full. Avoid opening the oven door for the first 15 minutes of baking too, as sudden temperature drops will make the delicate rising batter collapse mid-bake.
10.Can I add mix-ins to these muffins, and what works best?
▾
Absolutely! Fold in up to ½ cup of mix-ins after blending the batter to keep them evenly distributed with no sinking. Great options include dark chocolate chips, chopped walnuts or pecans, fresh blueberries, dried cranberries, shredded unsweetened coconut, or a dash of cinnamon for warm, cozy flavor.
11.Are these muffins gluten-free?
▾
They are naturally gluten-free as long as you use certified gluten-free old-fashioned rolled oats, since regular rolled oats are often cross-contaminated with wheat during processing. Double check all other add-ins (like chocolate chips) for hidden gluten if you’re making these for someone with celiac disease or severe gluten sensitivity.
12.Do I need to use paper liners for the muffin tin?
▾
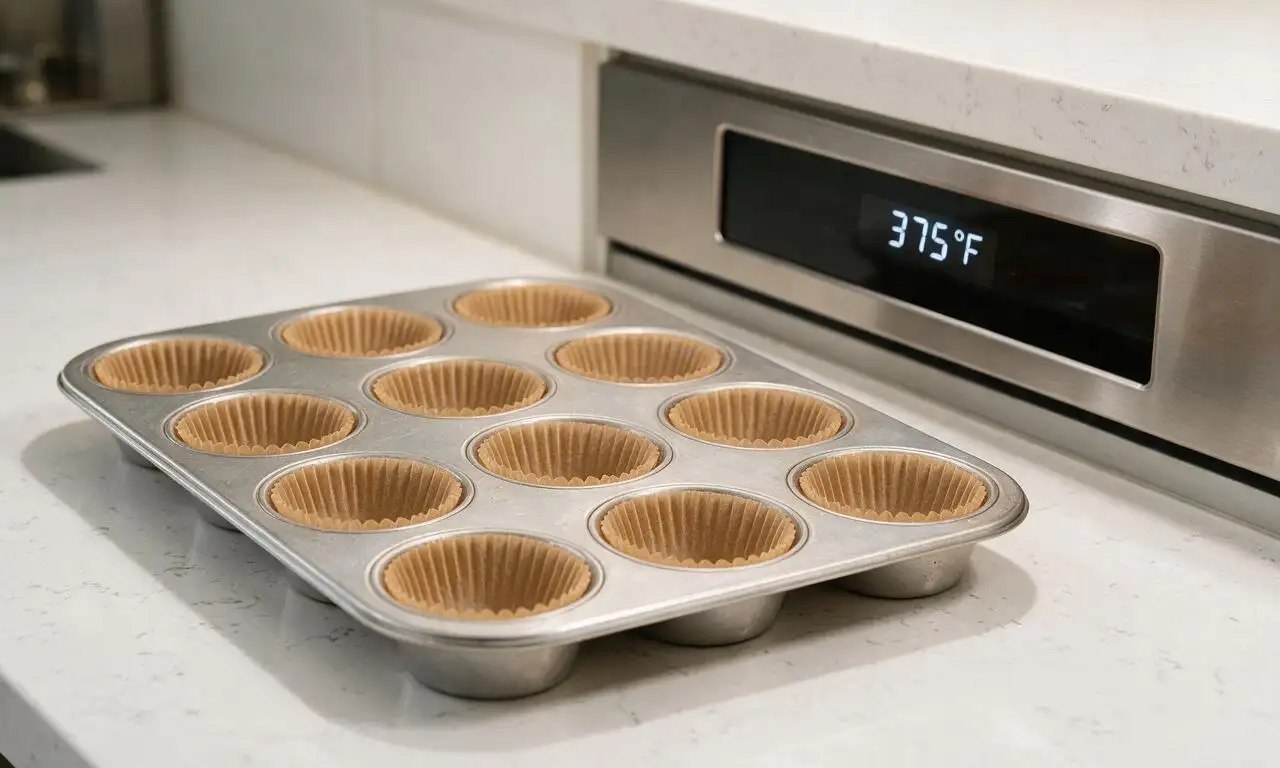
Paper liners make cleanup super easy and prevent sticking, but you don’t have to use them. If you skip liners, generously grease each muffin cup with nonstick spray, butter, or coconut oil, and dust lightly with oat flour to ensure muffins pop out cleanly after baking without leaving crumbs stuck to the tin.
13.How do I reheat frozen or refrigerated muffins?
▾
For refrigerated muffins, microwave for 10 to 15 seconds until warm, or toast split-side down in a toaster oven for 2 minutes for a slightly crisp edge. For frozen muffins, microwave for 30 to 45 seconds straight from the freezer, or thaw them overnight in the fridge before reheating for a quick breakfast.
14.Can I make this recipe into a loaf instead of individual muffins?
▾
Definitely! Pour the entire batch of batter into a greased 9x5 inch loaf pan, and bake at 350°F for 40 to 45 minutes, or until a toothpick inserted in the center comes out with a few moist crumbs attached. Let the loaf cool in the pan for 15 minutes before transferring to a wire rack to slice.
15.Why are the edges of my muffins burning before the center is set?
▾
This usually happens if your oven runs hot, an extremely common issue with home ovens. Invest in an inexpensive oven thermometer to confirm your actual baking temperature, and reduce the heat by 25°F if needed. You can also tent the tin with foil halfway through baking to protect edges from over-browning.
16.Can I make these muffins without any added sweetener?
▾
You can! If your bananas are extra spotty and very sweet, you can leave out the maple syrup entirely for a no-added-sugar version perfect for toddlers or anyone cutting back on added sugars. Taste the batter before baking, and add a dash of cinnamon to amp up the natural banana sweetness if it tastes bland.
17.Can I use steel-cut oats instead of rolled oats for this recipe?
▾
I don’t recommend swapping steel-cut oats 1:1 for rolled oats, since they are much denser, take far longer to soften, and will leave your muffins with a gritty, chewy, unpleasantly coarse texture. If you only have steel-cut oats, grind them into a very fine flour first, and add an extra 2 tablespoons of yogurt to keep batter moist.
18.How do I prevent mix-ins like blueberries or chocolate chips from sinking to the bottom?
▾
Toss your mix-ins in a light dusting of oat flour before folding them into the batter—this creates a little friction that keeps them suspended evenly through the muffin as it bakes, instead of sinking straight to the bottom of the tin. Skip extra large, heavy mix-ins that are too dense to stay put.
19.Are these muffins suitable for weekly meal prep?
▾
They are perfect for meal prep! They hold up really well in the fridge and freezer, don’t get soggy easily, and are fully portable with no messy crumbs. Bake a batch on Sunday, portion them into individual grab-and-go bags, and you’ll have ready-to-eat breakfasts or snacks for the entire work or school week.
20.My muffins are sticking to the paper liners—what did I do wrong?
▾
Muffins often stick to liners if they are underbaked, or if you peel them while they’re still piping hot. Let muffins cool for at least 10 minutes in the tin before peeling, so the crumb sets properly. If you consistently have sticking issues, use parchment paper liners instead of standard paper liners for reliable, clean release.

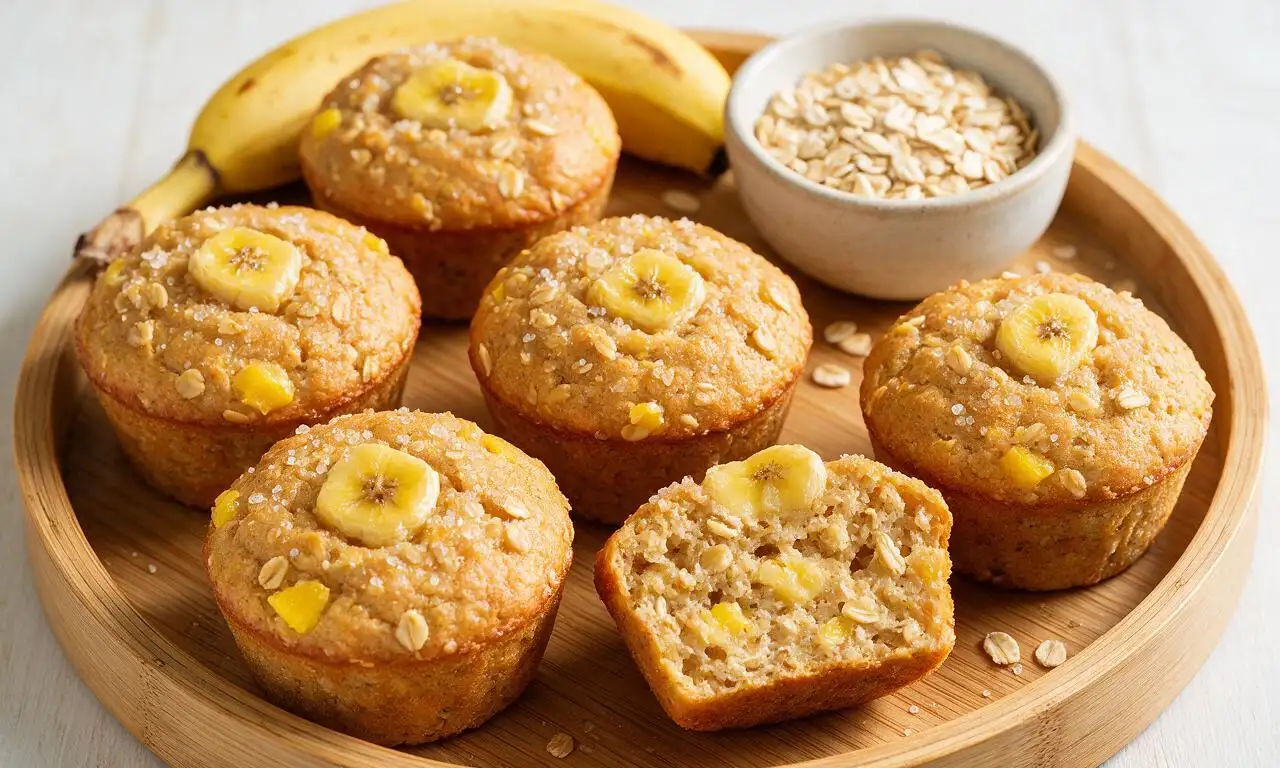
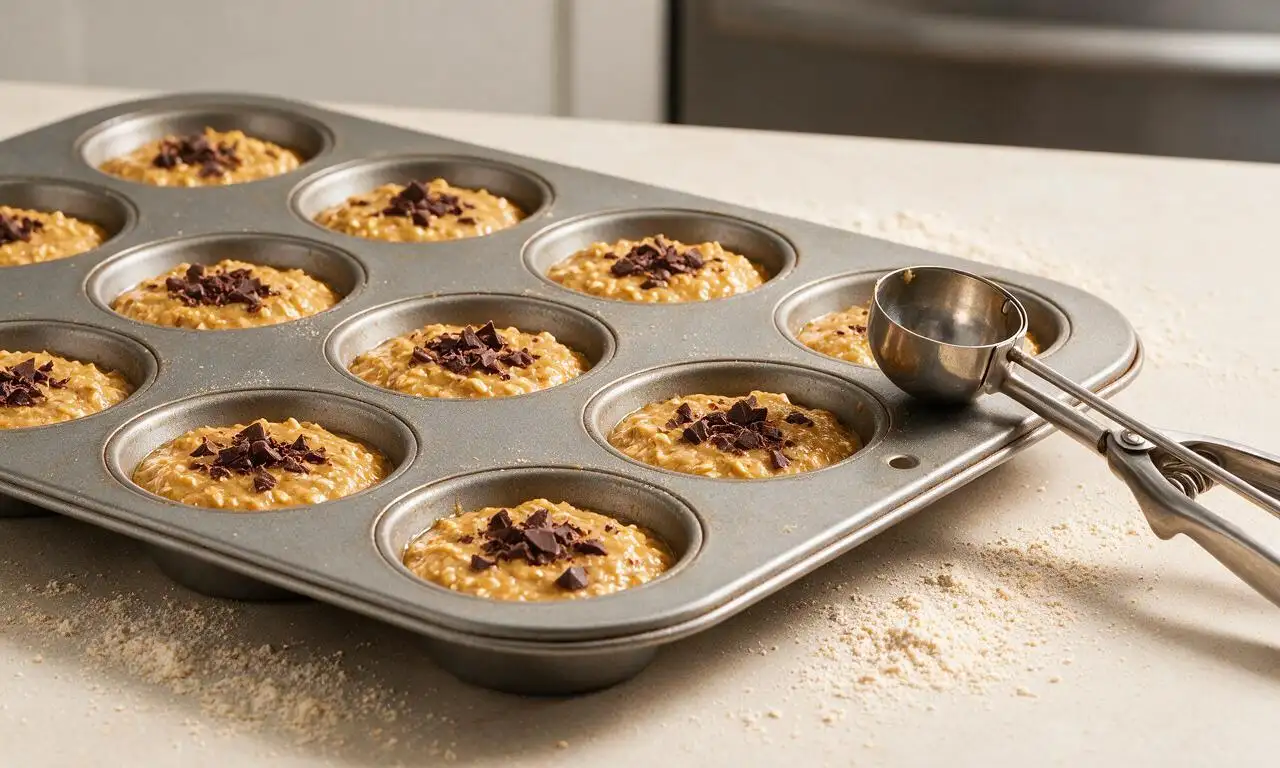
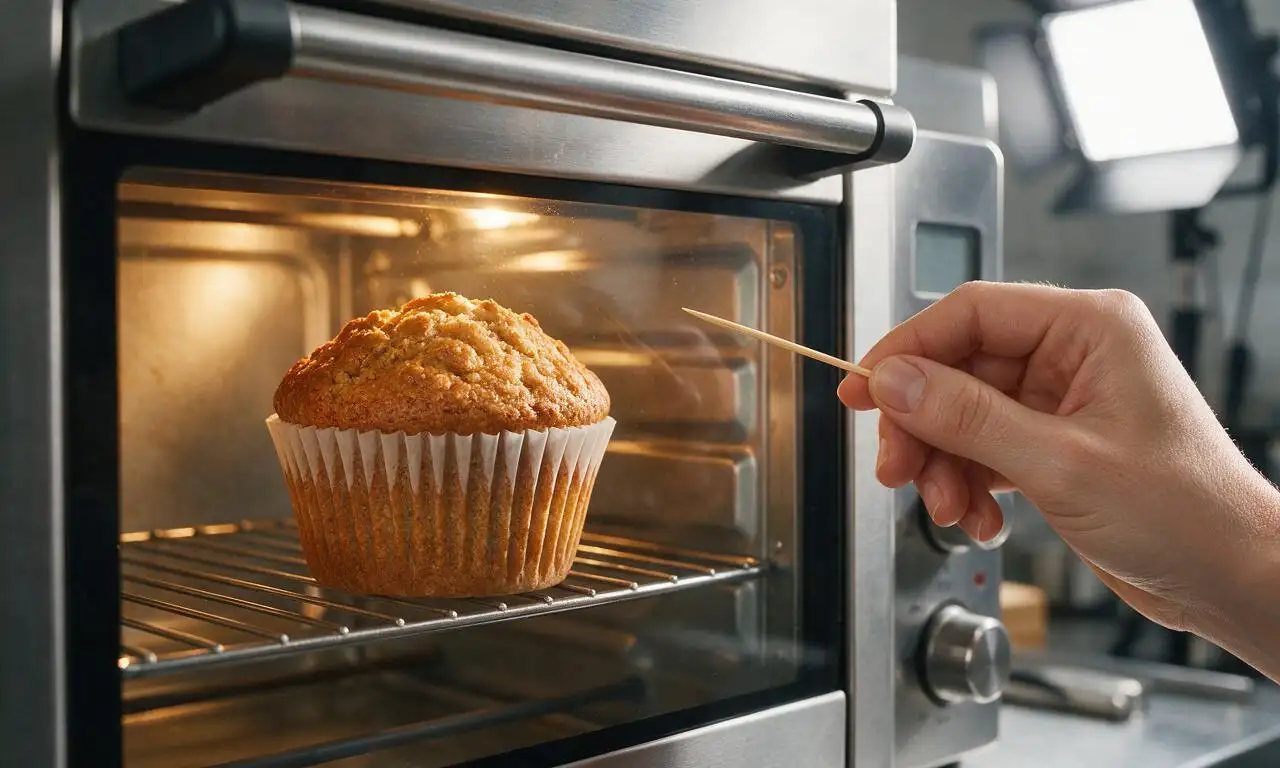
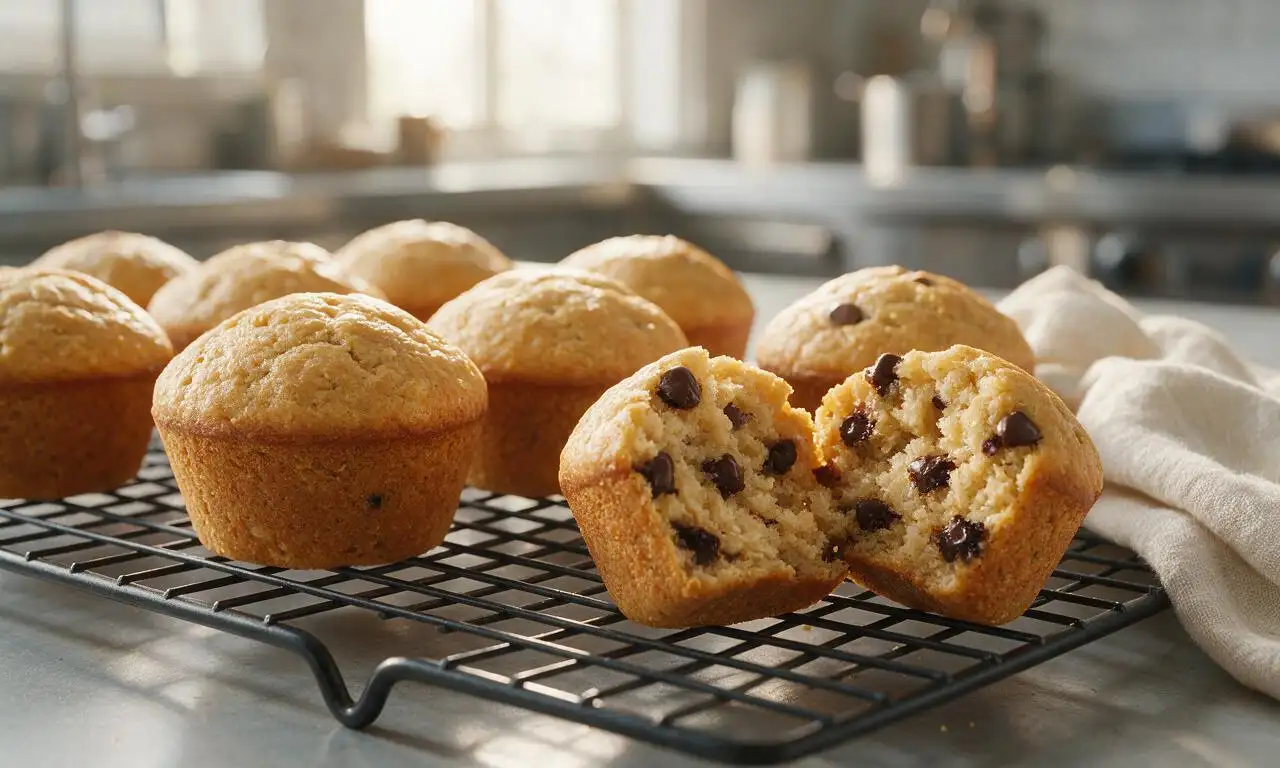






OMG these flourless banana oat muffins are a total game changer for my weekday meal prep! I threw in a handful of mini chocolate chips, baked them for the full 28 minutes, and they came out perfectly moist, no weird gummy texture at all. My 3 and 5 year old gobbled them up for breakfast this morning and asked for seconds! Super easy too, I didn’t even have to pull out my fancy mixer. 10/10 will make every Sunday from now on.
Brought these to my office potluck yesterday and people were begging for the recipe before I even left! I added a sprinkle of cinnamon and a few chopped walnuts on top for a little crunch, and they were SO good. Even my gluten-free coworker who’s super picky about baked goods said they were the best muffins she’s had all year. Such an easy, foolproof recipe — I can’t believe how little cleanup there is too since you can blend everything in one blender!
As a broke college student with barely any cooking supplies, this recipe was made for me lol. I only had super spotty bananas that were about to go bad, some cheap oats, and eggs, no fancy add-ins, and they still turned out amazing. Way cheaper and healthier than grabbing a muffin from the campus cafe every morning. I stored them in a ziplock in my mini fridge and they’ve held up great all week. Only note: I don’t have a muffin tin so I baked them in a small baking dish as bars and it worked totally fine, just added 3 minutes to the cook time.
These are perfect for my post-gym breakfast! They’re not overly sweet, have just enough fiber and protein to keep me full through my morning meetings, and I don’t feel sluggish after eating them like I do with regular flour-based muffins. I swapped the honey for maple syrup to make them vegan for my roommate, and she loved them too. Only tiny issue: mine stuck a little to the paper liners even when I sprayed them — any tips for that?
I was skeptical about flourless muffins, honestly — I thought they’d taste like bland, dry health food. My wife made these last night and I ate three straight out of the oven, no joke. The banana flavor really comes through, and the texture is so soft, you can’t even tell there’s no flour. My 7 year old who refuses to eat anything that’s ‘healthy’ asked if we can have these for dessert every night. Total winner in our house.
Made these this morning with my toddler while we were waiting for his school bus, and they were so easy he could help dump all the ingredients in the blender! We didn’t even have to measure super precisely (thanks to a 2 year old ‘helping’) and they still came out great. I love that they don’t have a ton of added sugar, so I don’t feel guilty giving him one as an after school snack too. Will definitely be adding this to our regular rotation of quick weeknight recipes.