
fluffy buttermilk waffles
intro
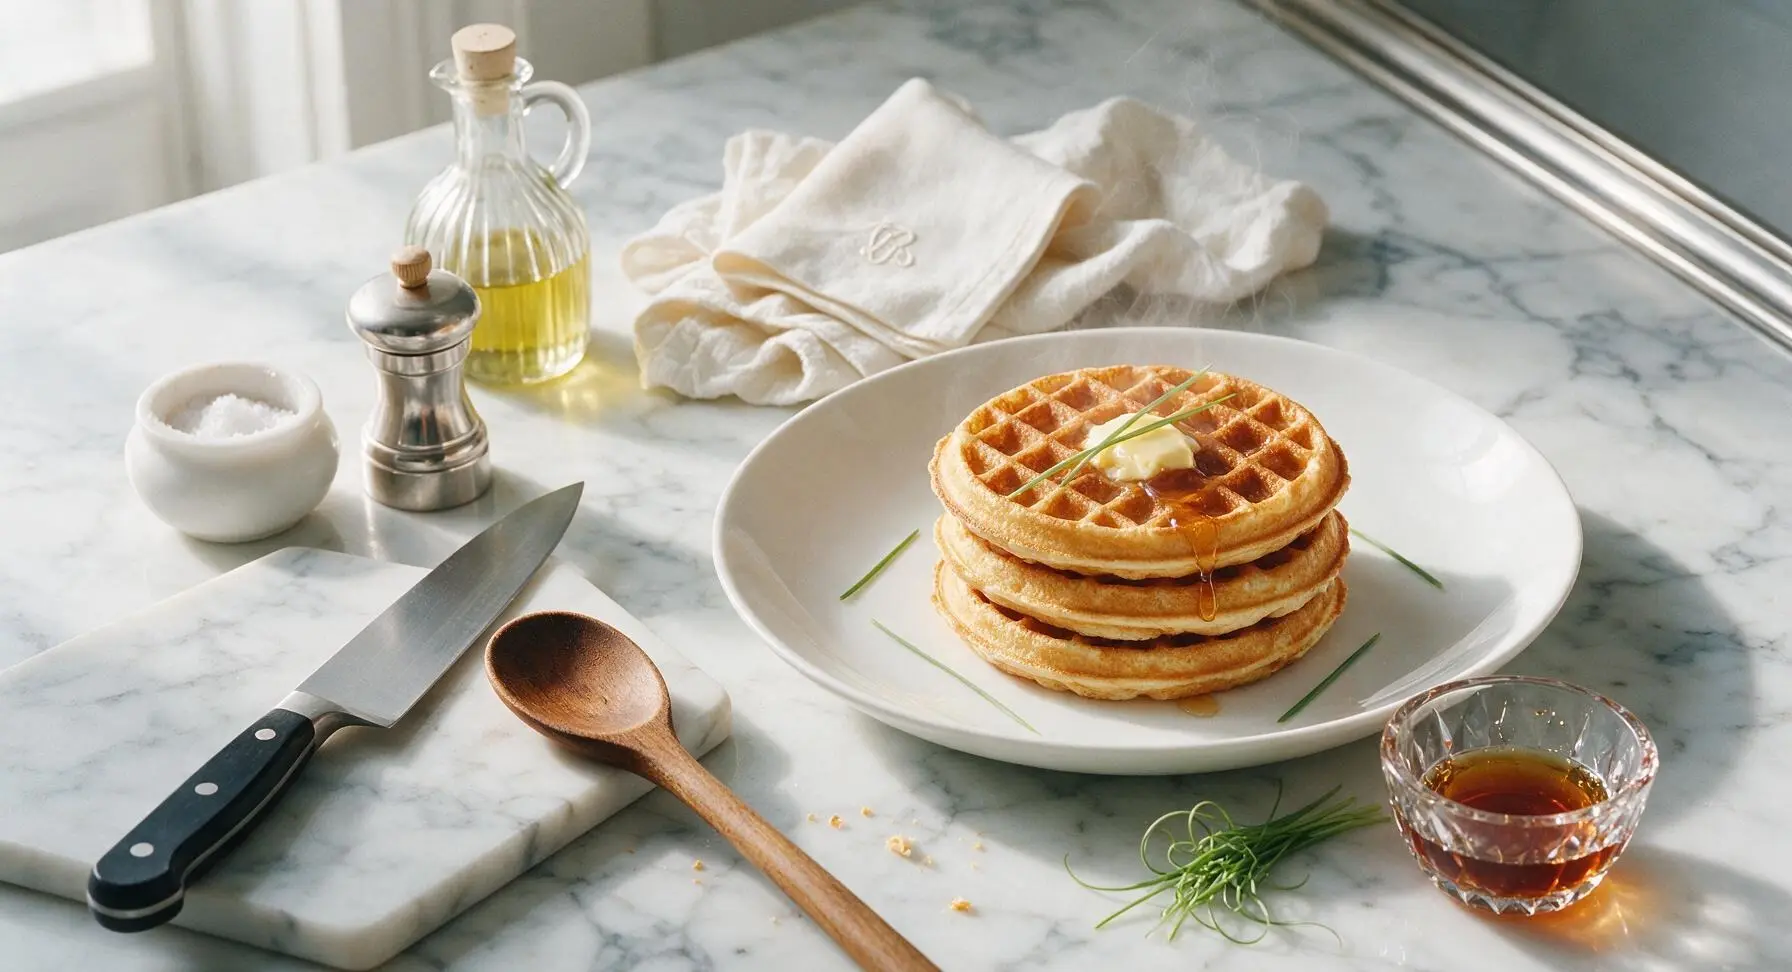
Crisp golden edges, cloud-fluffy tangy crumb, and rich buttery flavor make these buttermilk waffles the perfect cozy weekend breakfast for the whole family.
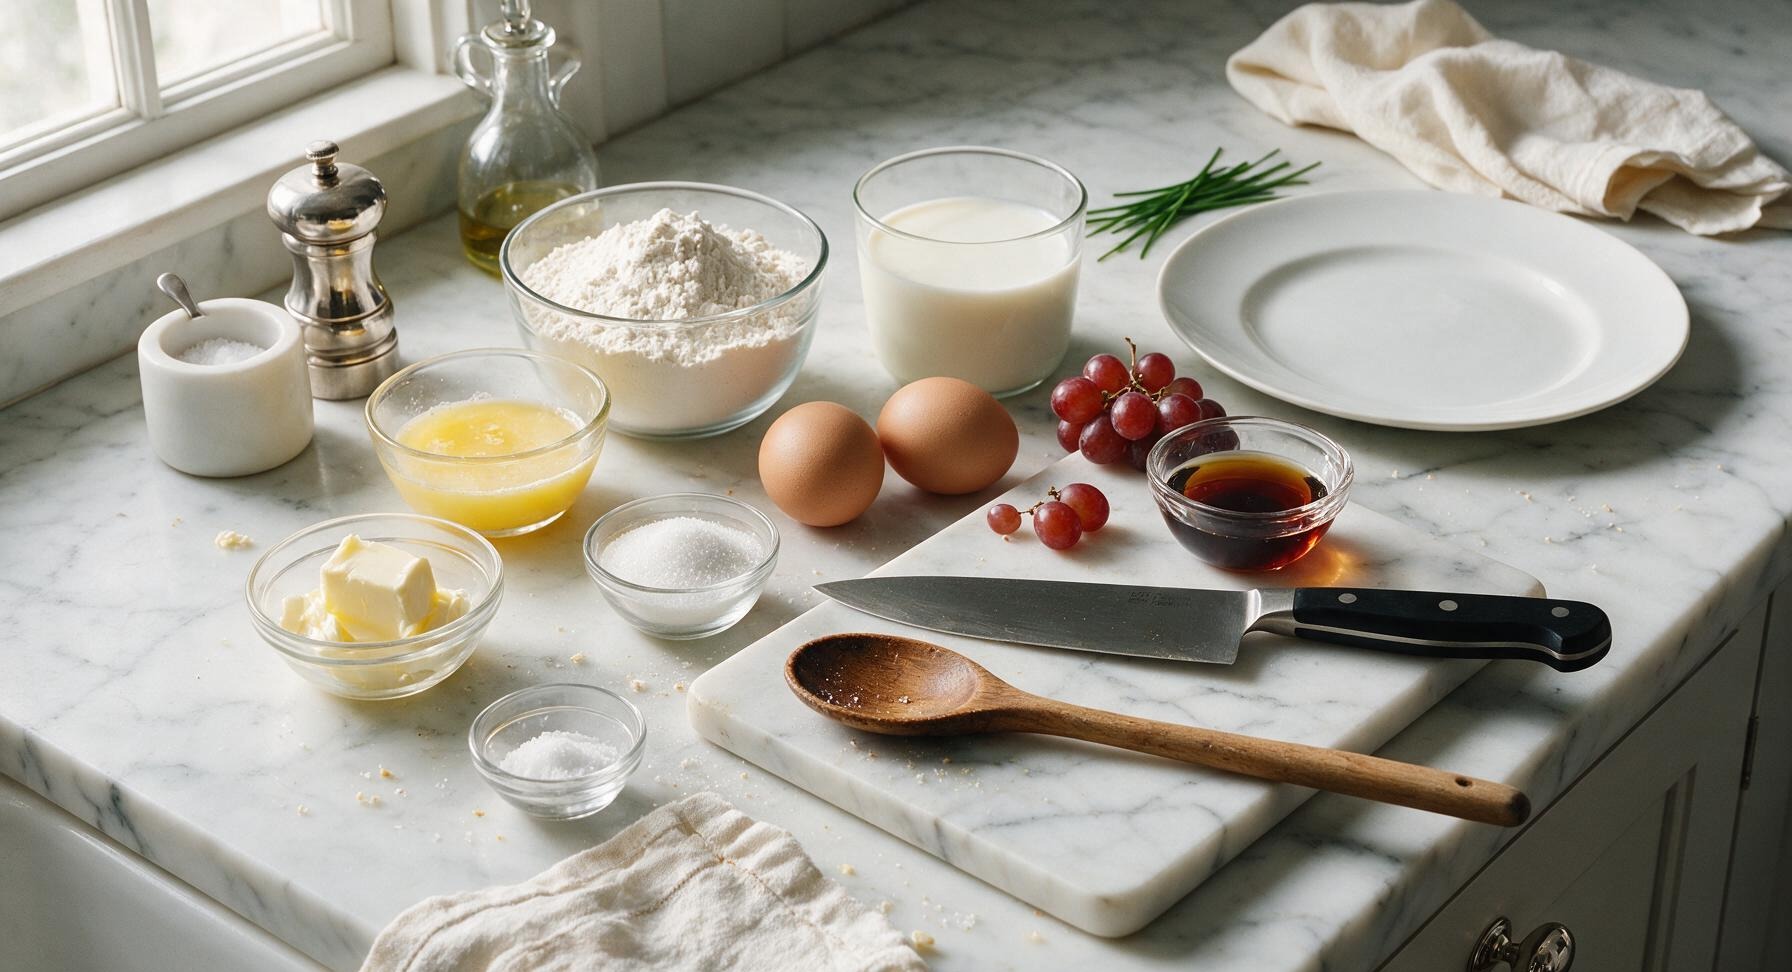
Ingredients
Steps
Preheat Waffle Iron
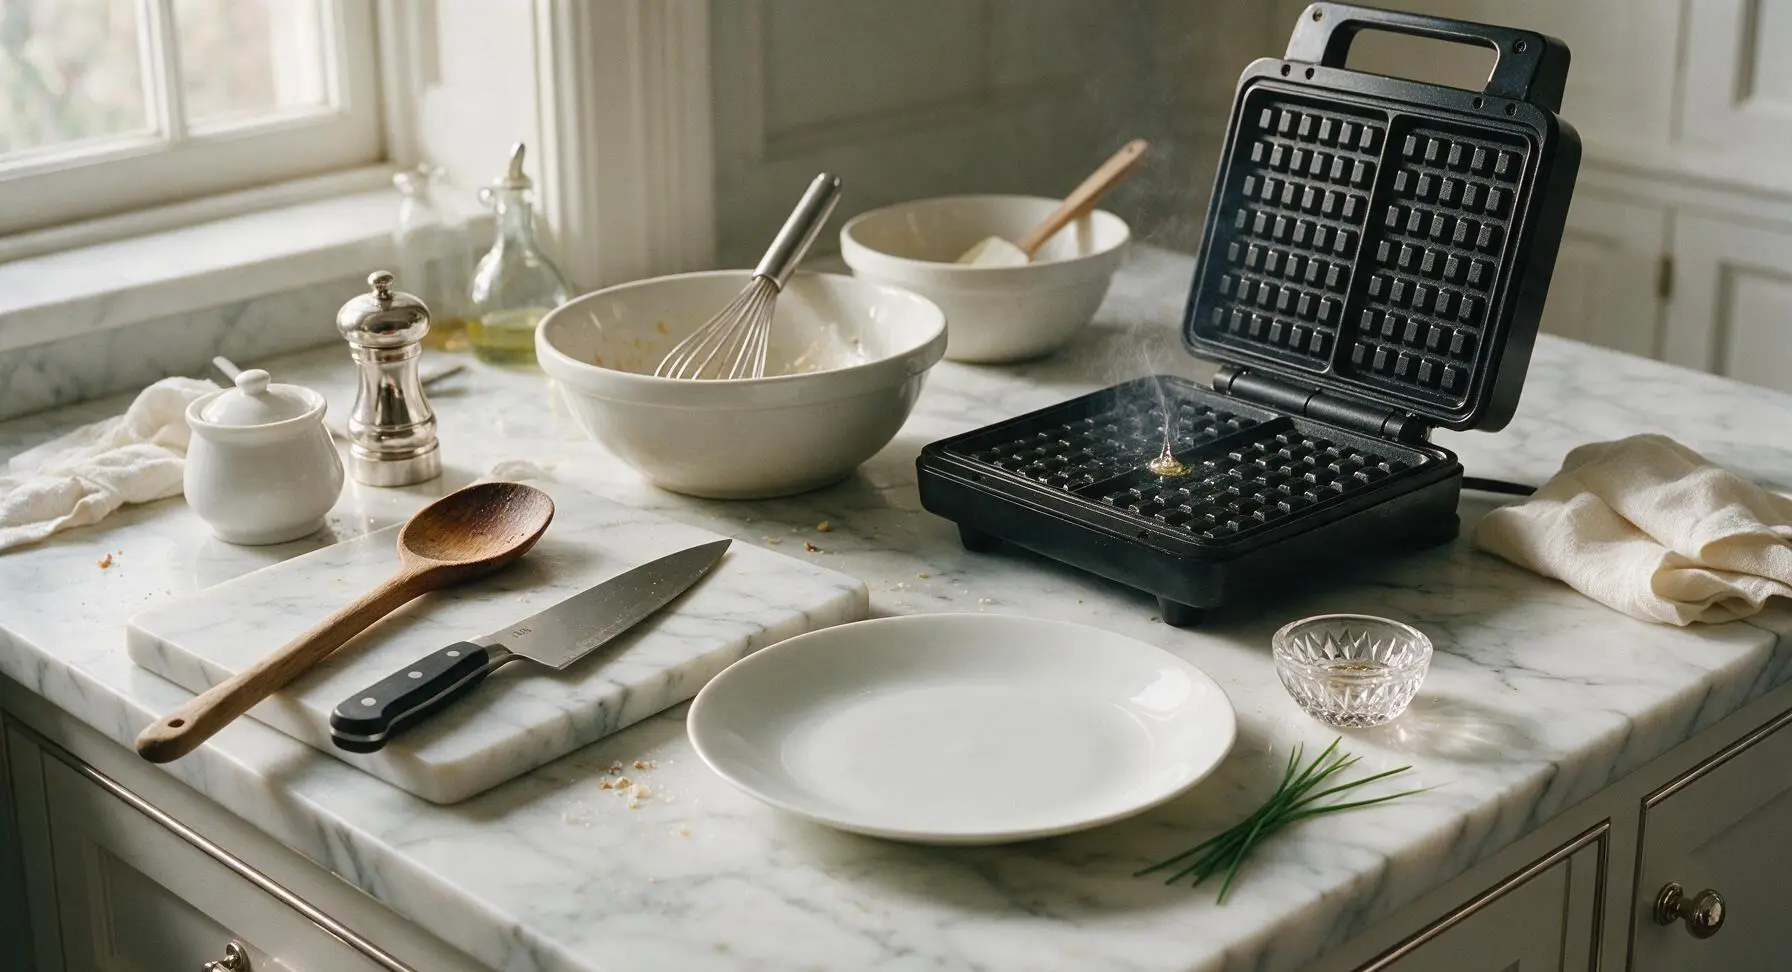
Plug in the matte black waffle iron and preheat to medium-high setting (375°F/190°C). Allow it to heat for 5-7 minutes, until a drop of water flicked onto the plates sizzles and dances across the surface immediately. There is no need to grease non-stick plates; a light wipe of melted butter is only required for older, worn waffle irons.
Whisk Dry Ingredients
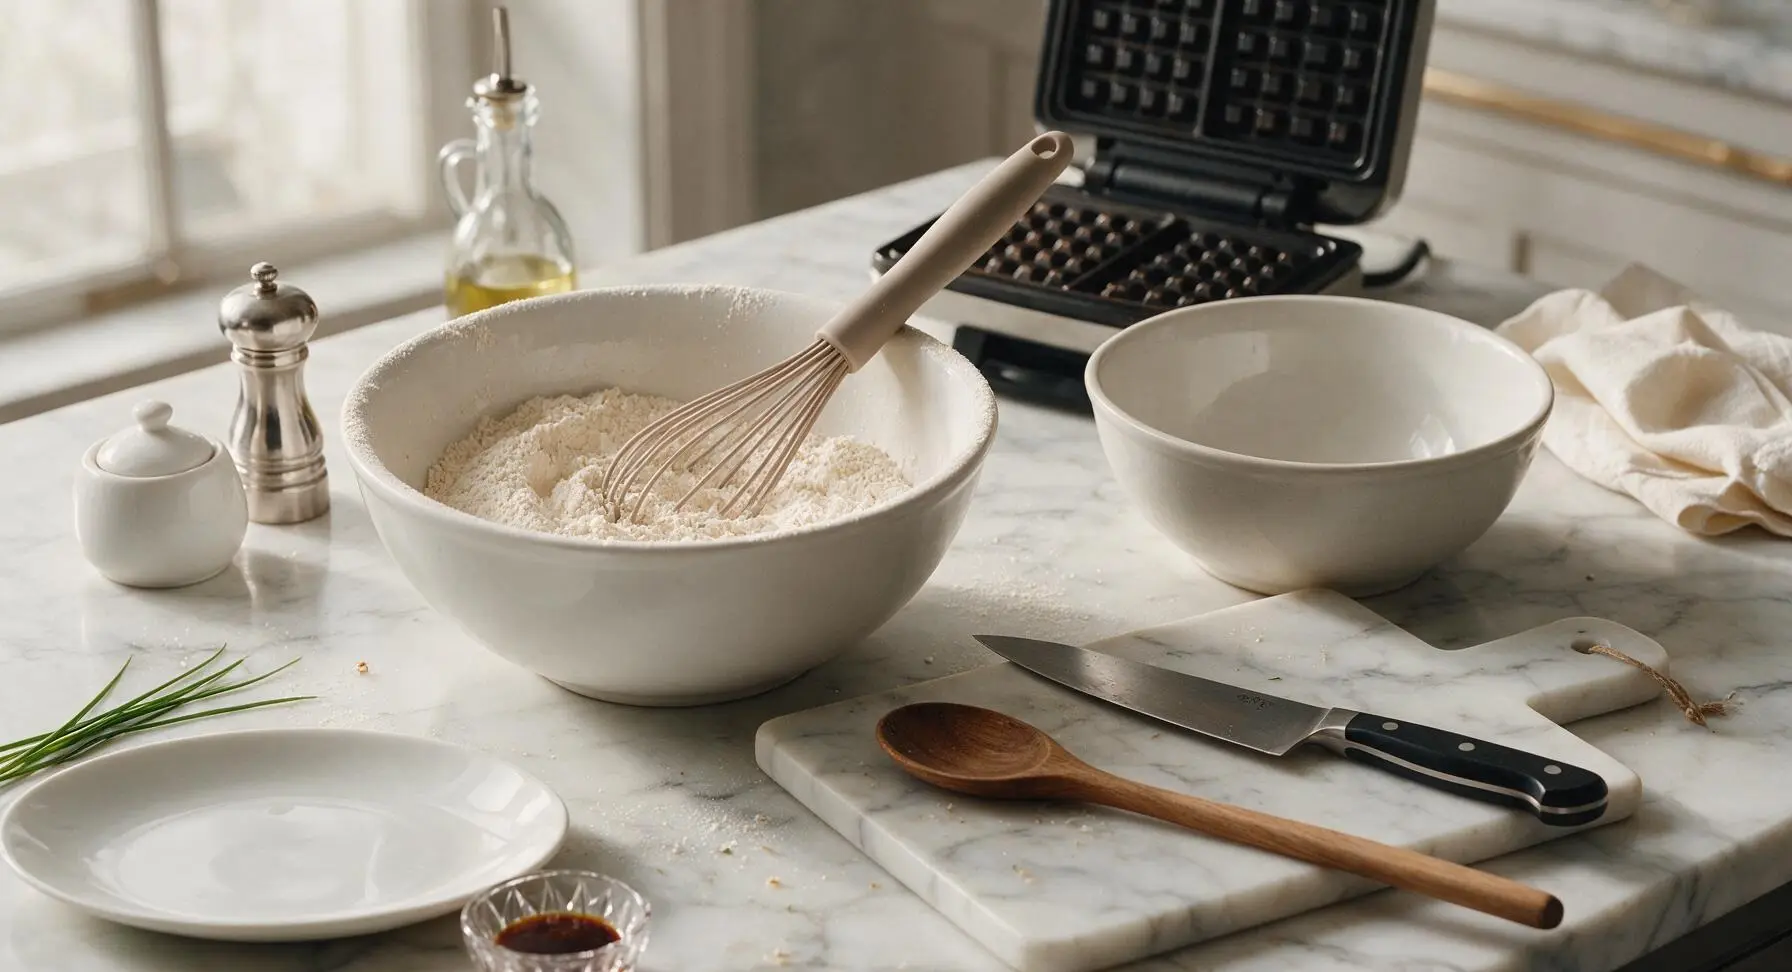
In the large matte white ceramic mixing bowl, add 2 cups (240g) all-purpose flour, 2 tablespoons granulated sugar, 2 teaspoons baking powder, 1/2 teaspoon baking soda, and 1 teaspoon fine sea salt. Use the light taupe silicone whisk to stir the dry ingredients for 30 seconds, until fully combined and evenly mixed, with no visible clumps of leavening. Evenly mixed dry ingredients prevent patchy rise or bitter bites of baking soda in finished waffles.
Combine Wet Ingredients
In the medium matte white ceramic mixing bowl, crack the 2 room-temperature large eggs, whisking lightly until yolks and whites are fully combined. Add 2 cups (480ml) full-fat buttermilk, 1/4 cup (57g) cooled melted butter, and 1 teaspoon pure vanilla extract. Whisk for 20 seconds until the mixture is smooth, pale creamy yellow, with no streaks of unincorporated egg visible.
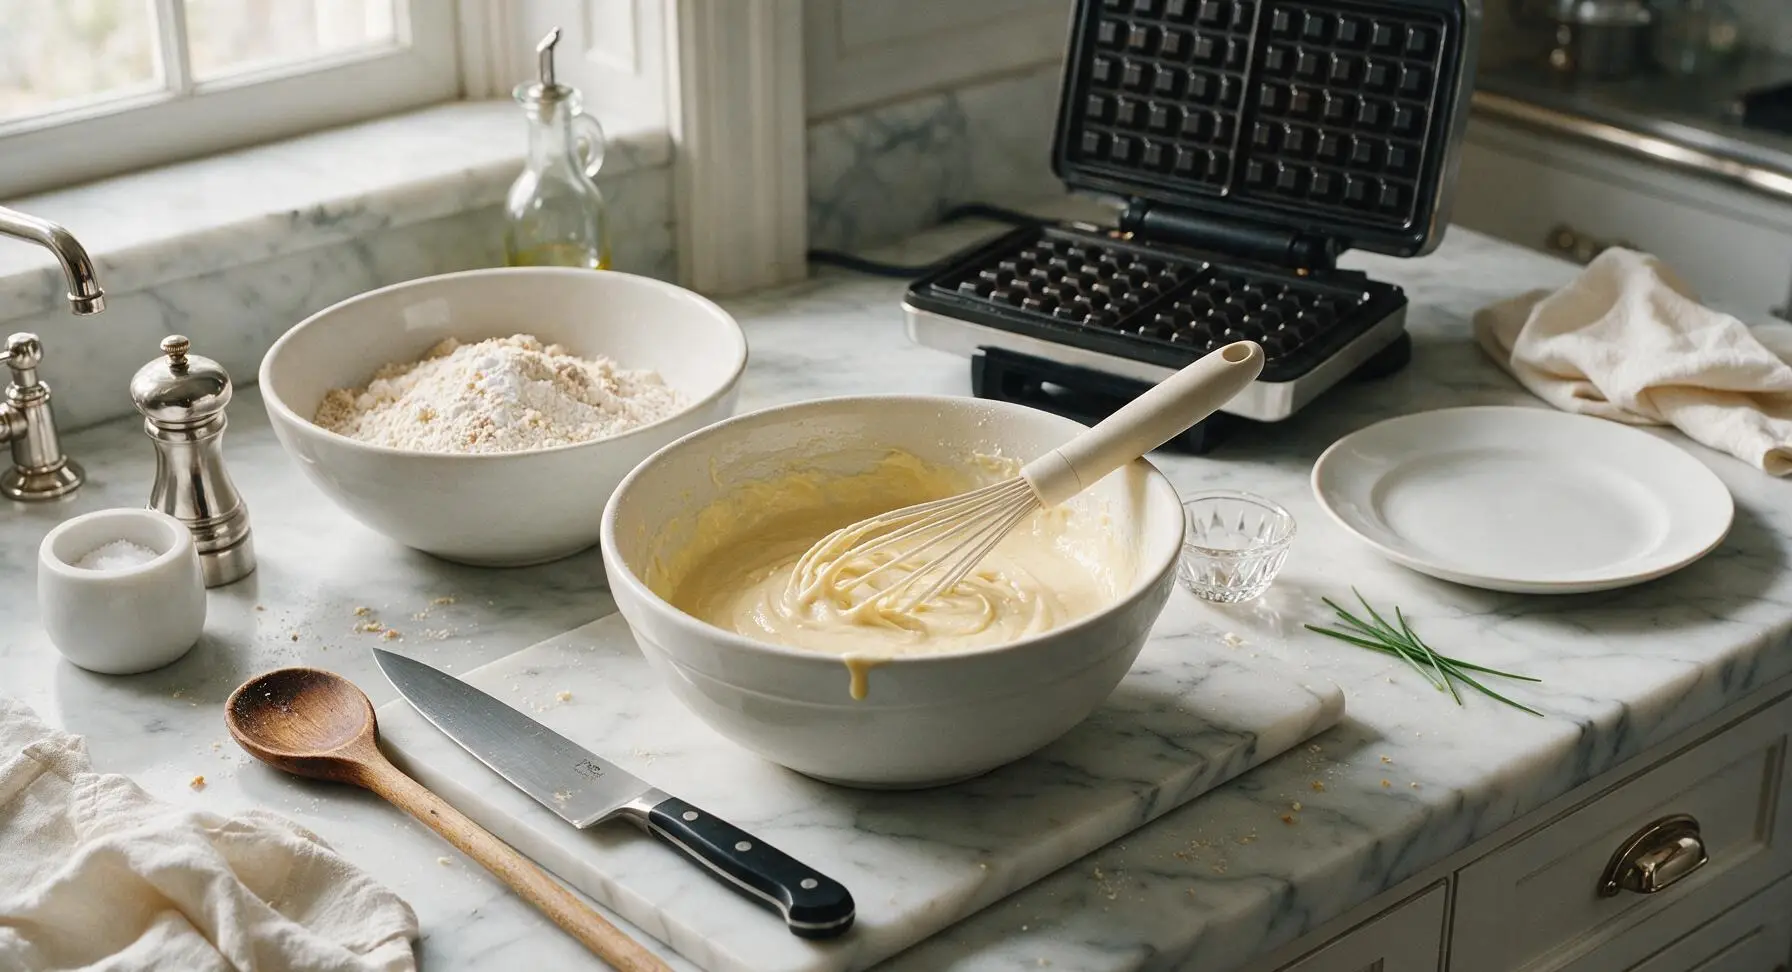
Fold Batter Gently
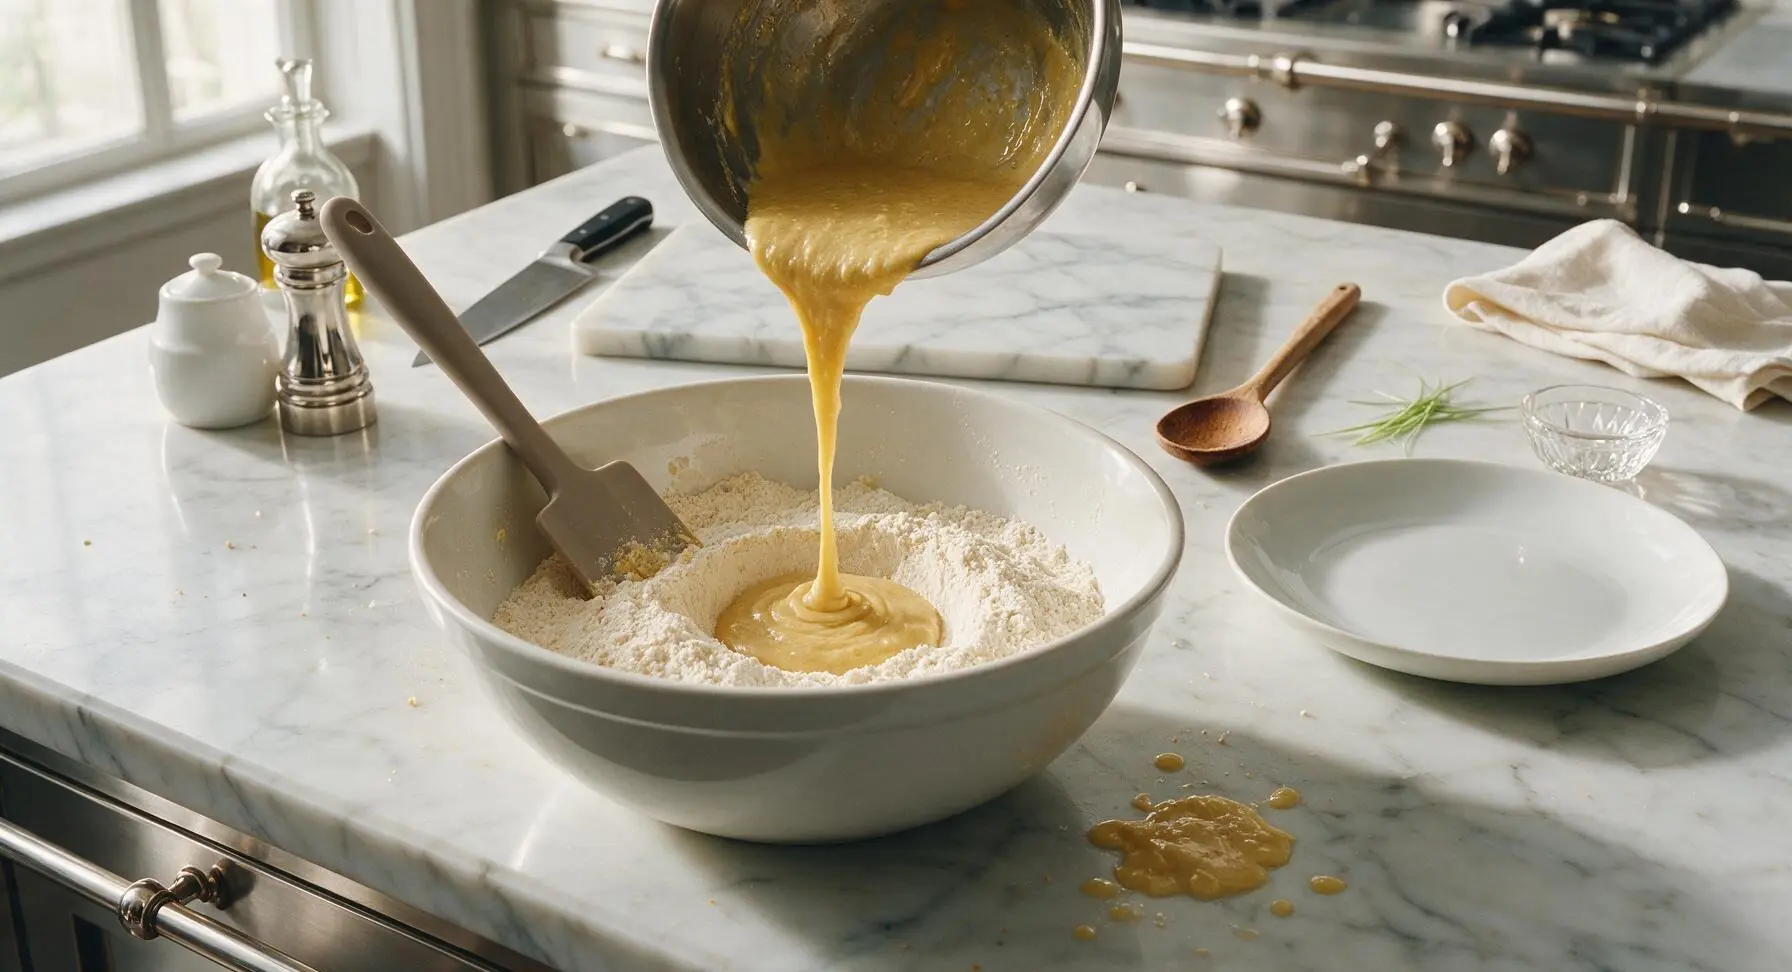
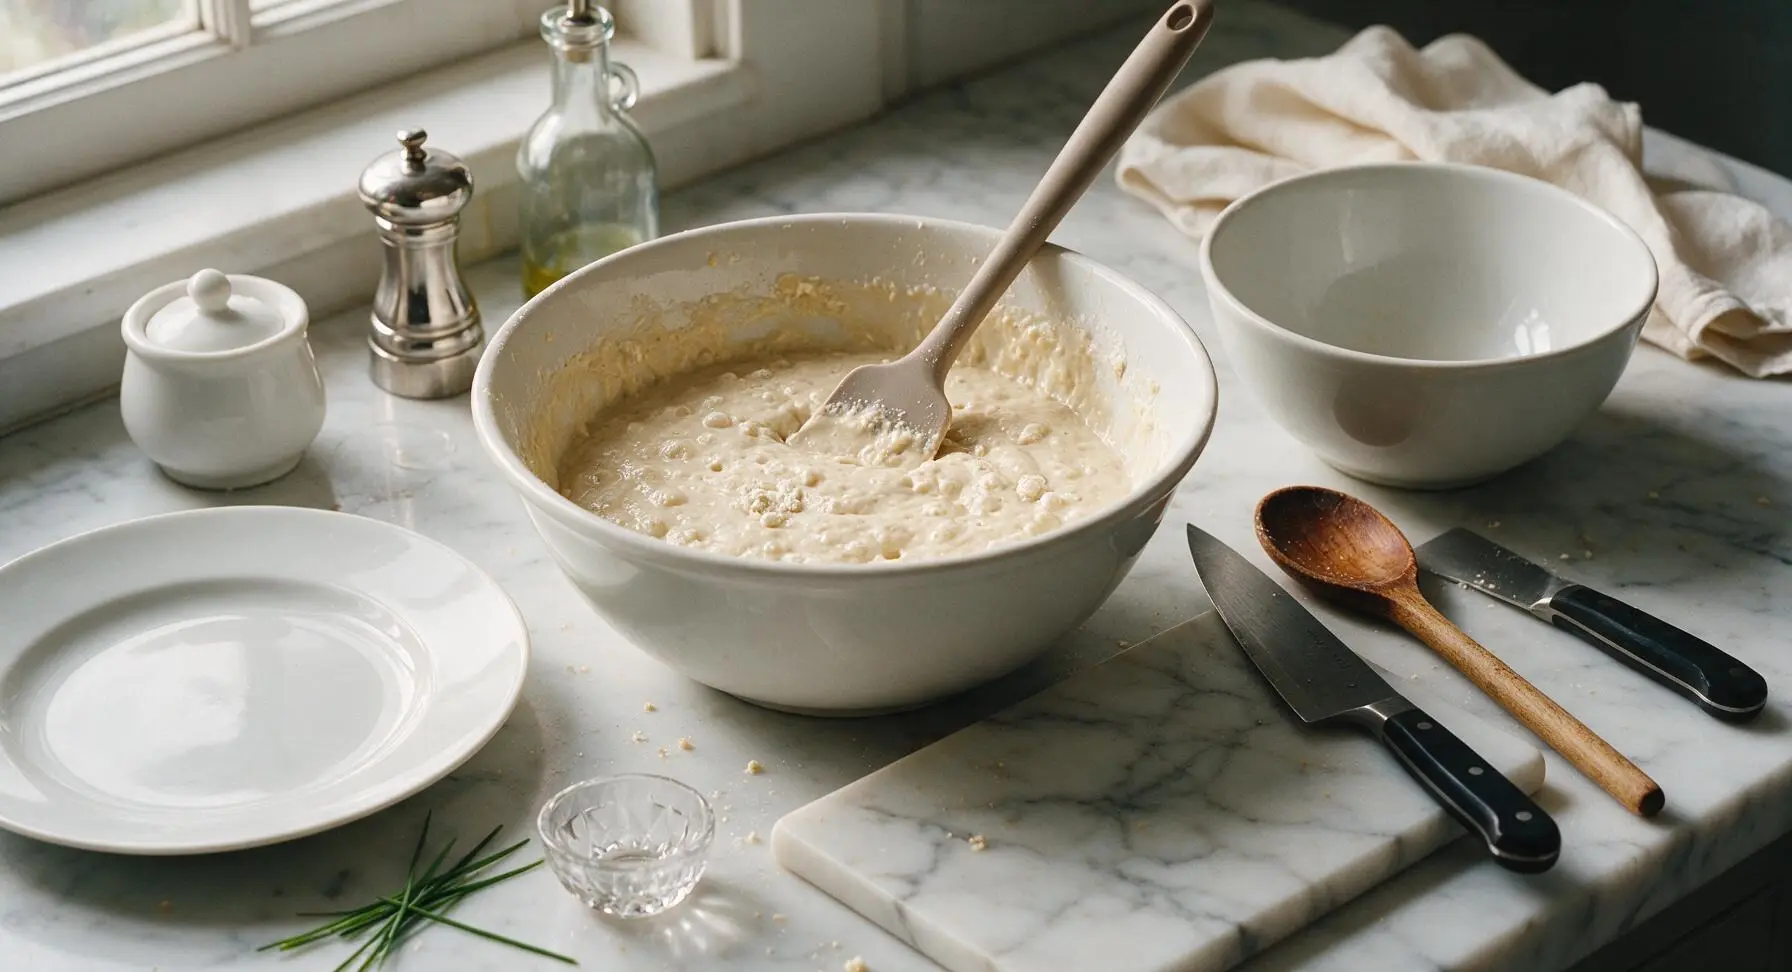
Pour the entire wet ingredient mixture into the large bowl of dry ingredients. Use the light taupe silicone spatula to fold the ingredients together, stirring only just until no large streaks of dry flour remain. The batter will be thick, lumpy, and slightly bubbly—do NOT overmix, as overdeveloped gluten will create tough, dense waffles. Small pea-sized lumps are normal and desired; stop stirring as soon as no loose dry flour remains at the bowl bottom. Let the batter rest 5 minutes at room temperature to allow leavening to activate for extra height.
Cook Waffles Evenly
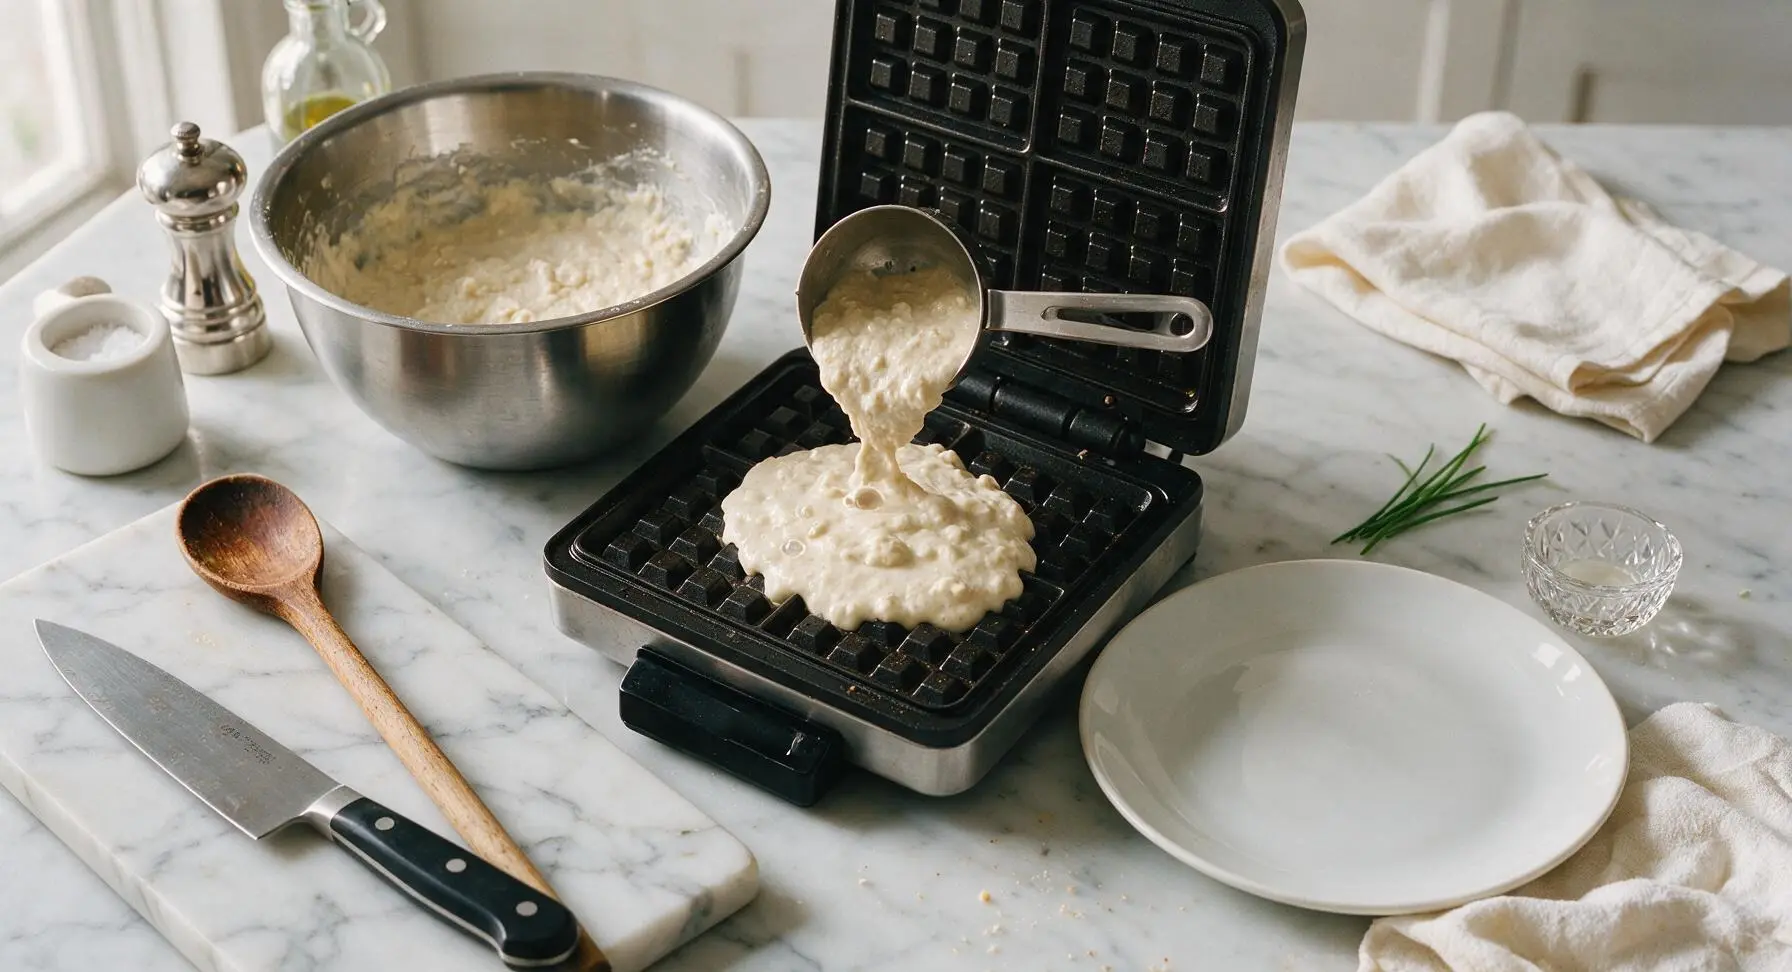
Once the waffle iron is fully preheated and batter has rested 5 minutes, use the 1/2 cup measure from the brushed stainless steel set to pour batter into the center of the waffle iron plates, spreading it slightly with the spatula to within 1/2 inch of the edges (batter will spread as it cooks). Close the lid and cook for 3.5 to 4 minutes, until the waffle is deep golden brown, crisp on the edges, and no steam escapes from the iron sides. Do not open the lid early, as this will split and deflate the cooking waffle.
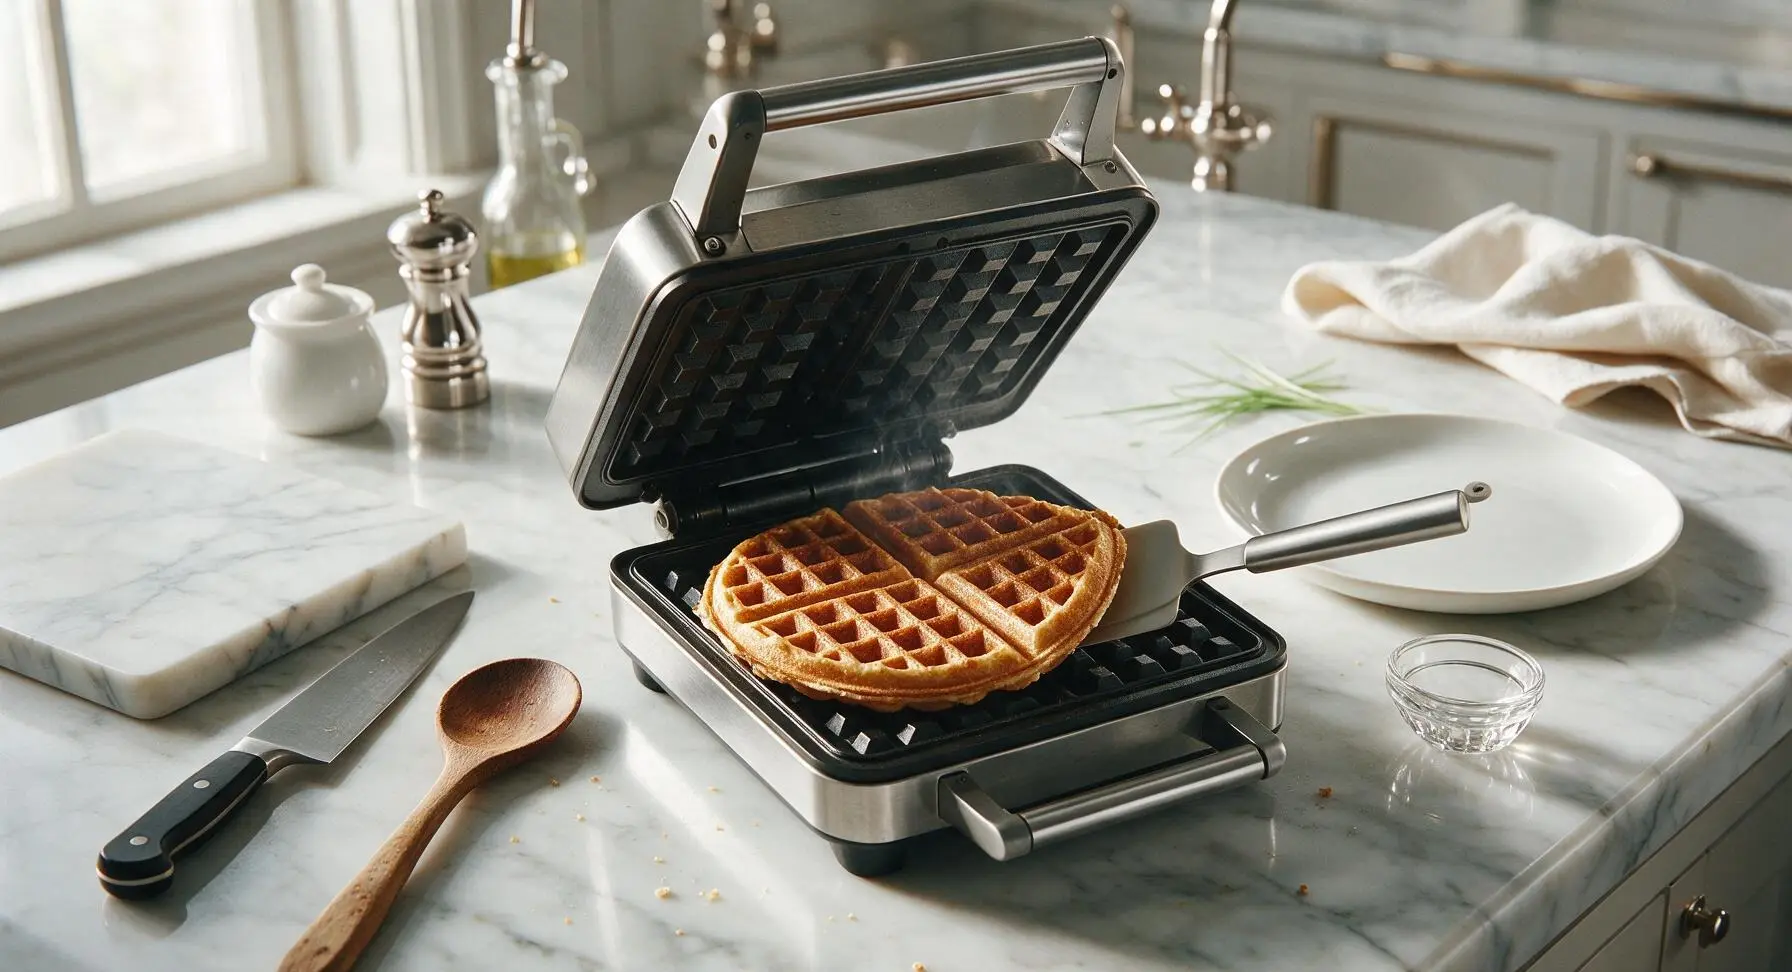
Keep Waffles Crisp
As each waffle finishes cooking, use the silicone spatula to transfer it to the stainless steel wire cooling rack positioned between the waffle iron and serving plate. Do not stack hot waffles directly on top of each other, as trapped steam will turn crisp edges soggy. If cooking multiple batches, hold waffles in a single layer on the rack in a 200°F (93°C) oven to keep them warm and crisp until all waffles are cooked.
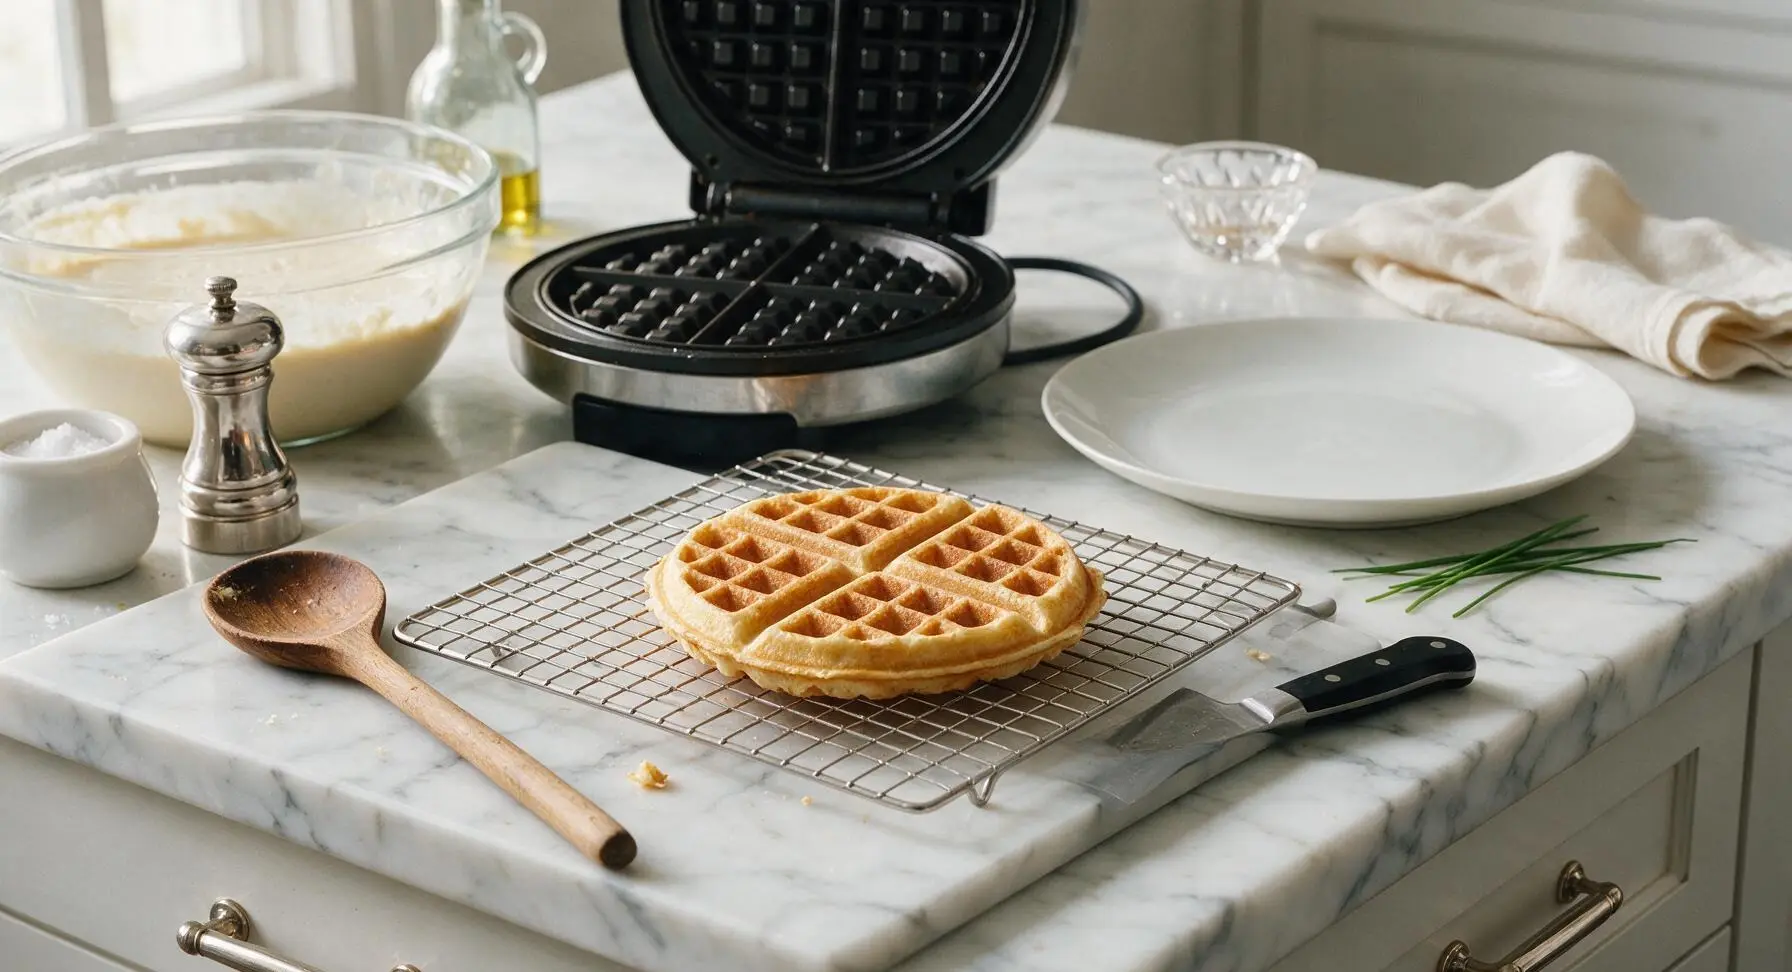
Plate and Serve
Once all 4 waffles are cooked, stack two waffles on the cream speckled stoneware serving plate. Top with a 1-tablespoon pat of salted butter in the center grid of the top waffle, allowing it to melt slightly from residual heat. Drizzle 2 tablespoons of warm maple syrup over the top, letting it pool in the waffle grids and drip slightly down the sides. Garnish with a small cluster of fresh red grapes next to the waffle stack, and serve immediately while hot and crisp.
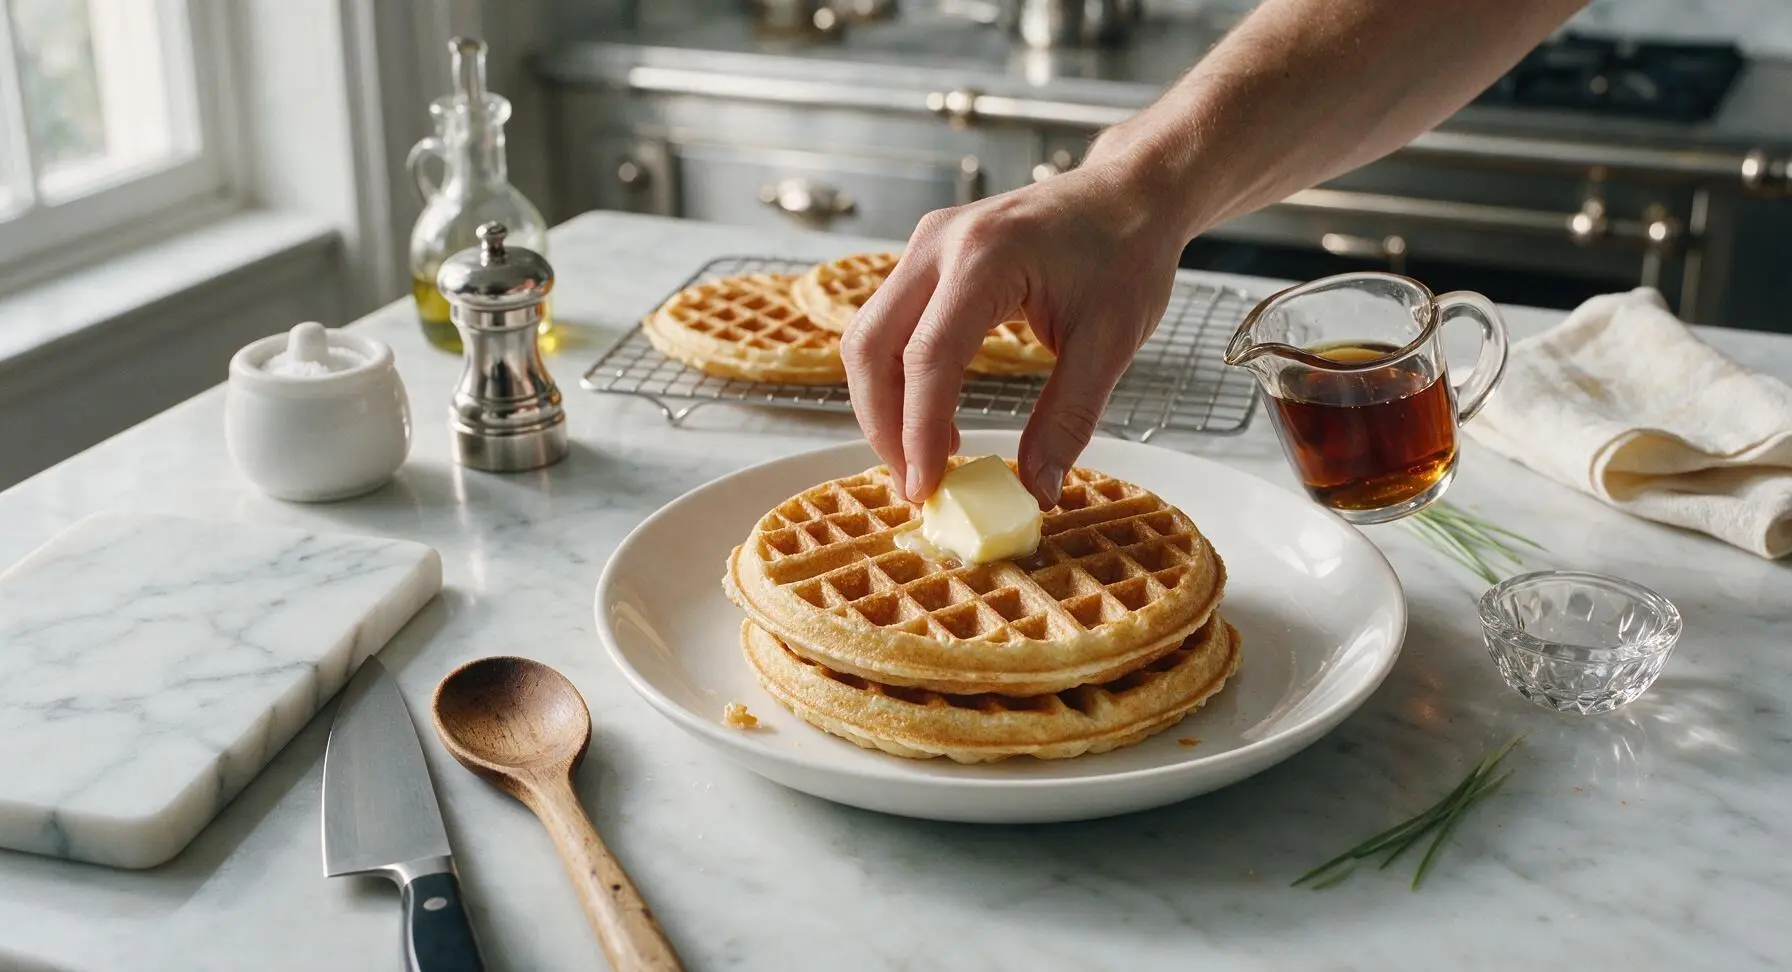
Tips
2.Wait until steam stops escaping from the waffle iron edges before checking doneness: opening the lid before 3 minutes of cook time can split the partially set waffle, causing it to stick and deflate.
3.Rest cooked waffles on a wire rack instead of a solid plate: trapped steam from hot waffles turns crisp edges soggy in under a minute. Hold waffles in a 200°F oven on the rack to keep them crisp while cooking batches.






OMG these waffles are SO good! I made them for Saturday breakfast for my two toddlers and husband, and everyone cleared their plates in 5 minutes flat. I added a handful of blueberries to half the batter and a dash of cinnamon, and they came out perfectly fluffy even with the mix-ins. Game changer for our weekend brunch rotation! Wait, quick question—can I make the batter the night before for meal prep?
Super easy recipe for a last minute potluck brunch I went to last weekend! I was running late and only had 20 minutes total to throw something together, and these came together in the 15 minute cook time like the recipe said. Everyone was asking for the recipe, I even sent it to three of my neighbors who were there. Only thing I did different was top them with a little homemade peach compote, chef’s kiss.
Wait, I don’t have a waffle iron right now—would this batter work for pancakes too? I tried it once and it was a little runny, did I mess up the buttermilk ratio?
These are perfect for my weekly breakfast prep! I make a double batch on Sundays, freeze them, and pop them in the toaster during the week for a quick breakfast before work. They hold up way better than any store bought frozen waffles I’ve tried, zero soggy texture after reheating. 10/10, will be making these on repeat.
Took me a second to get the waffle iron temperature right for my old beat-up hand-me-down model, but once I did? *Chef’s kiss* So fluffy, not too sweet, perfect for loading up with syrup, whipped cream, and a side of crispy bacon. My roommate stole half the batch before I even got to sit down and eat, so next time I’m definitely tripling the recipe.
I swapped the all purpose flour for a 1:1 gluten free baking flour and was so worried they’d turn out dense or gummy, but they were just as fluffy as the regular version! My whole family (even the non-gluten free folks) loved them. Only tiny note is I needed to add an extra splash of buttermilk because my GF flour absorbs more liquid, but that was an easy fix.