
Fluffy Scrambled Eggs

title 1
Fluffy Scrambled Eggs
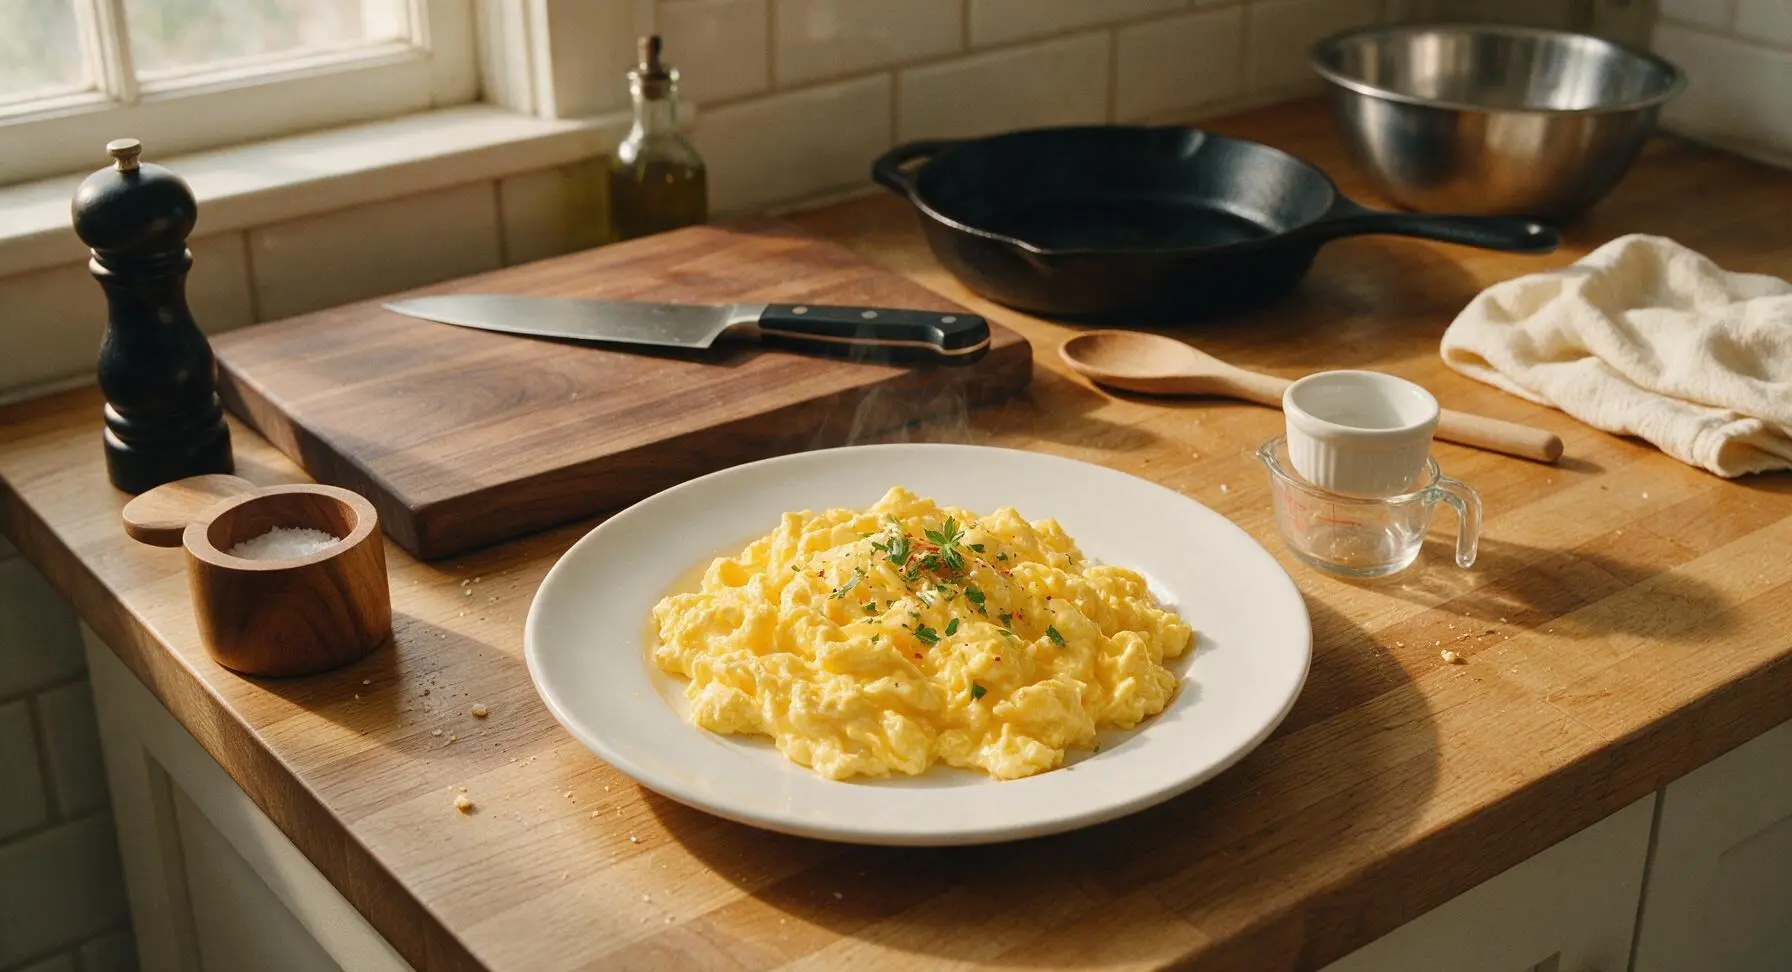
⏱️ cook time 5 minutes
🍽️ servings 2
⚡ Difficulty easy

intro

Cloud-like, tender fluffy scrambled eggs with silky soft curds, no rubbery texture, ready in under 10 minutes for a simple, deeply satisfying quick meal.

Ingredients
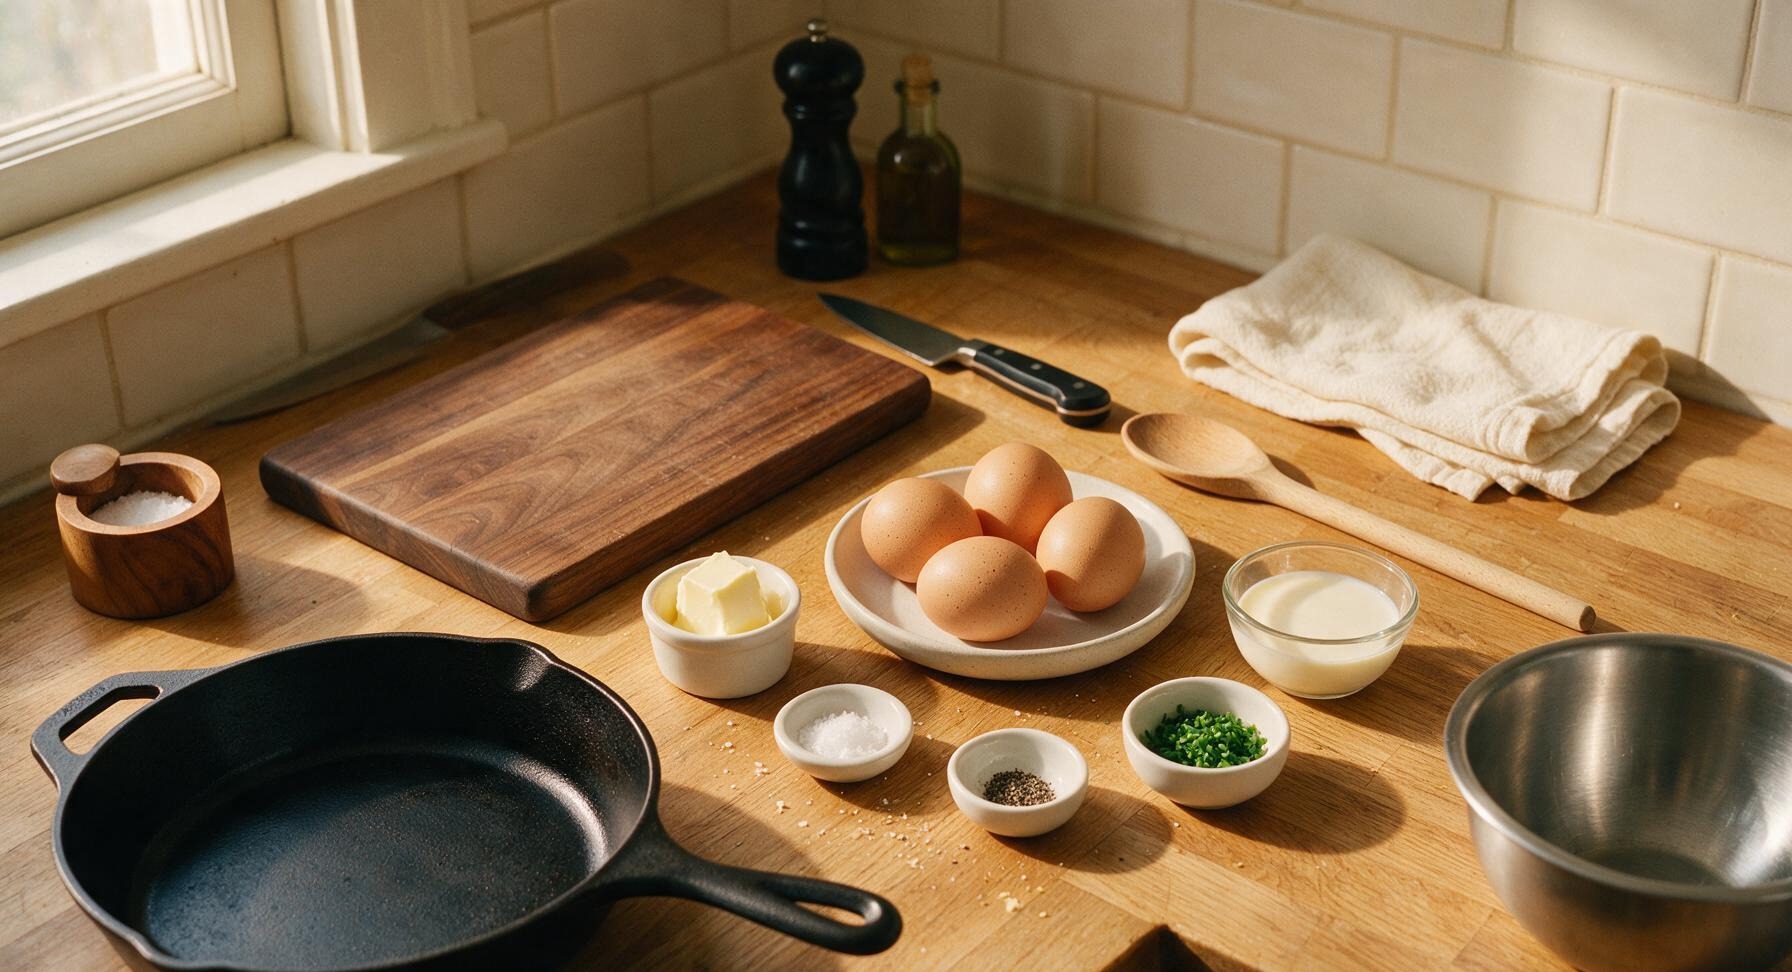
Large grade A eggs 4 (200g total)
Unsalted butter 1 tablespoon (14g)
Half-and-half 1 tablespoon (15ml)
Flaky sea salt 1/4 teaspoon
Freshly ground black pepper 1/8 teaspoon
Fresh chives 1 teaspoon (finely chopped)

Steps

1

Crack Eggs Into Bowl

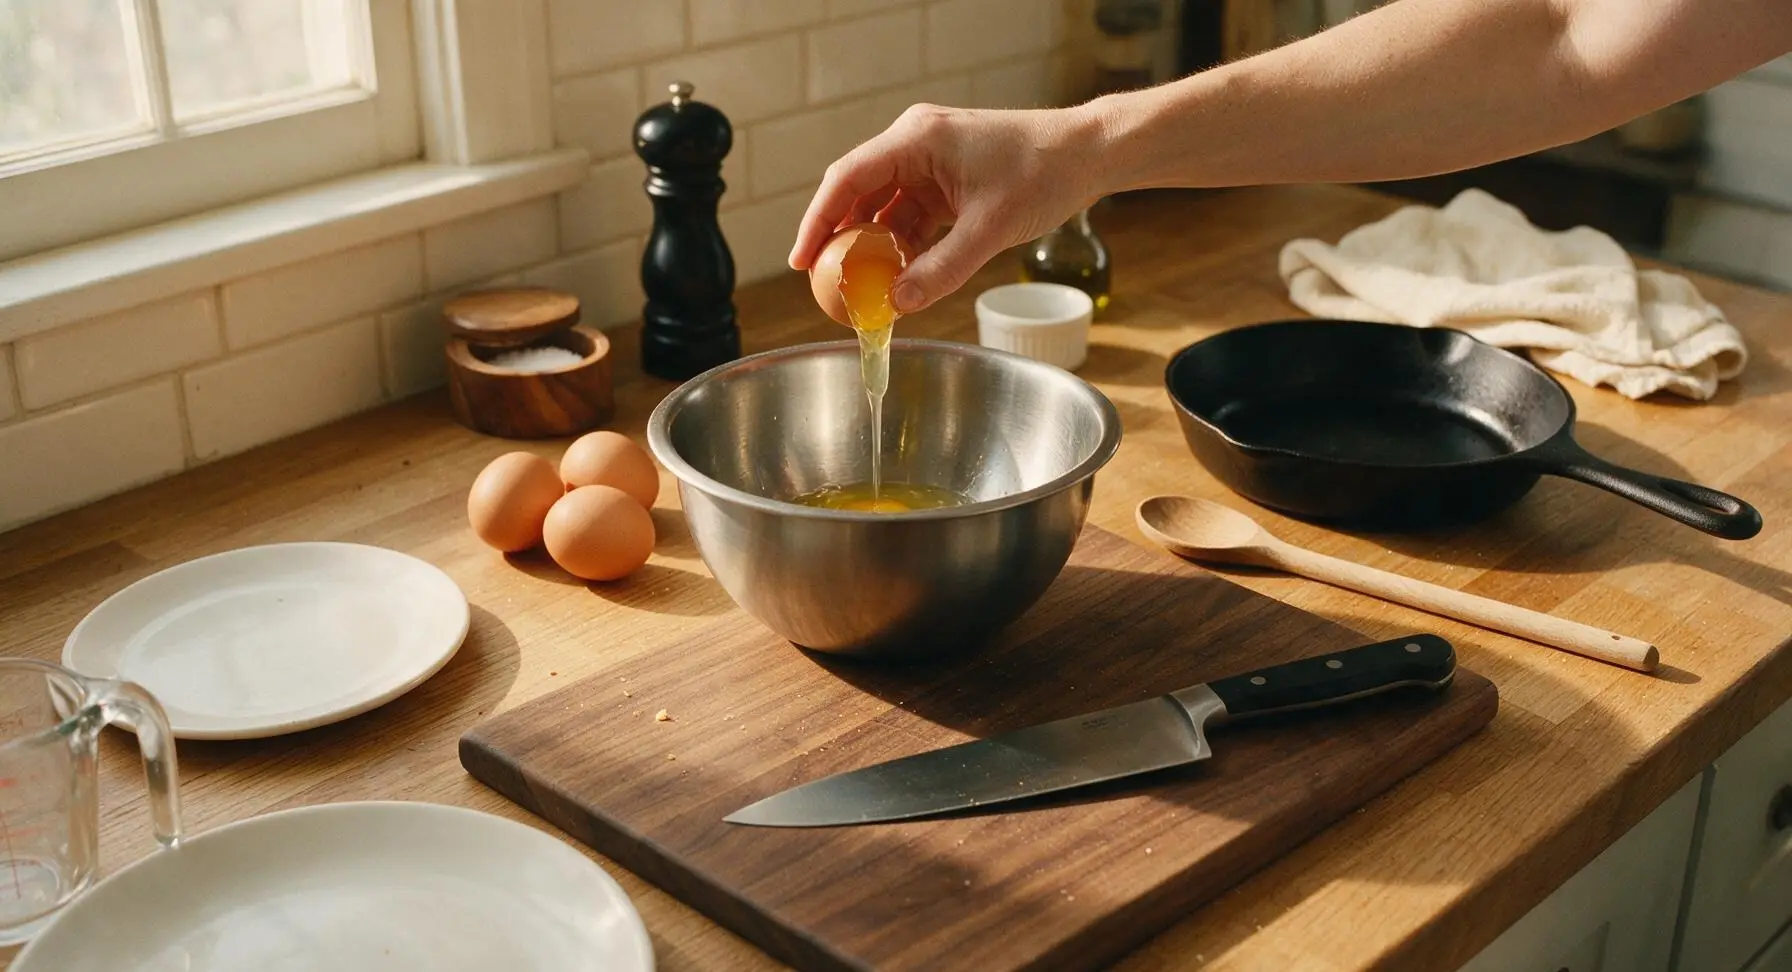
Place the medium stainless steel mixing bowl at the center of the counter. Gently tap each of the 4 cold large eggs on the flat counter edge (not the bowl rim) to create a clean, even crack, then pull the shell halves apart to let egg white and yolk fall into the bowl. Take care not to drop small shell fragments into the mixture; if a fragment falls in, use an empty half egg shell to fish it out easily, as shell attracts shell.
Step 1
step1:Crack Eggs Into Bowl
2

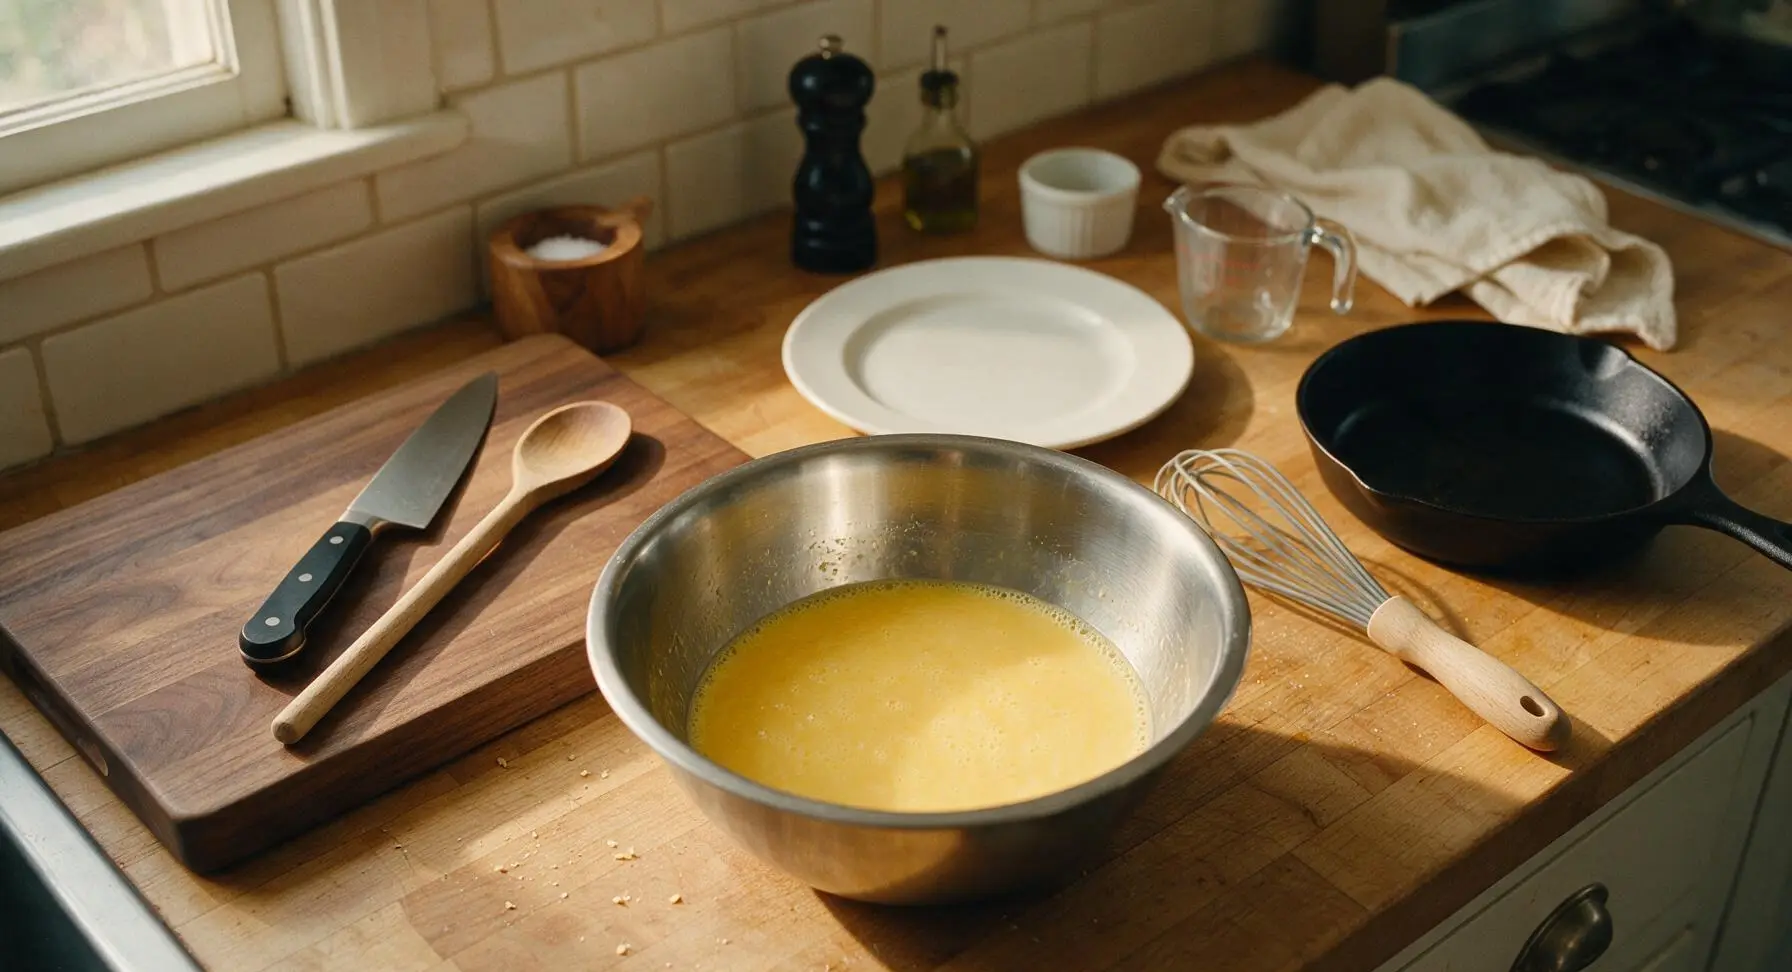
Whisk Egg Mixture Smooth

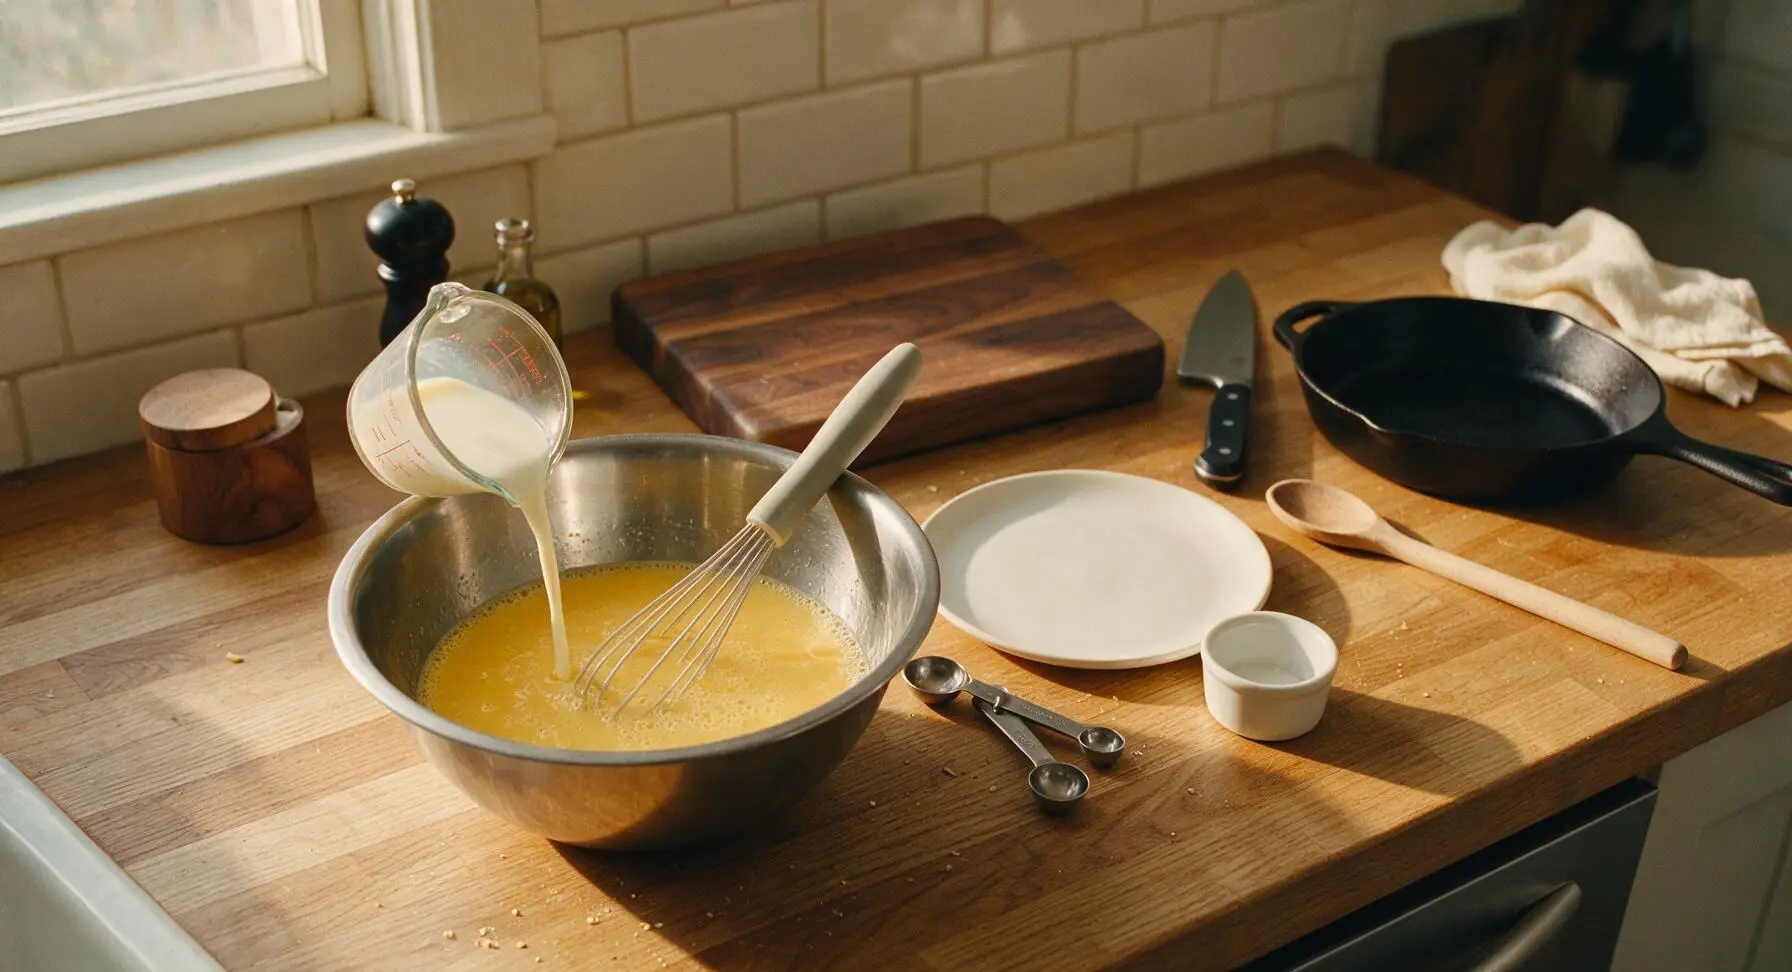
Use the measuring spoons to add 1 tablespoon half-and-half and 1/8 teaspoon flaky sea salt to the cracked eggs in the mixing bowl. Hold the silicone-tipped whisk at a 45-degree angle, and whisk the mixture vigorously for 45-60 seconds until yolks and whites are fully combined, the mixture is a uniform pale golden yellow, and a thin layer of tiny, fine bubbles forms across the surface. Do not over-whisk to the point of large, foamy bubbles, as this creates watery, less fluffy eggs.
Step 2
step2:Whisk Egg Mixture Smooth
Step 2
step2:Whisk Egg Mixture Smooth
3

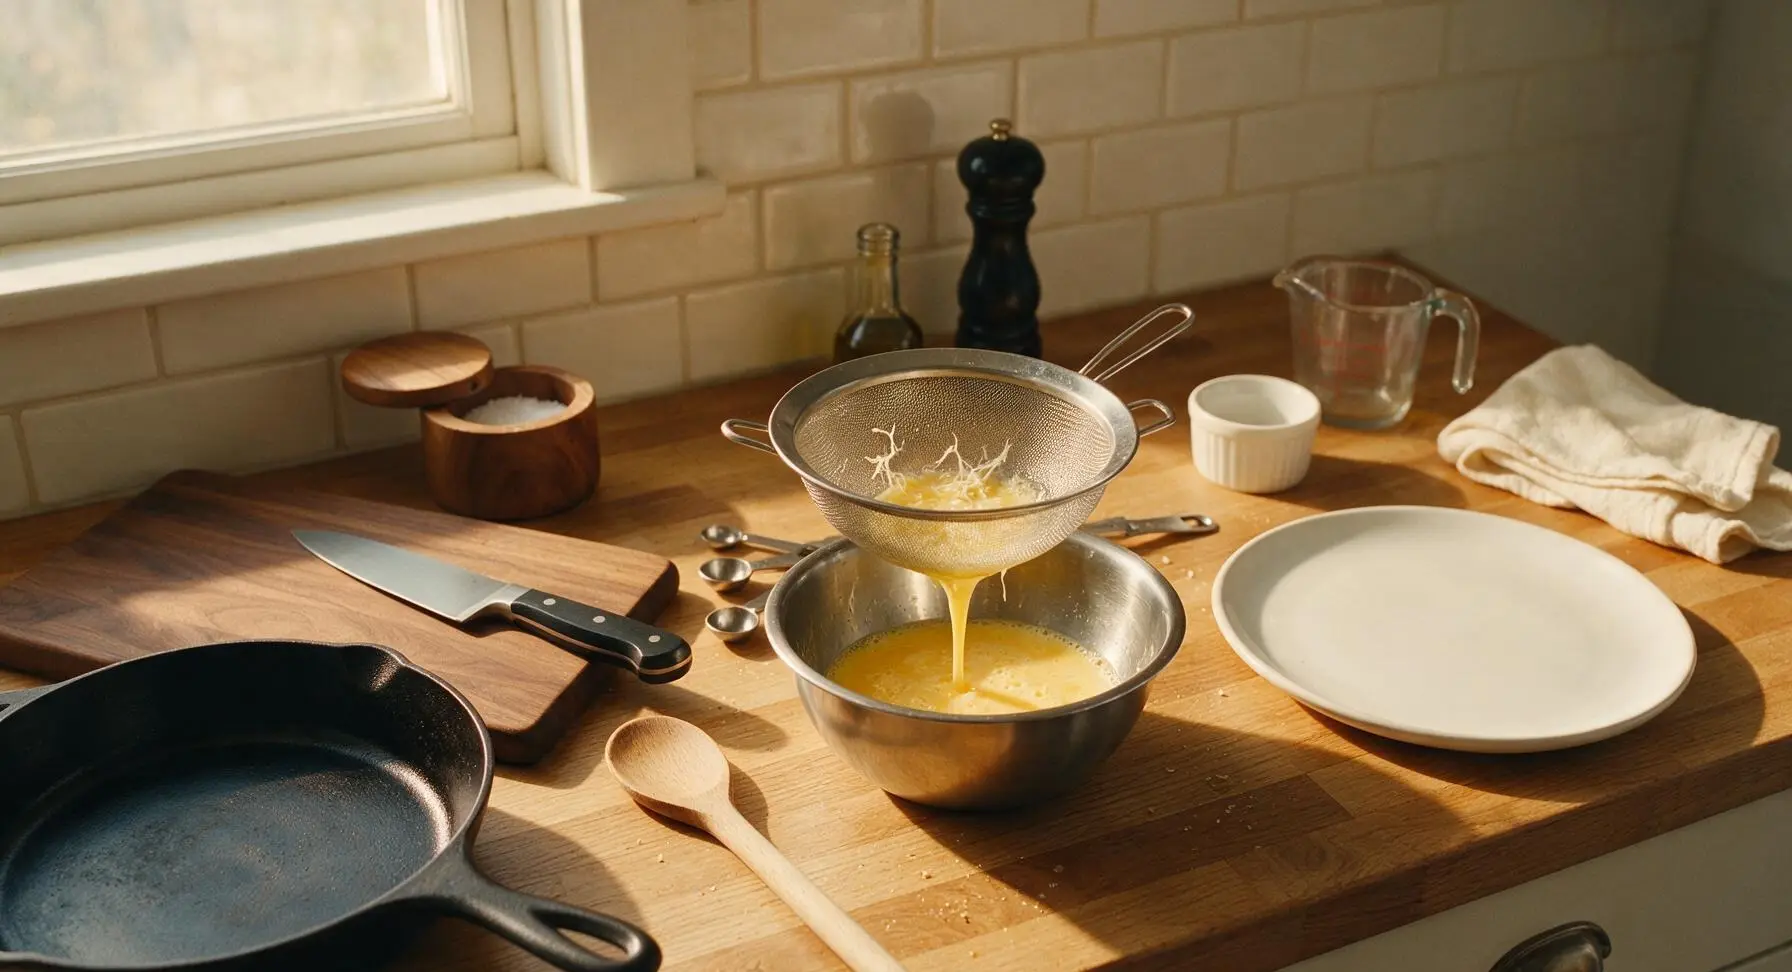
Strain For Silkier Curds

Set the fine-mesh stainless steel sieve over the top of the mixing bowl. Pour the whisked egg mixture through the sieve to catch stringy chalaza bits and any unblended egg white strands, which would create tough, rubbery spots in the finished eggs. Gently tap the side of the sieve to let all liquid egg pass through, then discard the small solid bits trapped in the mesh.
Step 3
step3:Strain For Silkier Curds
4

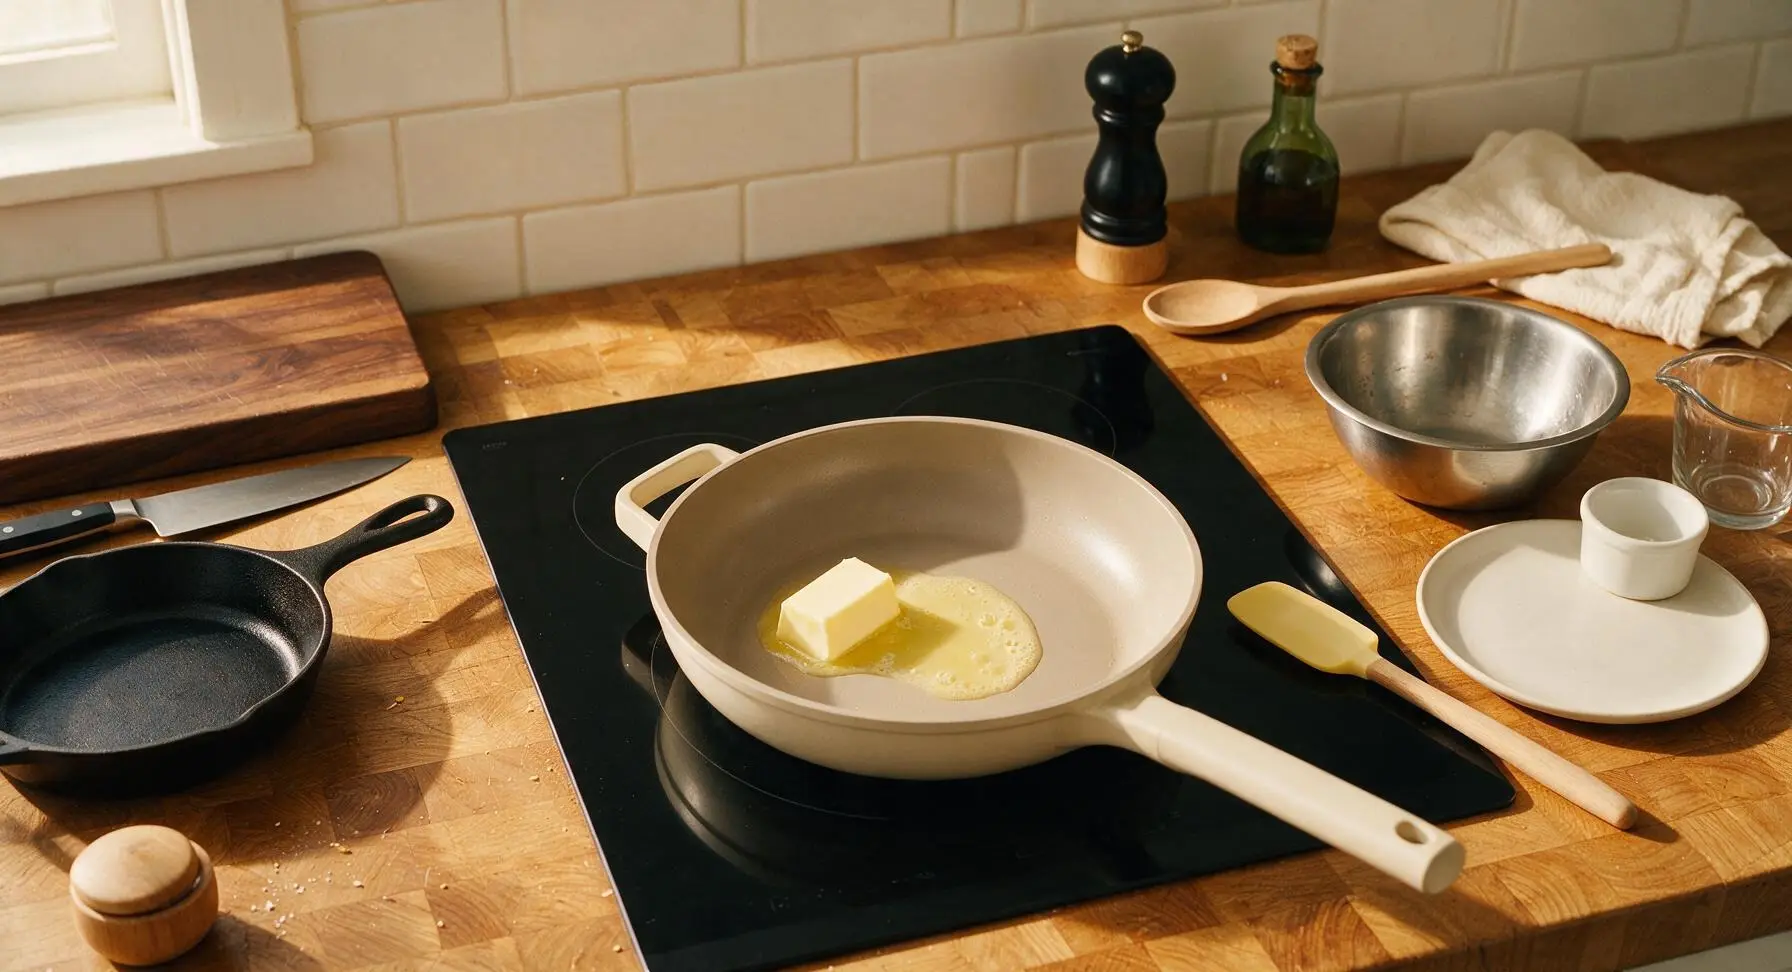
Preheat Pan Over Low Heat

Place the 20cm non-stick skillet on the center induction burner, set heat to the lowest setting to reach a pan temperature of 150°F (65°C). Add 1 tablespoon of unsalted butter to the pan, and let it melt slowly until it foams gently but does not turn brown or sizzle loudly. If the butter browns or sizzles, the pan is too hot and will cook eggs too quickly, creating rubbery curds.
Step 4
step4:Preheat Pan Over Low Heat
5

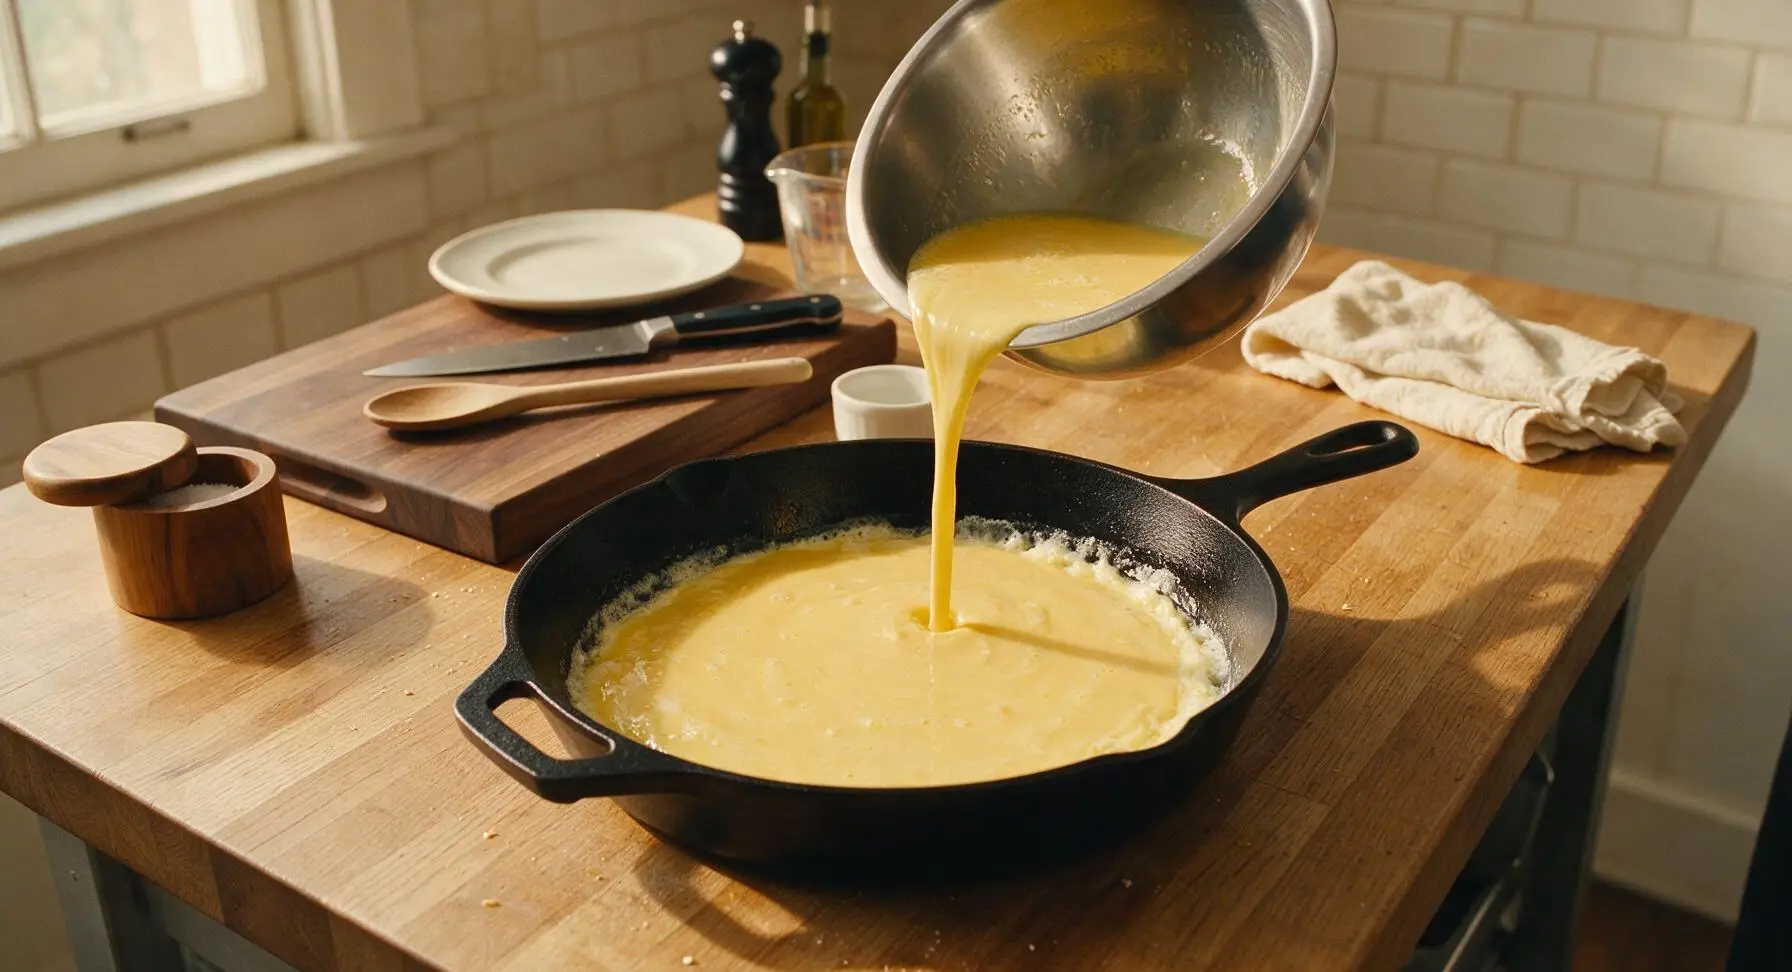
Cook Eggs Low And Slow

Pour the strained egg mixture into the preheated, buttered pan in one smooth pour. Let the eggs sit undisturbed for 15-20 seconds, until the very edges of the mixture start to form soft, opaque curds. Use the flexible silicone spatula to gently push set curds from the pan edge toward the center, tilting the pan to let uncooked runny egg flow into the empty spaces left by the pushed curds. Repeat this push-and-tilt motion continuously for 3-4 minutes, never scraping the pan hard, never increasing the heat.
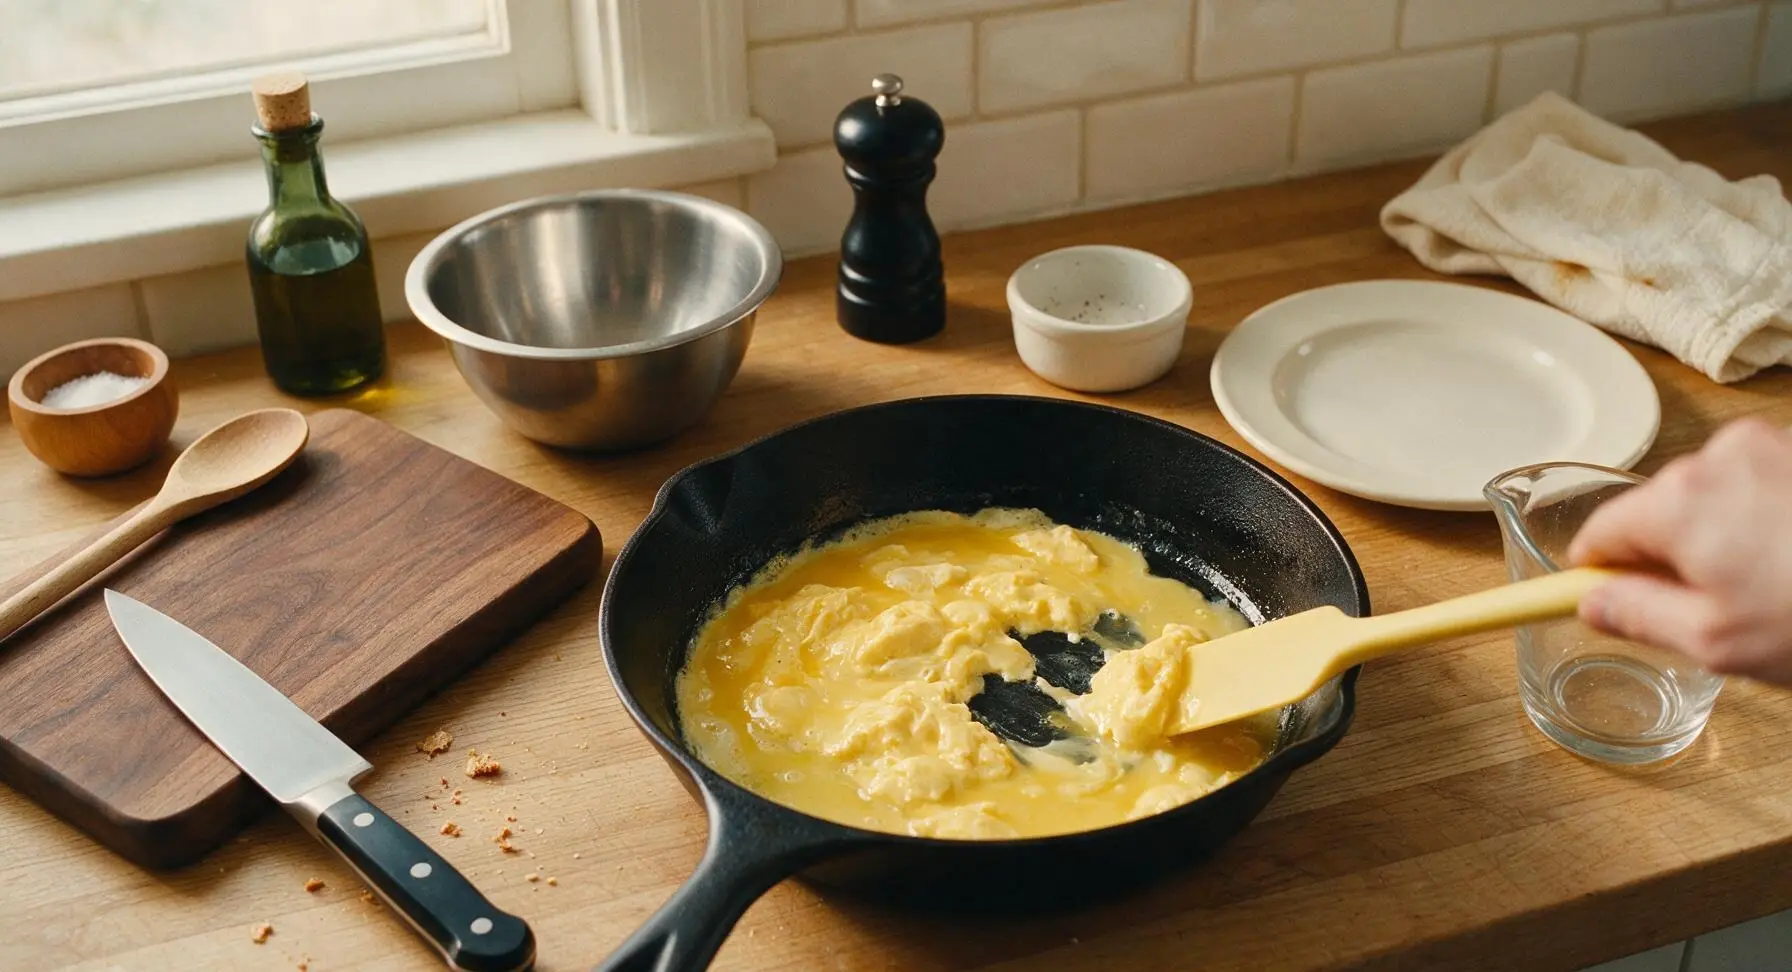
Step 5
step5:Cook Eggs Low And Slow
Step 5
step5:Cook Eggs Low And Slow
6

Finish Curds Off Heat

When the eggs are about 80% set, with soft large curds and just a small amount of slightly runny egg remaining, turn off the heat completely. Residual heat in the pan will finish cooking the eggs in 30 seconds, preventing overcooking. Continue gently folding the curds with the spatula until the last runny bits just set into soft, fluffy curds that hold their shape but still look moist and glossy. Do not cook until eggs are dry, as they will continue to cook after plating.
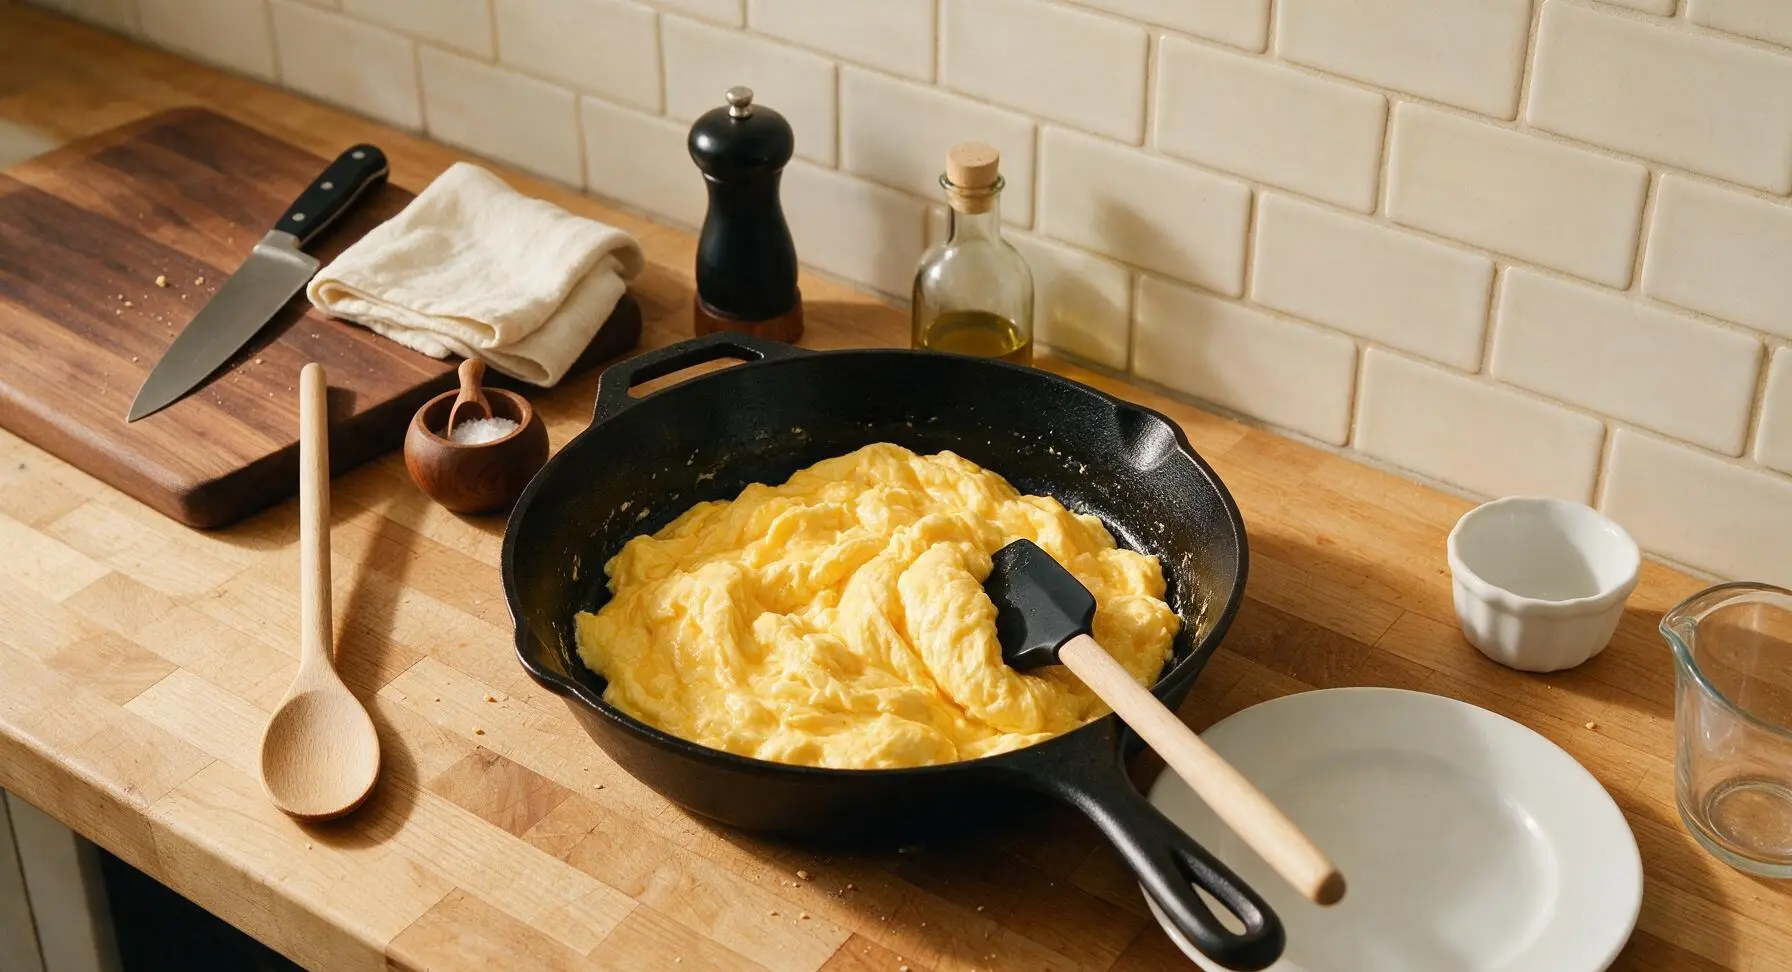
Step 6
step6:Finish Curds Off Heat
7

Plate And Season Eggs

Gently slide the soft scrambled eggs from the pan onto the center of the matte cream ceramic breakfast plate. Sprinkle with the remaining 1/8 teaspoon flaky sea salt, 1/8 teaspoon freshly ground black pepper, and 1 teaspoon finely chopped fresh chives. Serve immediately, as scrambled eggs become tough and rubbery if left to sit for more than 2 minutes.
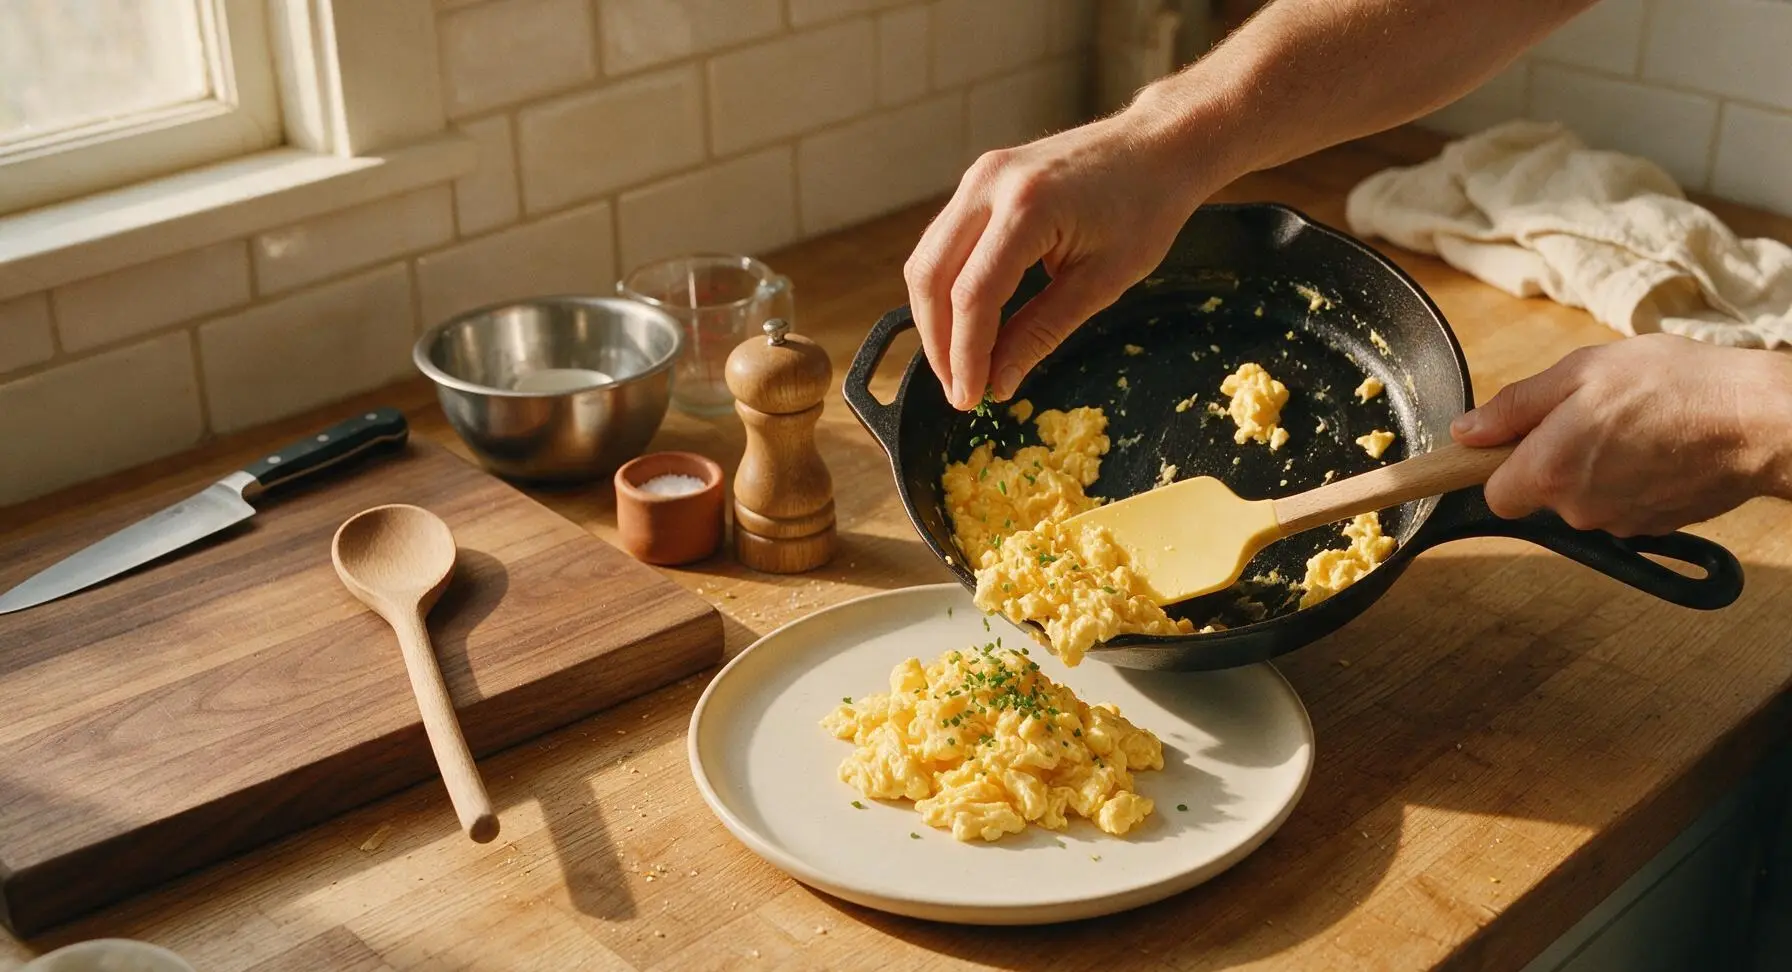
Step 7
step7:Plate And Season Eggs

Tips

1.Skip adding water or regular whole milk to eggs: Water dilutes egg flavor and creates watery, separated curds, while high-lactose regular milk can curdle under heat and create tough texture; half-and-half adds just enough richness without thinning the egg mixture.
2.Always cook on the lowest possible heat: High heat causes egg proteins to seize and tighten quickly, creating rubbery, dry eggs with crispy browned edges, while low heat slowly builds soft, tender, melt-in-your-mouth curds.
3.Remove eggs from heat before they look fully done: Residual pan heat will continue to cook eggs for 30-60 seconds after the burner is turned off, so pulling them when slightly underdone ensures they stay fluffy and moist instead of turning dry by the time they reach the table.


✨ You May Also Like

Breakfast
🍜 United States

Crisp-edged, fluffy lard griddle cakes are a nostalgic homestyle staple, with rich savoriness from rendered lard, perfect topped with maple syrup or savory gravy.

⏱️ 25 minuteBreakfast ★ 4.8
Breakfast
🍜 United States

Flaky, buttery homemade buttermilk biscuits smothered in creamy, peppery pork sausage gravy: a beloved, hearty Southern American comfort food classic.

⏱️ 35 minuteBreakfast ★ 4.8
Breakfast
🍜 United States

Golden, custardy brioche stuffed with sweet cream cheese and fresh berries, pan-fried to crisp perfection. An indulgent, cozy breakfast perfect for slow weekend mornings.

⏱️ 30 minuteBreakfast ★ 4.7
Breakfast
🍜 United States

Flaky, buttery Southern-style biscuits stuffed with savory salty country ham, a portable, satisfying classic perfect for casual on-the-go meals.

⏱️ 25 minuteBreakfast ★ 4.8
Breakfast
🍜 United States

Iconic puffy baked pancake popularized in Seattle, with crisp golden edges and soft custardy center, served warm with classic sweet toppings.

⏱️ 35 minuteBreakfast ★ 4.6
Breakfast
🍜 United States

Fluffy, golden pancakes studded with juicy peak-summer mixed berries, drizzled with maple syrup for a bright, comforting, crowd-pleasing family breakfast.

⏱️ 25 minuteBreakfast ★ 4.7

Fluffy Scrambled Eggs:Frequently Asked Questions

1.What makes these scrambled eggs fluffier than basic everyday scrambled eggs? ▾
That cloud-like fluff comes from two simple, intentional choices: a small splash of half-and-half to add gentle richness and moisture without thinning the eggs too much, and low-and-slow cooking to form soft, pillowy curds instead of tough, tight ones. You don’t need fancy add-ins or whipped egg whites to nail the texture if you get those two steps right.
2.Can I use regular milk instead of half-and-half if I don’t have any on hand? ▾
You can, but note that whole milk will give you slightly less rich, less silky results than half-and-half due to its lower fat content. Skip skim or 1% milk entirely—it has too much watery whey that can separate during cooking and leave eggs watery or bland. If you only have milk, add a tiny extra pat of butter to bump up fat for a closer texture.
3.How many eggs should I plan per person for a standard serving? ▾
For a light breakfast or side serving, plan 2 large grade A eggs per person. If you’re serving the eggs as the main dish alongside toast, bacon, or fresh fruit, bump that up to 3 eggs per adult. This recipe scales really easily—just adjust butter, half-and-half, and seasoning proportionally no matter how many servings you’re making.
4.When is the best time to salt the eggs for the fluffiest possible texture? ▾
Skip salting eggs the second they hit the pan, which draws out excess moisture early and leads to watery, tight curds. Instead, whisk a small pinch of flaky sea salt into your beaten eggs right before pouring them into the pan, then add one final tiny pinch of flaky salt right as you pull them off the heat to brighten flavor.
5.Do I need to whisk the eggs until they’re foamy to get that light, fluffy result? ▾
You don’t need to whip them until they’re fully foamy—that actually incorporates too much air that pops mid-cook and leaves eggs deflated and watery. Just whisk them gently until yolks and whites are fully combined, with no streaks of clear white left, and the half-and-half is fully mixed in. Over-whisking is a super common, easy-to-fix mistake.
6.What stove heat setting should I use to avoid rubbery, tough eggs? ▾
Stick to medium-low heat the entire time you cook, no exceptions. High heat cooks eggs too fast, squeezing moisture out of curds and turning them tough and rubbery in as little as 60 seconds. Melt your butter over medium-low until it foams gently (no browning!) before adding eggs, and keep the heat steady as you form soft curds.
7.Can I add mix-ins like cheese, veggies, or ham to these fluffy eggs? ▾
Absolutely, just prep your mix-ins first so you don’t overcook the eggs waiting for add-ins to warm through. Sauté veggies like diced bell pepper or spinach fully first, dice cooked ham, and shred cheese ahead of time. Fold mix-ins in during the last 30 seconds of cooking, right as curds are almost set, so they don’t weigh down the fluffy texture.
8.Why does this recipe call for unsalted butter instead of regular salted butter? ▾
Unsalted butter lets you control exactly how much salt goes into your eggs, so you don’t end up with overly salty results from varying salt levels across different salted butter brands. It also has a fresher, sweeter cream flavor that doesn’t compete with the delicate, rich taste of the eggs. If you only have salted butter, cut back slightly on added flaky salt to compensate.
9.How do I know when the eggs are done so I don’t accidentally overcook them? ▾
Pull the pan off the heat when the eggs form soft, large curds that are mostly set, but still look slightly moist and creamy with no runny raw egg left in the pan. Residual heat from the pan and eggs will finish cooking them in the 30 seconds it takes to plate, when you can top them with a crack of freshly ground black pepper. If you wait until they look fully dry in the pan, they’ll be rubbery by the time you eat.
10.Do I need to stir the eggs constantly the whole time they cook? ▾
You don’t need to stir nonstop the second they hit the pan—that leads to tiny, crumbly curds instead of large, fluffy, silky ones. Let the eggs sit for 10 to 15 seconds after pouring them in to let the bottom set slightly, then use a heatproof silicone spatula to push set curds from the pan edges to the center, repeating until soft curds form.
11.Can I make these fluffy scrambled eggs ahead of time for meal prep? ▾
These eggs are at their fluffy, silky best eaten right after cooking, but you can prep them for meal prep if you pull them slightly underdone (softer than your ideal curd) and store them in an airtight container in the fridge for up to 3 days. Reheat gently in 15-second microwave bursts, stirring between bursts, to avoid turning them rubbery.

Comments (10)

2 hours ago

OMG these scrambled eggs are a GAME CHANGER! I’ve been overcooking my eggs for years and they always came out rubbery, but this 5 minute trick made them so light and fluffy my 7 year old asked for seconds before he even finished his first serving! Served them with toast and berries for a quick school morning breakfast, zero complaints. SO good.

30 minutes ago

Right?! I made them for my partner’s birthday breakfast last weekend and he thought I ordered them from our favorite diner! Did you add a splash of half and half like the recipe says?

5 minutes ago

So happy to hear your kiddo loved them! The low and slow heat is really the secret to avoiding that rubbery texture, so glad it worked out for your busy school morning!

3 days ago

Perfect easy recipe for meal prep! I make a batch of these every Sunday to stuff into breakfast burritos for the work week, and they stay fluffy even after reheating in the microwave for a minute. No more sad, dry desk breakfasts for me! Only tweak I made was tossing in a little pinch of chives from my windowsill garden for extra flavor.

2 days ago

Love the chive addition! Great tip about them holding up for meal prep too, so many people think scrambled eggs don’t reheat well but this method works perfectly for make-ahead meals. Thanks for sharing!

1 week ago

Made these for the whole crew on our camping trip last weekend, cooked ‘em up in my cast iron over the camp stove and they came out perfect even without a fancy kitchen setup. My brother-in-law kept bugging me for my secret, told him it was just this dead simple 5 minute recipe. Way better than the sad crumbly eggs we usually make when we’re out in the woods.

30 minutes ago

Uh, total newbie here, can someone help? I tried this recipe this morning and my eggs still came out a little runny? Did I turn the heat too low? I was scared of burning them so I kept the burner on the absolute lowest setting the whole time.

5 minutes ago

I had the exact same problem my first try! You don’t need the absolute lowest setting, just medium-low, and make sure you’re stirring gently the whole time so they cook evenly. They’ll set up fast once you nail the right temp!

just now

Great advice from @HomeCookVeteran! Medium-low is the sweet spot, and you want to pull them off the heat right when they’re just set — they’ll keep cooking a little from residual pan heat. Give it another shot, you’ve got this!

5 days ago

Brought these to our neighborhood potluck brunch last week alongside some crispy bacon and cinnamon rolls, and the pan was empty in 10 minutes! Three different neighbors asked me for the recipe, I just sent ‘em all this link. Who knew such simple eggs could be such a crowd pleaser?

3 days ago

I did the same thing for my book club brunch last month! I added a little sprinkle of crumbled feta on top right before serving and people went wild for it.

yesterday

Solid high-protein breakfast that doesn’t require a ton of effort. I eat these almost every morning now after my morning run, pair ‘em with some avocado toast and a side of turkey sausage and it keeps me full all the way until lunch. No weird additives, just simple, good food. 10/10.

5 minutes ago

Wait, is it normal that these taste way better than the scrambled eggs I’ve been making my whole adult life? I followed the tip about stirring constantly with a silicone spatula and they were so soft and fluffy I almost didn’t believe I made them. Even my cat was begging for a bite off my plate lol.

just now

Haha, we love that even your cat approves! The silicone spatula trick makes such a big difference for getting those soft, pillowy curds, right? So glad you gave the recipe a try!

2 weeks ago

Bro I’m a broke college student with barely any cooking skills and these came out insane first try. I only had regular milk instead of half and half and they were still so fluffy, way better than the sad powdered eggs they serve in the dining hall. Total win for dorm cooking if you have a little hot plate.

1 week ago

No way, I made these in my dorm too! I tossed on a little shredded cheddar at the end and it tasted like a restaurant meal for like $2 total.

5 days ago

Love that this works for dorm cooking! Regular milk works totally fine if that’s what you have on hand, no fancy ingredients required. So happy you found a go-to that’s better than dining hall food!

2 days ago

I’ve been making scrambled eggs for over 60 years and I’ll admit, this method is better than what I was doing! Who knew taking the pan off the heat a minute early would make them so much softer? My granddaughter said they taste like the eggs we get when we go out for Sunday brunch, so that’s the highest compliment I can get.

just now

So happy this recipe is naturally gluten free! It’s so hard to find quick breakfast ideas that don’t require a million specialty ingredients, and these are perfect for my sensitive stomach. I topped mine with a little everything bagel seasoning and some sliced avocado, chef’s kiss. Only reason I’m not giving 5 stars is I wish the recipe noted how much salt to add — I overdid it a little my first go round, but otherwise perfect!

just now

Thanks so much for the helpful feedback! I’ve updated the recipe to note 1/4 teaspoon of kosher salt per 2 eggs as a starting point (you can always add more to taste!). So glad you loved the flavor combo with everything bagel seasoning — that’s one of my go-to toppings too!



