
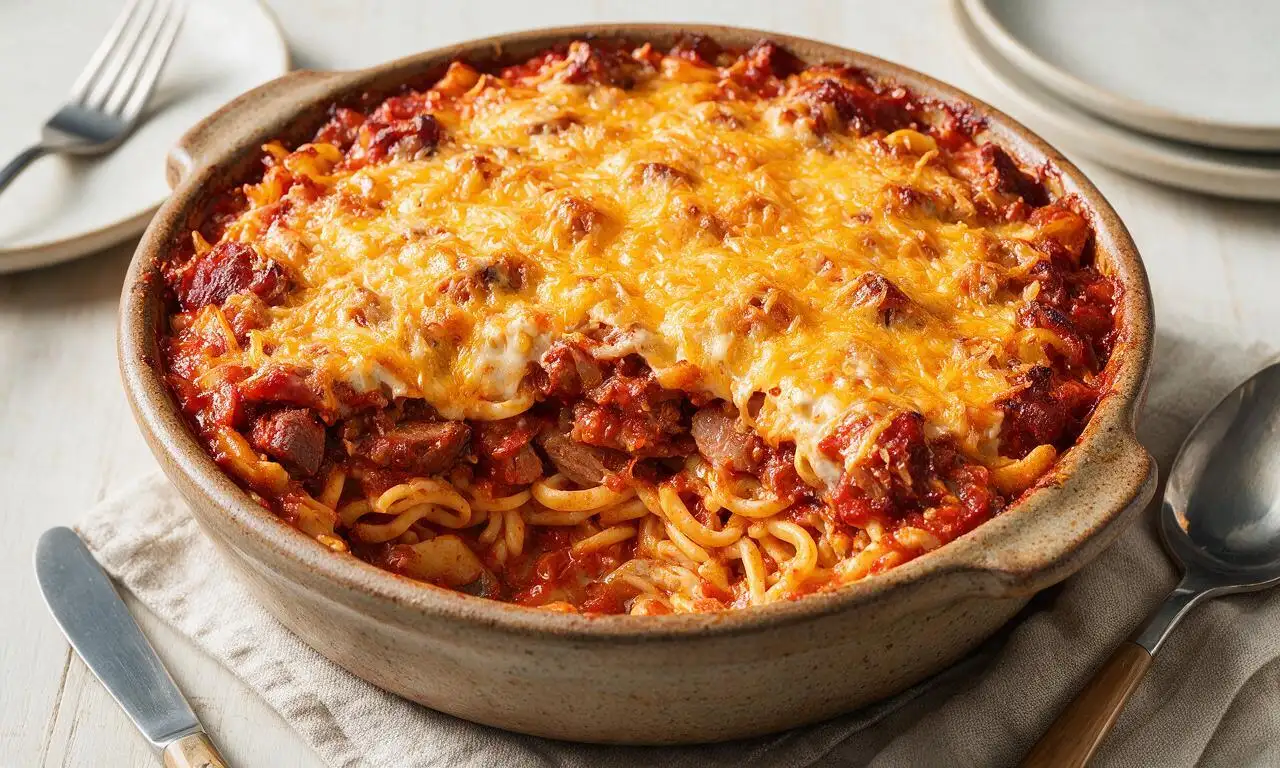
Food Coma

title 1
Food Coma
⏱️ cook time 1 hour 15 minutes
🍽️ servings 4
⚡ Difficulty medium

intro

An ultra-hearty, cheesy layered baked casserole packed with savory meat, pasta, and rich sauce, delivering that warm, cozy post-meal food coma feeling.

Ingredients

80/20 ground beef 450g
Elbow macaroni 300g
Sharp cheddar cheese, shredded 220g
Diced smoked bacon 120g
Yellow onion, diced 150g (1 medium)
Garlic, minced 10g (2 cloves)
Canned crushed tomatoes 400g
Frozen sweet corn 100g
Whole milk 240ml (1 cup)
Unsalted butter 28g (2 tbsp)
All-purpose flour 16g (2 tbsp)
Smoked paprika 2g (1 tsp)
Kosher salt 5g (1 tsp)
Ground black pepper 1g (½ tsp)
Crispy fried onions 80g

Steps

1

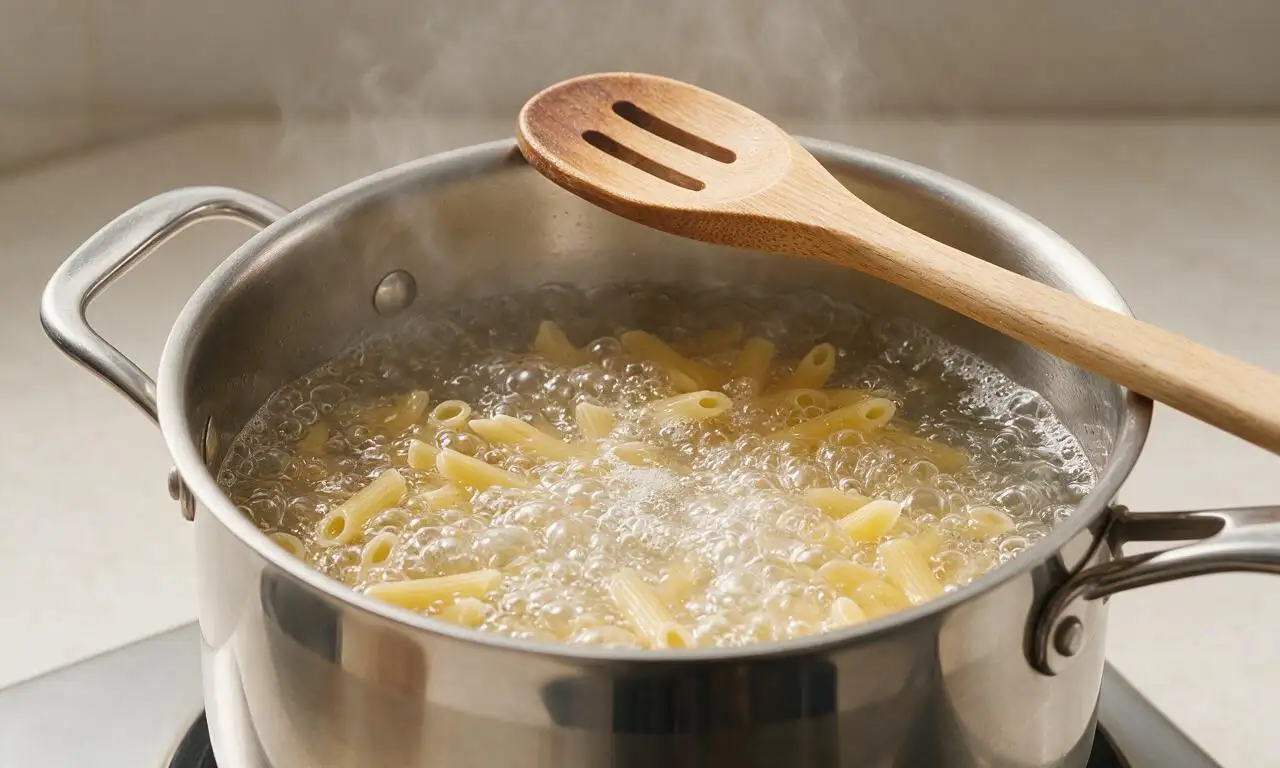
Cook the pasta

Bring a large stockpot with 2L of heavily salted water to a rolling boil over high heat. Add 300g elbow macaroni, stir once to prevent sticking, and cook for 7 minutes until just al dente (firm to the bite, not mushy). Drain pasta fully and set aside; do not rinse the noodles, as residual starch helps sauce cling later.
Step 1
step1:Cook the pasta
2

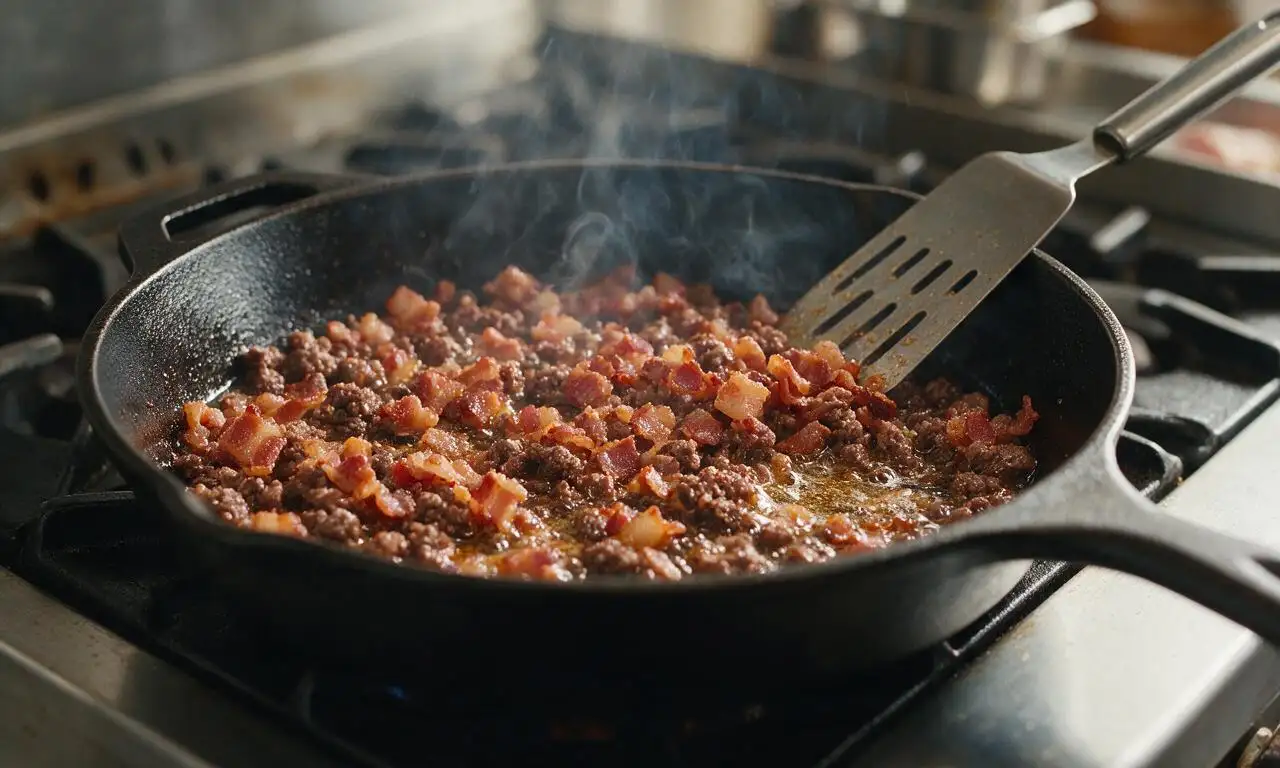
Sear the meats

Heat a large deep cast-iron skillet over medium heat (175°C/350°F). Add 120g diced smoked bacon, cook for 5 minutes until fat renders and bacon edges turn crispy. Add 450g 80/20 ground beef, break apart with a stiff spatula, and cook for 8 minutes until fully browned with no pink remaining. Drain excess grease, leaving 1 tbsp of rendered fat in the skillet.
Step 2
step2:Sear the meats
3

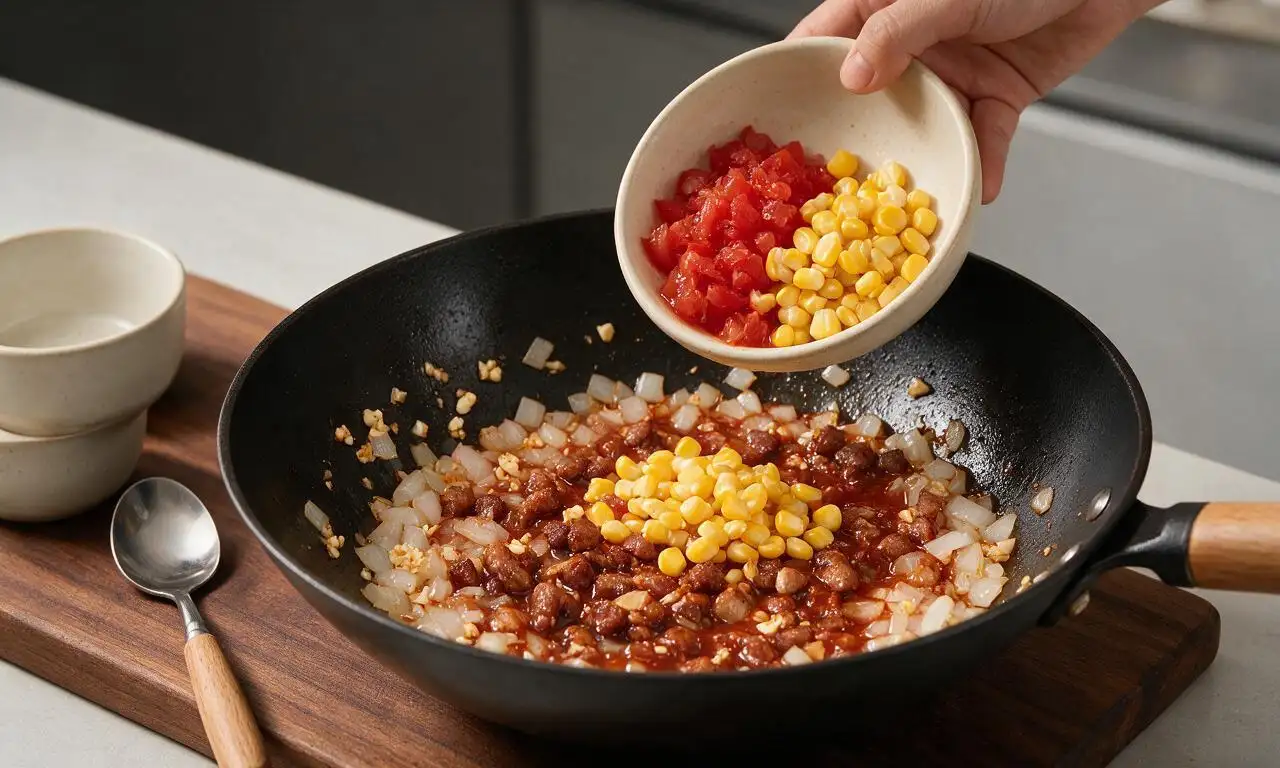
Sauté the aromatics

Add 150g diced yellow onion to the skillet with cooked meat, cooking over medium heat for 4 minutes until soft and translucent. Add 10g minced garlic, 2g smoked paprika, 3g of the measured kosher salt, and 1g ground black pepper, stirring constantly for 30 seconds until fragrant. Stir in 400g crushed tomatoes and 100g frozen sweet corn, bring to a gentle simmer, and cook for 3 minutes to thicken slightly.
Step 3
step3:Sauté the aromatics
4

Make cheese sauce

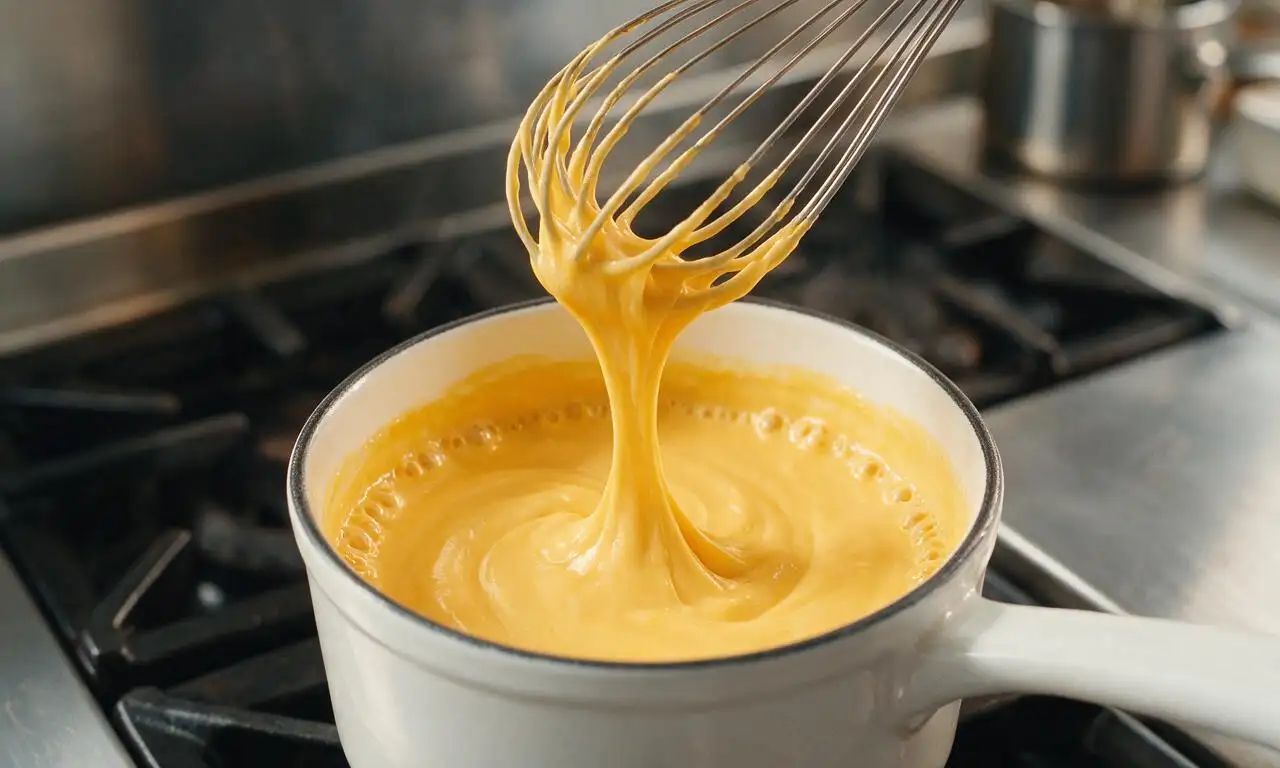
In a small enamel saucepan over medium-low heat (160°C/325°F), melt 28g unsalted butter. Whisk in 16g all-purpose flour to form a smooth, pale golden roux, cooking for 2 minutes while whisking constantly to remove raw flour taste. Slowly stream in 240ml whole milk while whisking continuously to avoid lumps, cooking for 4 minutes until the sauce thickens enough to coat the back of a spoon. Remove from heat, stir in 160g of the shredded sharp cheddar and remaining 2g kosher salt, mixing until fully melted and smooth.
Step 4
step4:Make cheese sauce
5

Layer the casserole

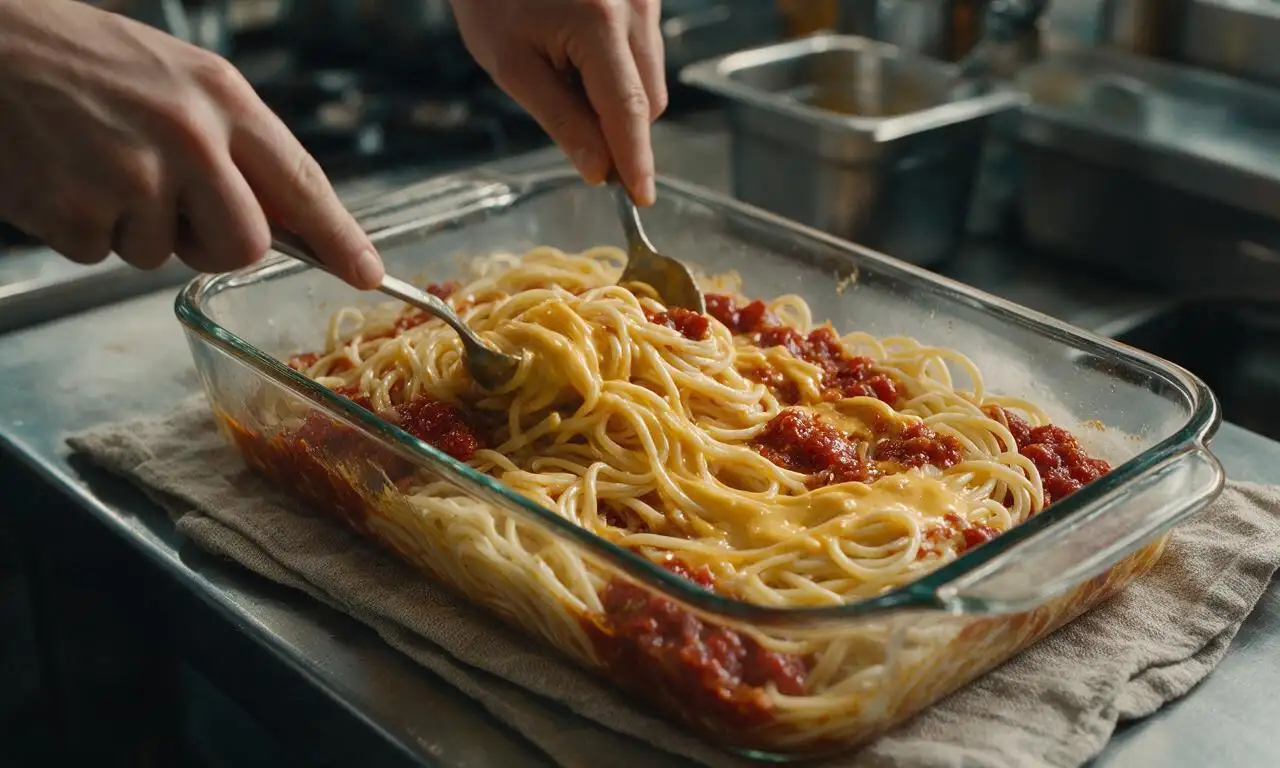
Preheat oven to 190°C/375°F. Grease a 23x33cm (9x13 inch) glass baking dish with a thin layer of butter. Add drained cooked macaroni to the dish, pour the meat and tomato mixture over the pasta, then pour the smooth cheese sauce over the meat layer. Use a large serving spoon to gently toss all ingredients until evenly combined, spreading the top into a smooth, flat layer.
Step 5
step5:Layer the casserole
6

Bake to golden finish

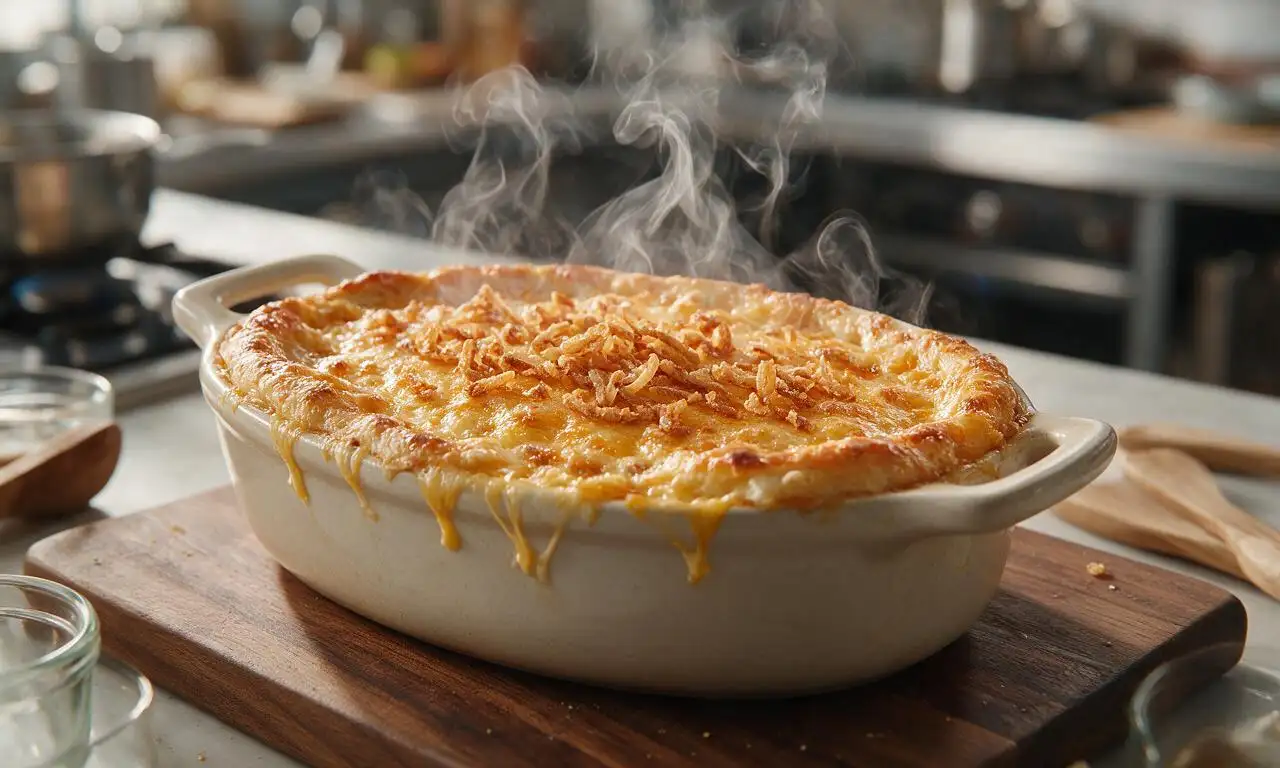
Sprinkle the remaining 60g shredded sharp cheddar evenly over the top of the assembled casserole, then top with 80g crispy fried onions. Bake uncovered on the middle oven rack for 25 minutes, until the dish edges bubble vigorously and the top cheese is fully melted and deep golden brown. Remove from the oven and let rest for 10 minutes at room temperature before serving to let layers set.
Step 6
step6:Bake to golden finish

Tips

1.Do not rinse cooked pasta for this dish: the starchy noodle surface helps cheese sauce cling tightly, creating a more cohesive, rich bite in every serving.
2.Allow the casserole to rest the full 10 minutes after baking; this lets the sauce and layers set, preventing runny, sloppy servings when scooping.
3.For an extra indulgent upgrade, swap 50g of the sharp cheddar for shredded smoked gouda to add a deep, nutty, smoky flavor note.


✨ You May Also Like

Main Course
🍜 United Kingdom

A showstopping classic of tender seared beef, savory mushroom duxelles, and crisp prosciutto wrapped in flaky golden puff pastry, baked to juicy perfection.

⏱️ 2 hours 1Main Course ★ 4.7
Main Course
🍜 India

Tender charred marinated chicken simmered in a rich, spiced creamy tomato sauce, this iconic Anglo-Indian curry pairs perfectly with basmati rice or warm naan.

⏱️ 50 minuteMain Course ★ 4.6
Main Course
🍜 Thailand

Classic tangy, sweet, and savory Thai stir-fried rice noodles with shrimp, tofu, and crunchy garnishes, balancing all five core Thai flavor profiles.

⏱️ 30 minuteMain Course ★ 4.5
Main Course
🍜 United Kingdom

Crispy golden beer-battered cod and fluffy double-fried chips, served with tangy tartar sauce and malt vinegar: the timeless, beloved British pub comfort classic.

⏱️ 45 minuteMain Course ★ 4.7
Main Course
🍜 Mexico

Smoky, chile-marinated pork tacos with caramelized pineapple, fresh cilantro, and lime: a beloved classic Mexican street food perfect for casual summer gatherings.

⏱️ 1 hour 45Main Course ★ 4.8
Main Course
🍜 United States

Crunchy Fritos corn chips layered with savory beef chili and melted cheddar, topped with cool, zesty fixings for a beloved, cozy Tex-Mex comfort food.

⏱️ 35 minuteMain Course ★ 4.8

Food Coma:Frequently Asked Questions

1.Why do you specify 80/20 ground beef instead of a leaner grind for this casserole? ▾
That 20% fat content is non-negotiable for that juicy, deeply savory, no-dry-bite vibe! Leaner grinds like 90/10 cook up crumbly and bland, and you’ll miss that rich base that pairs so well with smoked bacon and sharp cheddar. Leave 1-2 tablespoons of the rendered beef fat in the pan to amp up your sauce flavor, no need to drain it completely.
2.Can I assemble this casserole the night before I plan to bake it? ▾
Absolutely! Build all the layers except the final top sprinkle of cheddar, cover tightly with plastic wrap, and stash it in the fridge for up to 24 hours. When you’re ready to bake, let it sit on the counter for 20 minutes to take the chill off, add the reserved top cheese, and tack 10-12 extra minutes onto the total bake time.
3.Do I have to use elbow macaroni, or can I swap in a different pasta shape? ▾
Elbow macaroni is ideal because its curved, ridged shape catches every bit of meat sauce and melted cheddar for perfect bites, but you can swap in other small, sturdy shapes if needed. Cavatappi, small shells, or rotini work great—just skip long, thin pasta like spaghetti, which won’t hold up to the hearty layered structure.
4.Why use sharp cheddar instead of mild cheddar for this recipe? ▾
Sharp cheddar has a tangy, bold, concentrated cheese flavor that cuts through the richness of ground beef and smoked bacon so no bite feels one-note or greasy. Mild cheddar melts smoothly, but its soft, milky taste gets lost next to the other savory components, leaving you with a bland cheese layer that doesn’t deliver that cozy punch.
5.My bacon always turns out chewy in casseroles—how do I get it crisp enough? ▾
Great question! Dice your smoked bacon first, then cook it in a skillet over medium heat for 6-8 minutes until it’s just crisp around the edges before adding it to your layers. Don’t cook it until it’s rock hard, though—it will crisp a little more as the casserole bakes, and this pre-cook step keeps it from turning rubbery in the final dish.
6.How do I keep the elbow macaroni from getting mushy after baking? ▾
It’s such an easy fix! Undercook your elbow macaroni by 2 full minutes before layering it in—so if the box says 9 minutes to al dente, pull it at 7 minutes. It will finish cooking as it absorbs sauce and bakes in the oven. Skip rinsing the pasta after draining, too; its starchy coating helps the cheese and sauce cling better.
7.Do I need to cook the diced yellow onion first, or can I add it raw? ▾
Always sauté your diced yellow onion for 4-5 minutes in the same pan you cooked the bacon and beef in, until it’s soft and just starting to caramelize at the edges. Raw onion will stay crunchy and sharp-tasting even after a full bake, and sautéing brings out its natural sweetness that balances the salty, savory meat and tangy cheddar.
8.How do I tell when the casserole is fully done, so I don’t under or overcook it? ▾
You’ll know it’s perfect when the edges are bubbling aggressively all the way around the baking dish, the sharp cheddar on top is fully melted and just starting to turn golden in spots, and the center hits 165°F on an instant-read thermometer. Let it rest 10 minutes before scooping so the layers set and don’t slide apart when served.
9.Can I freeze leftover portions of this casserole for quick future meals? ▾
Definitely! Let the fully baked casserole cool completely, then portion individual servings into airtight, freezer-safe containers, or wrap the whole uncut baking dish in two layers of plastic wrap and foil. It keeps for up to 3 months in the freezer. Reheat covered in a 350°F oven for 25-30 minutes, adding a little extra cheddar on top if you’d like.
10.This is called the Food Coma Casserole—Is it too heavy for a regular weeknight dinner? ▾
It’s definitely rich and hearty, but it’s totally weeknight-appropriate! Serve a modest scoop alongside a crisp green salad tossed in tangy vinaigrette or lightly steamed green beans to cut through the cheese and meat richness, and you’ve got a balanced, cozy meal that won’t leave you too full to tackle post-dinner chores.
11.I don’t eat beef—can I swap the ground beef for another protein without ruining the dish? ▾
You absolutely can! Swap the 80/20 ground beef for ground pork, ground turkey thigh (skip lean ground turkey breast, it’s far too dry), or a high-fat plant-based ground crumble. Season your swap well with a pinch of salt and pepper, and keep the bacon and sharp cheddar to hold onto that signature rich, cozy comfort food flavor.

Comments (8)

yesterday

OMG y’all, I made this for our Sunday family dinner last night and every single person went back for seconds! I was a little nervous about the cook time since my oven runs hot, but I checked it at the hour mark and it was perfectly golden and bubbly. Total game changer, my picky 7 year old even asked for leftovers in his lunch today! 10/10 will be making this for our next neighborhood potluck for sure.

2 hours ago

Wait did you add the extra cheese layer on top like the recipe says? I’m making this for my work potluck Friday and curious if that’s non-negotiable lol

30 minutes ago

So glad your family loved it! For potlucks, that extra cheese layer is 100% worth it – it gets that crispy, melty top that everyone goes crazy for. If your oven runs hot, just tent it with foil for the last 10 minutes to avoid burning the edges!

2 days ago

Made this on Sunday for my weekly meal prep and it held up perfectly all week in the fridge! I was worried it would get soggy, but the layers stayed totally intact and it reheated like a dream in the microwave. The only swap I made was using turkey sausage instead of pork to cut a little fat, and it was still SO good. Already added this to my regular rotation!

3 days ago

Okay, full transparency: I almost bailed halfway through because I thought the ingredient list was longer than my usual weeknight go-tos, but man was it worth the extra effort. The flavor combo is insane – creamy, savory, a little crispy on top, exactly what I want out of a comfort food casserole. Took me about 15 extra minutes of prep because I was chopping veggies slow, but total time was still right around the 1 hour 15 minutes listed. No notes!

yesterday

So happy you stuck with it! Those longer ingredient lists can feel intimidating at first, but most of it is just pantry staples you probably already have on hand once you break it down. Next time you can chop veggies the night before to cut down on weeknight prep time!

5 days ago

Has anyone tried making this with gluten-free cream of mushroom soup? I’m hosting my sister and her family next weekend and she’s celiac, so I need a swap that won’t mess up the texture. This looks too good to pass up for our game night spread!

3 days ago

I did! Used the Pacific Foods GF cream of mushroom and it was identical to the regular version, no texture weirdness at all. I also tossed in a little extra garlic powder for good measure, chef’s kiss

2 days ago

Great question! As Becky mentioned, GF condensed soup works perfectly here – just make sure you get the condensed kind, not the ready-to-eat soup, or the consistency will be too thin. Hope you and your sister love it!

1 week ago

Made this in my tiny dorm oven with a couple of my roommates last weekend and we all ate so much we passed out on the couch during the movie, food coma name does NOT lie lmao. We skipped the fresh herbs because we didn’t have any and used frozen mixed veggies instead of fresh, and it still slapped. Will definitely be making this again when we need a break from ramen and frozen pizza.

1 week ago

I brought this to my church potluck last Sunday and I had 4 people ask me for the recipe before we even got to dessert! I added a sprinkle of crispy fried onions on top for a little extra crunch and it was chef’s kiss. My only complaint is that my husband ate half the pan before I could even pack up leftovers for my mom 😂

3 days ago

Wait the fried onion addition sounds incredible! I’m making this for our next potluck and I’m definitely stealing that hack. Thanks for the tip!

2 weeks ago

Wait, has anyone else had issues with the middle not setting all the way? I followed the recipe exactly, cooked it for the full 1 hour 15 minutes, let it rest 10 minutes like it said, but the center was still super runny when I cut into it. Flavor was amazing, but the texture was off for me. Any tips?

1 week ago

I had that happen the first time I made it too! Turned out my glass baking dish was way deeper than the 9x13 the recipe calls for, so it needed an extra 15 minutes in the oven. Switched to a shallower pan the second time and it came out perfect!

5 days ago

Sorry to hear the center didn’t set for you! As HomeCookHero mentioned, dish depth makes a huge difference – if you’re using a deeper ceramic or glass dish, you’ll want to add 10-15 minutes of cook time, and test the center with a knife to make sure it comes out clean before pulling it out. Also, make sure you’re not using extra-thick sour cream, that can add too much moisture too!

1 week ago

Made this for our watch party for the big game last weekend and it was the first dish gone! I doubled the recipe because we had 12 people over, and I still only had a tiny scoop left at the end of the night. The crispy bacon bits mixed in are what push this over the top, honestly. 10/10, will be making this for every game day from now on.

5 days ago

Love that it was a game day hit! Doubling it for a crowd is such a smart call – this casserole is made for sharing with friends while you yell at the TV. Next time try adding a dash of hot sauce on top for a little kick, it’s chef’s kiss!



