
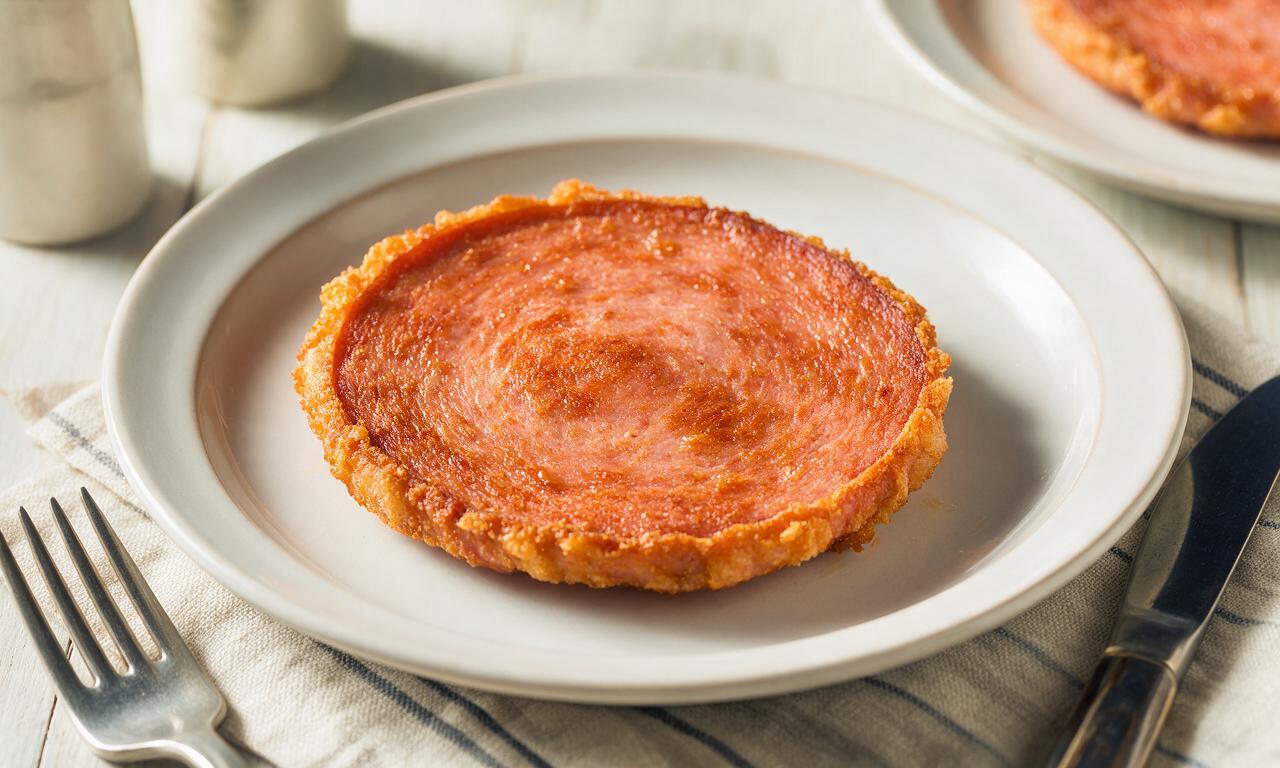
Fried Bologna

Fried Bologna
⏱️ cook time 10 minutes
🍽️ servings 4
⚡ Difficulty easy

intro

Crispy, salty, golden-edged fried bologna is a nostalgic, budget-friendly comfort food, ready in minutes for quick meals or breakfast plates.

Ingredients

Thick-cut bologna 4 slices (110g each, 440g total)
Unsalted butter 2 tablespoons (30g)
Canola oil 1 tablespoon (15ml)
Freshly ground black pepper 1/4 teaspoon (1g)

Steps

1

Prep bologna slices

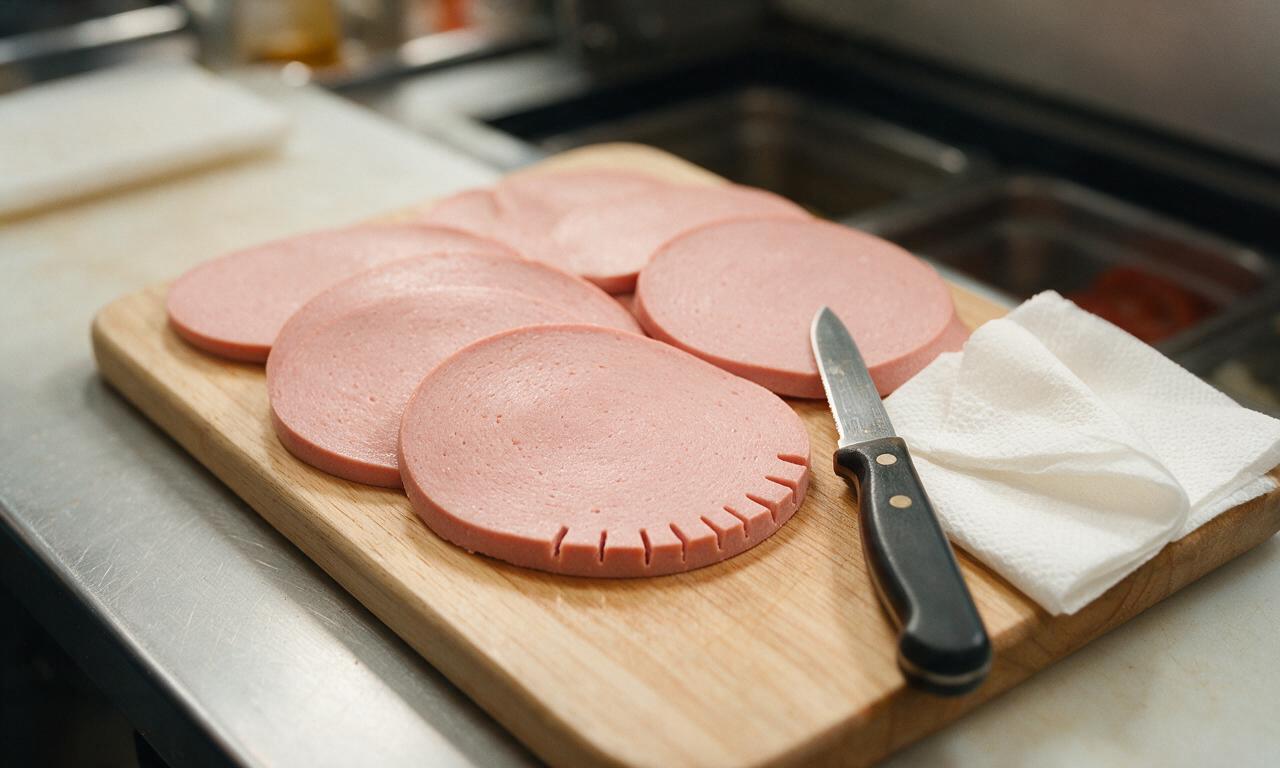
Remove bologna slices from packaging, and use a sharp paring knife to cut a 1-inch long, 1/4-inch deep slit from the outer edge toward the center of each slice. This prevents the bologna from curling up as it fries; pat slices completely dry with paper towels to encourage crisping.
Step 1
step1:Prep bologna slices
2

Heat pan and fat

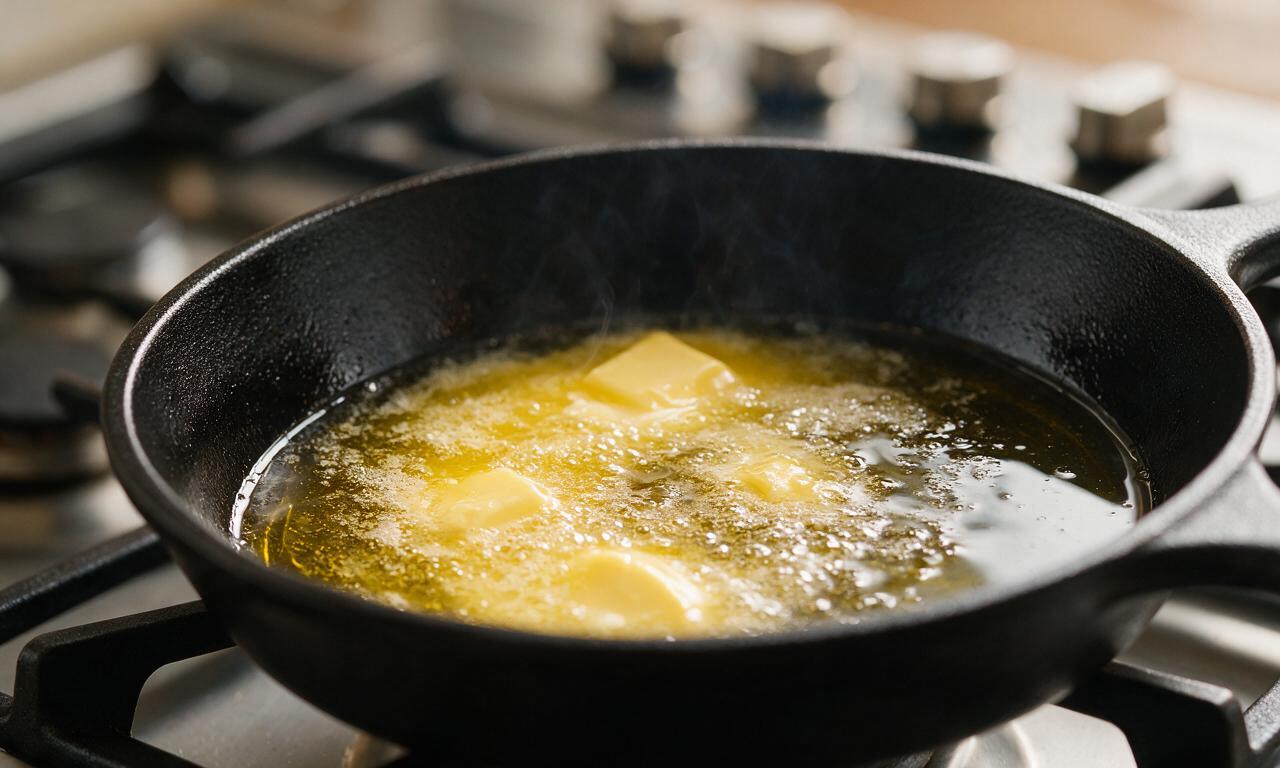
Place a heavy-bottomed 10-inch cast iron skillet over medium heat (350°F / 175°C surface temperature). Add 1 tablespoon (15ml) canola oil and 2 tablespoons (30g) unsalted butter to the pan, and heat until the butter is fully melted, foaming subsides, and the fat shimmers slightly, about 2 minutes. Do not let the butter turn dark brown or burn.
Step 2
step2:Heat pan and fat
3

Fry first bologna batch

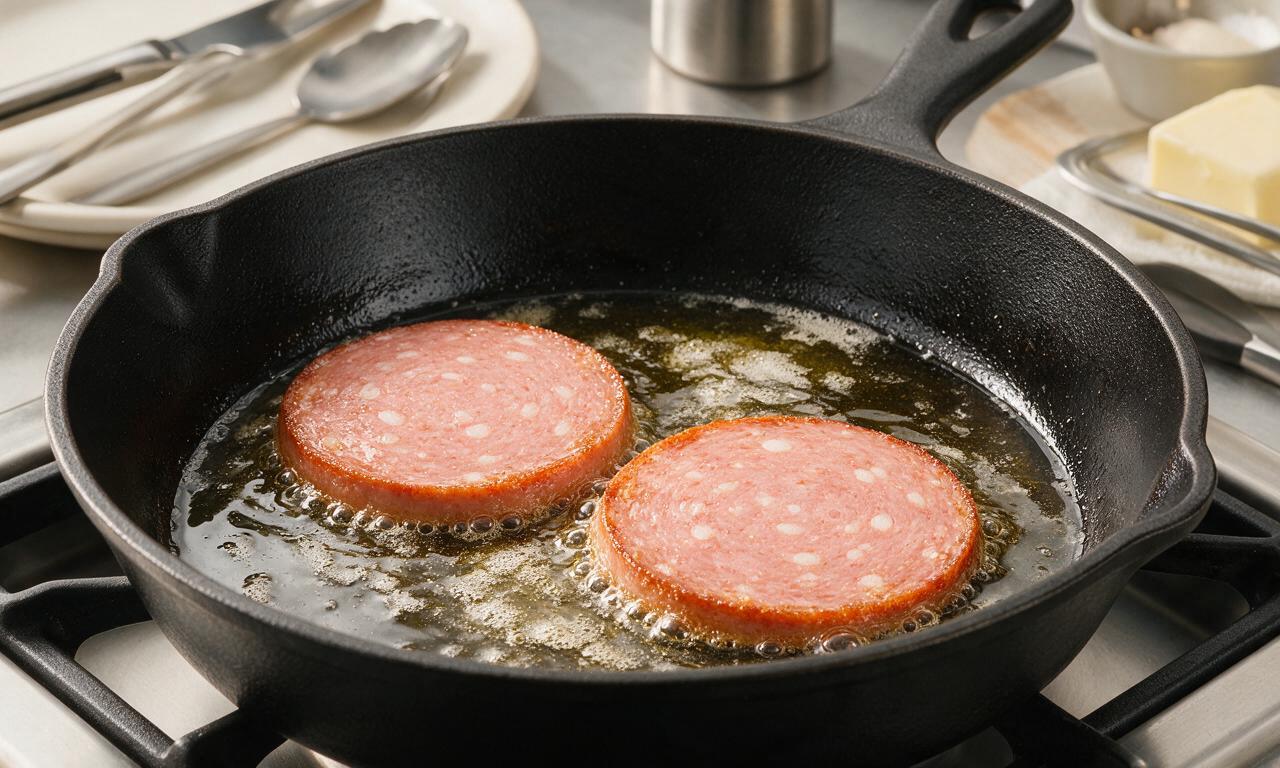
Carefully place 2 bologna slices into the hot fat in a single layer, ensuring slices do not touch or overlap. Let the slices cook undisturbed for 2 1/2 minutes, until the bottom edge develops a deep golden-brown, crispy, slightly caramelized crust.
Step 3
step3:Fry first bologna batch
4

Flip and season slices

Use a thin slotted metal spatula to flip each bologna slice in one smooth motion. Sprinkle the seared top side evenly with 1/8 teaspoon (0.5g) of the ground black pepper. Continue cooking the second side undisturbed for 2 minutes, until that side is also golden and crispy, and the internal temperature of the bologna reaches 165°F (74°C).
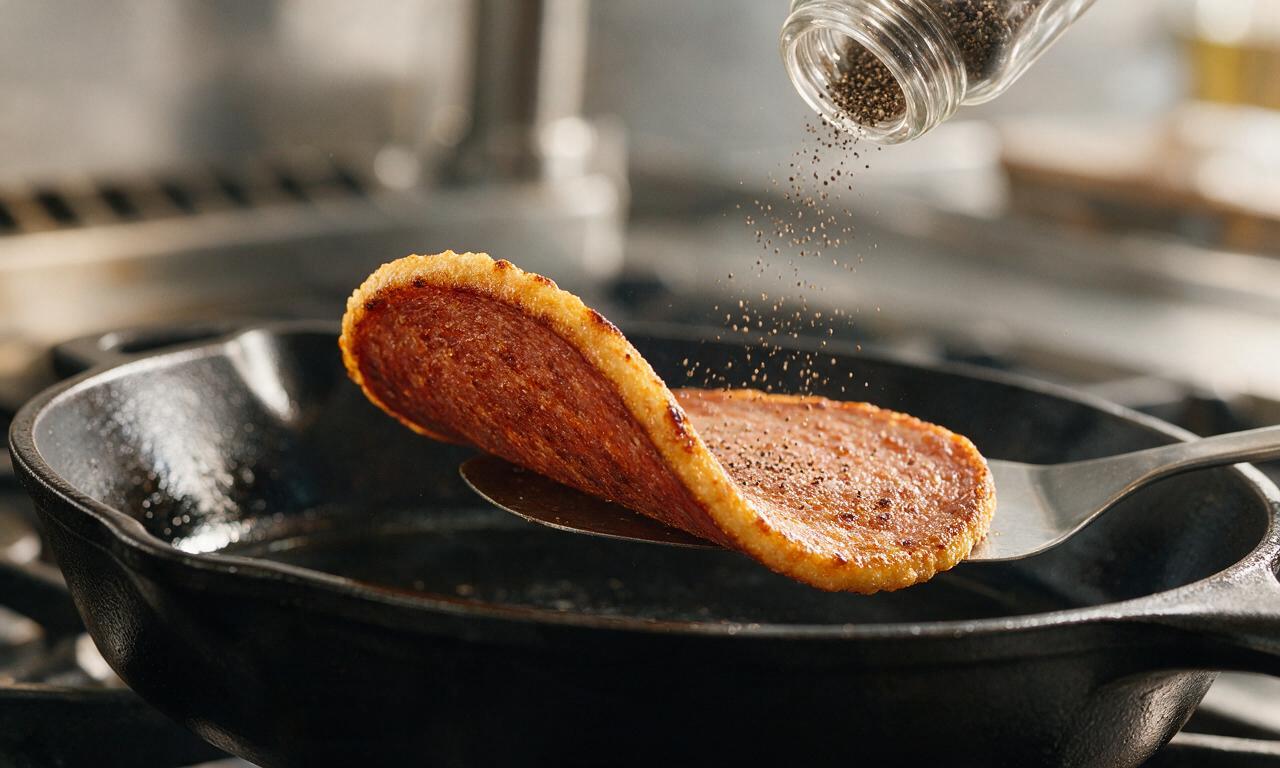
Step 4
step4:Flip and season slices
5

Cook remaining bologna

Transfer the first batch of cooked bologna to a paper-towel lined ceramic plate to drain excess surface fat for 30 seconds. Repeat the frying process with the remaining 2 bologna slices: cook 2 1/2 minutes on the first side, flip, season with the remaining 1/8 teaspoon (0.5g) black pepper, and cook 2 minutes on the second side.
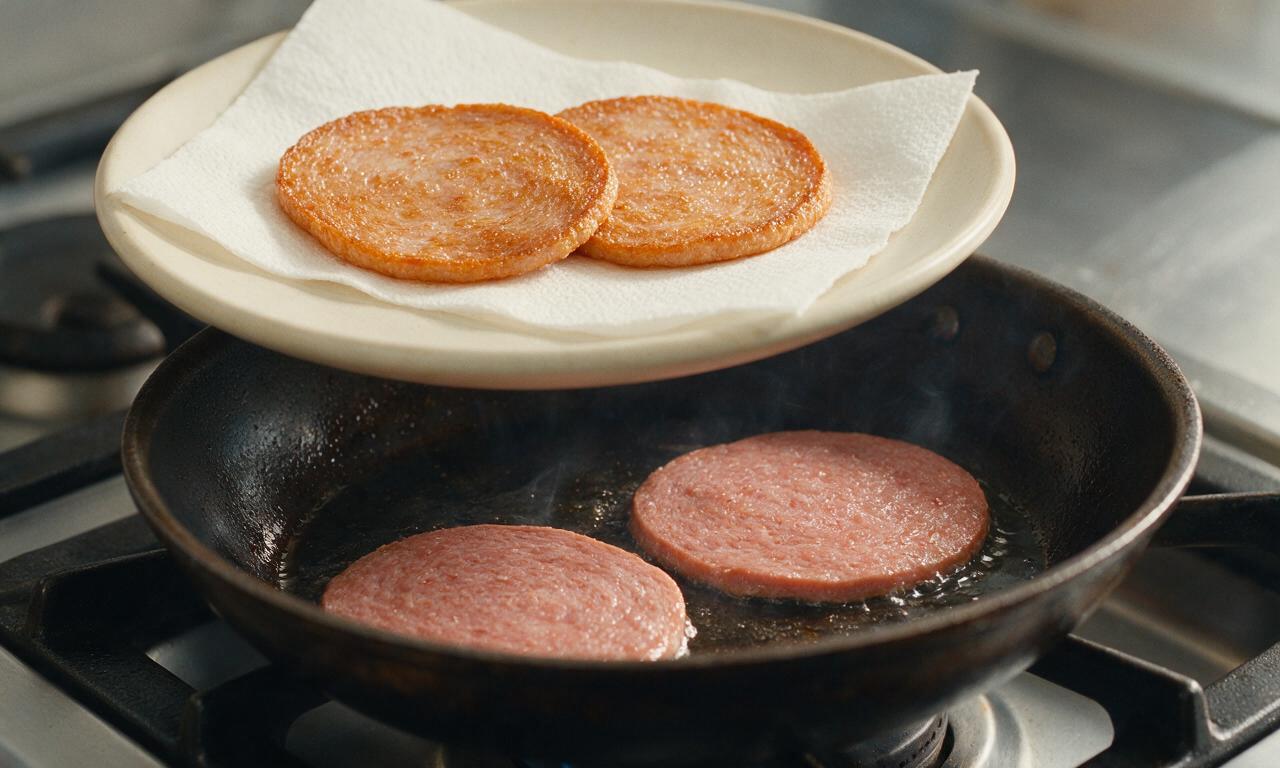
Step 5
step5:Cook remaining bologna
6

Rest and serve hot

Transfer the second batch of cooked bologna to the paper-towel lined plate to drain for 30 seconds. Serve immediately while hot and crispy, either as a breakfast side with scrambled eggs, on toasted white bread with yellow mustard, or as a quick sandwich filling.
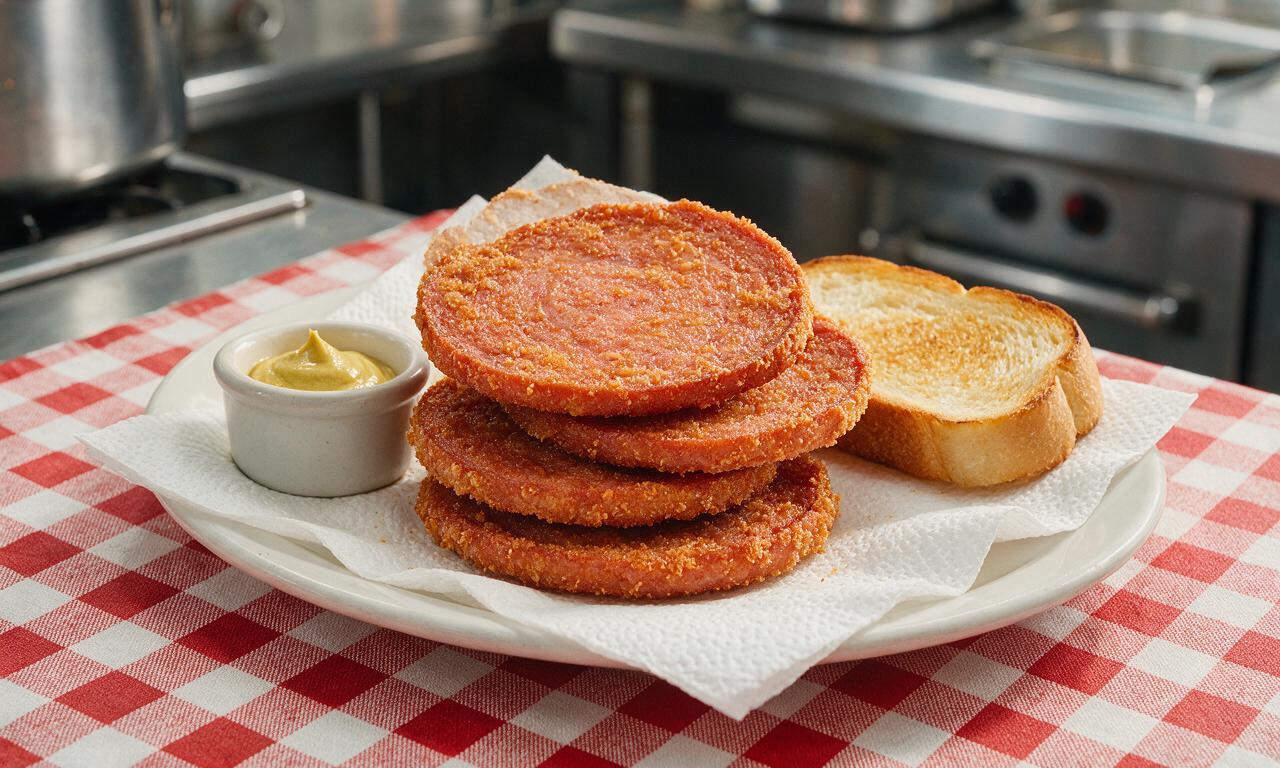
Step 6
step6:Rest and serve hot

Tips

1.Do not skip cutting the small slit in each bologna slice—without it, the slices will curl tightly into a cup shape as they cook, leading to uneven browning and texture.
2.Avoid overcrowding the skillet; cooking only 2 slices at a time keeps the pan temperature high enough to crisp the bologna edges, rather than steaming the meat into a soggy texture.
3.Hold off on adding extra salt to the bologna—cured deli bologna is already high in sodium, so the butter and black pepper provide enough balanced seasoning for most palates.


✨ You May Also Like

Main Course
🍜 United Kingdom

A showstopping classic of tender seared beef, savory mushroom duxelles, and crisp prosciutto wrapped in flaky golden puff pastry, baked to juicy perfection.

⏱️ 2 hours 1Main Course ★ 4.7
Main Course
🍜 India

Tender charred marinated chicken simmered in a rich, spiced creamy tomato sauce, this iconic Anglo-Indian curry pairs perfectly with basmati rice or warm naan.

⏱️ 50 minuteMain Course ★ 4.8
Main Course
🍜 Thailand

Classic tangy, sweet, and savory Thai stir-fried rice noodles with shrimp, tofu, and crunchy garnishes, balancing all five core Thai flavor profiles.

⏱️ 30 minuteMain Course ★ 4.6
Main Course
🍜 United Kingdom

Crispy golden beer-battered cod and fluffy double-fried chips, served with tangy tartar sauce and malt vinegar: the timeless, beloved British pub comfort classic.

⏱️ 45 minuteMain Course ★ 4.9
Main Course
🍜 Mexico

Smoky, chile-marinated pork tacos with caramelized pineapple, fresh cilantro, and lime: a beloved classic Mexican street food perfect for casual summer gatherings.

⏱️ 1 hour 45Main Course ★ 4.7
Main Course
🍜 United States

Crunchy Fritos corn chips layered with savory beef chili and melted cheddar, topped with cool, zesty fixings for a beloved, cozy Tex-Mex comfort food.

⏱️ 35 minuteMain Course ★ 4.9

Fried Bologna:Frequently Asked Questions

1.Why should I use thick-cut bologna instead of thin deli slices for this recipe?
Thin deli-style bologna slices curl almost instantly in hot fat, burn easily, and never develop that signature satisfying chewy-crisp edge. Thick-cut (¼-inch) bologna holds its shape evenly, letting edges caramelize to a perfect golden crunch without the center turning tough or overcooked, which is key for that classic nostalgic texture.
2.Do I really need to use both butter and canola oil, or can I get away with just one?
Using both gives you the best of both worlds! Butter adds that rich, nutty, savory depth that makes fried bologna taste so comforting, but it has a low smoke point that leads to burnt, bitter edges on its own. Canola oil raises the smoke point to keep cooking temperatures stable, so you get even crisping without acrid, off flavors.
3.Why does my fried bologna curl up into a tight cup when I cook it, and how do I fix that?
Bologna curls as outer edges heat and contract faster than the cooler center, which is totally normal! To keep it flat for even cooking and easier stacking on sandwiches, cut a ½-inch slit from the edge to the center of each slice on four sides before cooking. Those small cuts release tension so the slice stays mostly flat as it crisps.
4.How hot should my pan be to get perfectly crispy bologna without burning it?
Aim for medium heat, preheating your pan for 2 to 3 minutes before adding the fat and bologna. If the pan is too hot, edges will blacken before the bologna fat renders to build crispness; if it’s too low, the bologna will steam instead of fry, turning greasy and soggy. You’ll know it’s right when butter foams gently without smoking.
5.Can I add seasonings other than black pepper, or will that overpower the bologna’s flavor?
Freshly cracked black pepper is the classic pairing that cuts through rich, salty bologna perfectly, but you can absolutely add other seasonings to taste! A light sprinkle of garlic powder, smoked paprika, or a tiny pinch of cayenne works beautifully—just go light, since bologna is already well-seasoned and salty, so heavy spice isn’t needed.
6.How long do I need to cook each slice to get that signature crispy golden edge?
Cook each slice for 2 to 3 minutes on the first side, resisting the urge to nudge or move it around the pan as it cooks. Letting it sit undisturbed lets the surface make full contact with hot fat to build that crackly golden crust. Flip once edges are deep golden, then cook the second side 1 to 2 minutes more, adding pepper right after removing from heat.
7.What are the best ways to serve crispy fried bologna besides plain breakfast plates?
The iconic preparation is a stacked fried bologna sandwich on soft white bread with yellow mustard and dill pickles, but it’s incredibly versatile! Serve it alongside scrambled eggs and hash browns, tuck it into a toasted bun with melted cheese for a quick lunch, chop it to add salty crunch to salads, or serve it as a retro appetizer with spicy honey for dipping.
8.Can I make this in an air fryer instead of pan-frying if I want to use less oil?
You absolutely can! Preheat your air fryer to 375°F, spritz bologna slices lightly with oil, cut the small edge slits to prevent curling, and cook for 4 to 6 minutes, flipping halfway through. You won’t get the exact buttery richness of pan-fried bologna, but you’ll still get that great crispy edge with far less added fat for a quick, low-mess meal.
9.How should I store leftover fried bologna, and how do I reheat it so it stays crispy?
Store cooled leftover fried bologna in an airtight container in the fridge for up to 3 days. To reheat without it turning soggy, skip the microwave—pop slices in a dry skillet over medium heat for 30 to 45 seconds per side, or heat them in a 350°F toaster oven for 2 minutes, until edges crisp back up. Microwaving leaves bologna rubbery and limp, so it’s best avoided.

Comments (3)

3 days ago

OMG this was such a game changer for our quick weeknight dinners! I grew up eating fried bologna sandwiches but never got it this crispy before—cutting those little slits around the edges like the recipe says keeps it from curling up, genius! My kids devoured theirs with extra yellow mustard and a side of tater tots, even my picky 7 year old asked for seconds. SO good, 10/10, will be making this on repeat for busy school nights.

2 days ago

Wait I never thought to cut slits either! Mine always curls up into a little weird cup and cooks super unevenly, I’m testing that trick tonight. Did you use regular deli bologna or the thick cut stuff?

yesterday

So happy your family loved this, Lori! Pro tip for both you and Tina: thick cut bologna gets the absolute crispiest edges without drying out, but regular sliced works perfectly too if that’s what you have on hand!

1 week ago

Made this for our weekend tailgate potluck last weekend and it was a total hit! I stacked the crispy bologna on mini slider buns with a slice of American cheese and dill pickles, people kept coming back for more. Who knew such a cheap, easy 10 minute recipe would be the most talked about dish at the whole cookout? Already got three texts from friends begging for the recipe.

5 days ago

Love the slider idea for potlucks, Mike! That’s such a fun, crowd-pleasing way to serve these — we might have to steal that tip for a future recipe variation!

30 minutes ago

Super easy recipe that hits the nostalgia so hard! I ate these all the time as a kid at my grandma’s house, but I hadn’t made them as an adult until today. Cooked mine up in my old cast iron skillet like she used to, piled it high with mayo, shredded iceberg, and sliced tomato on soft white bread, and it tasted exactly like my summer visits as a kid. Perfect quick lunch when you don’t feel like putting a ton of effort into cooking, zero fancy ingredients required.



