
fried boneless skinless chicken breast

title 1
fried boneless skinless chicken breast
⏱️ cook time 12 minutes
🍽️ servings 4
⚡ Difficulty easy

intro

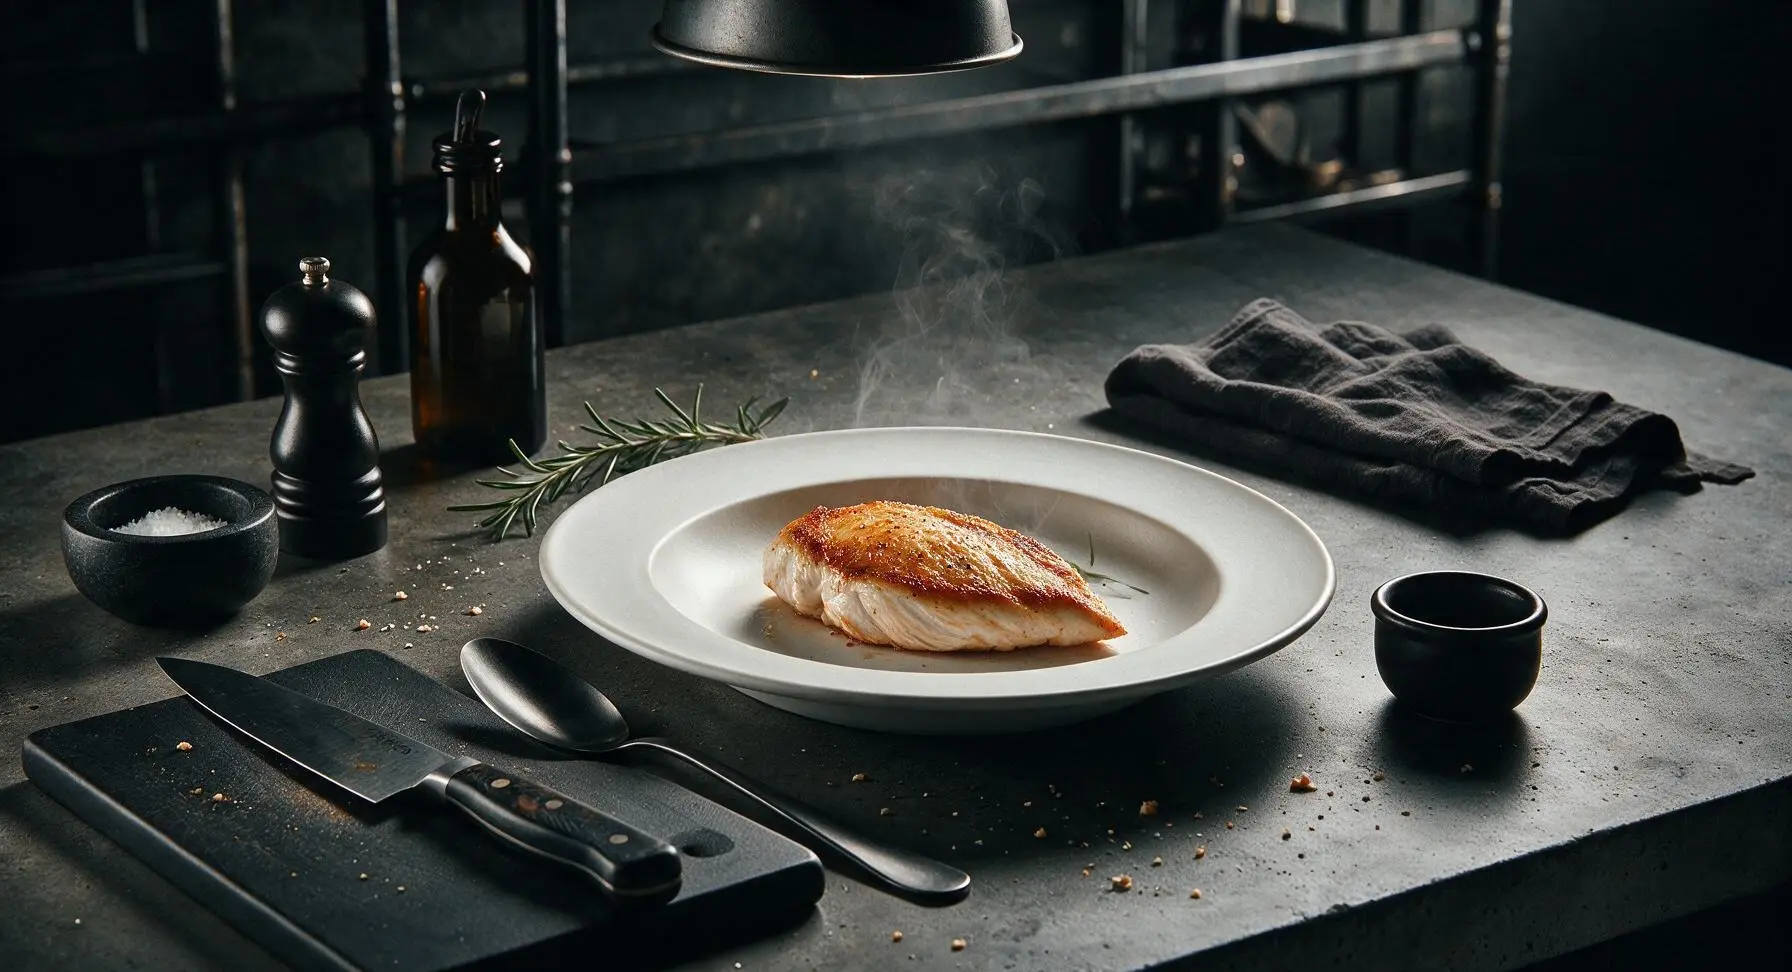
Crisp golden, juicy pan-fried boneless skinless chicken breast, simply seasoned and cooked without dryness—perfect for fast, satisfying weeknight meals.

Ingredients
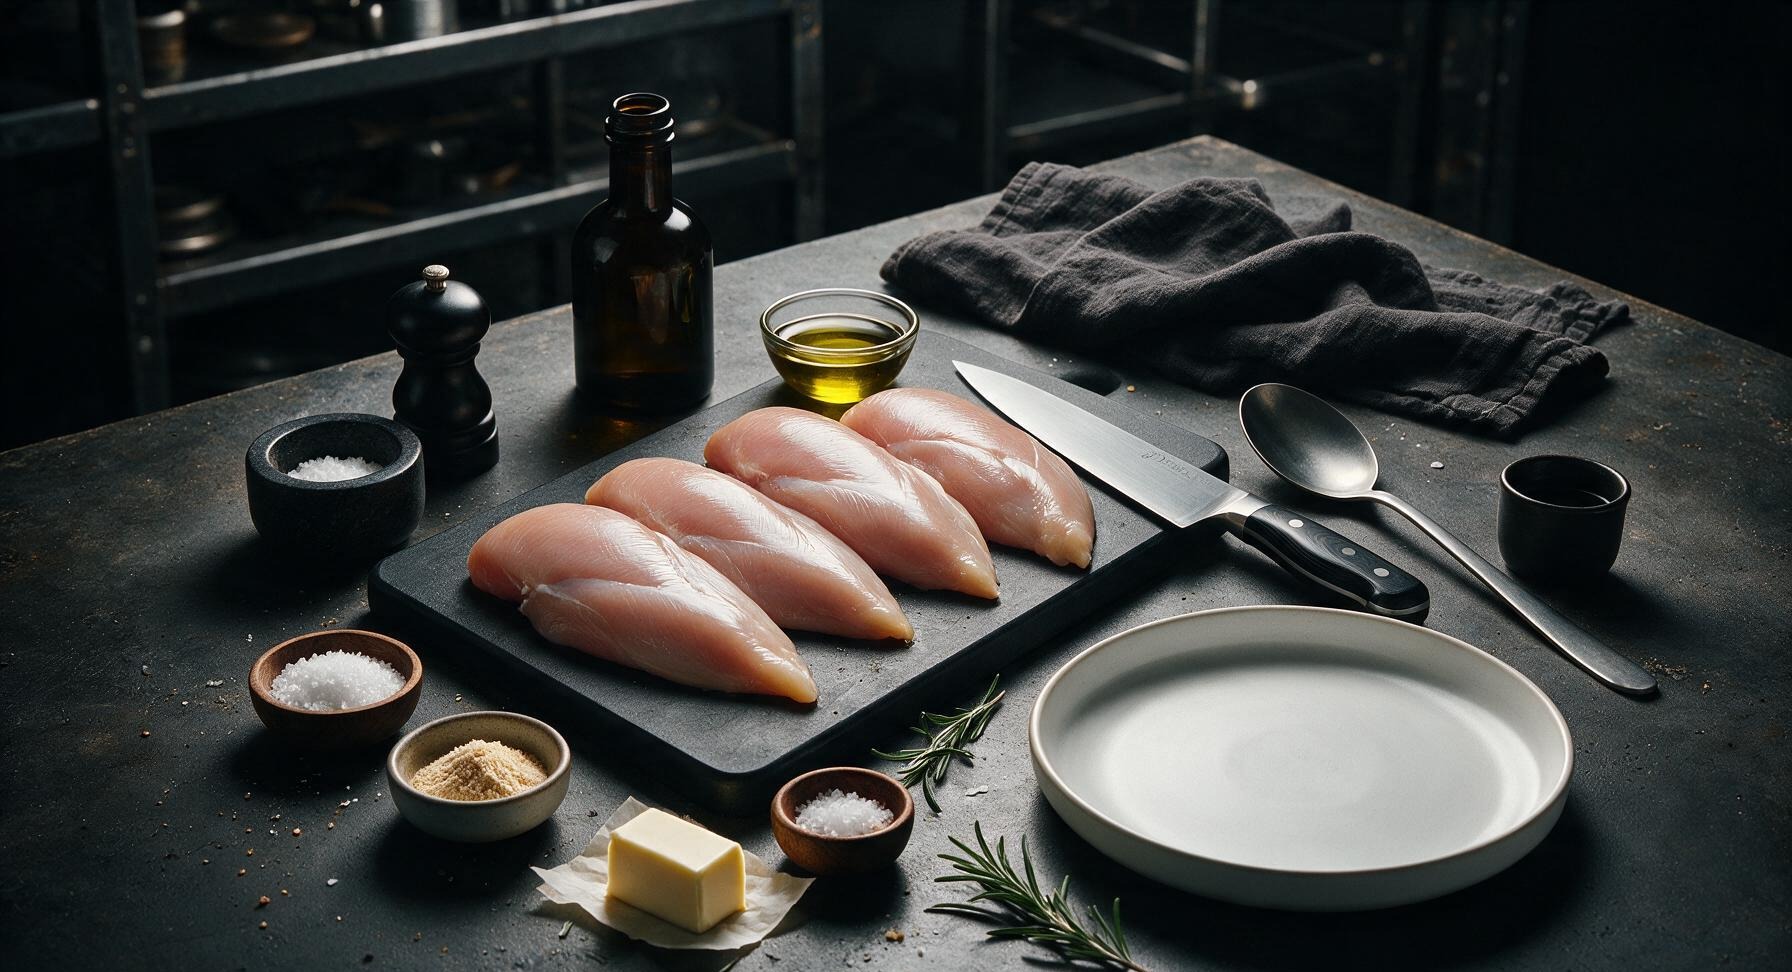
Boneless skinless chicken breasts 600g (4 pieces, 150g each)
Extra-virgin olive oil 2 tablespoons
Kosher salt 1 teaspoon
Freshly ground black pepper 1/2 teaspoon
Garlic powder 1/2 teaspoon
Smoked paprika 1/4 teaspoon
Unsalted butter 1 tablespoon
Fresh rosemary sprigs 2 sprigs
Flaky sea salt (for finishing) 1/4 teaspoon

Steps

1

Trim Chicken Breasts

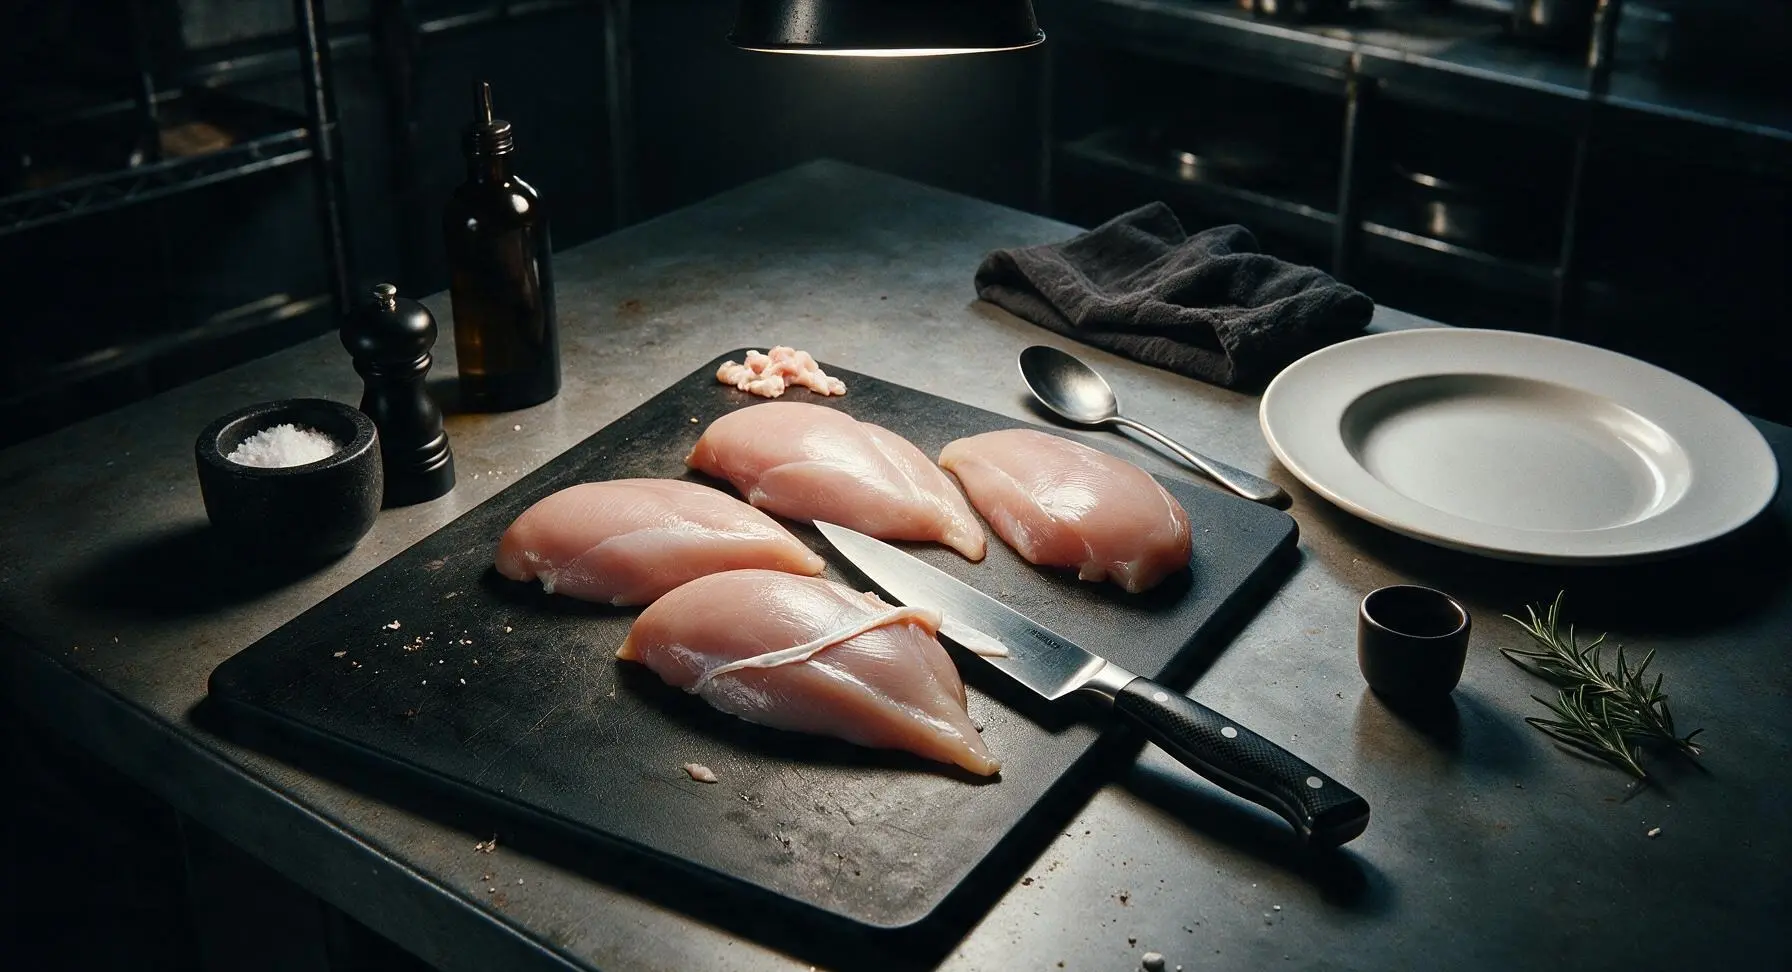
Place the 4 boneless skinless chicken breasts on the dark maple cutting board. Use the 8-inch walnut-handled chef knife to trim away all visible white silver skin, loose fat deposits, and tough tendon bits from the edges of each breast. Discard trimmings in a nearby compost bin. The finished trimmed chicken will have smooth, even edges with no chewy, inedible bits remaining.
Step 1
step1:Trim Chicken Breasts
2

Pound to Even Thickness

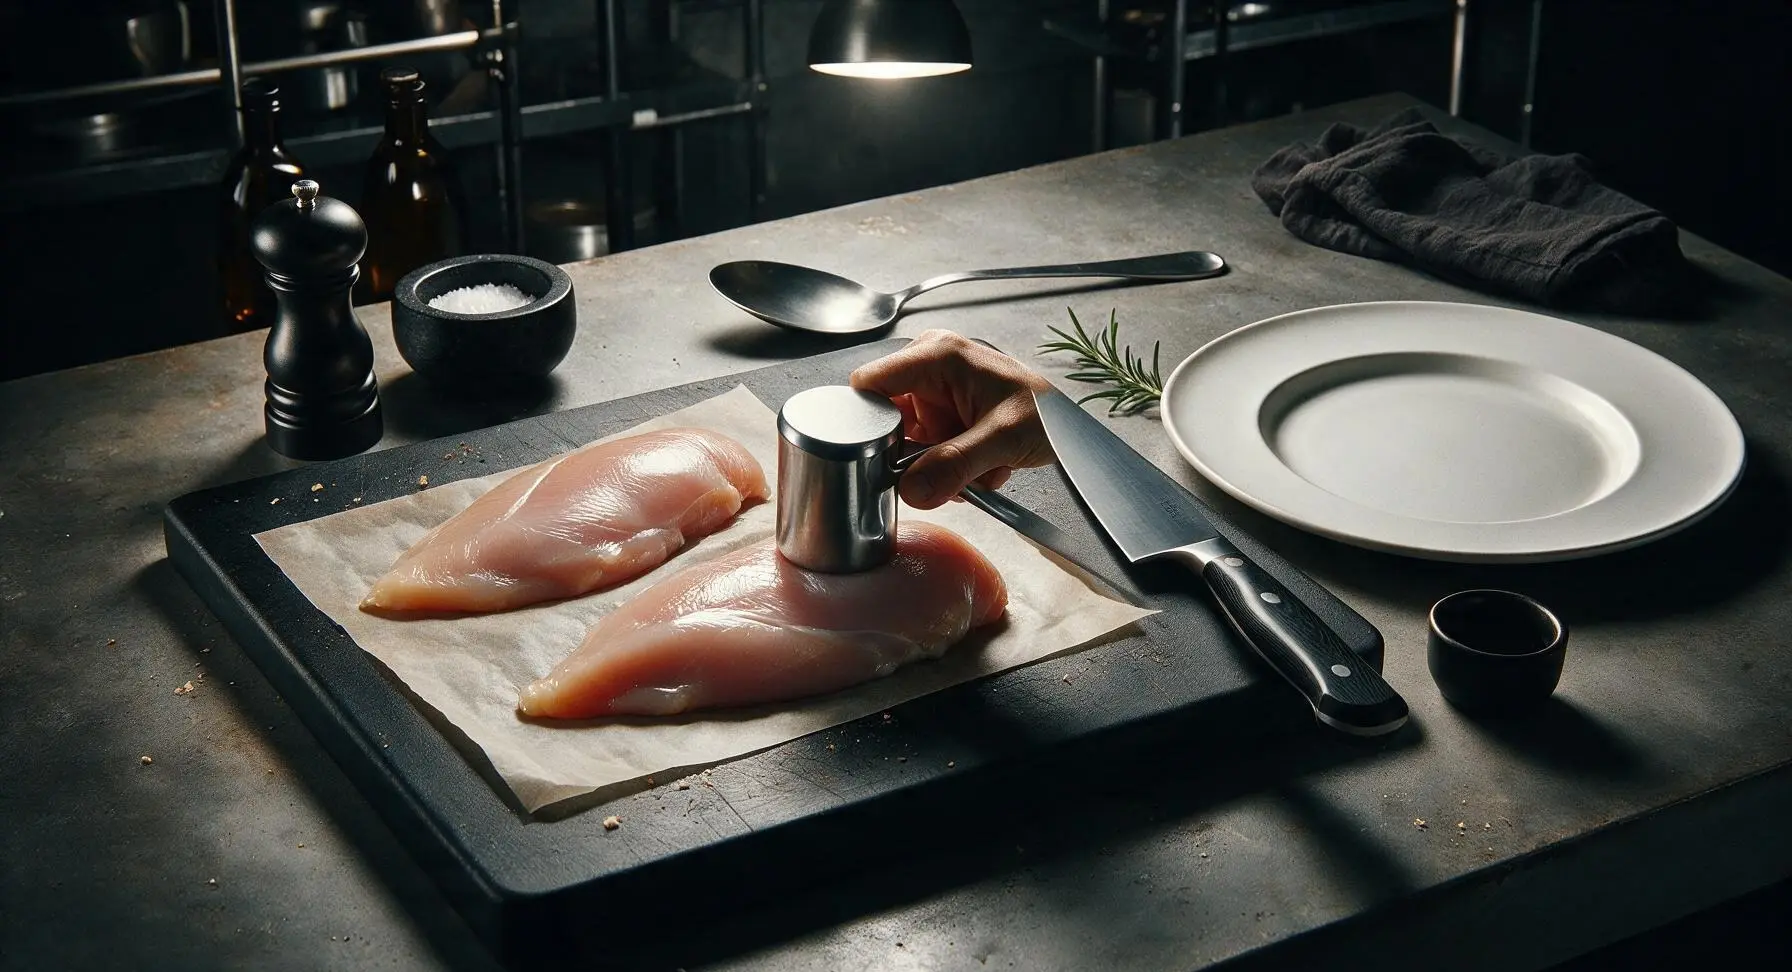
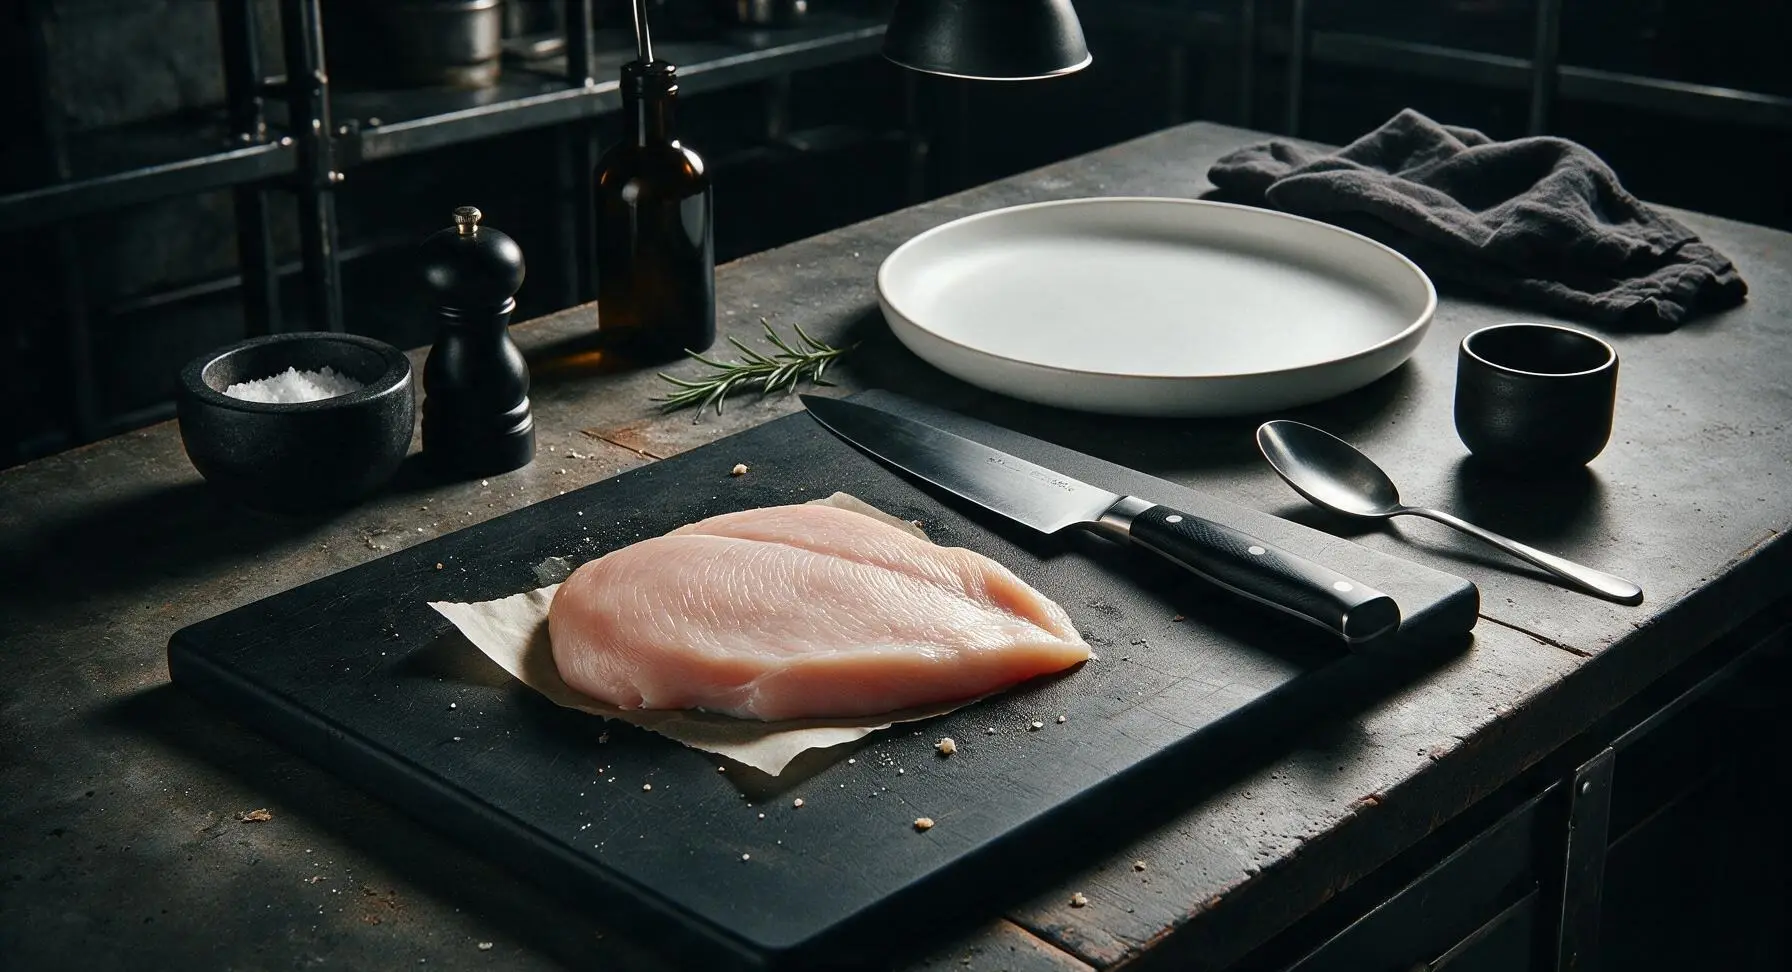
Lay a small sheet of parchment paper over the trimmed chicken breasts to prevent tearing and splattering. Use the polished stainless steel meat pounder to gently tap the thicker, tapered end of each breast until every piece reaches a uniform 2cm (3/4 inch) thickness across its entire surface. Even thickness guarantees consistent cooking, so thin edges will not dry out before the thick center cooks through.
Step 2
step2:Pound to Even Thickness
Step 2
step2:Pound to Even Thickness
3

Season Chicken Evenly

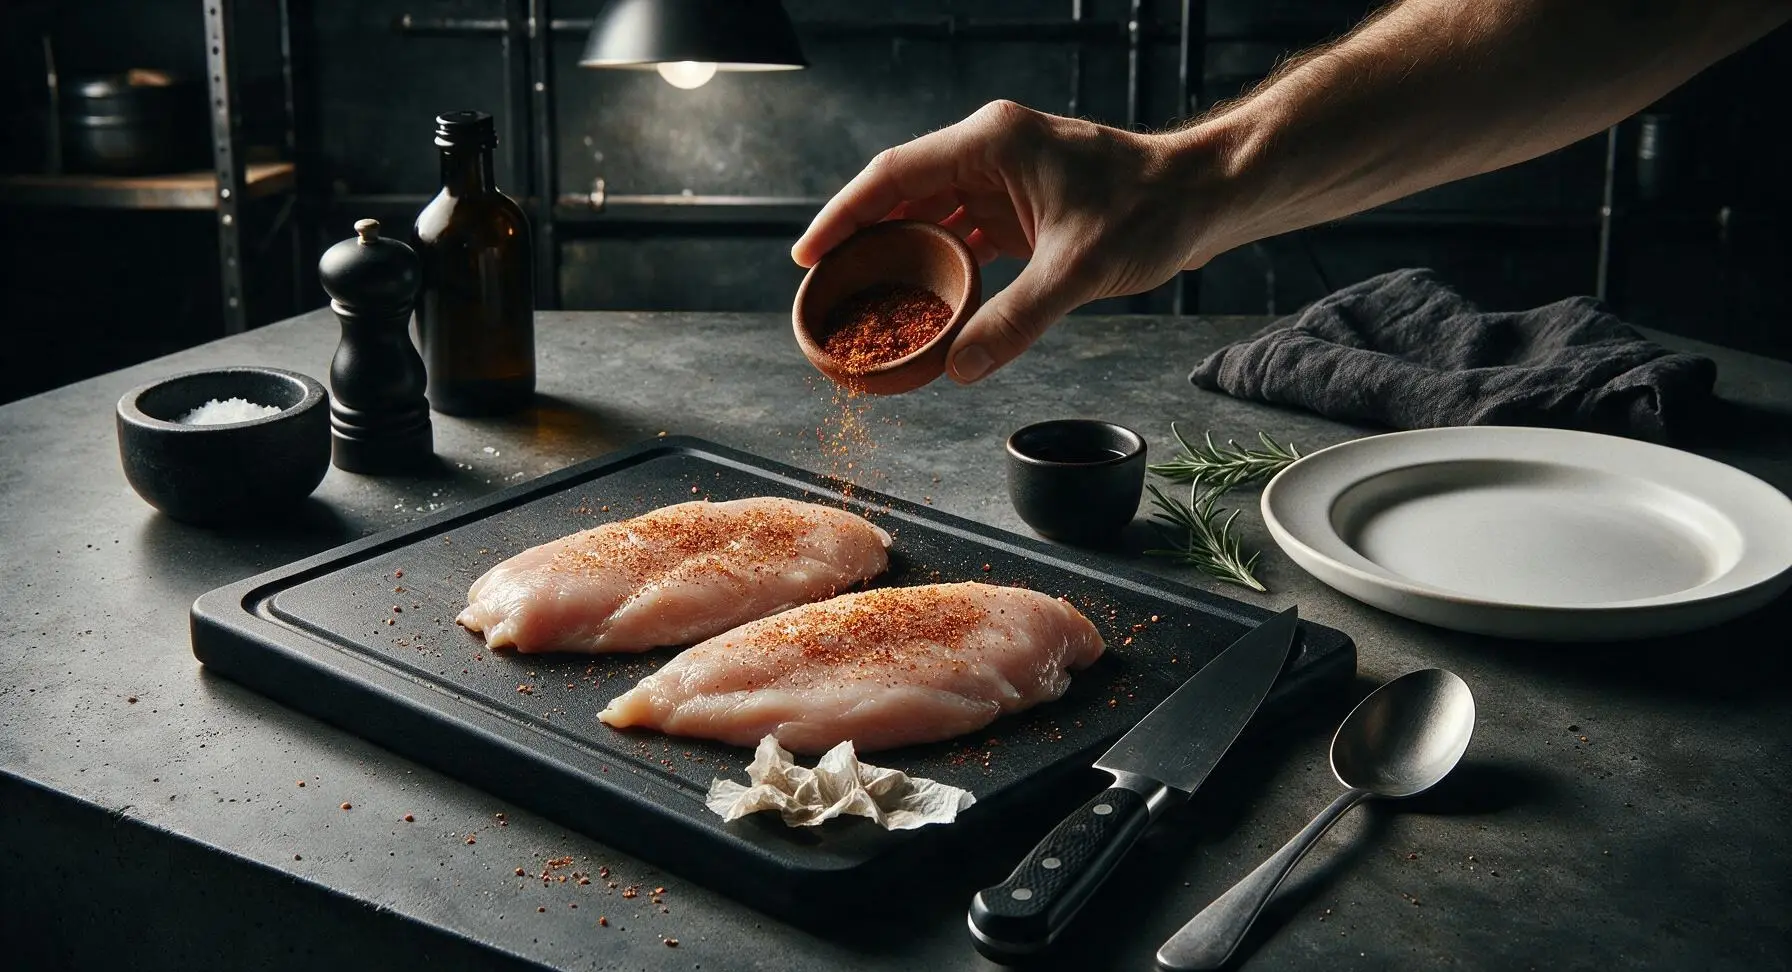
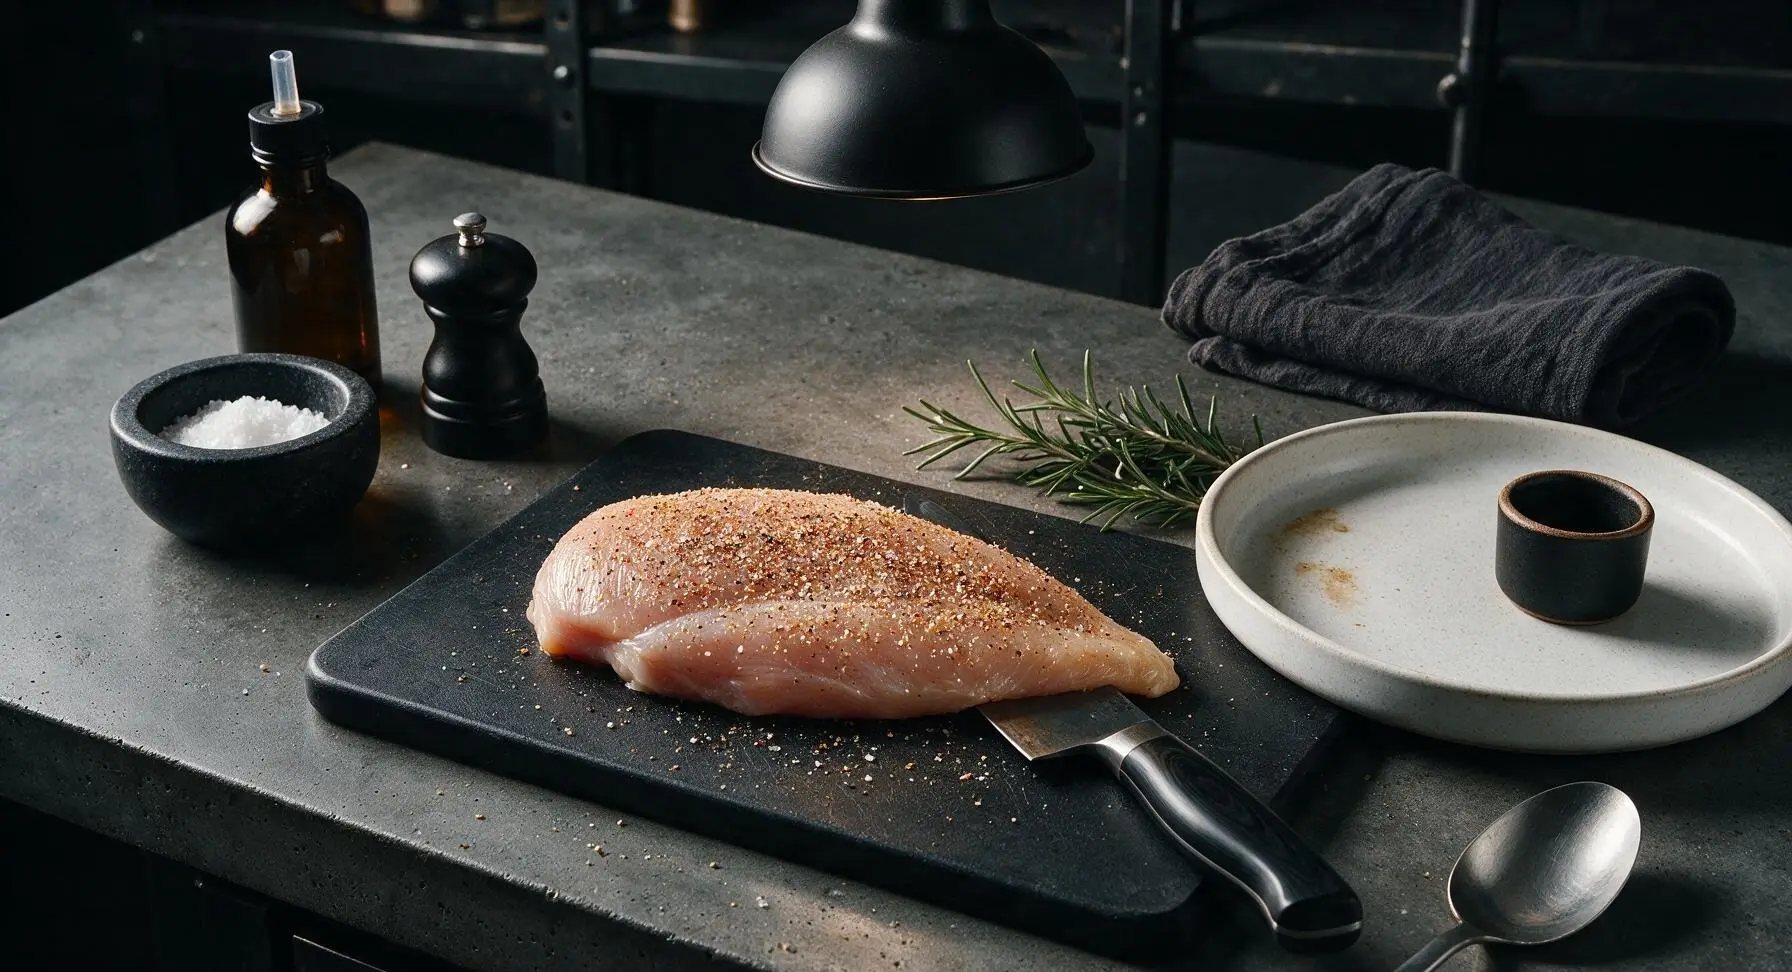
Pat all surfaces of the pounded chicken completely dry with paper towels—dry surface is critical for forming a crisp, golden crust. Mix 1 teaspoon kosher salt, 1/2 teaspoon freshly ground black pepper, 1/2 teaspoon garlic powder, and 1/4 teaspoon smoked paprika in one terracotta pinch bowl. Sprinkle the spice mix evenly over both sides of every chicken breast, pressing lightly so seasoning adheres to the meat without clumping.
Step 3
step3:Season Chicken Evenly
Step 3
step3:Season Chicken Evenly
4

Heat Skillet and Oil

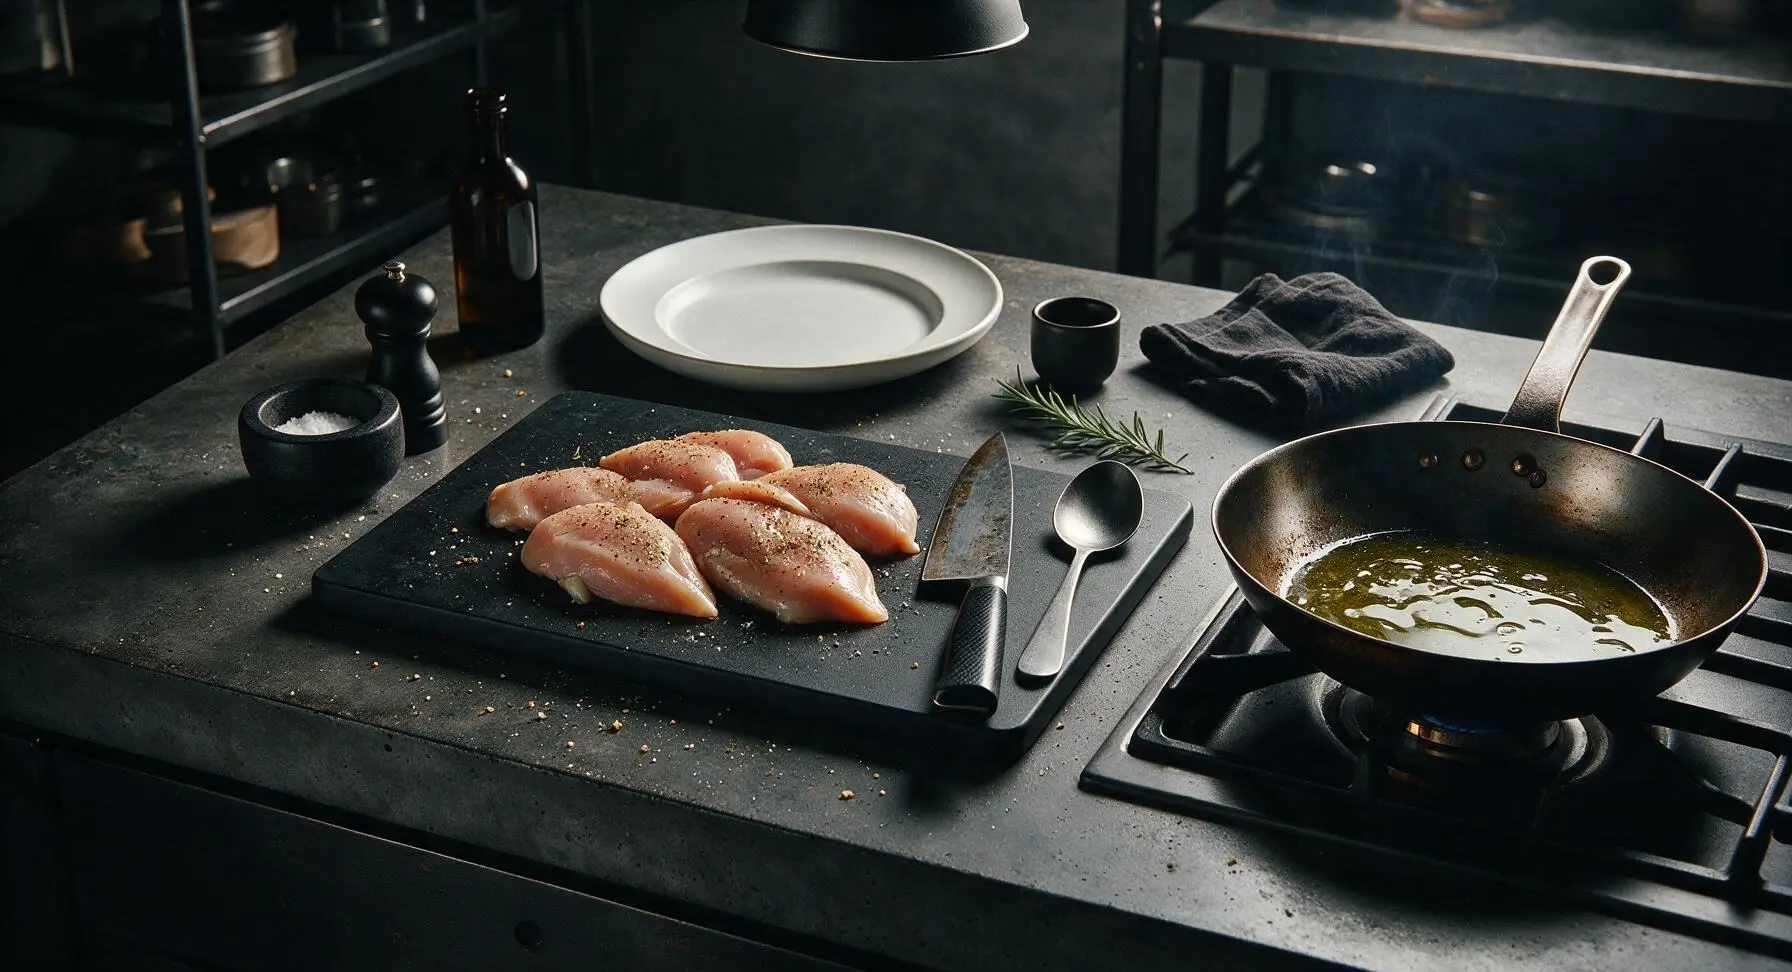
Place the 12-inch seasoned carbon steel skillet on the matte black gas stovetop burner to the right of the prep zone. Turn heat to medium-high, add 2 tablespoons extra-virgin olive oil, and heat for 2-3 minutes until the oil shimmers across the pan surface and sends up thin, faint wisps of heat. Do not let the oil smoke heavily or turn dark, as this will create a bitter, burnt flavor.
Step 4
step4:Heat Skillet and Oil
5

Sear First Chicken Side

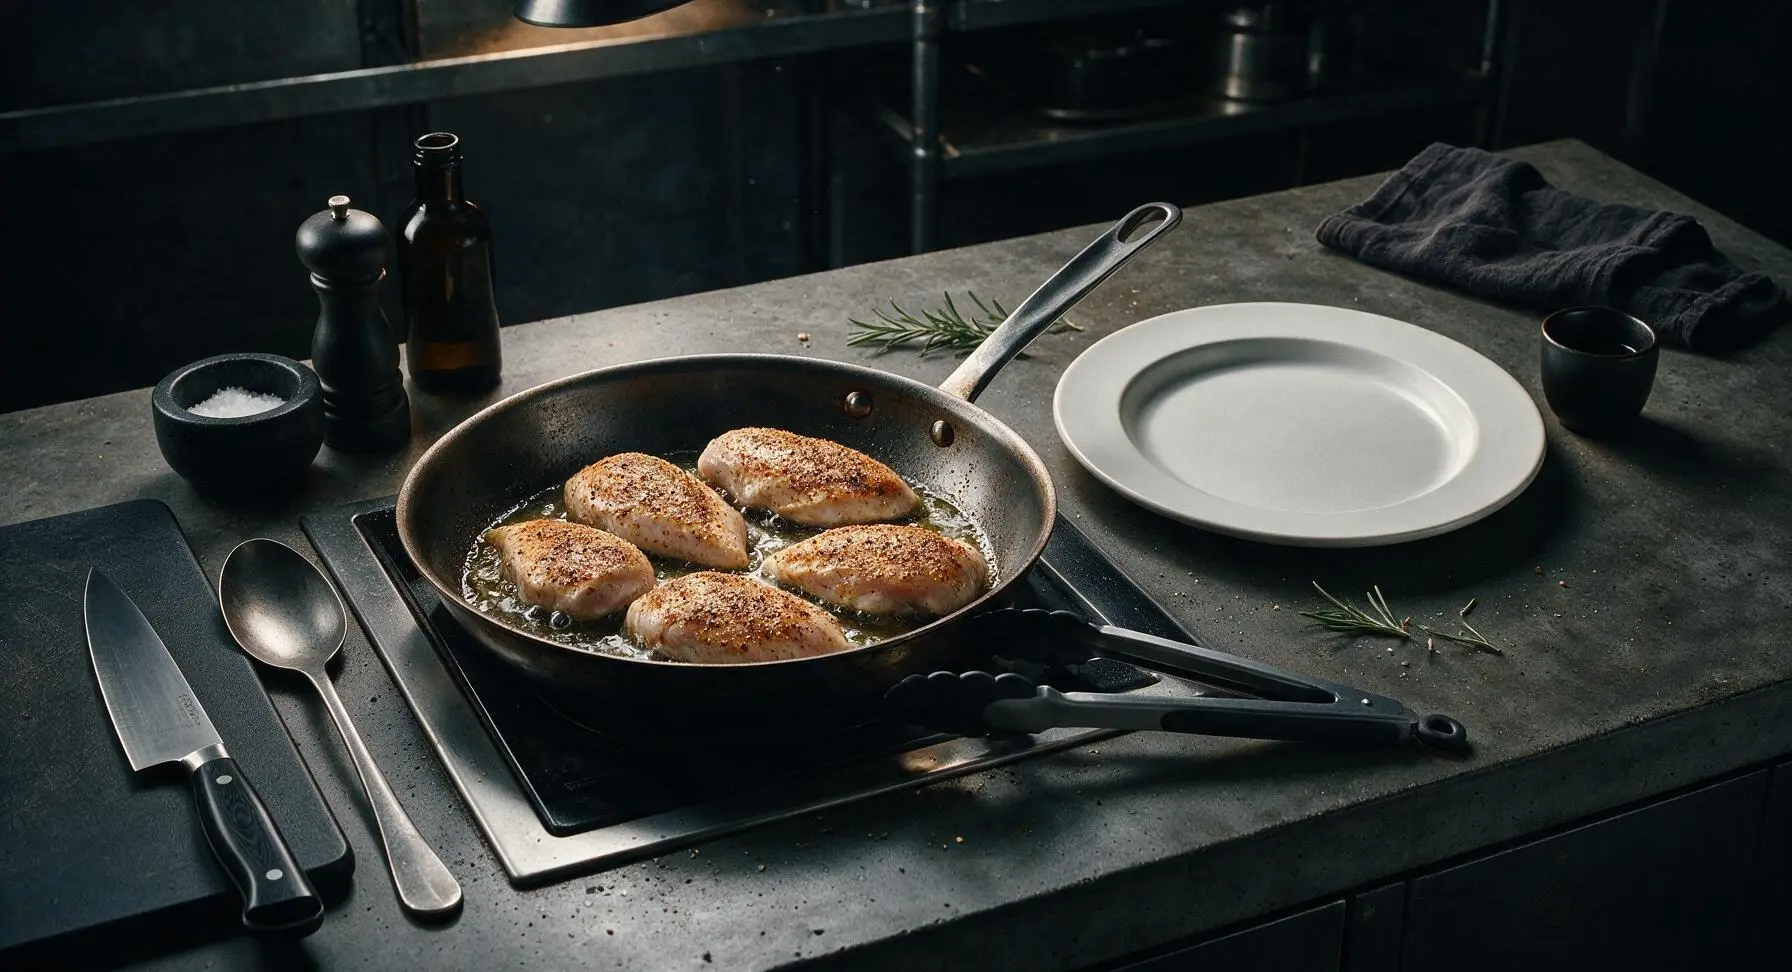
Carefully lay the seasoned chicken breasts in the hot skillet in a single layer, leaving 1cm of space between each piece. If all 4 breasts do not fit without touching, cook in 2 batches to avoid crowding. Cook undisturbed for 6 full minutes over medium-high heat, until the bottom surface forms a deep golden-brown, crisp crust. Do not move, poke, or press the chicken during this time, as this disrupts crust formation.
Step 5
step5:Sear First Chicken Side
6

Flip and Add Aromatics

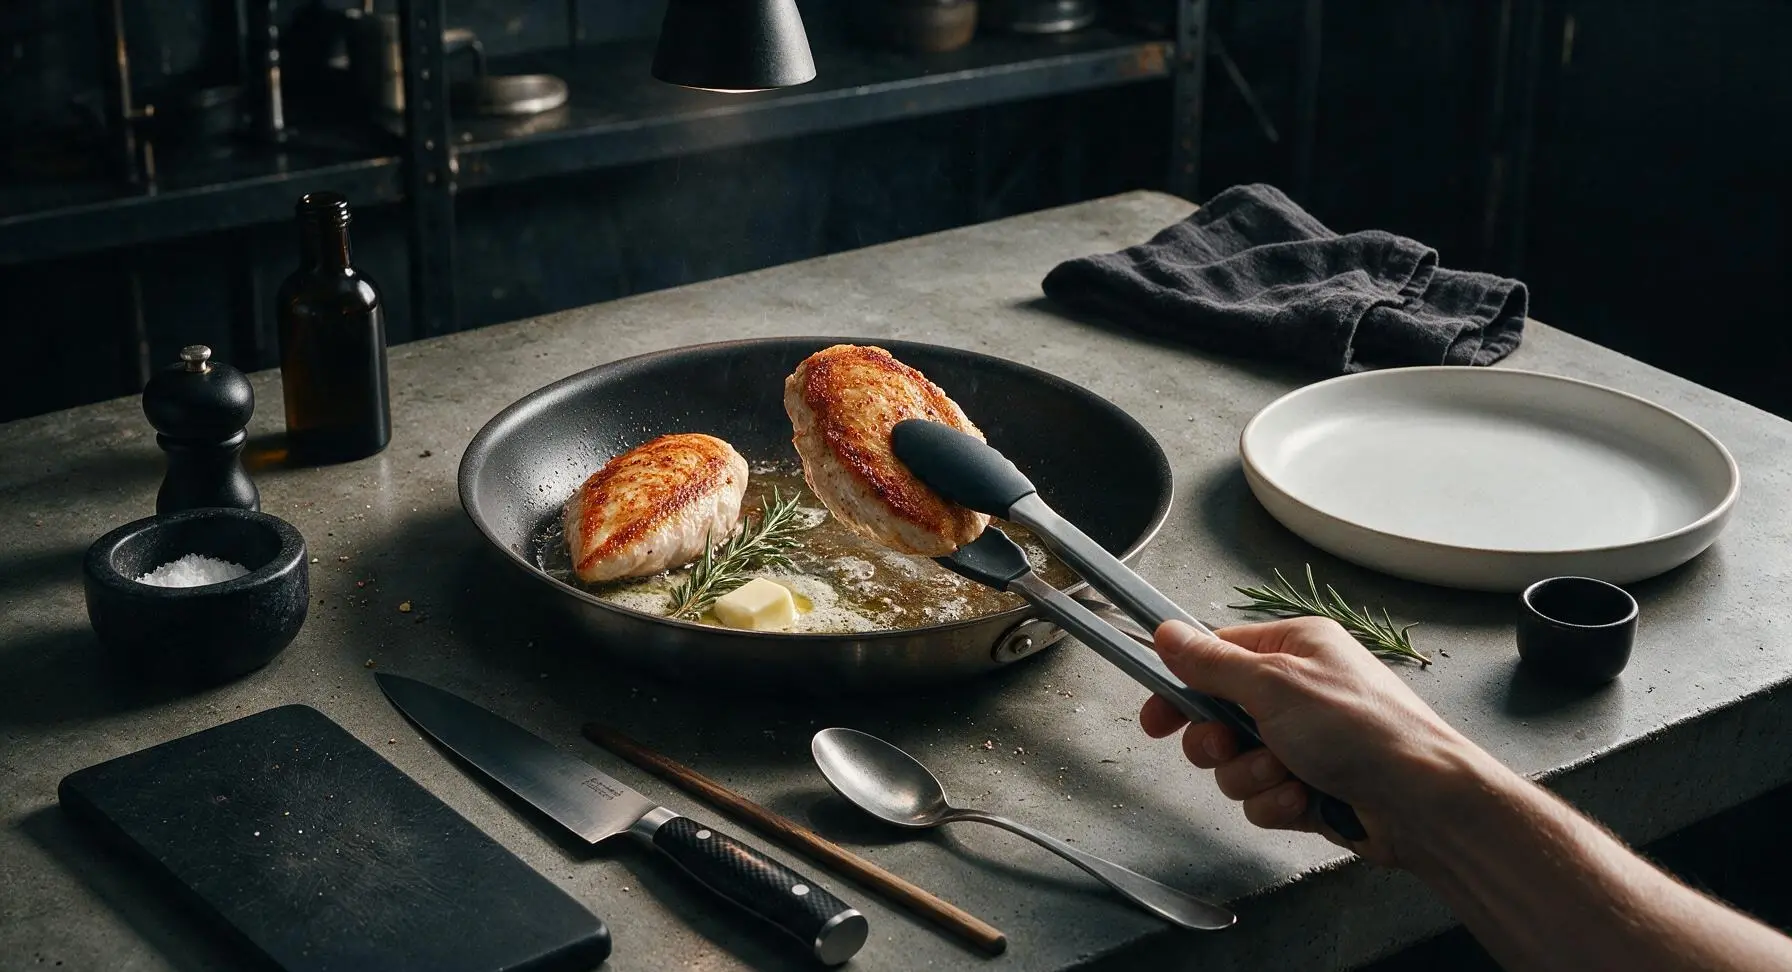
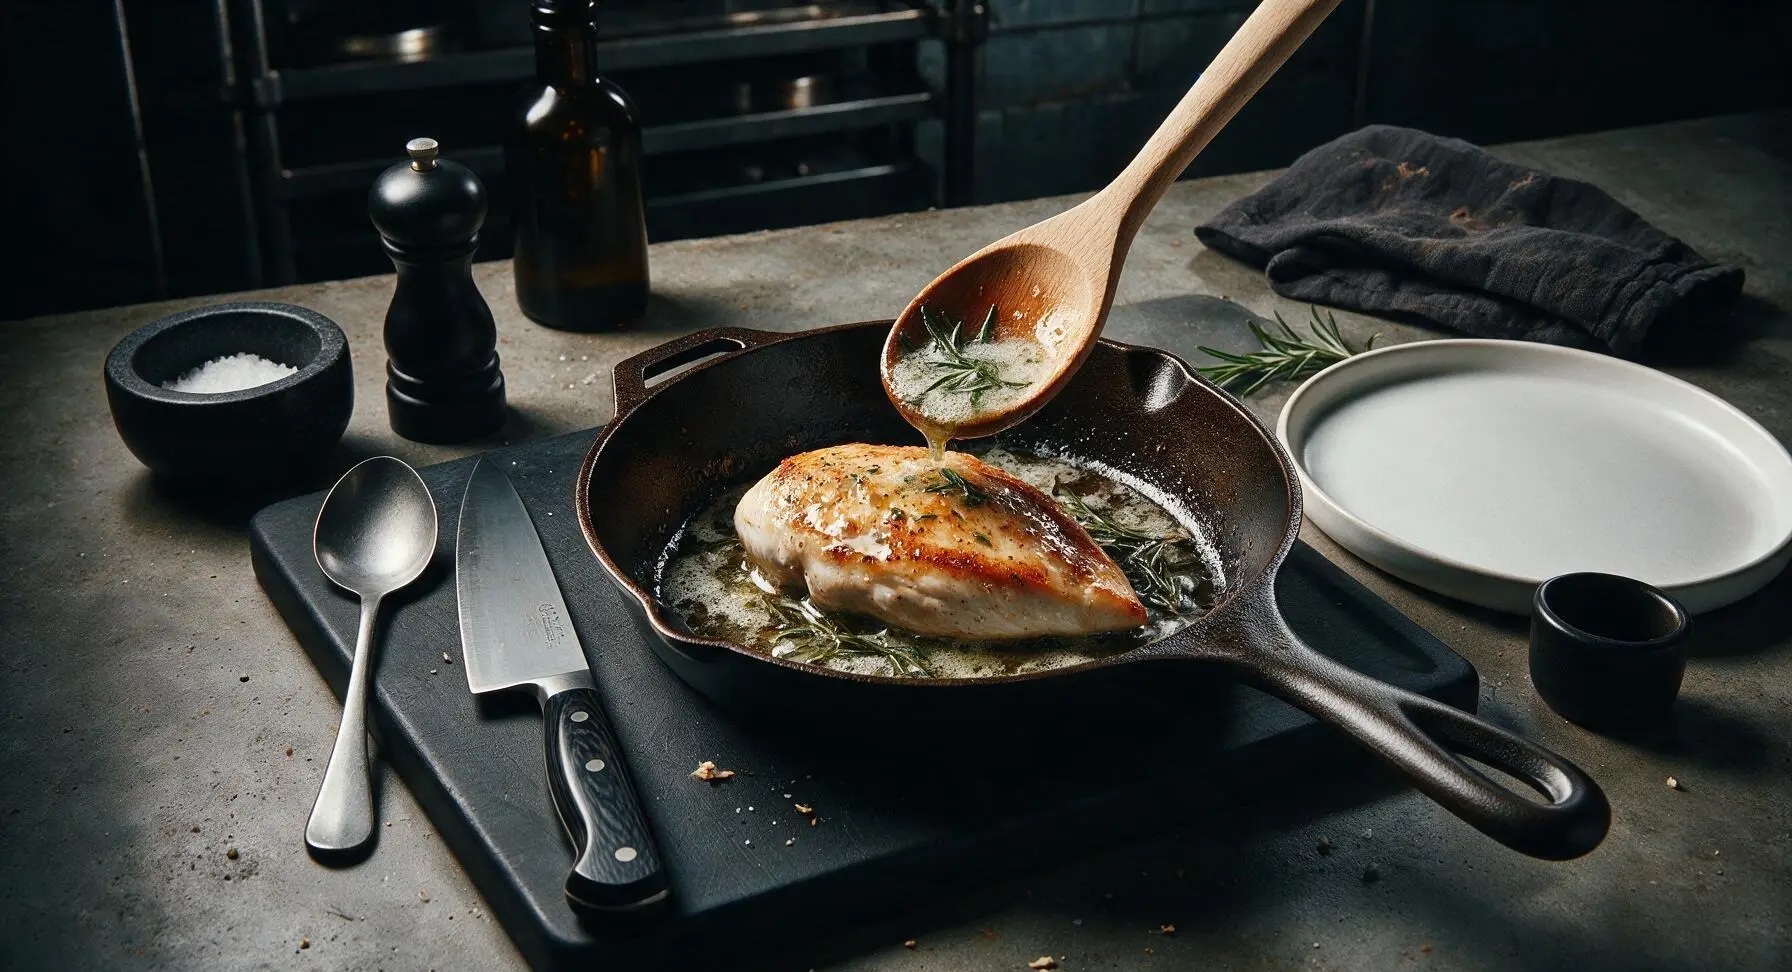
Use the silicone-tipped tongs to flip each chicken breast to its second side. Immediately add the 1 tablespoon cold unsalted butter and 2 fresh rosemary sprigs to the skillet. Tilt the pan slightly to let melted butter pool at the lower edge, then use the beechwood basting spoon to repeatedly spoon foamy, rosemary-infused butter over the top of the chicken as it cooks.
Step 6
step6:Flip and Add Aromatics
Step 6
step6:Flip and Add Aromatics
7

Check Internal Doneness

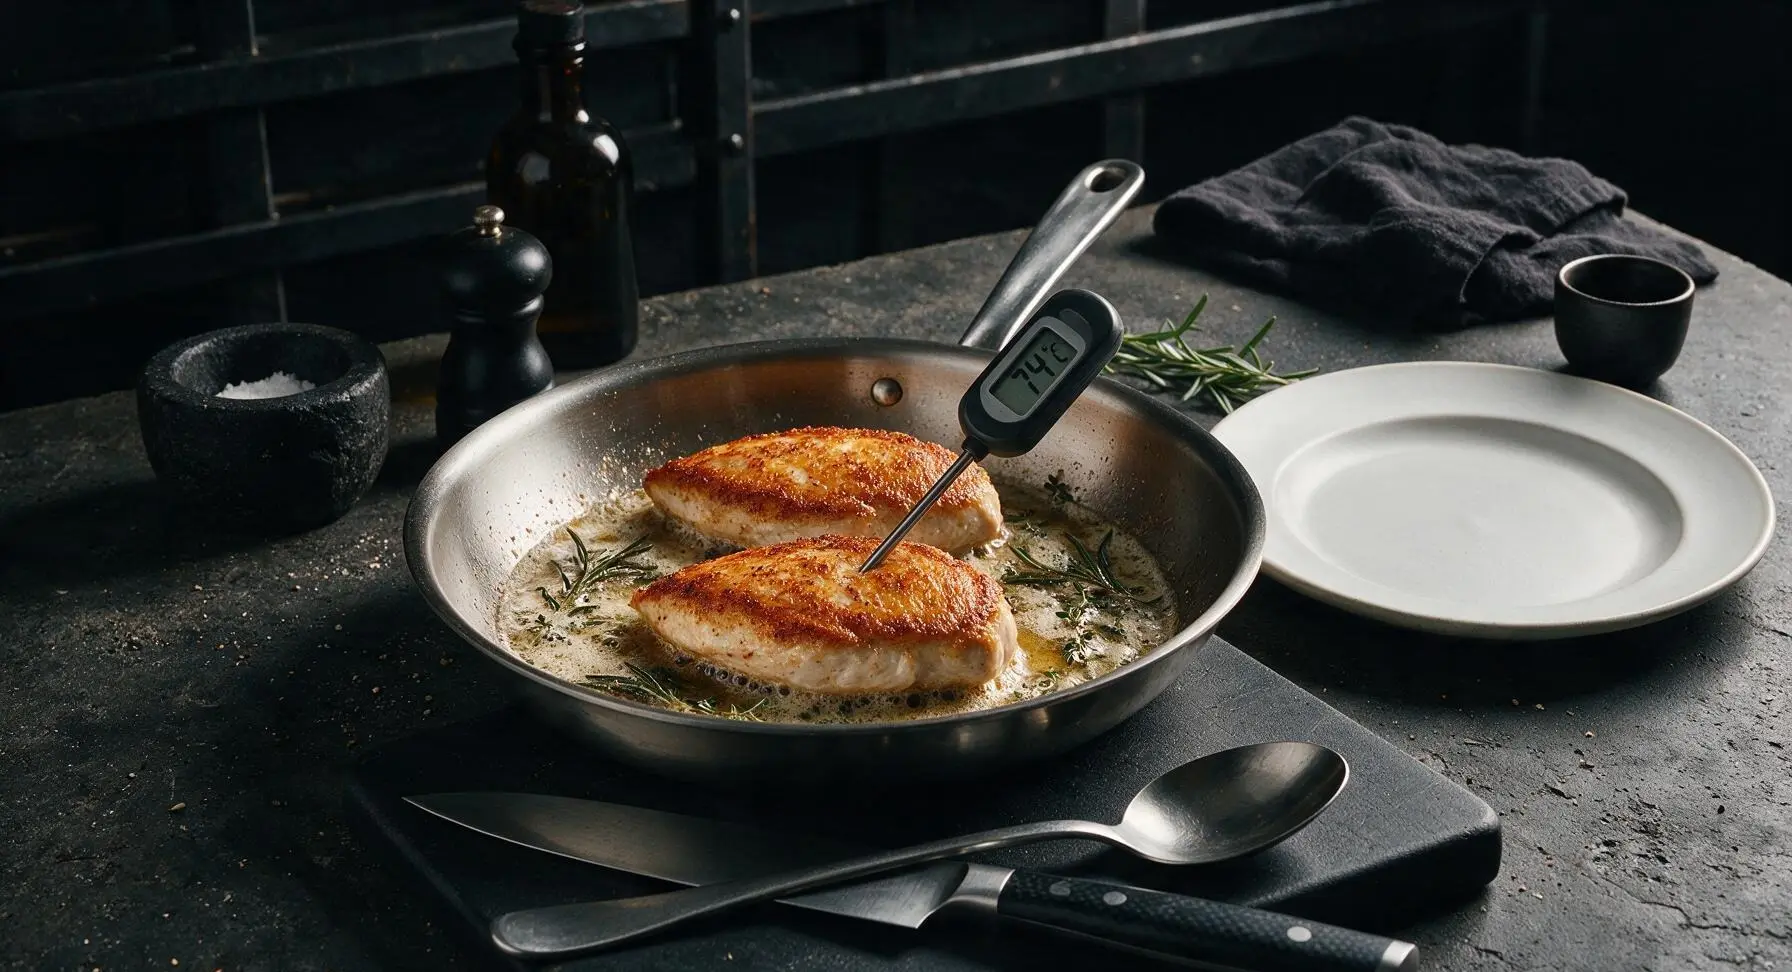
Continue cooking the second side for 4-5 minutes, basting every 30 seconds, until the chicken reaches an internal temperature of 74°C (165°F) when measured with the instant-read thermometer inserted into the thickest part of the breast, making sure the probe does not touch the hot pan surface. The crust on the second side will be a matching deep golden brown.
Step 7
step7:Check Internal Doneness
8

Rest Cooked Chicken

Use the tongs to transfer all cooked chicken breasts from the skillet to the matte cream ceramic dinner plate. Loosely tent a small sheet of aluminum foil over the top of the plate to hold in gentle heat, and let the chicken rest for 5 full minutes. Resting allows muscle fibers to relax and reabsorb juices, preventing dry, tough meat.
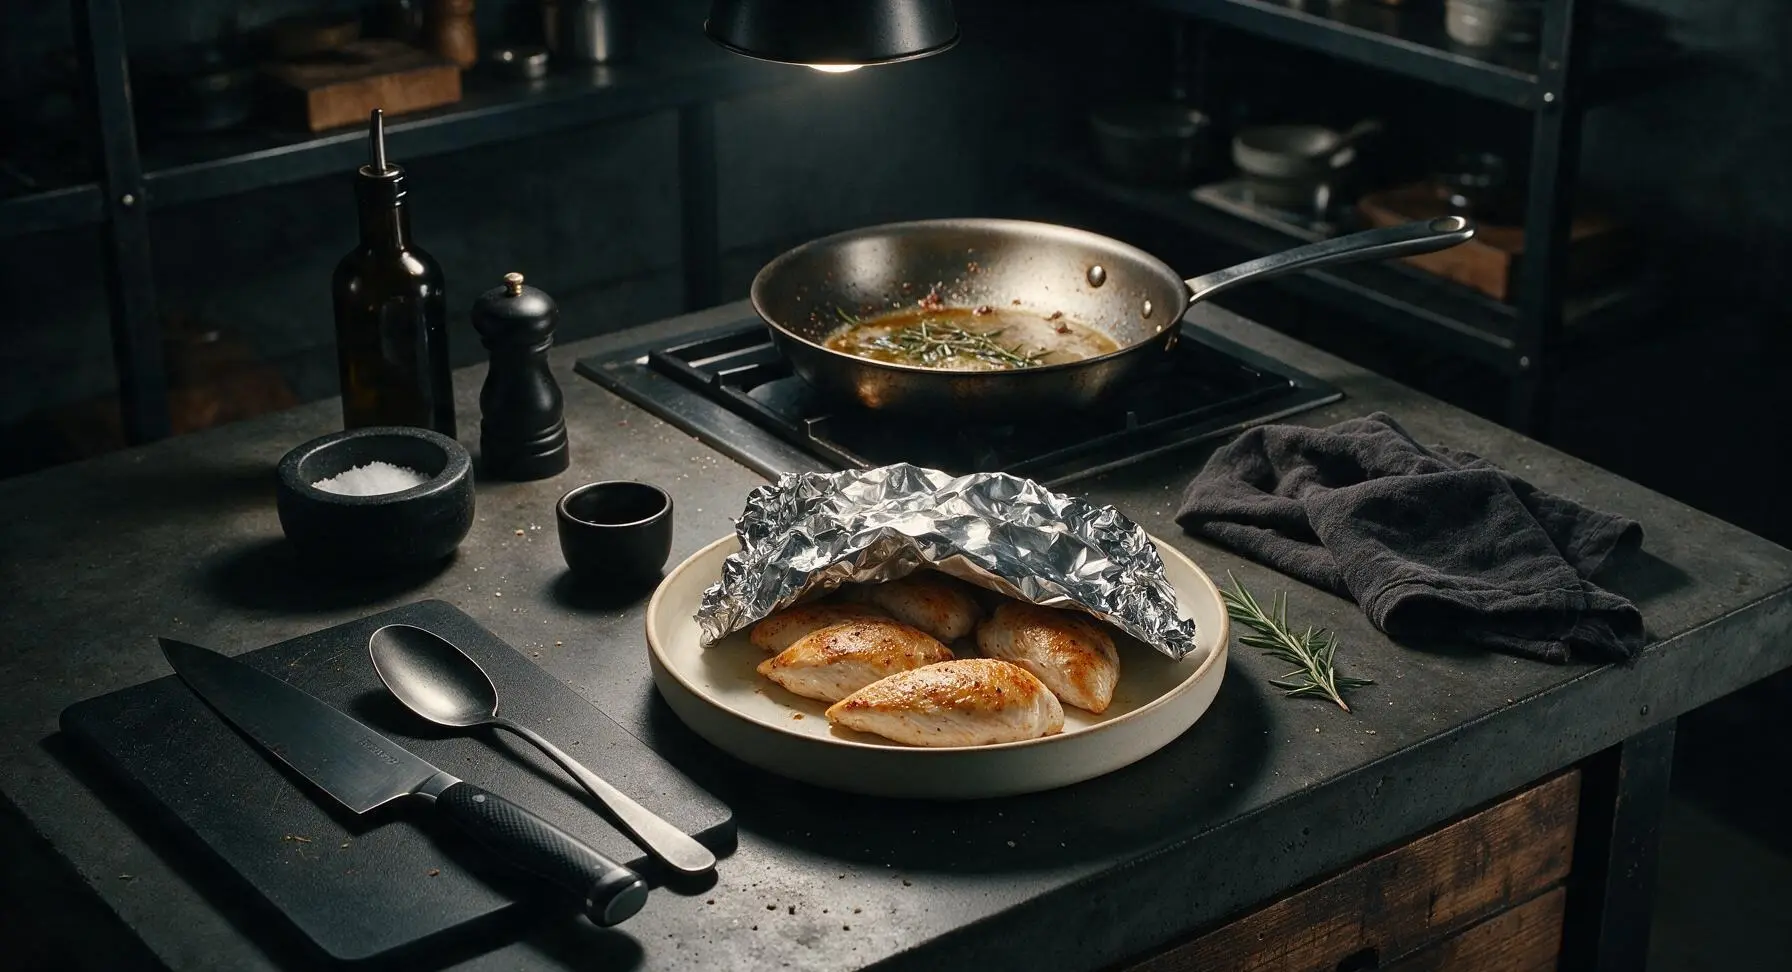
Step 8
step8:Rest Cooked Chicken
9

Slice and Plate

After 5 minutes of resting, transfer the chicken breasts back to the maple cutting board. Use the chef knife to slice each breast against the grain into 1cm thick slices. Arrange the sliced chicken fanned out on the cream ceramic dinner plate, sprinkle lightly with flaky sea salt, and tuck a fresh rosemary sprig on the plate as garnish.
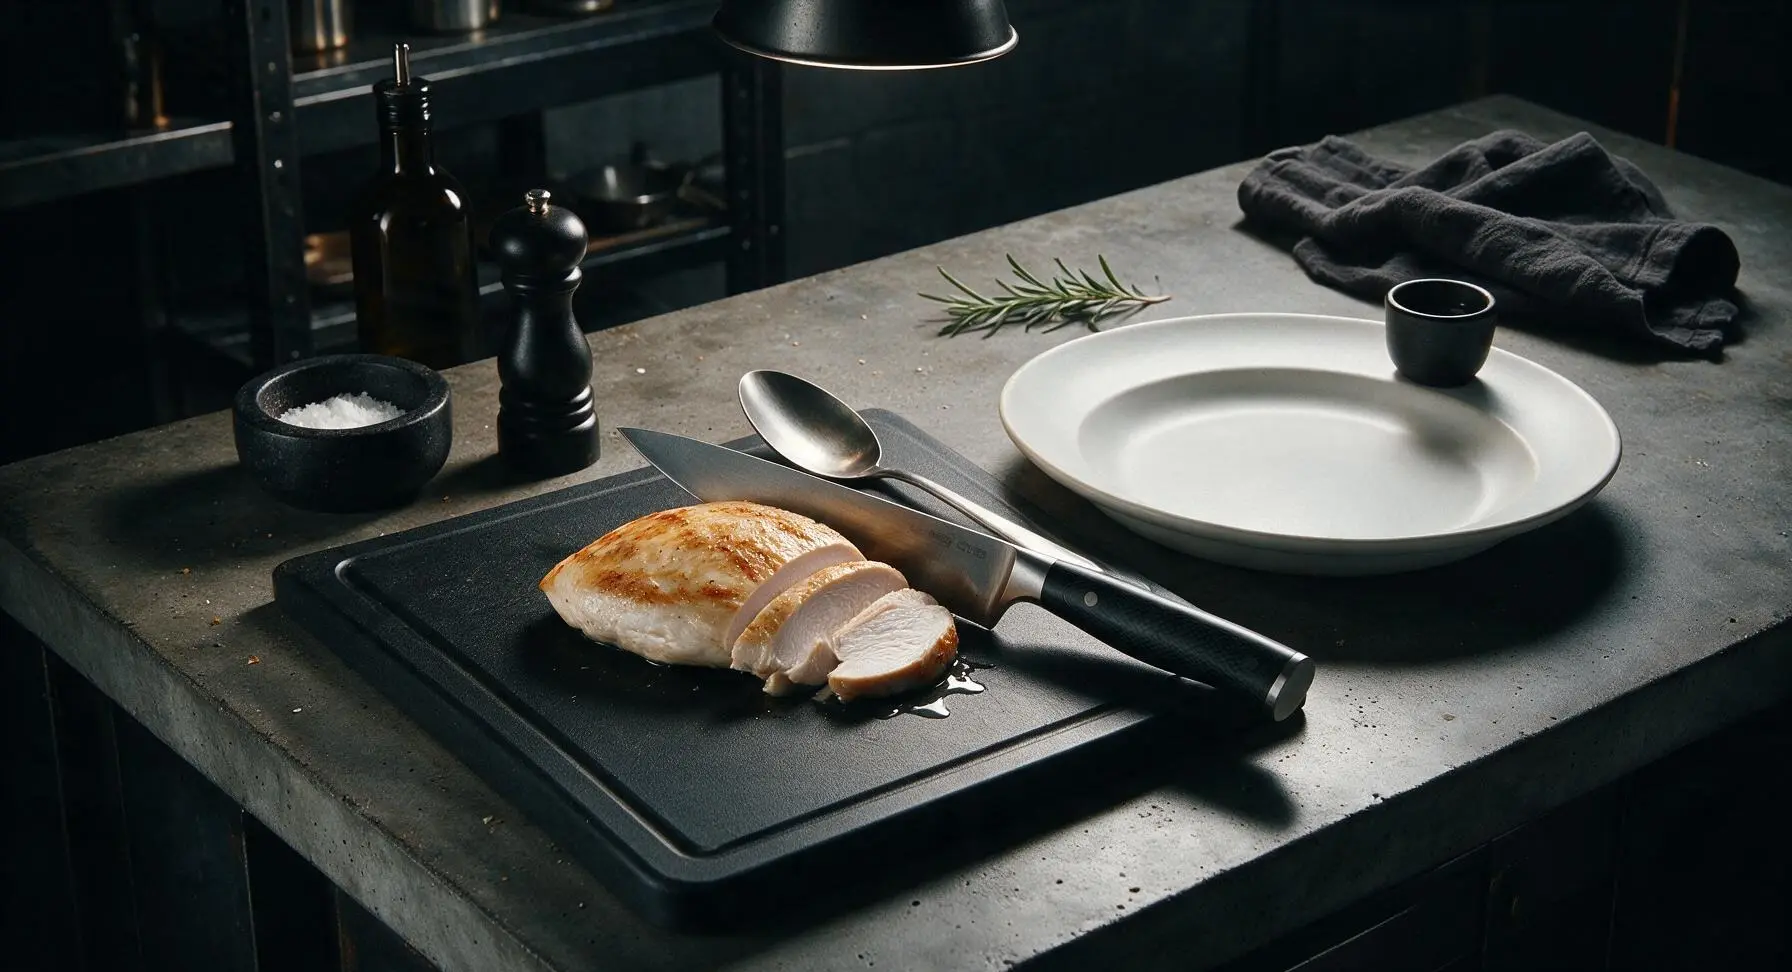
Step 9
step9:Slice and Plate

Tips

1.Always pat chicken completely dry with paper towels before seasoning: surface moisture prevents the Maillard reaction that creates a crisp, golden crust, leading to pale, steamed-tasting chicken instead of deeply seared, flavorful results.
2.Avoid overcrowding the skillet: if your pan cannot fit all chicken breasts with 1cm of space between each piece, cook in two batches. Crowding drops pan temperature rapidly, causing chicken to steam instead of sear and leading to uneven cooking.
3.Never skip the 5-minute rest period: cutting into hot chicken immediately causes all internal juices to run out onto the plate, resulting in dry, tough meat even if you cooked the chicken to the correct internal temperature.


✨ You May Also Like

Main Course
🍜 United Kingdom

A showstopping classic of tender seared beef, savory mushroom duxelles, and crisp prosciutto wrapped in flaky golden puff pastry, baked to juicy perfection.

⏱️ 2 hours 1Main Course ★ 4.7
Main Course
🍜 India

Tender charred marinated chicken simmered in a rich, spiced creamy tomato sauce, this iconic Anglo-Indian curry pairs perfectly with basmati rice or warm naan.

⏱️ 50 minuteMain Course ★ 4.6
Main Course
🍜 Thailand

Classic tangy, sweet, and savory Thai stir-fried rice noodles with shrimp, tofu, and crunchy garnishes, balancing all five core Thai flavor profiles.

⏱️ 30 minuteMain Course ★ 4.5
Main Course
🍜 United Kingdom

Crispy golden beer-battered cod and fluffy double-fried chips, served with tangy tartar sauce and malt vinegar: the timeless, beloved British pub comfort classic.

⏱️ 45 minuteMain Course ★ 4.7
Main Course
🍜 Mexico

Smoky, chile-marinated pork tacos with caramelized pineapple, fresh cilantro, and lime: a beloved classic Mexican street food perfect for casual summer gatherings.

⏱️ 1 hour 45Main Course ★ 4.8
Main Course
🍜 United States

Crunchy Fritos corn chips layered with savory beef chili and melted cheddar, topped with cool, zesty fixings for a beloved, cozy Tex-Mex comfort food.

⏱️ 35 minuteMain Course ★ 4.8

fried boneless skinless chicken breast:Frequently Asked Questions

1.How do I prevent my pan-fried boneless skinless chicken breast from turning out dry? ▾
Start by pounding thicker breasts to an even ½-inch thickness so they cook uniformly, with no overcooked thin edges or undercooked thick centers. Cook until the internal temp hits 160°F (carryover cooking will bring it to the safe 165°F as it rests), then let it sit 5 minutes before slicing to lock in juices.
2.What’s the best type of pan to use for this recipe? ▾
Reach for a heavy-bottomed stainless steel or cast iron skillet for the crispiest golden crust. These pans retain even, consistent heat without hot spots, and support the high searing heat needed for proper browning, unlike thin nonstick pans. Just make sure it’s large enough to hold breasts without crowding.
3.How thick should I pound chicken breasts for even cooking? ▾
Aim for a uniform ½-inch thickness across the entire breast. Pounding evens out the naturally tapered thin end and plump thick center, so every section cooks at the exact same rate. You won’t end up with a dried-out, overcooked thin tip while waiting for the thick middle to reach a safe temperature.
4.Do I need to brine the chicken first for extra juiciness? ▾
You don’t have to for this quick weeknight recipe, but a 30-minute quick brine (1 tablespoon kosher salt per 4 cups cold water) will boost juiciness if you have extra time. If you brine, cut the added kosher salt during seasoning in half to avoid over-salting, and pat breasts completely dry before searing.
5.Why is it so important to pat chicken dry before frying? ▾
Any surface moisture on the chicken will cause it to steam instead of sear when it hits hot oil, leaving you with a pale, soggy exterior instead of that crisp golden crust we want. Use paper towels to firmly pat both sides of each seasoned breast completely dry right before laying them in the skillet.
6.How hot should my pan and oil be before adding the chicken? ▾
Preheat your skillet over medium-high heat for 2 to 3 minutes first, then add olive oil and wait until it shimmers and sends up tiny, wispy tendrils of smoke. If the oil isn’t hot enough, chicken will stick and won’t crust properly; if it’s smoking heavily, it’s too hot and will burn the exterior before the inside cooks.
7.How long do I cook the chicken on each side? ▾
For ½-inch thick evenly pounded breasts, cook 3 to 4 minutes on the first side undisturbed until a deep golden crust forms, then flip and cook another 2 to 3 minutes on the second side. Always prioritize internal temperature over strict cook time, since stove heat and breast size vary widely between home kitchens.
8.What internal temperature means chicken is safely done without being overcooked? ▾
Pull the chicken from the pan when the thickest part registers 160°F on an instant-read thermometer. As it rests for 5 minutes off the heat, carryover cooking will raise the internal temp to the FDA-recommended 165°F. If you cook it all the way to 165°F in the pan, it will end up tough and dry by serving time.
9.Why does my chicken stick to the pan when I try to flip it? ▾
This almost always happens for one of three reasons: your pan wasn’t hot enough when you added the chicken, you tried to flip too early before the crust fully set, or you didn’t pat the chicken dry before cooking. Let the first side cook undisturbed for the full 3 minutes—it will release easily once the crisp crust forms.
10.Can I add extra seasonings beyond the salt, pepper, and garlic powder listed? ▾
Absolutely! That simple base is a great jumping-off point. Try adding a pinch of smoked paprika, dried oregano, onion powder, or cayenne for a little kick, or toss smashed garlic and a sprig of fresh thyme into the pan during the last minute of cooking to infuse the oil with extra flavor.
11.Do I need to cover the pan while the chicken cooks? ▾
Skip the lid for this recipe. Covering the pan traps steam, which will make the chicken’s exterior soggy instead of crisp, and can lead to overcooking faster than you expect. Cook uncovered the whole time to get that perfect golden crust and keep the cooking process predictable so you don’t end up with dry meat.
12.How long should I let chicken rest after cooking, and why does that matter? ▾
Let cooked breasts rest on a clean plate for 5 full minutes before slicing or serving. As the meat rests, the muscle fibers relax and reabsorb all the juicy, flavorful juices that would otherwise run out all over your cutting board if you slice right in, leaving you with dry, less flavorful chicken.
13.Can I cook thicker, un-pounded chicken breasts with this method? ▾
You can, but you’ll need to adjust the heat after searing to avoid burning the crust. Sear both sides over medium-high heat for that golden crust, then turn heat to medium-low and cook another 6 to 8 minutes, flipping occasionally, until internal temp hits 160°F. Pounding is still faster and more consistent for weeknights, though.
14.How do I store leftover cooked chicken breast, and how long will it keep? ▾
Let leftover chicken cool completely, then store it in an airtight container in the fridge for up to 4 days. It’s perfect for slicing up for salads, wraps, or grain bowls all week. You can also freeze tightly wrapped leftovers for up to 3 months; just thaw in the fridge overnight before using for the best texture.
15.Why isn’t my chicken getting that nice golden brown crust? ▾
The most common culprits are overcrowding the pan (which causes steaming instead of searing), not patting the chicken dry, oil that wasn’t hot enough, or flipping the chicken too early. If you’re cooking more than two breasts at a time, work in batches so there’s at least an inch of space between each piece.
16.Can I use a different oil if I don’t have extra-virgin olive oil? ▾
Sure! Any neutral, high-smoke-point oil works great here—avocado oil, canola oil, or grapeseed oil are all solid swaps that won’t burn at the medium-high heat we use for searing. If you love olive flavor, you can also use light olive oil instead of extra-virgin for a higher smoke point with subtle olive notes.

Comments (5)

2 days ago

OMG this is such a game changer! I’ve been overcooking my chicken breasts for years and they always come out dry and rubbery, but following this 12 minute method? Perfectly juicy every single time! My kids loved it at family dinner earlier this week—even my super picky 7 year old asked for seconds. Already added this to my weekly meal prep rotation, it works so well chopped up on salads or in wraps for lunches all week. SO easy to throw together even on chaotic busy weeknights, 10/10!

yesterday

Wait same! I used to choke down bone-dry chicken for my Sunday meal prep every week and absolutely hated it, tried this method last weekend and my work lunches have been chef’s kiss all week. No more forcing down sawdust chicken lmao

2 hours ago

So glad this works for both your family dinners and meal prep routine! Quick pro tip: if you’re prepping for the week, let the chicken rest a full 5 minutes before slicing to lock in extra juiciness—it stores so much better that way.

5 minutes ago

Total weeknight lifesaver! I got home late from work last night with zero dinner plans and threw this together in no time. I accidentally had my burner cranked a little too high on the first breast and burnt the edge a tiny bit, but the second one came out perfect. Seasoned it with garlic powder and smoked paprika like I usually do, and it was SO good—even my partner who swears he only likes dark meat chicken thighs raved about how juicy it was.

just now

Great call adding garlic powder and smoked paprika, those are some of my favorite seasonings for this recipe! If your stove runs hot, turning it down to medium heat keeps the edges from burning while still getting that nice golden, crispy crust. So glad you both enjoyed it!

1 week ago

Made this for my neighborhood potluck last weekend! I cut the cooked chicken into bite-sized pieces and set it out with a couple different dipping sauces, and people would NOT stop coming up to ask me for the recipe. It’s so simple I almost felt silly telling people it was just basic pan-fried chicken breast with no fancy tricks or expensive ingredients. Will 100% be making this again for our next block party, it’s way cheaper and tastier than picking up pre-made fried chicken from the grocery store.

30 minutes ago

Wait, is it really only 12 minutes total cook time?! I’ve always baked chicken breasts in the oven for like 30 minutes so I was fully convinced the middle would be raw if I followed this timing. I pulled out my meat thermometer to check anyway, and sure enough it hit 165 degrees right at 12 minutes! No pink, no weird dry bits, total win for someone who’s still learning to cook and messes up most protein dishes 9 times out of 10.

5 minutes ago

I was the exact same way! I kept poking the chicken every 2 minutes because I was sure I was undercooking it, but the timing is totally spot on. Just make sure your pan is fully preheated before you lay the chicken down, that makes such a big difference for getting a good crust!

yesterday

This is such a great go-to basic recipe! I’ve been hunting for a simple gluten-free protein option that doesn’t require a million specialty ingredients, and this fits the bill perfectly. I seasoned mine with lemon pepper and a squeeze of fresh lemon right after it came off the pan, and paired it with roasted broccoli and quinoa for the coziest easy dinner. Only heads up is I had to cook mine a couple minutes longer because my chicken breasts were extra thick—next time I’ll pound them thinner first like the recipe notes suggest!

2 hours ago

Oh lemon pepper sounds chef’s kiss! I ran into the same extra thick chicken issue last time I made this, pounding them to an even thickness cut the cook time right down to 12 minutes and they cooked so much more evenly—no more undercooked thick spots paired with overcooked dry edges!

30 minutes ago

Lemon pepper and fresh lemon sounds absolutely delicious! You’re totally right about thicker cuts—pounding them to a consistent 1-inch thickness makes the cook time super reliable, but if you skip that step just add 2-3 minutes per side and double check with a meat thermometer to be safe. So glad you enjoyed the recipe!



