
fried chicken batter with milk

title 1
fried chicken batter with milk
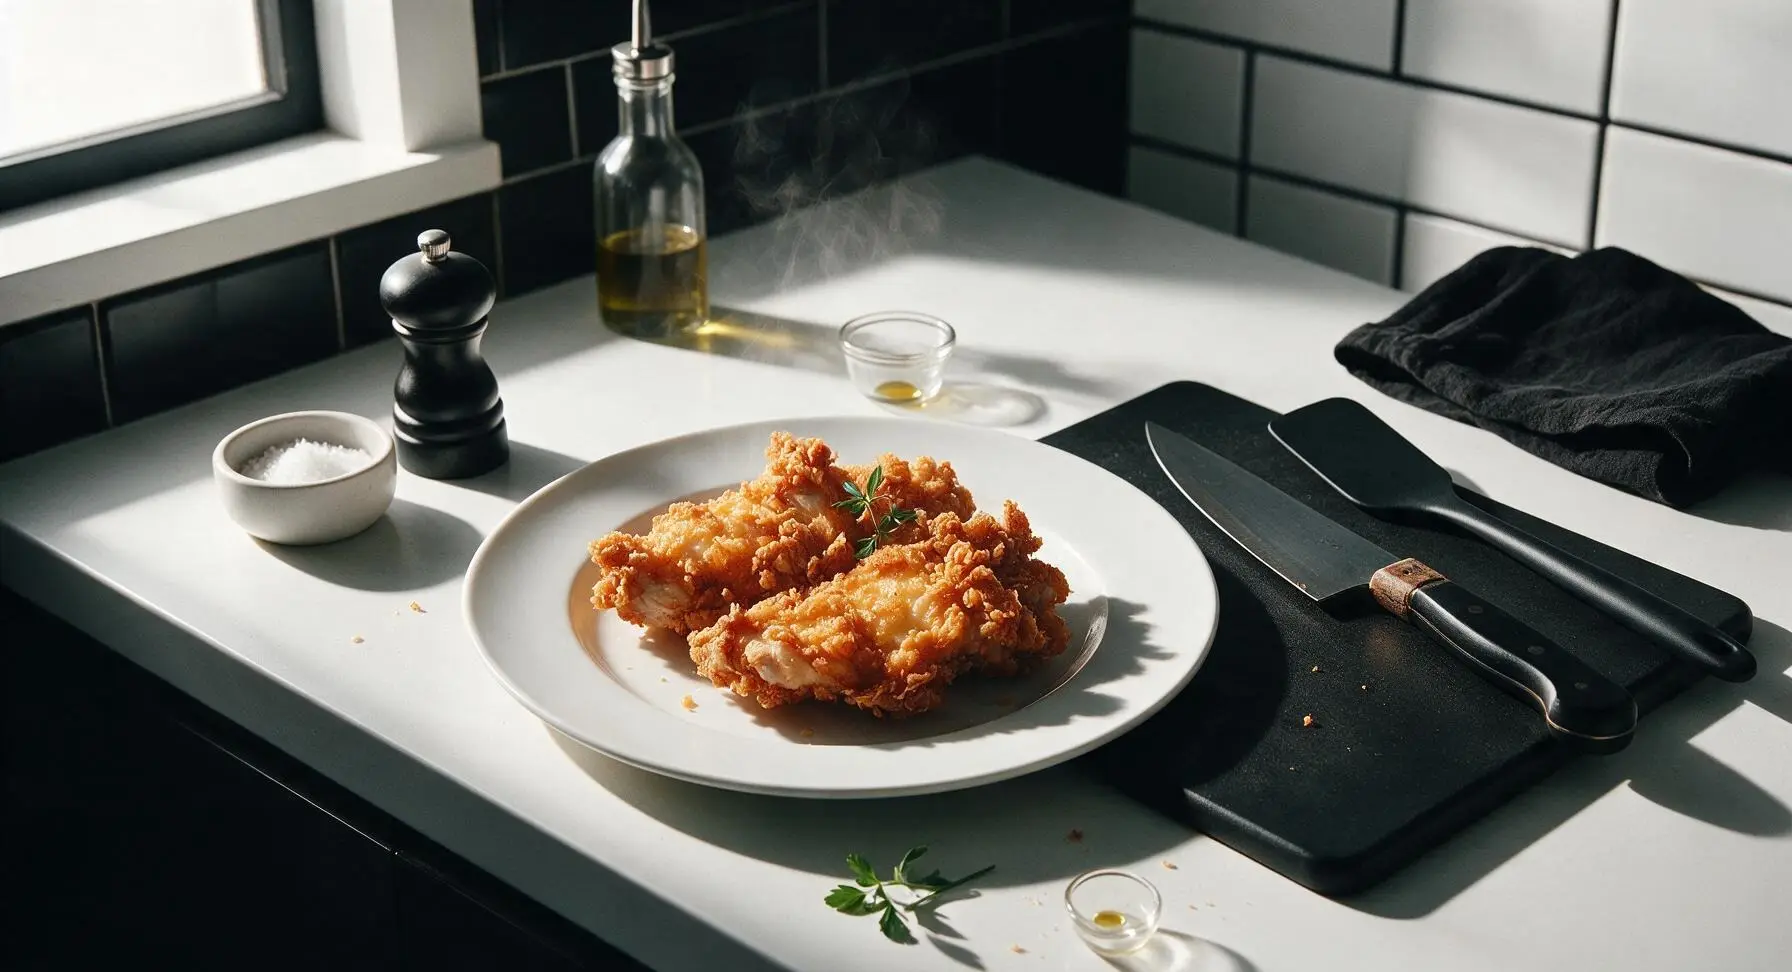
⏱️ cook time 25 minutes
🍽️ servings 4
⚡ Difficulty medium

intro

Shatteringly crisp, golden milk-battered fried chicken locks in juicy, tender meat, the iconic Southern comfort food perfect for shared family meals.

Ingredients
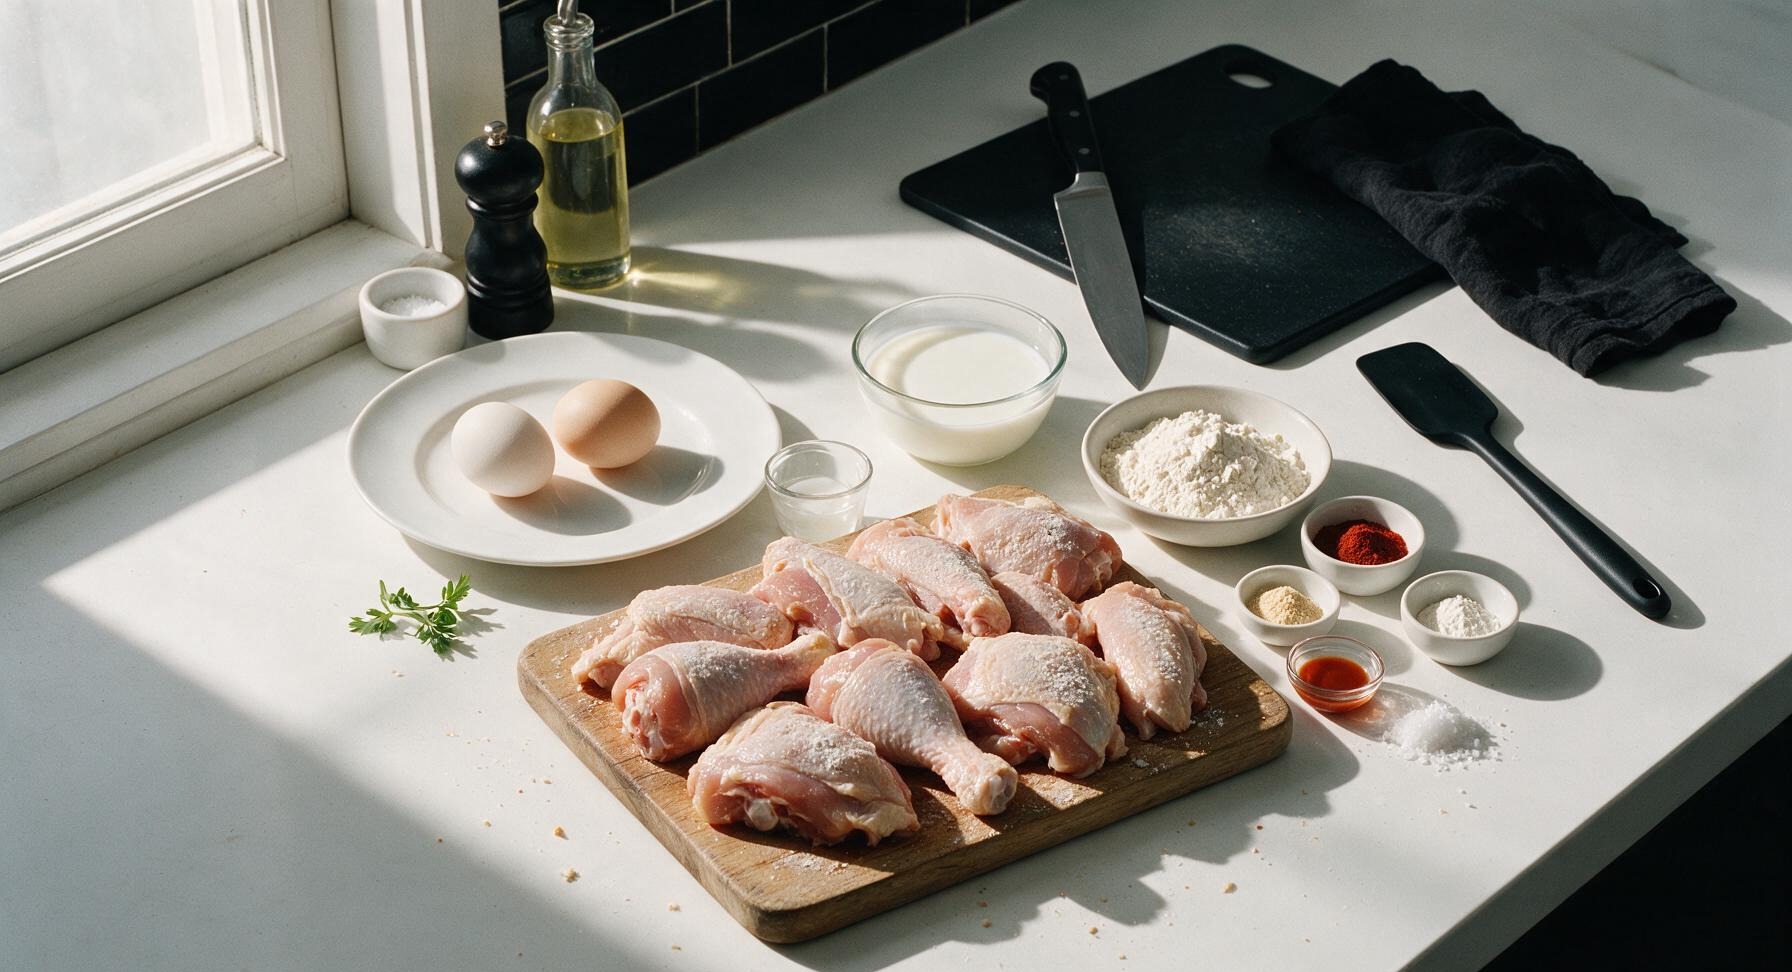
Bone-in skin-on mixed chicken pieces (drumsticks, thighs, tenders) 1.2 kg (approx 8 pieces)
Whole milk 2 cups (480ml)
All-purpose flour 1.5 cups (180g)
Large eggs 2
Smoked paprika 1 tbsp
Garlic powder 1 tsp
Onion powder 1 tsp
Freshly ground black pepper 1 tsp
Kosher salt 2 tsp
Baking powder 1 tsp
Hot sauce (e.g., Tabasco) 1 tsp
Neutral vegetable oil (canola/peanut) 4 cups (for frying)

Steps

1

Pat Chicken Dry

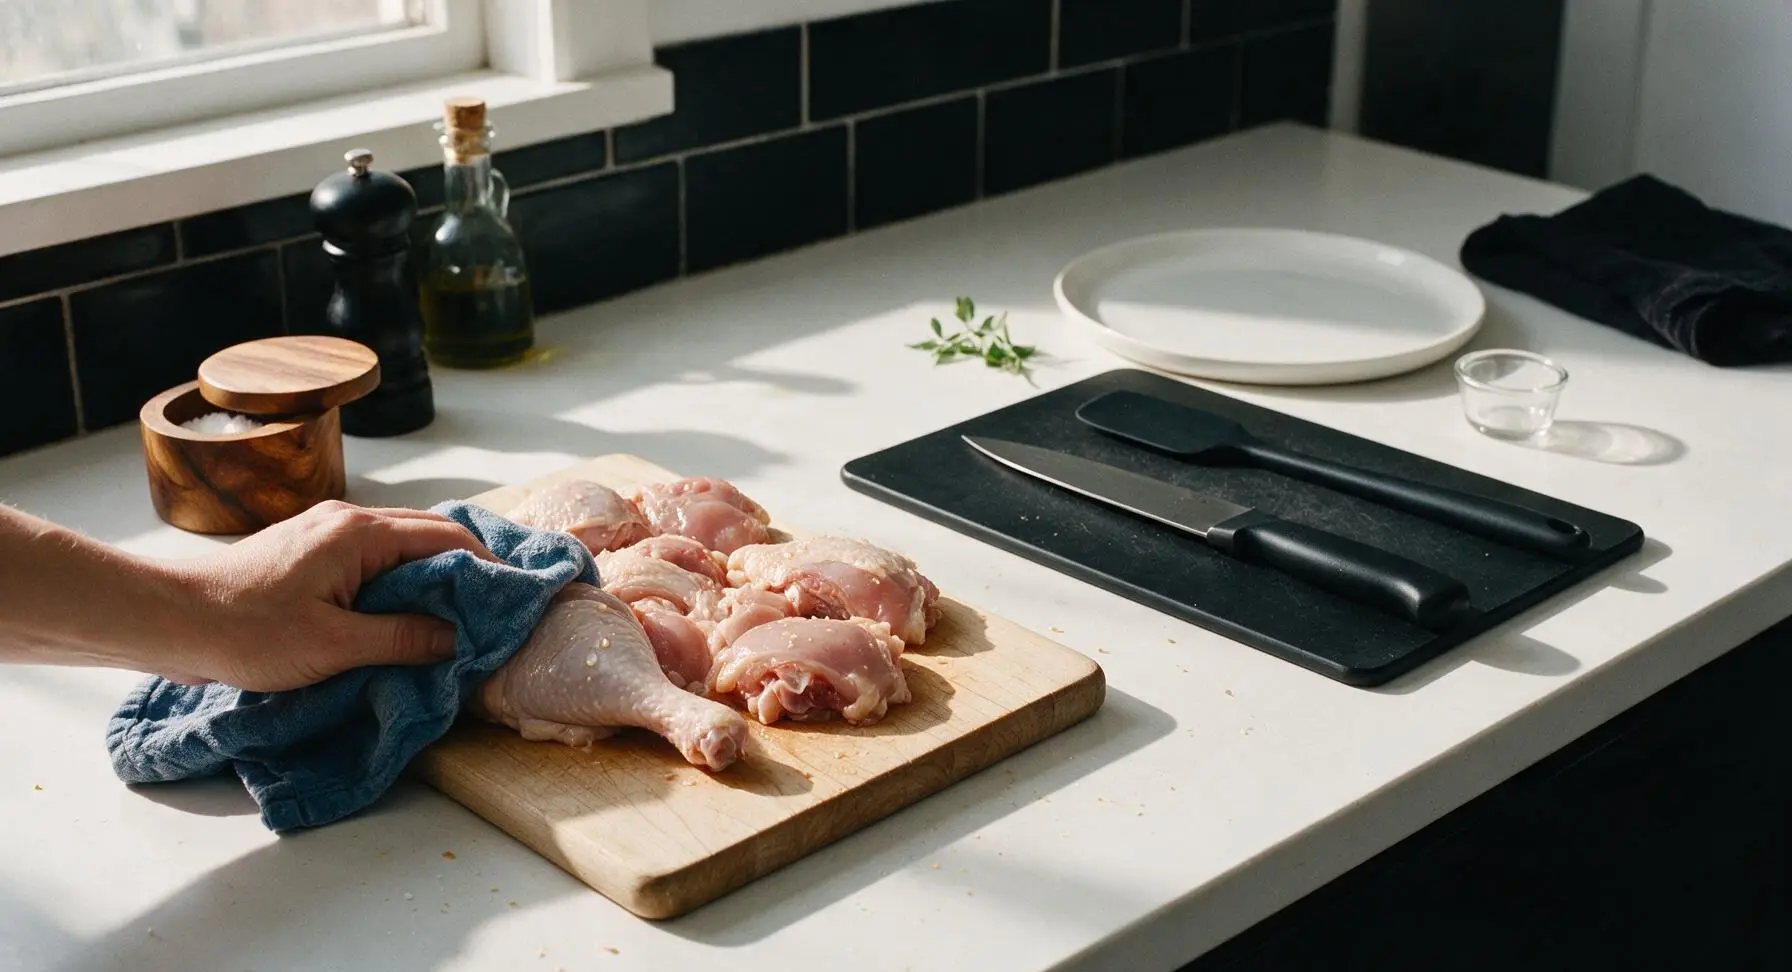
Remove chicken pieces from packaging and arrange on the maple cutting board. Use the folded indigo kitchen towel to pat every surface of the chicken completely dry, paying extra attention to the skin, which will help the batter adhere evenly and prevent splattering during frying. Set used damp towel sections aside.
Step 1
step1:Pat Chicken Dry
2

Whisk Milk Wash

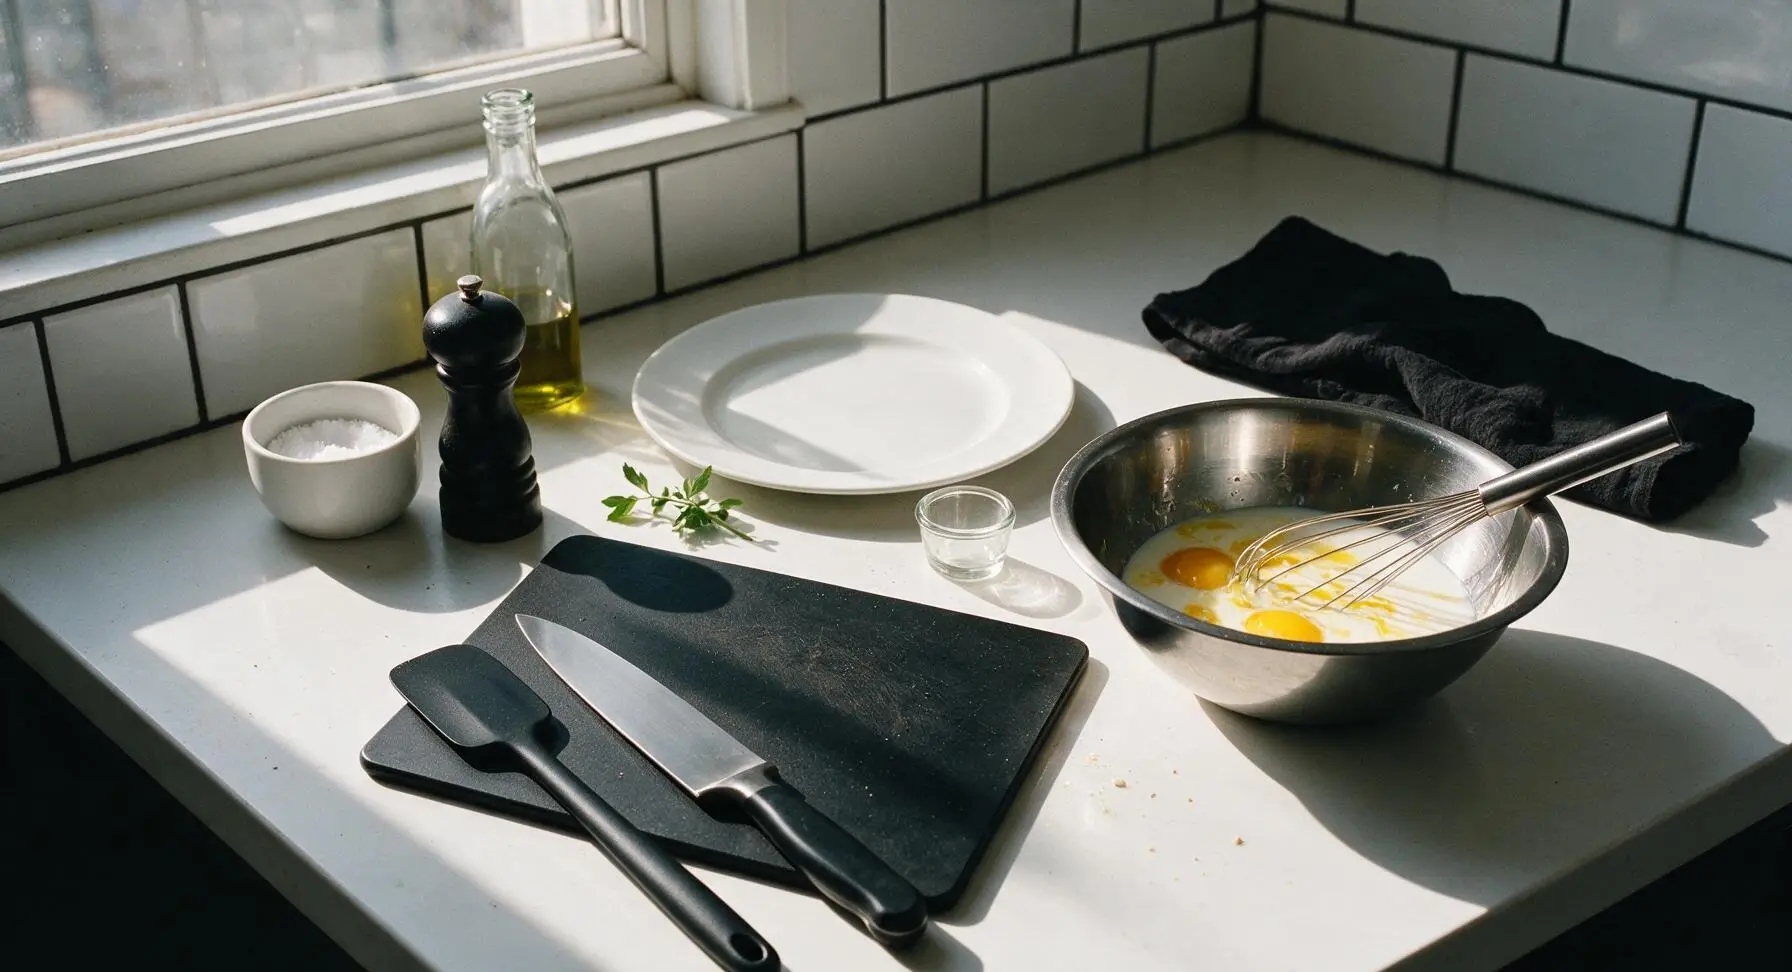
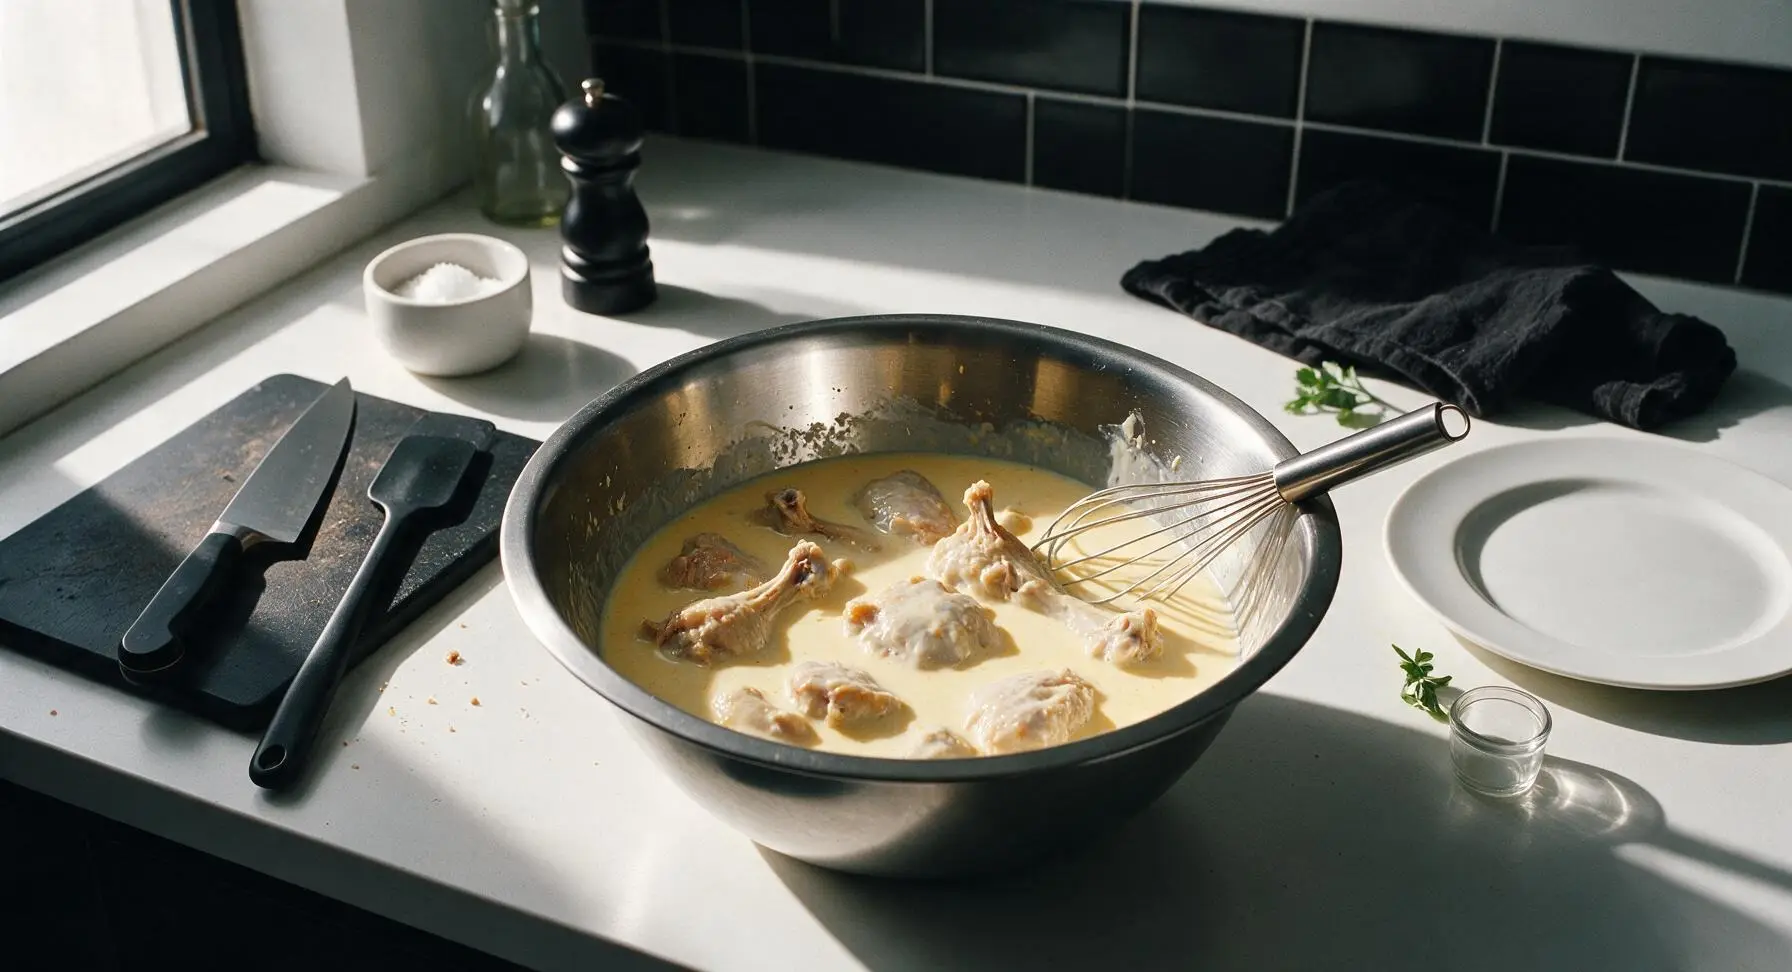
Crack the 2 large eggs into the stainless steel mixing bowl, pour in 2 cups whole milk and 1 tsp hot sauce. Whisk vigorously with the wire whisk for 30 seconds until the mixture is completely smooth, with no streaks of separate egg visible, and a uniform pale creamy yellow color. Submerge all fully dried chicken pieces in the milk wash, and let rest for 5 minutes at room temperature while you prep the dry batter mix.
Step 2
step2:Whisk Milk Wash
Step 2
step2:Whisk Milk Wash
3

Mix Dry Batter

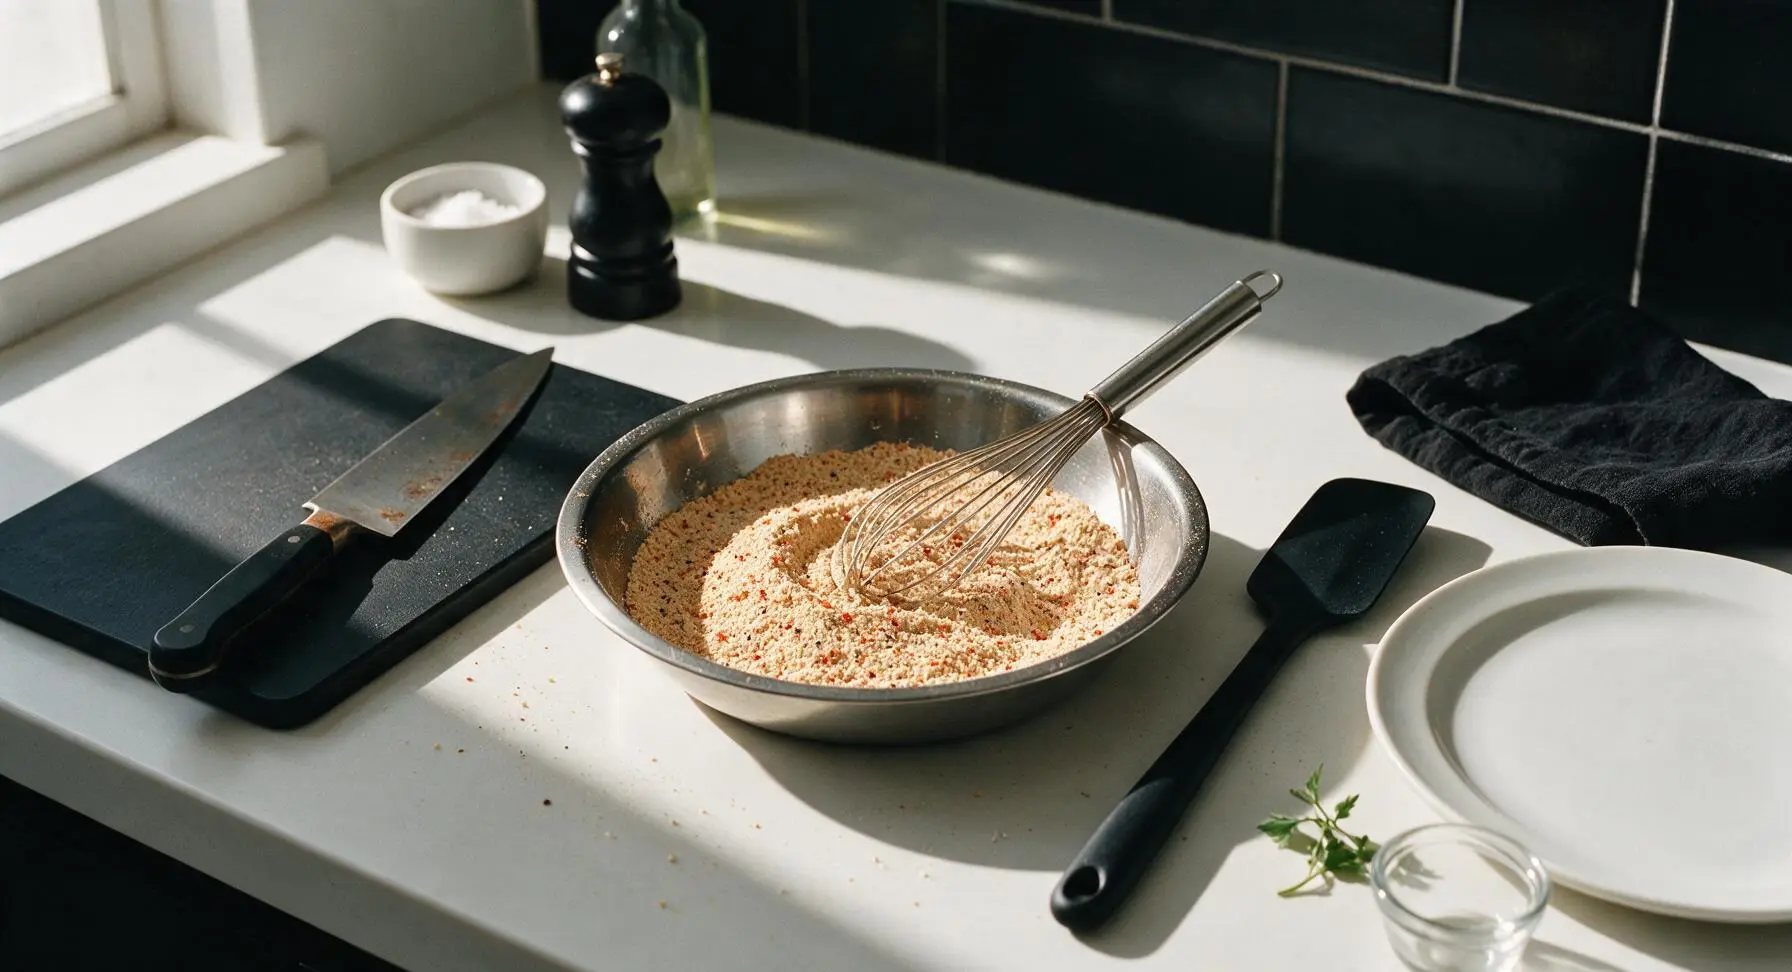
Pour 1.5 cups all-purpose flour, 1 tbsp smoked paprika, 1 tsp garlic powder, 1 tsp onion powder, 1 tsp freshly ground black pepper, 2 tsp kosher salt, and 1 tsp baking powder into the stainless steel shallow dredging dish. Use the wire whisk to stir the dry mixture for 20 seconds until all spices and leavening are evenly distributed, creating a pale tan speckled flour mix with no concentrated clumps of spice.
Step 3
step3:Mix Dry Batter
4

Heat Frying Oil

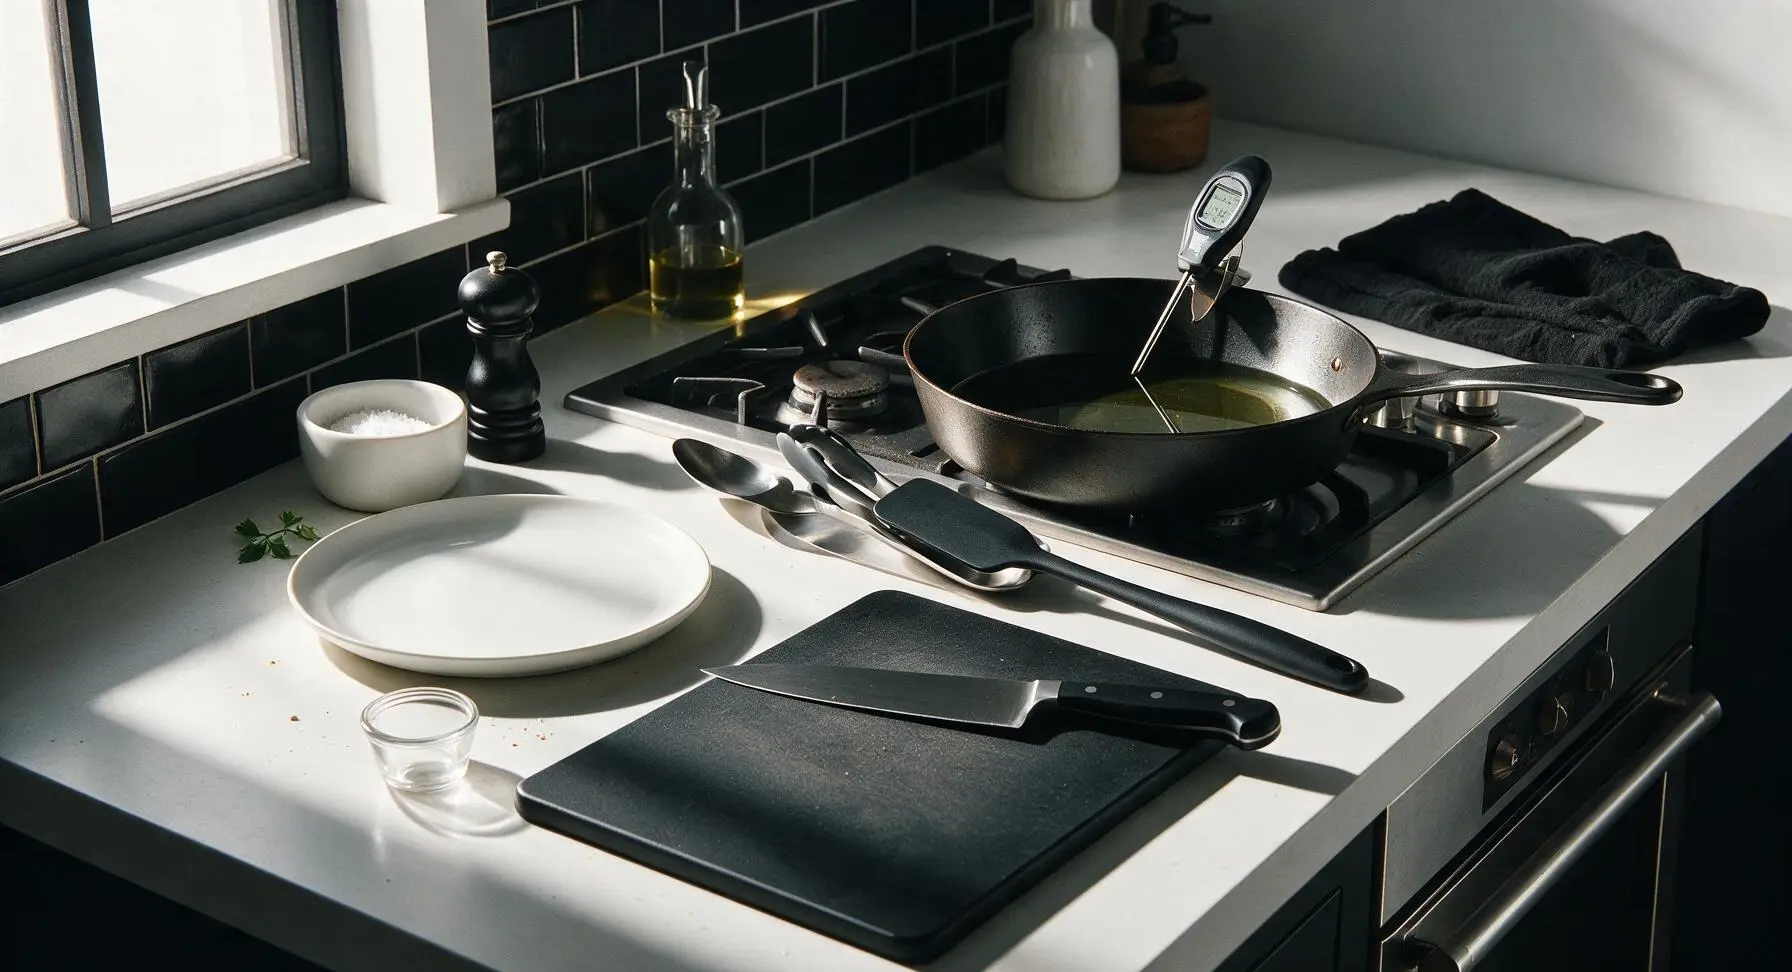
Pour 4 cups of neutral vegetable oil into the 10-inch matte black carbon steel deep skillet, then set the back right stovetop burner to medium heat. Clip the digital instant-read thermometer to the side of the skillet, and heat the oil until it reaches a steady 350°F (175°C). Adjust the burner as needed to maintain this temperature throughout frying: oil that is too hot will burn the batter before the chicken cooks through, while oil that is too cool will lead to a greasy, soggy crust.
Step 4
step4:Heat Frying Oil
5

Dredge Chicken in Batter

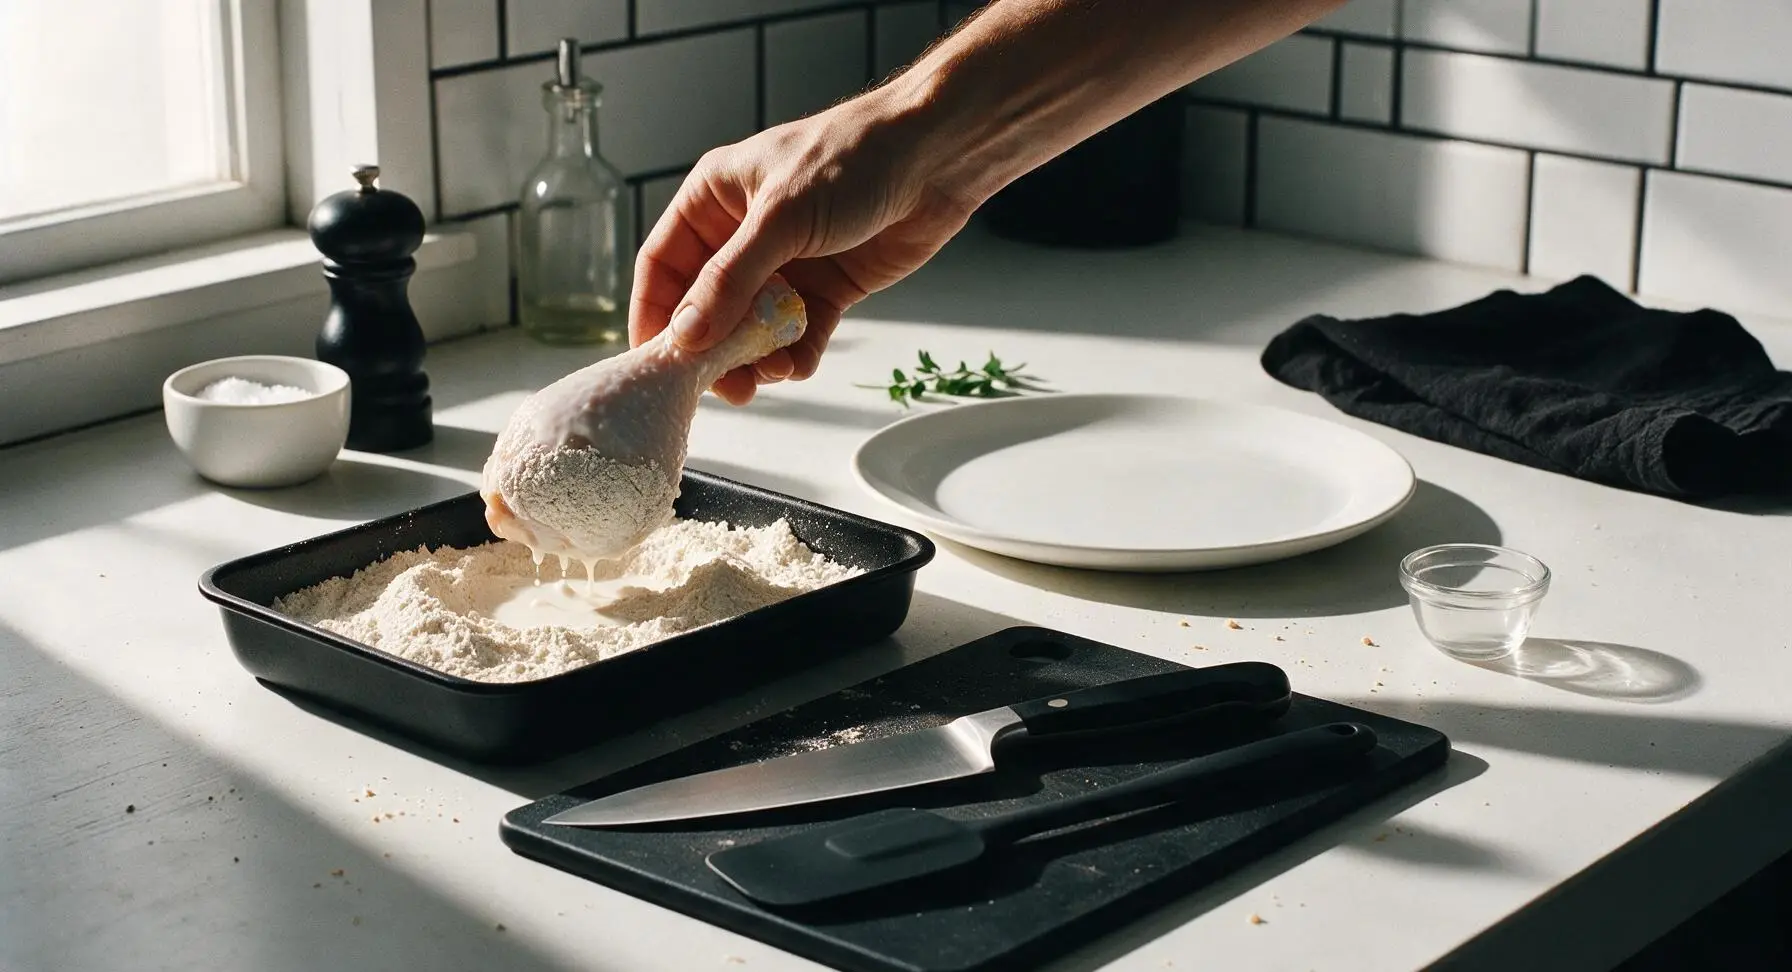
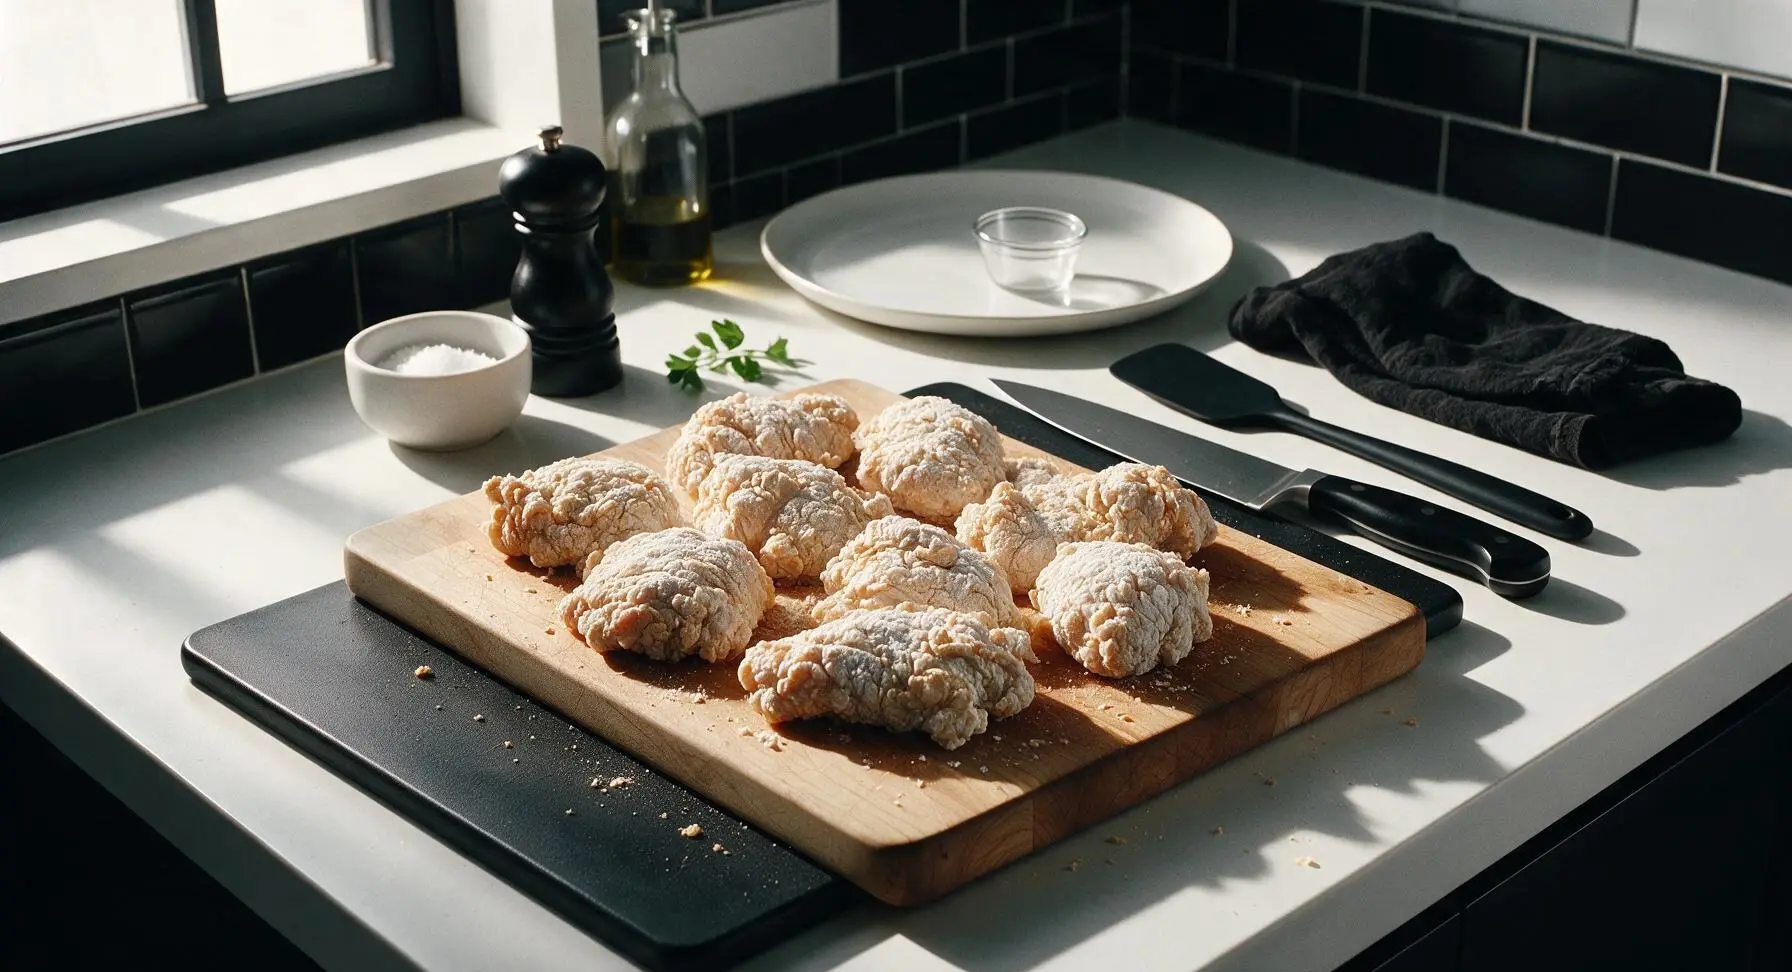
Working one piece at a time, lift chicken from the milk wash, letting excess milk drip off for 2 seconds, then place it in the spiced flour mixture in the dredging dish. Press firmly on all sides to coat the chicken completely, making sure flour gets into every crevice of skin and around bone edges. Lift the coated piece, tap gently against the dish edge to remove loose excess flour, then set it on a clean section of the maple cutting board for 3 minutes to let the batter set — this creates the signature craggy, shatterproof crust that won't fall off during frying.
Step 5
step5:Dredge Chicken in Batter
Step 5
step5:Dredge Chicken in Batter
6

Fry Chicken in Batches

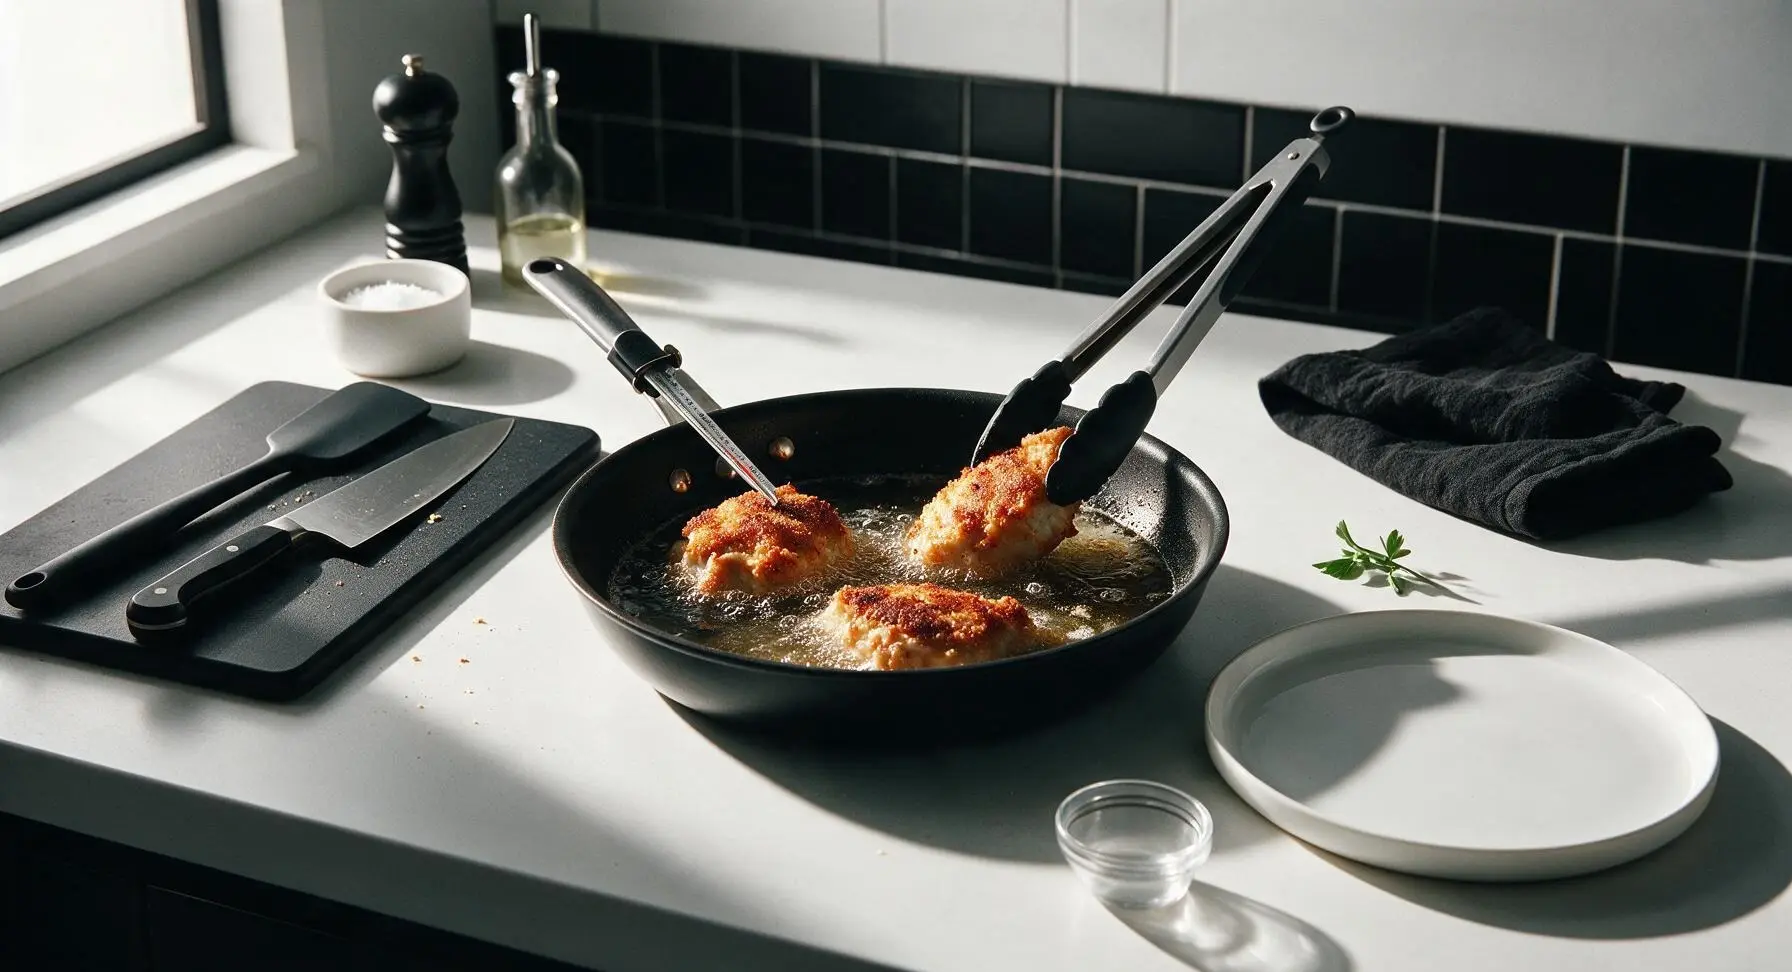
Using the silicone-tipped tongs, carefully lower 3-4 chicken pieces into the 350°F oil, making sure not to overcrowd the skillet (overcrowding drops oil temperature rapidly and causes soggy crust). Fry for 12-14 minutes total, turning pieces every 3 minutes with the tongs, until the batter is a deep, even golden brown, and the internal temperature of the thickest part of the chicken reaches 165°F (74°C) on the instant-read thermometer.
Step 6
step6:Fry Chicken in Batches
7

Drain Fried Chicken

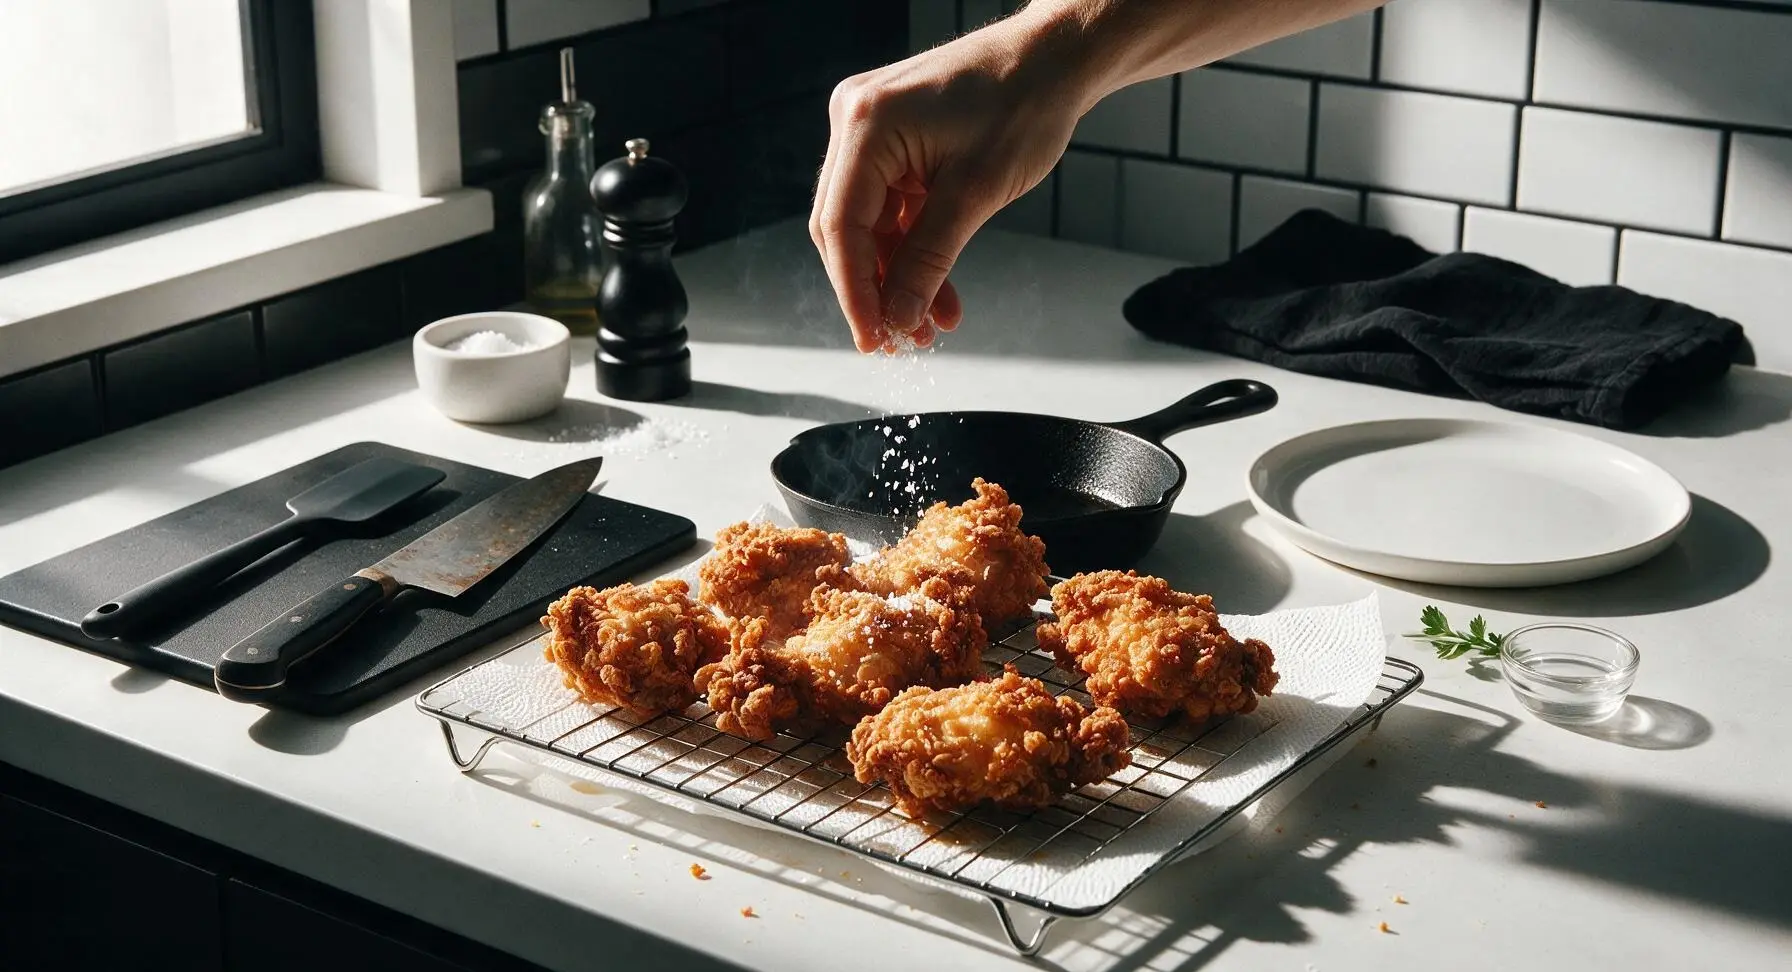
Once each batch reaches the correct temperature and golden color, use the tongs to lift pieces from the oil, letting excess oil drip back into the skillet for 3 seconds, then transfer the pieces to the paper-towel lined chrome wire cooling rack. Sprinkle lightly with a pinch of extra kosher salt while the crust is still hot and porous, then let the chicken rest for 5 minutes before plating — this lets the crust set and juices redistribute inside the meat for juicier bites.
Step 7
step7:Drain Fried Chicken
8

Plate and Serve

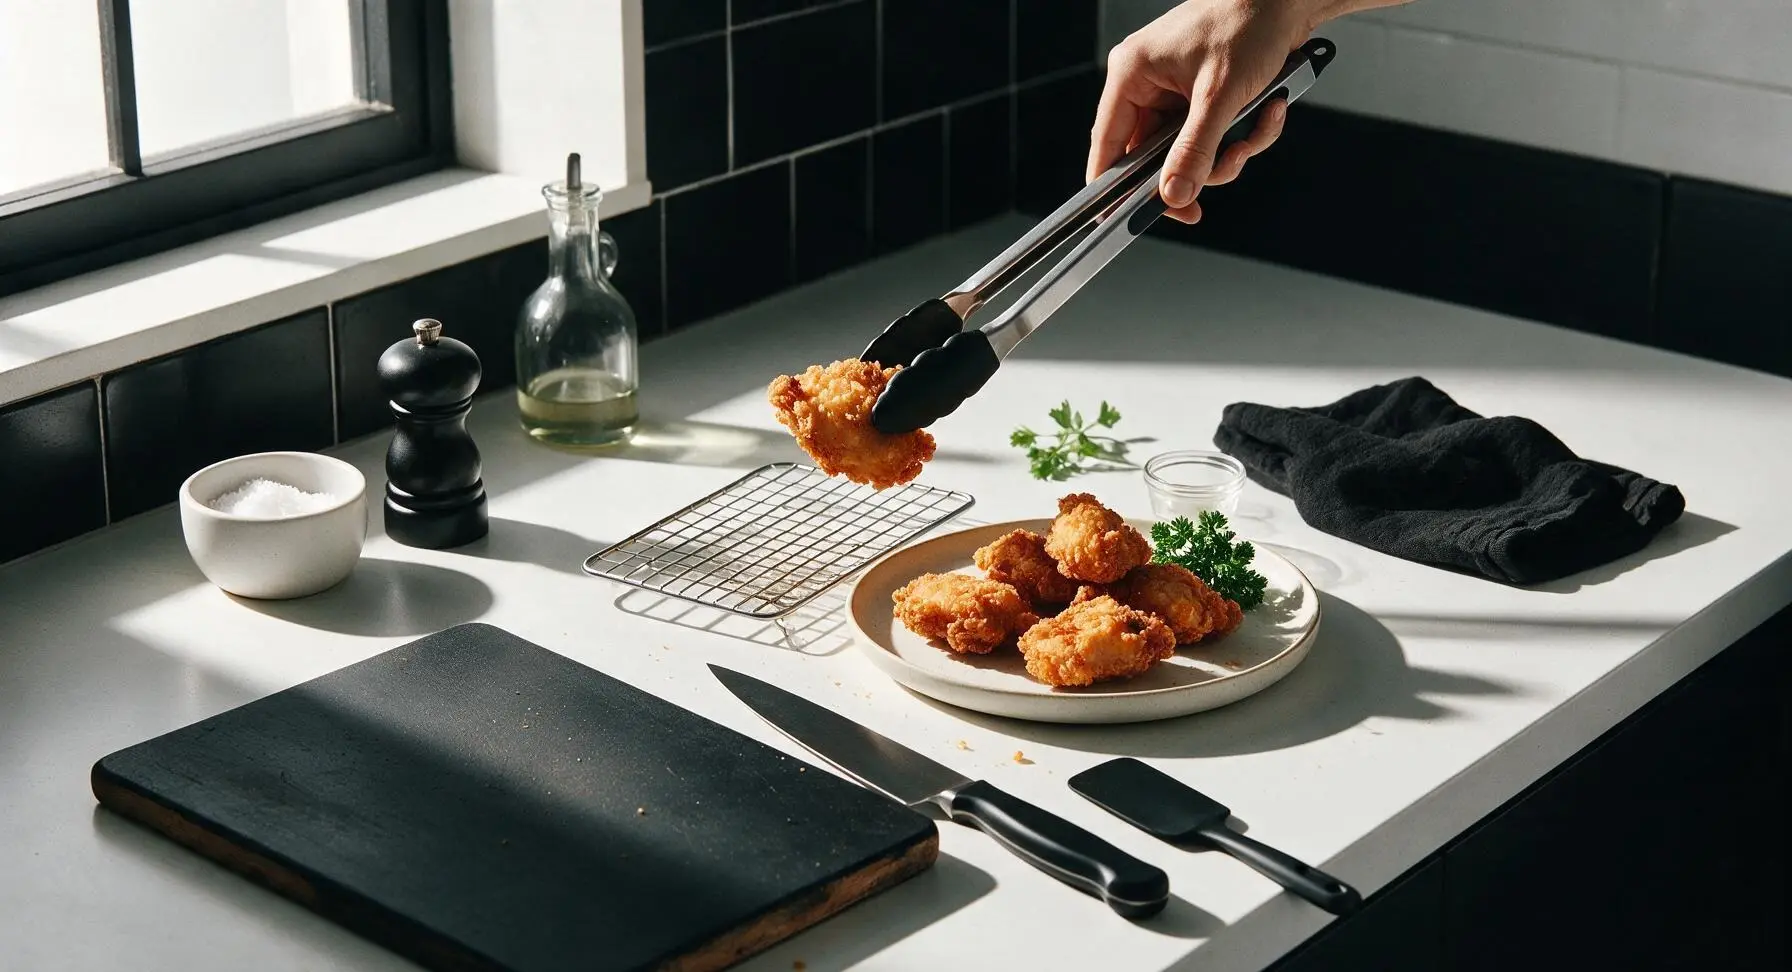
Transfer the rested, crispy fried chicken to the off-white ceramic dinner plate, piling pieces loosely rather than stacking tightly to keep crust crisp. Tuck a small sprig of fresh curly parsley next to the chicken as a bright garnish, and serve immediately while the crust is shatteringly crisp.
Step 8
step8:Plate and Serve

Tips

1.Always let dredged chicken rest for 3 minutes before frying: this rest time lets the milk and flour bind into a sticky, cohesive coating that won’t slide off the chicken or separate in hot oil, creating the signature shatteringly crisp, craggy crust instead of a thin layer that flakes away.
2.Hold oil steady at 350°F (175°C) throughout frying: oil below 325°F makes the batter absorb excess grease and turn soggy, while oil above 375°F burns the outer crust before the chicken reaches the safe 165°F (74°C) internal temperature.
3.Add 1 teaspoon of baking powder to the dry flour mix: this small amount of leavening creates tiny air pockets in the batter as it fries, resulting in a lighter, crunchier crust instead of a dense, hard coating, without adding any unwanted aftertaste.


✨ You May Also Like

Main Course
🍜 United Kingdom

A showstopping classic of tender seared beef, savory mushroom duxelles, and crisp prosciutto wrapped in flaky golden puff pastry, baked to juicy perfection.

⏱️ 2 hours 1Main Course ★ 4.7
Main Course
🍜 India

Tender charred marinated chicken simmered in a rich, spiced creamy tomato sauce, this iconic Anglo-Indian curry pairs perfectly with basmati rice or warm naan.

⏱️ 50 minuteMain Course ★ 4.6
Main Course
🍜 Thailand

Classic tangy, sweet, and savory Thai stir-fried rice noodles with shrimp, tofu, and crunchy garnishes, balancing all five core Thai flavor profiles.

⏱️ 30 minuteMain Course ★ 4.5
Main Course
🍜 United Kingdom

Crispy golden beer-battered cod and fluffy double-fried chips, served with tangy tartar sauce and malt vinegar: the timeless, beloved British pub comfort classic.

⏱️ 45 minuteMain Course ★ 4.7
Main Course
🍜 Mexico

Smoky, chile-marinated pork tacos with caramelized pineapple, fresh cilantro, and lime: a beloved classic Mexican street food perfect for casual summer gatherings.

⏱️ 1 hour 45Main Course ★ 4.8
Main Course
🍜 United States

Crunchy Fritos corn chips layered with savory beef chili and melted cheddar, topped with cool, zesty fixings for a beloved, cozy Tex-Mex comfort food.

⏱️ 35 minuteMain Course ★ 4.8

fried chicken batter with milk:Frequently Asked Questions

1.Why use whole milk in the batter instead of traditional buttermilk? ▾
Whole milk creates a milder, creamier base that lets the warm smoked paprika shine, and produces a lighter, shatteringly crisp crust compared to the tangier, denser finish you get with buttermilk. Its gentle lactic acid still tenderizes the chicken beautifully without overpowering the meat’s natural, savory flavor.
2.Can I use boneless, skinless chicken instead of the recommended bone-in, skin-on cuts? ▾
Absolutely, though bone-in, skin-on cuts stay far juicier during the high-heat frying process. If you opt for boneless, skinless pieces, reduce frying time by 3 to 4 minutes to avoid dry, tough meat, and pat pieces extra dry before dipping to help the batter adhere evenly.
3.How do I get that signature shatteringly crisp crust instead of a soggy coating? ▾
Start by patting chicken completely dry before dipping, hold your frying oil to a steady 350°F, and never overcrowd the fryer—cook 3 to 4 pieces at a time. Let cooked chicken rest on a wire rack (not paper towels) for 5 minutes post-fry to avoid steaming the crust into sogginess.
4.Can I swap regular paprika for the smoked paprika the recipe calls for? ▾
You can use regular sweet paprika if you don’t have the smoked variety, but you’ll miss that warm, campfire-kissed smoky note that pairs so perfectly with the creamy milk batter. To mimic that depth, add a tiny pinch of garlic powder and a dash of cayenne to regular paprika for extra dimension.
5.How long should I soak chicken in the milk mixture before frying? ▾
For the juiciest, most tender results, let chicken pieces soak in the whole milk and beaten egg mixture for 1 to 2 hours, covered, in the fridge. If you’re short on time, a 20-minute soak at cool room temperature still works to tenderize the meat and help the flour coating stick tight.
6.What type of oil works best for frying this chicken? ▾
Reach for neutral, high-smoke-point options like refined peanut oil, canola oil, or vegetable shortening for the best results. These oils won’t add unwanted, bitter off-flavors as they heat, hold a steady 350°F easily, and help the milk batter cook to an even, golden crisp without burning.
7.Why does my batter slide off the chicken while it’s frying? ▾
Batter slippage almost always traces back to two common missteps: chicken that wasn’t patted fully dry before dipping, or oil that’s too cold when you add pieces. Shake off excess milk-egg mix before dredging in flour, and wait for oil to hit a full 350°F to let the coating set fast and stay put.
8.Can I make this fried chicken ahead for a potluck or family gathering? ▾
You can keep cooked chicken warm in a 200°F oven on a wire rack set over a baking sheet for up to 45 minutes before serving without losing crispness. Avoid sealing warm chicken in a covered container, as trapped steam will turn that shattery crust soft and soggy in minutes.
9.Do I need to add extra seasonings beyond the smoked paprika? ▾
Smoked paprika makes a fantastic flavor base, but I always recommend stirring 1 teaspoon each of garlic powder, onion powder, kosher salt, and black pepper into the all-purpose flour before dredging. That extra seasoning builds flavor all through the crust, so you don’t end up with bland, plain fried coating.
10.How do I tell when the chicken is fully cooked without cutting into it? ▾
The most reliable method is to use an instant-read thermometer stuck into the thickest part of each piece (avoiding contact with bone) — it should read 165°F when safe to eat. As a quick visual cue, the crust will be deep golden brown, and juices will run clear when you pierce the meat.
11.Can I use skim or low-fat milk instead of whole milk for the batter? ▾
Skim or low-fat milk will work in a total pinch, but the higher fat content in whole milk creates a richer, more tender crust and helps the coating brown more evenly as it fries. Lower-fat milks tend to produce a thinner, paler crust that lacks that signature shattery crispness we’re after.
12.Why do you recommend resting chicken after frying instead of serving it immediately? ▾
That 5-minute rest on a wire rack does two key things: it lets excess oil drain off so the crust doesn’t feel greasy, and it lets juices redistribute back through the meat instead of running all over your plate at the first bite. The crust actually gets even crispier during that short wait, too.
13.Can I bake this milk-batter chicken instead of deep frying it for a lighter meal? ▾
You can, though you won’t get that exact shatteringly crisp deep-fried crust. To bake, arrange battered chicken on a greased wire rack over a baking sheet, spritz lightly with oil, and bake at 425°F for 35 to 40 minutes until it hits 165°F internally, flipping halfway for even browning.
14.What’s the best way to reheat leftover fried chicken so it stays crispy? ▾
Skip the microwave, which turns crust soggy and meat rubbery fast. Instead, reheat pieces on a wire rack set over a baking sheet in a 375°F oven for 10 to 15 minutes, until the crust is crisp again and internal temp hits 165°F. A quick air fryer spin at 370°F works great too.
15.Can I adjust the batter to make a spicier version of this fried chicken? ▾
Absolutely! If you love a little heat, stir ½ to 1 teaspoon of cayenne pepper, a pinch of chili powder, or a few dashes of your favorite hot sauce into the milk and egg dip before coating chicken. The creamy milk base balances spice beautifully, so you won’t get harsh, overwhelming heat.

Comments (12)

2 days ago

OMG this fried chicken is a GAME CHANGER. I’ve tried so many batter recipes that slide right off the chicken or get soggy 10 minutes after frying, but the milk batter stayed crispy through our whole Sunday dinner! My kids ate 3 pieces each and asked for seconds before they even finished their first plate. 10/10 will be making this for our next potluck too.

yesterday

Wait did you use whole milk or 2%? I only have skim in the fridge right now and don’t wanna run to the store lol

yesterday

Whole milk works best for that thick, clingy batter, but 2% will do in a pinch! Skim might make the batter a little thinner, so you can toss in an extra tablespoon of flour to thicken it up if you go that route.

1 week ago

Super solid recipe, only note is that my first batch came out a little underdone inside because I had my oil too hot, so the outside browned way faster. Turned the heat down a touch for batch two and it was perfect, so crispy even after it cooled down a bit.

5 days ago

Great call adjusting the heat! Oil temp is super tricky with fried chicken – 350°F is the sweet spot so the outside crisps up without burning before the inside cooks through. So glad batch two turned out for you!

3 days ago

Made this for my husband’s work carry-in and everyone was hounding me for the recipe! The crust has that perfect shatteringly crisp crunch, and the chicken stays juicy inside. I added a little paprika and garlic powder to the batter for extra kick and it was chef’s kiss.

yesterday

As someone who burns 90% of the things I attempt to cook, I was shocked how well this turned out! The directions were super straightforward, no fancy weird ingredients I had to track down at a specialty store. My teenagers actually complimented my cooking for once??? Wild.

2 hours ago

Right?? I’m the worst at frying stuff too and this came out perfect on my first try! I was so proud I posted pics to the family group chat lmao

2 hours ago

Love to hear that! This recipe is designed to be forgiving even if you’re not a regular fry cook, so I’m stoked it got you teen-approved status. That’s the highest honor there is!

5 days ago

I do meal prep every Sunday and was worried this wouldn’t hold up reheated, but y’all – I heated up a piece in the air fryer at 375 for 5 minutes on Wednesday and it was almost as crispy as the day I made it! Total meal prep win.

3 days ago

Oh thanks for the air fryer reheat tip! I was gonna skip this because I hate soggy leftover fried chicken, now I’m adding it to next week’s meal plan!

2 weeks ago

Took this to a neighborhood cookout last weekend and people were picking the last pieces off the platter before I even got a chance to grab a second one. The milk batter gives it such a nice, rich flavor that regular flour and water batter just can’t match. So good.

30 minutes ago

I made this last month and it was a total hit! Quick question: can I mix up the milk batter ahead of time and leave it in the fridge for a couple hours before frying for my game night party tonight? Wanna get as much prep done early as possible!

5 minutes ago

Great question! You can mix the batter up to 2 hours ahead and keep it covered in the fridge – just give it a quick stir before dipping your chicken, since some of the flour might settle at the bottom. Hope the game night is a hit!

2 weeks ago

I’ve been making fried chicken for 50+ years and I was skeptical about a milk batter, but I tried this last Sunday when my grandkids came over and WHEW. That crust is crispier than my usual buttermilk recipe, and the chicken was so tender. My oldest grandson asked if I could make it for his high school graduation party next month!

1 week ago

That’s the highest possible praise! If someone who’s been making fried chicken for 50 years loves it, this recipe must be next level. I’m trying it this weekend for sure

1 week ago

That means the world, truly! There’s no better feedback than from someone who’s been perfecting fried chicken for decades. Congrats on the upcoming graduation, I’m sure the chicken will be the star of the spread!

2 hours ago

Tried this with boneless thighs instead of bone-in breasts because that’s what I had in the freezer, and it worked so well! Cooked in about 18 minutes total, crust was perfectly crispy, no soggy spots at all. Will absolutely be making this again.

30 minutes ago

Boneless thighs are such a great swap! They stay so juicy even if you accidentally cook them a minute too long, which makes them perfect for new fry cooks. So glad it worked out for you!

5 minutes ago

Quick heads up for anyone gluten free – I swapped the all purpose flour for a 1:1 gluten free flour blend and it came out just as crispy! My roommate who eats gluten didn’t even notice the difference, he went back for two more pieces.

just now

Oh thank you for sharing this! My daughter has celiac and I’ve been looking for a GF fried chicken recipe that doesn’t taste like cardboard, can’t wait to try your swap!

3 days ago

I messed up and forgot to buy buttermilk for my usual fried chicken recipe, so I found this on a whim and used regular whole milk like the recipe said. I might never go back to buttermilk batter? This was so much lighter and crispier, didn’t leave that heavy, greasy feeling I get sometimes with other fried chicken. SO good.

2 days ago

Same! I used to think buttermilk was non-negotiable for good fried chicken but this milk batter changed my mind. It’s so much easier too, I always have milk in the fridge

2 days ago

Love that you gave it a shot even when you were missing your usual ingredients! The milk batter creates that light, shattery crust without the extra tang of buttermilk, which is perfect if you prefer a more neutral, rich chicken flavor. So glad it worked out!

1 week ago

Made this for my kid’s soccer team potluck over the weekend and all the parents were raving! I doubled the recipe because I know how much teen athletes eat, and there was barely a handful of leftover bits when everyone was done. The crunch is unreal, even when it’s sat out for an hour at a field picnic. 10/10.



