
fried chicken flour
intro
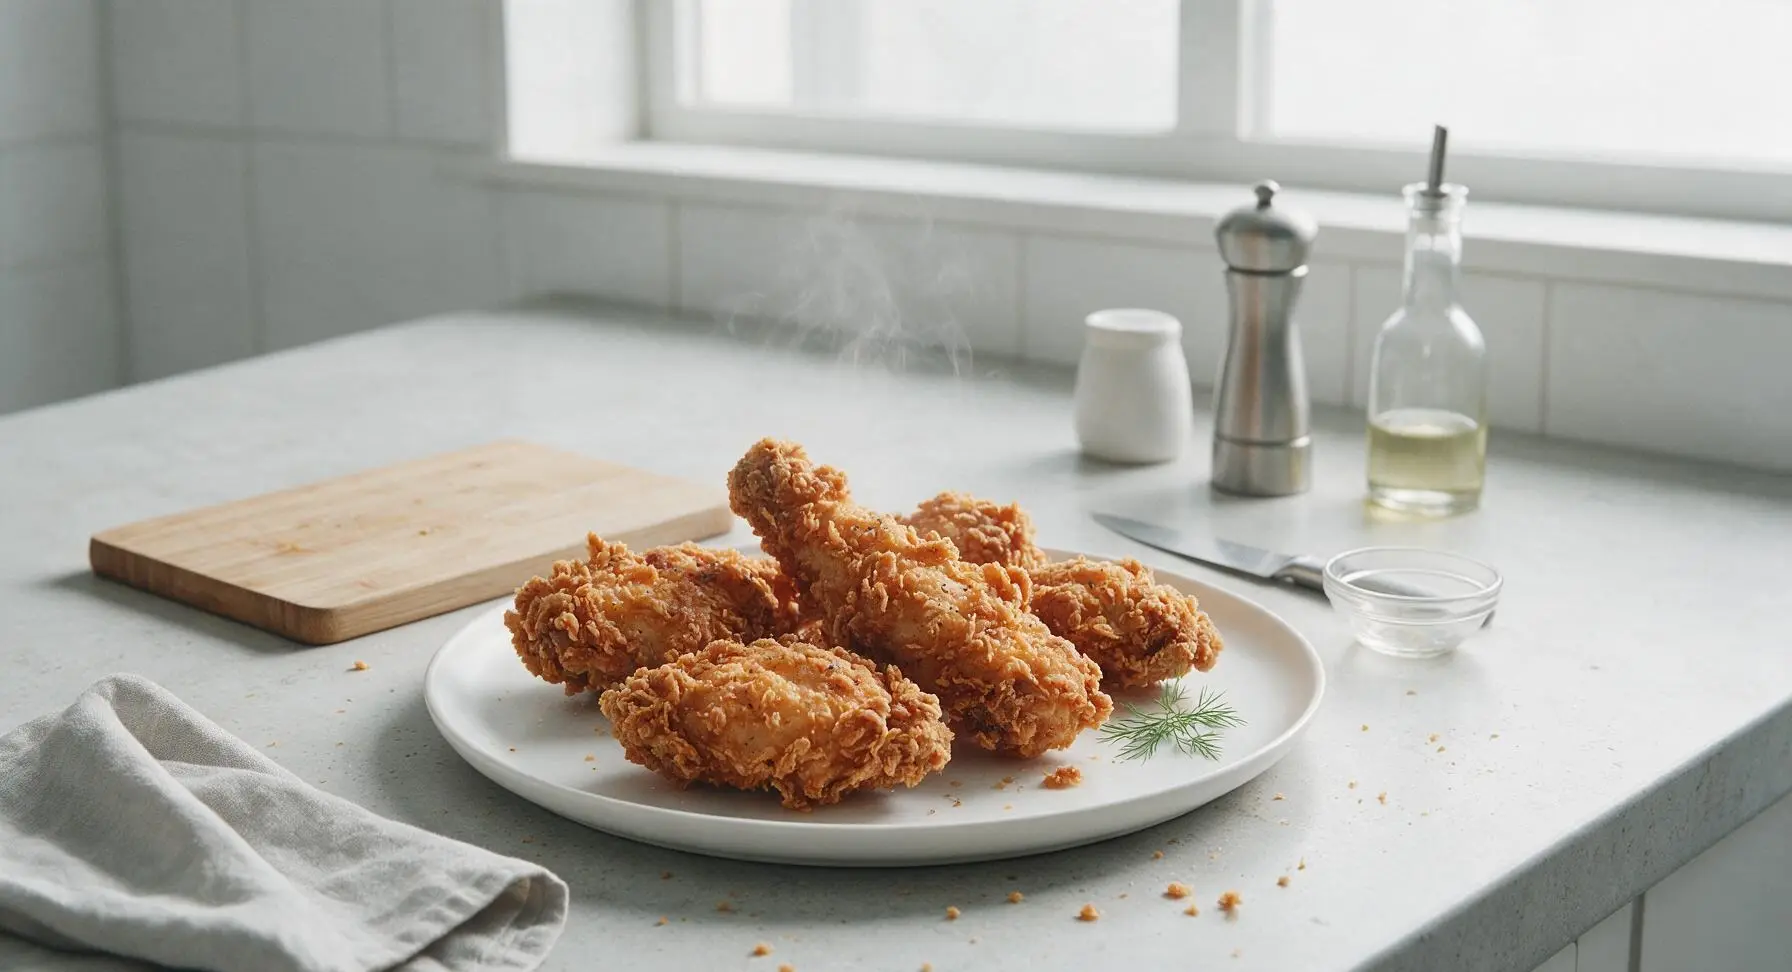
This perfectly seasoned homemade fried chicken flour creates a shaggy, ultra-crisp crust that locks in chicken juiciness, delivering iconic Southern flavor perfect for summer picnics.
Ingredients
Steps
Measure Dry Ingredients
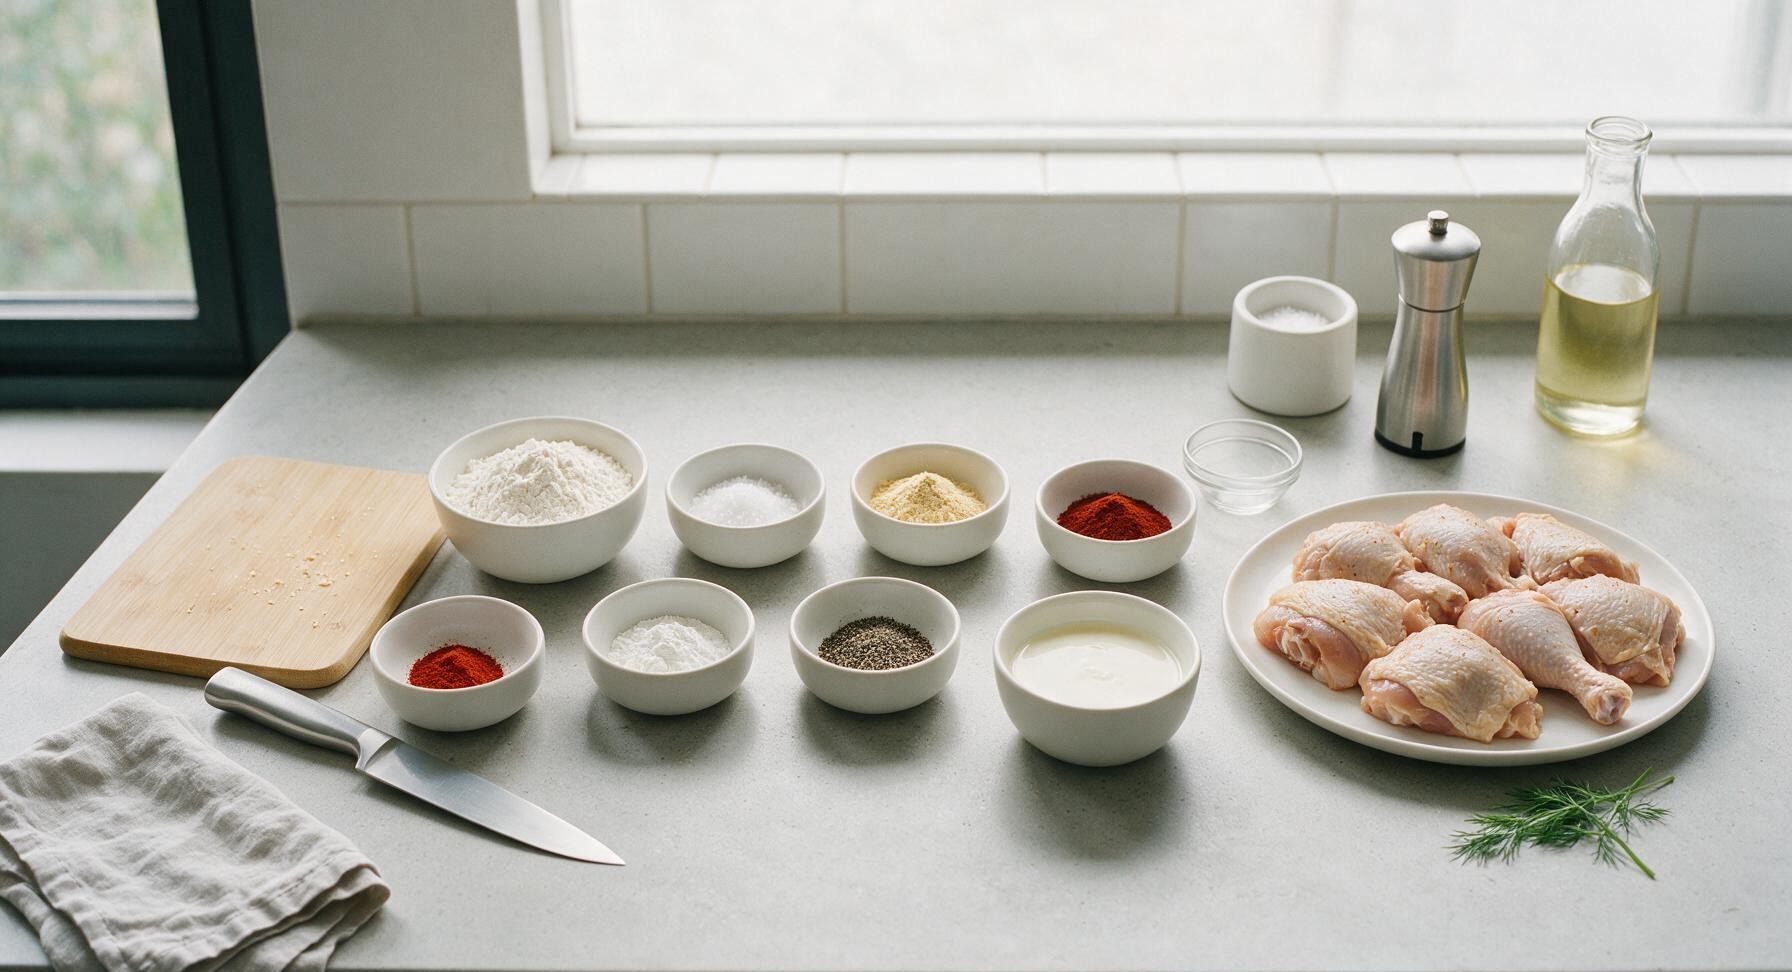
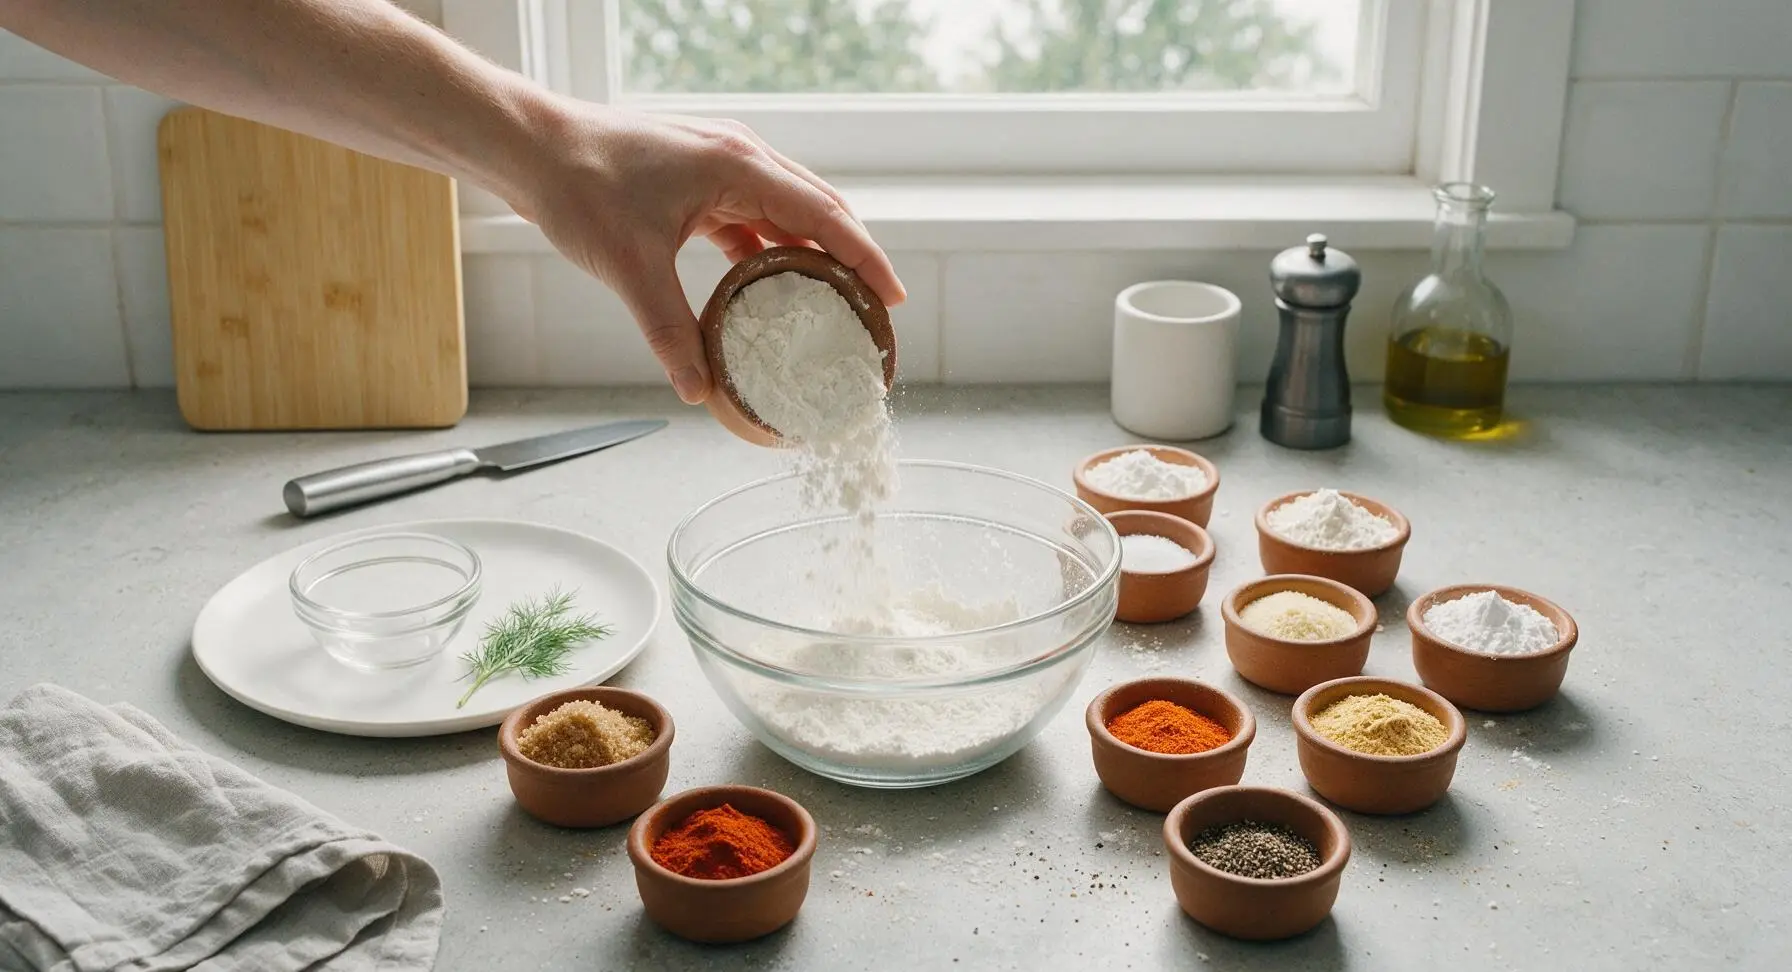
Set the large clear glass mixing bowl in the center of the prep area. Add 2 cups (240g) all-purpose flour, 2 tablespoons (18g) kosher salt, 1 tablespoon (9g) garlic powder, 1 tablespoon (9g) onion powder, 2 teaspoons (5g) smoked paprika, 2 teaspoons (4g) freshly ground black pepper, 1/2 teaspoon (1g) cayenne pepper, and 1 teaspoon (4g) baking powder to the bowl. Baking powder is key to creating a shaggy, crisp crust rather than a tough, dense coating. Double-check all measurements to avoid over-salting.
Sift to Remove Lumps
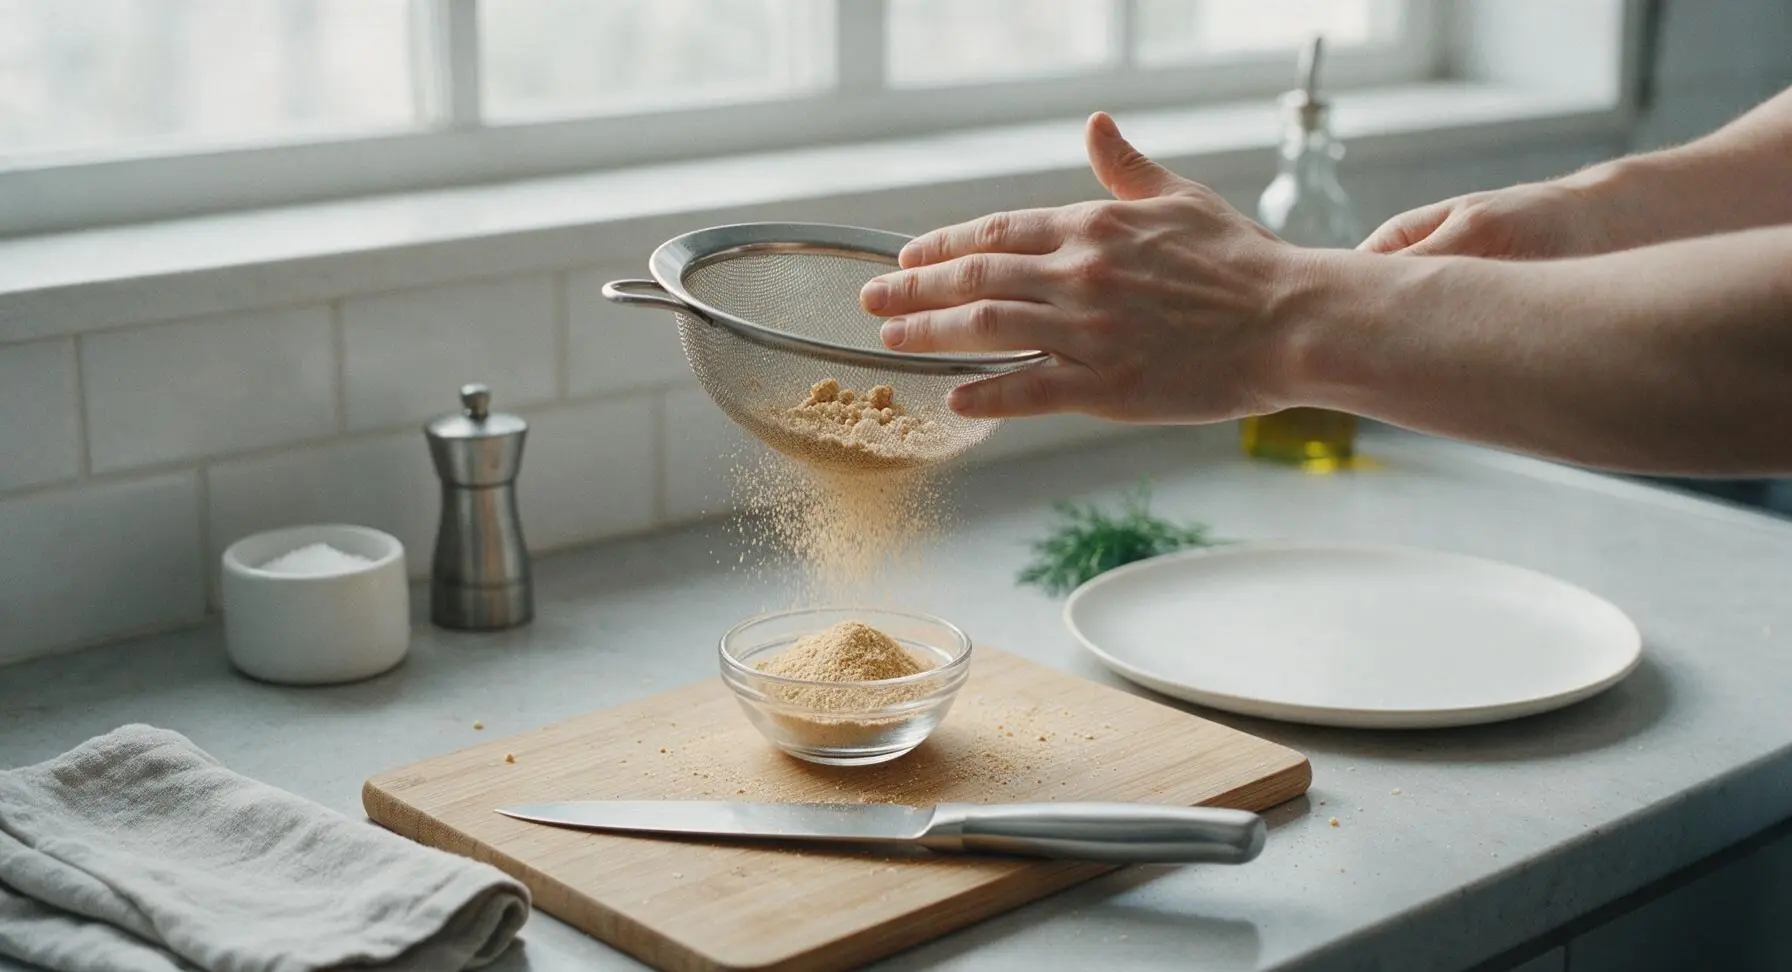
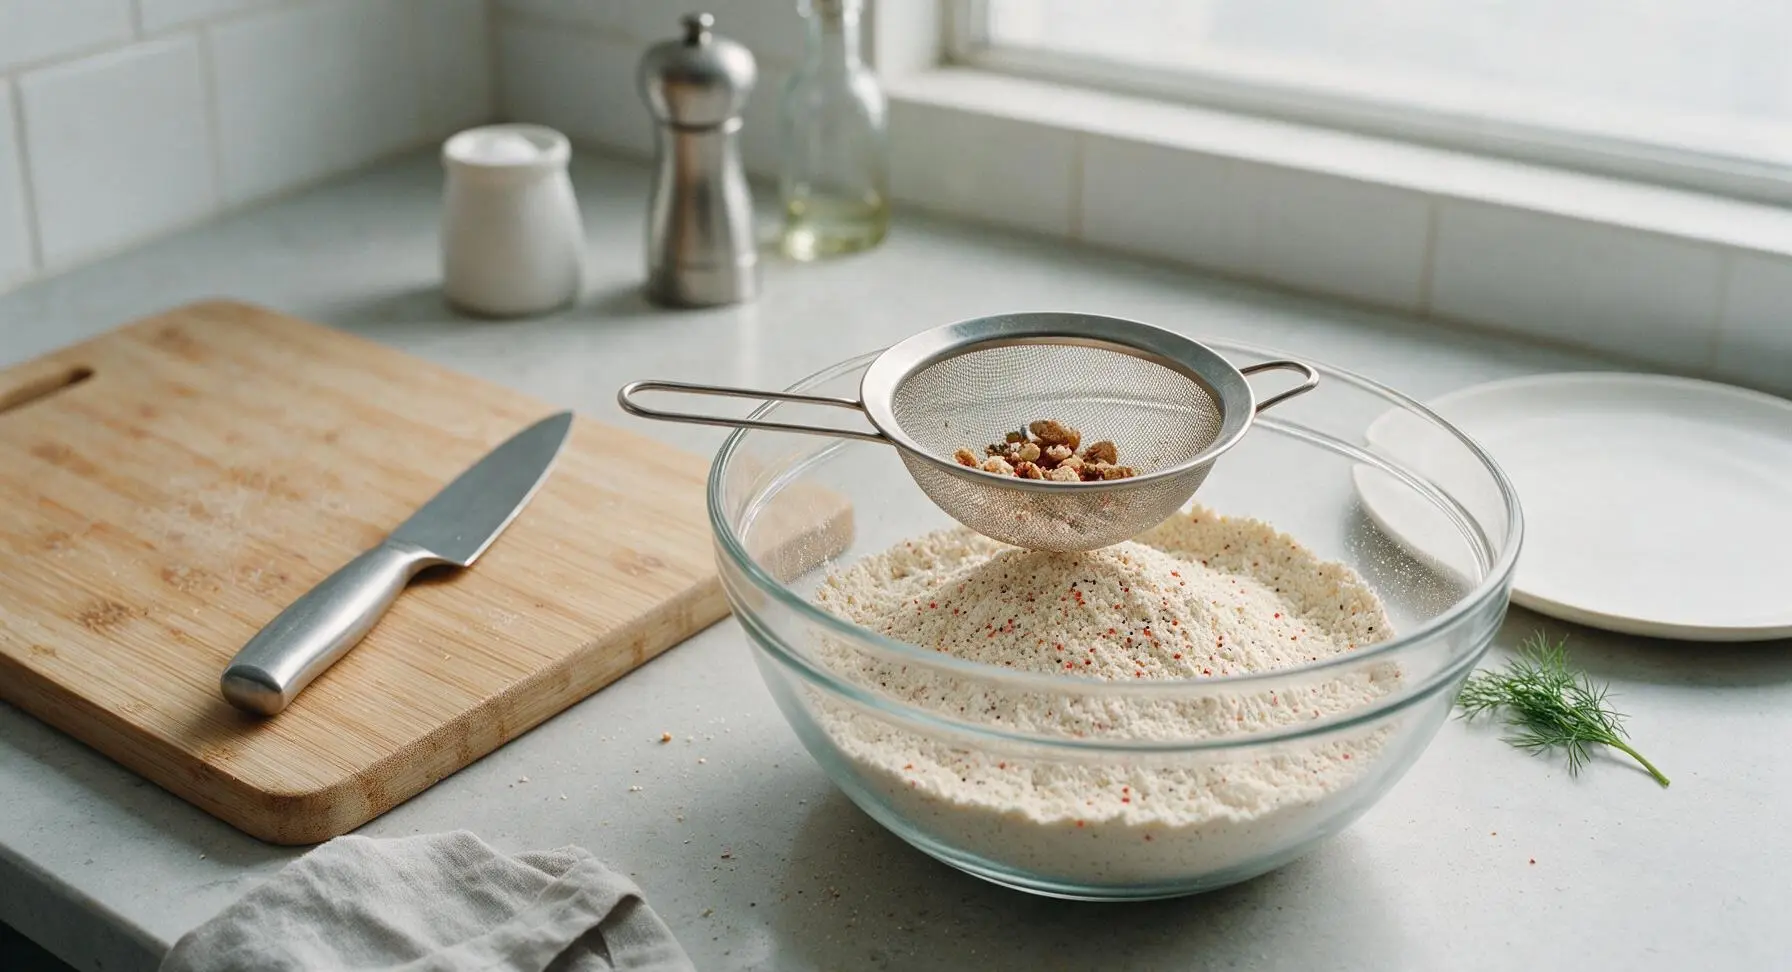
Place the stainless steel fine-mesh sieve over the top of the mixing bowl. Pour the combined flour and spice mixture into the sieve, tapping the sieve edge gently with your free hand to sift all fine powder into the bowl below. Discard any hard, compacted spice lumps caught in the sieve mesh; these create uneven, overly salty or spicy spots on the finished chicken.
Whisk for Even Flavor
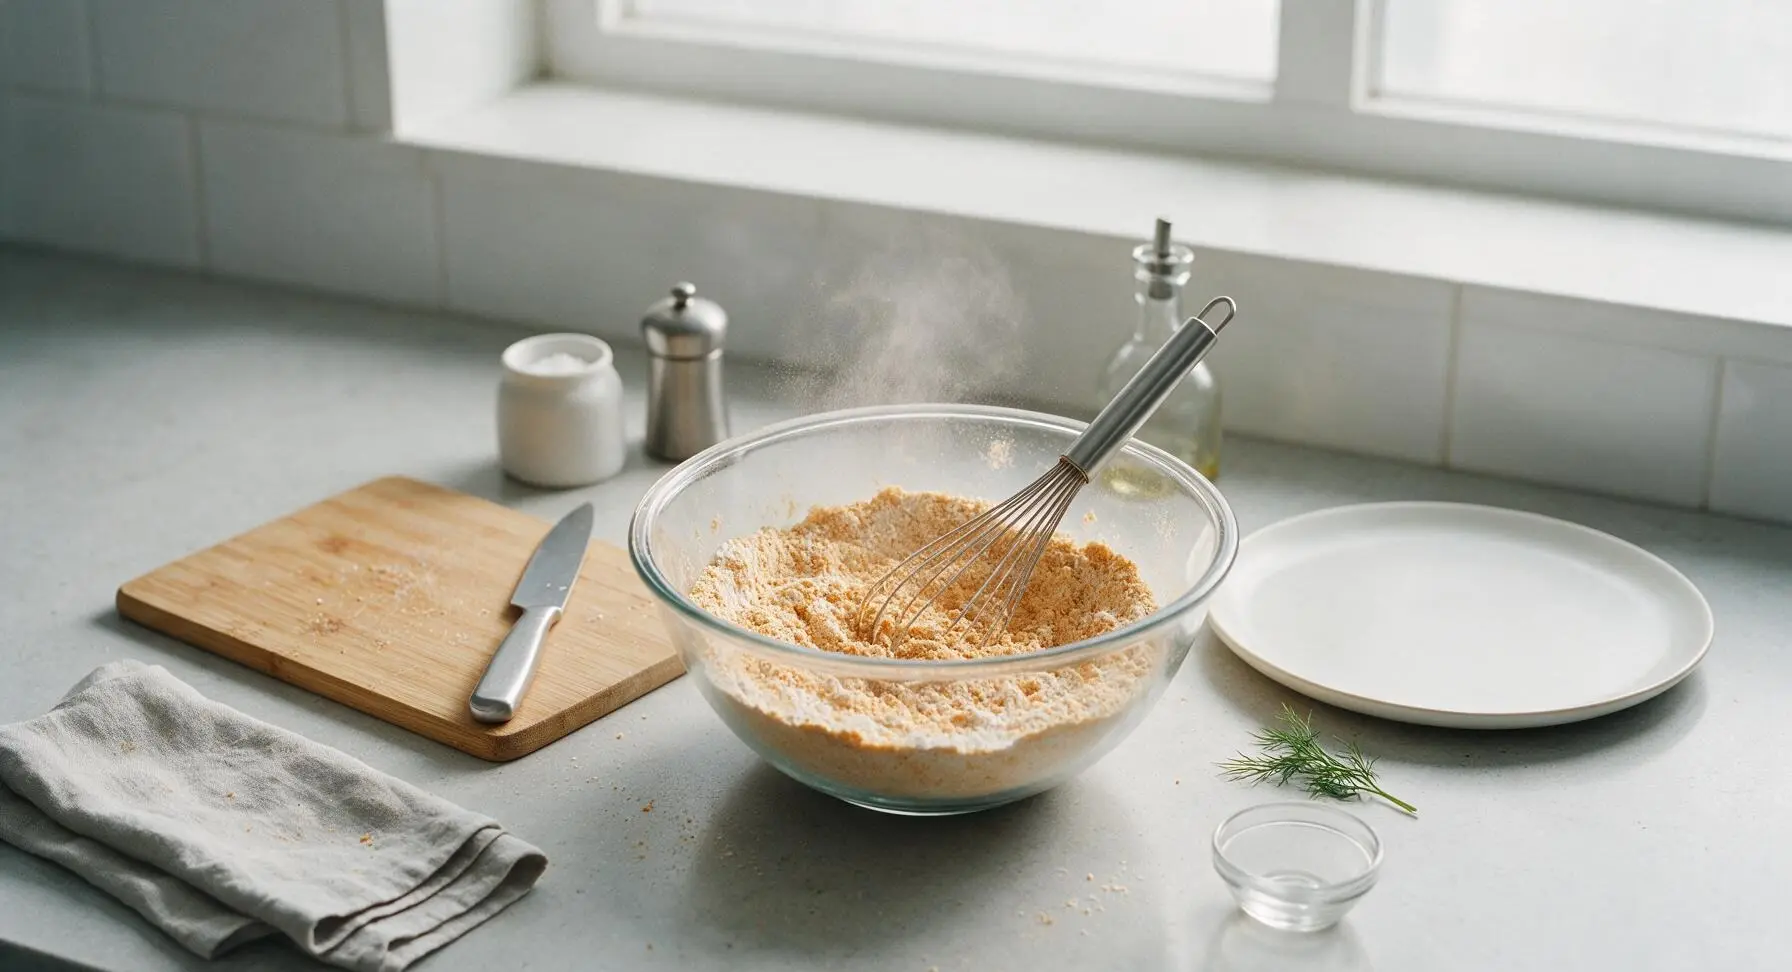
Lift the sieve off the bowl and set it back in its resting spot. Use the stainless steel wire whisk to stir the sifted flour blend for 30 seconds, scraping the bottom and sides of the bowl to incorporate any spices that settled during sifting. The finished fried chicken flour will be a consistent warm tan color, with no streaks of plain white flour or concentrated spice patches.
Prep Chicken and Buttermilk
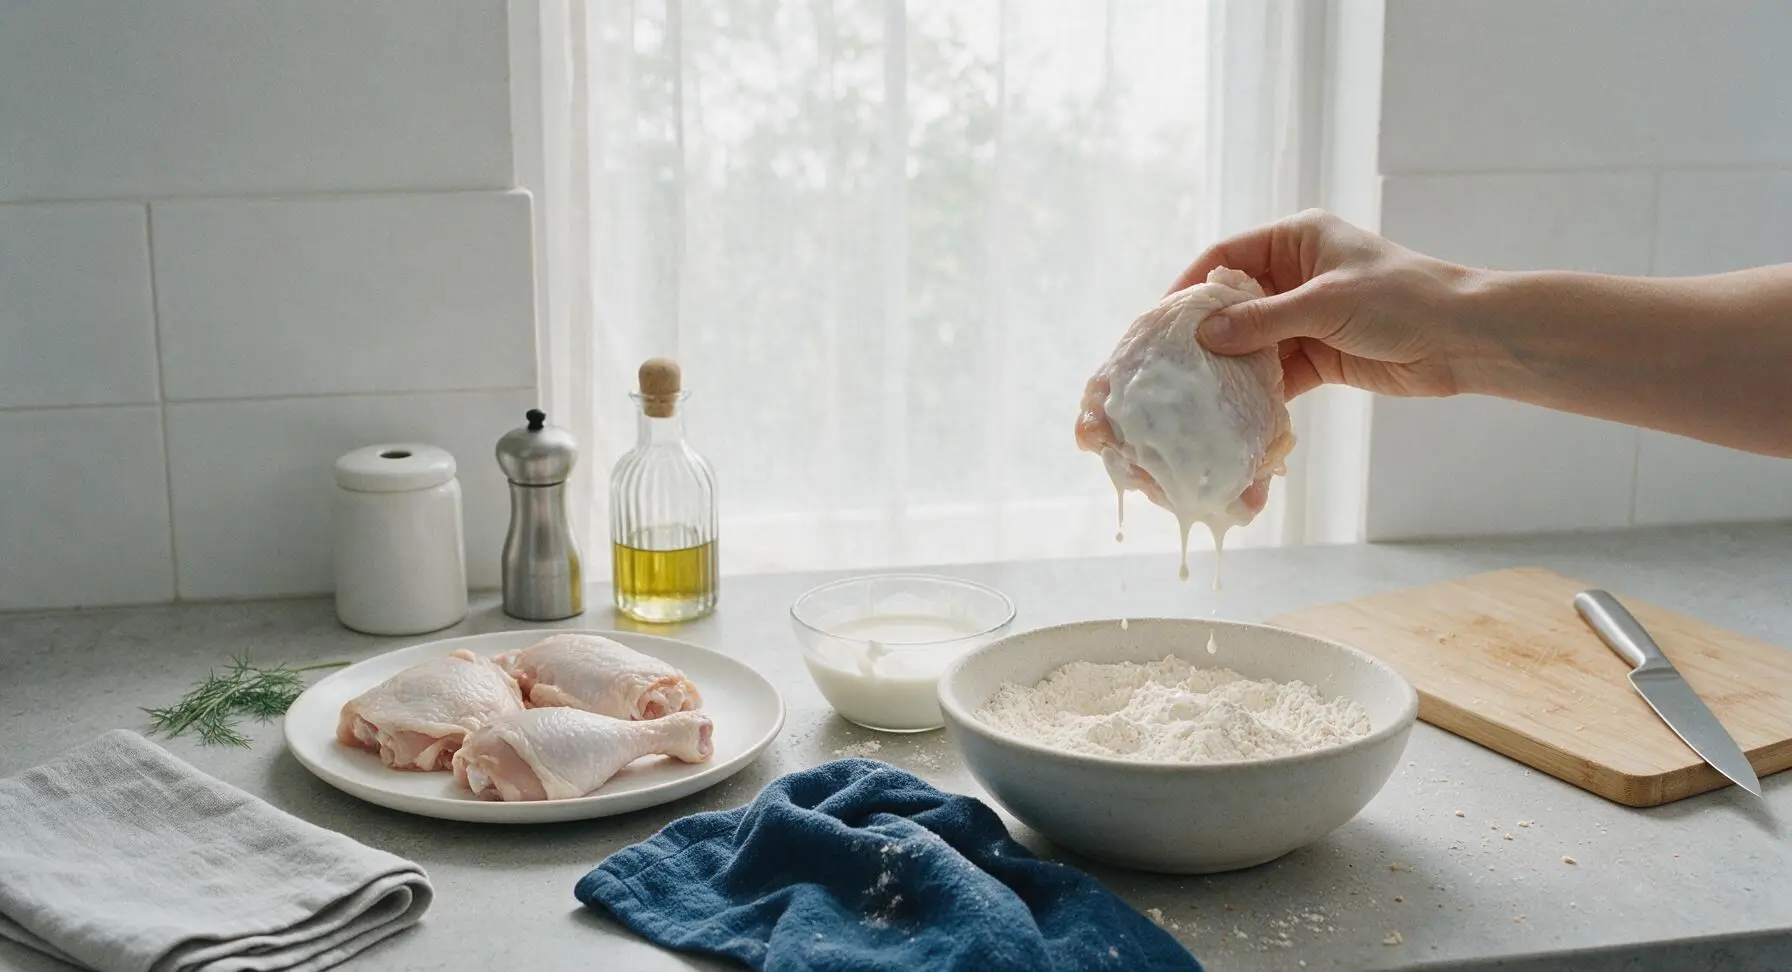
Pat 1.5 lbs (680g) of bone-in, skin-on chicken pieces completely dry with the indigo cotton kitchen towel—dry skin helps the coating adhere instead of sliding off. Pour 1 cup (240ml) buttermilk into the small shallow glass dish set beside the flour bowl. Dip each chicken piece fully in buttermilk, holding it above the dish for 5 seconds to let excess buttermilk drip off before coating.
Press Flour Coating
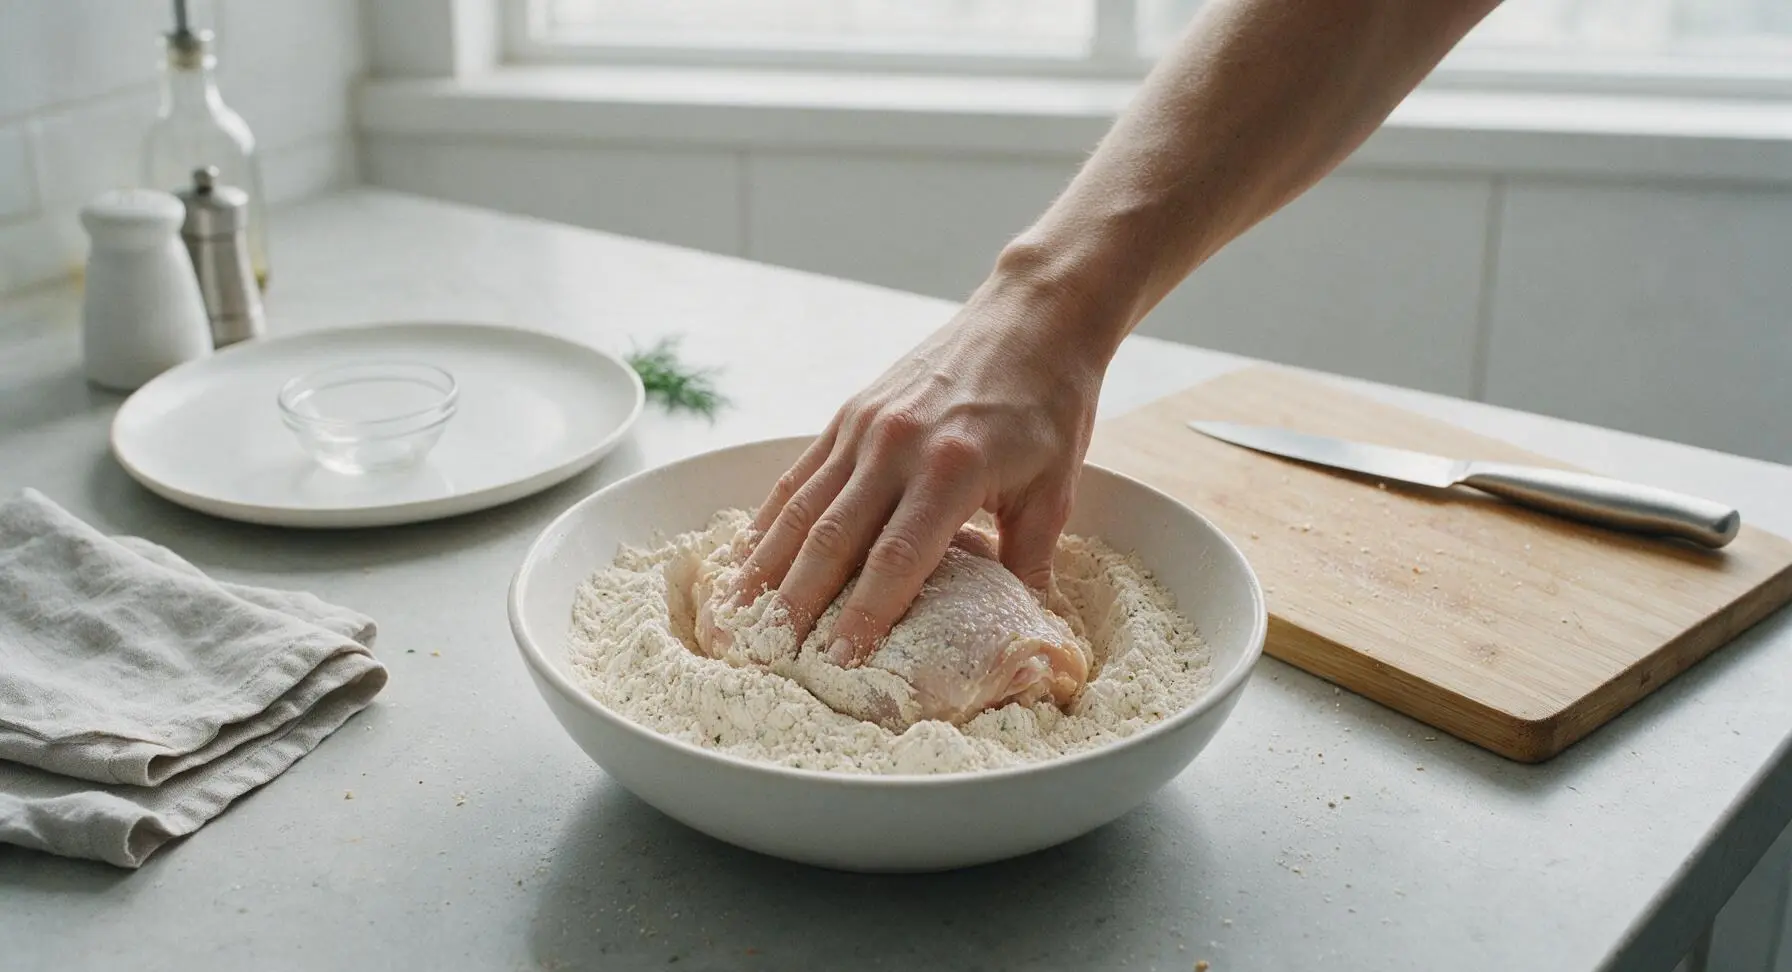
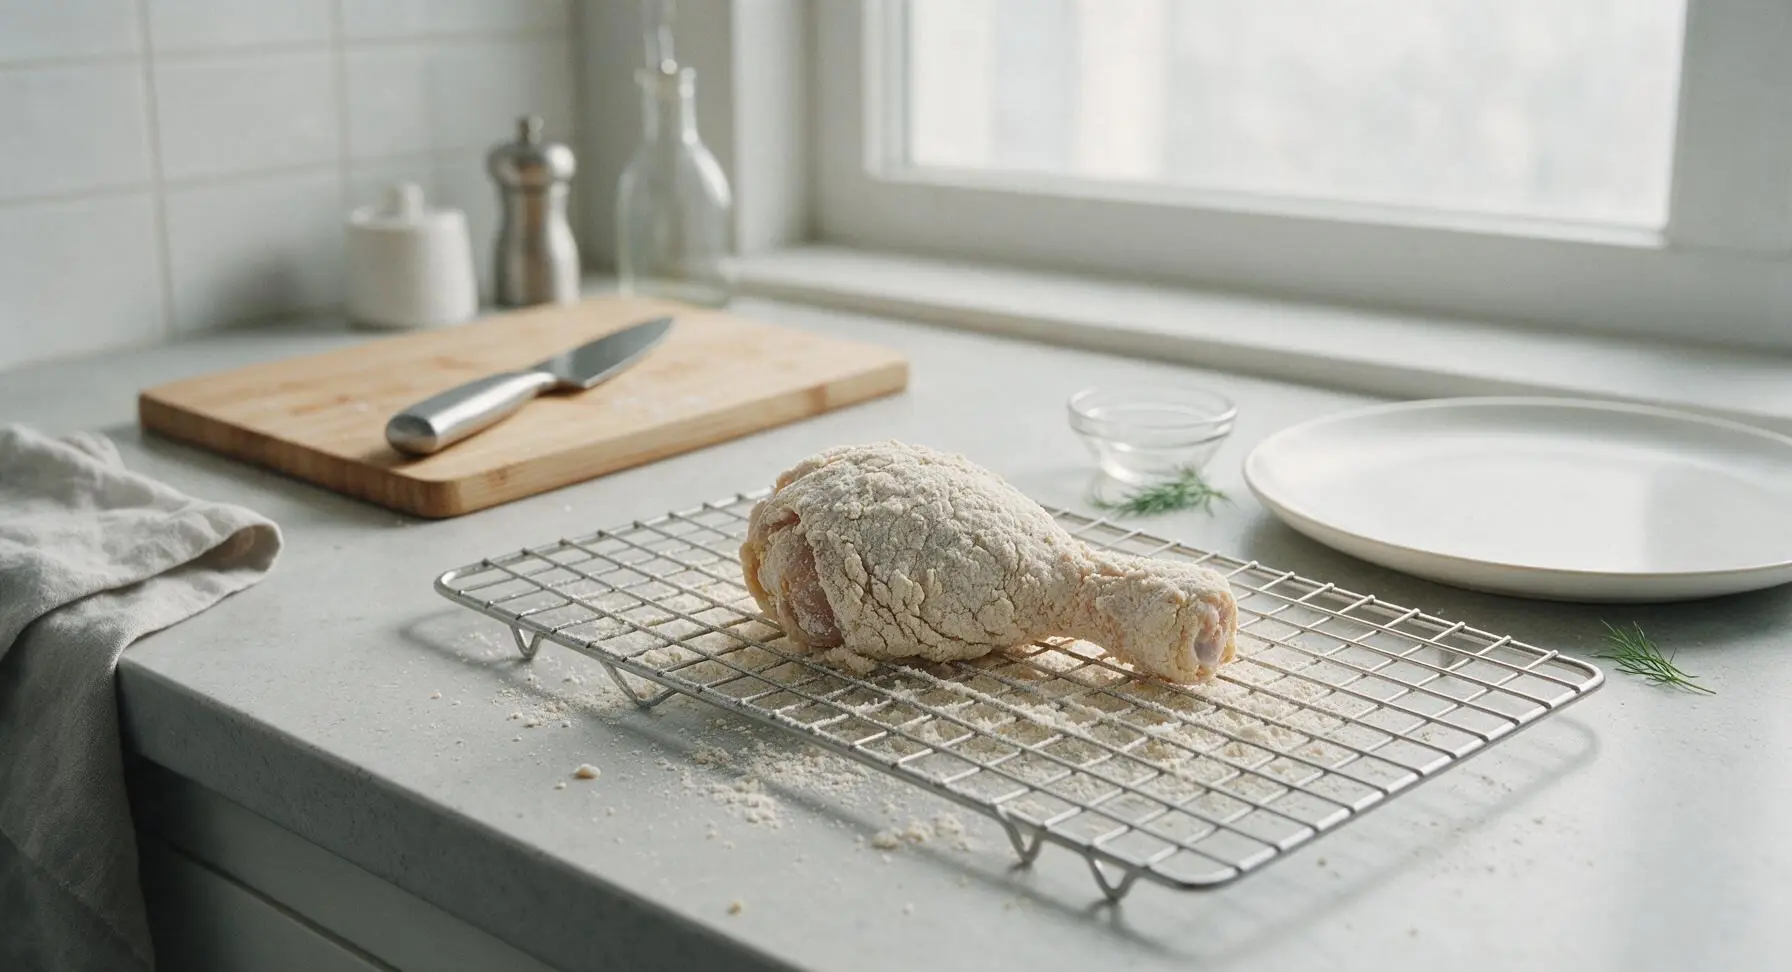
Working one piece at a time, place a buttermilk-dipped chicken piece into the bowl of seasoned flour. Press the flour firmly onto every surface of the chicken, including under loose skin flaps and along exposed bone edges, to build a thick, textured coating. Lift the coated chicken out, shake off excess loose flour, and set it on the wire cooling rack.
Rest Coated Chicken
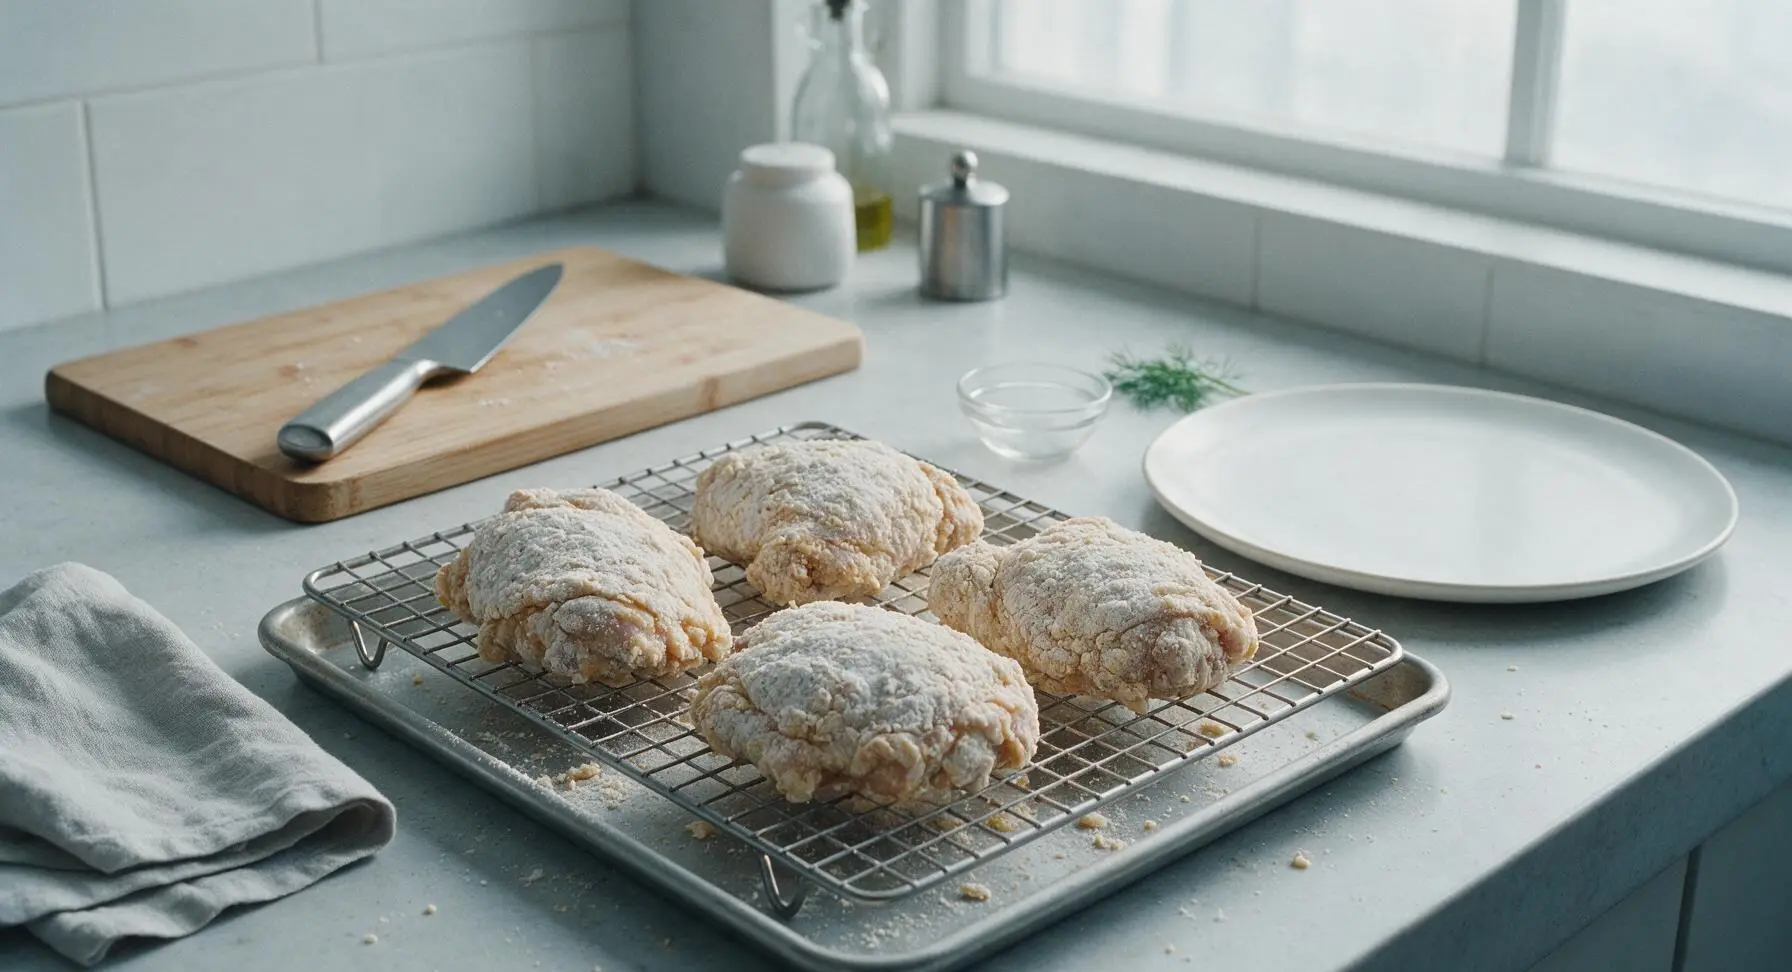
Let all coated chicken pieces rest on the wire rack for 10 minutes at room temperature. This rest period allows the flour and buttermilk to form a tight, glue-like bond that prevents the coating from falling off or sliding during frying, and creates the signature craggy, flaky crust texture. Do not skip this step.
Heat Oil to Temperature
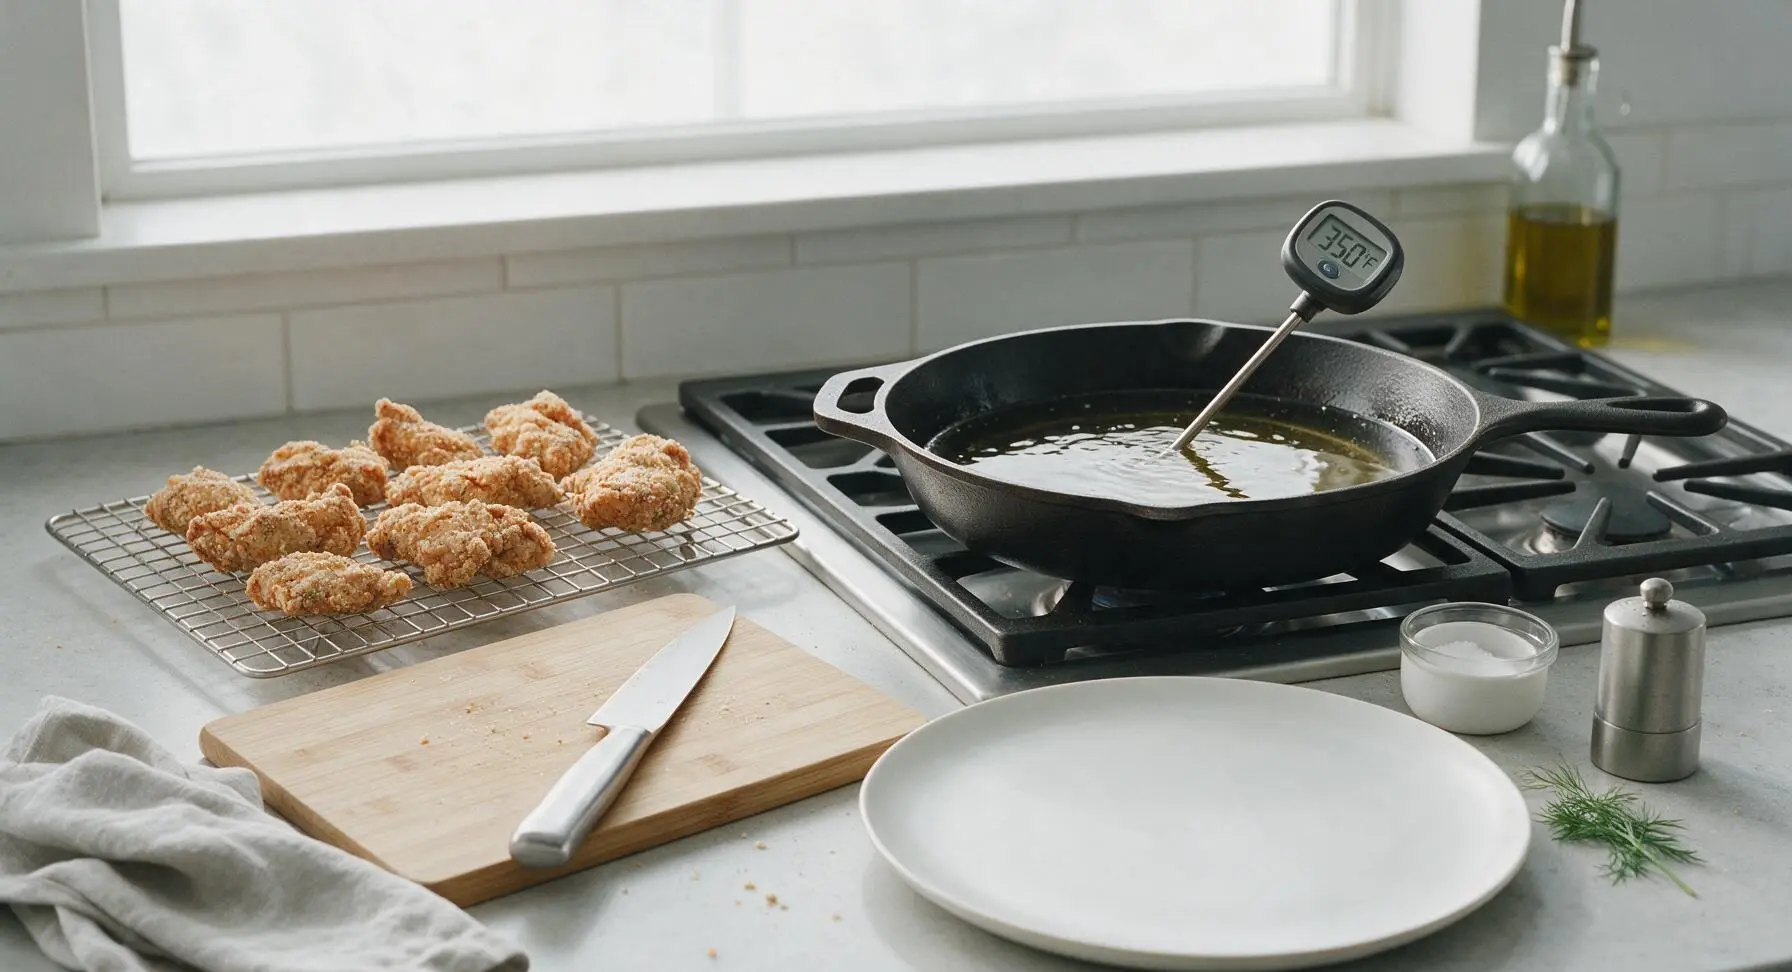
Pour 4 cups (960ml) neutral canola or peanut oil into the 12-inch cast iron skillet on the back-right stovetop. Heat oil over medium heat until it reaches exactly 350°F (175°C), checked with the digital instant-read thermometer. Adjust stovetop heat as needed to hold this temperature; oil that is too hot will burn the flour coating before chicken cooks, while oil that is too cool will make the crust soggy and greasy.
Fry, Drain, and Plate
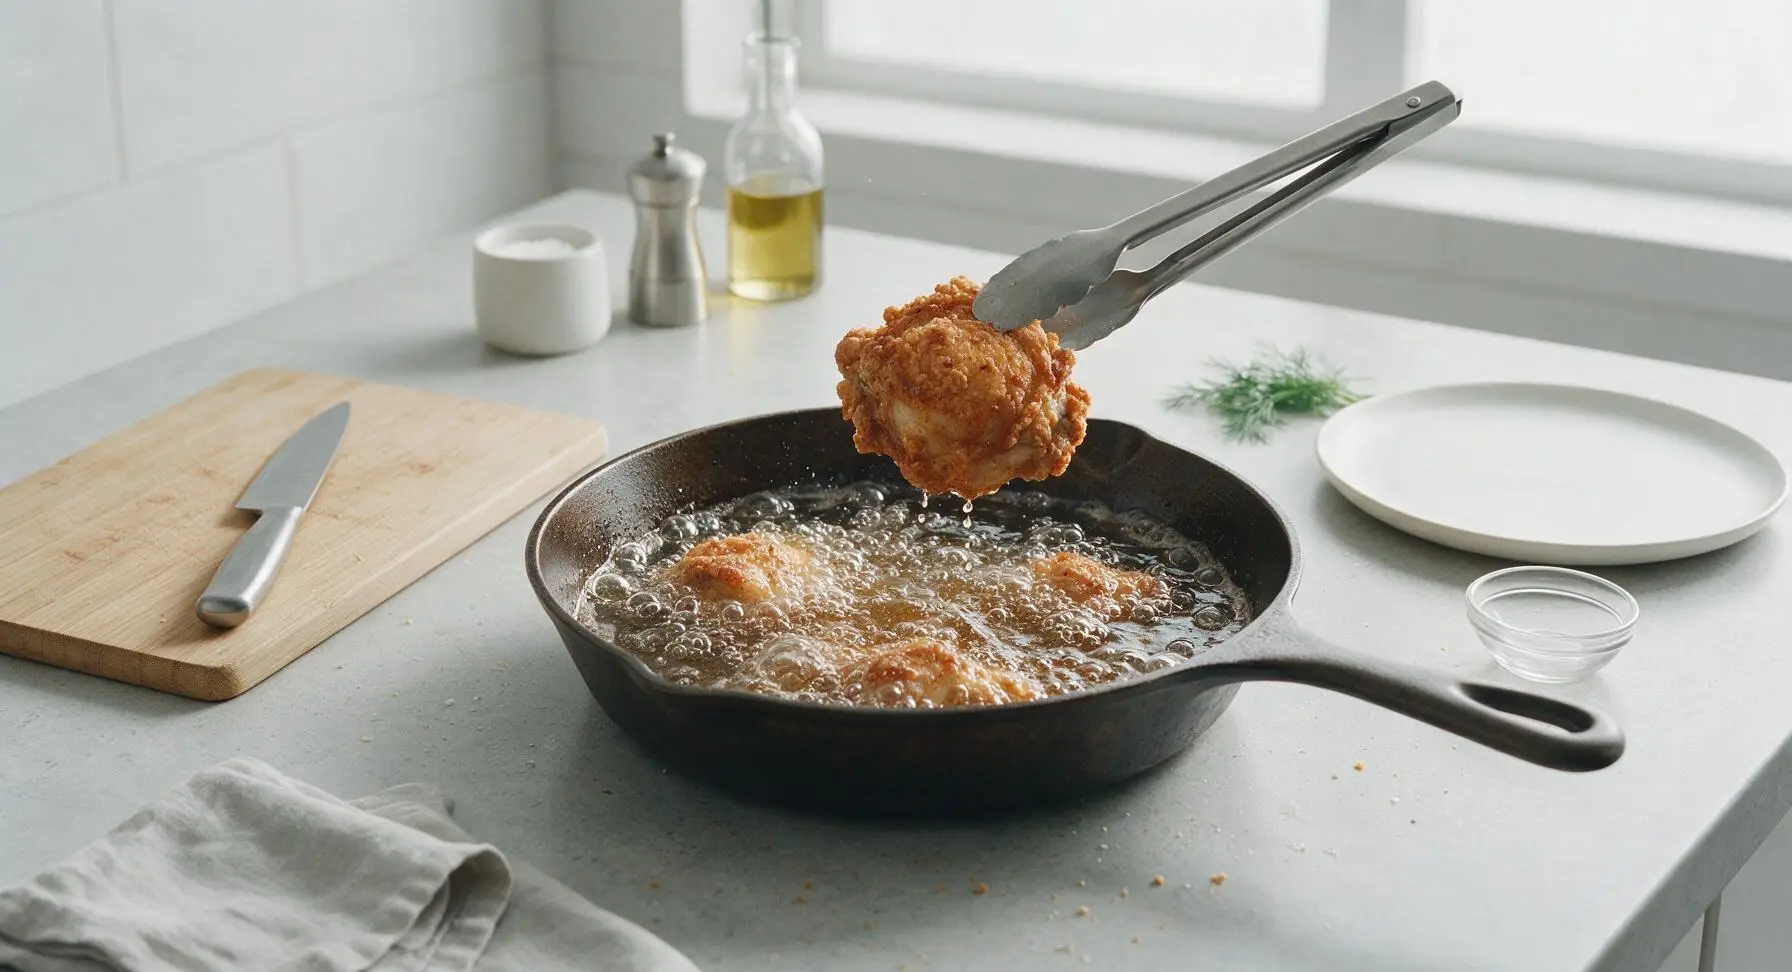
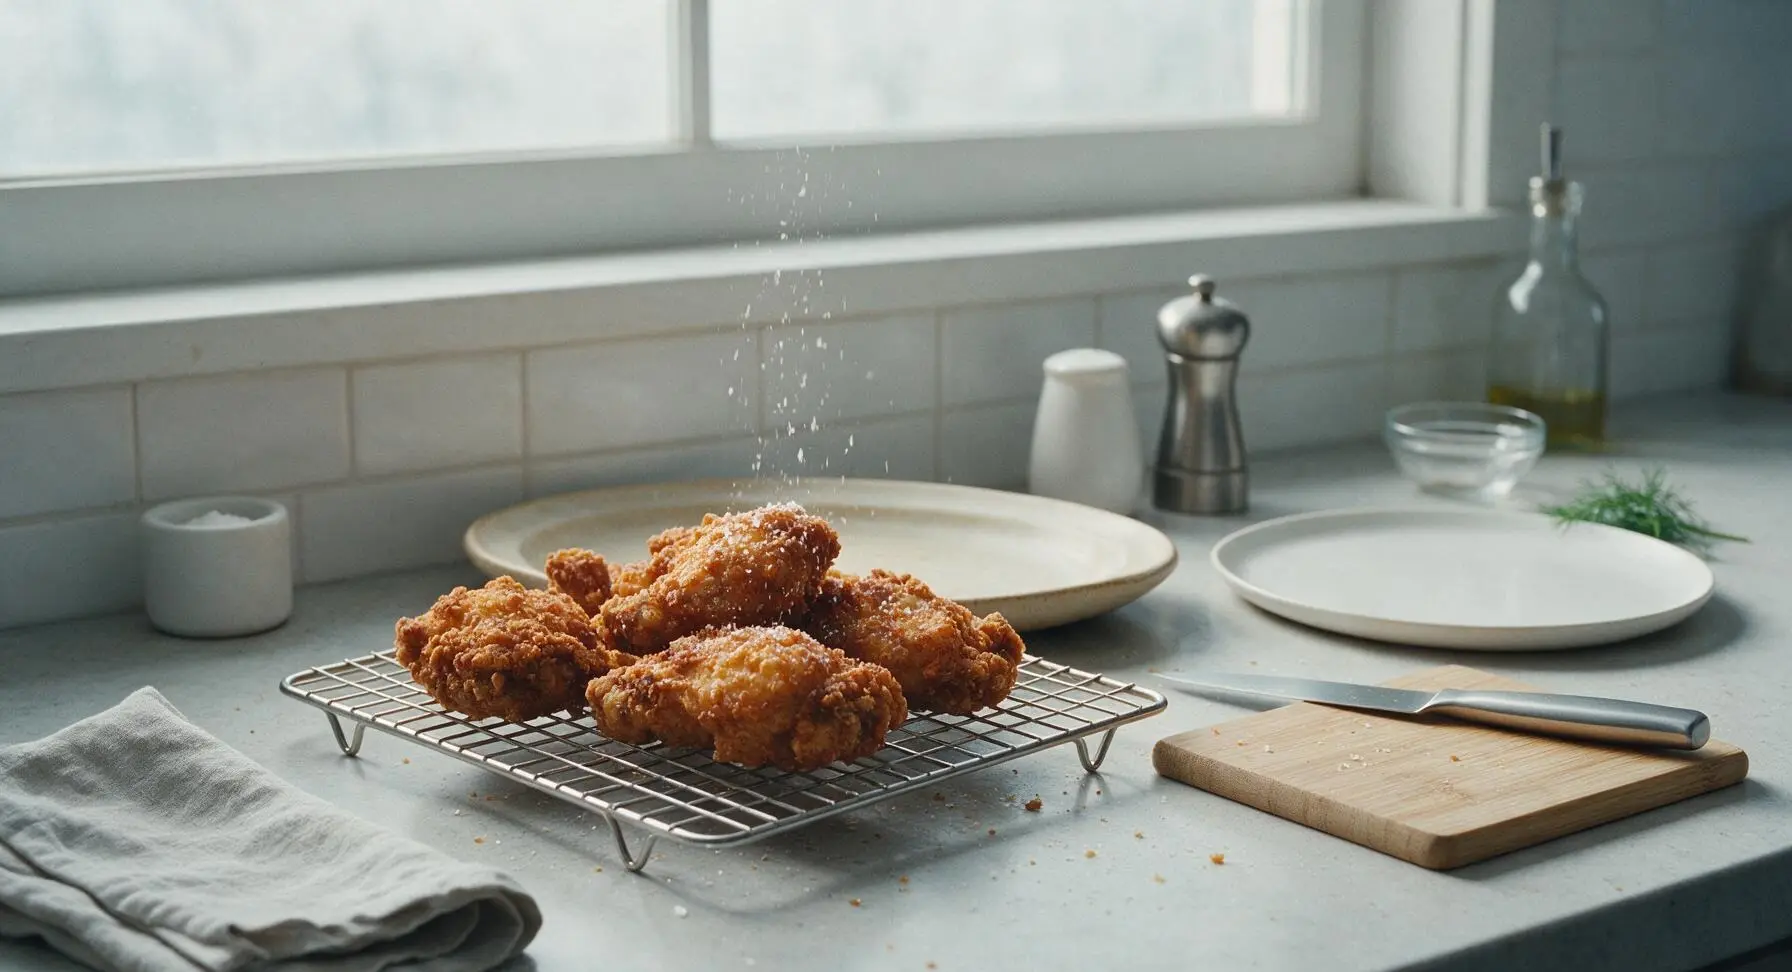
Use the stainless steel tongs to carefully lower 2 chicken pieces into the hot oil, working in batches to avoid overcrowding the pan. Fry 8-10 minutes per side, maintaining 325-350°F oil temperature, until the crust is deep golden brown and chicken reaches an internal temperature of 165°F (74°C). Lift cooked chicken from oil, let excess drip for 10 seconds, then return to the wire rack to drain for 3 minutes. Arrange drained chicken on the cream stoneware serving platter, garnish with a parsley sprig, and sprinkle lightly with flaky salt.
Tips
2.Never drain freshly fried chicken on paper towels: trapped steam from the hot chicken will soften the crisp flour crust in 1–2 minutes. A wire rack allows air to circulate under the chicken, keeping the crust crisp for up to 30 minutes after cooking.
3.Let coated chicken rest 10 minutes before frying: this gives the flour time to absorb moisture from the buttermilk, forming a strong bond that prevents the crust from peeling off the chicken while frying, even when flipping pieces with tongs.






OMG this flour mix is a total game changer! I’ve tried so many store-bought fried chicken coatings that come out soggy halfway through dinner, but this stayed crispy even after I set the chicken out for 10 minutes while my kids finished their homework. My picky middle son asked for seconds before he even finished his first piece! Used it for our Sunday family dinner and my husband already asked me to make it again next week. So easy to mix up too, I had all the spices in my pantry already.
I’ve been messing with my fried chicken flour recipe for 10+ years and was skeptical a random online mix could beat my go-to, but wow. This hits that perfect southern crispy, well-seasoned note I’ve been chasing. Cook time was exactly as advertised, 20 minutes total for a full batch of thighs, no soggy bottoms, no flour sliding off when I flipped them. Only thing I added was a tiny pinch of extra cayenne for a little heat, will absolutely be keeping a big jar of this mix pre-made in my pantry for weeknights.
As someone who barely knows how to boil water half the time, this was so easy to pull off! I was scared fried chicken would be too messy or complicated for my tiny dorm kitchen, but this flour mix came together with stuff I grabbed from the campus grocery store, and the whole cook time was under 20 minutes like it said. My roommates all thought I ordered takeout from that fancy southern spot downtown lmao. 10/10, will be making this for our pre-game meal next weekend.
FINALLY a fried chicken flour recipe that doesn’t taste like plain seasoned salt! I grew up eating my great aunt’s southern fried chicken in Alabama and this tastes almost identical. The crust is shatteringly crispy, not tough or bready, and the seasoning goes all the way through instead of just sitting on the surface. Made this for my book club potluck and every single person asked for the recipe. SO good.
Tried this earlier this week for our family dinner and while the crisp was perfect, I felt like the salt level was a little high for my taste. Next time I’ll cut the salt by about a teaspoon and I think it’ll be perfect! My kids still gobbled up every bite even with the extra salt, so it’s definitely a winner overall.
Wait, can I use this flour mix for other things besides chicken? I’ve got a bunch of it mixed up left over from making chicken last night and I’m wondering if it works for onion rings or fried zucchini? Would hate to let it go to waste!
I’ve been making fried catfish for my grandkids every summer for years, and I decided to test this flour mix on a batch of catfish fillets last weekend when they came to visit. Let me tell you, that crust was so crispy and flavorful, the kids didn’t even ask for tartar sauce (which is unheard of in my house). Easy recipe, no fancy ingredients, will be my go-to coating for all my fried fish from now on.
I added a heaping teaspoon of hot paprika and a half teaspoon of extra garlic powder to this mix when I made it last week, and it had the perfect little kick! The crust stayed crispy even when I tossed the chicken in a drizzle of hot honey after frying. My roommate and I ate the entire batch in one sitting while we watched the Sunday night game, zero regrets. 10/10 will make again.
Game. Changer. I used to think you needed a fancy deep fryer and 100 ingredients to get that takeout-level crispy fried chicken, but this recipe proved me wrong. I made it in my regular old cast iron skillet on the stovetop, 20 minutes start to finish, and it was better than the fried chicken from the fast food place down the street. My only regret is not finding this recipe sooner.
I swapped the all-purpose flour for a 1:1 gluten free flour blend to make this for my niece who has celiac, and it worked SO well! I was worried the crust wouldn’t get as crispy, but it was just as shattery and delicious as the regular version. Brought it to our family potluck and no one could even tell it was gluten free. Such a versatile recipe!
This is perfect for anyone cooking on a tight budget! All the ingredients are cheap pantry staples, no fancy seasonings or specialty flour required, and a single batch makes enough to coat enough chicken for 4 people. I meal prepped a batch of chicken with this flour on Sunday and ate it all week for lunches, it held up way better than I thought it would even reheated in the air fryer.
I’ve never made fried chicken in my life and was so nervous I’d mess it up, but this recipe was so easy to follow! The cook time was spot on, no raw chicken in the middle, no burnt crust, just perfect crispy southern fried chicken. My dad said it was better than the fried chicken he gets at his favorite diner when I made it for Father’s Day dinner, which is the highest possible compliment if you know my dad. Obsessed!