
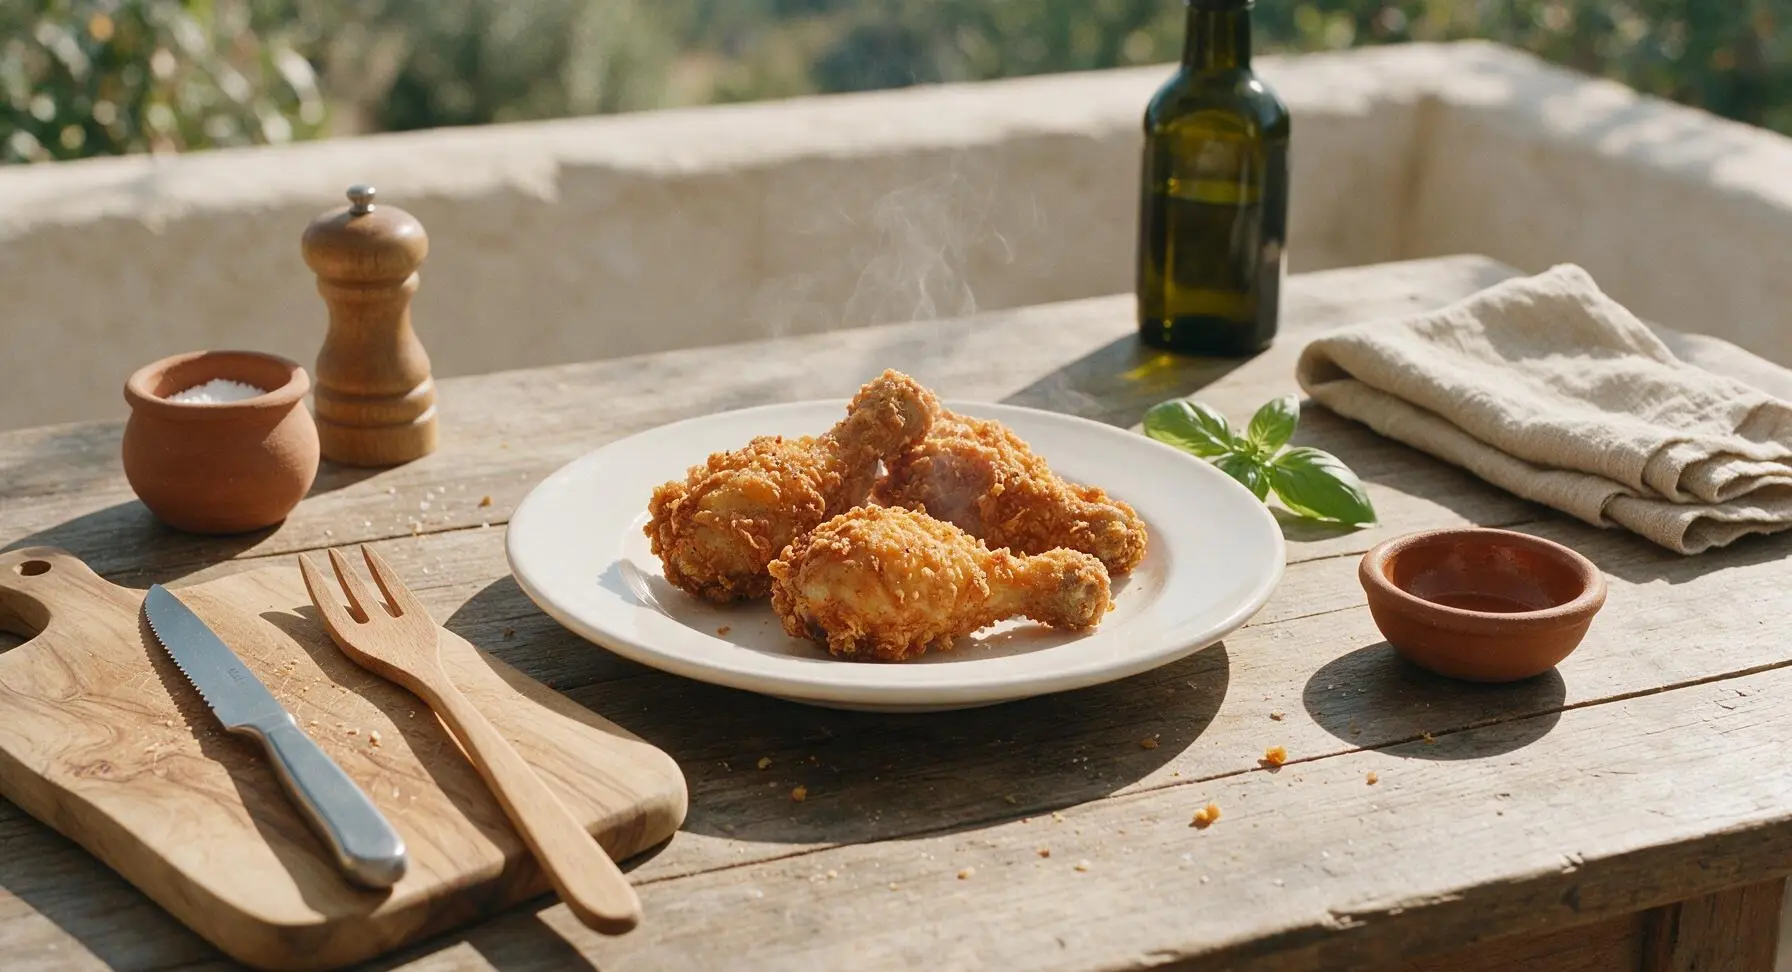
fried chicken leg

title 1
fried chicken leg
⏱️ cook time 25 minutes
🍽️ servings 4
⚡ Difficulty medium

intro

Shatteringly crisp, juicy golden buttermilk fried chicken legs, seasoned to perfection, a timeless Southern comfort food made for gathering around the table.

Ingredients
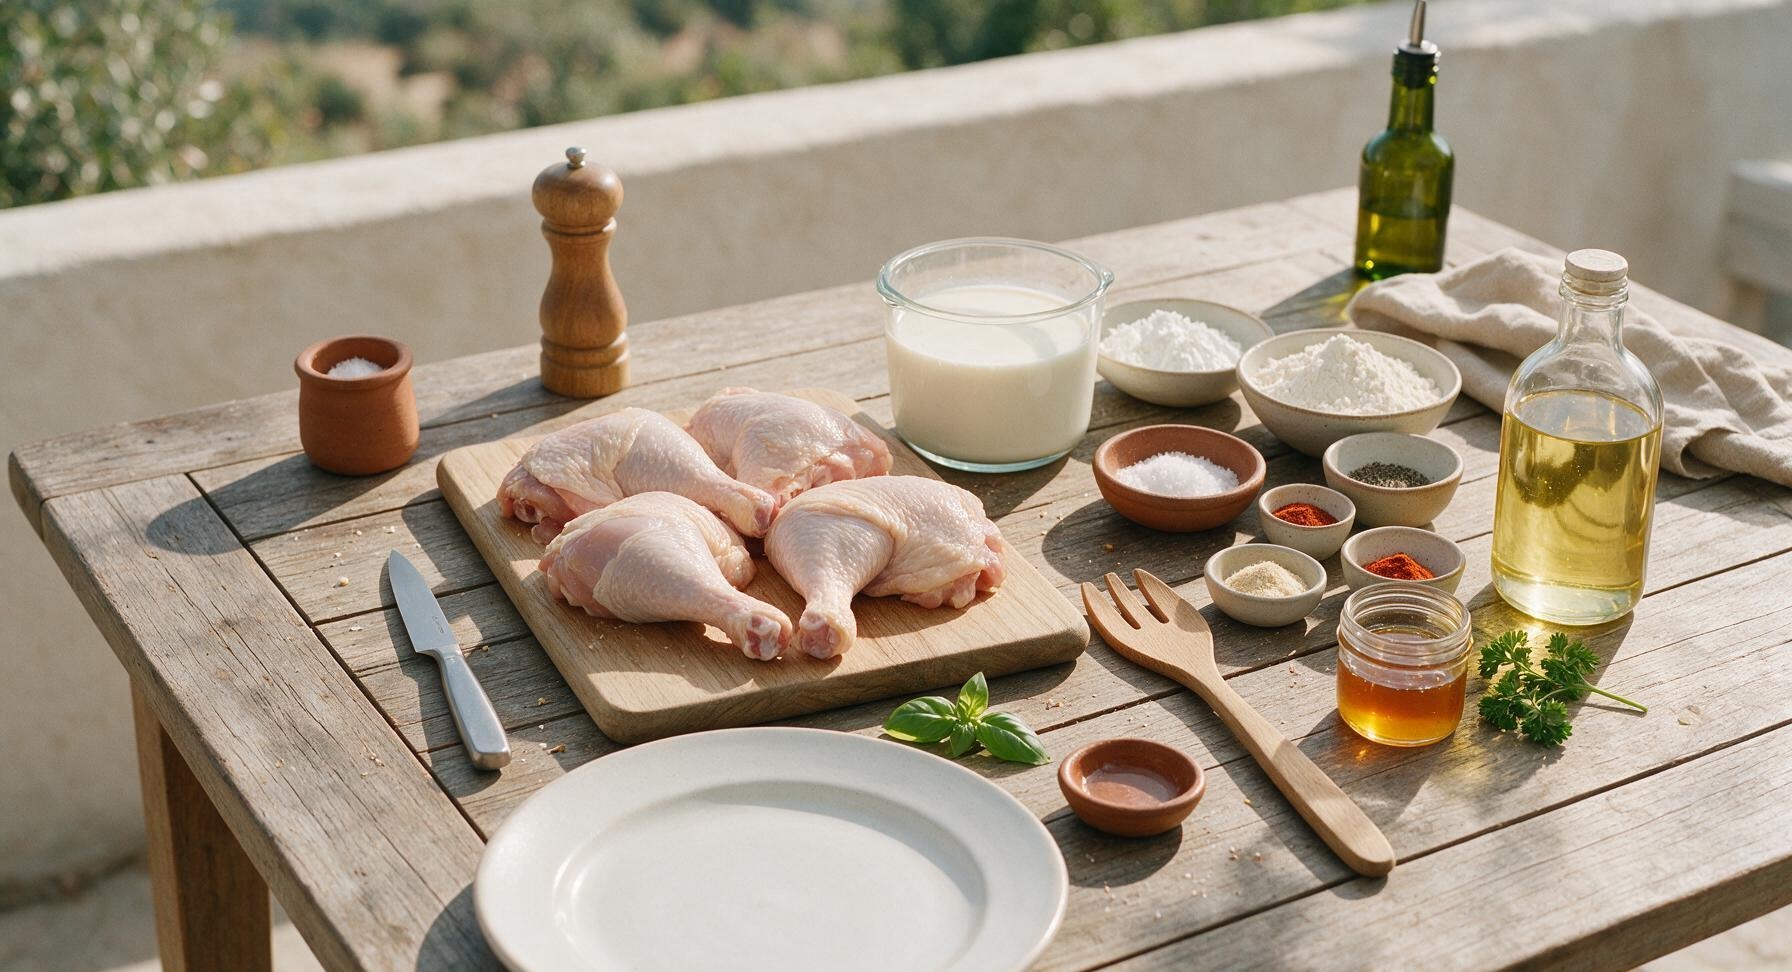
Bone-in, skin-on whole chicken legs 4 pieces (≈720g total)
Full-fat buttermilk 2 cups (480ml)
All-purpose flour 1.5 cups (180g)
Cornstarch 1/2 cup (60g)
Kosher salt 1 tbsp + 1 tsp
Freshly ground black pepper 1 tsp
Smoked paprika 1 tsp
Garlic powder 1 tsp
Onion powder 1/2 tsp
Cayenne pepper 1/4 tsp
Neutral frying oil (peanut or canola) 1.5 quarts (1.4L)
Hot honey 1/4 cup (85g, for serving)
Fresh curly parsley 2 sprigs (for garnish)

Steps

1

Trim and prep chicken

Place the 4 bone-in, skin-on chicken legs on the maple cutting board. Use the 8-inch stainless steel chef knife to trim any excess loose skin or hanging fat from leg edges, taking care not to tear tightly adhered skin. Pat all chicken surfaces completely dry with paper towels to help brine adhere evenly.
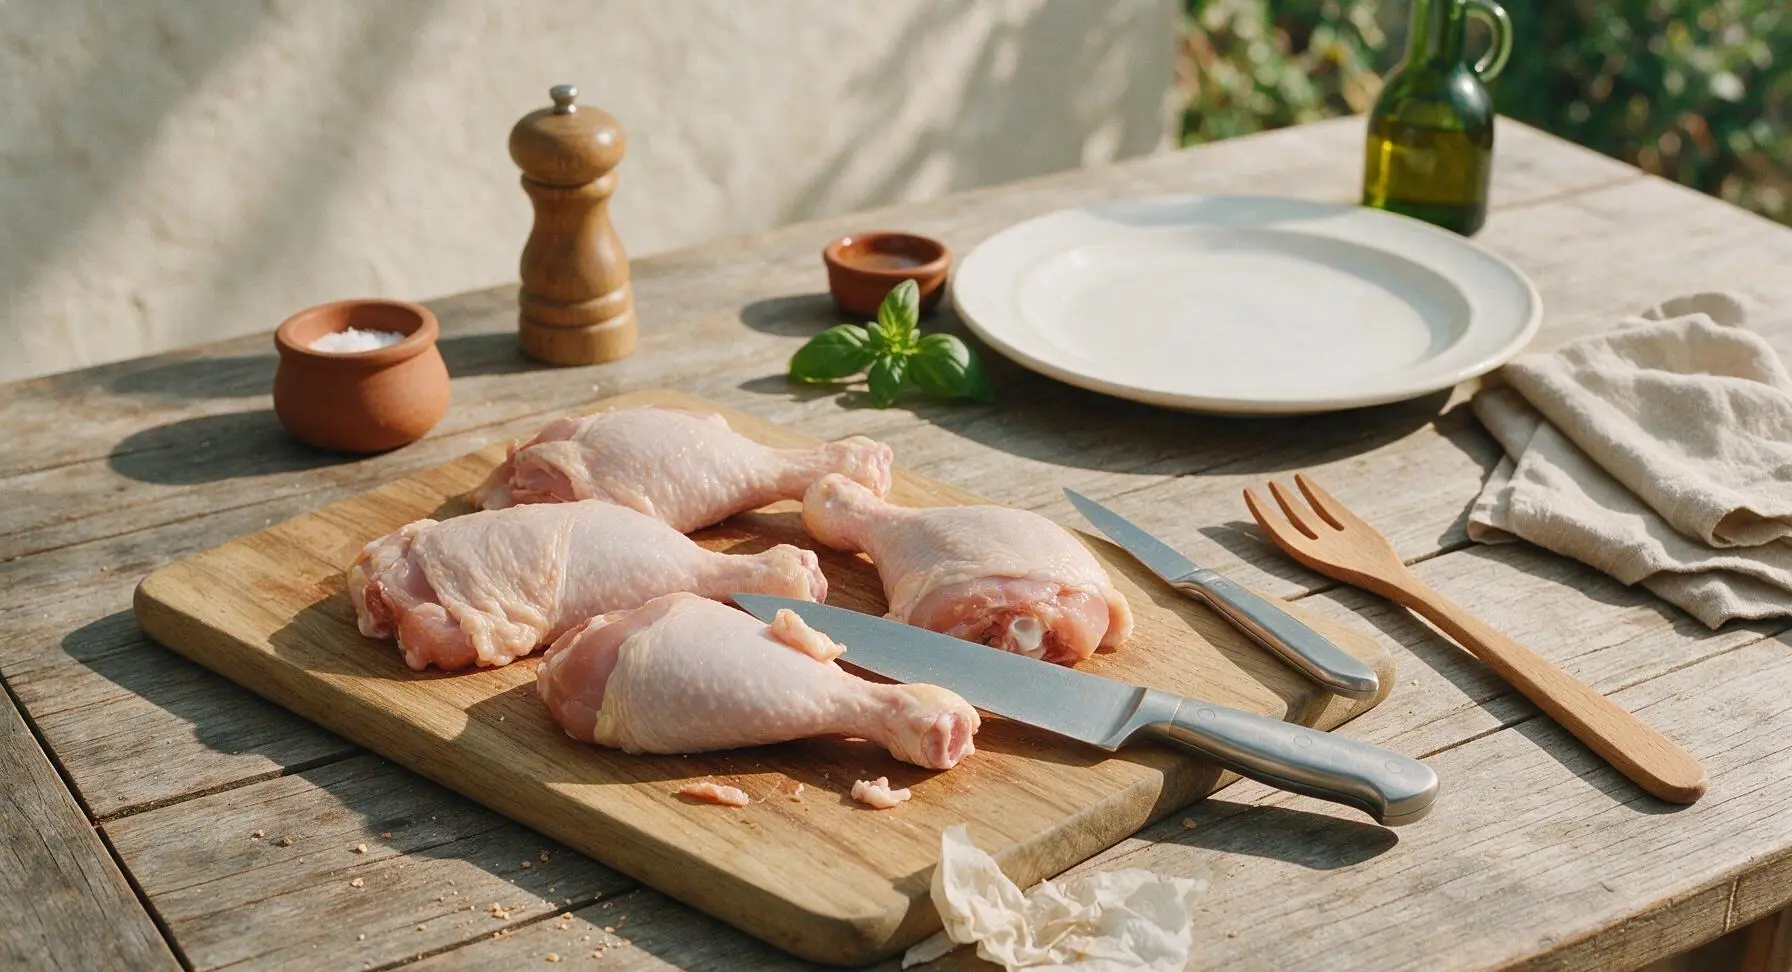
Step 1
step1:Trim and prep chicken
2

Brine chicken in buttermilk

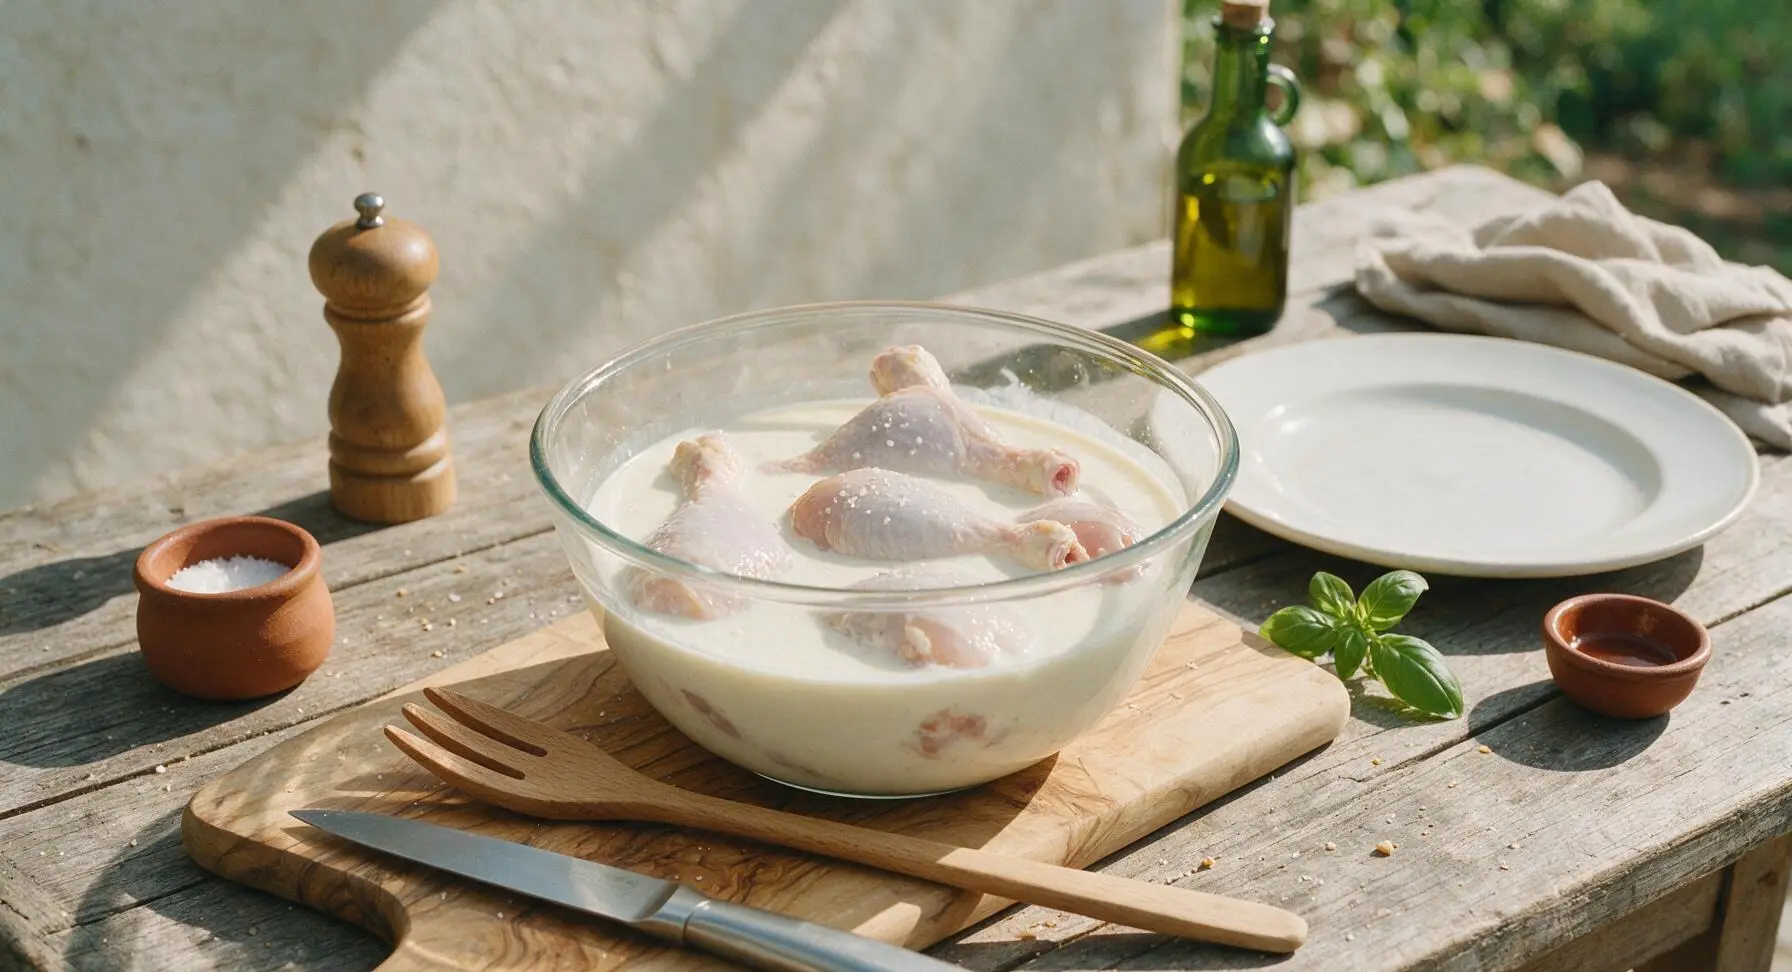
Transfer trimmed chicken legs to the 1-gallon clear glass bowl. Pour 2 cups buttermilk over the chicken, add 1 tsp kosher salt, and stir gently with the bamboo spoon to fully coat every leg. Cover the bowl and refrigerate for a minimum of 4 hours (up to 12 hours) to tenderize meat and infuse deep flavor.
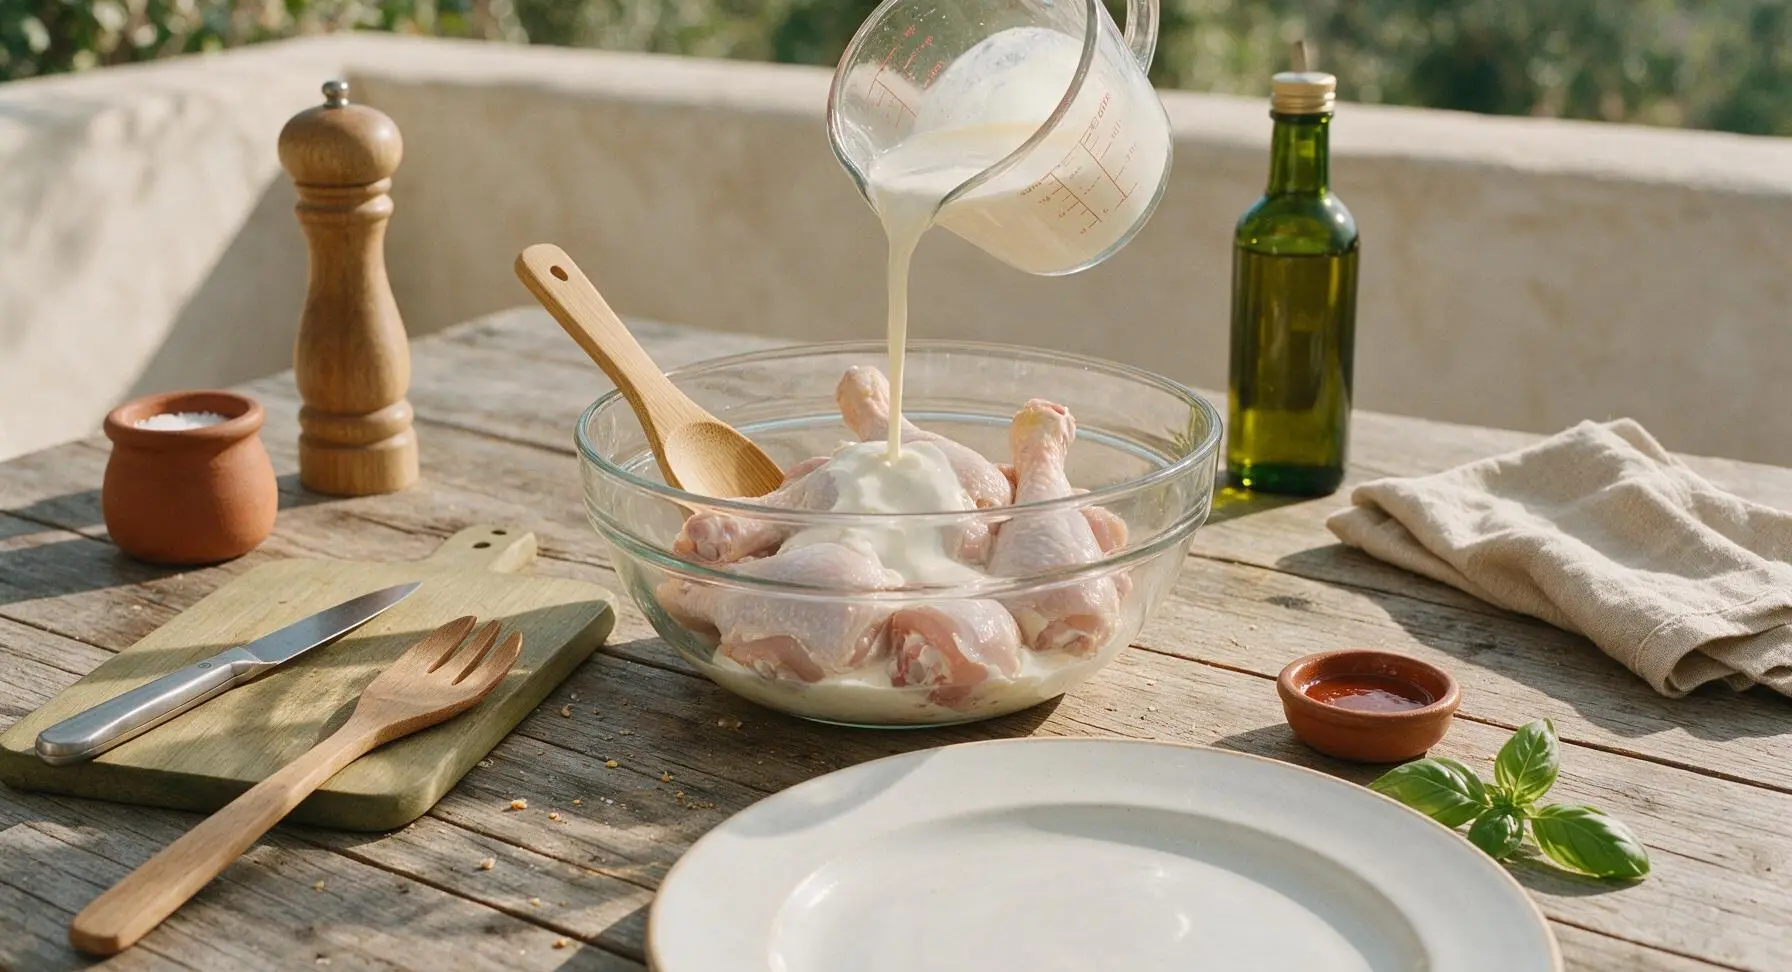
Step 2
step2:Brine chicken in buttermilk
Step 2
step2:Brine chicken in buttermilk
3

Mix seasoned flour dredge

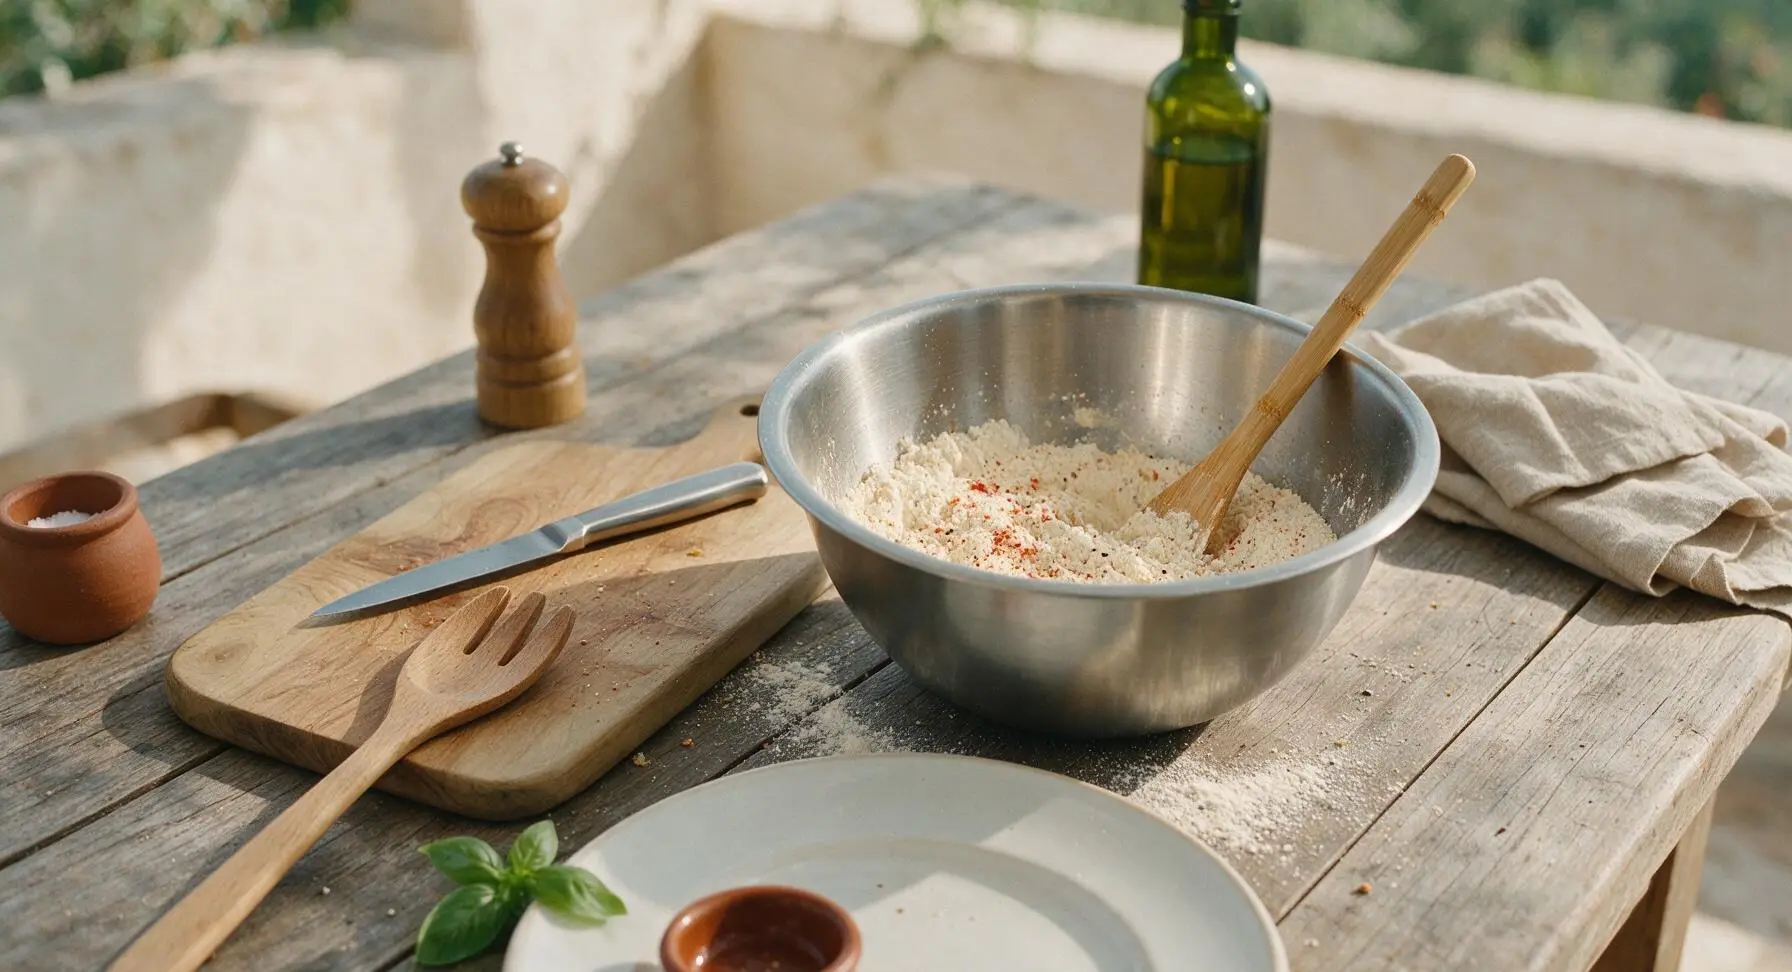
In the 24cm brushed stainless steel mixing bowl, combine 1.5 cups all-purpose flour, 1/2 cup cornstarch, 1 tbsp kosher salt, 1 tsp black pepper, 1 tsp smoked paprika, 1 tsp garlic powder, 1/2 tsp onion powder, and 1/4 tsp cayenne pepper. Whisk thoroughly with the bamboo spoon for 30 seconds to evenly distribute spices, breaking up any clumps for a consistent coating.
Step 3
step3:Mix seasoned flour dredge
4

Coat chicken in flour

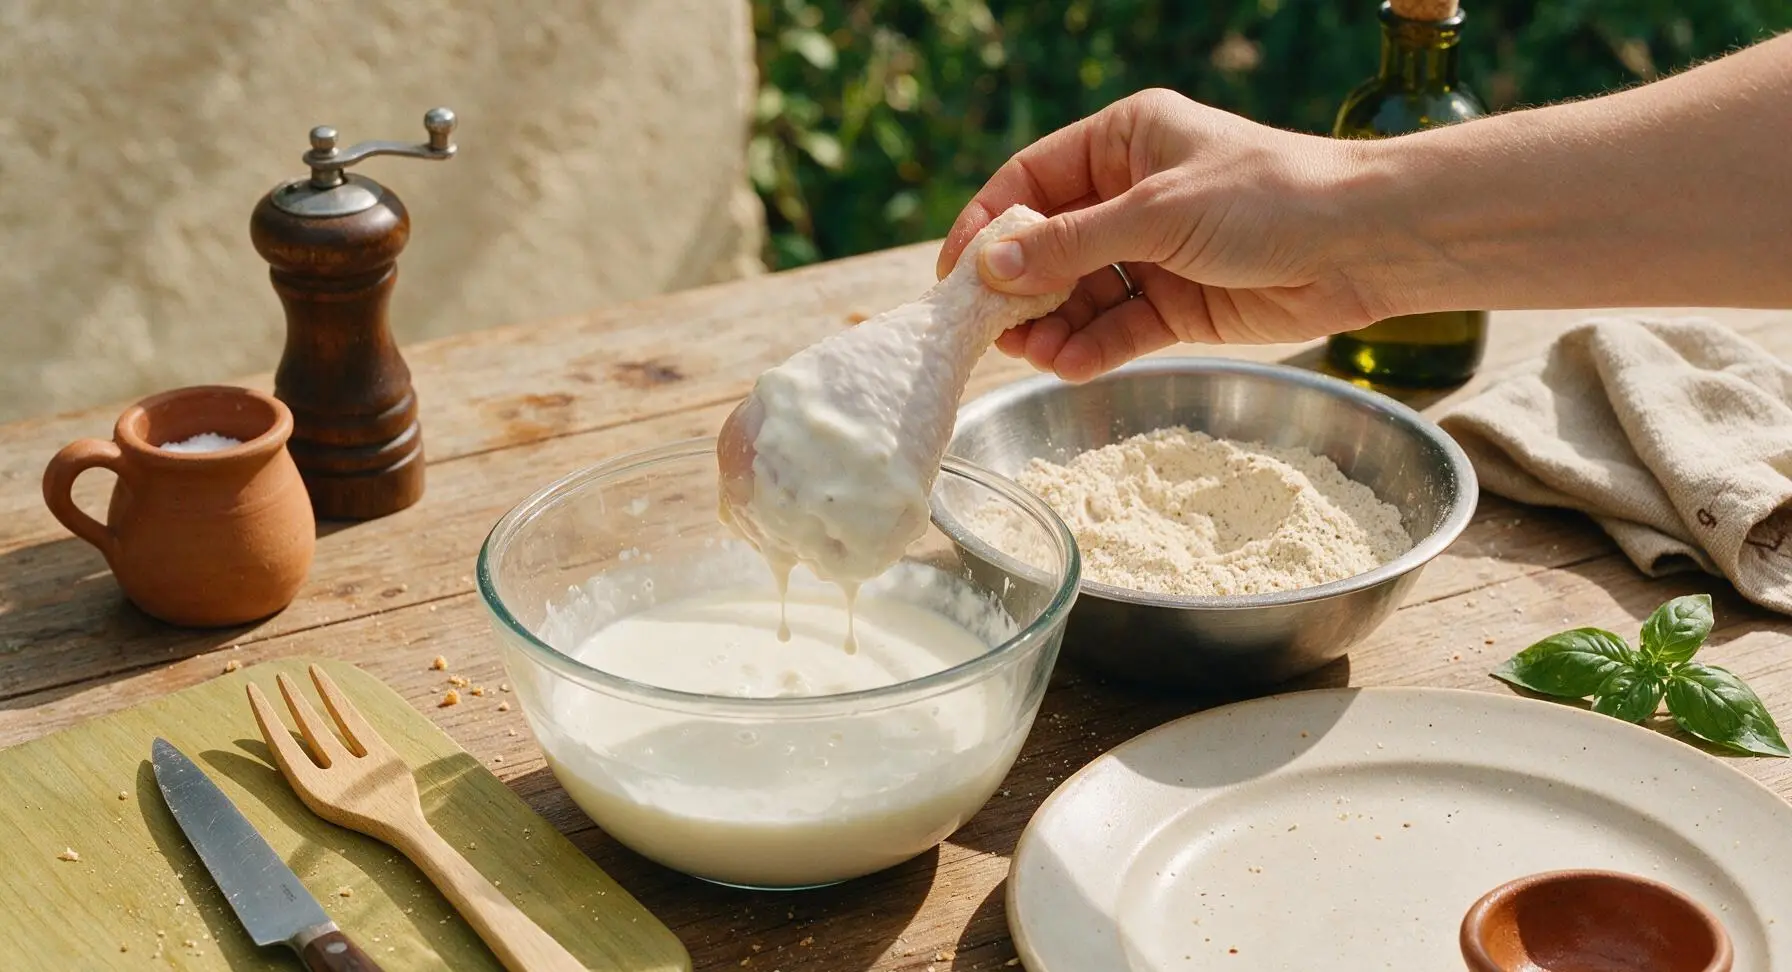
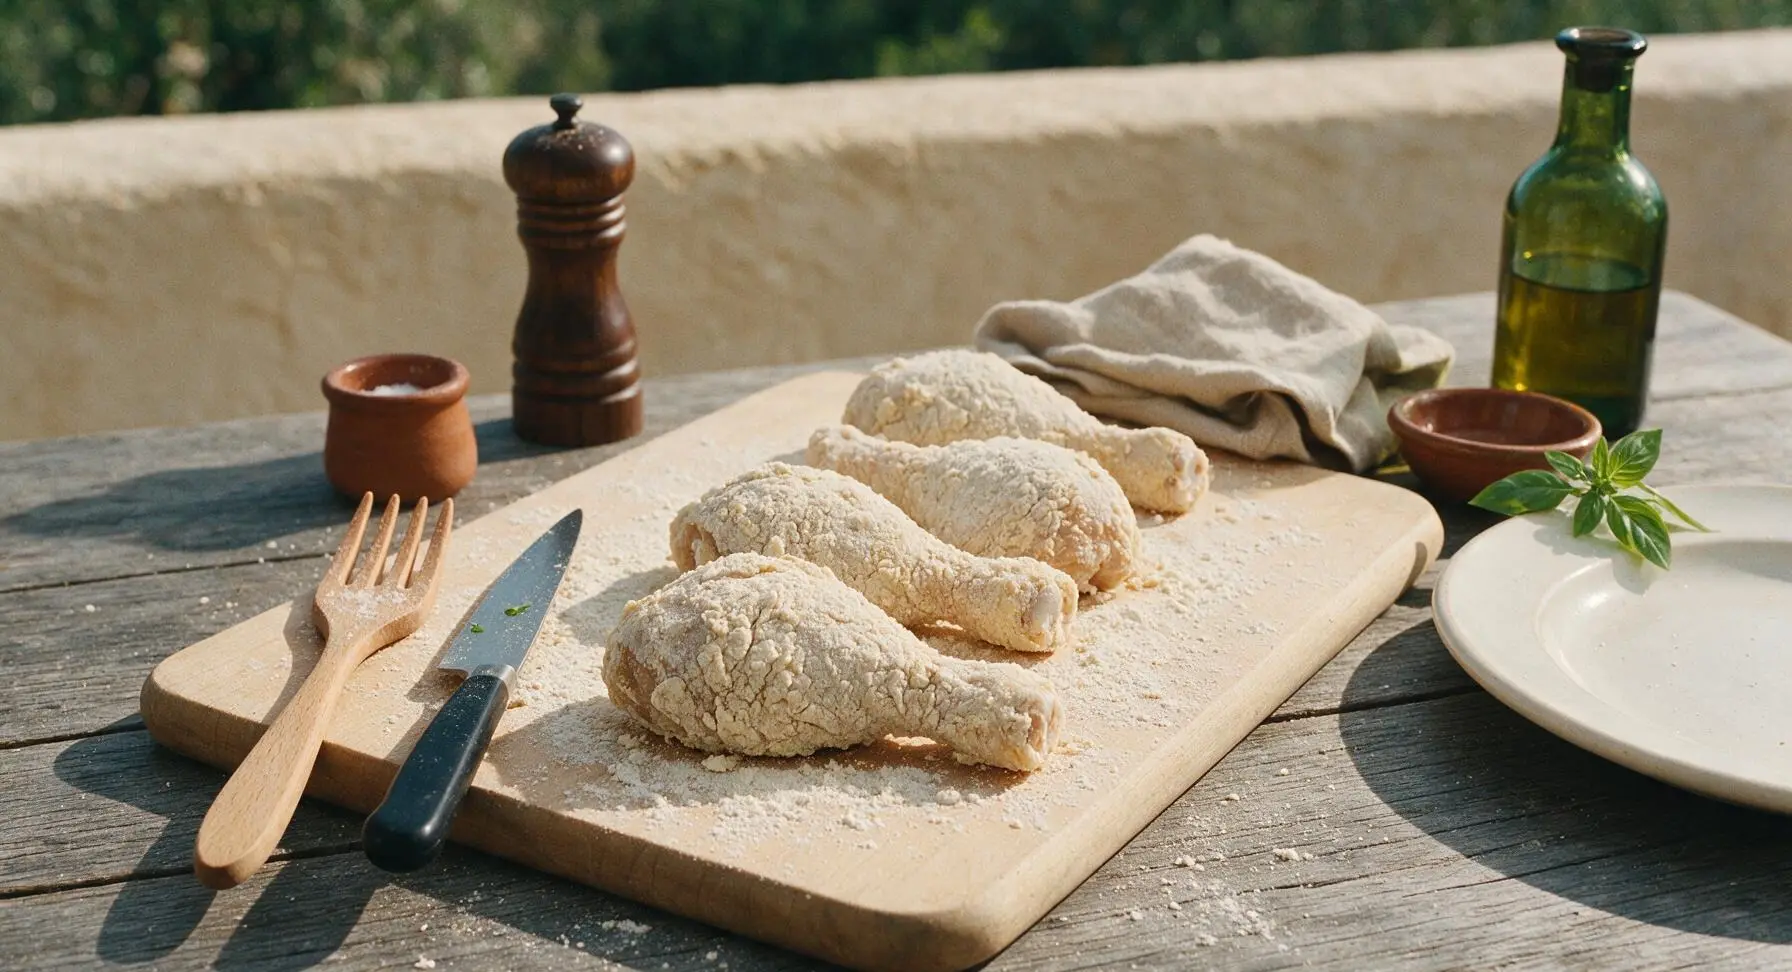
Remove one chicken leg at a time from the buttermilk brine, allowing excess buttermilk to drip off for 3 seconds. Drop the leg into the seasoned flour, pressing firmly to coat every surface (including under skin flaps) with a thick, even flour layer. Lift coated legs, shake off excess loose flour, and set on a clean section of the maple cutting board to rest for 10 minutes before frying—this rest helps the crust adhere and prevents it from separating during cooking.
Step 4
step4:Coat chicken in flour
Step 4
step4:Coat chicken in flour
5

Heat oil for frying

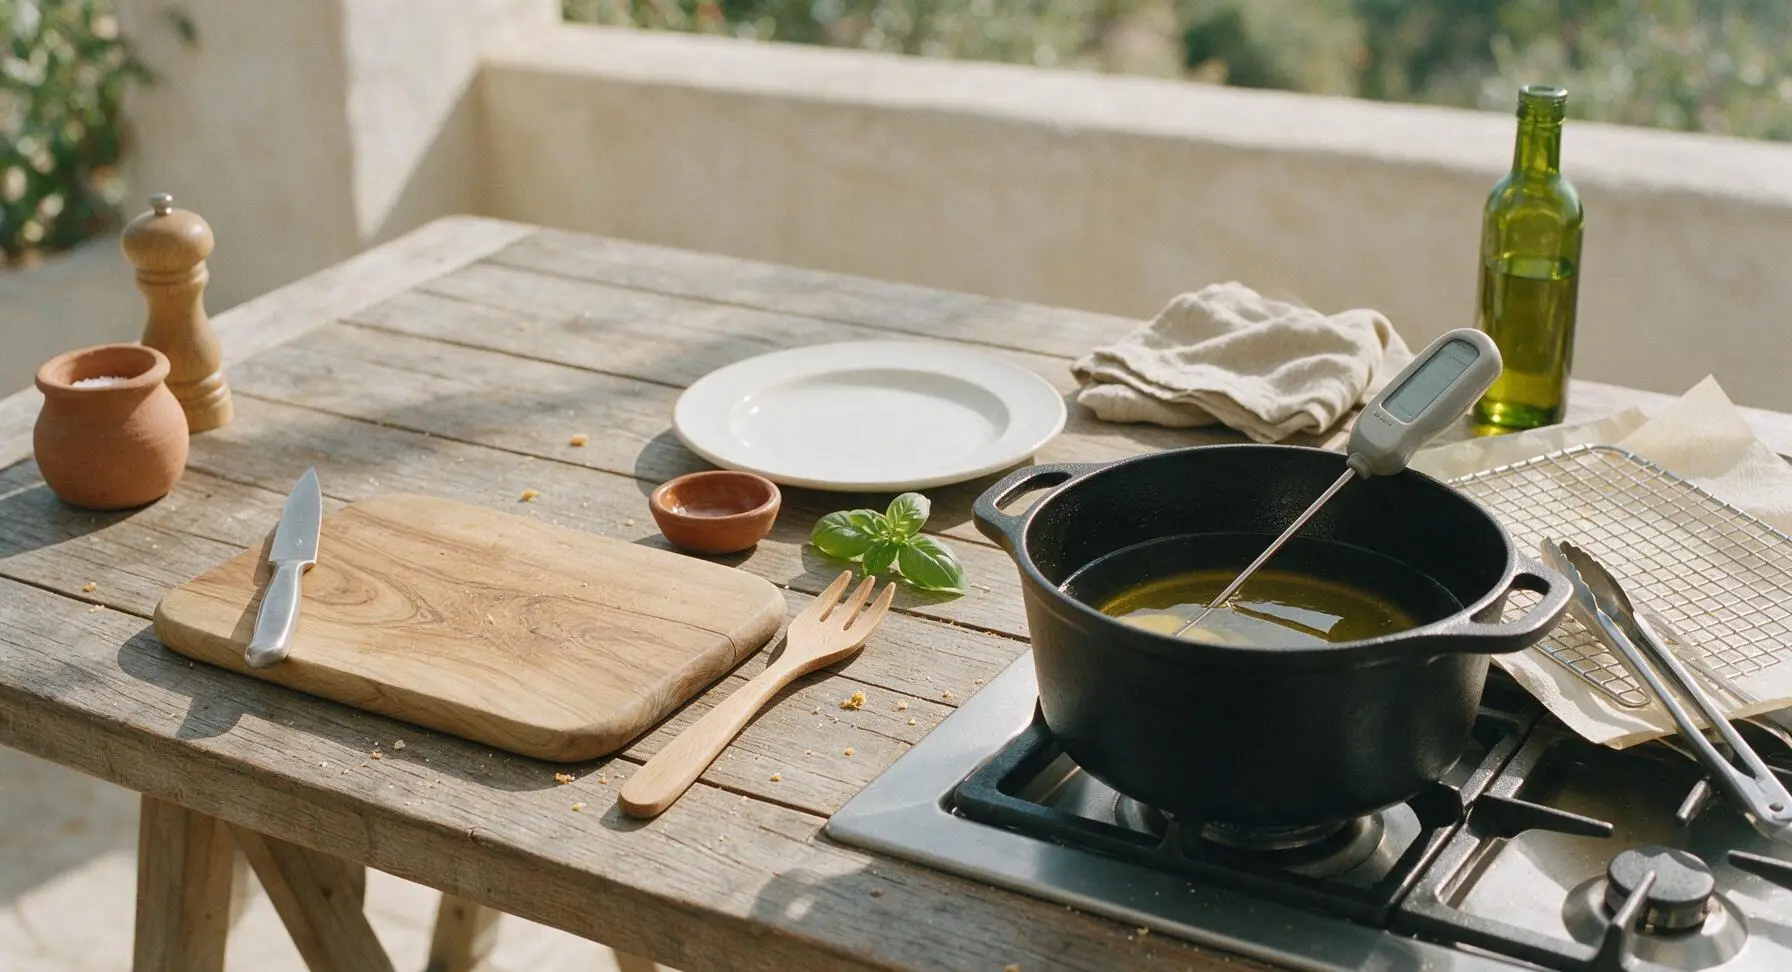
Place the 5-quart matte black cast iron Dutch oven on the right stovetop burner, pour in 1.5 quarts of neutral frying oil, and heat over medium-high until oil reaches a steady 350°F (175°C), verified with the digital instant-read thermometer. Do not let oil exceed 375°F, as this will burn the crust before chicken cooks through.
Step 5
step5:Heat oil for frying
6

Fry chicken in batches

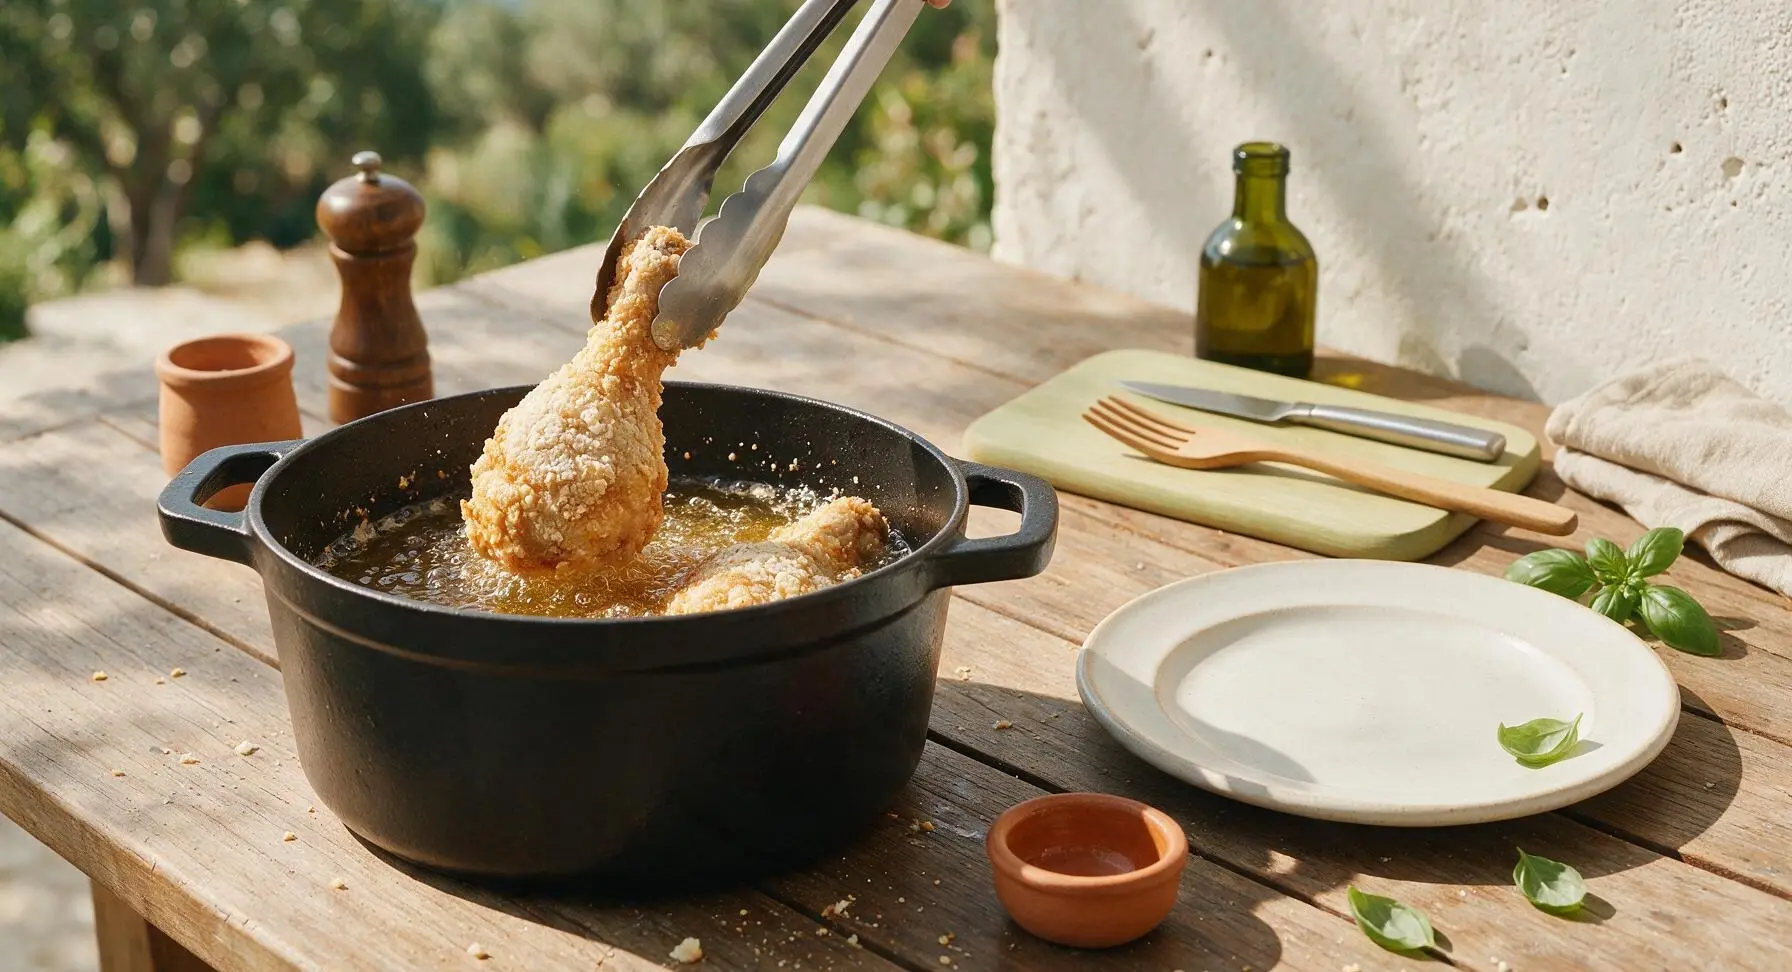
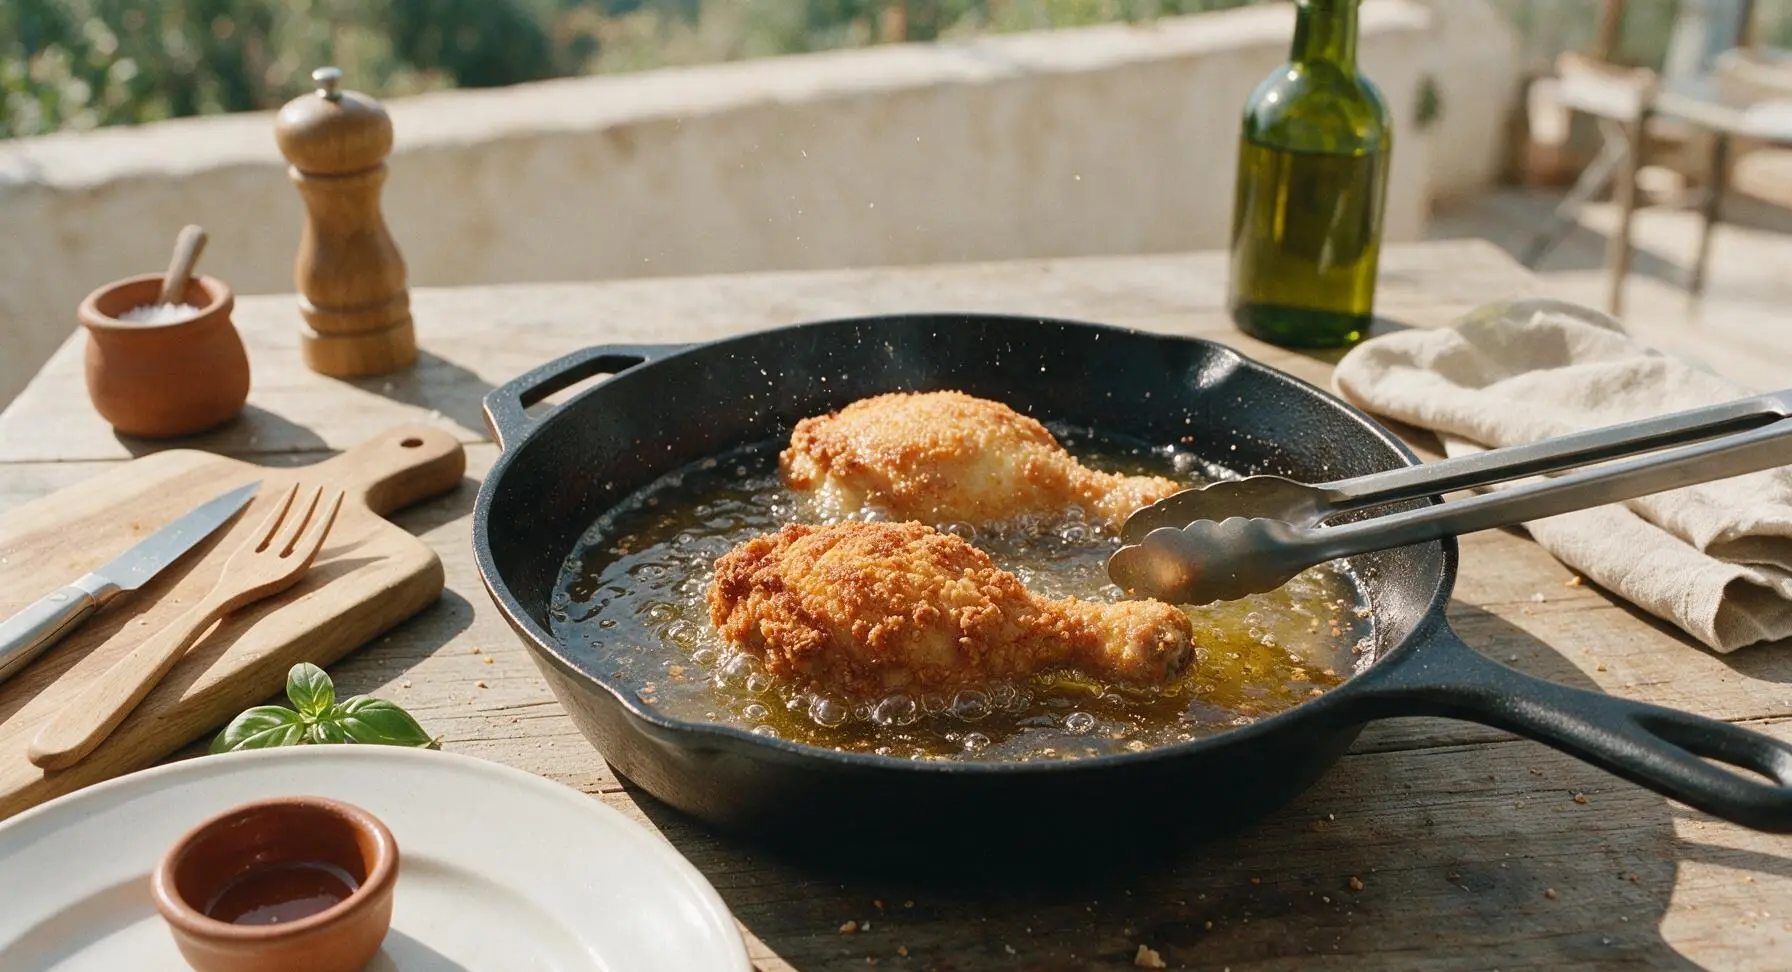
Using the stainless steel tongs, carefully lower 2 coated chicken legs into the hot oil to avoid splashing. Do not overcrowd the pot, as this drops oil temperature too drastically. Fry for 12-14 minutes total, turning legs every 4 minutes with tongs, until crust is deep even golden brown and internal temperature at the thickest part (away from bone) reaches 165°F (74°C).
Step 6
step6:Fry chicken in batches
Step 6
step6:Fry chicken in batches
7

Drain and rest chicken

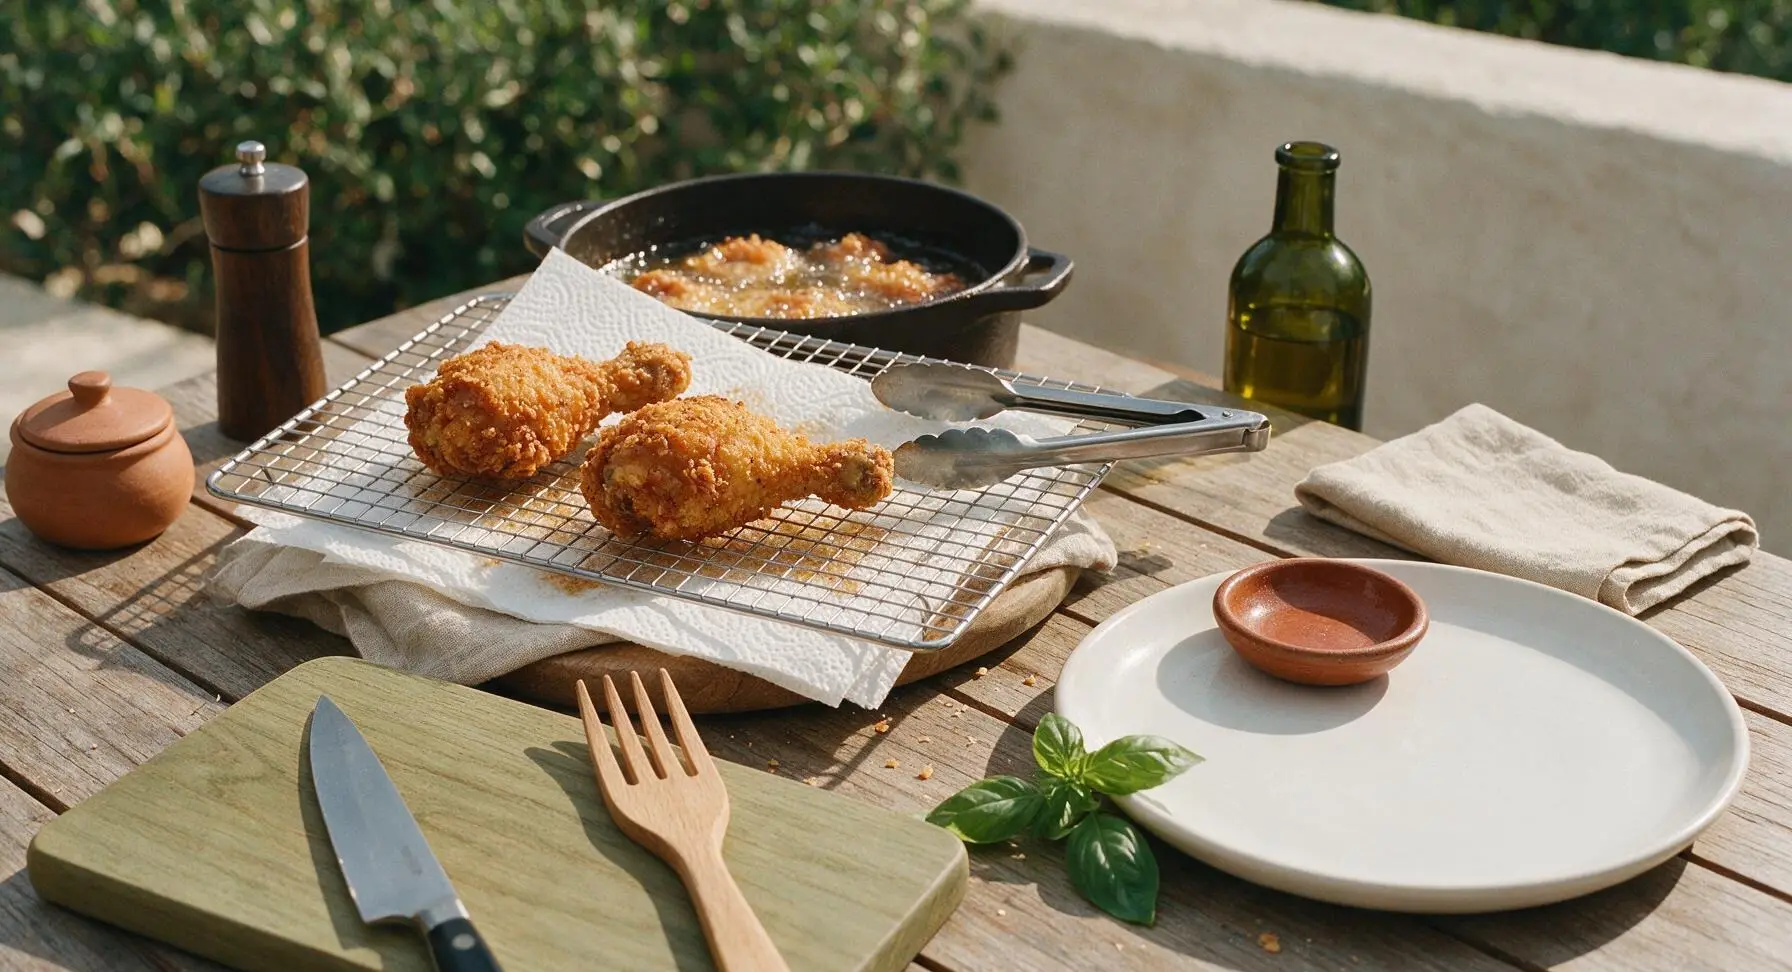
Once each batch reaches correct temperature and crust color, use tongs to lift legs out of oil, holding them above the pot for 5 seconds to let excess oil drip off. Transfer legs to the paper-towel-lined chrome wire rack, and rest for 5 minutes to drain excess oil and let juices redistribute. Lightly sprinkle hot crust with a pinch of extra flaky salt if desired.
Step 7
step7:Drain and rest chicken
8

Plate and garnish chicken

Arrange the rested fried chicken legs on the matte cream ceramic dinner plate, tuck a sprig of fresh curly parsley at the plate edge for garnish, and set the small matte cream ramekin of hot honey beside the plate for dipping.
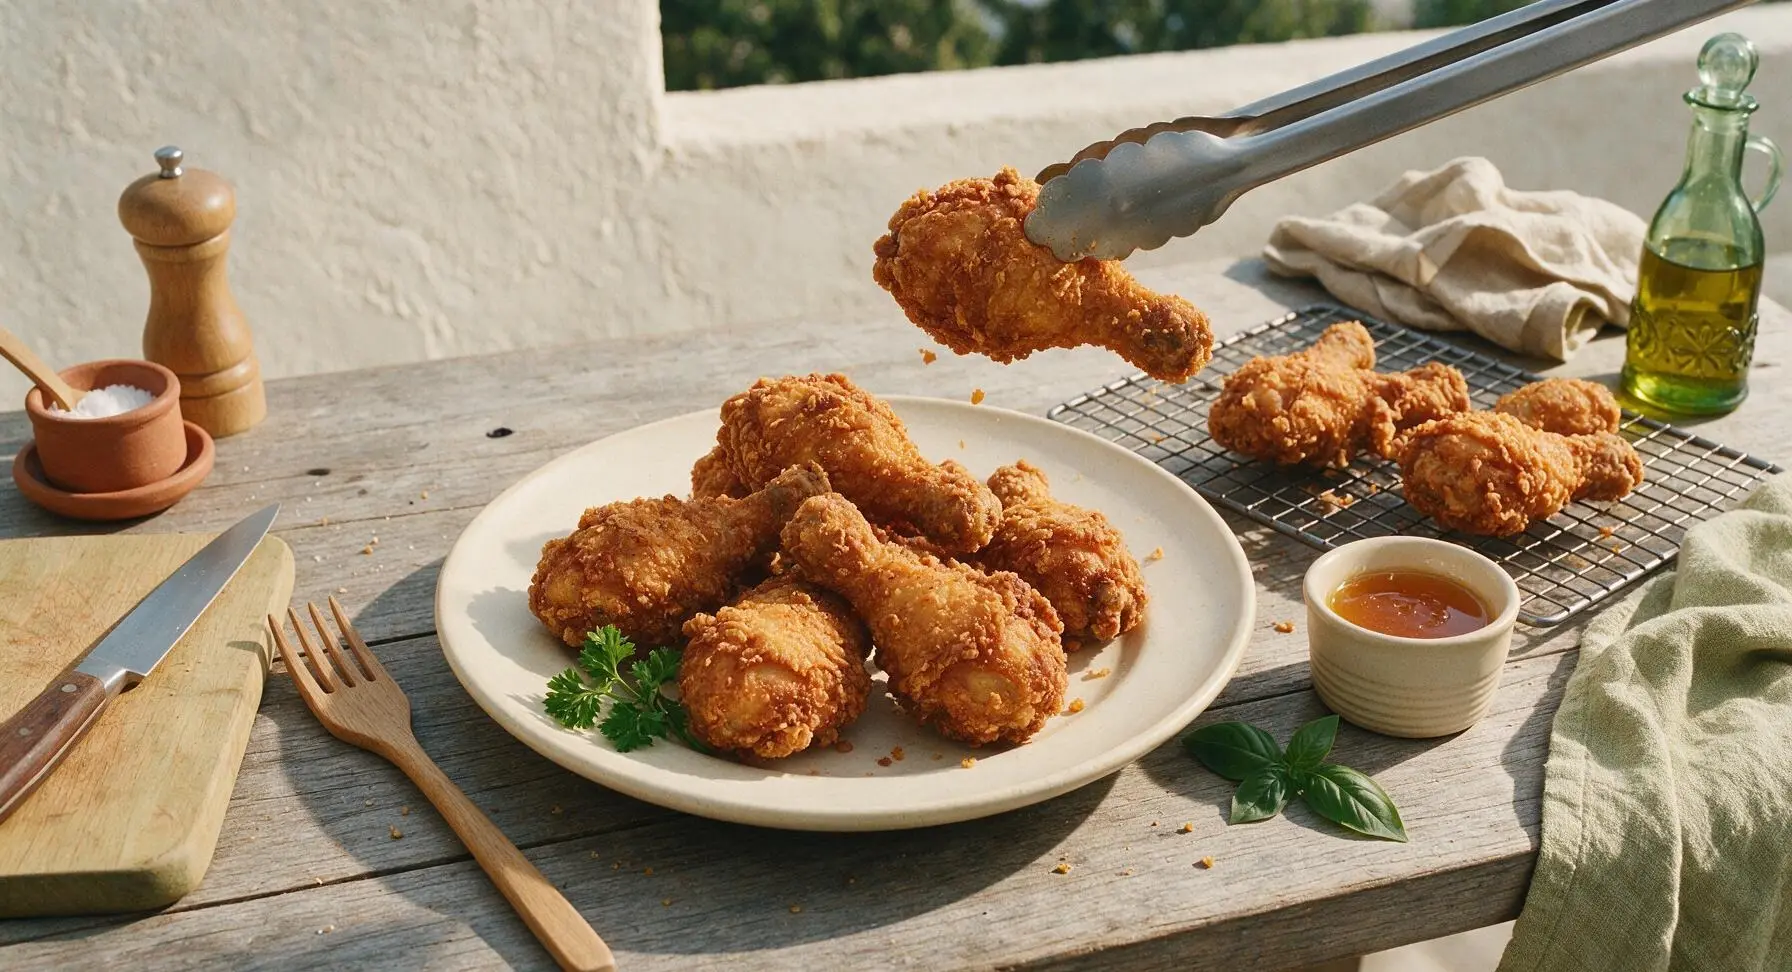
Step 8
step8:Plate and garnish chicken

Tips

1.Never skip the 10-minute rest after dredging chicken: this allows the flour and buttermilk to form a sticky, craggy bond that prevents the crust from sliding off during frying, creating the iconic shattery texture instead of a smooth, hard shell that separates from the meat.
2.Maintain a steady 350°F oil temperature throughout frying: oil that is too cool will make chicken absorb excess grease and turn soggy, while oil over 375°F will burn the outer crust before the dark meat near the bone reaches a safe 165°F internal temperature.
3.Rest fried chicken on a wire rack instead of a solid plate or thick paper towel pile: air circulation around all sides of the chicken keeps the crust crisp instead of making it soggy from trapped steam, and allows meat juices to redistribute so they don’t run out when you take the first bite.


✨ You May Also Like

Main Course
🍜 United Kingdom

A showstopping classic of tender seared beef, savory mushroom duxelles, and crisp prosciutto wrapped in flaky golden puff pastry, baked to juicy perfection.

⏱️ 2 hours 1Main Course ★ 4.7
Main Course
🍜 India

Tender charred marinated chicken simmered in a rich, spiced creamy tomato sauce, this iconic Anglo-Indian curry pairs perfectly with basmati rice or warm naan.

⏱️ 50 minuteMain Course ★ 4.6
Main Course
🍜 Thailand

Classic tangy, sweet, and savory Thai stir-fried rice noodles with shrimp, tofu, and crunchy garnishes, balancing all five core Thai flavor profiles.

⏱️ 30 minuteMain Course ★ 4.5
Main Course
🍜 United Kingdom

Crispy golden beer-battered cod and fluffy double-fried chips, served with tangy tartar sauce and malt vinegar: the timeless, beloved British pub comfort classic.

⏱️ 45 minuteMain Course ★ 4.7
Main Course
🍜 Mexico

Smoky, chile-marinated pork tacos with caramelized pineapple, fresh cilantro, and lime: a beloved classic Mexican street food perfect for casual summer gatherings.

⏱️ 1 hour 45Main Course ★ 4.8
Main Course
🍜 United States

Crunchy Fritos corn chips layered with savory beef chili and melted cheddar, topped with cool, zesty fixings for a beloved, cozy Tex-Mex comfort food.

⏱️ 35 minuteMain Course ★ 4.8

fried chicken leg:Frequently Asked Questions

1.How long should I marinate the chicken legs in buttermilk for the juiciest, most tender result? ▾
For the best texture, marinate bone-in, skin-on legs for a minimum of 4 hours in the fridge, with 12–24 hours being the sweet spot. Don’t marinate longer than 48 hours, though—the lactic acid in buttermilk will break down the meat too much, leading to mushy, mealy texture instead of tender, juicy bites.
2.Can I use low-fat or non-fat buttermilk if that’s all I have on hand? ▾
Full-fat buttermilk is ideal for rich flavor, even tenderizing, and helping the coating stick, but you can make low-fat work. Stir 2 tablespoons of full-fat sour cream into every cup of low-fat buttermilk to mimic the fat content. Skip non-fat buttermilk entirely—it’s too watery, leads to bland, dry chicken and a less crisp crust.
3.Why do you include cornstarch in the coating instead of using only all-purpose flour? ▾
Cornstarch cuts down on the gluten development in all-purpose flour, which prevents a tough, dense, bready crust. It also helps create that signature shatteringly crisp texture that stays crisp longer, even as the chicken rests after frying. Stick to a 3:1 ratio of flour to cornstarch—too much cornstarch leaves a powdery, chalky crust.
4.What oil temperature gives the crispiest chicken without burning the crust? ▾
Hold your frying oil at a steady 350°F for the entire cook time for perfect results. If the oil is too hot, the crust will burn long before the meat cooks through to the bone; if it’s too low, the crust will soak up excess oil, turn soggy, and leave you with greasy, heavy chicken. Use a clip-on candy thermometer to track temp easily.
5.Do I need to do a separate brine for the chicken if I’m using a buttermilk marinade? ▾
No separate brine is required here! The lightly acidic buttermilk, when seasoned properly with kosher salt, tenderizes and seasons the meat all the way through as it marinates. Just add roughly 1 teaspoon of kosher salt per cup of buttermilk to ensure the meat is well-seasoned, no extra brining step needed.
6.How do I keep the breading from falling off the chicken while it fries? ▾
First, don’t wipe every bit of buttermilk off the legs before dredging—leave a thin, tacky layer to help the coating adhere. Press the flour-cornstarch mixture firmly onto every surface of each leg, then let the coated chicken rest on a wire rack for 15–20 minutes before frying. This lets the coating set so it doesn’t slide off in the oil.
7.Can I use boneless, skinless chicken legs for this recipe instead of bone-in, skin-on? ▾
You can, but you’ll lose a lot of that rich, juicy depth and the skin layer that helps the crust adhere perfectly. If you use boneless, skinless legs, cut marinating time to 2–4 hours max, and reduce frying time to 8–10 minutes, since there’s no bone to slow cooking. Expect a slightly less shattery crust without the skin underneath.
8.How do I tell when the chicken legs are fully cooked without cutting into them? ▾
The most reliable method is to use an instant-read thermometer inserted into the thickest part of the leg, making sure it doesn’t touch the bone—you’re looking for an internal temperature of 165°F. As a quick visual cue, the juices will run clear when you pierce the thickest part, and the crust will be a deep, even golden brown after 12–15 minutes of frying.
9.Why does my crust turn soggy right after I pull the chicken out of the fryer? ▾
Most of the time, this happens because you’re draining chicken on paper towels, which traps steam against the crust and softens it fast. Instead, set freshly fried chicken on a wire rack set over a baking sheet, and sprinkle with a little extra kosher salt right out of the oil. Also, avoid overcrowding the fryer, which drops oil temp and causes soggy crust.
10.Can I prep the chicken ahead of time for a party or gathering? ▾
You can marinate the chicken in seasoned buttermilk, covered, in the fridge for up to 24 hours before you plan to serve it. Wait to dredge the legs in the flour-cornstarch mixture until 20 minutes before frying, though—if you let breaded chicken sit too long in the fridge, the coating will turn gummy and won’t crisp up properly in the oil.
11.What type of oil works best for frying these chicken legs? ▾
Reach for a neutral, high-smoke-point oil like refined peanut oil, canola oil, or regular vegetable oil. These don’t add strong, off-flavors as they heat, and can hold steady at 350°F without smoking or breaking down. Save olive oil and other low-smoke-point, flavored oils for dressings—they’ll burn at frying temp and leave bitter-tasting chicken.
12.Can I make this recipe in an air fryer if I don’t want to deep fry? ▾
You can get a nicely crisp result in an air fryer, though it won’t be quite as shatteringly crisp as the deep-fried version. Spray breaded chicken legs generously with oil on all sides, then air fry at 375°F for 22–25 minutes, flipping halfway, until internal temp hits 165°F. Work in small batches to avoid crowding the basket for even crisping.
13.How much kosher salt do I need to use so the chicken doesn’t turn out bland? ▾
Season every layer for the most flavorful result: add 1 teaspoon of kosher salt per cup of buttermilk for the marinade, 1 teaspoon of kosher salt per cup of the flour-cornstarch dredge, and a light pinch of salt on the chicken the second it comes out of the fryer. This ensures no bland bites, from the juicy meat to the crisp outer crust.
14.How do I store leftovers, and reheat them so the crust stays crisp? ▾
Leftover fried chicken keeps in the fridge for 3 days, or freezes well for up to 3 months in an airtight container. Reheat on a wire rack set over a baking sheet in a 400°F oven for 10–12 minutes (18–22 minutes from frozen) until heated through to 165°F. Skip the microwave—it turns the crust soggy and rubbery, no matter how short the cook time.
15.Why is my chicken still raw near the bone even when the crust is dark golden brown? ▾
This almost always means your oil was too hot, which cooks the outer crust very quickly before heat can penetrate all the way to the bone. Hold oil at a steady 350°F, and don’t fry more than 3–4 legs at a time, which drops oil temp too drastically. If browning happens too fast, lower the heat slightly to give the meat time to cook through.

Comments (20)

2 days ago

OMG made this for our Sunday family dinner last night and every single leg was gone in 10 minutes. The crust was shatteringly crispy, the meat was so juicy from the buttermilk brine—my 12 year old asked if we can have this every Sunday from now on. Didn’t even have to adjust the seasoning, it was perfect right out the gate.

1 day ago

That makes our day to hear! So glad it was a hit with the whole family—pro tip if you want extra crunch next time, toss a pinch of cornstarch into your flour mix, it works wonders.

3 days ago

Wait I’ve tried 3 different fried chicken recipes before and they always came out soggy or undercooked near the bone. This one actually worked for me! Cook time was spot on 25 minutes, no raw spots, crust stayed crispy even after I let it rest on a wire rack. Game changer for my dorm potluck next week.

2 days ago

Same! I brought this to my floor potluck last month and people were asking for the recipe all night. Just make sure your oil temp stays around 350F the whole time, that’s the trick I learned.

5 days ago

Solid recipe, but I added a teaspoon of cayenne and a splash of hot sauce to the buttermilk brine for a little kick, and it slapped. Crunch level is 10/10, way better than the fast food fried chicken I usually grab on busy weeknights. Will be making this again for my next backyard cookout.

1 week ago

Has anyone tried this with a gluten free flour blend? My youngest has celiac and I’ve been searching for a crispy fried chicken recipe that doesn’t taste like cardboard. Would love to hear tips before I test it this weekend!

5 days ago

I did it with Cup4Cup gluten free all purpose last week and it worked perfectly! Same crispy crunch, no weird aftertaste. My kid didn’t even notice the difference.

5 days ago

Great question! We’ve tested this with a 1:1 gluten free all purpose flour blend and it works beautifully—just make sure you don’t pack the flour when you dredge, and let the coated chicken rest 10 minutes before frying so the breading doesn’t slide off.

2 weeks ago

I wanted to love this, but my crust kept falling off every time I flipped the chicken in the oil. What did I do wrong? I followed the recipe exactly, let the chicken sit in the buttermilk overnight even. The meat was juicy but I was sad I didn’t get that perfect crispy crust everyone is talking about.

1 week ago

I had that happen the first time too! Turns out I was dredging too early and not letting the coated chicken rest before dropping it in oil. Let it sit on a plate for 10-15 minutes after you coat it in flour, the breading sets and won’t fall off. Promise it works!

1 week ago

Sorry the crust gave you trouble! That’s almost always from the breading not having time to adhere before frying, or oil temp being too low. If you let the dredged chicken rest 10 minutes before frying and keep oil steady at 350°F, you’ll get that perfect crispy crust that stays put next time!

30 minutes ago

Wait a second—can I make these ahead for meal prep? I usually prep my lunches for the week on Sundays and I’m wondering if these reheat well in the air fryer without getting soggy. The recipe looks so good I need to add it to my rotation.

5 minutes ago

Great question! These reheat amazingly in the air fryer at 375°F for 6-8 minutes—they get almost as crispy as fresh out of the fryer. They hold up for 3-4 days in the fridge, perfect for meal prep!

yesterday

SO good. I grew up eating my grandma’s fried chicken in Macon and this recipe comes so close to hers it made me a little emotional when I took the first bite. The buttermilk brine makes the meat so tender it falls right off the bone, and the seasoning in the flour is perfectly balanced—no extra salt needed. 10/10, will be passing this along to all my cousins at the next family reunion.

1 week ago

I upped the paprika and garlic powder because I love bold flavor, and these came out insane. Made them for my buddy’s football watch party and people were hovering over the platter the whole game. Only note is that my legs took a couple minutes longer than 25 minutes to hit 165F internal, but that’s probably because my stove runs a little cool.

5 days ago

Same here! My stove is garbage too so I always add 3-4 minutes to cook time and use a meat thermometer to be safe. These are a staple for my watch parties now too, no one brings better food than me when I make these.

3 days ago

How much extra paprika did you add? I love smoky flavor and want to try your adjustment this weekend when I make these for my kid’s birthday cookout!

2 days ago

As someone who burns toast 50% of the time, I was intimidated because I thought fried chicken was too hard, but this was actually totally doable for medium difficulty! The instructions were super clear, no weird fancy ingredients, and my kids loved it—they went back for seconds (and thirds). Even my picky eater who only eats chicken nuggets loved these.

1 day ago

That gives me so much hope! My son refuses to eat any chicken that isn’t dinosaur shaped nuggets, I’m going to test this this weekend and see if he falls for it. Fingers crossed!

5 days ago

Pro tip for everyone: don’t crowd the pan when you fry! I cooked 3 legs at a time in my cast iron skillet and they came out perfectly golden and crispy all over. If you cram too many in at once the oil temp drops and you end up with soggy, greasy chicken. This recipe is a keeper, thanks for sharing!

2 hours ago

Wait, has anyone tried making this in the air fryer instead of deep frying? I try to avoid deep frying at home because of the grease mess, but I need that crispy buttermilk flavor so bad.

1 hour ago

You can totally make these in the air fryer! Spray the coated legs generously with oil, cook at 380°F for 22-25 minutes, flipping halfway through. You won’t get the exact same deep fried crunch, but it’s still delicious and way less messy!

3 days ago

Made these for our neighborhood block party last weekend and I swear I got asked for the recipe at least 15 times. The crunch was insane, even after they sat on the potluck table for an hour! I was worried they’d get soggy but they held up perfectly. 10/10, new go-to for every event.

2 days ago

Wait I was at that block party! Those were the chicken legs you brought? I ate two of them they were so good, I was just telling my wife I needed to find a good fried chicken recipe. Small world!

2 days ago

Haha that’s so funny! Small world indeed. Save this recipe, you won’t regret it—my husband says it’s better than the fried chicken from that little diner downtown we love.

yesterday

Wait I thought this would be way harder since it’s marked medium difficulty, but it was so straightforward! I was expecting a huge mess and a lot of complicated steps, but it was just brine, dredge, fry. My chicken came out perfect on the first try. I think even total beginners could nail this as long as they have a candy thermometer for the oil.

20 hours ago

That’s good to hear! I’m a total beginner and I’ve been scared to try fried chicken because I thought it was super hard. I’m picking up chicken legs on my grocery run tomorrow to test this.

18 hours ago

So glad it felt approachable! We marked it medium mostly because frying takes a little practice with oil temp, but as long as you use a thermometer to keep oil at 350°F, it’s totally doable even for newer cooks. Hope you love it!

just now

Made a double batch of these yesterday for my weekly meal prep, reheated one for lunch today in the air fryer at 375 for 7 minutes and it was just as crispy as when I made it fresh. The buttermilk keeps the meat so juicy even after reheating, which is a total game changer for meal prep. No more dry, sad lunch chicken for me!

1 week ago

I used this exact breading and brine for both legs and thighs last night and everything came out perfect. Cooked them in my 12 inch cast iron skillet like my grandma taught me, and the crust got that perfect deep golden crunch. Don’t skip the black pepper in the seasoning, it adds such a nice little kick.

6 days ago

Love that you made it with thighs too! Cast iron is perfect for this recipe because it holds heat so evenly, which makes for such a consistent crispy crust. Great call on the black pepper, it’s such a simple addition that makes a huge difference.

5 days ago

Wondering if anyone has tried making this with low sodium buttermilk and less salt in the flour mix? I’m on a low sodium diet for my blood pressure and I’m dying for some good fried chicken that doesn’t leave me bloated for days. Any tips would be so appreciated!

4 days ago

I did this last month! I used low sodium buttermilk, cut the added salt in half, and added extra garlic powder, paprika, and a little onion powder to boost the flavor without extra salt. It was still so tasty, you couldn’t even tell the salt was reduced.

3 days ago

Great question! You can absolutely reduce the salt to fit your dietary needs—we recommend swapping in extra dried herbs and spices (like smoked paprika, garlic powder, dried thyme, and a pinch of white pepper) to keep the flavor bold without the extra sodium. Hope you love it!

2 weeks ago

I’ve been on a years-long quest to make fried chicken as good as the little southern gas station stop I used to go to as a kid (don’t knock it, gas station chicken is elite) and this recipe is the first one that’s come close. The crust is crispy, the meat is juicy, the seasoning is on point. I might even like it better than the gas station version, which is saying something.

yesterday

Panicked last night because I forgot to pick up buttermilk on my grocery run, so I made my own with regular milk and white vinegar like I saw online, and it still worked perfectly! Chicken was juicy, crust was crispy, my roommate thought I ordered takeout. Will absolutely be making this again even when I don’t forget the buttermilk.

12 hours ago

The milk + vinegar trick works for everything! I do that all the time when I don’t have buttermilk for pancakes or fried chicken, no one can ever tell the difference. So glad it worked out for you!

2 days ago

Made this for my boyfriend’s birthday dinner last night and he said it’s the best meal I’ve ever cooked for him. He’s from west Tennessee so he’s super picky about his fried chicken, so that’s the highest compliment I could have gotten. Served it with homemade mac and cheese and collard greens just like his grandma makes, and he was full and happy all night.

1 day ago

That’s such a sweet win! Getting a seal of approval from someone who grew up on great southern fried chicken is the best testimonial we could ask for. So glad it made the birthday dinner special!

5 minutes ago

I was worried this would take forever to make on a weeknight, so I did a quick 2 hour brine after work instead of leaving it overnight, and the chicken was still juicy and flavorful. The 25 minute cook time was totally accurate, which I appreciated because I was scrambling to get dinner on the table before my kid’s soccer practice. Perfect for a busy weeknight when you don’t have a ton of time to spend in the kitchen. Will be making this on repeat.



