
fried chicken with almond flour
intro
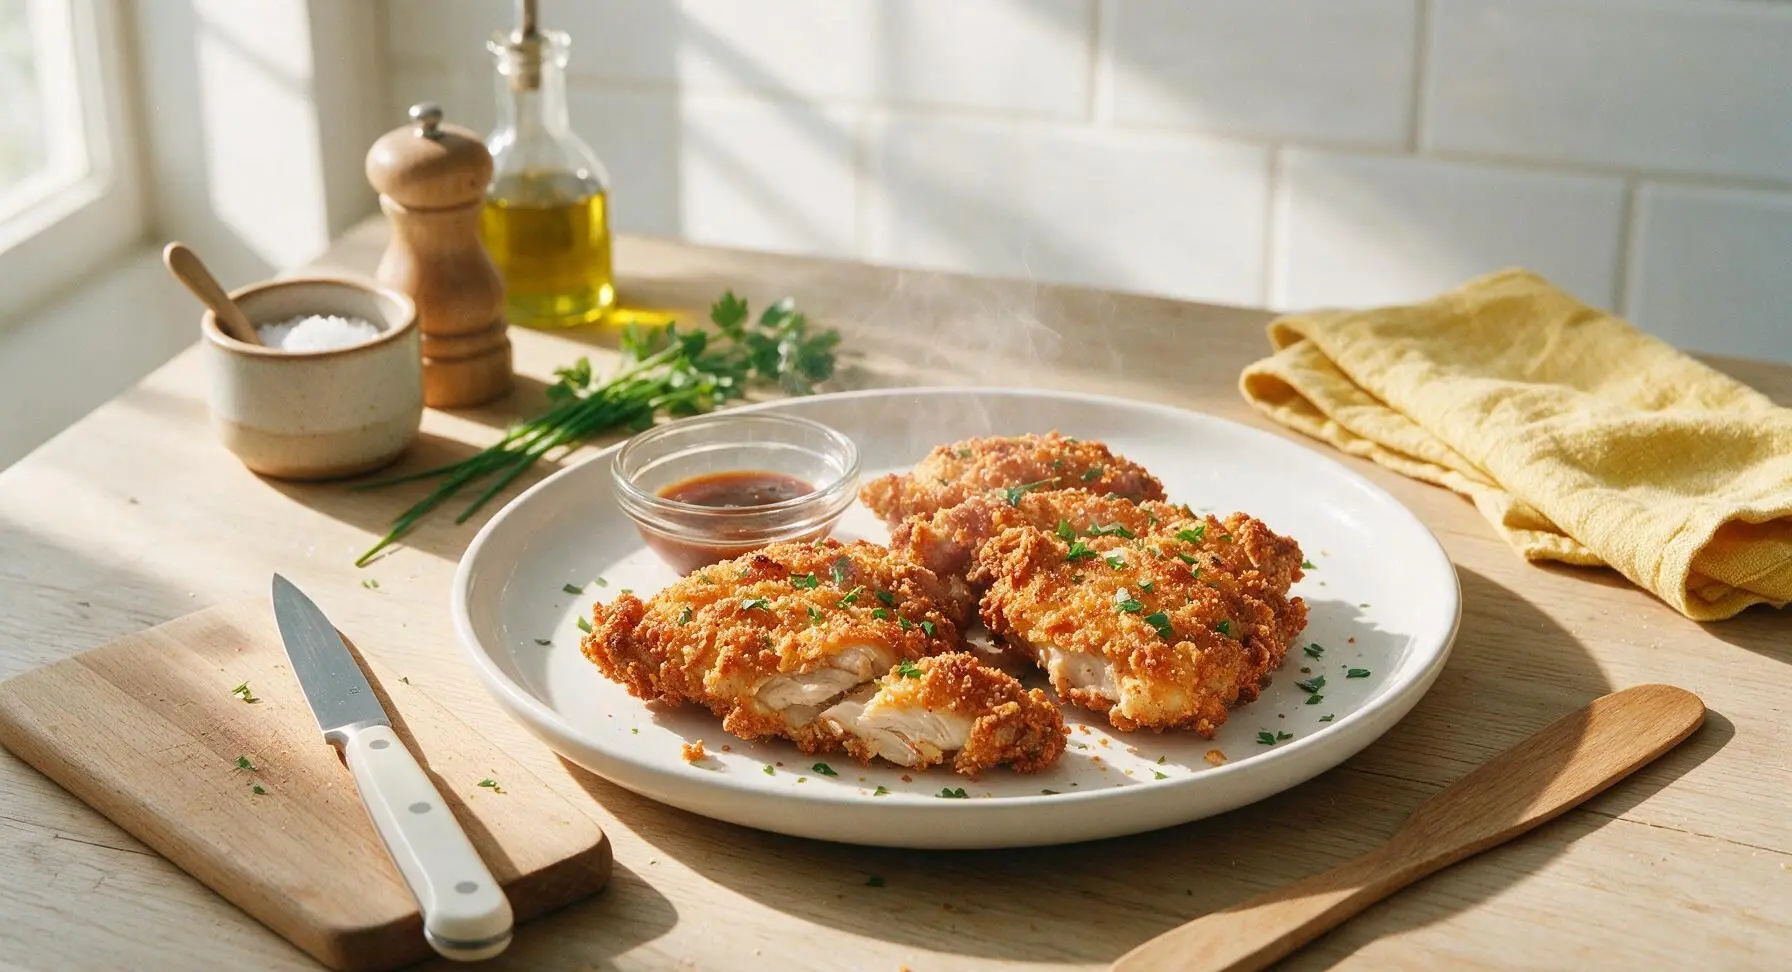
Crispy, golden gluten-free fried chicken coated in nutty almond flour, with juicy tender meat inside a shatteringly crisp, well-seasoned crust—no wheat required.
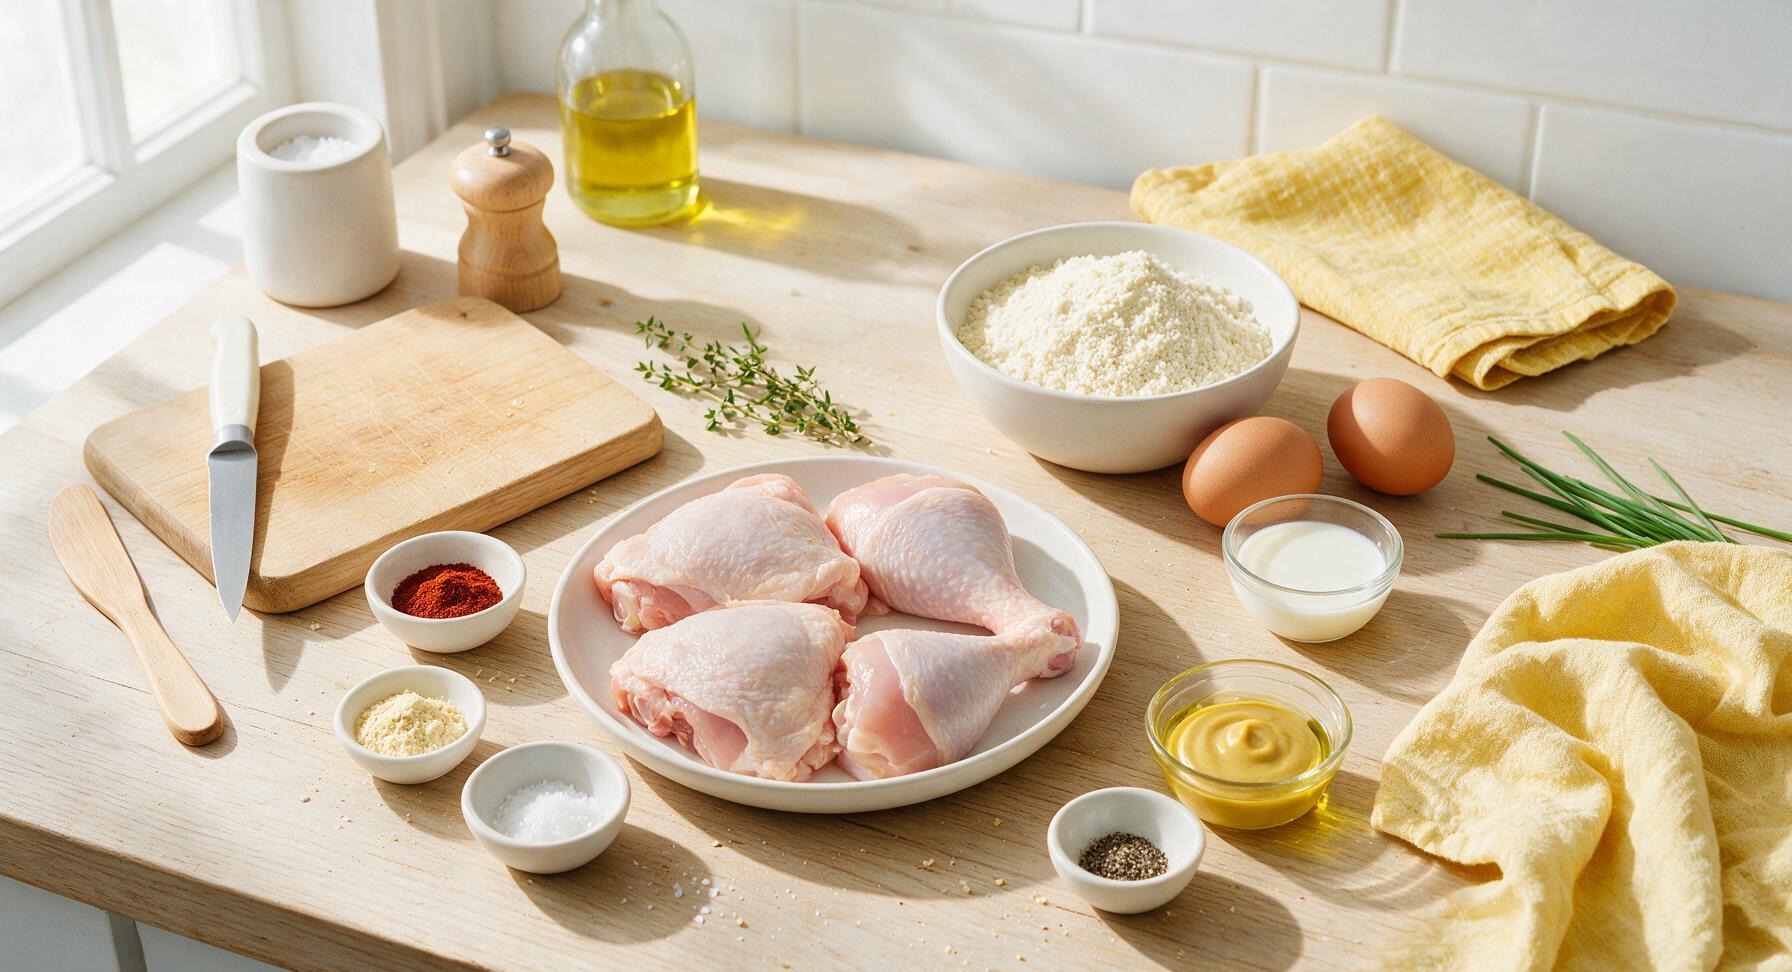
Ingredients
Steps
Prep and Dry Chicken
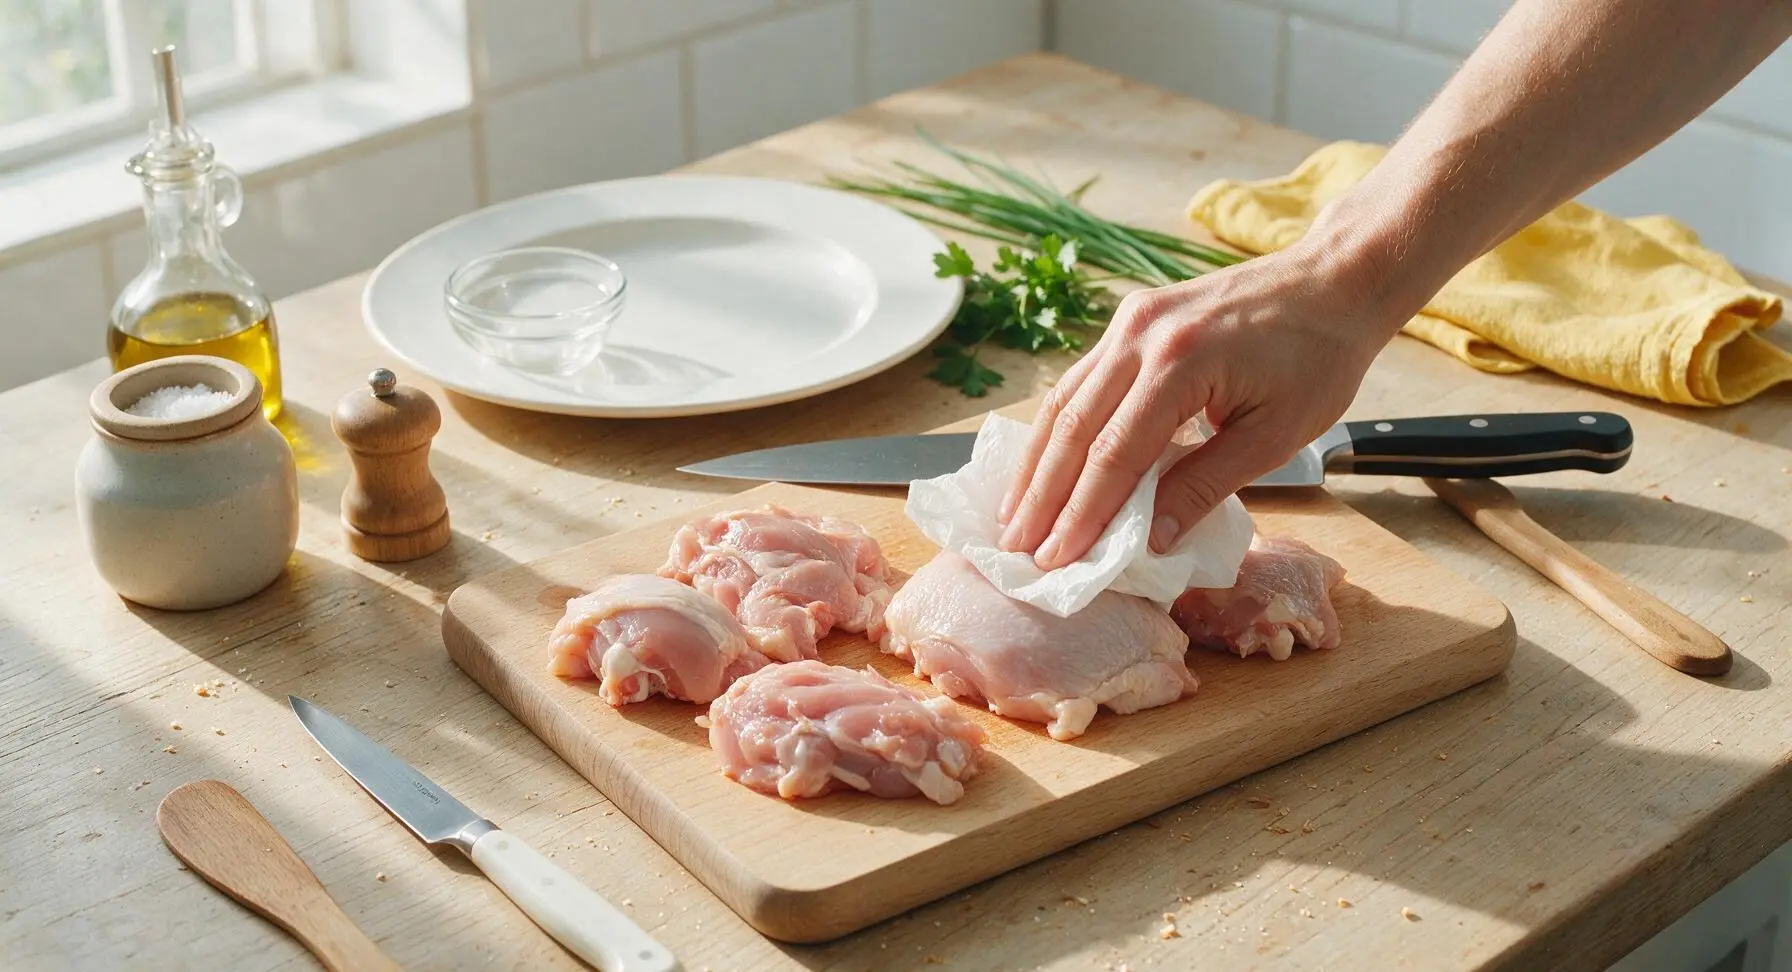
Place the chicken pieces on the light oak cutting board. Pat every surface of the chicken (including under the skin where it easily lifts) thoroughly dry with paper towels, until no surface moisture remains. Season all sides lightly with 1/2 teaspoon of the kosher salt, and let rest for 5 minutes at room temperature to allow the salt to penetrate. Dry chicken is critical for a crisp, non-soggy crust.
Arrange Breading Station
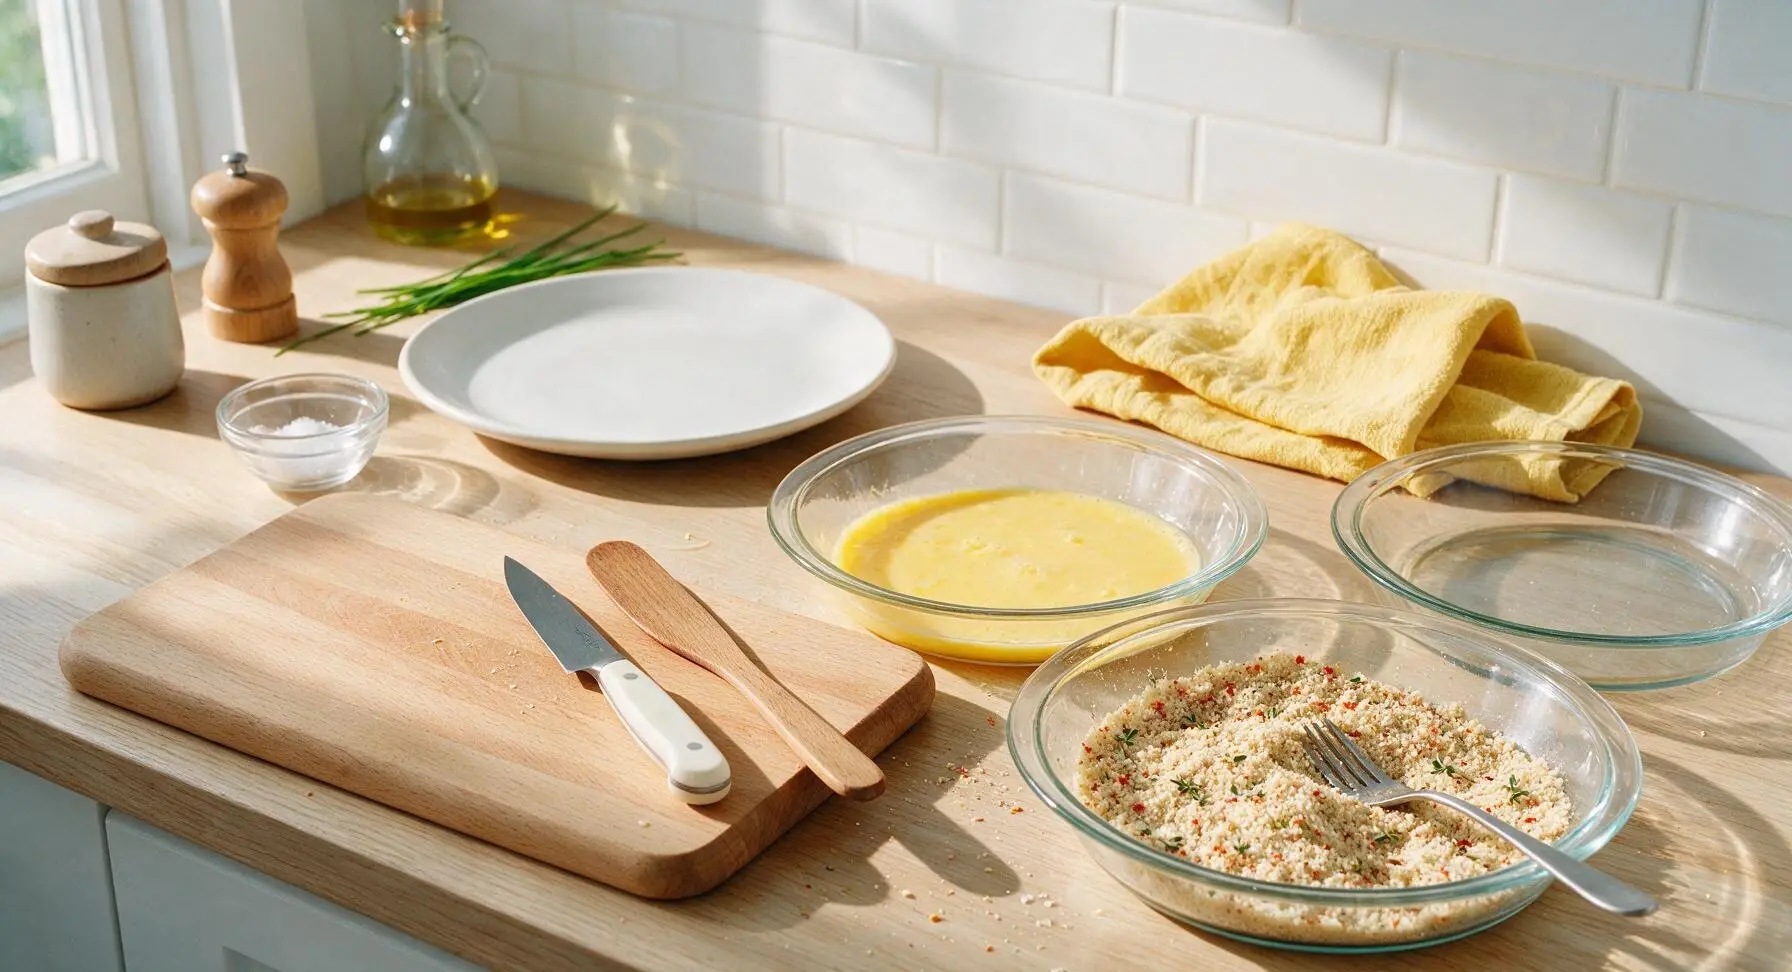
Line up the three clear glass pie dishes to the right of the cutting board. In the first dish, whisk the 2 eggs and 2 tablespoons whole milk until completely smooth, no streaks of egg white remaining. In the second dish, combine the almond flour, remaining 1 teaspoon kosher salt, smoked paprika, garlic powder, onion powder, black pepper, and leaves picked from 1 thyme sprig, stirring with a fork until evenly mixed. Leave the third dish empty to hold breaded chicken before frying.
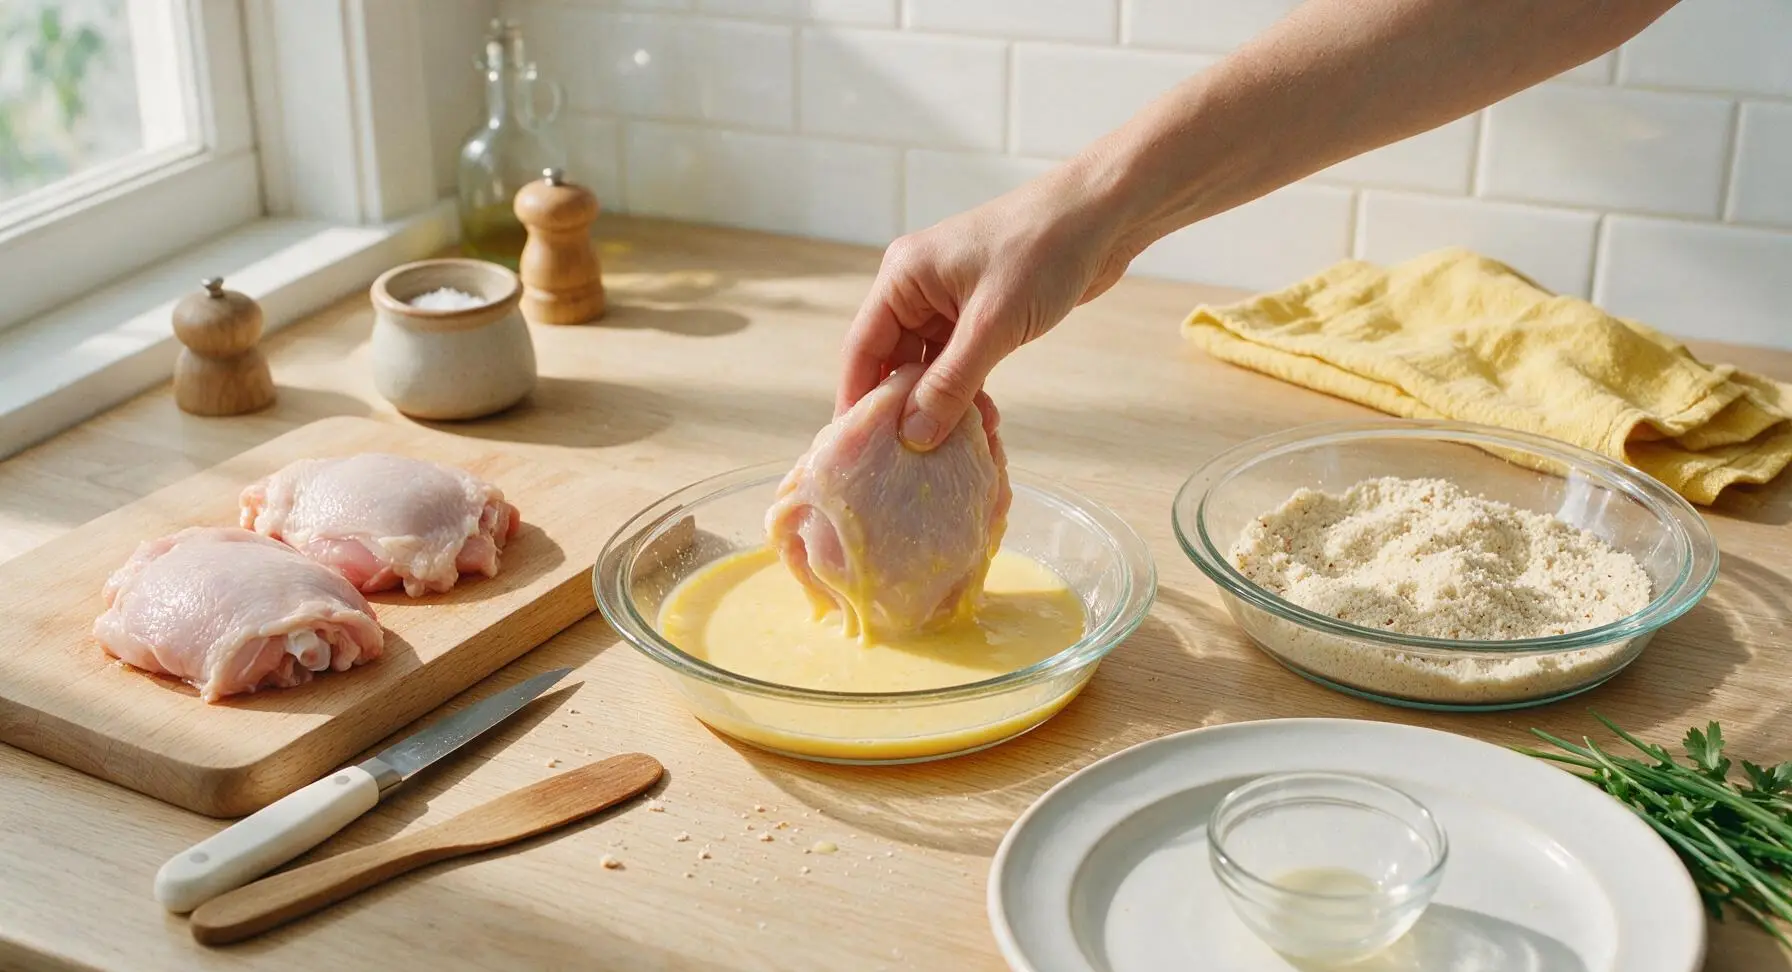
Dip Chicken in Egg Wash
Working one piece at a time, dip a chicken piece fully into the egg wash, turning to coat every surface completely. Hold the piece above the egg dish for 2 seconds to let excess egg drip off, so the coating does not become gummy. Avoid leaving dry spots on the chicken, as these will cause the almond flour to peel off during frying.
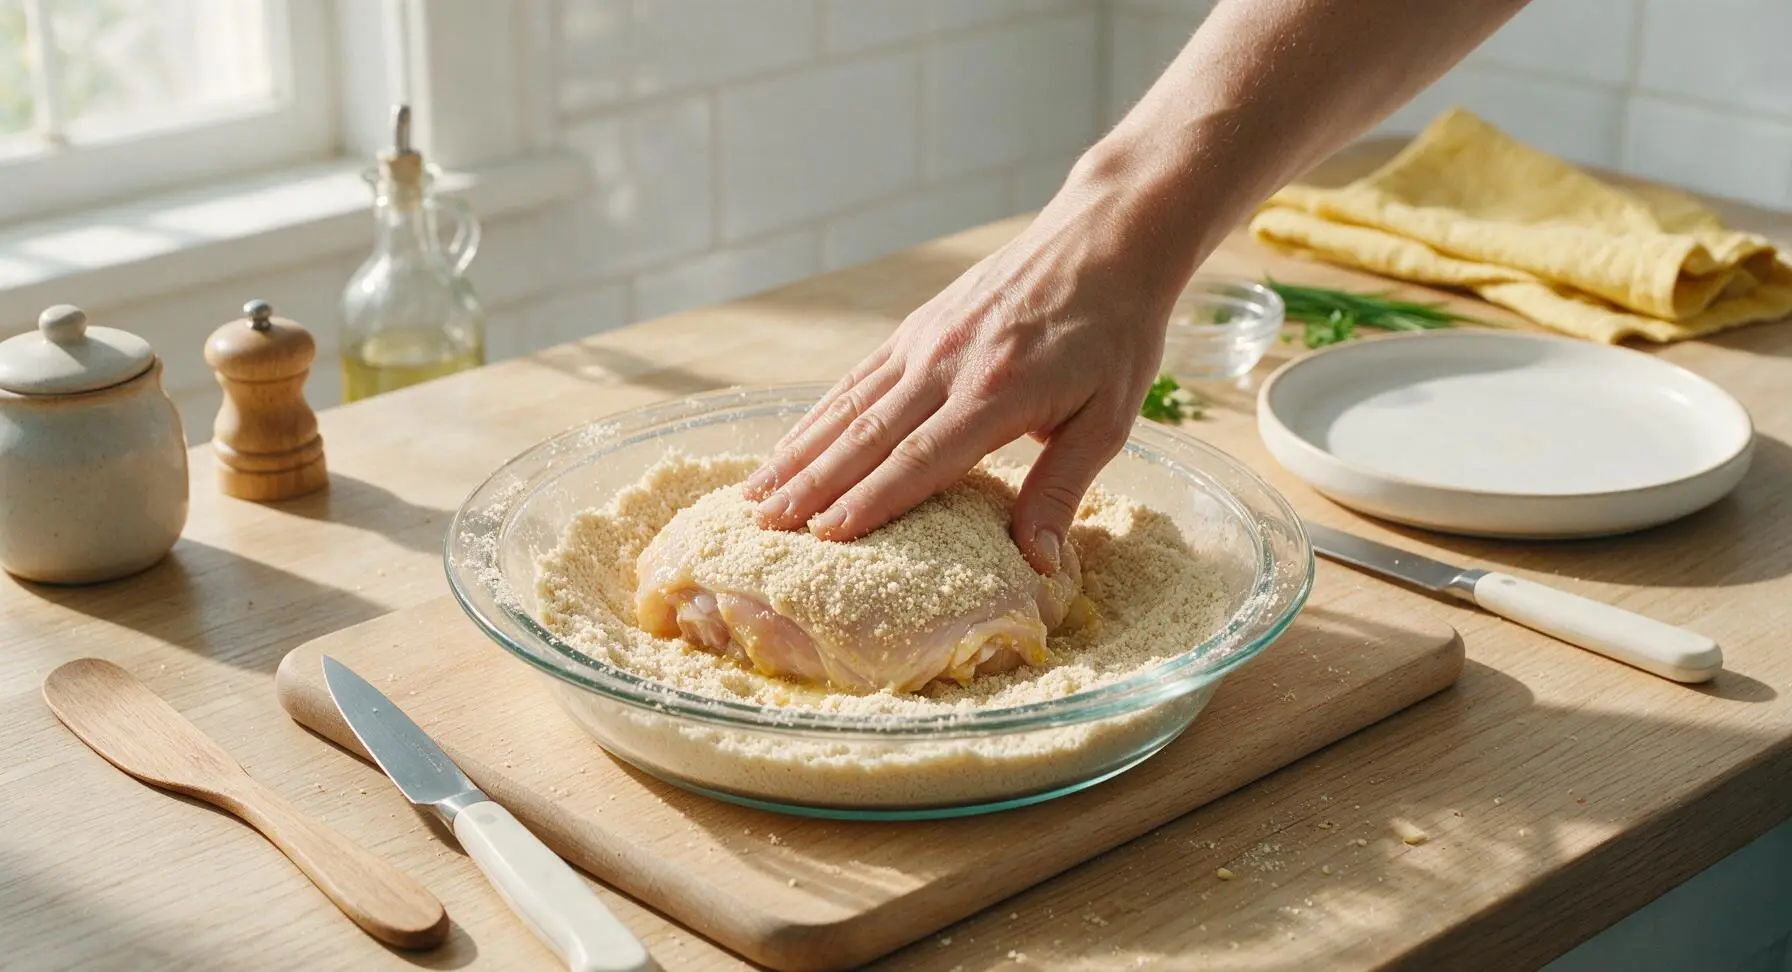
Coat with Almond Flour
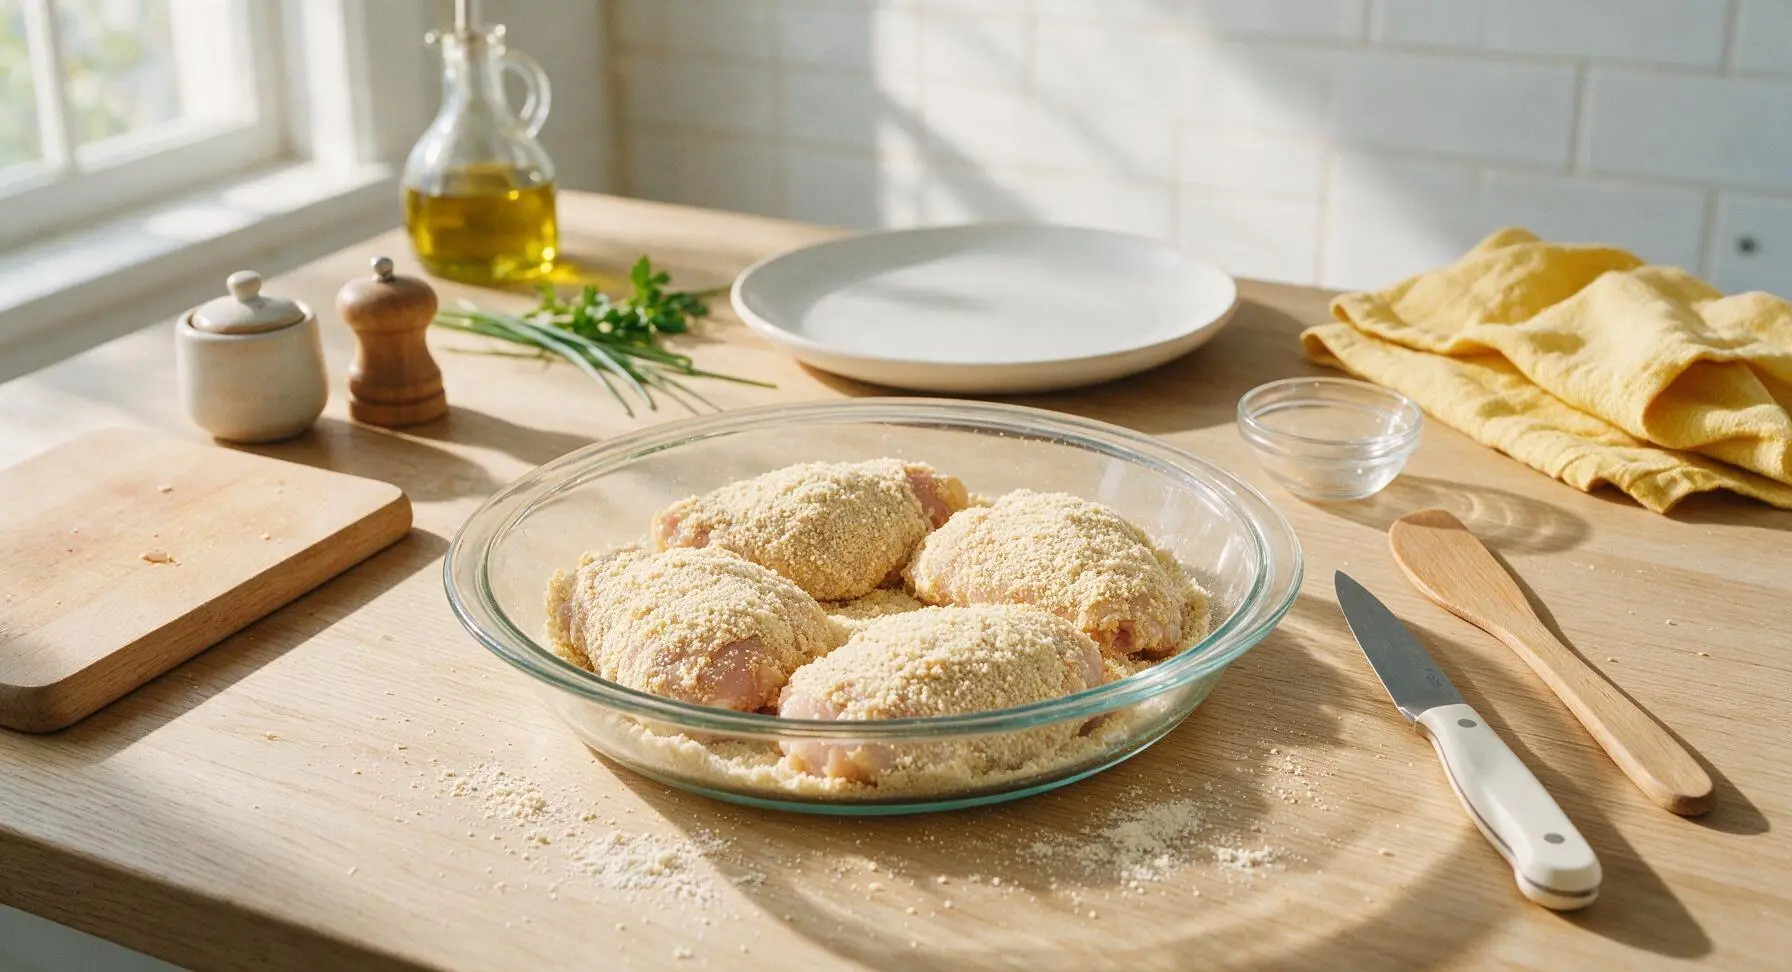
Transfer the egg-dipped chicken piece directly into the seasoned almond flour dish. Spoon flour over the top of the chicken, then press firmly with your fingertips to pack the almond flour onto every surface, including the sides and under the skin edge. Gently shake off excess loose flour, then place the fully coated piece in the empty third pie dish. Repeat with all remaining chicken pieces, and let the coated chicken rest for 5 minutes to allow the coating to adhere before frying.
Heat Frying Oil
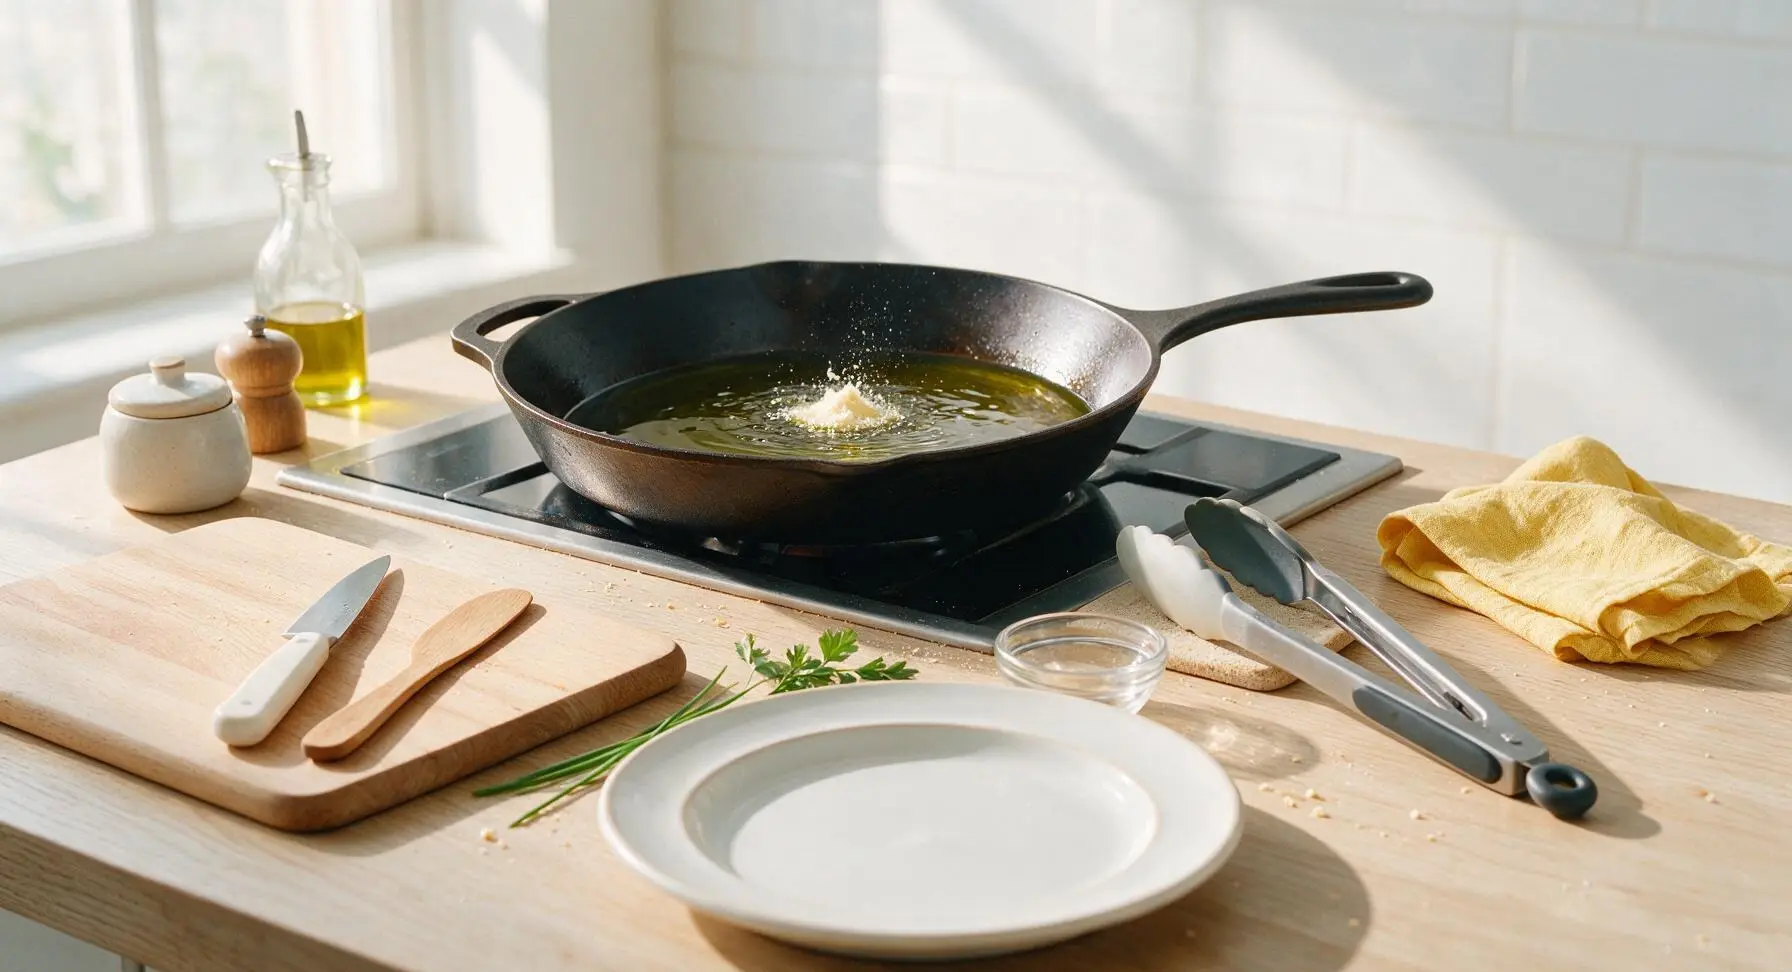
Place the 12-inch carbon steel skillet on the stovetop over medium heat. Add the 1/3 cup avocado oil, and heat until the oil shimmers and reaches 350°F (175°C). Test the temperature by dropping a single pinch of almond flour into the oil: it should sizzle immediately and turn golden in 10 seconds, not burn instantly or sit without bubbling. Adjust heat as needed to maintain this steady temperature.
Fry Chicken First Side
Using the silicone-tipped tongs, carefully lower the coated chicken pieces into the hot oil one at a time, placing them skin-side down in the skillet. Do not overcrowd the pan: cook in two batches if needed to leave 1 inch of space between pieces. Fry undisturbed for 8 minutes, until the bottom crust is deep golden brown and crisp, and releases easily from the pan when lifted with tongs.
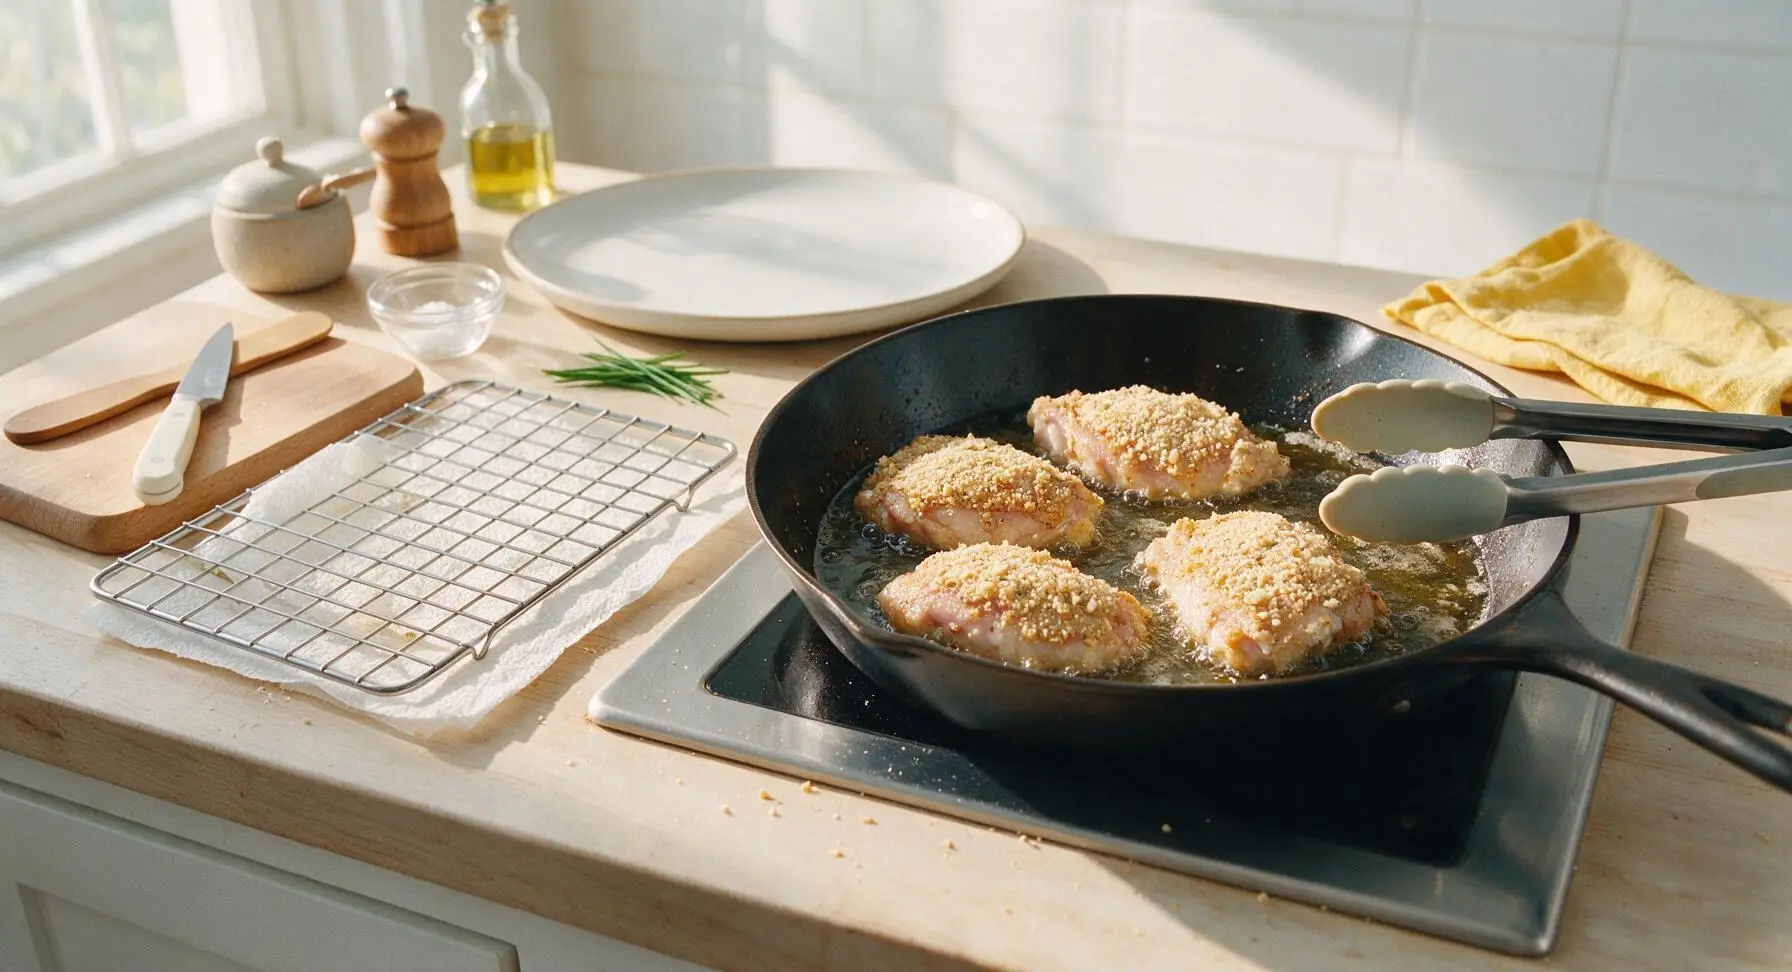
Flip and Cook Through
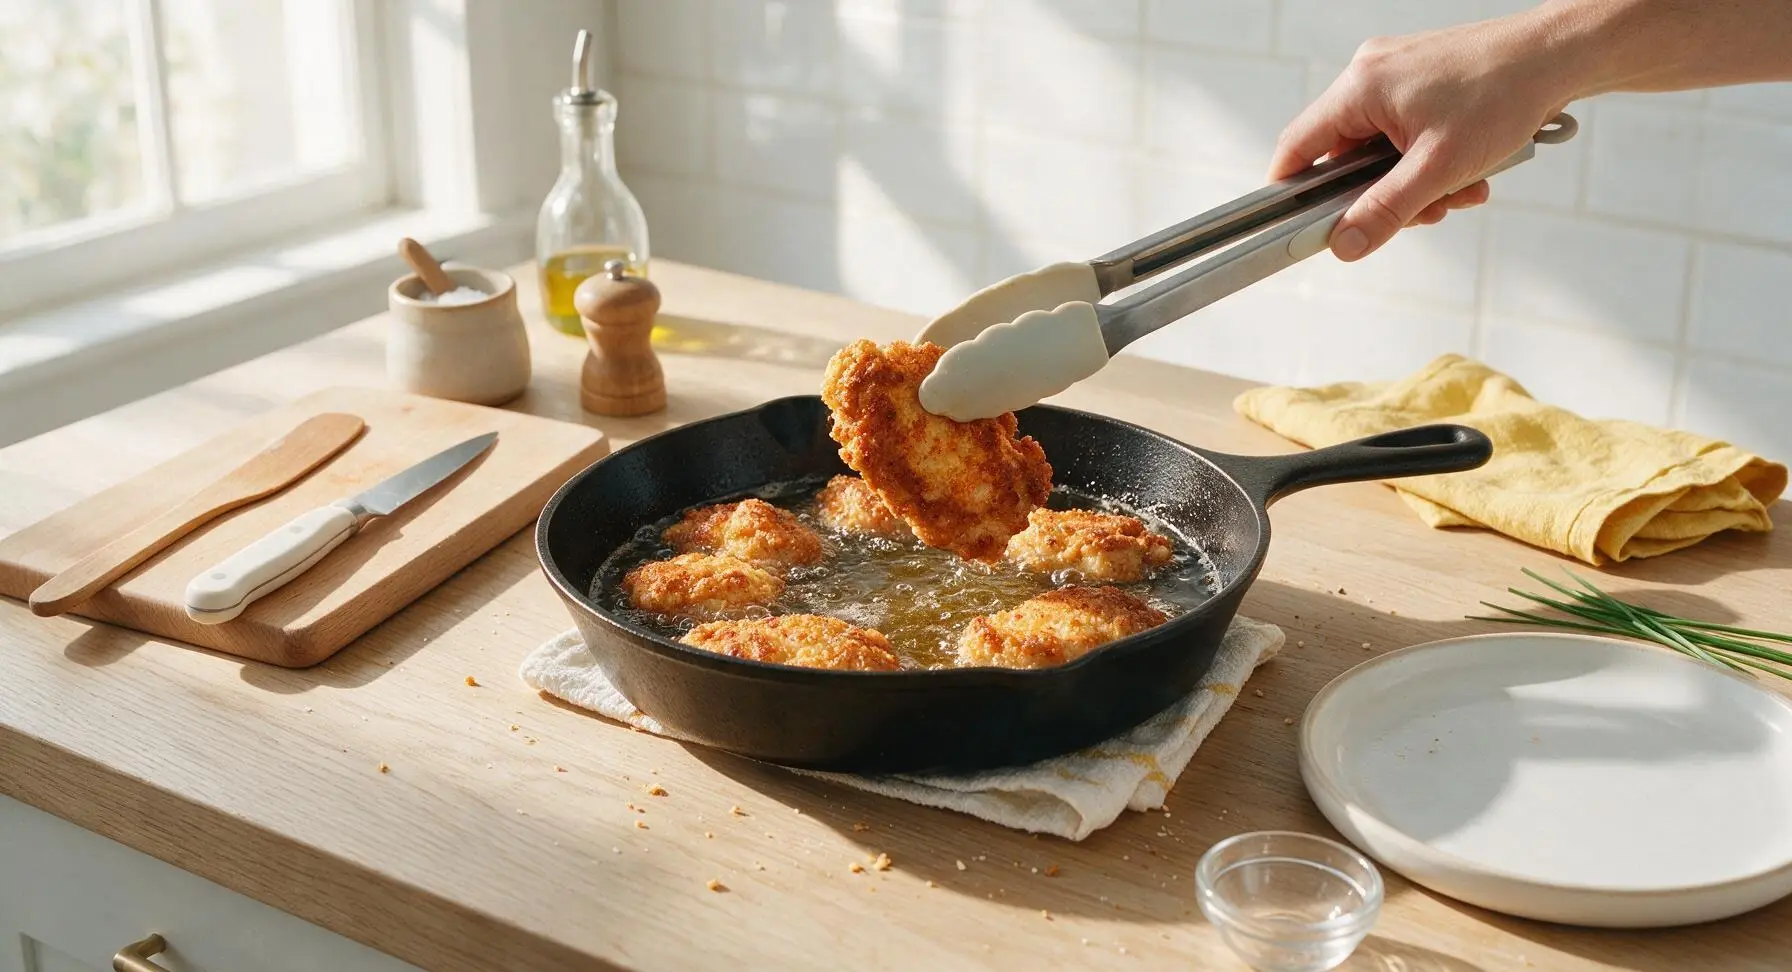
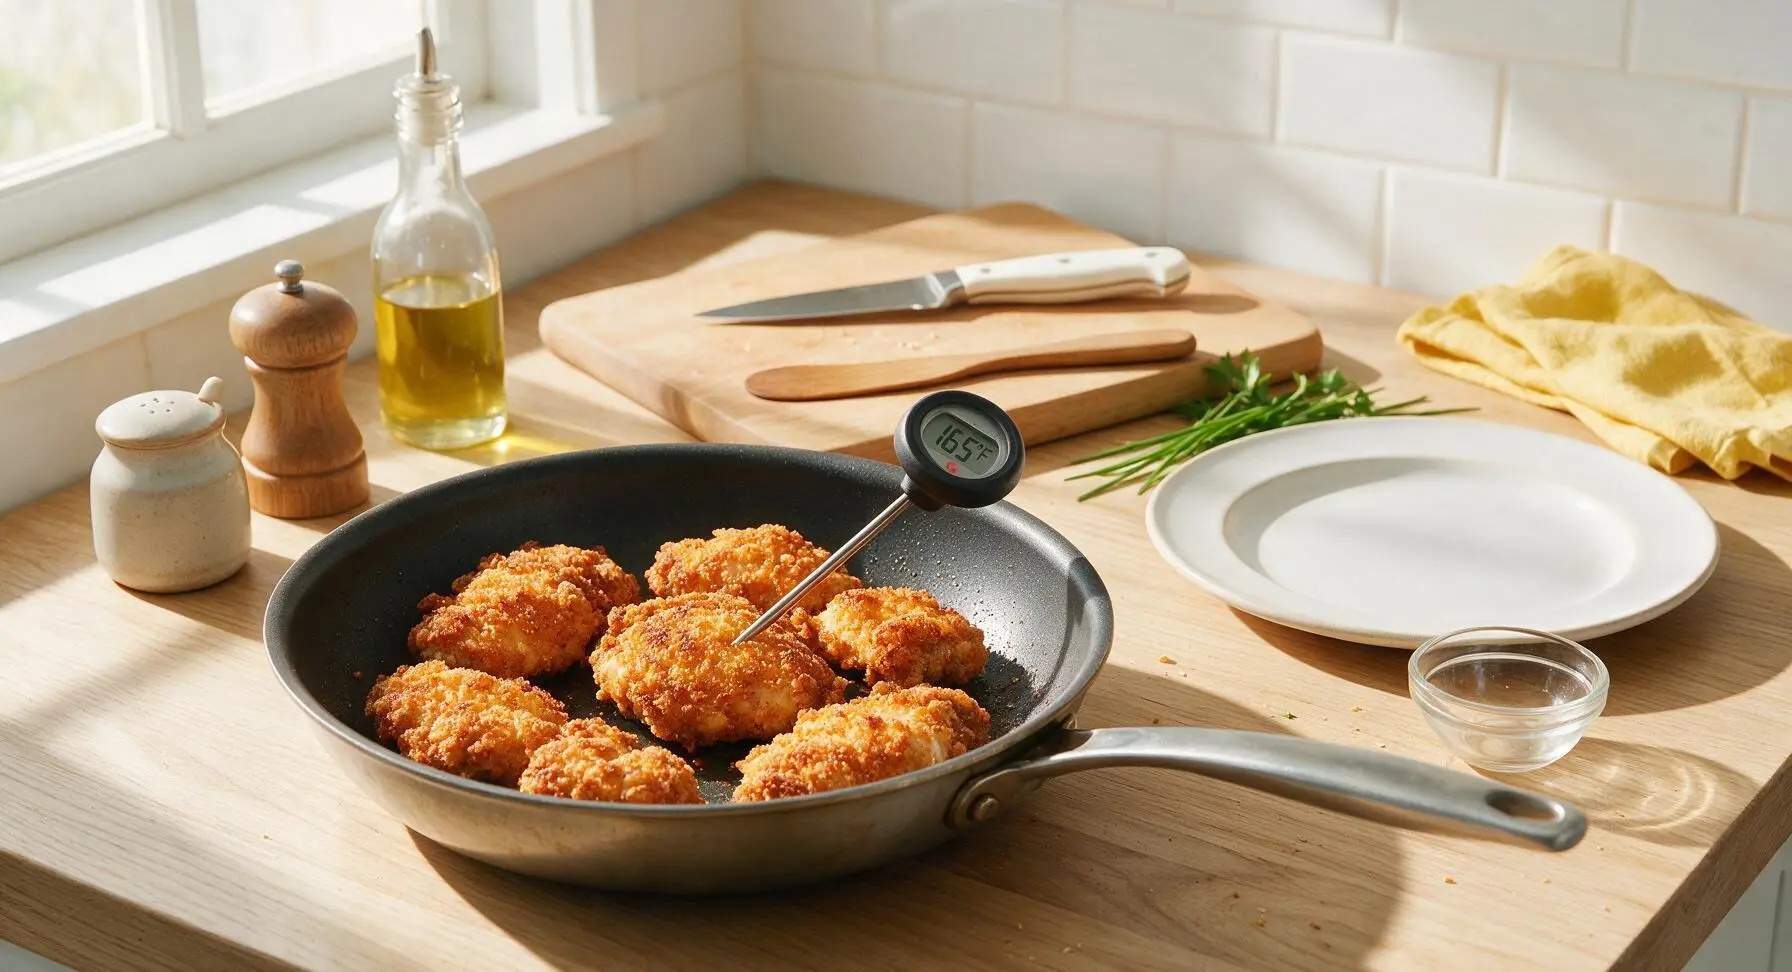
Use the tongs to carefully flip each chicken piece to the second side. Continue frying for another 10-12 minutes, adjusting heat to keep the oil at a steady 325-350°F, until the internal temperature of the chicken reaches 165°F (74°C) when measured with a meat thermometer at the thickest part, not touching bone. The crust should be evenly deep golden on all sides, with no pale raw-looking spots.
Drain and Rest Chicken
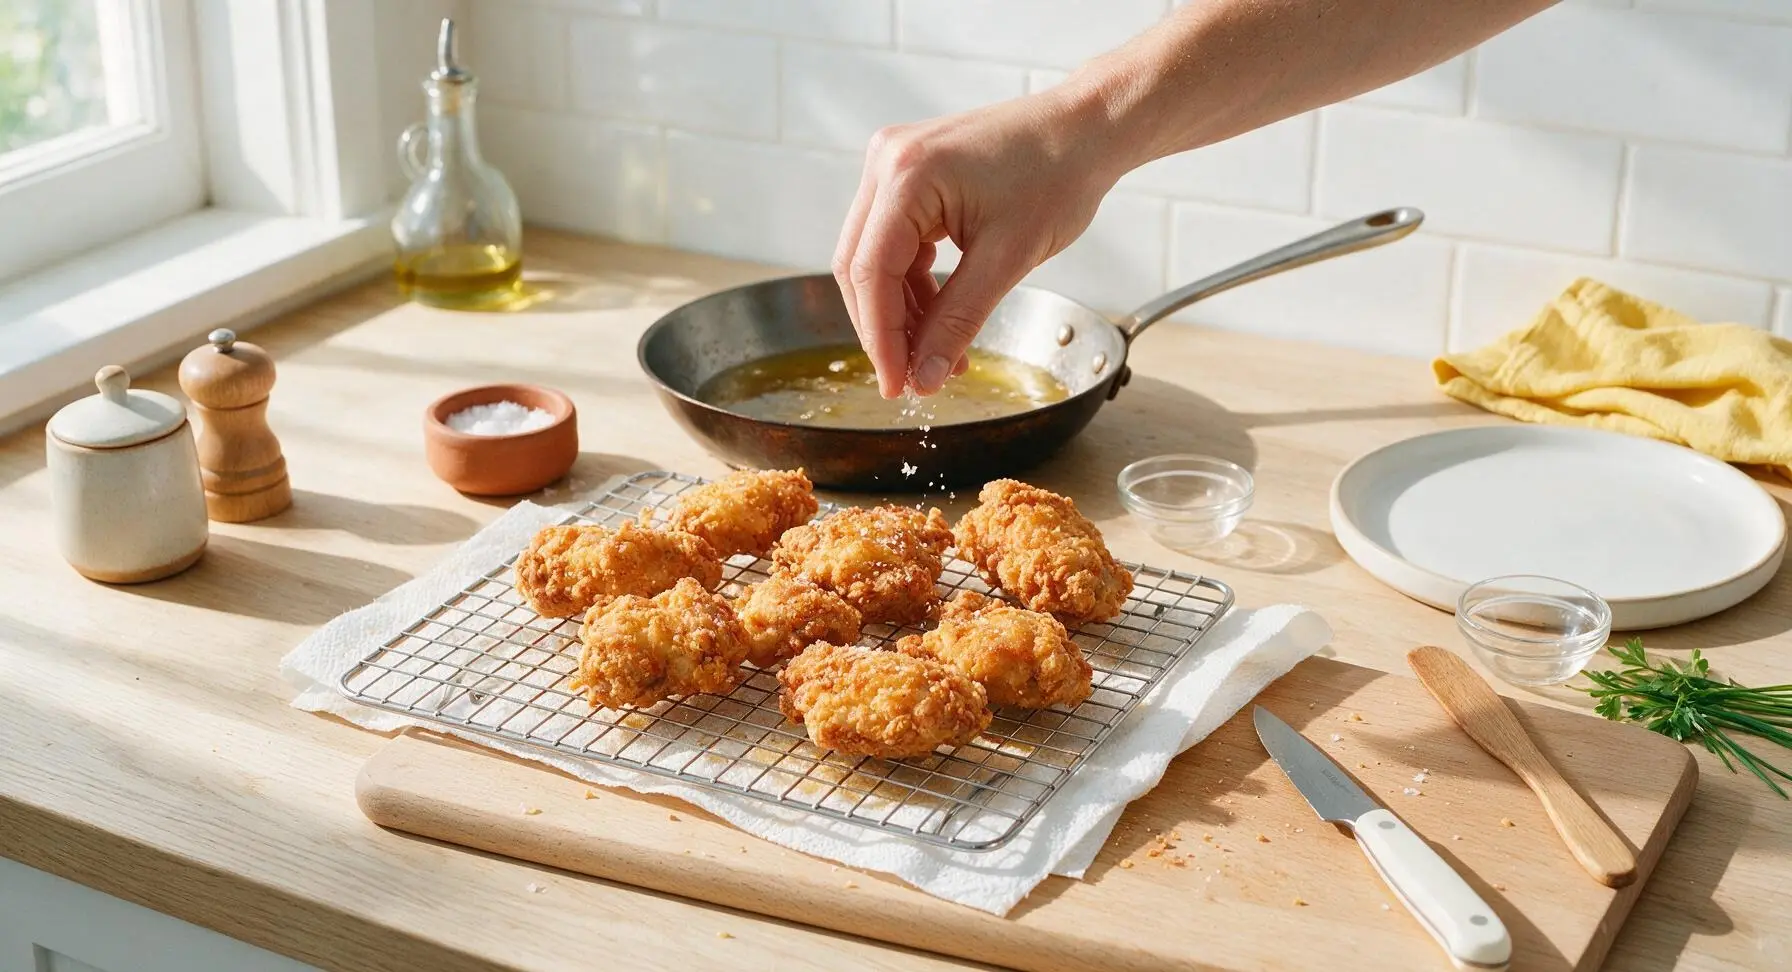
Use tongs to lift the cooked chicken pieces from the oil, holding each piece above the skillet for 2 seconds to let excess oil drip off. Transfer the chicken to the paper-towel lined wire rack, and let rest for 5 minutes to allow juices to redistribute. Lightly sprinkle the warm crust with a pinch of extra flaky salt from the terracotta salt cellar for extra flavor, then serve with honey mustard for dipping.
Tips
2.Keep frying oil steady between 325–350°F (160–175°C): almond flour browns much faster than wheat flour due to its natural nut oil content, so oil that is too hot will burn the crust black before the chicken reaches a safe 165°F (74°C) internal temperature.
3.Rest coated chicken for 5 minutes before frying, and rest cooked chicken on a wire rack (not a solid plate) after frying: pre-fry rest helps the coating adhere firmly so it does not slide off the chicken, while the wire rack prevents trapped steam from turning the bottom crust soggy as it cools.






OMG this is such a game changer for our weekly Sunday dinners! My youngest has celiac so we’ve been missing good crispy fried chicken forever, and this almond flour version was SO crispy even my picky teen said it was better than the fast food kind. Cook time was exactly 25 minutes too, no extra fuss! I paired it with coleslaw and roasted broccoli and the whole plate was gone in 10 minutes. Will 100% be making this for our neighborhood potluck next month!
This is perfect for my weekly meal prep! I made a big batch on Sunday, portioned it out with sweet potato fries, and it held up so well all week for work lunches. The crust didn’t get soggy at all even after reheating in the air fryer for a couple minutes. Super easy to make too, I didn’t even need any fancy equipment. Only thing I added was a little extra smoked paprika to the seasoning mix for a tiny kick!
My kids loved it!!! I was worried almond flour would taste weird or nutty but they didn’t even notice a difference from the regular buttermilk fried chicken I usually make. I threw this together last minute for a random weeknight dinner because I had all the ingredients in the pantry, and it was so fast to pull together, even with the kids running around causing chaos. My husband already asked me to add it to our regular dinner rotation. 10/10, no notes.
Took this on a day hike picnic last weekend and it was a total hit with my friends! I was worried it wouldn’t stay crispy after sitting in the cooler for a couple hours but it held up way better than regular flour fried chicken usually does. The only reason I’m not giving 5 stars is that the first batch I cooked on too high heat and the almond flour burned a little before the chicken was fully done — totally my fault though, the recipe clearly says medium heat and I got impatient and cranked it up oops.