
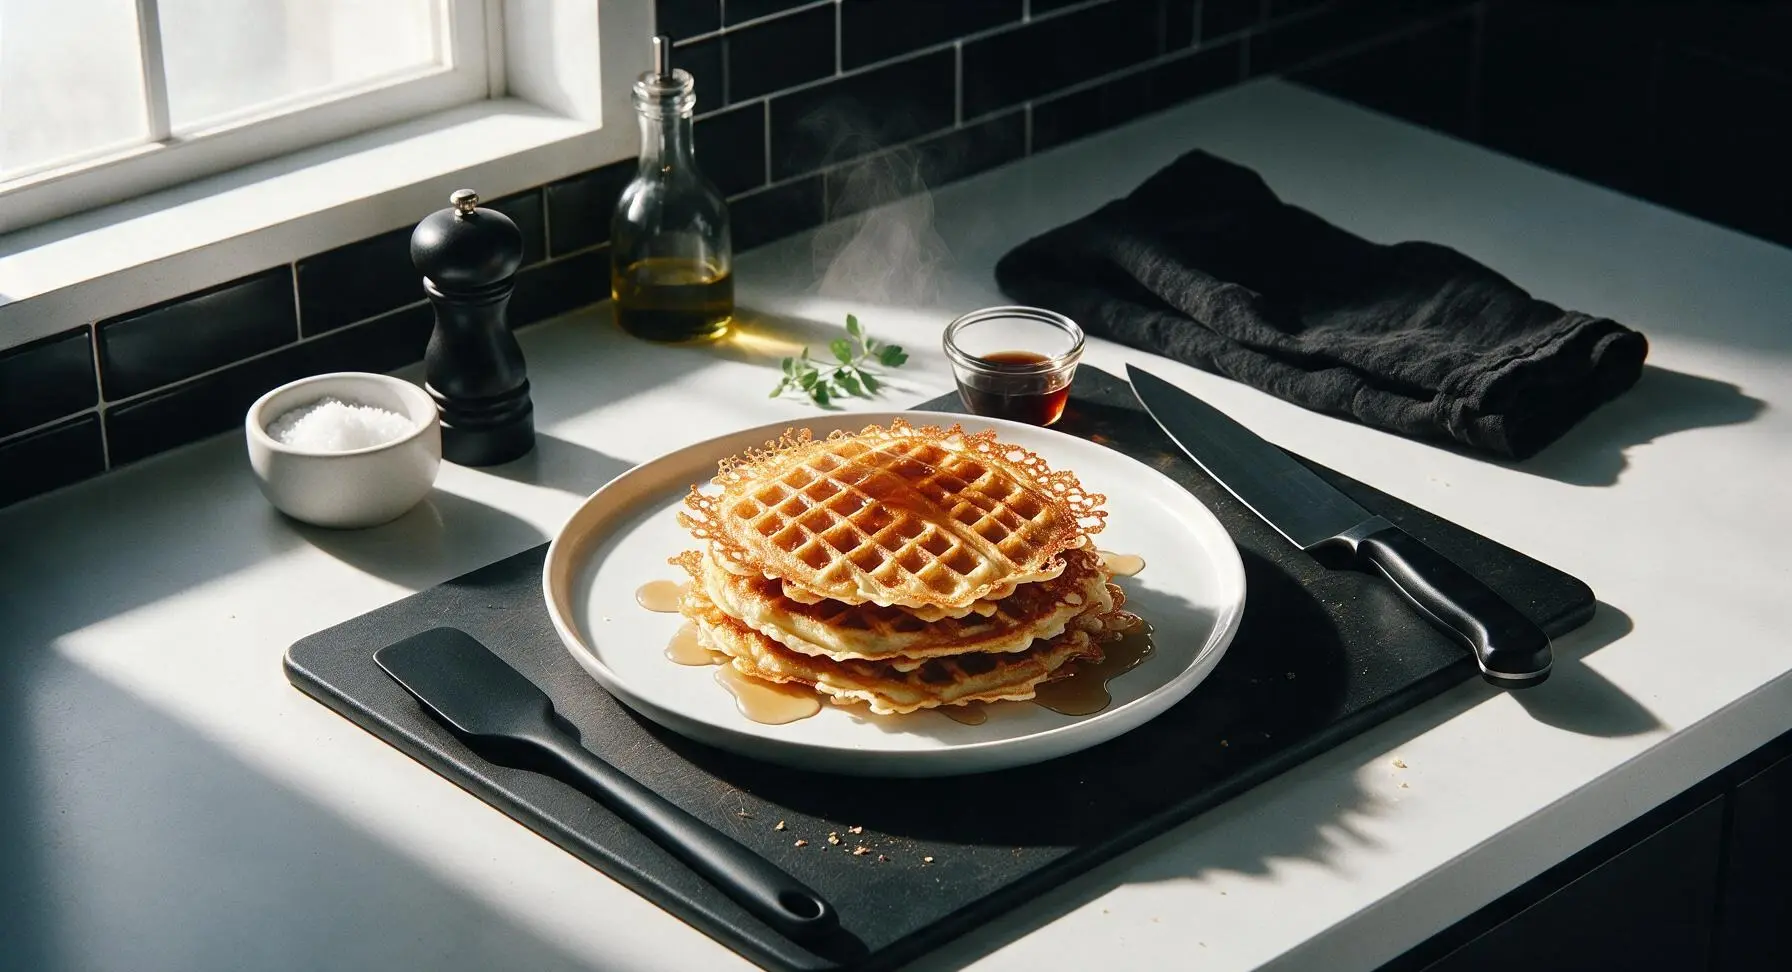
fried waffle

title 1
fried waffle
⏱️ cook time 18 minutes
🍽️ servings 4
⚡ Difficulty easy

intro

Crispy, butter-fried waffles with a fluffy tender center and golden lacy edges, drizzled with warm maple syrup. A quick, cozy comfort food ready in under 30 minutes.

Ingredients
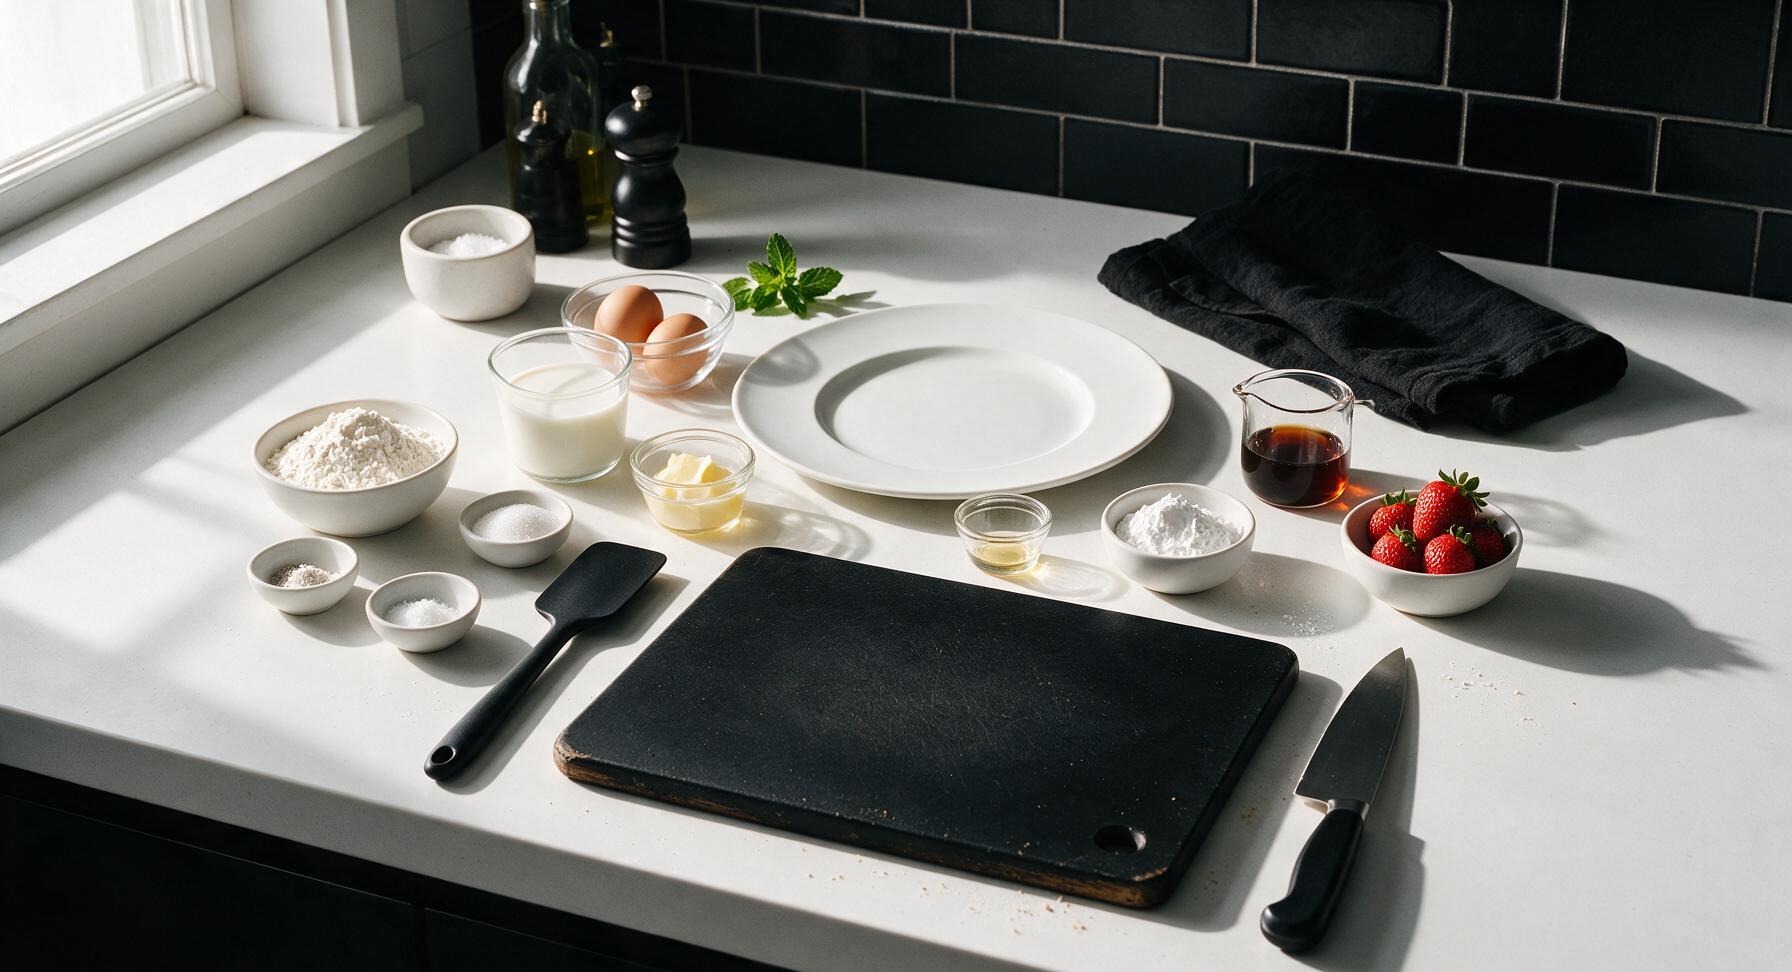
All-purpose flour 180g (1 ½ cups)
Baking powder 2 teaspoons
Fine sea salt ½ teaspoon
Granulated sugar 2 tablespoons
Large eggs 2 whole
Whole milk 240ml (1 cup)
Unsalted butter (for batter) 3 tablespoons, melted and cooled
Pure vanilla extract 1 teaspoon
Salted butter (for frying and waffle iron) 2 ½ tablespoons
Pure maple syrup 60ml (¼ cup, plus extra for serving)
Powdered sugar 2 tablespoons
Fresh strawberries 120g (4 small)
Fresh mint 1 10cm sprig

Steps

1

Preheat Waffle Iron

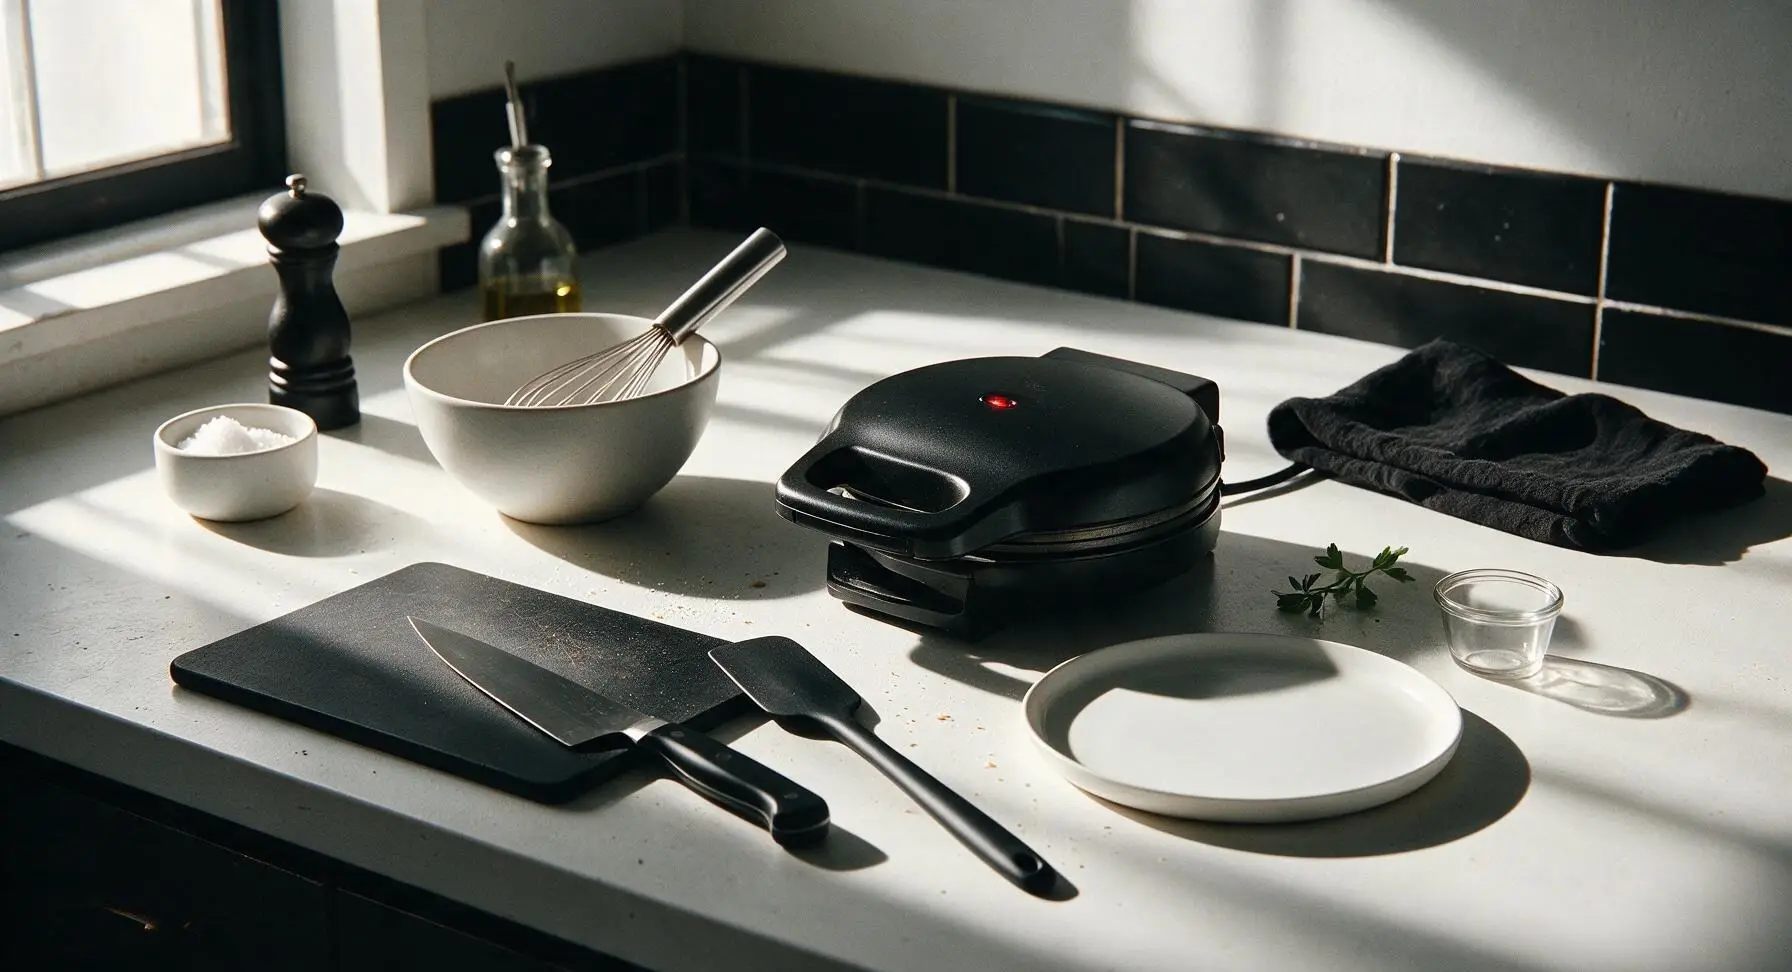
Plug in the matte black square waffle iron and set it to medium heat (375°F/190°C). Close the lid and allow it to preheat for 4 minutes, until the built-in indicator light shows it has reached cooking temperature; test readiness by dropping a single bead of water on the cooking surface – it should sizzle and dance across the surface immediately, not evaporate instantly or sit without bubbling.
Step 1
step1:Preheat Waffle Iron
2

Whisk Dry Ingredients

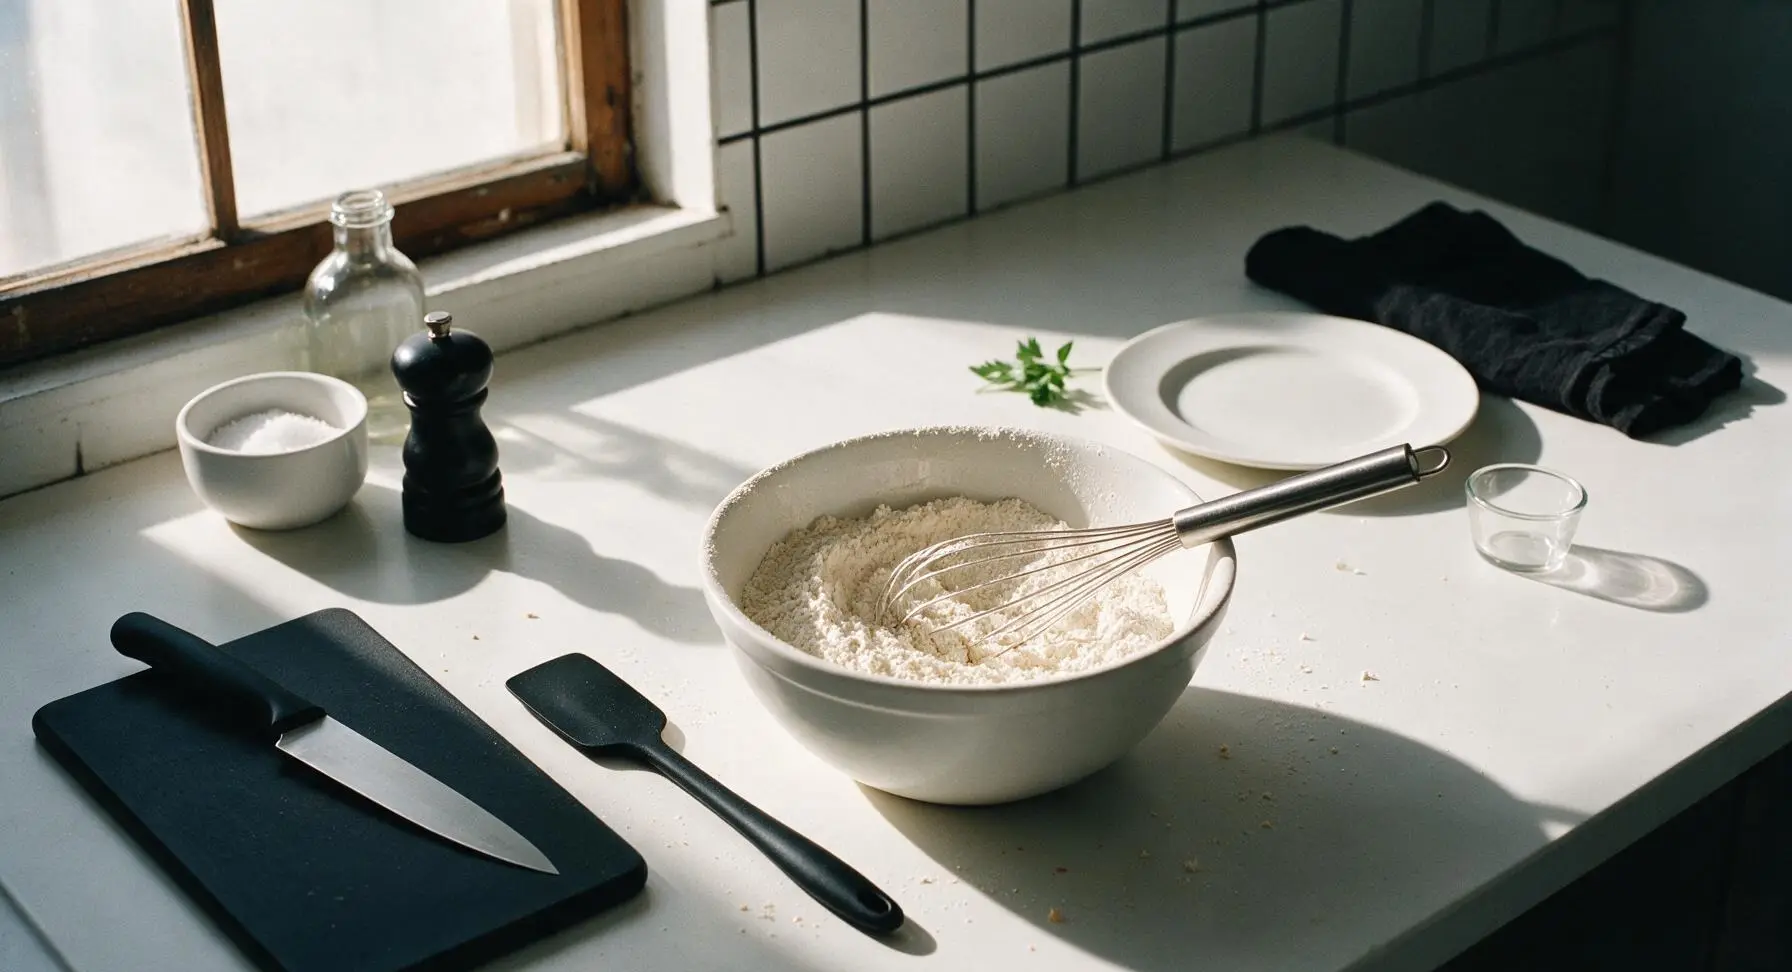
Add 180g (1 ½ cups) all-purpose flour, 2 teaspoons baking powder, ½ teaspoon fine sea salt, and 2 tablespoons granulated sugar to the matte white ceramic mixing bowl. Use the stainless steel wire whisk to stir the dry ingredients for 30 seconds, until they are evenly combined with no visible clumps of baking powder, creating a uniform pale flour mixture.
Step 2
step2:Whisk Dry Ingredients
3

Combine Wet Ingredients

Create a small well in the center of the combined dry ingredients, then crack 2 large eggs into the well, followed by 240ml (1 cup) whole milk, 3 tablespoons cooled melted unsalted butter, and 1 teaspoon pure vanilla extract. Whisk slowly from the center of the well outward, gradually incorporating dry ingredients into the wet mixture, until the batter is smooth with just 3-4 small visible lumps remaining. Do not overmix – over-stirring will develop gluten and lead to tough waffles.
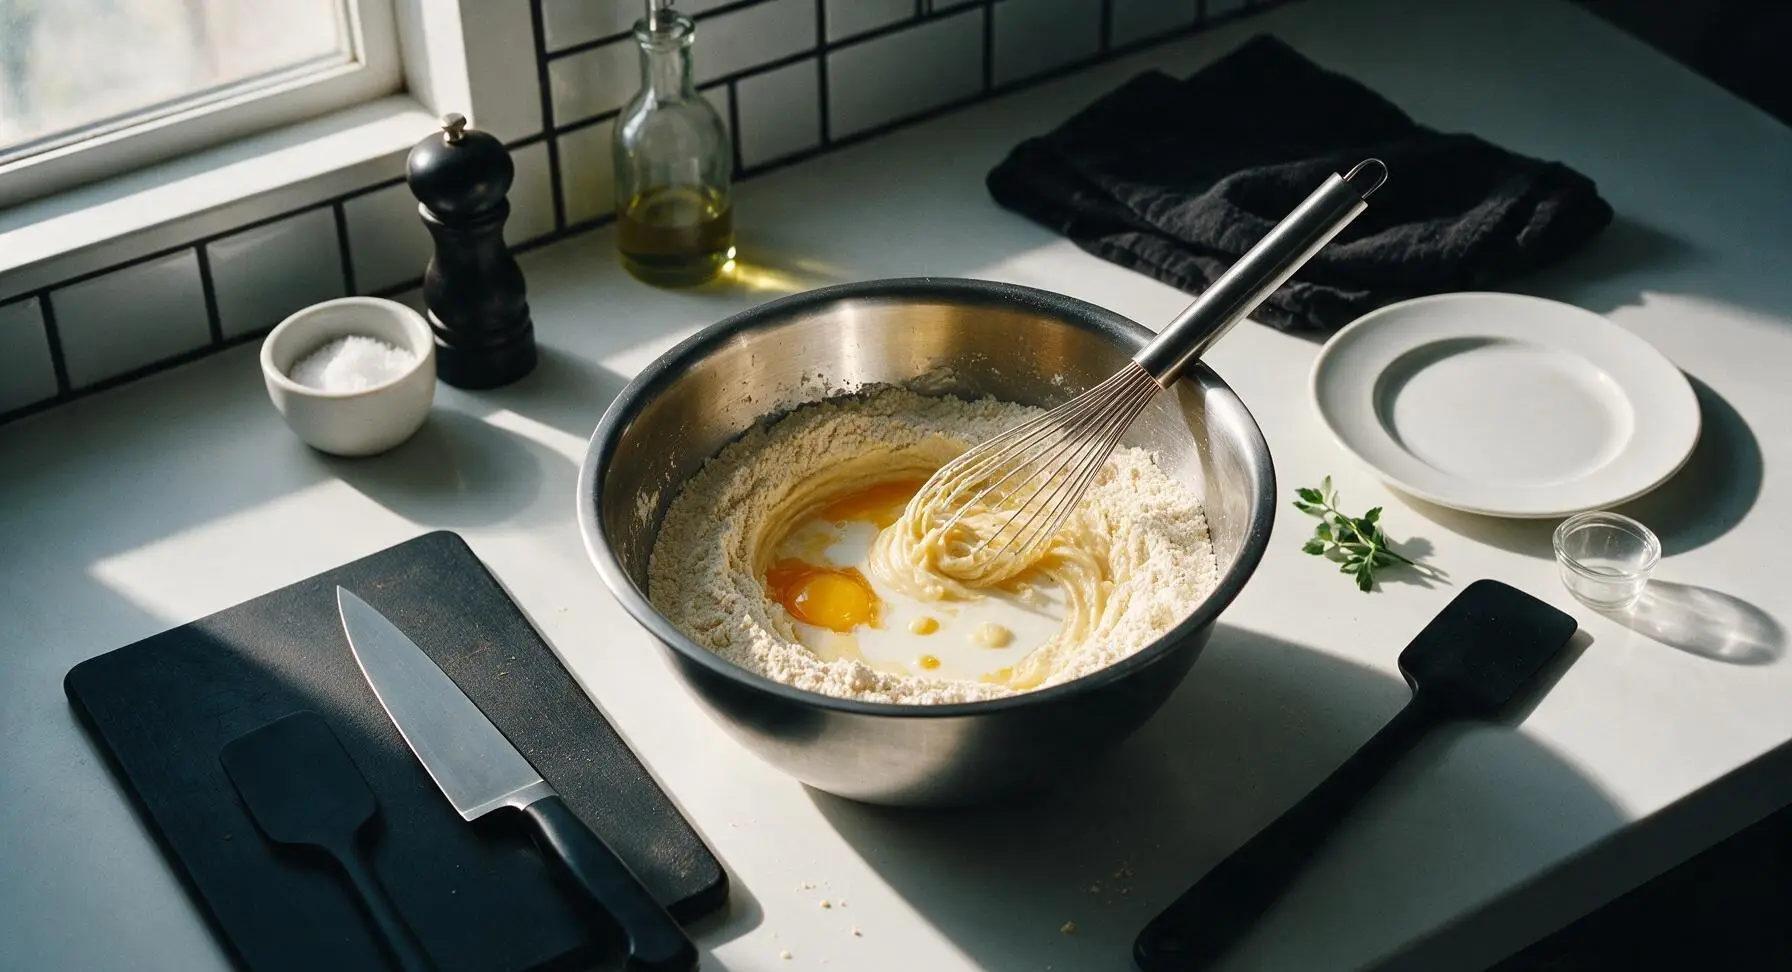
Step 3
step3:Combine Wet Ingredients
4

Cook Parbaked Waffles

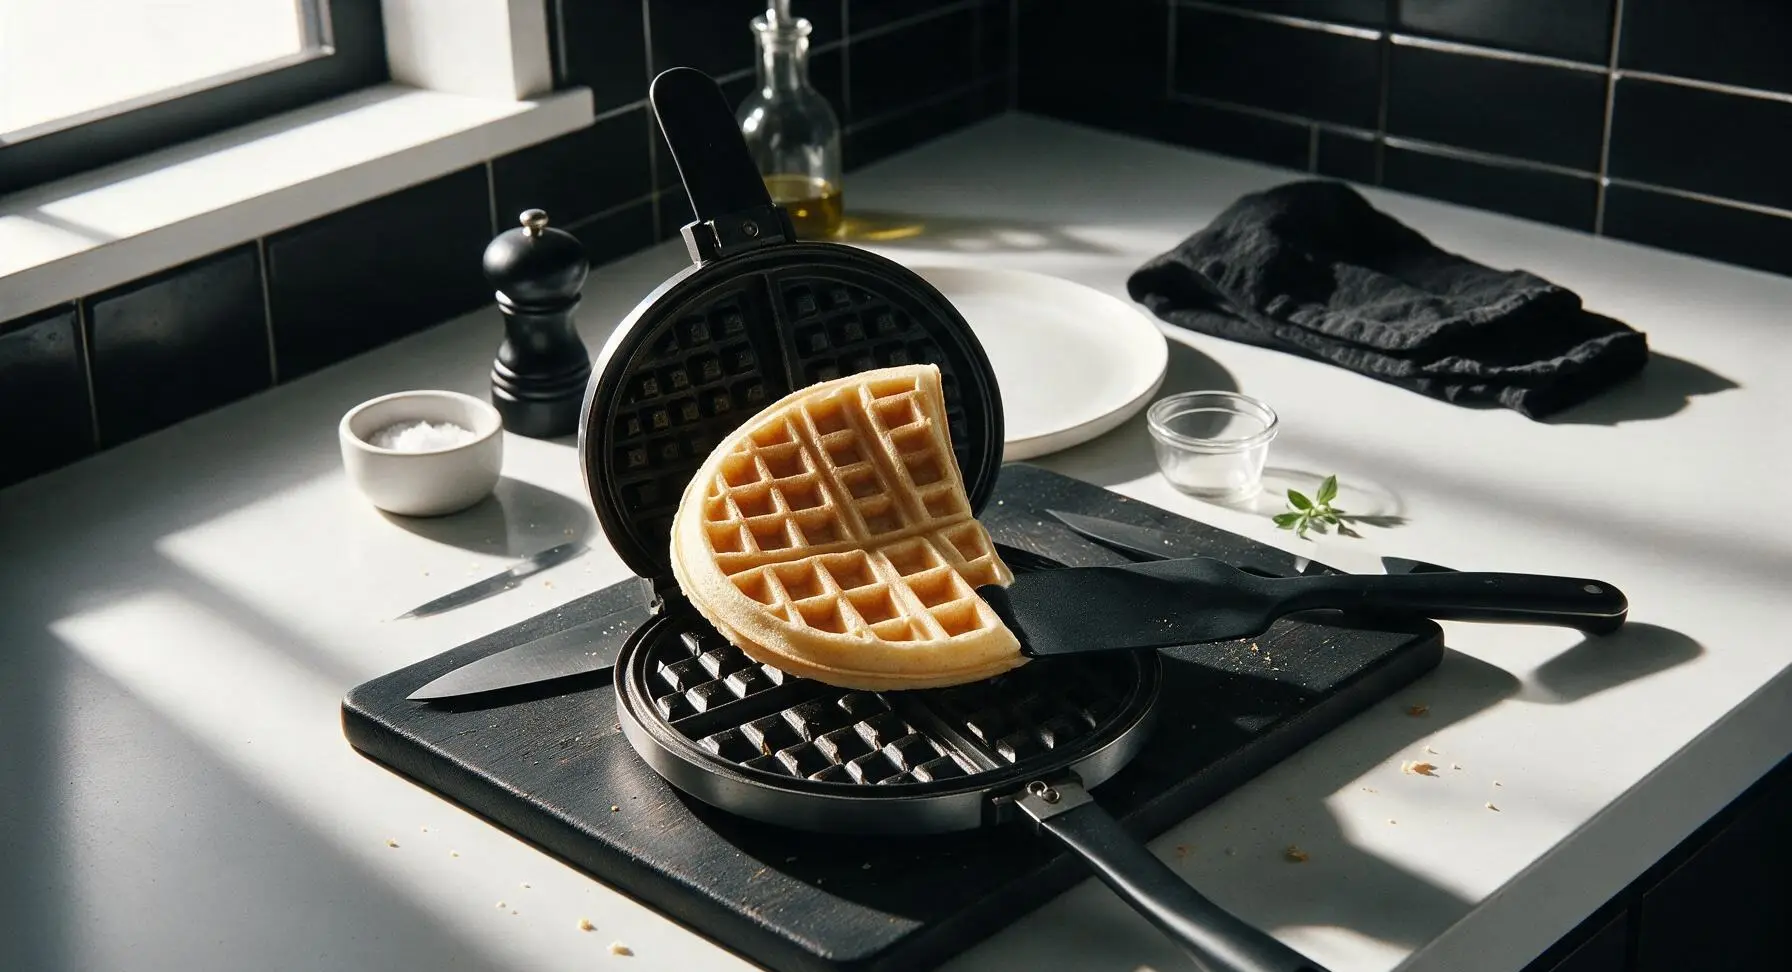
Swipe a thin layer of salted butter from the glass butter dish across the preheated waffle iron cooking surface using the corner of the linen towel. Pour ½ cup of batter per waffle onto the exact center of the iron, close the lid, and cook for exactly 3 minutes, until the waffle is pale golden and just set, with no deep browning or crisp edges. Use the pale blue silicone spatula to lift waffles out of the iron and transfer them to a clean spot on the counter beside the iron; you will make 4 small square waffles total.
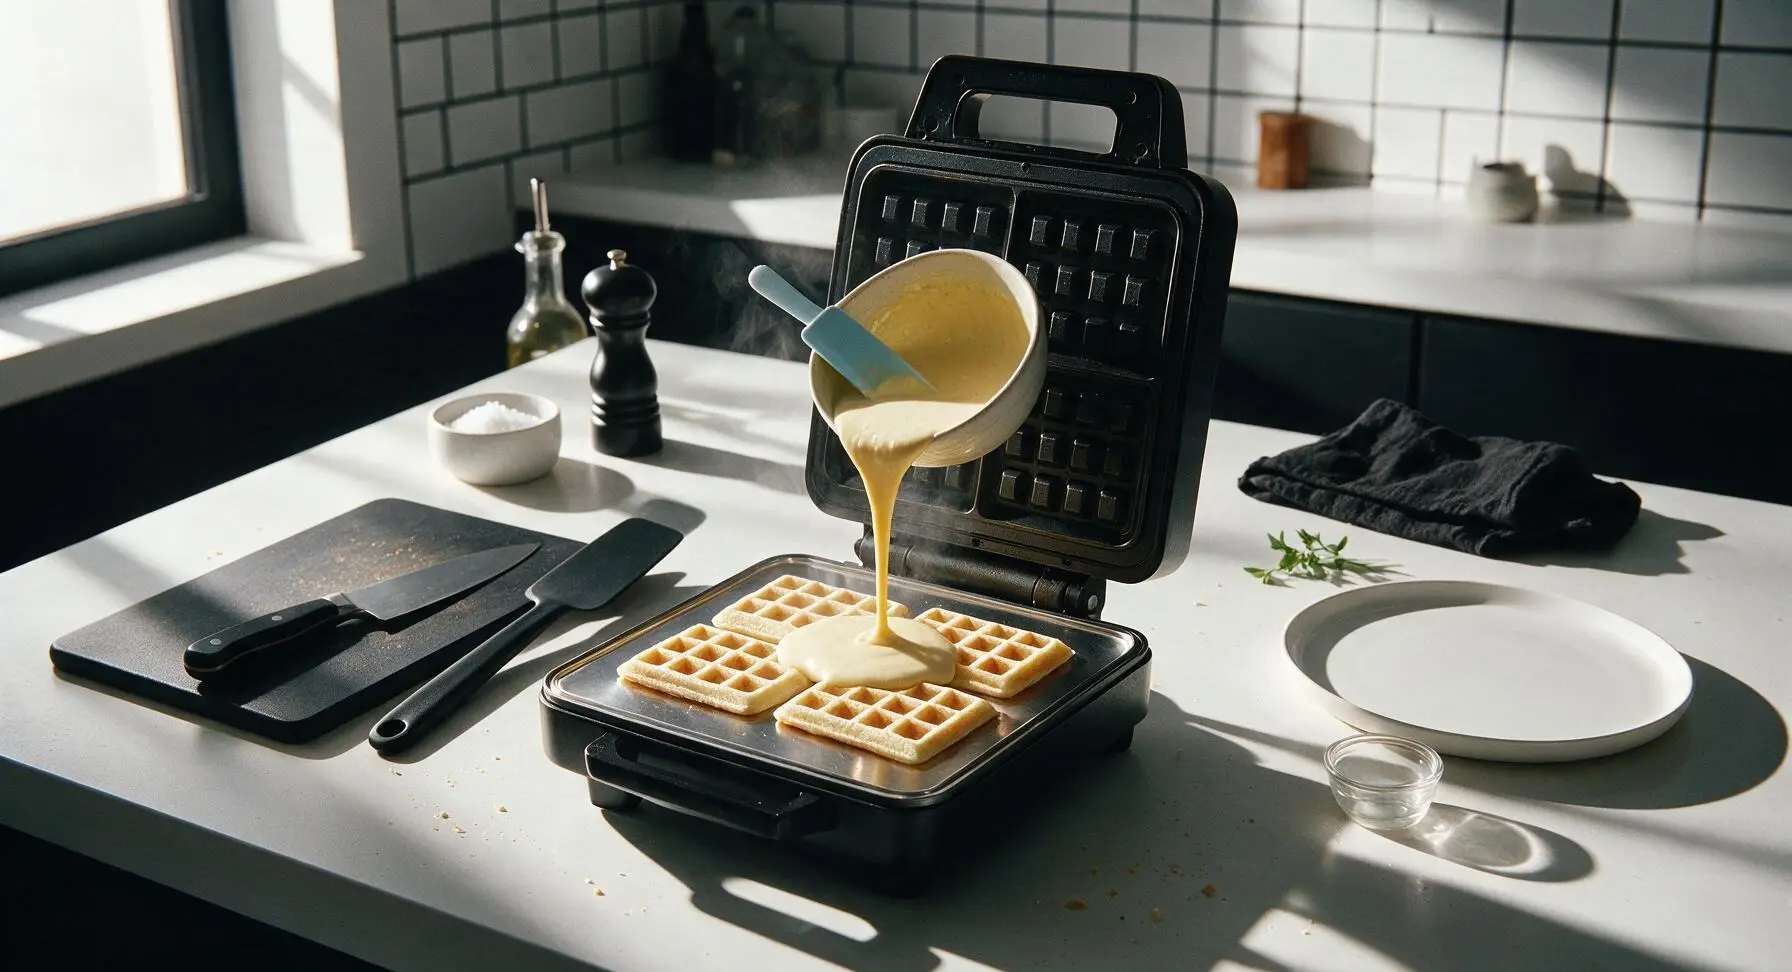
Step 4
step4:Cook Parbaked Waffles
Step 4
step4:Cook Parbaked Waffles
5

Heat Frying Skillet

Retrieve the seasoned carbon steel skillet from lower cabinet storage and place it front-center on the counter. Turn stovetop heat to medium (350°F/175°C), add 2 tablespoons of salted butter to the skillet, and heat for 1 minute until the butter is fully melted, foaming gently, and smells rich and nutty, with no browned milk solids visible.
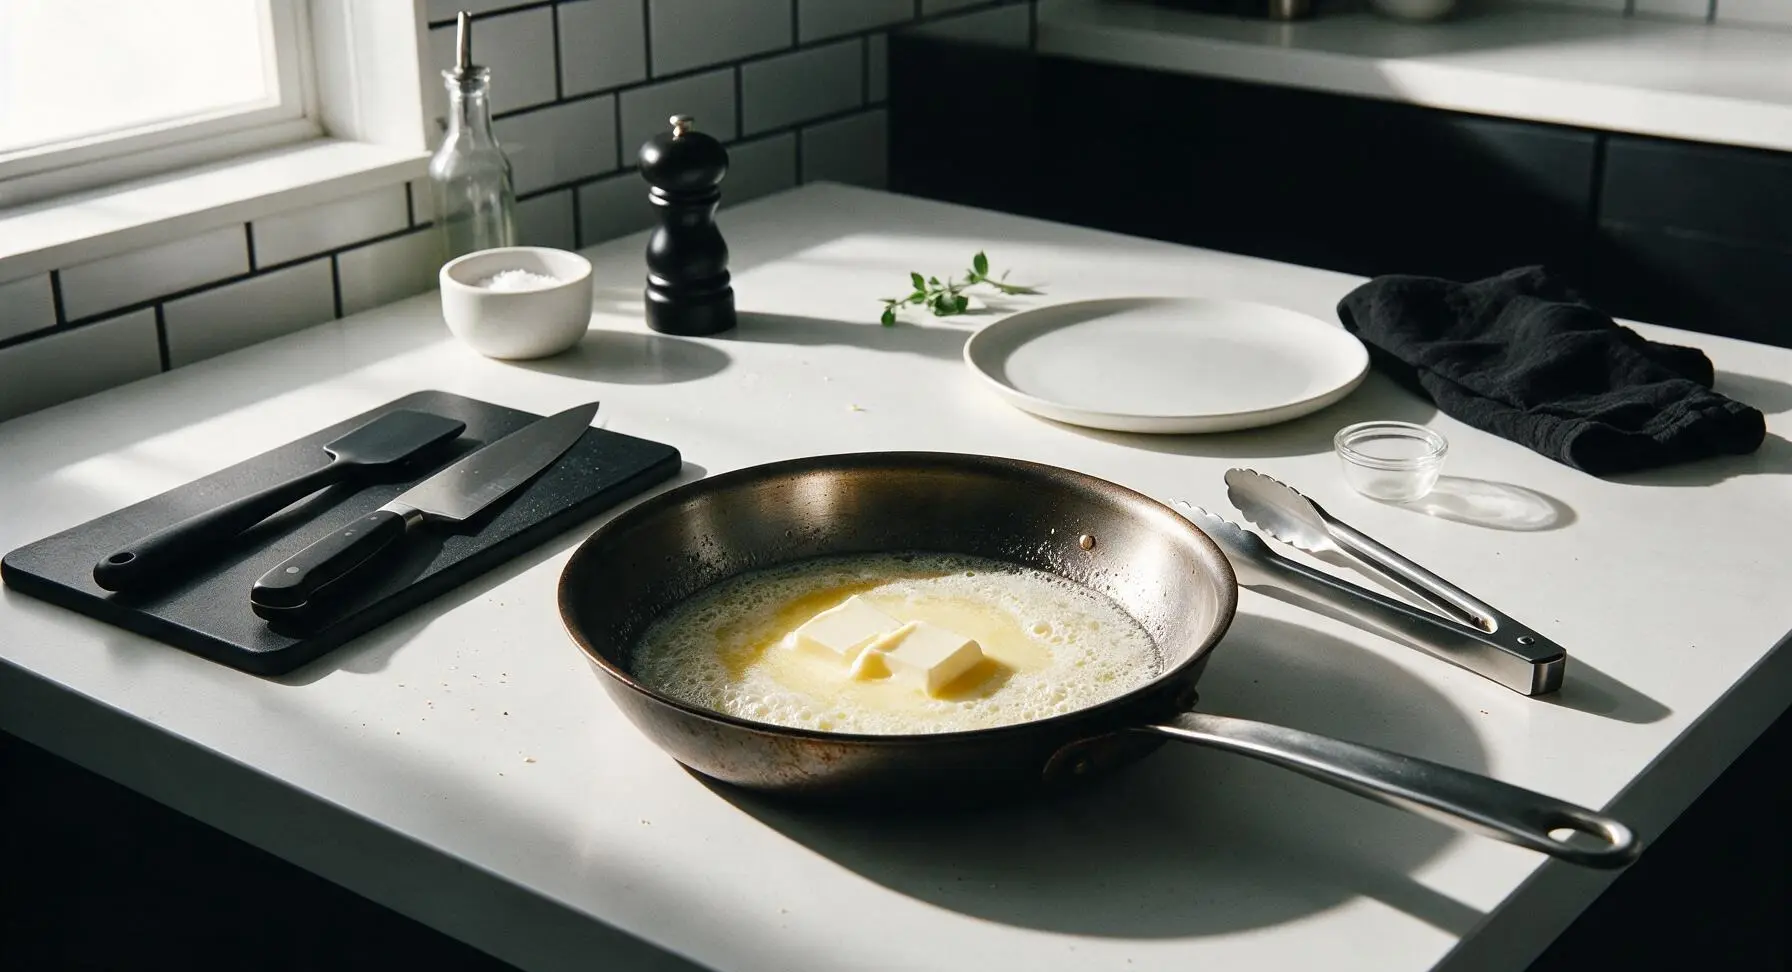
Step 5
step5:Heat Frying Skillet
6

Fry Waffles Crisp

Use the stainless steel butter knife to cut each parbaked waffle into 4 equal triangular wedges. Working in 2 batches to avoid crowding the pan, place waffle wedges cut-side down in the foaming melted butter. Fry for 1.5 minutes per side, using the stainless steel tongs to flip wedges, until both sides are deep golden brown with lacy, crunchy butter-fried edges. Transfer fried wedges to the matte cream ceramic serving plate as you finish each batch, adding a ½ teaspoon pat of butter to the skillet between batches if the pan surface looks dry and butter is no longer bubbling.
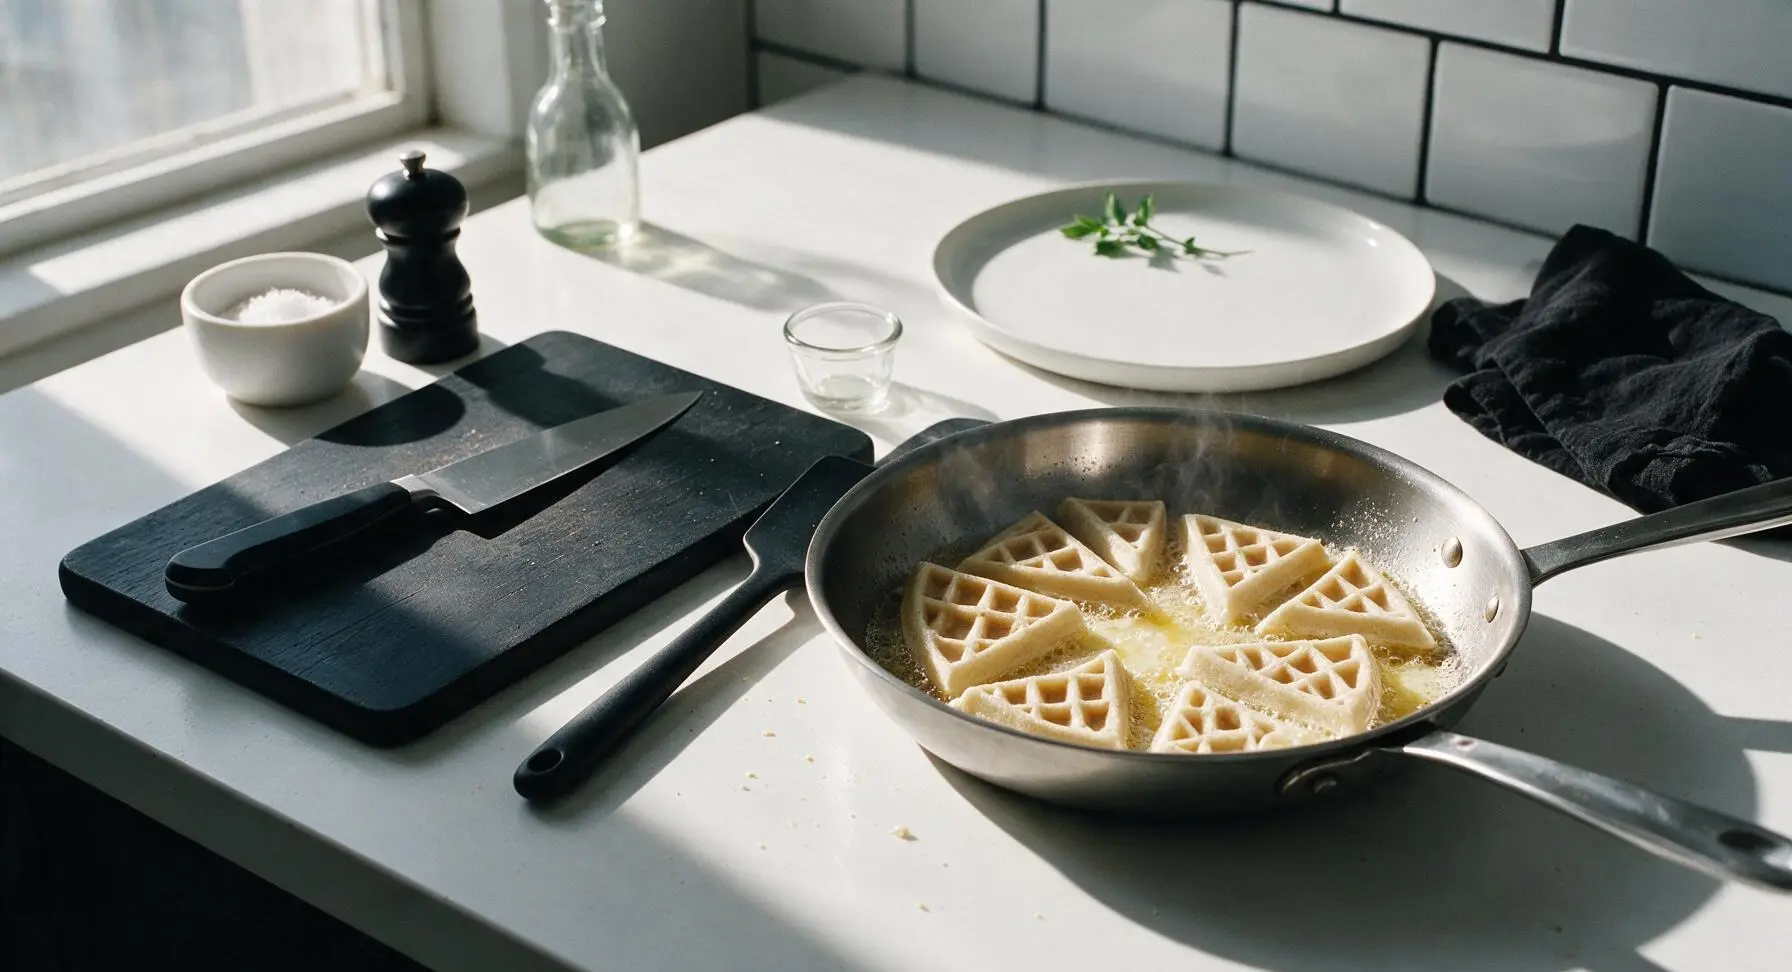
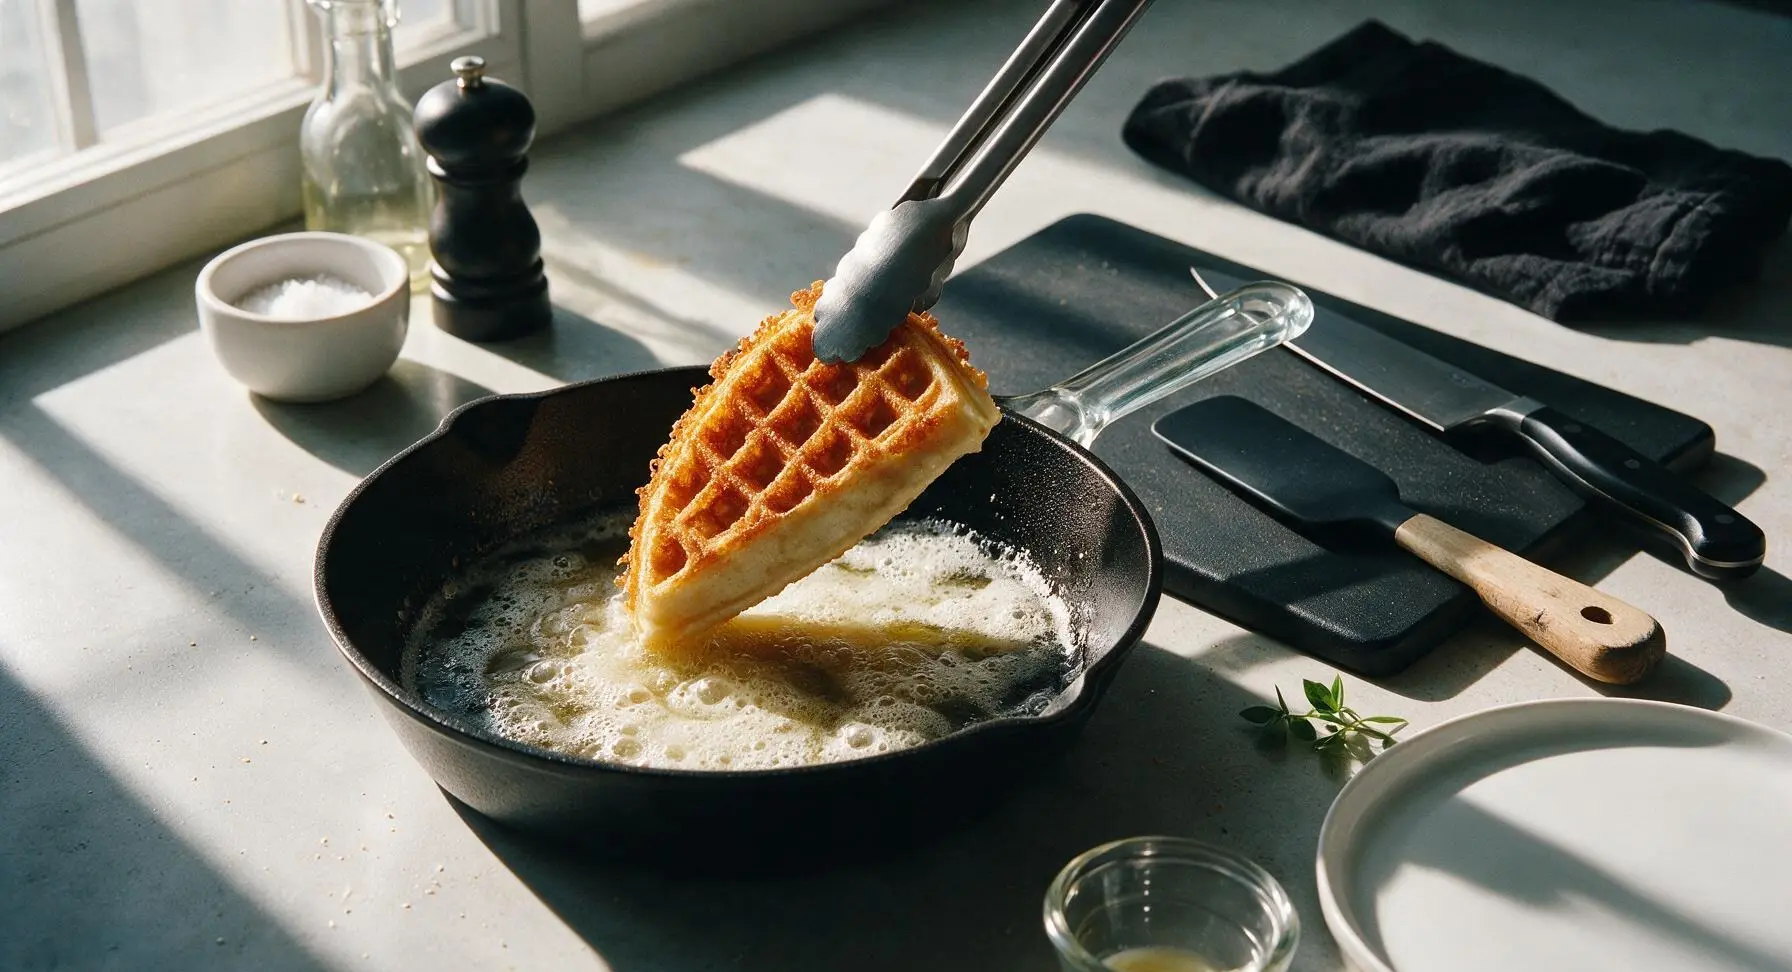
Step 6
step6:Fry Waffles Crisp
Step 6
step6:Fry Waffles Crisp
7

Garnish and Serve

Arrange the fried waffle wedges in a loose, slightly stacked pile on the matte cream ceramic plate. Place 2 tablespoons of powdered sugar in the fine-mesh stainless steel sieve and tap the sieve gently to dust a light, even layer of sugar over the waffles. Slice the fresh strawberries in half, fan 3 halves at the edge of the plate, tuck a sprig of fresh mint next to the fruit for color, and drizzle 1 tablespoon of warm maple syrup over the top of the waffles. Serve immediately, with extra maple syrup on the side.
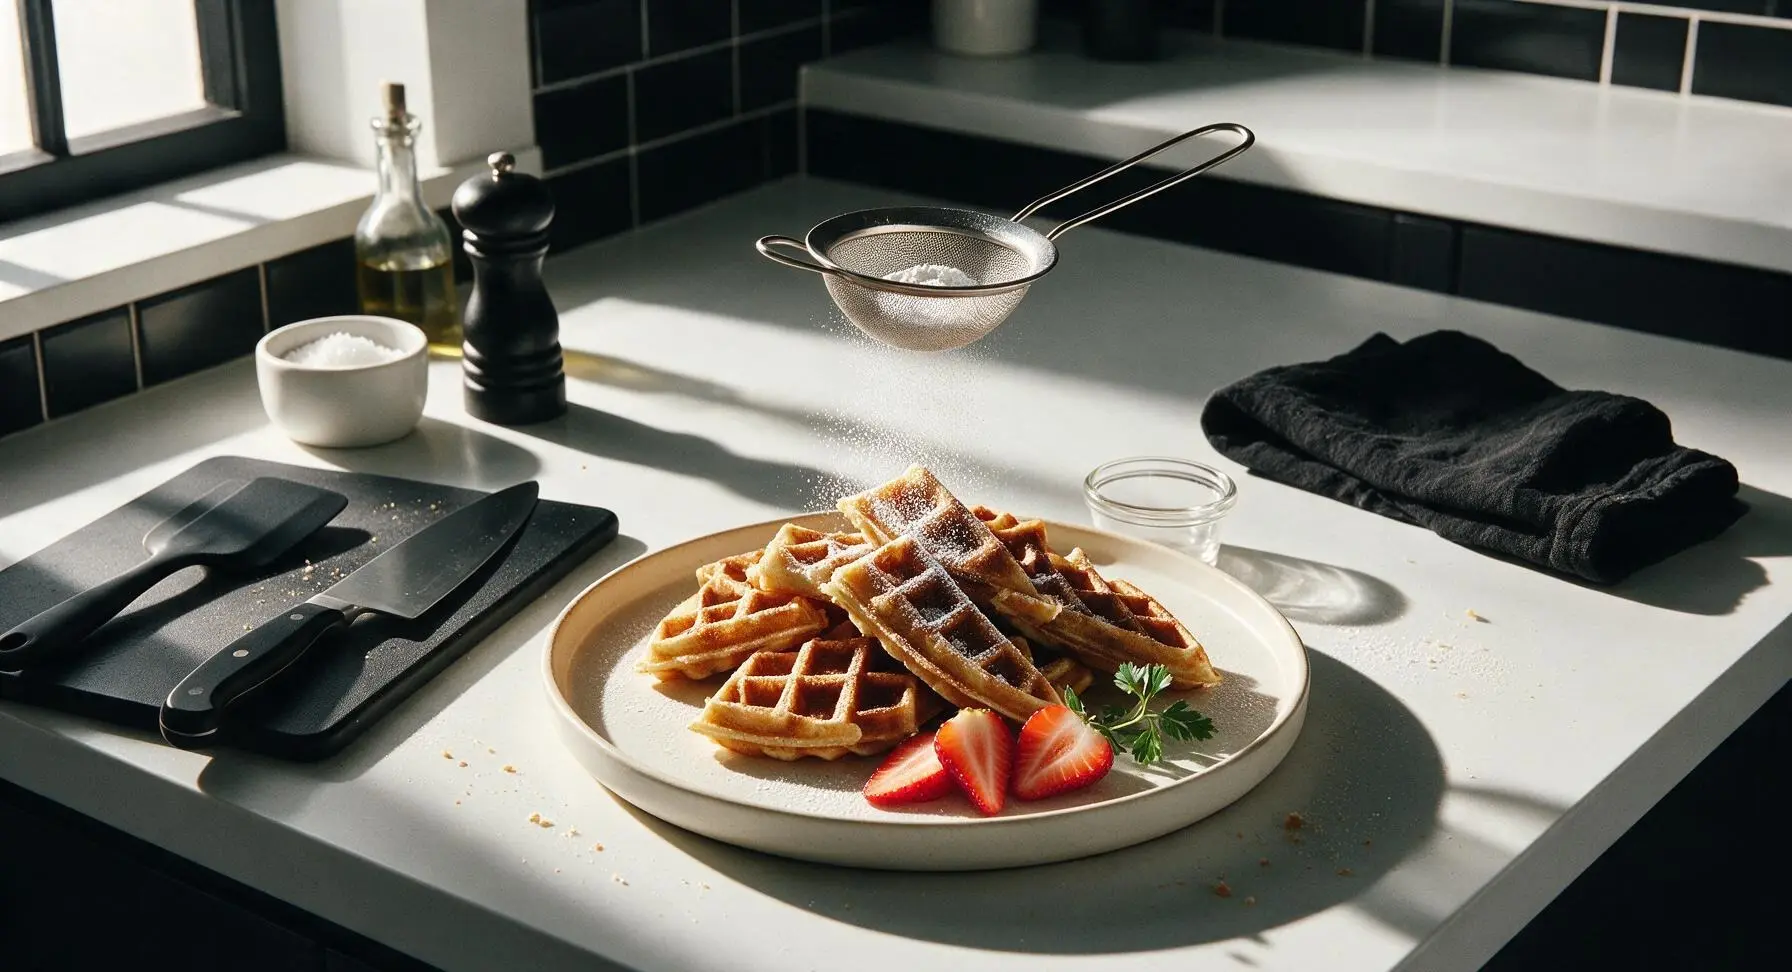
Step 7
step7:Garnish and Serve

Tips

1.Do not overmix the waffle batter: A few small lumps are completely normal and desirable. Overmixing develops gluten in the flour, which creates tough, chewy waffles instead of the light, fluffy center that contrasts perfectly with the crispy fried exterior.
2.Avoid overcooking waffles in the waffle iron: The initial waffle cook time is only to set the structure so waffles do not fall apart during frying. If you cook them until fully crisp in the waffle iron, the second fry in butter will leave them dry, brittle, and overly browned.
3.Do not crowd the frying skillet: Cooking waffles in small batches keeps the pan temperature consistent. Too many wedges in the pan at once drops the butter temperature, causing waffles to steam instead of fry, leading to soggy, greasy edges instead of a light, shatteringly crisp crust.


✨ You May Also Like

Breakfast
🍜 United States

Crisp-edged, fluffy lard griddle cakes are a nostalgic homestyle staple, with rich savoriness from rendered lard, perfect topped with maple syrup or savory gravy.

⏱️ 25 minuteBreakfast ★ 4.8
Breakfast
🍜 United States

Flaky, buttery homemade buttermilk biscuits smothered in creamy, peppery pork sausage gravy: a beloved, hearty Southern American comfort food classic.

⏱️ 35 minuteBreakfast ★ 4.8
Breakfast
🍜 United States

Golden, custardy brioche stuffed with sweet cream cheese and fresh berries, pan-fried to crisp perfection. An indulgent, cozy breakfast perfect for slow weekend mornings.

⏱️ 30 minuteBreakfast ★ 4.7
Breakfast
🍜 United States

Flaky, buttery Southern-style biscuits stuffed with savory salty country ham, a portable, satisfying classic perfect for casual on-the-go meals.

⏱️ 25 minuteBreakfast ★ 4.8
Breakfast
🍜 United States

Iconic puffy baked pancake popularized in Seattle, with crisp golden edges and soft custardy center, served warm with classic sweet toppings.

⏱️ 35 minuteBreakfast ★ 4.6
Breakfast
🍜 United States

Fluffy, golden pancakes studded with juicy peak-summer mixed berries, drizzled with maple syrup for a bright, comforting, crowd-pleasing family breakfast.

⏱️ 25 minuteBreakfast ★ 4.7

fried waffle:Frequently Asked Questions

1.Do I need a waffle iron to make these crispy pan-fried waffles? ▾
Nope, no waffle iron required at all—that’s the best part of this recipe! All you need is a standard 8- to 10-inch nonstick or cast iron skillet to get that signature crispy, lacy golden edge without bulky specialty equipment. It’s perfect for small kitchens or last-minute cozy breakfasts when you don’t want to dig out extra appliances.
2.How long does this recipe take to make from start to finish? ▾
From pulling ingredients out of your pantry to drizzling on warm maple syrup, this recipe takes 25 to 28 minutes total. The batter comes together in 5 minutes flat, and each waffle cooks in 3 to 4 minutes per side, so you can have a stack ready for 2 to 3 people in well under half an hour, no advance prep needed.
3.What gives these waffles their crispy texture instead of turning out soggy? ▾
The pan-fry method with a thin layer of melted butter is the secret to that shatteringly crisp crust and lacy edges, plus the measured ratio of baking powder for light lift that doesn’t make the batter too wet. Avoid overmixing, and cook over medium heat so the exterior crisps before the center dries out, leaving that perfect fluffy middle.
4.Can I use a different type of flour instead of all-purpose flour? ▾
All-purpose flour gives the ideal balance of crisp crust and tender center, but you can swap in a 1:1 gluten-free all-purpose baking blend if needed. Skip heavy whole wheat flour for this recipe, as it will make waffles dense and tough instead of light, and add a gritty texture that fights that signature crispy edge.
5.How do I know when my pan is the right temperature for cooking? ▾
Heat your pan over medium heat for 2 to 3 minutes first, then drop a tiny dot of batter into the center. If it sizzles immediately and starts to turn golden in 10 to 15 seconds, you’re good to go. If it burns quickly, turn the heat down; if it doesn’t sizzle, wait another minute to avoid soggy, grease-soaked waffles.
6.Do I need to separate eggs and whip whites to get a fluffy center? ▾
You don’t need to separate eggs or whip egg whites for this recipe to get that fluffy tender center! The measured amount of baking powder gives enough lift without that extra step. Just whisk whole eggs into the wet ingredients until fully combined to keep the process quick and low-fuss, no fancy mixing techniques required.
7.How much butter should I use per waffle for frying? ▾
Use about 1 teaspoon of unsalted butter per waffle, melted evenly across the pan surface. Too much butter will make waffles greasy instead of crispy, while too little will leave them pale and prone to sticking. Add a tiny extra pat between batches if the pan starts to look dry to keep those lacy golden edges consistent.
8.Can I mix up the waffle batter ahead of time to save time? ▾
For the crispiest results, I don’t recommend making the batter more than 30 minutes ahead of time. Baking powder starts to activate as soon as it hits wet ingredients, so letting it sit too long leads to flat, dense waffles with no lift. For fast prep, mix dry ingredients the night before and store in an airtight container.
9.Why are my waffles sticking to the pan when I try to flip them? ▾
Sticking usually happens for one of three reasons: your pan isn’t fully preheated, you skimped on the thin butter layer, or you tried to flip the waffle too early. Let the first side cook for 3 full minutes until edges are deeply golden and set before flipping, and the waffle will release easily without tearing.
10.Can I add mix-ins like chocolate chips or blueberries to the batter? ▾
Absolutely! Fold up to ½ cup of add-ins like mini chocolate chips, fresh blueberries, or chopped toasted pecans into the finished batter right before cooking. Just avoid adding too many heavy mix-ins, as they can weigh the batter down, make centers dense, and burn on the pan if they fall out during cooking.
11.How do I keep cooked waffles crispy while I finish making batches? ▾
Set cooked waffles on a wire rack placed over a baking sheet in a 200°F oven while you cook the rest of the batch. Don’t stack them directly on a plate or cover with foil, as trapped steam will turn that crispy crust soggy in minutes. The low oven keeps them warm without drying out the fluffy center.
12.What are the best toppings to serve with these waffles? ▾
The classic serving is a light drizzle of warm pure maple syrup to let that buttery, crispy edge shine, but you can add a dollop of whipped cream, fresh sliced berries, a dusting of powdered sugar, or a spoonful of fruit compote. Skip heavy, thick toppings that soak through the crust and make waffles soggy fast.
13.Can I use salted butter instead of adding fine sea salt to the batter? ▾
You can, just adjust the added salt amount to account for the salt in the butter. If you use salted butter for frying and in the batter, cut the fine sea salt measurement in half to avoid overly salty waffles. The small amount of salt balances the sugar and amps up buttery, sweet flavor rather than making waffles taste savory.
14.Why do my waffles end up with dense, gummy centers? ▾
Gummy centers almost always come from overmixing the batter or cooking over too high heat. Overmixing develops too much gluten in the flour, leading to tough, chewy texture, while high heat burns the outside before the center cooks through. Stir just until no dry flour streaks remain—lumps are totally fine!—and stick to medium heat.
15.Can I freeze leftover cooked waffles for quick meals later? ▾
Absolutely! Let cooked waffles cool completely to room temperature, then stack them between sheets of parchment paper and store in a sealed freezer bag for up to 3 months. Reheat directly from frozen in a toaster or 350°F oven for 3 to 4 minutes to bring back that crispy exterior, no thawing required.
16.How thick should I pour the batter to get the perfect texture? ▾
Pour ¼ cup of batter per waffle right in the center of the preheated, buttered pan, and let it spread naturally into a 4- to 5-inch round. Pouring too much batter makes a thick, pancake-like waffle without lacy crispy edges, while pouring too little makes a thin, cracker-like round that lacks the soft, fluffy center.
17.Can I adapt this recipe to be dairy-free? ▾
You can easily make these dairy-free by swapping the frying butter for a neutral, high-smoke-point plant-based butter, and double check that your baking powder is dairy-free (most standard grocery store brands are!). The rest of the ingredients are naturally dairy-free, so you’ll still get that same crispy edge and fluffy, tender center.

Comments (20)

2 hours ago

OMG these are SO good! I didn’t feel like digging my waffle iron out of the back of the pantry last Sunday and this recipe saved brunch. Crispy edges, fluffy center, *chef’s kiss*

yesterday

Made these for my kid’s before-school breakfast this week and they begged for seconds. Meal prepped a batch on Sunday and they reheated perfectly in the toaster! 10/10

3 days ago

Total game changer for camping trips! I brought a cast iron pan and made these over the camp stove last weekend, everyone at the site was asking for the recipe.

5 minutes ago

I was skeptical pan-fried waffles could actually get crispy, but y’all weren’t lying. The outside crunch is insane, way better than the soggy waffle iron ones I usually make.

1 week ago

Made these for the neighborhood potluck last weekend and they were gone in 10 minutes. Drizzled a little bourbon maple syrup on top and people lost their minds.

2 weeks ago

Swapped in my go-to GF all purpose flour blend and these turned out perfect! Finally a waffle recipe that doesn’t turn gummy when I skip the wheat flour. So happy!

30 minutes ago

Wait, do I need any special equipment for this? I don’t have a waffle iron at all, just regular frying pans. Will that work?

20 minutes ago

Hi Nate! No special equipment needed at all—any regular non-stick or cast iron frying pan works perfectly for this recipe, no waffle iron required! Just make sure your pan is preheated before pouring the batter in for maximum crispiness.

2 days ago

Has anyone tried adding chocolate chips to the batter? I’m thinking of making these for my daughter’s birthday breakfast and she lives for chocolate.

1 day ago

I did! Mini chocolate chips work best, toss them in a little flour first so they don’t all sink to the bottom of the pan. My kids went crazy for them!

just now

Wow this was actually so easy! I’m a college student with barely any cooking skills and I pulled this off in 18 minutes flat for my roommates. We all devoured them.

just now

So glad to hear that, Bryce! This recipe is designed to be super approachable for new cooks, so it makes me so happy you and your roommates enjoyed it. Pro tip: add a dash of cinnamon to the batter next time for an extra cozy kick!

5 days ago

Hmm mine came out a little softer than I expected, not super crispy. Did I do something wrong?

4 days ago

I had that problem the first time too! Turn your heat up just a touch and don’t flip them too early—wait until the edges are golden and pull away from the pan easily. Second batch came out perfectly crispy for me.

2 weeks ago

Served these with fried chicken last night for chicken and waffle night and my husband said it’s the best meal I’ve ever made. WIN.

2 weeks ago

That sounds like the perfect dinner, Sara! Chicken and waffles is one of my all-time favorite meals, and these crispy waffles hold up so well against the juicy fried chicken and syrup. Thanks for sharing!

3 days ago

Is there a good egg substitute for this recipe? I’m cooking for my vegan niece this weekend and want to make these for everyone.

2 days ago

I used 2 flax eggs (2 tbsp ground flax + 6 tbsp water, left to thicken 5 mins) and they turned out perfect! Still crispy, no weird texture, even my non-vegan brother loved them.

1 week ago

These freeze so well! I make a double batch every other week, pop them in the freezer between parchment paper squares, and toast them straight from frozen on busy mornings. Total lifesaver.

1 week ago

Great tip, Mia! Freezing them for quick breakfasts is such a smart move—so glad the recipe works well for your meal prep routine.

2 hours ago

Tossed some crumbled cooked bacon into the batter this morning and oh my word, next level. Savory, crispy, salty, perfect with a little maple drizzle.

1 hour ago

Bacon in waffles is elite! I did that last time too, added a tiny bit of shredded cheddar as well and it felt like a fancy restaurant brunch at home.

30 minutes ago

Help! My first batch burned on the bottom before the top was even set. What heat setting do you all use? I had my stove on medium-high, maybe that’s too hot?

20 minutes ago

Oh no! I use medium-low on my gas stove, and I let the pan heat up for a full 3 minutes before pouring batter in. That way it cooks evenly without burning the bottom.

15 minutes ago

Great tip from Holly! Every stovetop runs a little different, so medium-low is usually the sweet spot to get that crispy exterior without burning, and make sure you don’t pour the batter too thick—about 1/4 inch per waffle works best so it cooks all the way through.

yesterday

I can’t believe how crispy these get without a waffle iron! I’ve been making waffles for years and never thought to pan fry them. Total game changer, I’m never hauling my bulky waffle maker out again.

10 hours ago

Wait do they actually have that little waffle pocket texture? I have a tiny apartment with zero storage so I got rid of my waffle iron ages ago, but I miss those little syrup traps.

8 hours ago

No little grid pockets, obviously, but the edges get all craggy and crispy which hold syrup even better if you ask me! I just make them in little 4-inch circles so every bite has that crunchy edge.

2 days ago

My kids loved it! I cut these into little stick shapes for my toddlers to dip in syrup and they ate every single bite, no complaints. Way less messy than regular waffles too, for some reason.

1 day ago

Oh that’s such a good idea! Do these hold up as dippers or do they get soggy really fast? My toddler hates soggy food with a passion.

20 hours ago

These are perfect for dippers! If you cook them until the edges are deep golden, they stay crispy for 10-15 minutes after cooking, which is more than enough time for little ones to dip and eat. Cutting them into sticks is such a fun serving trick!

5 days ago

Used leftover buttermilk from making fried chicken in this batter instead of regular milk and WHEW, the tang is unreal. So much depth of flavor, I’ll never make them with regular milk again.

4 days ago

Oh buttermilk in waffles is chef’s kiss! Did you adjust the baking soda at all when you swapped, or just do a straight 1:1 swap for regular milk?

4 days ago

I just did a straight swap! The batter was a little thicker, so I added a splash more buttermilk to get it to the right pour consistency, no extra baking soda needed. Turned out perfect.

1 week ago

Wait the cook time says 18 minutes total? That feels way too fast, I thought waffles took forever. Is that actually accurate?

6 days ago

It’s spot on! Since you’re pan frying them in thin layers, each waffle only takes 3-4 minutes total, so you can cook a couple at a time in a big pan. I made a full batch for 4 people in 17 minutes flat last week.

6 days ago

Wes is exactly right! Unlike thick waffle iron waffles that take longer to cook through, these thin pan-fried versions cook super quickly. 18 minutes is the total time from grabbing ingredients to having a plate of hot crispy waffles, perfect for busy mornings.

2 weeks ago

Made these for my monthly brunch club last weekend and everyone was raving. I set up a little topping bar with whipped cream, berries, syrup, Nutella, and even fried chicken tenders for people who wanted savory. 10/10, will be making these again for every gathering.

12 days ago

The topping bar idea is genius! I’m bringing these to my office potluck next week, do you think they stay good at room temp for a couple hours?

12 days ago

That topping bar sounds like a dream, Bri! To answer Paula’s question: these stay crispy at room temp for about 2 hours if you lay them out on a wire rack instead of stacking them on a plate (stacking makes them steam and get soggy). They’re perfect for potlucks!



