
frozen breakfast sandwiches
intro
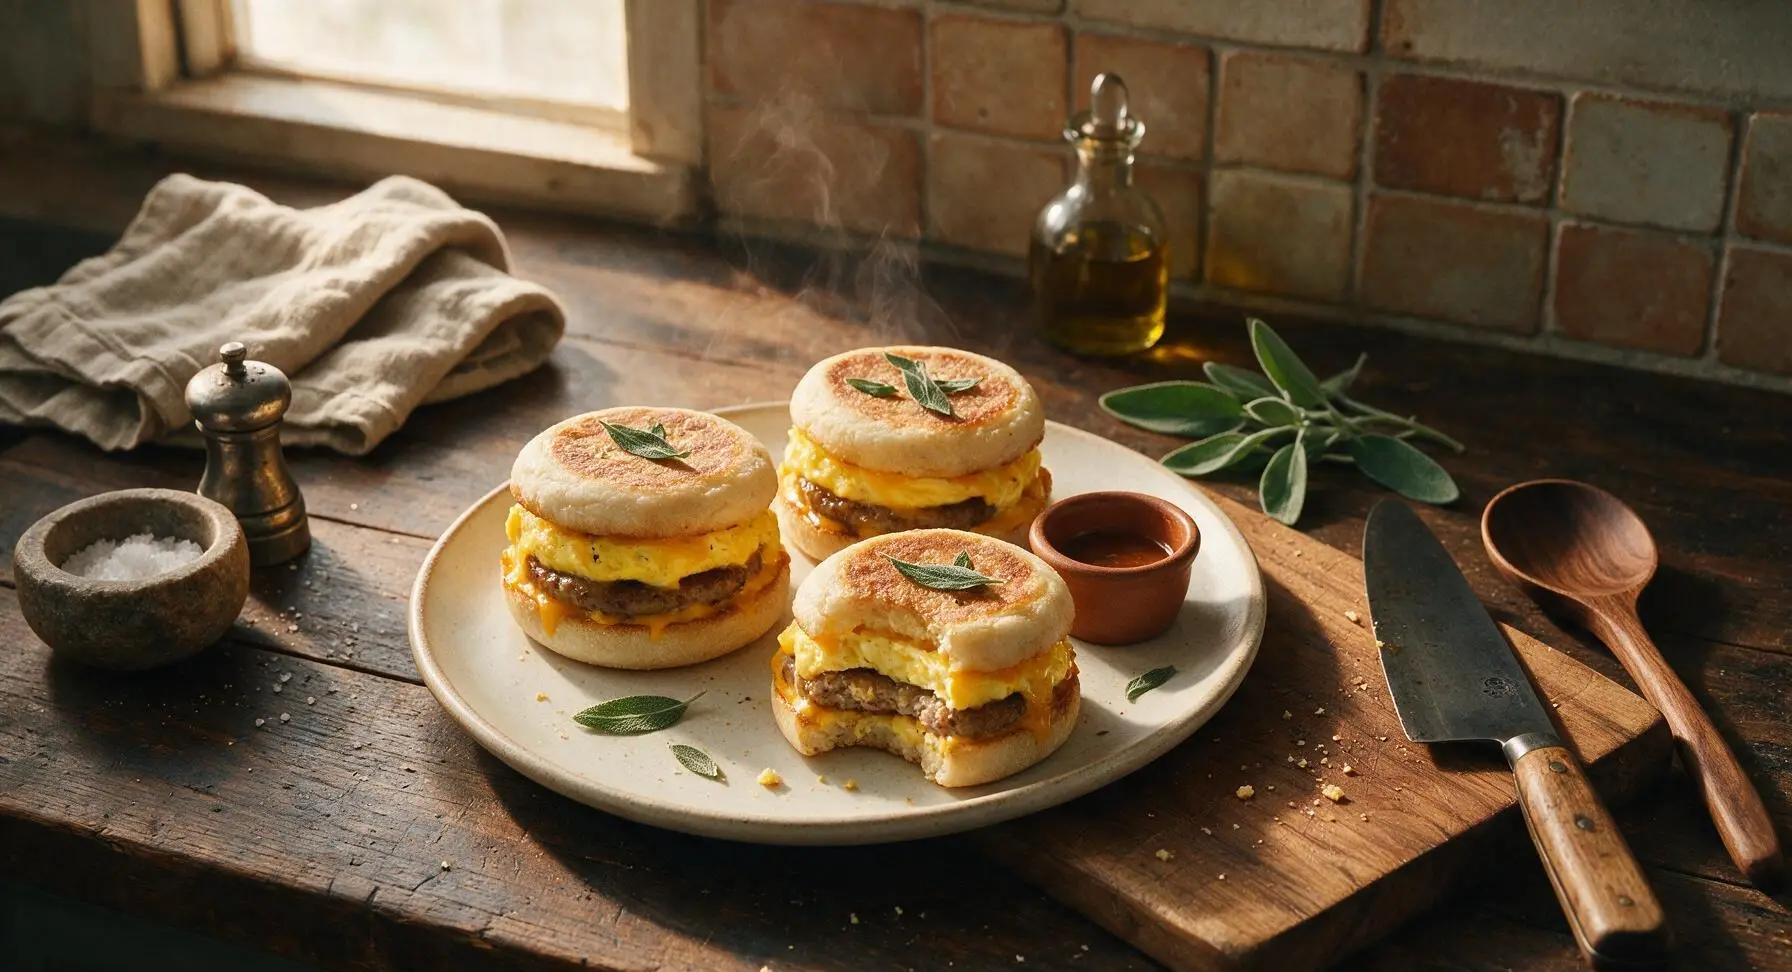
Fluffy baked eggs, savory sausage, and melted cheddar tucked into toasty buttered English muffins, prepped ahead and frozen for 2-minute hot breakfasts on busy mornings.
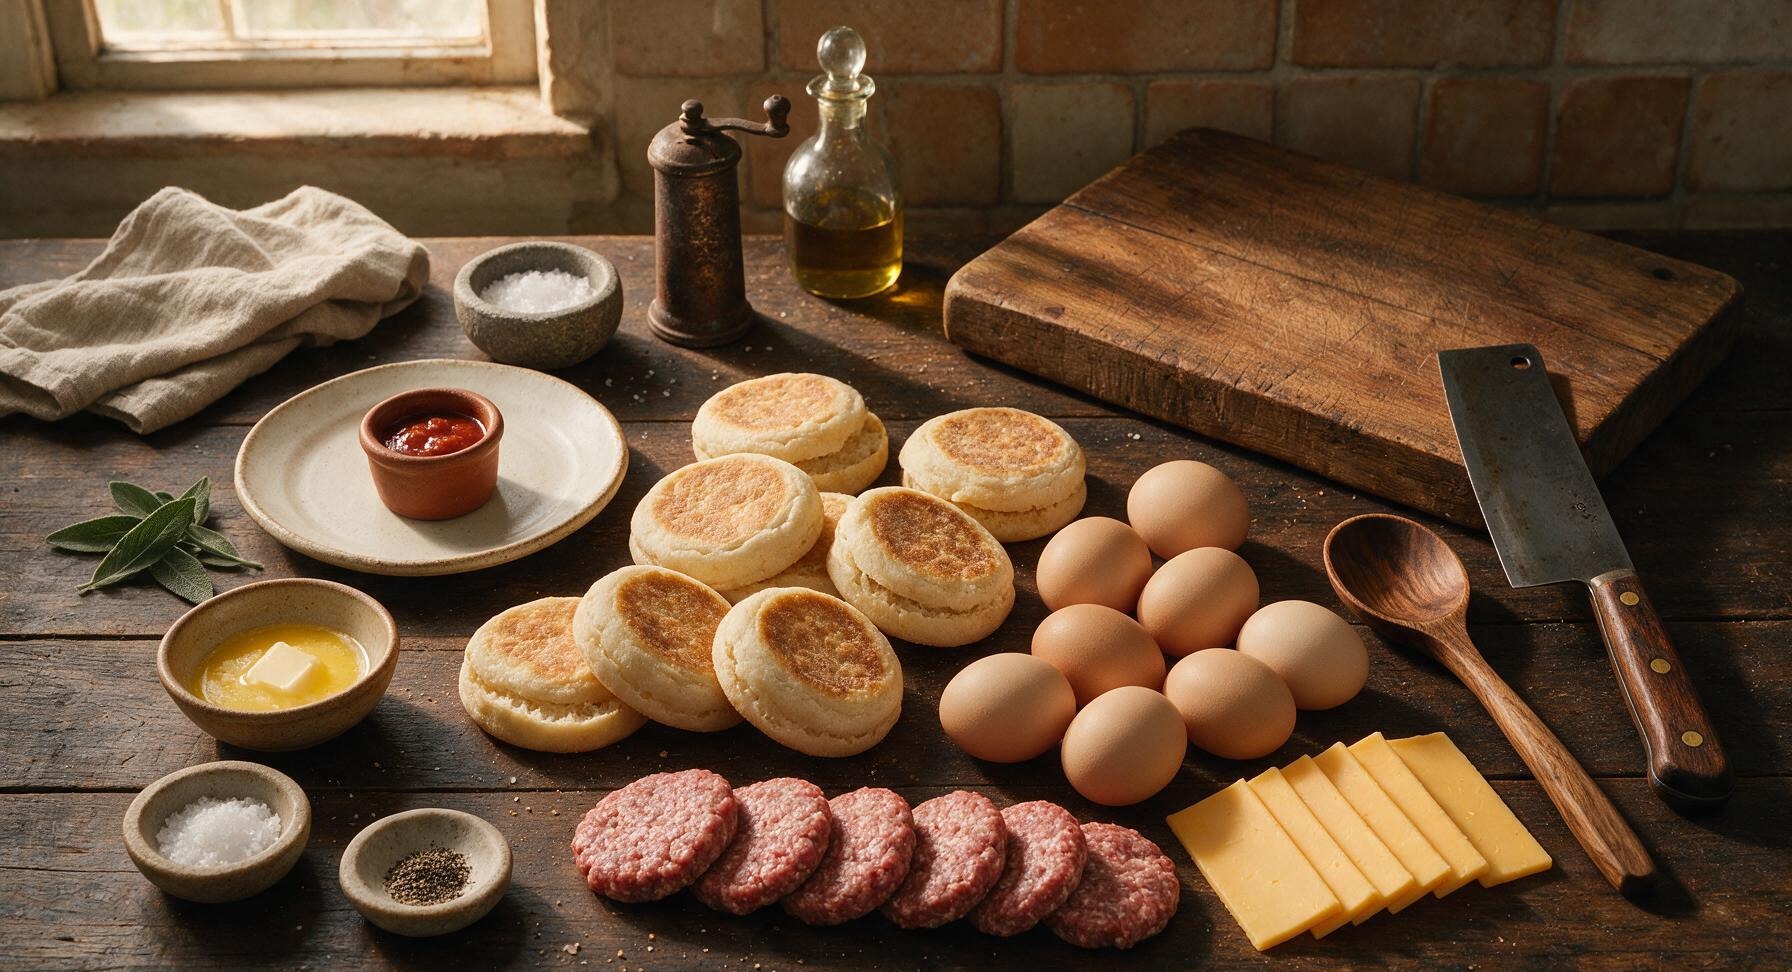
Ingredients
Steps
Prep Oven and Baking Sheet
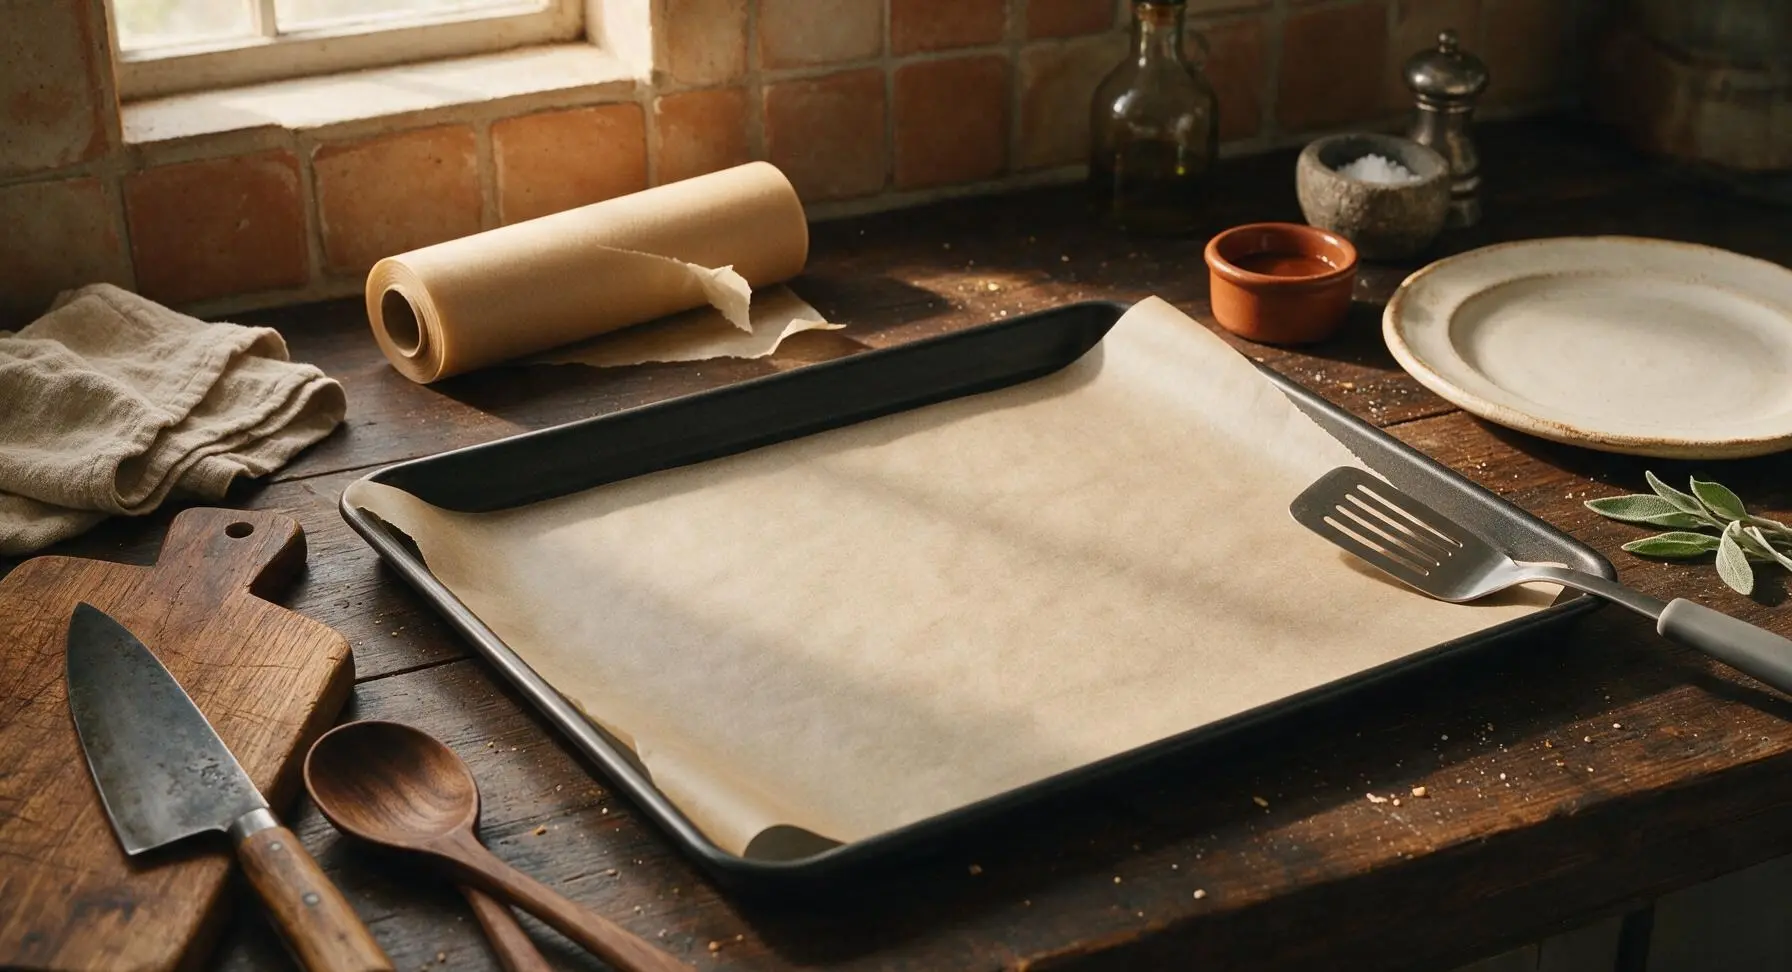
Preheat oven to 200C (400F). Line the 12-inch matte black nonstick baking sheet with unbleached parchment paper, leaving a 1-inch overhang on the long edges for easy lifting. No greasing is needed, as the sausage will render fat as it cooks.
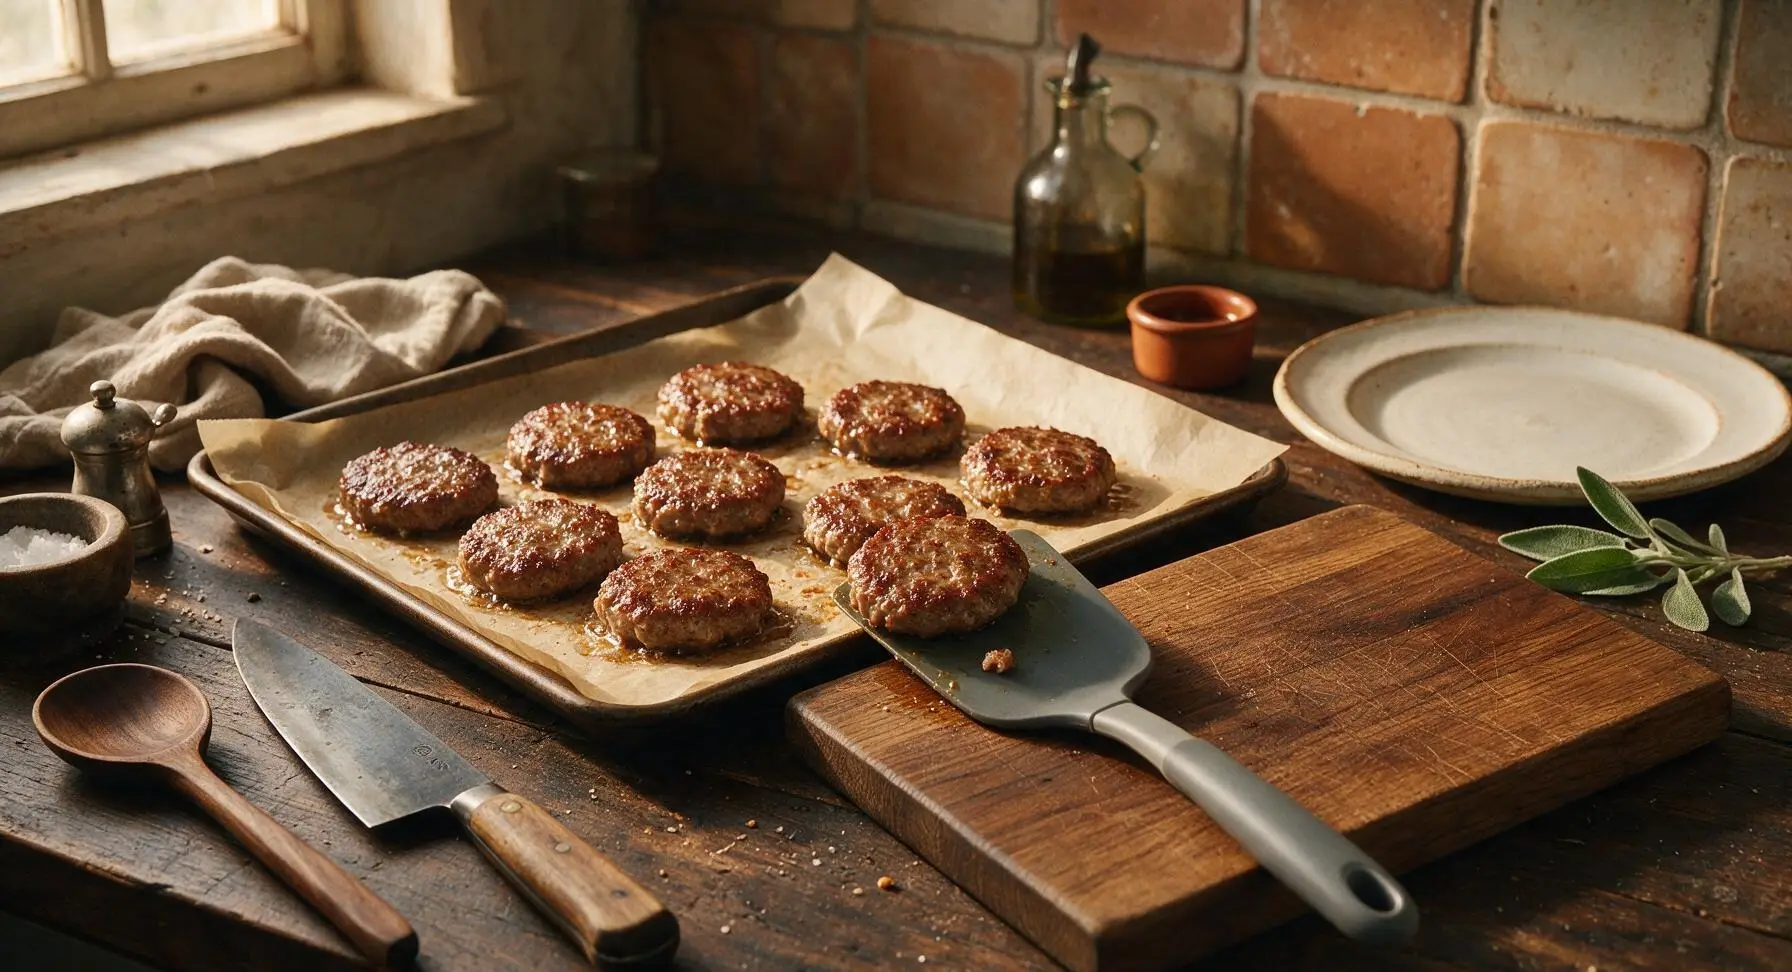
Bake Sausage Patties
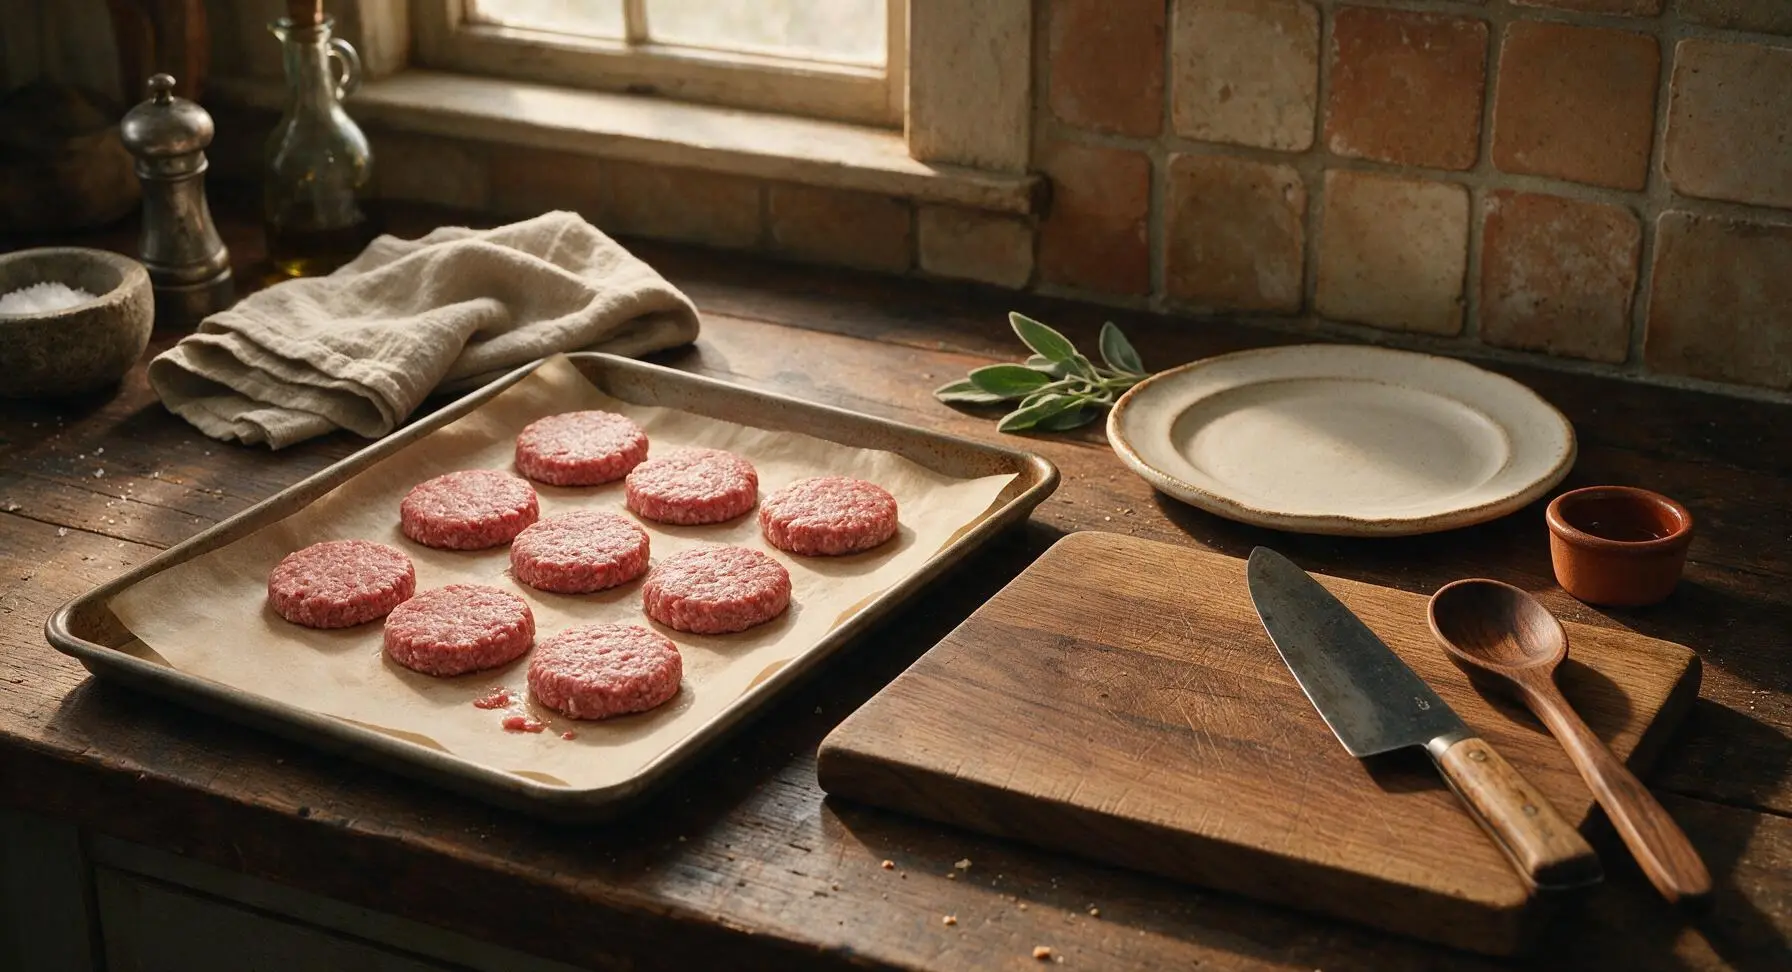
Arrange the 8 formed 55g sausage patties in a single layer on one half of the prepared baking sheet, leaving 1cm of space between each patty. Bake for 12 minutes at 200C (400F), until patties reach an internal temperature of 75C (165F), are deeply golden on the bottom, and show no pink remaining in the center. Transfer cooked patties to the beech cutting board to cool, leaving rendered sausage fat on the parchment to prevent eggs from sticking.
Bake Fluffy Egg Sheet
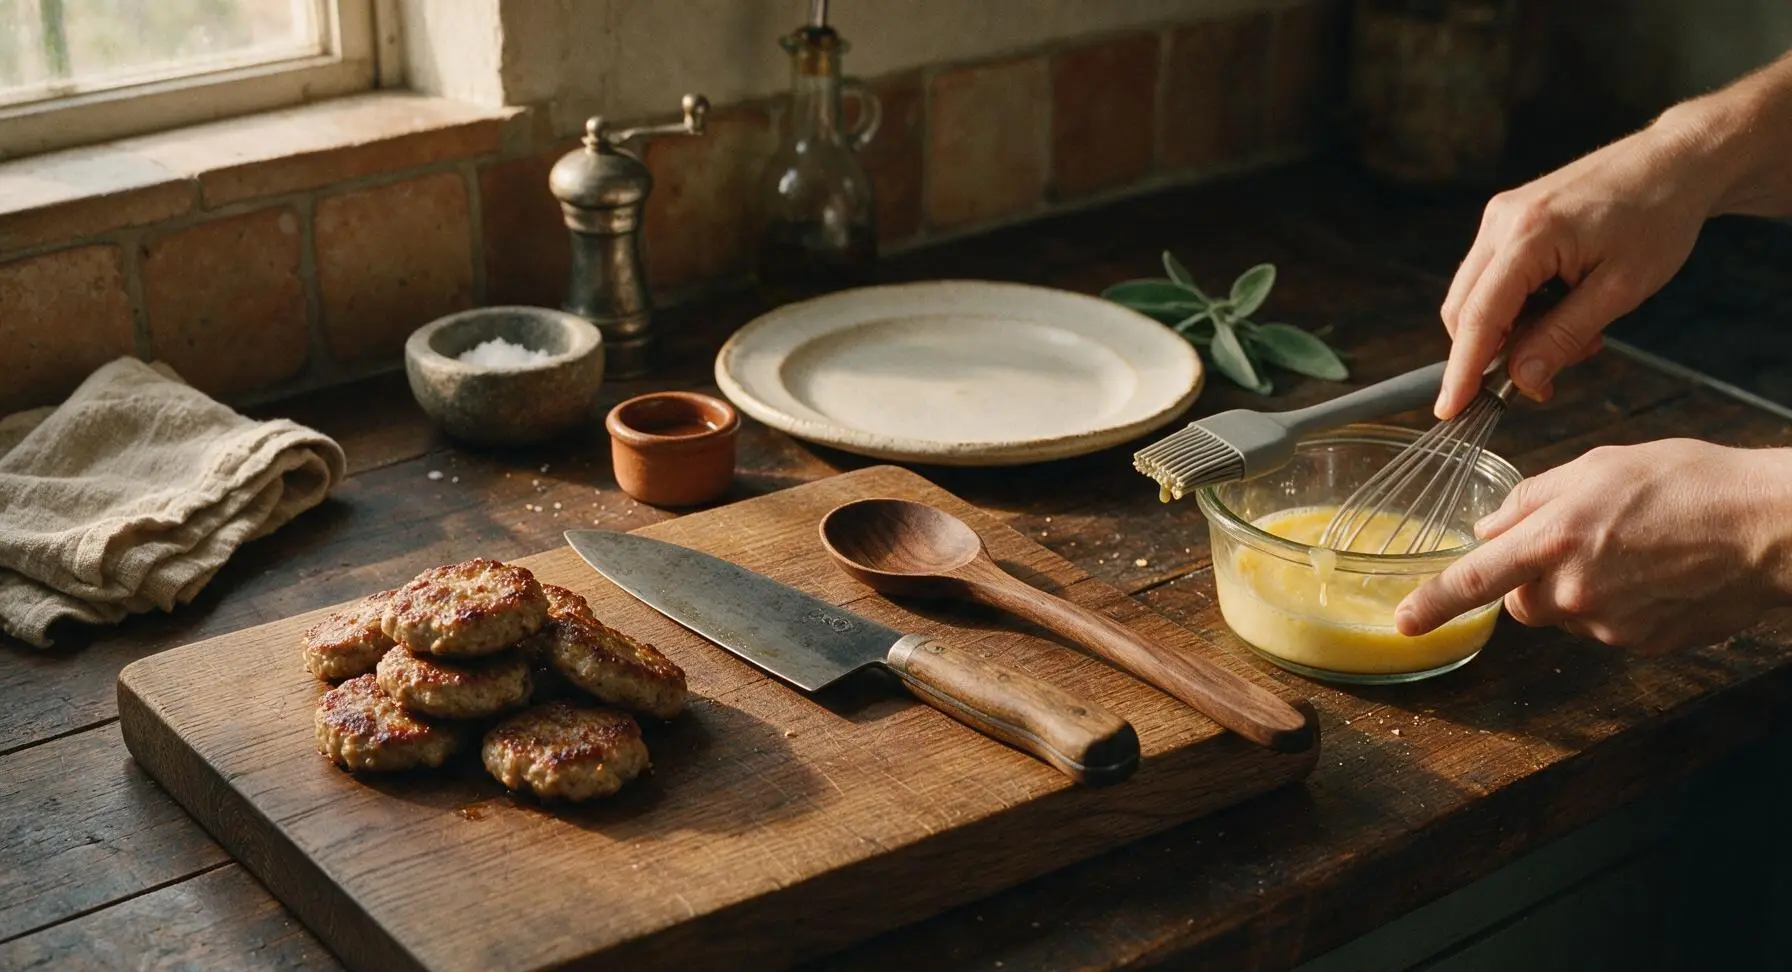
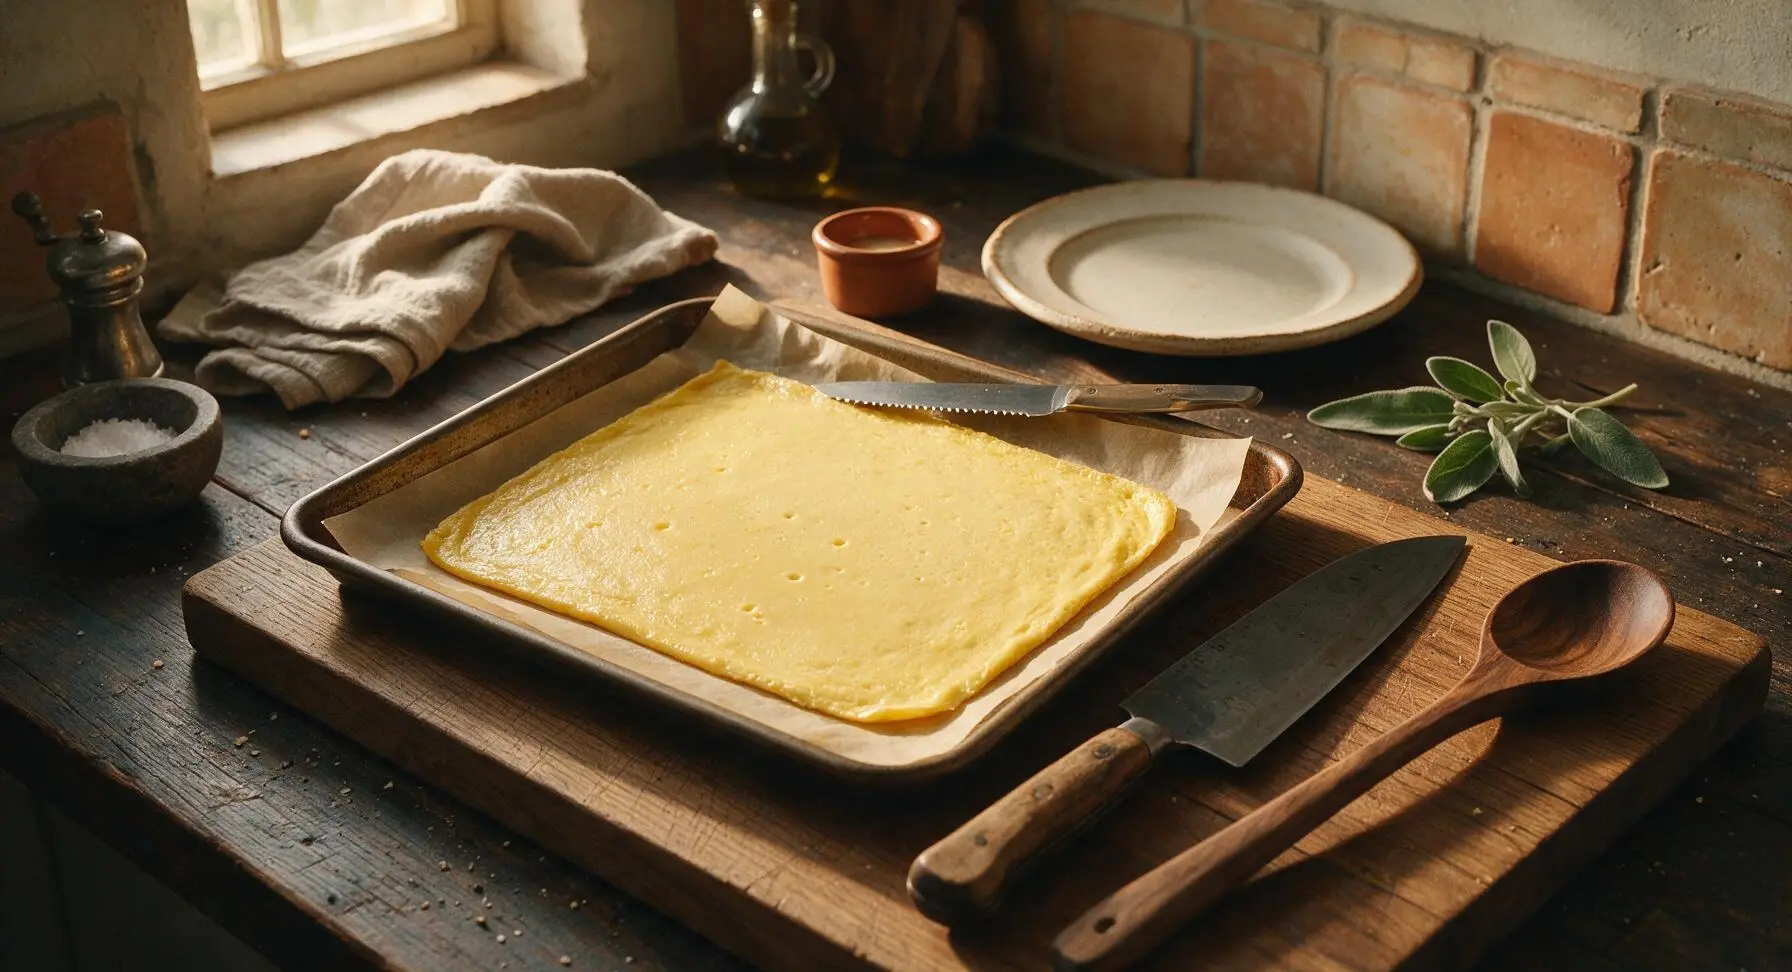
In the clear glass ramekin, whisk all 8 large eggs with 1/2 tsp kosher salt and 1/4 tsp black pepper until completely smooth, with no streaks of egg white remaining. Pour the whisked eggs onto the empty, fat-greased half of the warm parchment-lined baking sheet, tilting gently to spread into an even 1cm thick layer. Bake for 8-10 minutes at 200C (400F), until eggs are fully set with no jiggly liquid in the center and pale golden on top.
Toast Buttered Muffins
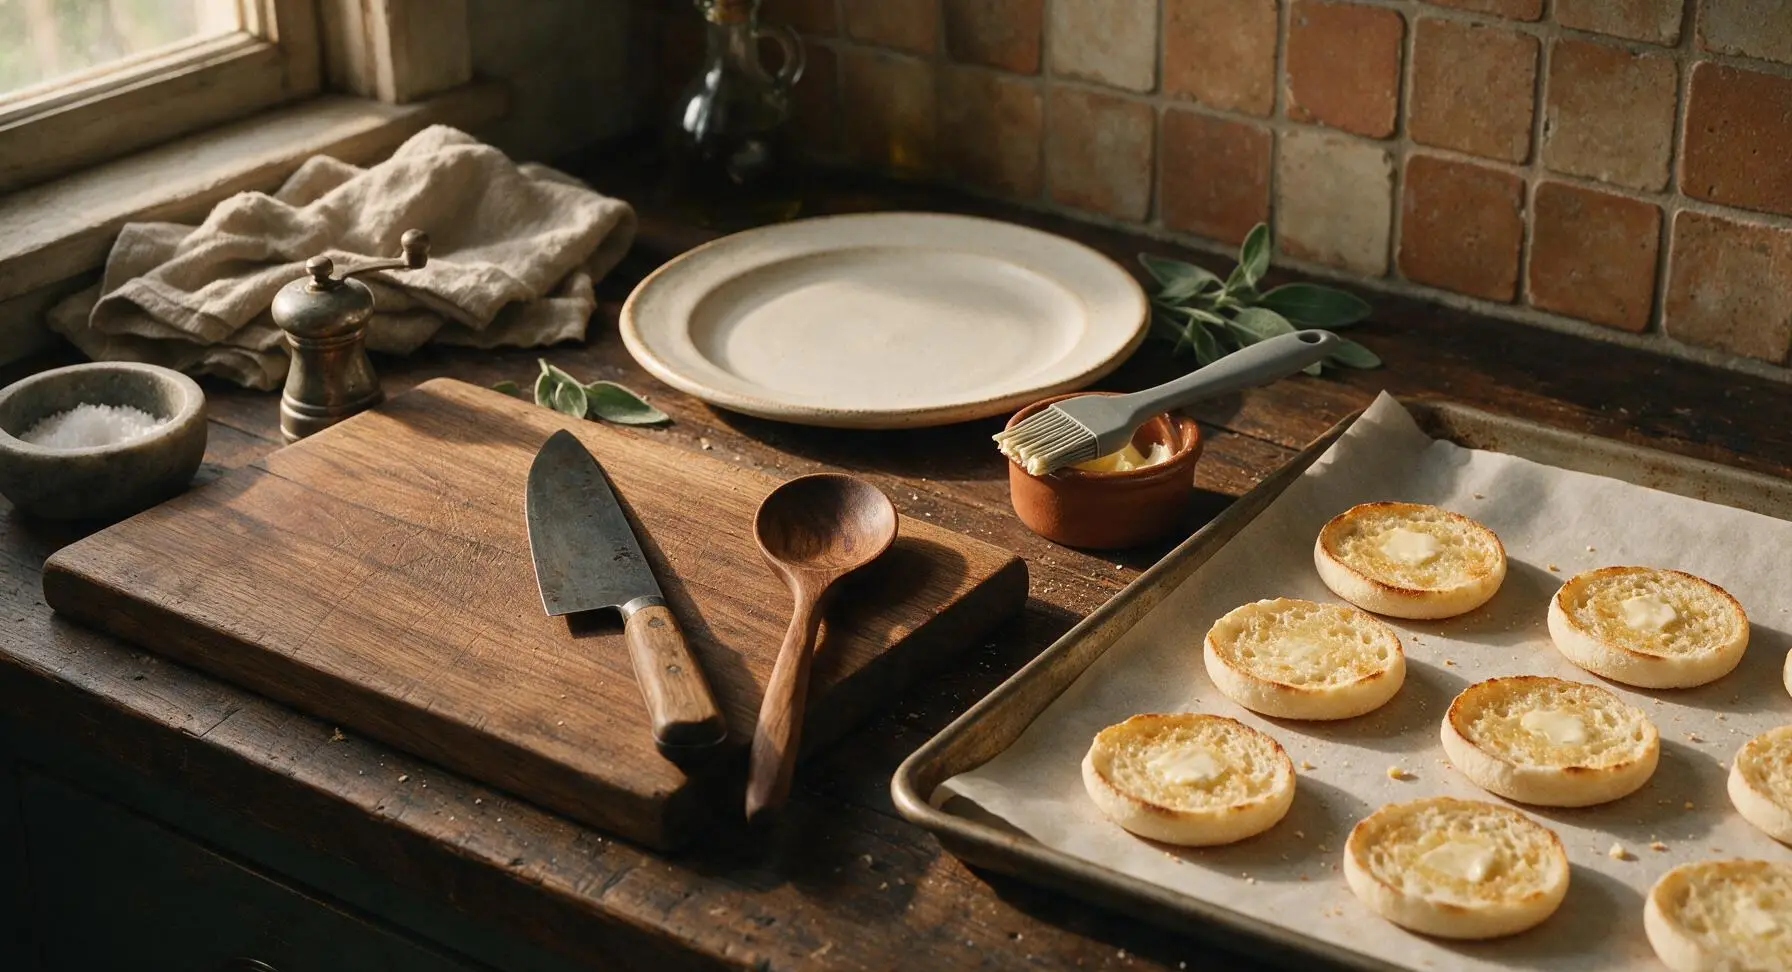
While eggs bake, split all 8 English muffins horizontally using the serrated knife, taking care not to tear the soft, nooked crumb. Melt 2 tbsp unsalted butter in the glass ramekin, then use the gray silicone basting brush to coat the cut sides of each muffin half with butter. Place muffin halves cut-side up on the empty section of the baking sheet once eggs are removed, and broil 15cm from the heat source for 1-2 minutes until cut sides are pale golden and crisp at the edges, watching closely to avoid burning.
Cut Egg Portions
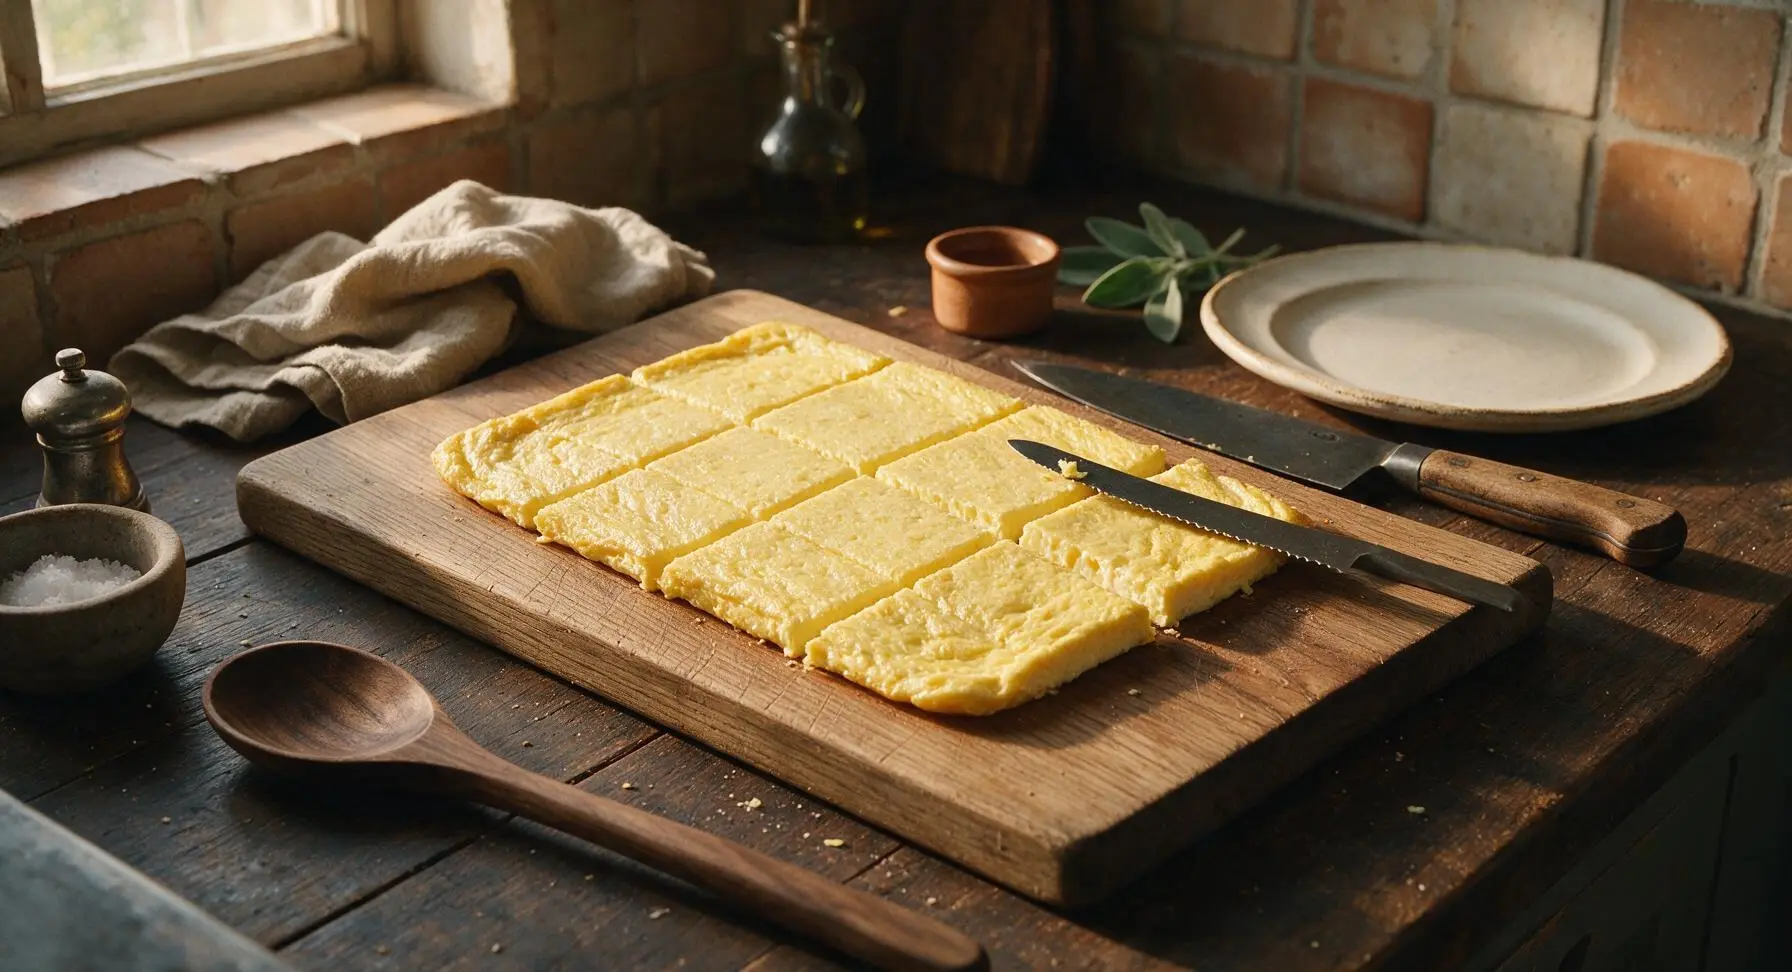
Let the baked egg sheet cool for 3 minutes at room temperature, so it sets firm enough to cut cleanly. Using the serrated knife, cut the egg sheet into 8 equal 8cm square portions, sized to fit perfectly on the English muffins. Wipe the knife blade between cuts if egg sticks, for clean even edges.
Assemble Sandwiches
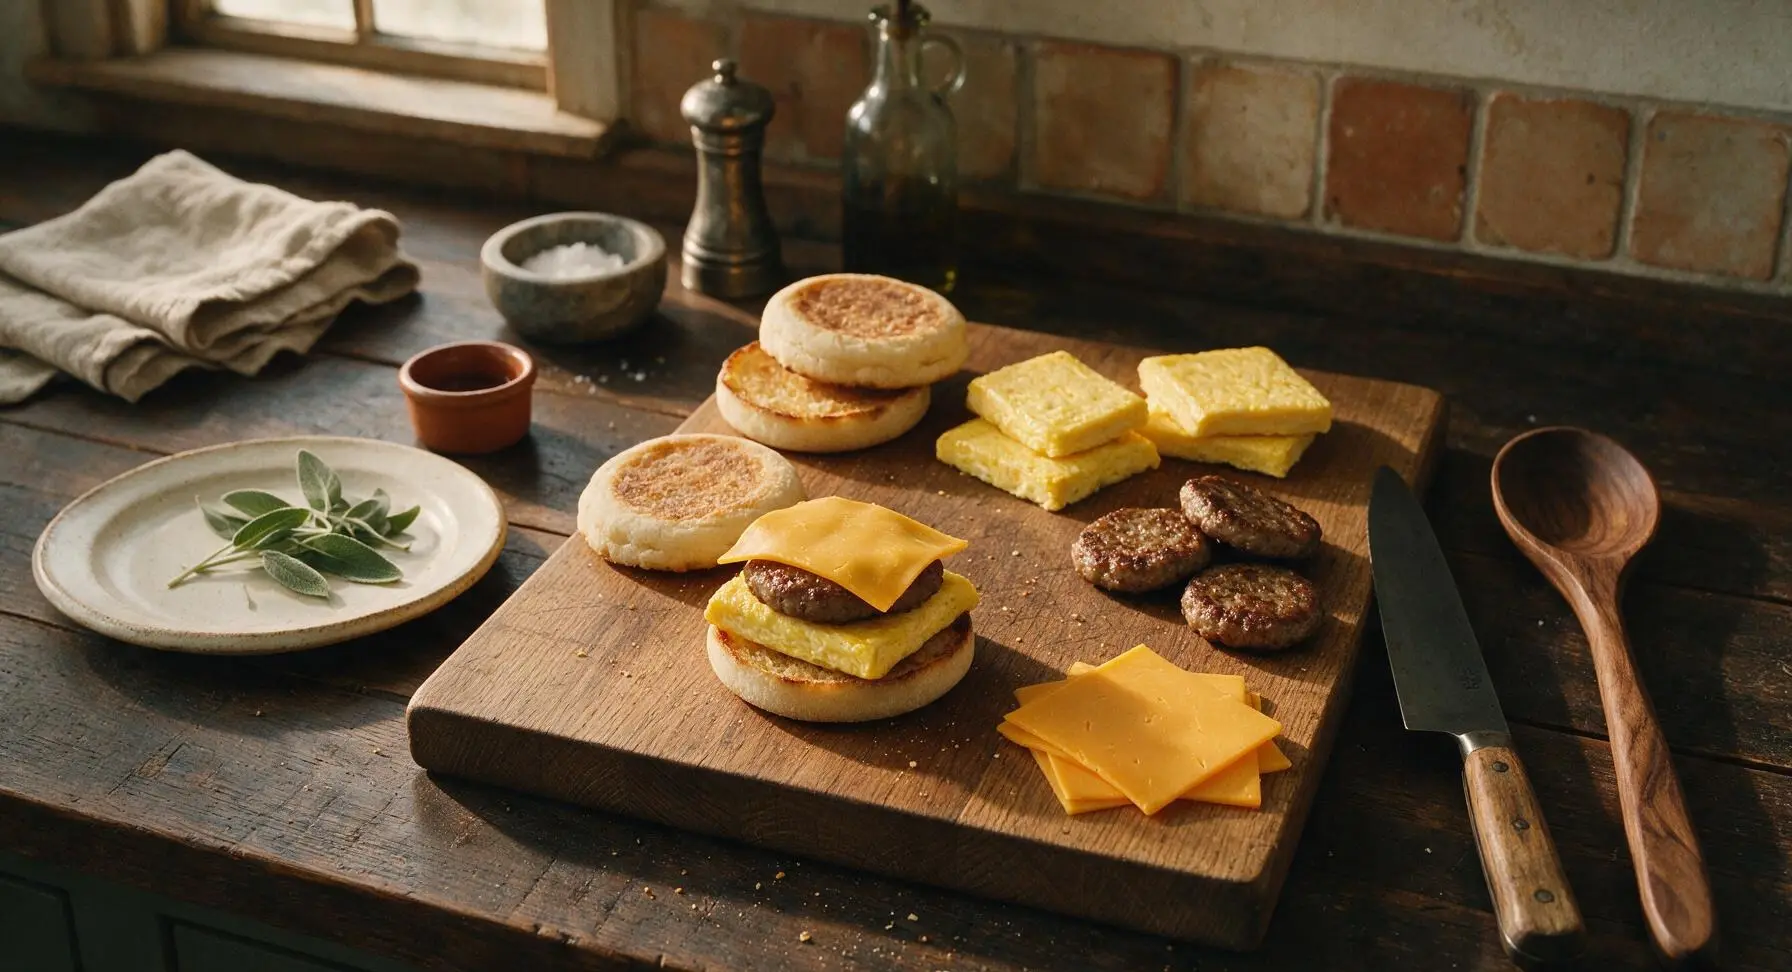
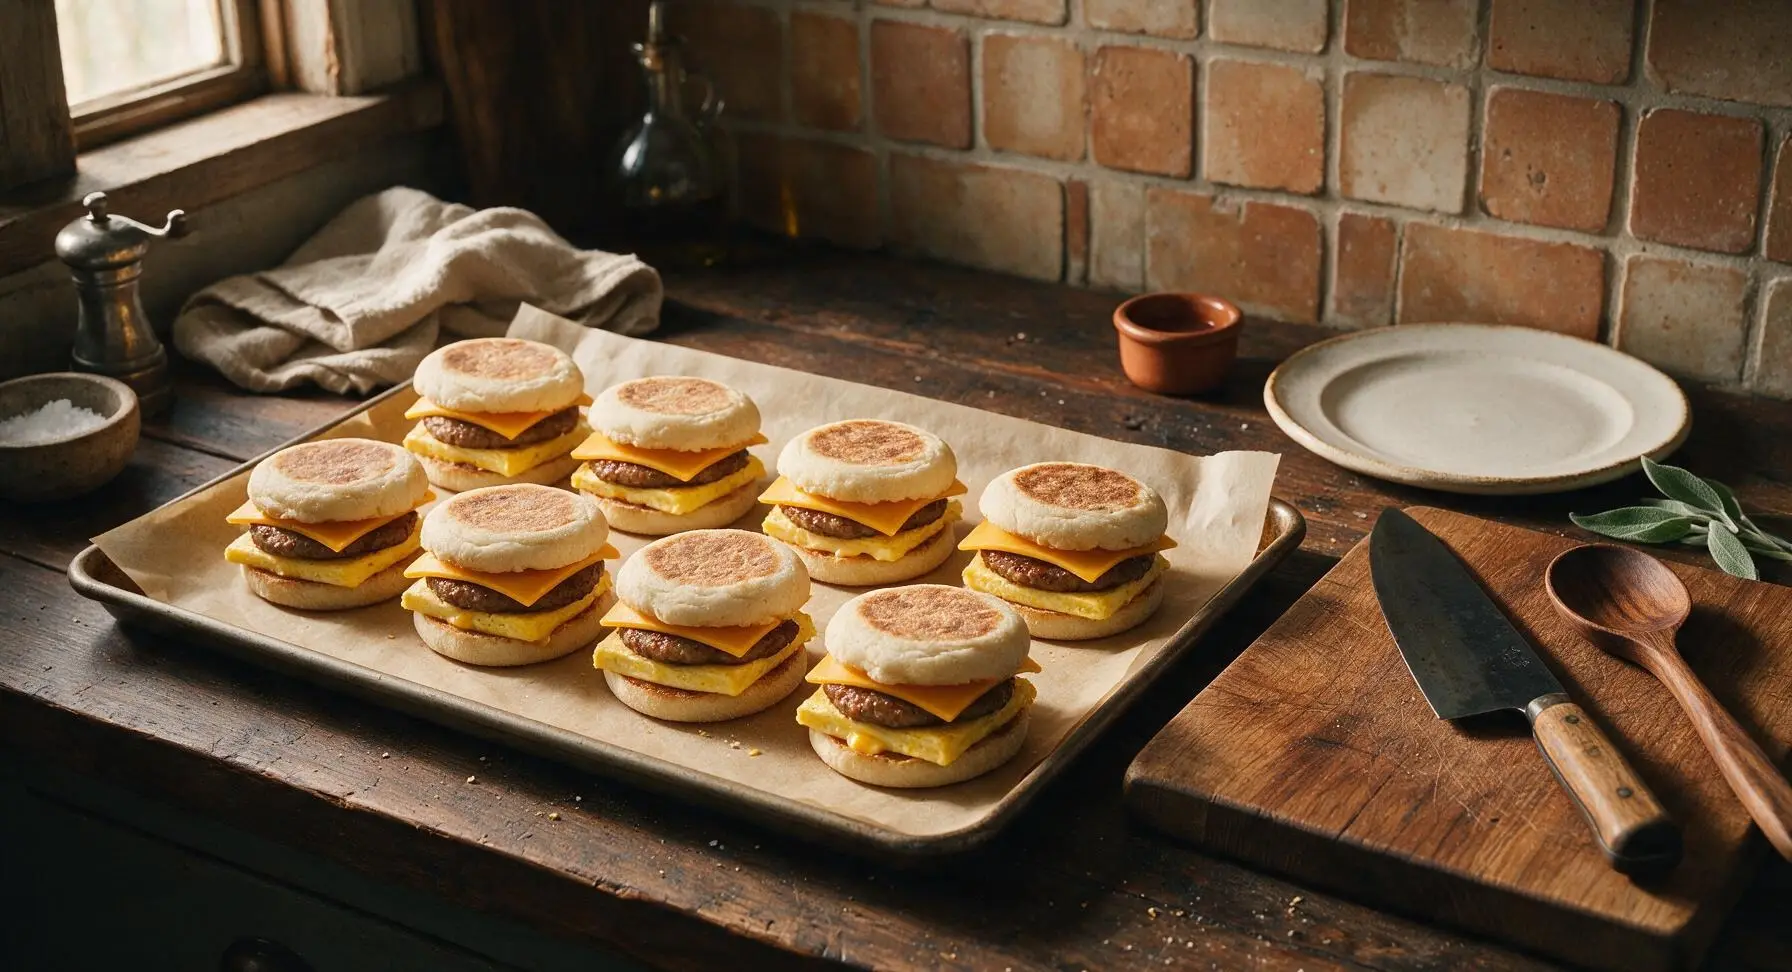
Build each sandwich on the bottom half of a toasted English muffin: layer one egg square, one cooled sausage patty, and one slice of sharp cheddar cheese, then cap with the matching top muffin half. Press down gently on each assembled sandwich to help the layers adhere, so fillings do not slide out during storage or reheating.
Flash Freeze Sandwiches
Place the full baking sheet of assembled, uncovered sandwiches in the freezer for 1.5 to 2 hours, until sandwiches are completely solid to the touch with no soft spots when pressed. This flash freeze step prevents sandwiches from sticking together during long-term storage, so you can remove one serving at a time.
Wrap for Freezer Storage
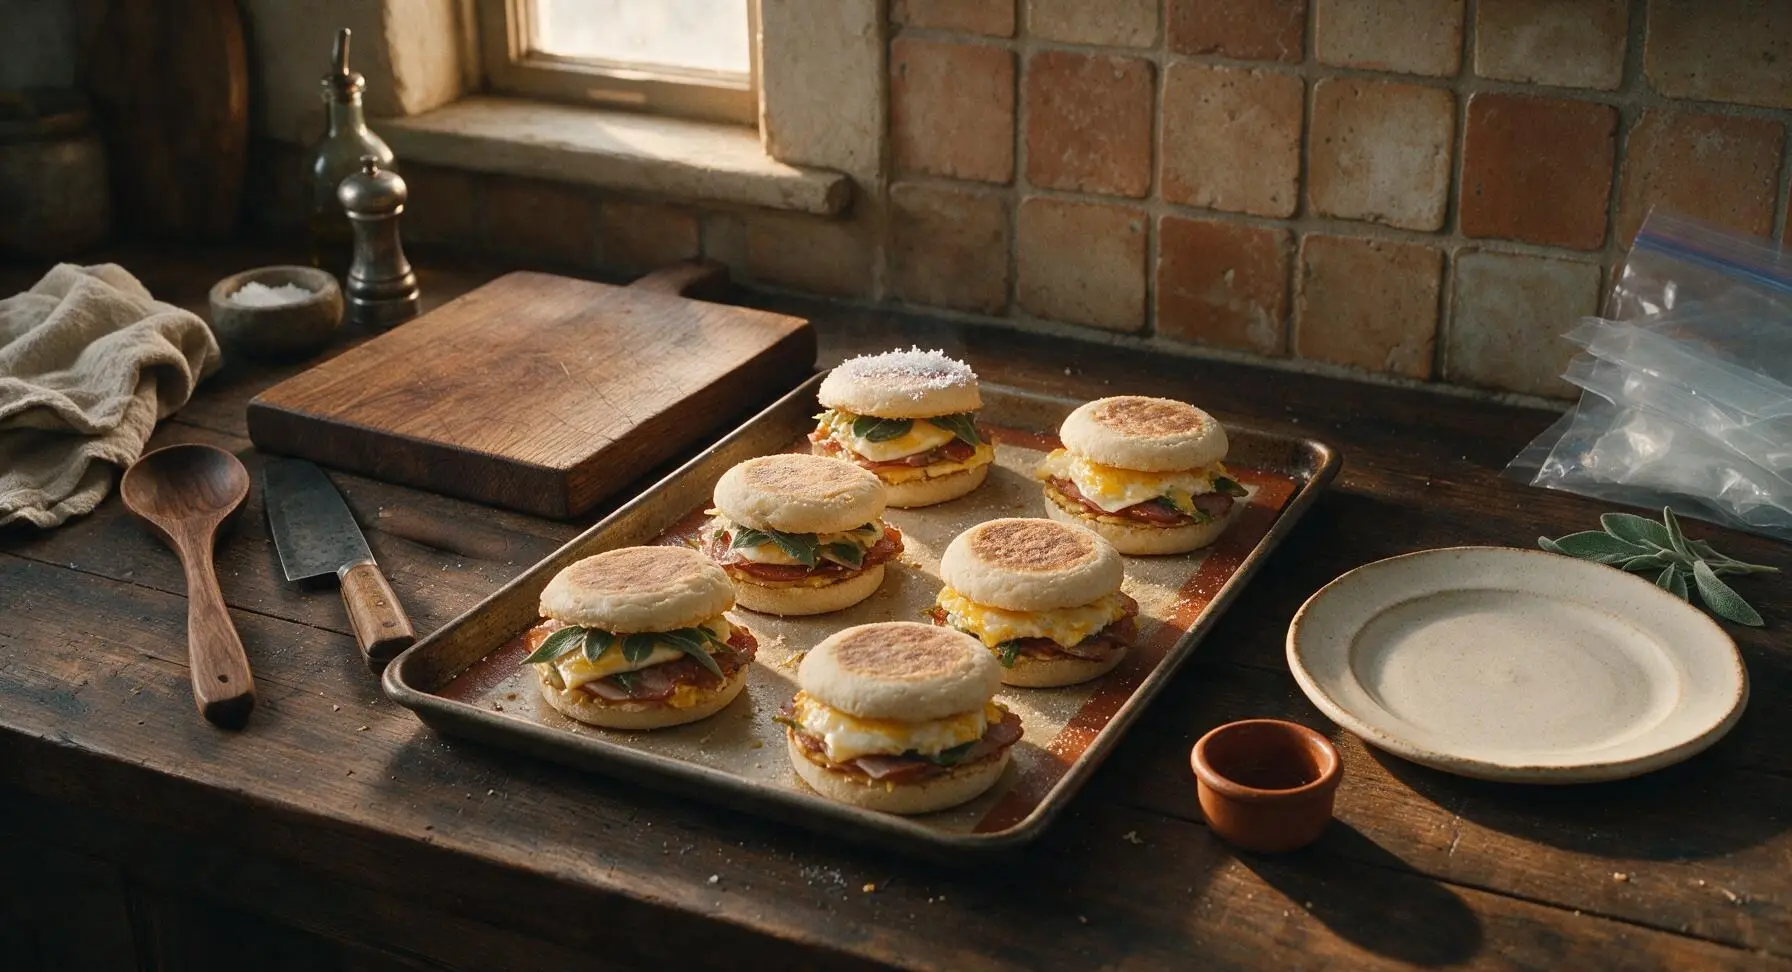
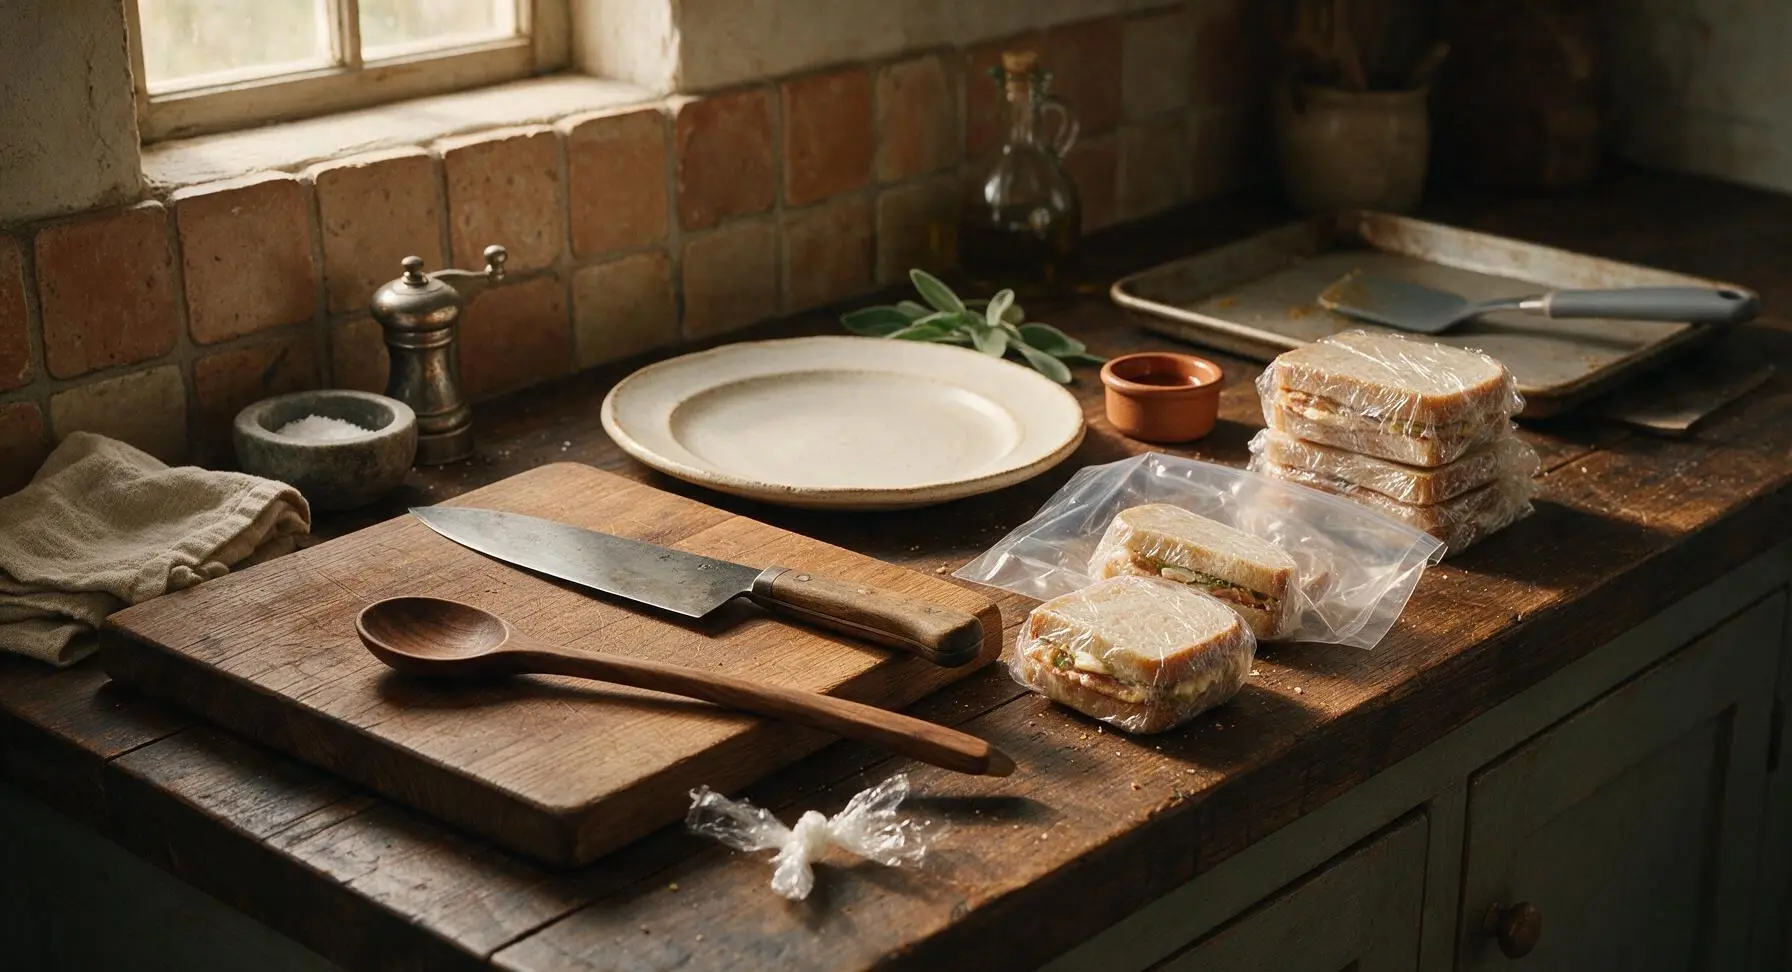
Remove the fully frozen, solid sandwiches from the baking sheet. Wrap each sandwich tightly in a 15cm square of plastic wrap, pressing out all excess air to prevent freezer burn, then place wrapped sandwiches into the reusable freezer bags. Seal bags tightly, and store for up to 3 months. To reheat, unwrap plastic, wrap in a paper towel, and microwave for 1.5-2 minutes, or bake at 180C (350F) for 15 minutes until heated through.
Tips
2.Never skip the flash freeze step: if you wrap and bag fresh, unfrozen sandwiches immediately, they will stick together in a solid frozen block, and trapped condensation will make the English muffins soggy when reheated.
3.For the crispiest reheated sandwich, wrap the frozen sandwich in a dry paper towel instead of plastic when microwaving: the towel absorbs excess steam from the heating fillings, keeping the muffin edges crisp instead of chewy or soggy.






OMG these are a total GAME CHANGER for our chaotic school mornings! I used to spend 20 minutes every day scrambling to make breakfast before the bus came, now I just pop one of these in the microwave for 90 seconds and we’re out the door. My kids loved it — even my pickiest eater who turns his nose up at 90% of breakfast foods asked for seconds! I added a little slice of cheddar and some crumbled sausage to ours, SO good.
Really solid recipe, super easy even for someone who barely cooks like me. I swapped the Canadian bacon for crispy bacon and added a dash of hot sauce to each one, tasted just like the fast food breakfast sandwiches I grab on my way to work but way cheaper. Only knock is mine got a little soggy around the edges the first time I made them, any tips for that?
Absolute lifesaver for my 8am lectures! My dorm has a tiny microwave and no real kitchen, so I made a whole batch at my friend’s apartment over the weekend and stashed them in my mini freezer. Way better than the overpriced dining hall breakfast, and I don’t have to wake up extra early to eat. 10/10 will be making these every month.
I made these vegetarian by swapping the meat for sautéed spinach and roasted red peppers, and my whole family devoured them! Cook time was exactly 25 minutes like the recipe said, no fancy steps or weird ingredients needed. I brought a couple to my neighbor who just had a baby and she texted me asking for the recipe yesterday.
These are perfect for post-run fuel! I do long runs on Saturday mornings and I hate having to cook a big meal when I get home all sweaty and tired. I make these with whole wheat English muffins, egg whites, and turkey sausage for a little extra protein, and they reheat perfectly. Already shared the recipe with my whole running group!
Made a giant batch of these for our team breakfast potluck at work and they were a huge hit! I set out a little topping bar with extra hot sauce, avocado slices, and salsa so people could customize theirs when they reheated. Only reason I’m not giving 5 stars is I wish the recipe had a note about how long they stay good in the freezer — I guessed a month and they were still fine, but an official timeline would be helpful!
I was worried these wouldn’t work with gluten-free English muffins, but they turned out perfect! I used the sourdough GF ones from my grocery store, toasted them a little extra first, and they didn’t get mushy at all after freezing and reheating. Game changer for my gluten-free meal prep rotation, I can never find easy frozen breakfast options that don’t cost a fortune.
First time ever meal prepping anything and this was so easy! The difficulty level says easy and it’s not lying, I didn’t burn anything (miracle for me) and the sandwiches taste way better than I thought they would. My roommate already stole two of them and said he’d Venmo me half the grocery cost if I make a double batch next week.
I’ve been making something similar for my grandkids when they come to visit for years, but this method of baking the eggs in a sheet pan instead of frying them individually saved me so much time! I added a little ham and Swiss to mine, and the kids said they were better than the ones I used to make. Win in my book.
These are great for my toddler! I cut them into little stick shapes after reheating so he can hold them himself, and he actually eats the whole thing instead of throwing half of it on the floor like he does with most breakfasts. I do wish there was a lower-sodium option note, but I just used low-sodium cheese and no added salt on the eggs and it worked great.
Took the advice from an earlier comment and made these with whole wheat English muffins, turkey sausage, and egg whites, and man these are filling! I eat one at 6am when I start work and I’m not starving by 9 like I am when I eat a granola bar. I stash one in my cooler every morning, reheat it in the portable microwave in my work truck, perfect.
Made these for a casual brunch with my girlfriends over the weekend and we were all obsessed! I set out different fillings — bacon, sausage, avocado, pepper jack, even some vegan cheese for my one friend who’s dairy free — and everyone got to build their own before we wrapped them up to take home. Such a fun brunch activity instead of just sitting around waiting for food to cook.
I’ve tried so many make-ahead breakfast sandwich recipes over the years and this one is by far the best! The eggs don’t get rubbery when you reheat them, the bread doesn’t turn to mush, and the cook time is short enough that I don’t dread making a batch on Sunday evenings. I’ve already recommended this to three people in my meal prep group!
These saved my grocery budget so much! I used to spend $5 a day on a breakfast sandwich on my way to work, which added up to almost $100 a month. A whole batch of these costs me like $12 to make, and they taste better. No more stopping at the drive-thru for me!