
garlic butter shrimp pinoy
intro
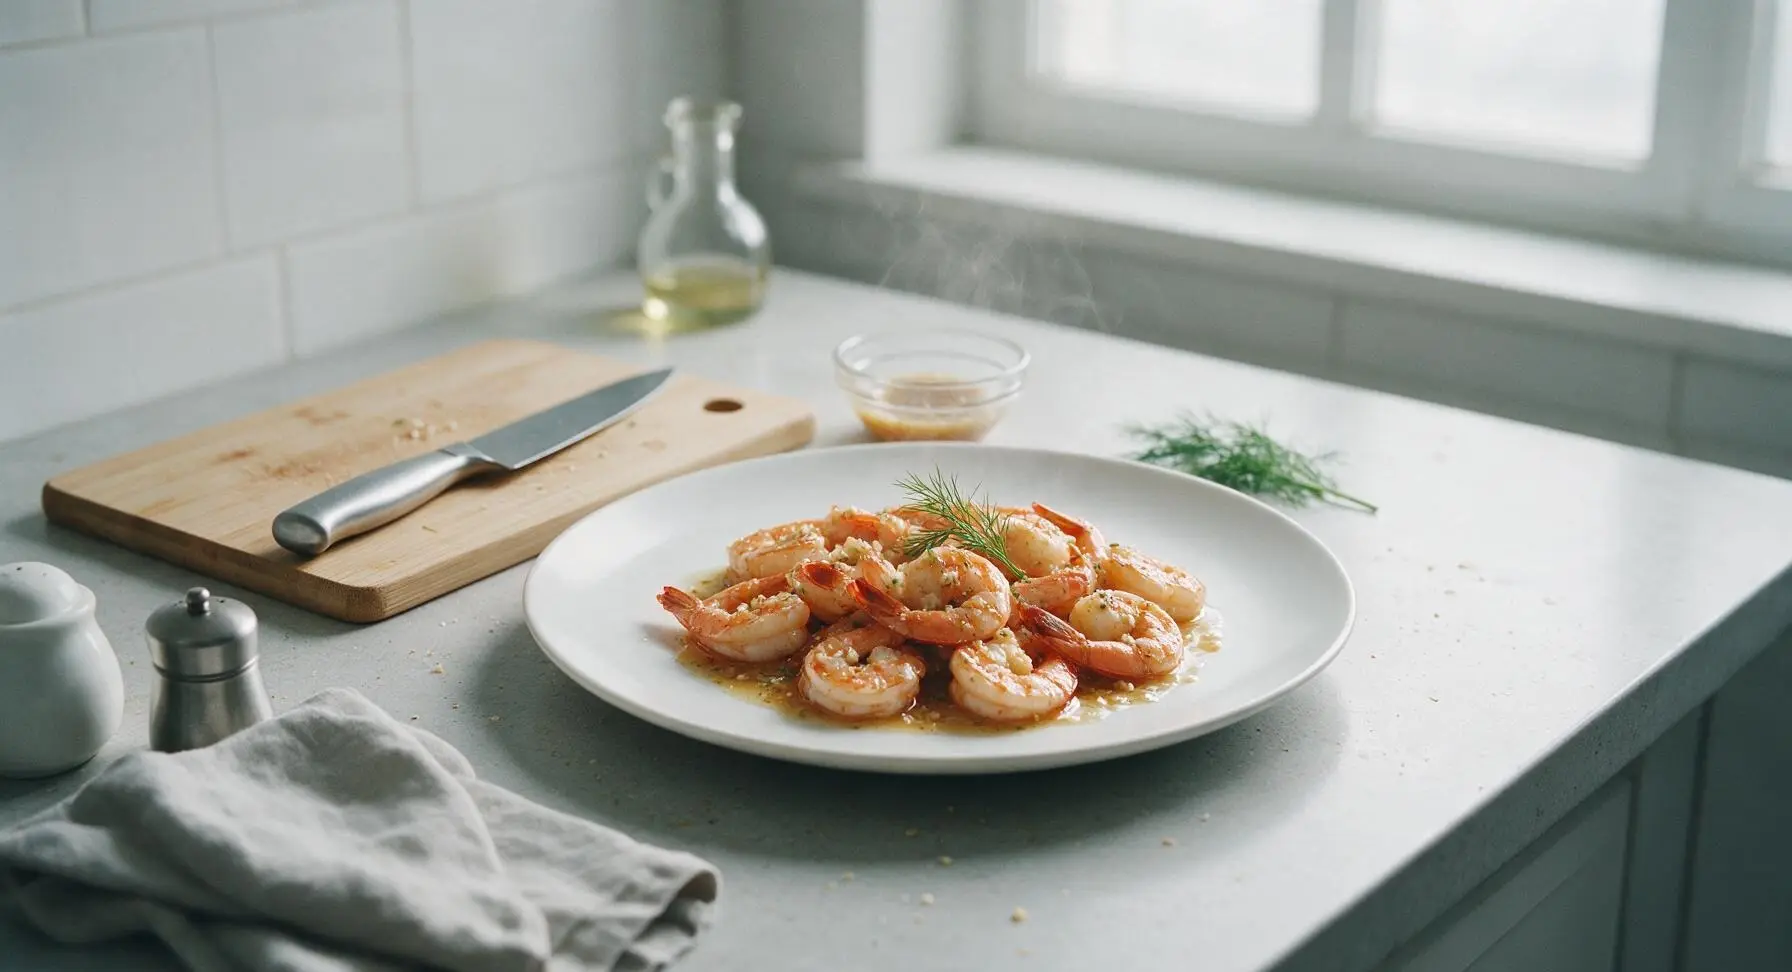
Juicy shell-on shrimp tossed in fragrant garlic butter, brightened with tangy calamansi, this beloved Filipino staple is rich, briny, and ready in just 20 minutes.
Ingredients
Steps
Prep and devein shrimp
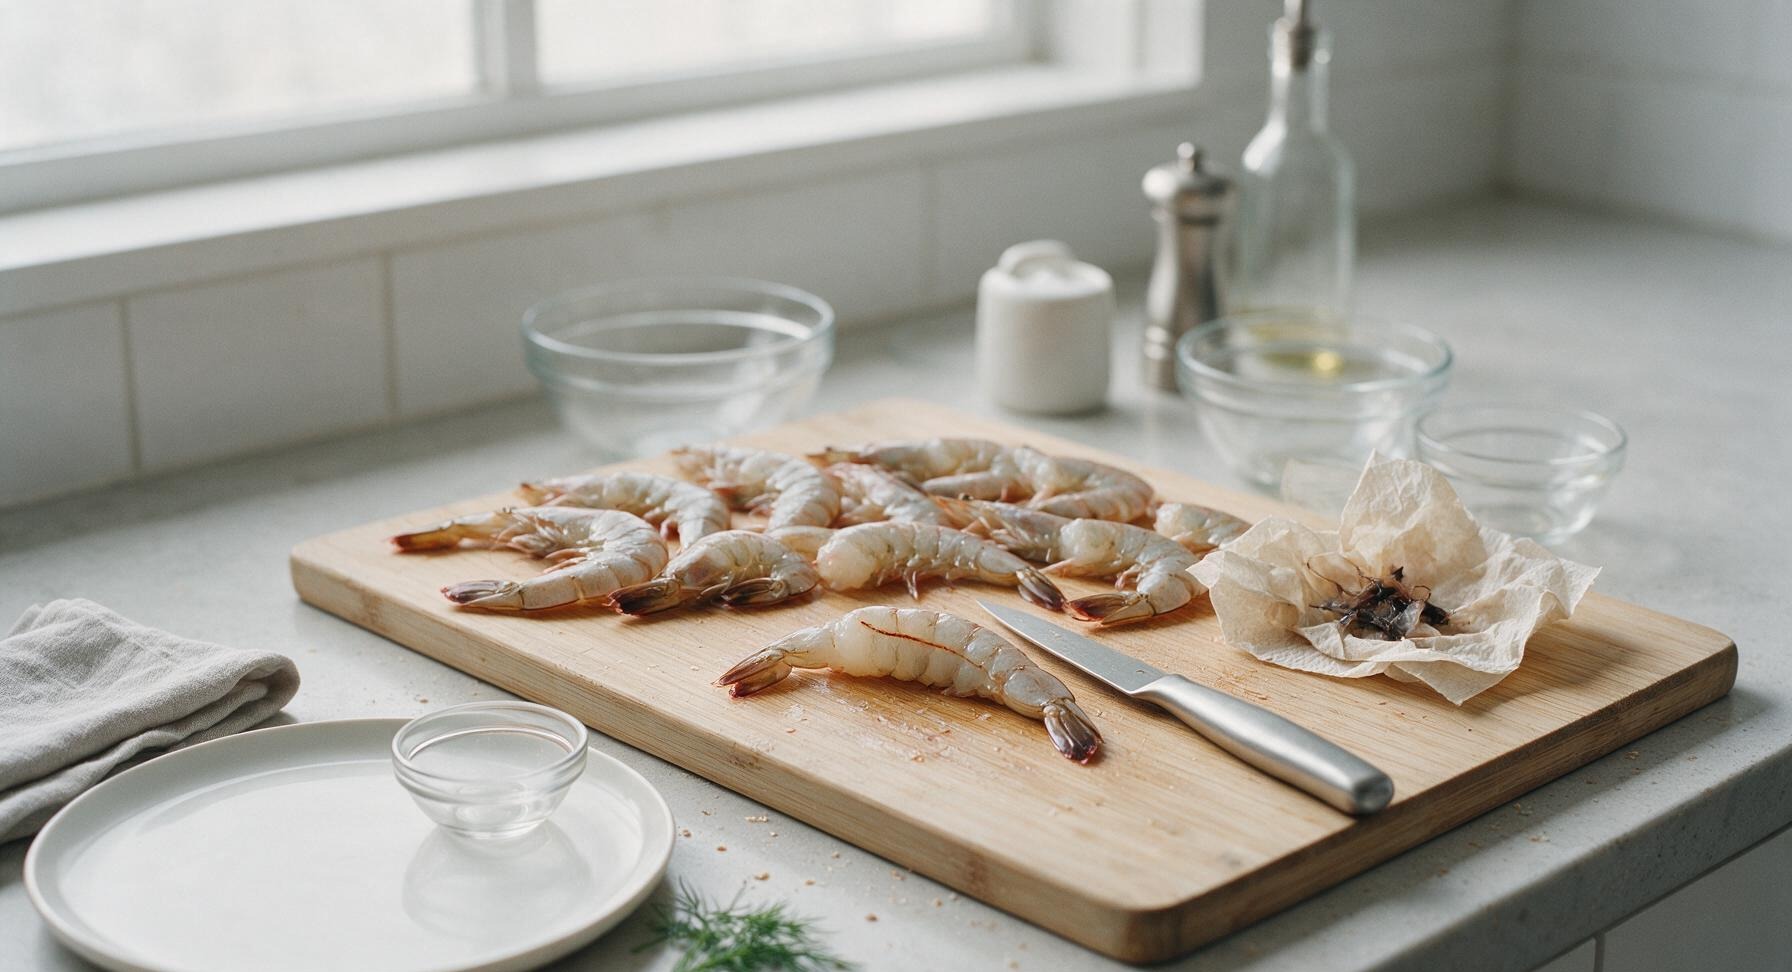
Place 1kg large shell-on shrimp (heads removed) on the light maple cutting board. Use the 3-inch stainless steel paring knife to make a shallow 1/4-inch slit along the curved back of each shrimp, pulling out the dark intestinal vein with the tip of the knife, leaving shells and tails fully intact to lock in flavor. Pat all shrimp completely dry with pieces of unbleached paper towel; damp exterior moisture will cause shrimp to steam instead of developing a light sear. Set dried shrimp aside in a medium clear glass prep bowl.
Mince and portion garlic
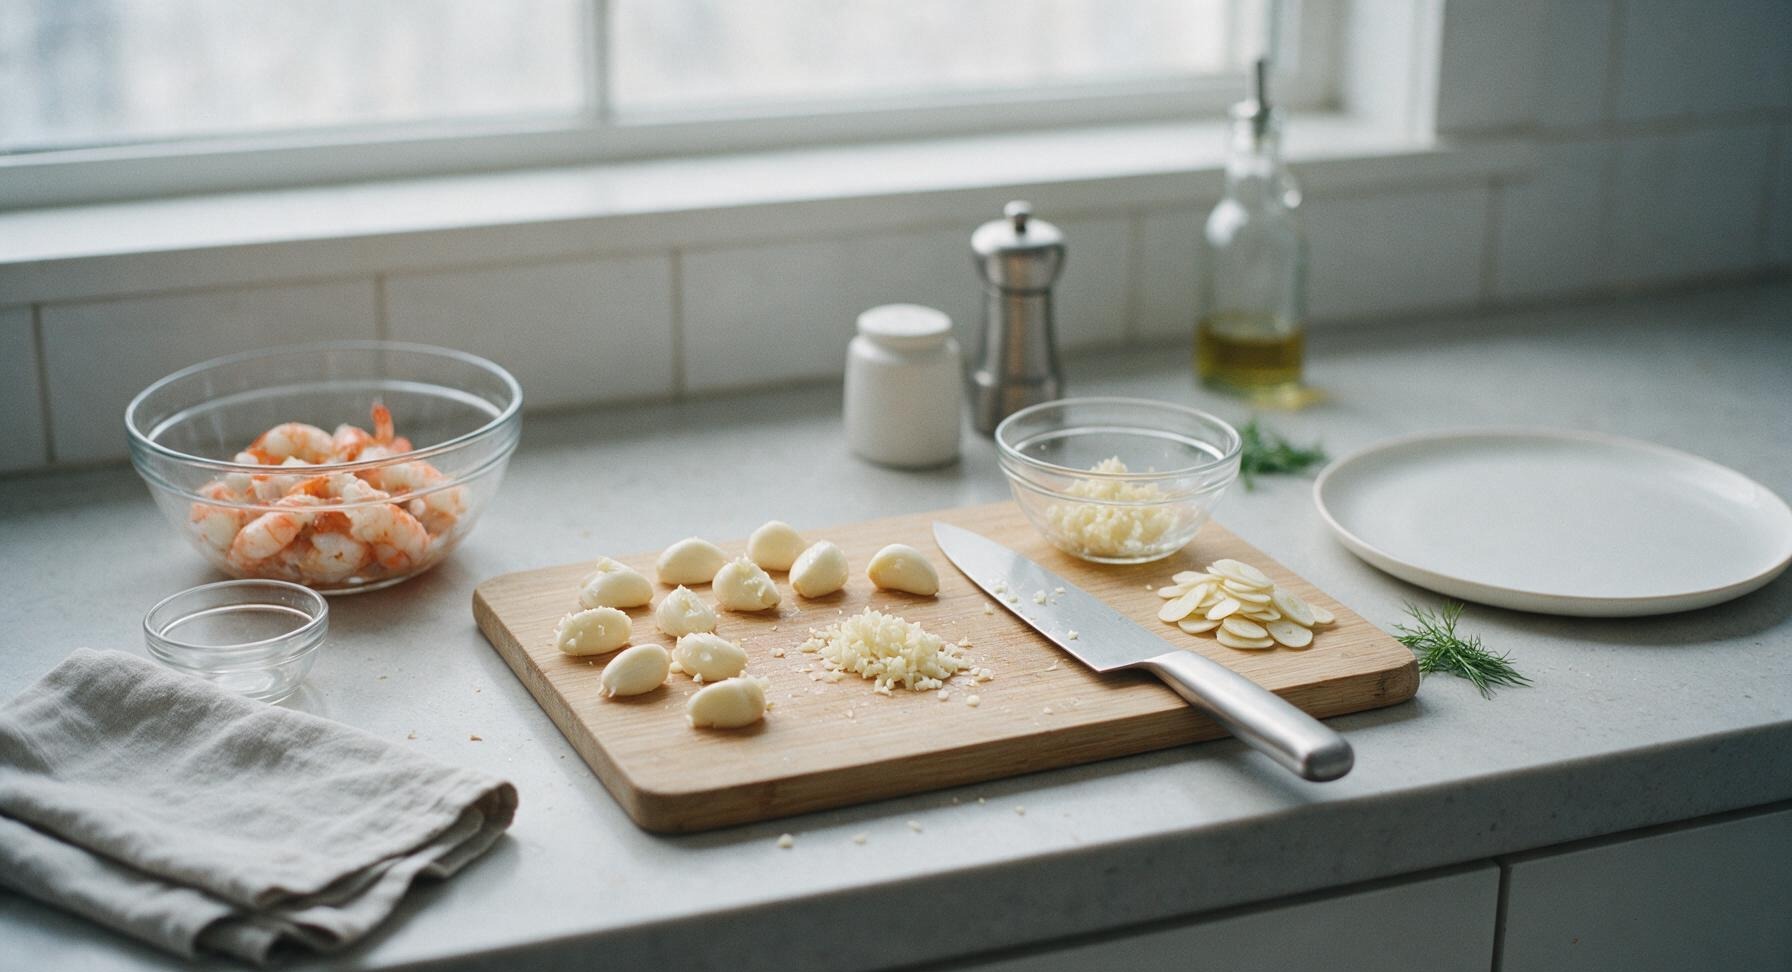
Place 12 peeled garlic cloves on the same maple cutting board. Use the 8-inch stainless steel chef’s knife to finely mince 9 cloves (3/4 of the total), and slice the remaining 3 cloves into thin, even chips for crispy garnish. Place the minced garlic and garlic chips into separate small clear glass prep bowls, and set the garlic chips aside for later frying.
Sear shrimp until pink
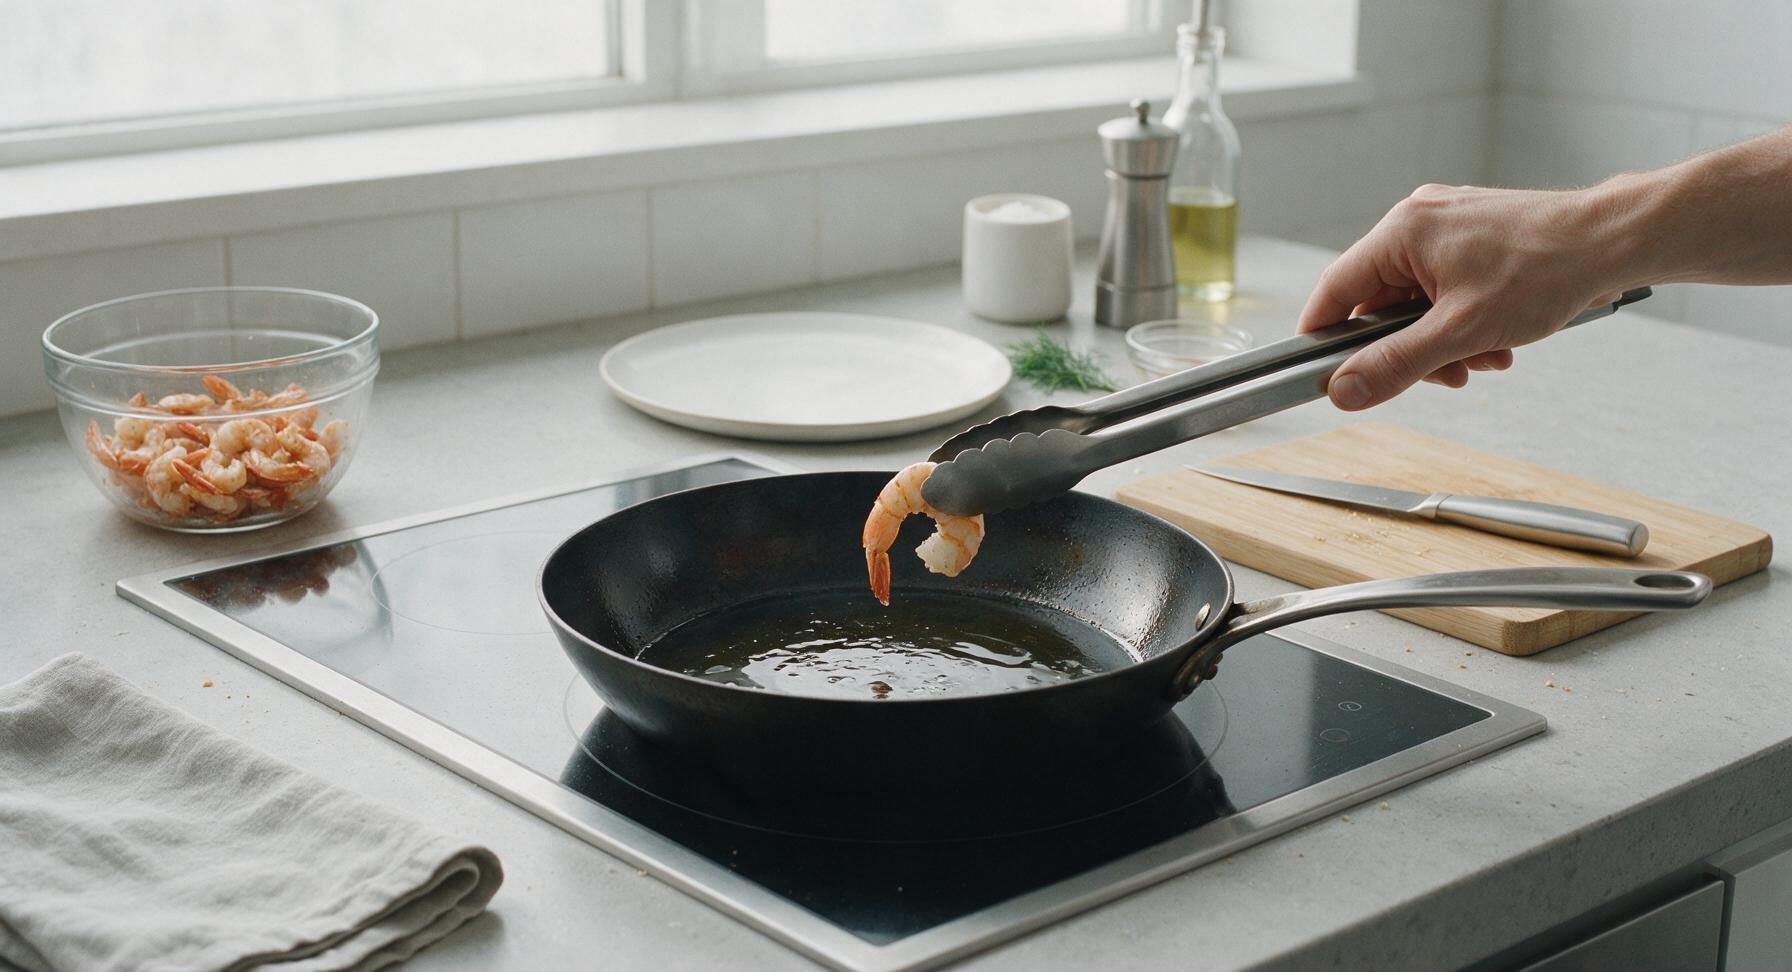
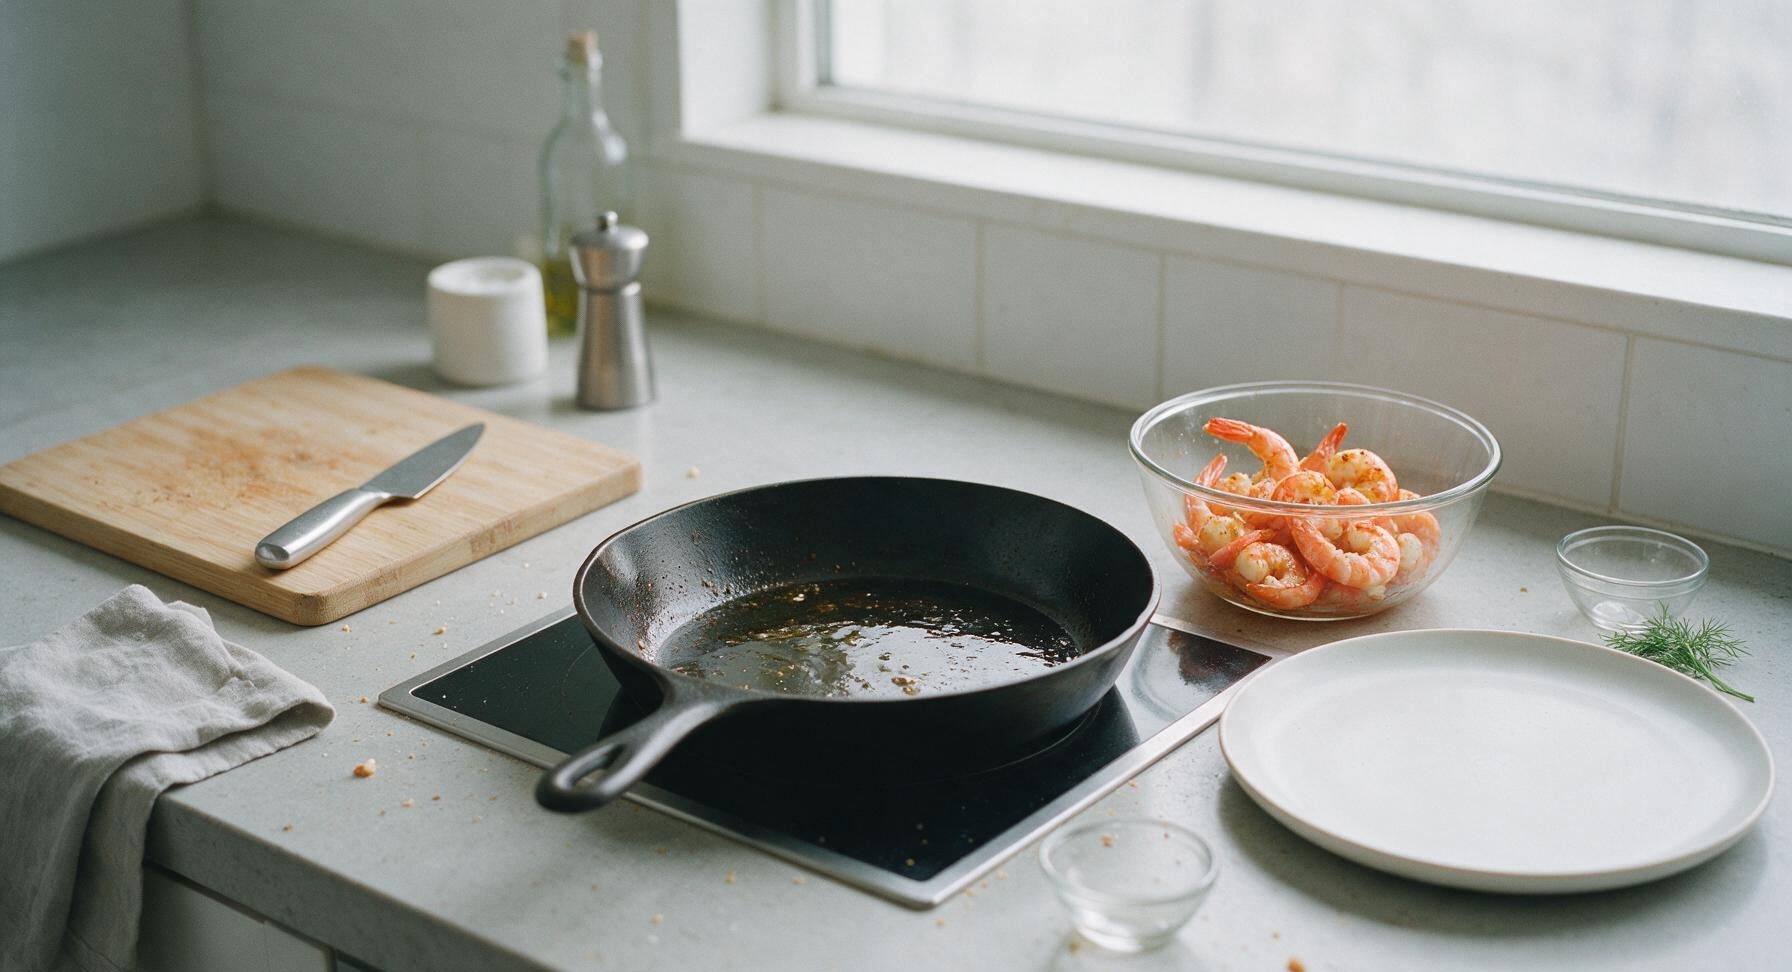
Place the 12-inch matte black carbon steel skillet on the center induction burner, heat to medium-high (180C/350F). Add 1 tablespoon neutral canola oil, and wait until the oil shimmers across the pan surface (about 2 minutes). Arrange dried shrimp in a single, uncrowded layer in the skillet, working in two batches if needed to avoid steaming. Sear for 1.5 minutes per side, until shells turn bright coral-pink and shrimp are opaque 70% of the way through. Use the stainless steel tongs to transfer seared shrimp to a clean medium clear glass prep bowl, and set aside.
Fry garlic for garnish
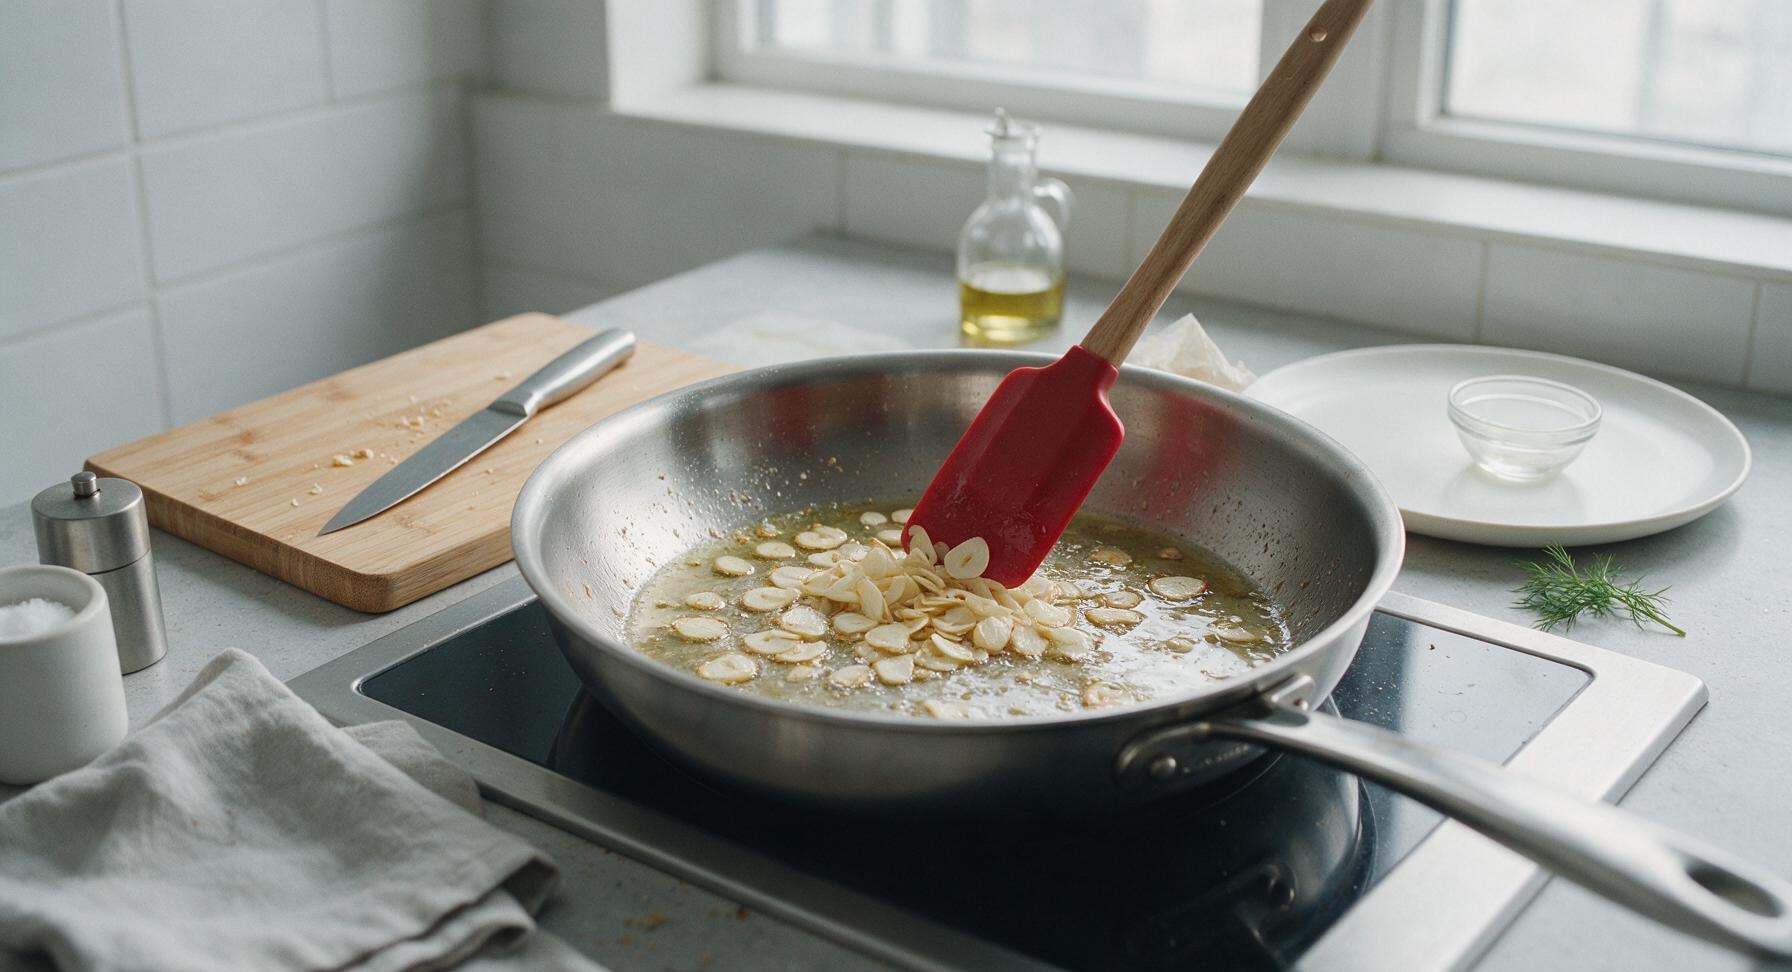
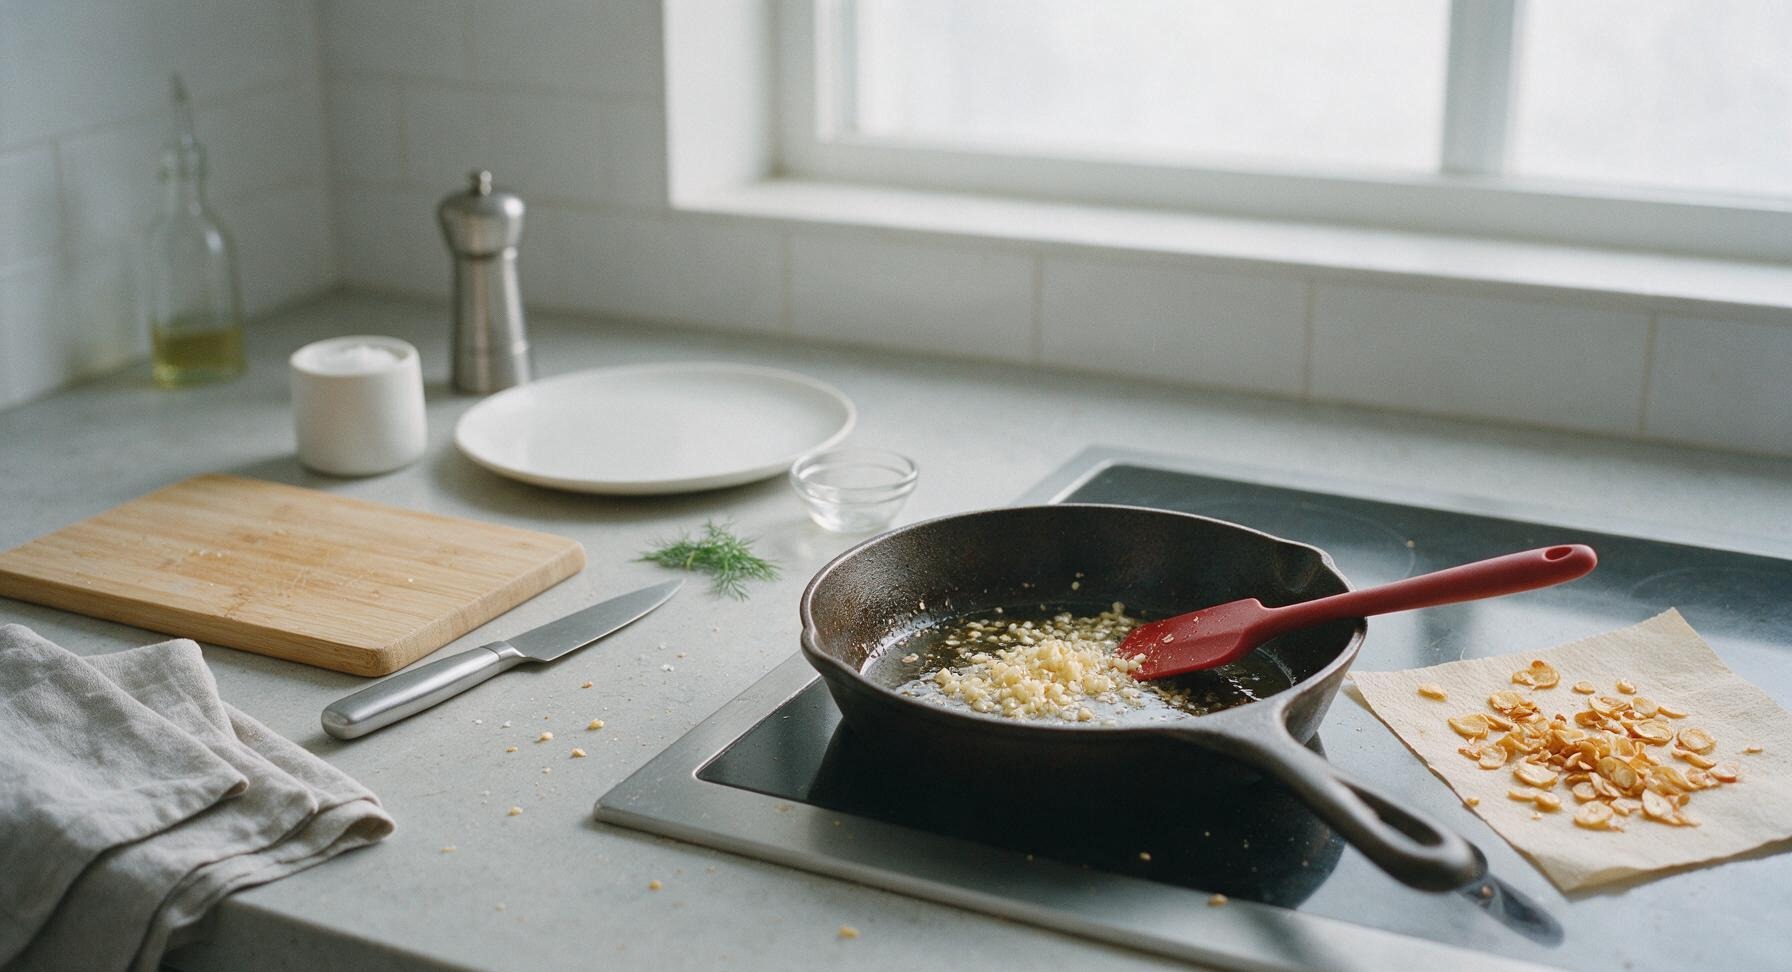
Reduce stovetop heat to medium-low (150C/300F). In the same skillet with reserved shrimp-infused oil, add the reserved thin garlic chips first, stirring constantly with the red silicone spatula for 30 seconds until pale golden and crispy. Use the spatula to transfer crispy garlic chips to a small piece of unbleached paper towel to drain and crisp further. Add the finely minced garlic to the remaining oil in the skillet, sautéing for 1 minute until fragrant and soft pale gold, watching closely to avoid burning (burnt garlic turns unpleasantly bitter).
Simmer garlic butter sauce
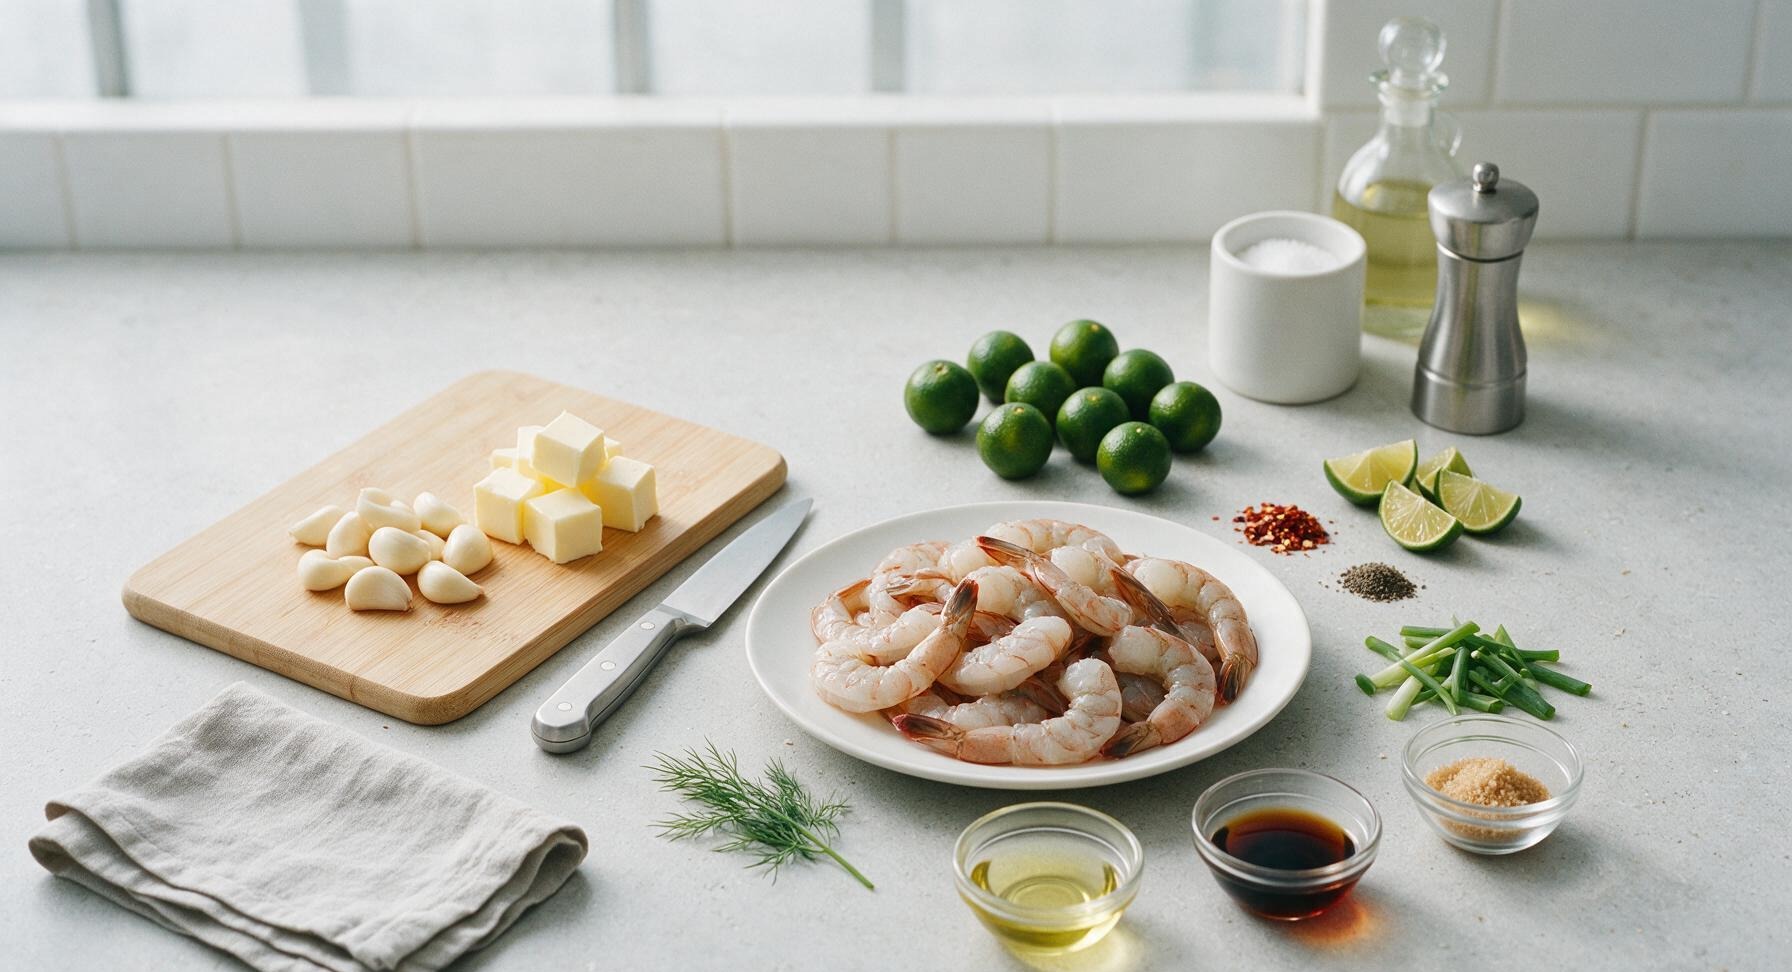
Add the cubed unsalted butter (85g) to the skillet with sautéed minced garlic, stirring constantly with the silicone spatula until butter is fully melted and foaming softly. Stir in 2 tablespoons light soy sauce, 3 tablespoons freshly squeezed calamansi juice, 1 teaspoon light brown sugar, and 1/2 teaspoon red pepper flakes. Simmer the sauce for 1 full minute, stirring gently, until the sugar is fully dissolved and the sauce is smooth, glossy, and fragrant.
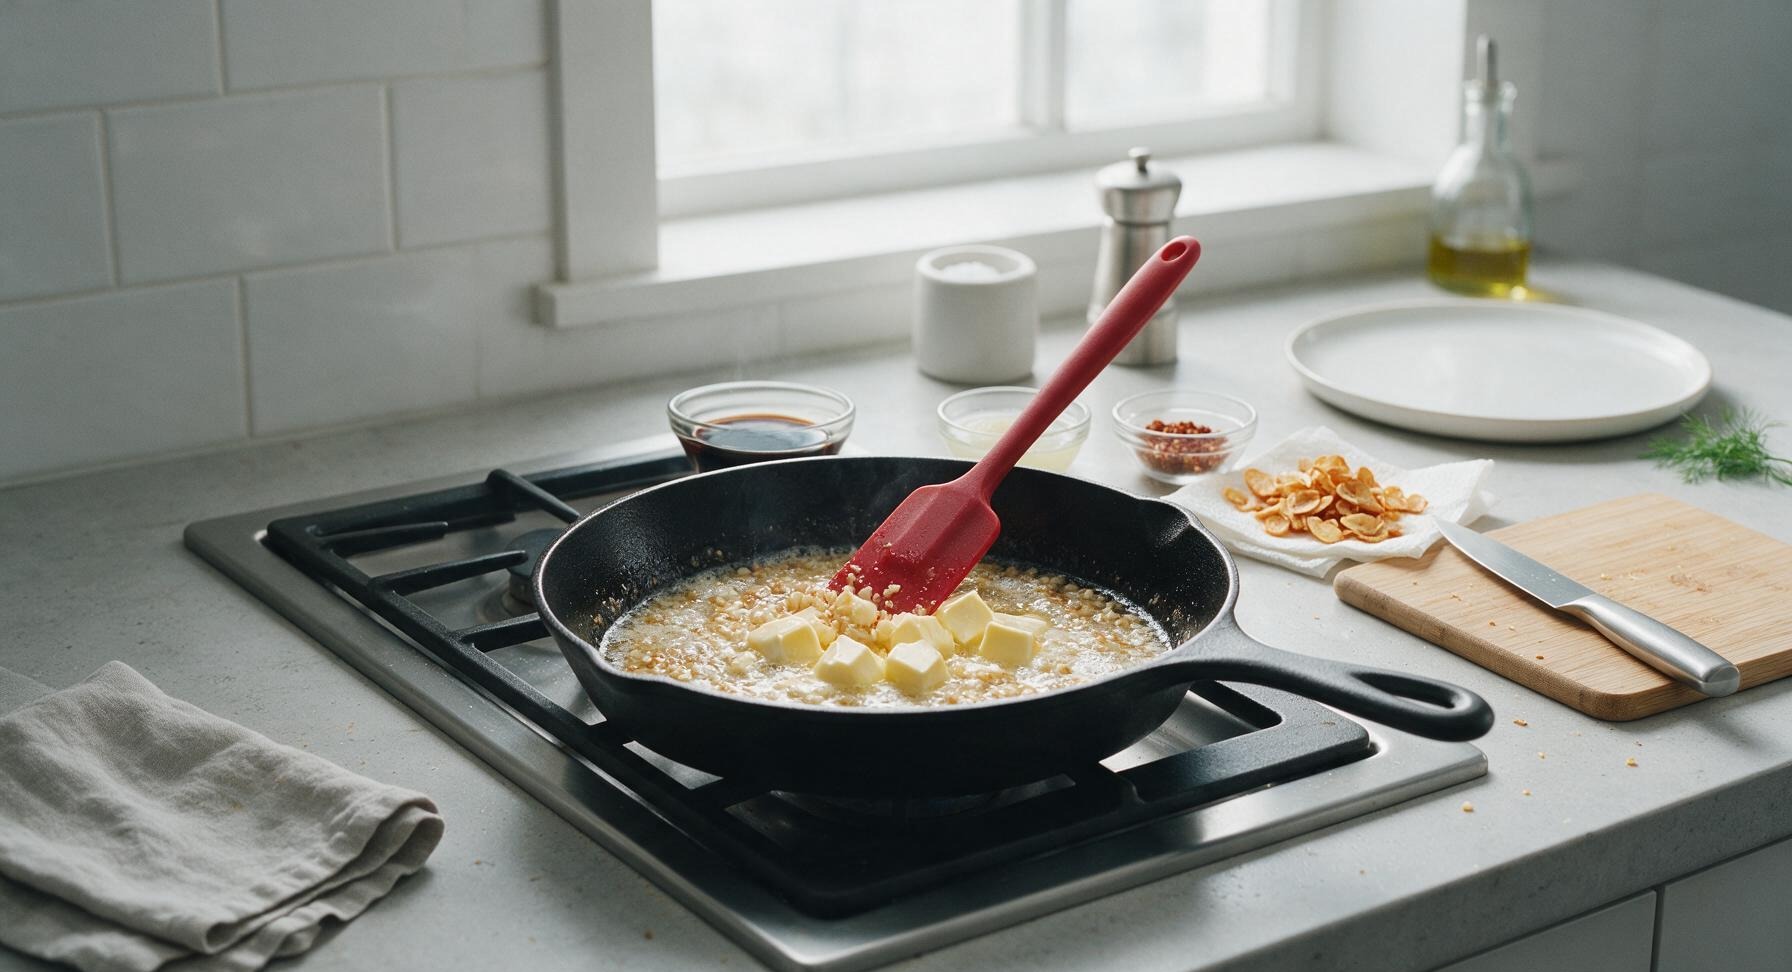
Toss shrimp to coat
Return all seared shrimp to the skillet with the bubbling butter sauce. Toss continuously with the stainless steel tongs for 2 minutes, until shrimp are fully cooked (opaque all the way through, internal temperature 63C/145F, curled into a loose C-shape) and evenly coated in the glossy sauce. Stir in 1/4 teaspoon freshly ground black pepper, then turn off the stovetop heat.
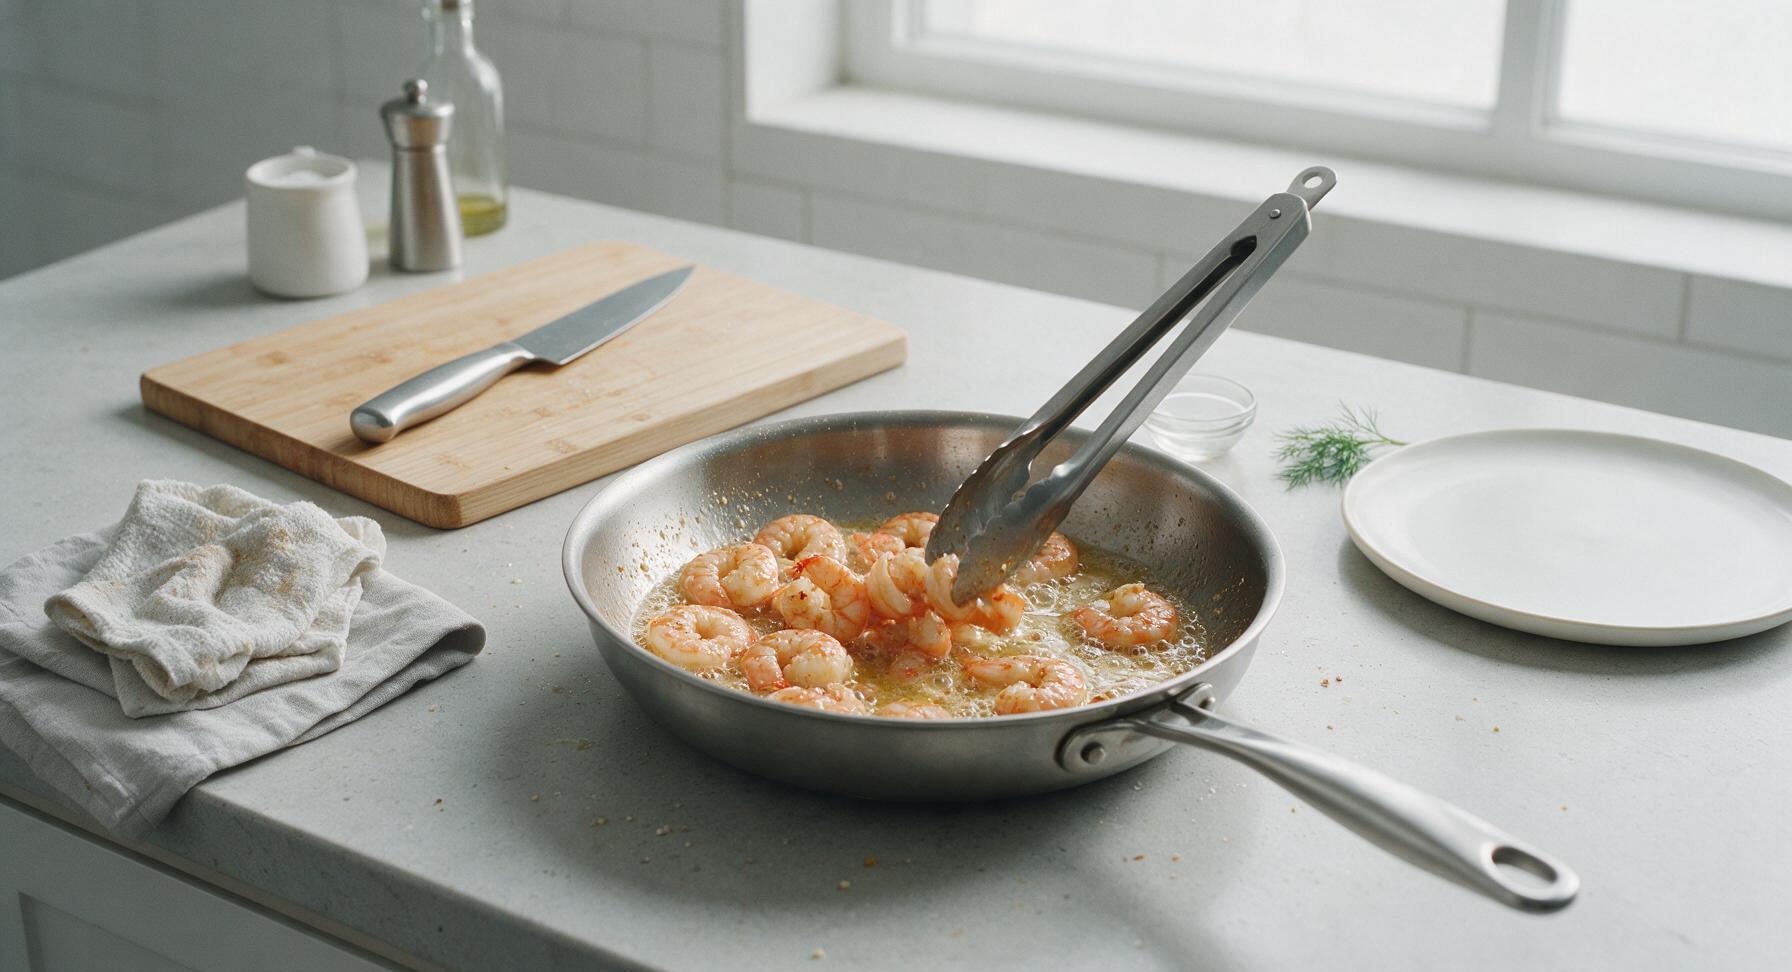
Plate and garnish dish
Use the tongs to transfer all sauced shrimp to the off-white hand-thrown ceramic serving plate, pouring any remaining butter sauce from the skillet over the top of the shrimp pile. Sprinkle the reserved crispy garlic chips and finely chopped green scallions evenly over the shrimp. Tuck 4 thin calamansi wedges along the plate rim for guests to squeeze over top before serving.
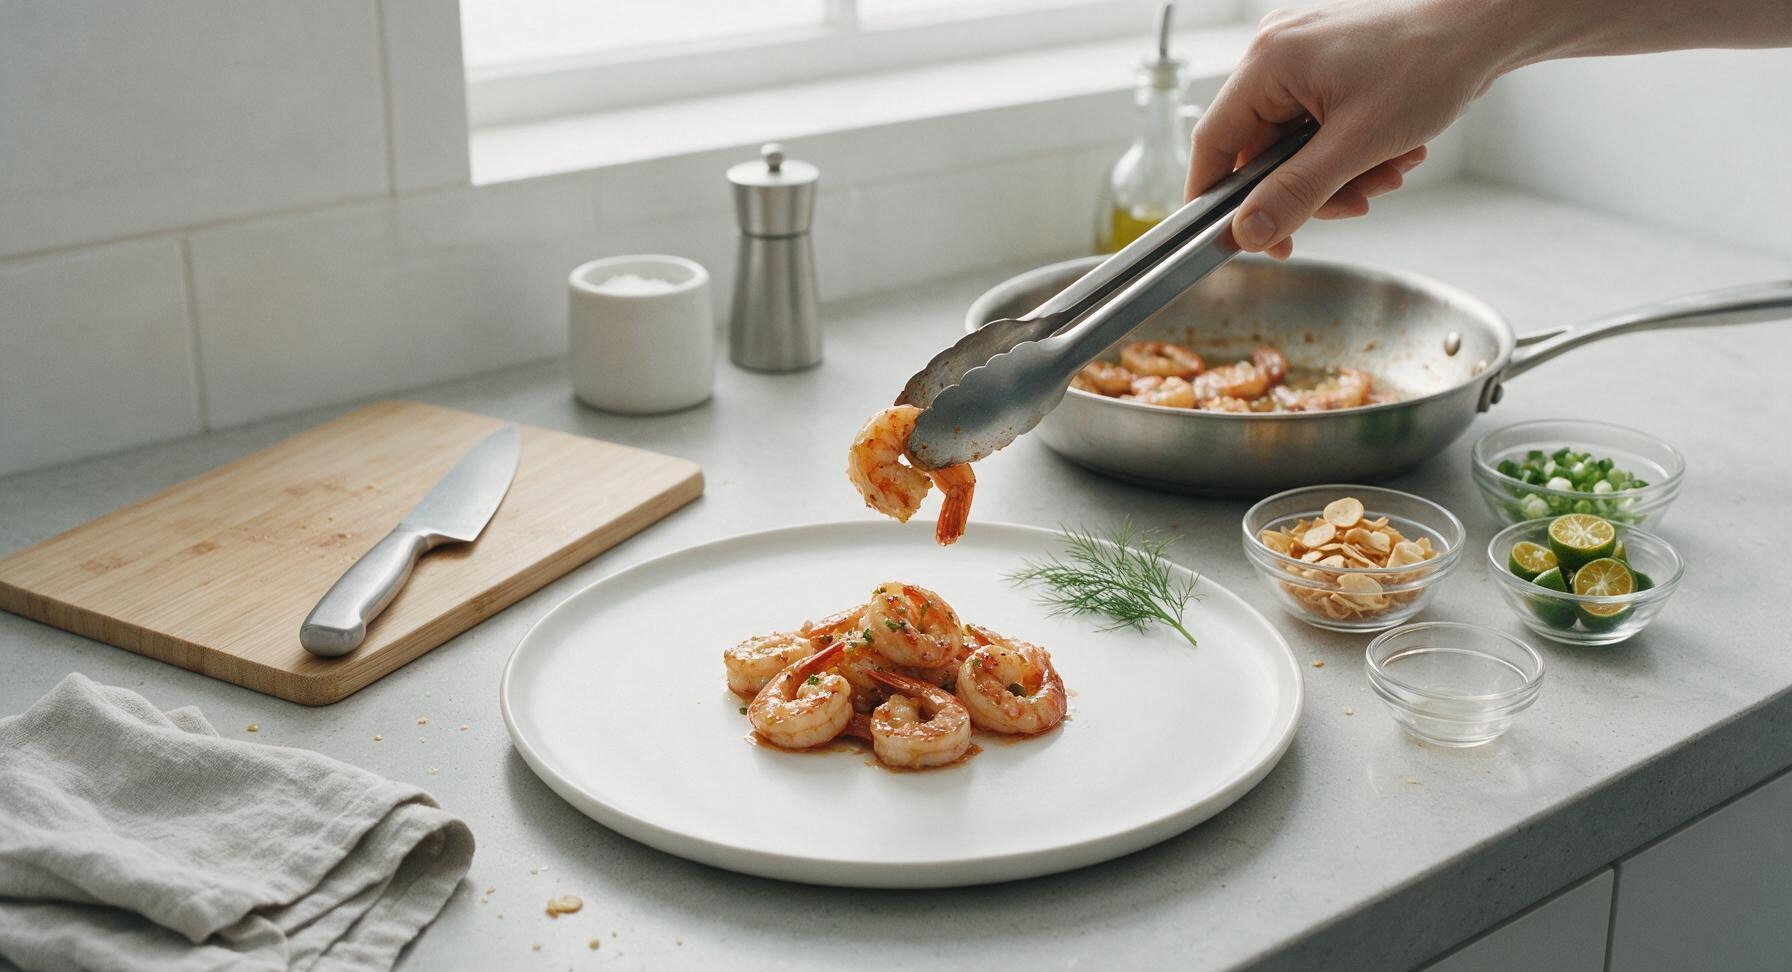
Tips
2.Watch garlic closely while frying: Garlic moves from perfectly golden and fragrant to bitter and burnt in as little as 15 seconds over medium heat. Remove garlic chips from the pan as soon as they hit pale golden, as they will continue to cook and crisp from residual heat as they drain.
3.Avoid overcooking shrimp: Shrimp turn tough and rubbery if overcooked. Look for the visual cue of a loose 'C' shape to signal doneness; if shrimp curl tightly into an 'O' shape, they have been cooked too long and will have a chewy texture.






OMG this was SO good! I made this for last night’s family dinner and even my super picky 7 year old cleaned his plate. The garlic butter is so rich but not heavy, and the 10 minute cook time is a total game changer for busy weeknights. Will 100% be adding this to our regular rotation!
Made this for my fantasy football watch party this weekend and it was gone in 10 minutes flat. Everyone was asking for the recipe! I tossed in a little extra red pepper flakes for a tiny kick, chef’s kiss. Easy, fast, tastes way fancier than the effort it takes.
Wait, do I need to use shrimp with the shells on? I usually buy pre-peeled deveined shrimp for meal prep, will that work okay or do I lose too much flavor?
Brought this to our neighborhood block party potluck last Saturday and people were raving! I served it over a bed of garlic fried rice and it was the perfect combo. Only note is I wish I made double, there wasn’t a single bite left.
Super easy recipe, came out perfectly on my first try. I used salted butter so I cut back a little on the added salt, and it was seasoned just right. Great for when you forget to plan dinner and need something fast that tastes like takeout but way better.
Can I make this ahead and store it for meal prep for the week? How long does it keep in the fridge?
This tastes exactly like the garlic butter shrimp my Filipino grandma used to make! I was worried it wouldn’t have that right citrusy-savory balance, but it’s spot on. Added a little sugar like she used to and it brought back so many memories. 10/10.
First time making any kind of Filipino dish and this was so approachable! I was intimidated at first but the steps are so straightforward, cook time is literally 10 minutes like it says. My partner said it’s better than the shrimp we get at our local Filipino restaurant, no cap.
Made this for date night last night and my girlfriend absolutely loved it. Paired it with some roasted broccoli and buttered noodles, super romantic for how little work it took. Will definitely be pulling this out for future date nights.