
Garlic Scrambled Eggs

title 1
Garlic Scrambled Eggs
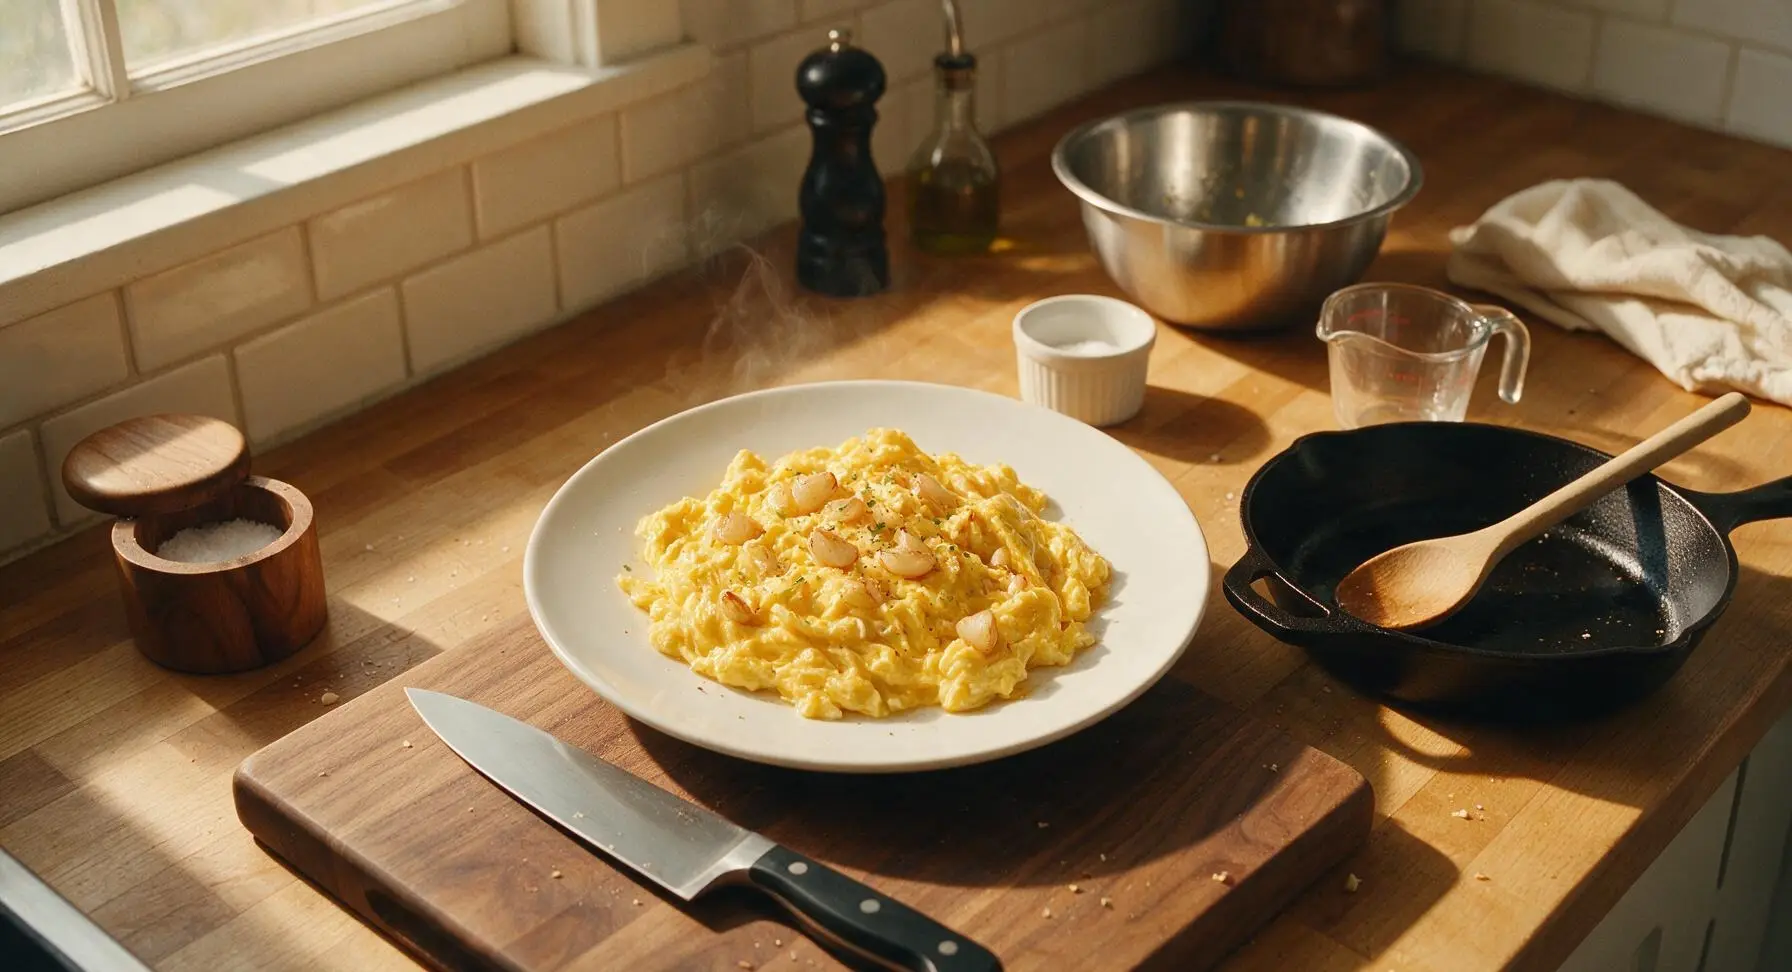
⏱️ cook time 4 minutes
🍽️ servings 2
⚡ Difficulty easy

intro

Silky, fluffy scrambled eggs infused with mellow golden garlic, tender and lightly seasoned, ready in under 10 minutes for a cozy, no-fuss satisfying meal.

Ingredients
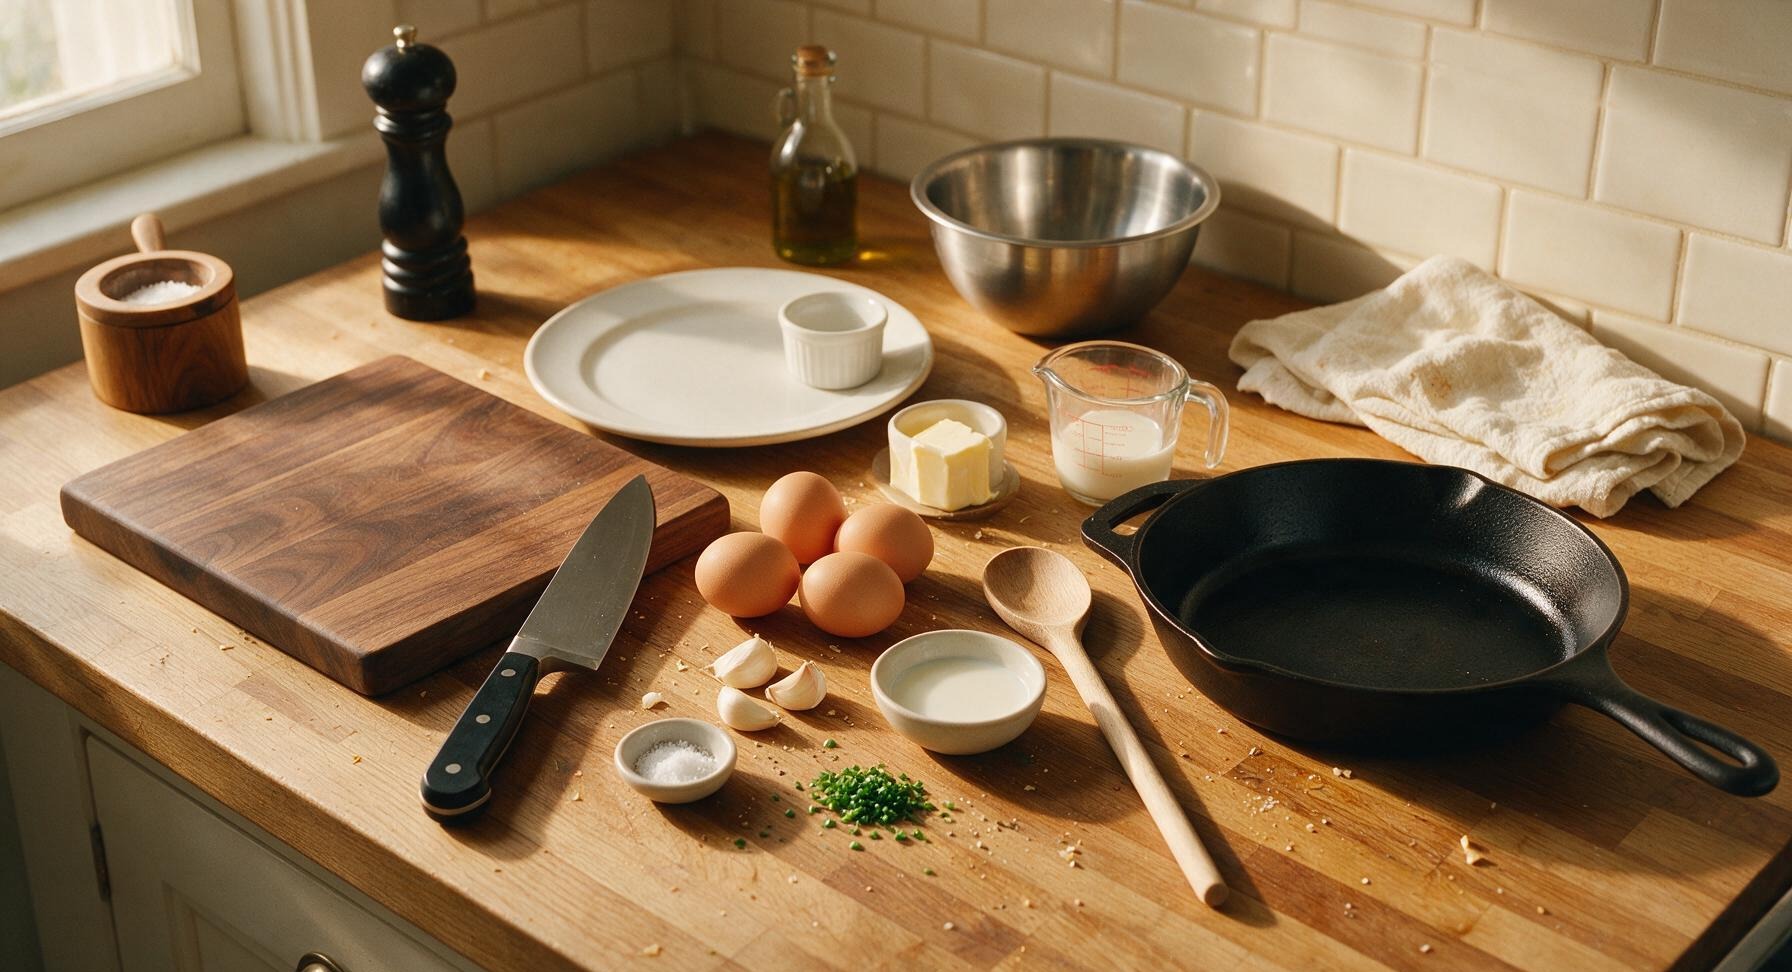
Large eggs 4 (about 200g)
Fresh garlic 3 cloves (about 15g)
Unsalted butter 1 tablespoon (14g)
Whole milk 1 tablespoon (15ml)
Fine sea salt 1/4 teaspoon
Freshly ground black pepper 1/8 teaspoon
Fresh chives 1 teaspoon, finely chopped

Steps

1

Chop Fresh Garlic

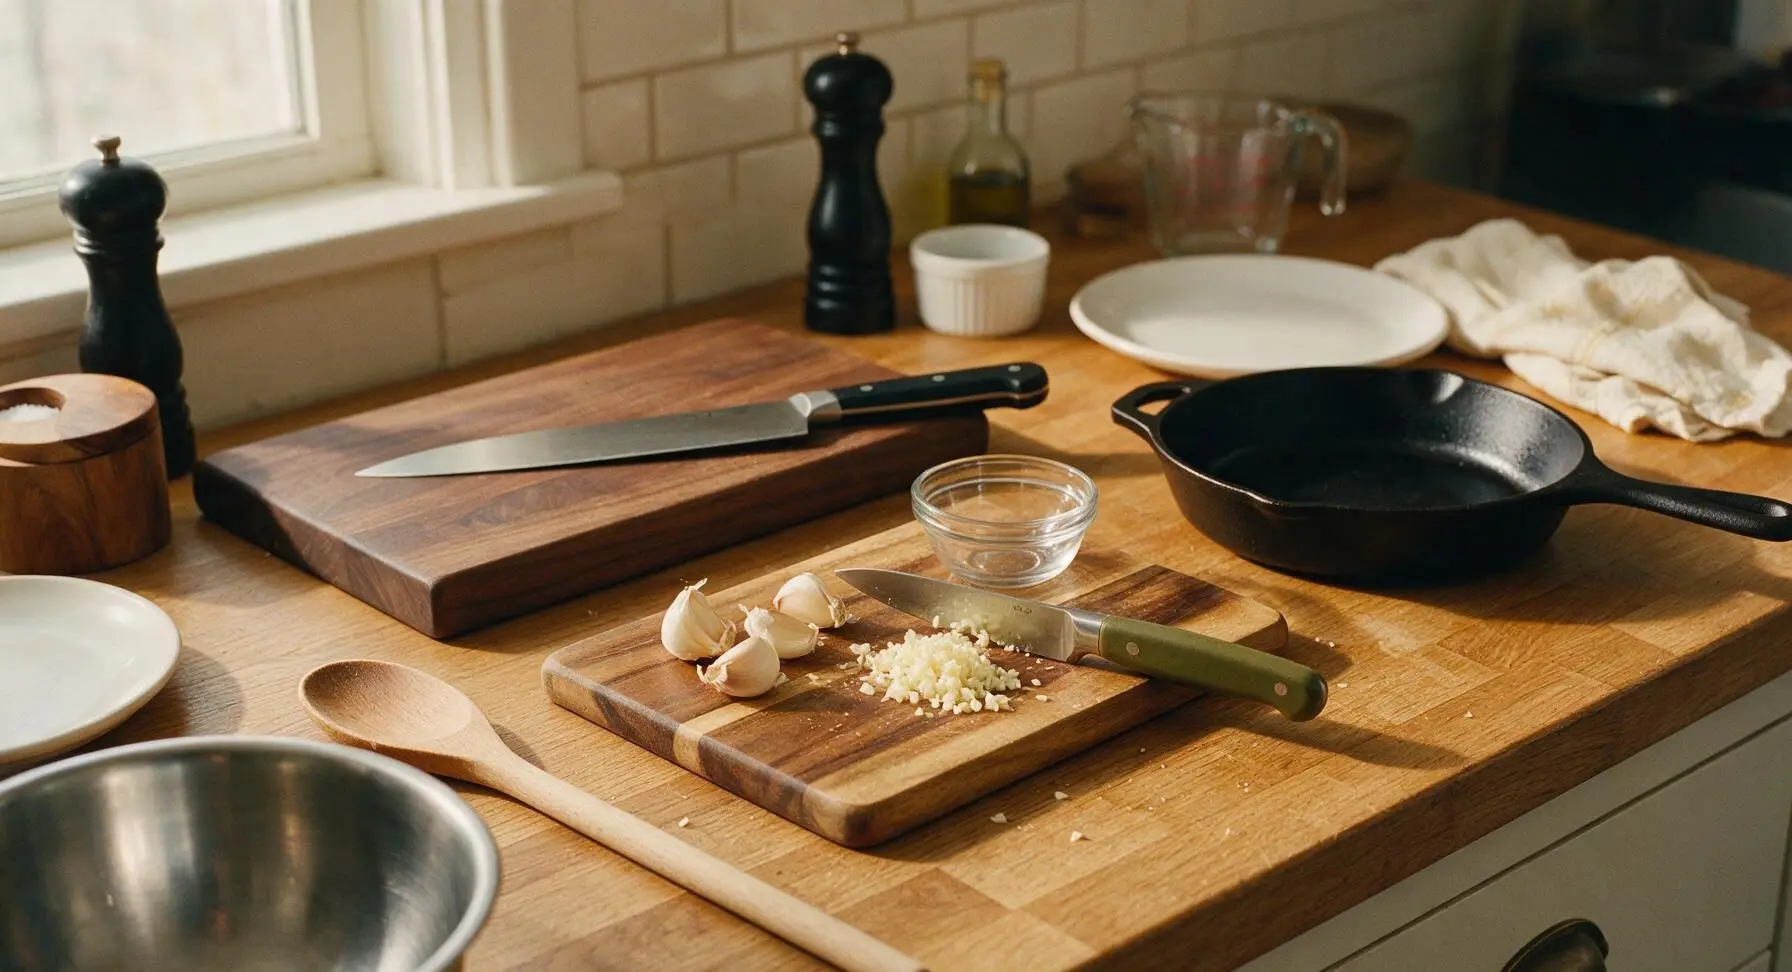
Place the 3 garlic cloves on the small acacia wood cutting board. Use the 4-inch olive-green handled paring knife to trim off the hard root end of each clove, peel away the thin papery outer skin, then finely mince the garlic into 1-2mm pieces, taking care not to mash the garlic into a paste (mashed garlic burns very quickly). Transfer the finished minced garlic to the small clear glass ramekin and set aside near the cutting board.
Step 1
step1:Chop Fresh Garlic
2

Crack and Season Eggs

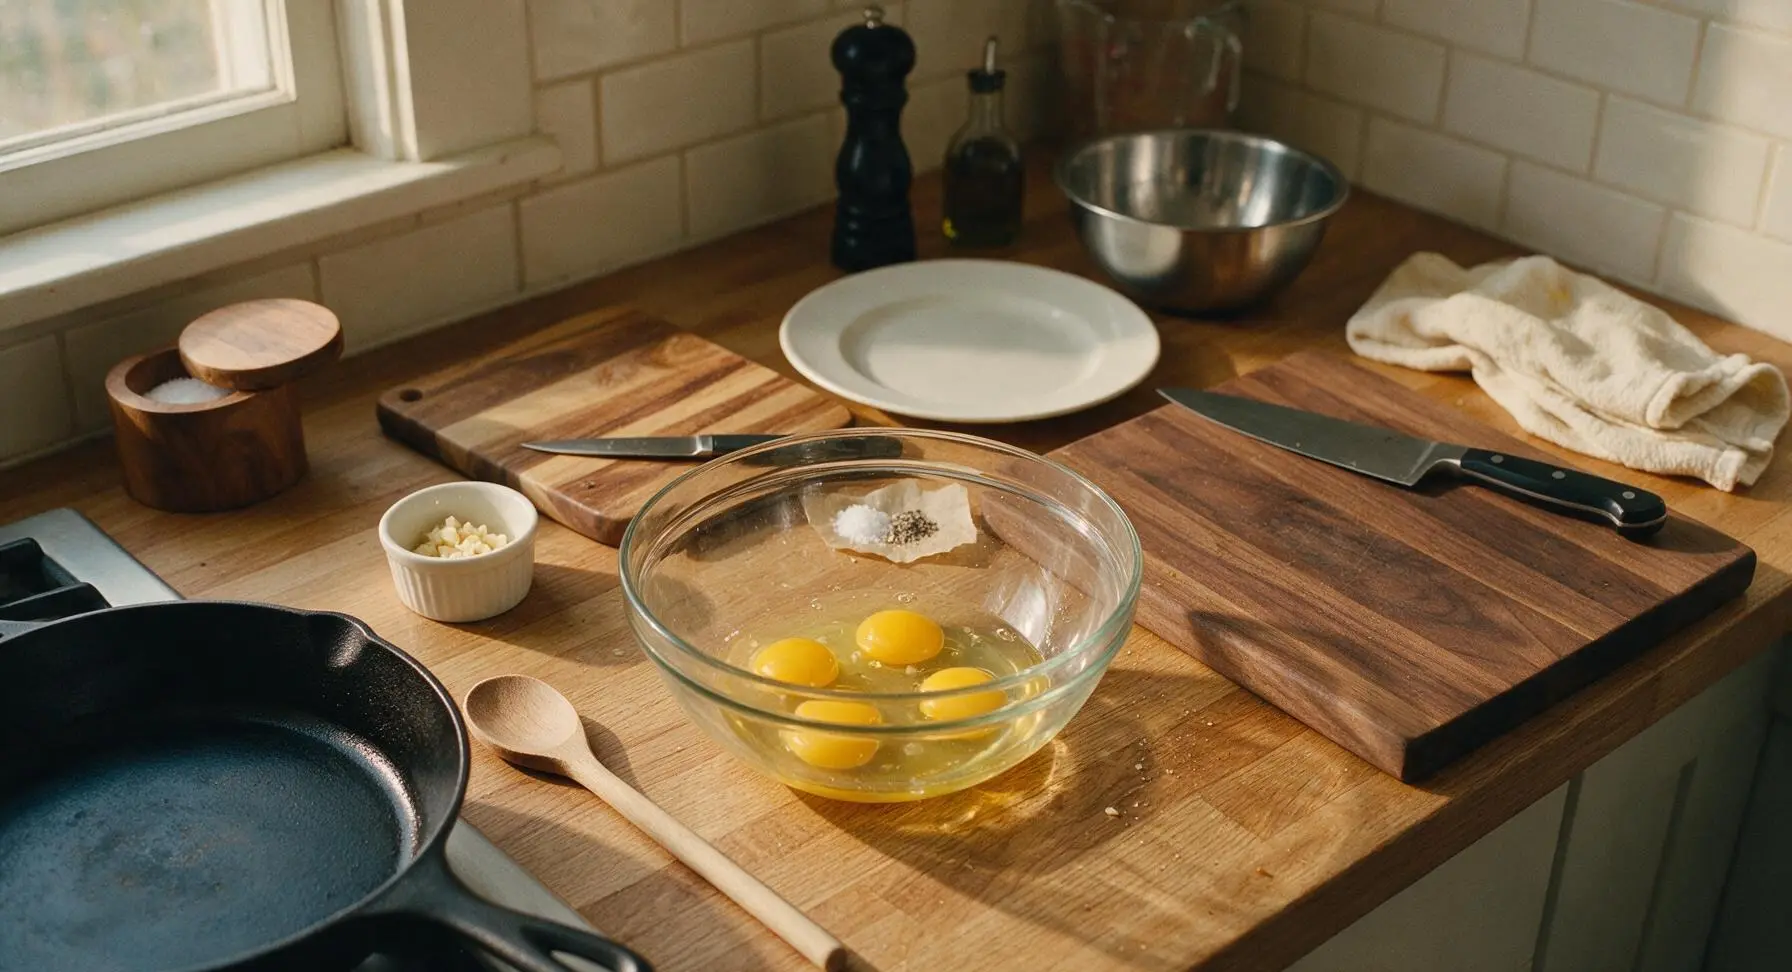
Hold each egg gently against the rim of the medium borosilicate glass mixing bowl, apply even pressure to crack the shell cleanly, and pour the egg contents into the bowl, fishing out any small shell fragments with a piece of empty shell if needed. Add 1/4 teaspoon fine sea salt, 1/8 teaspoon freshly ground black pepper, and 1 tablespoon whole milk to the bowl with the eggs.
Step 2
step2:Crack and Season Eggs
3

Whisk Egg Mixture

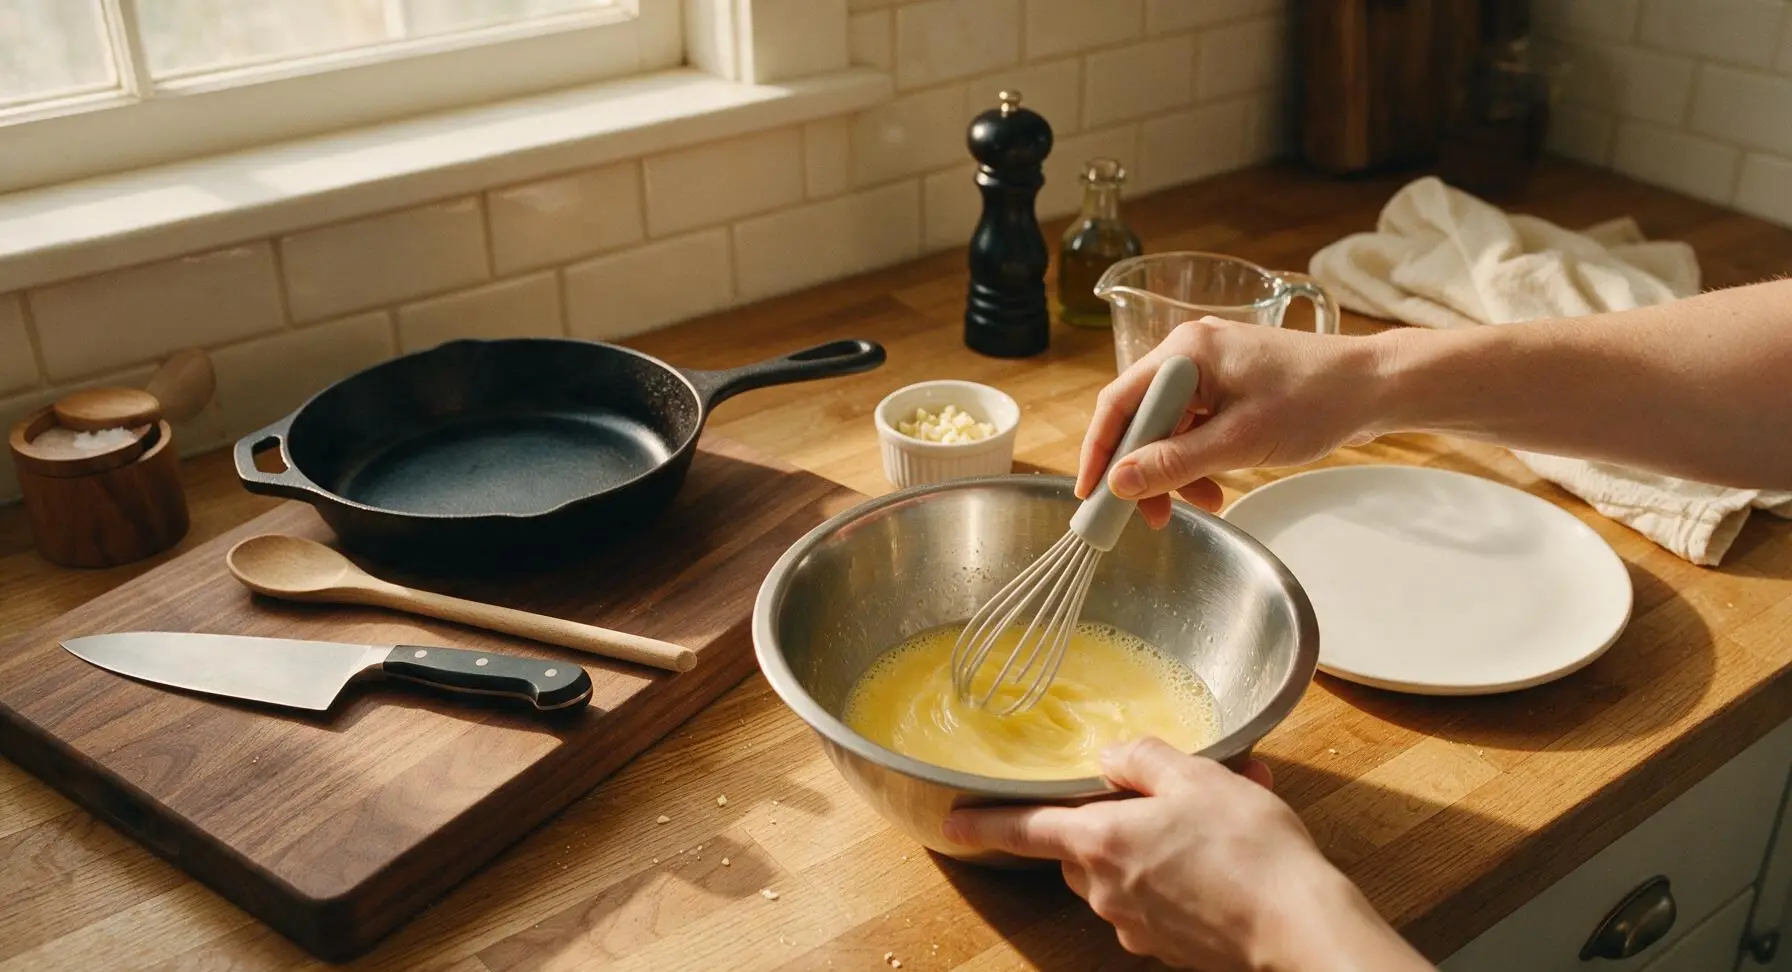
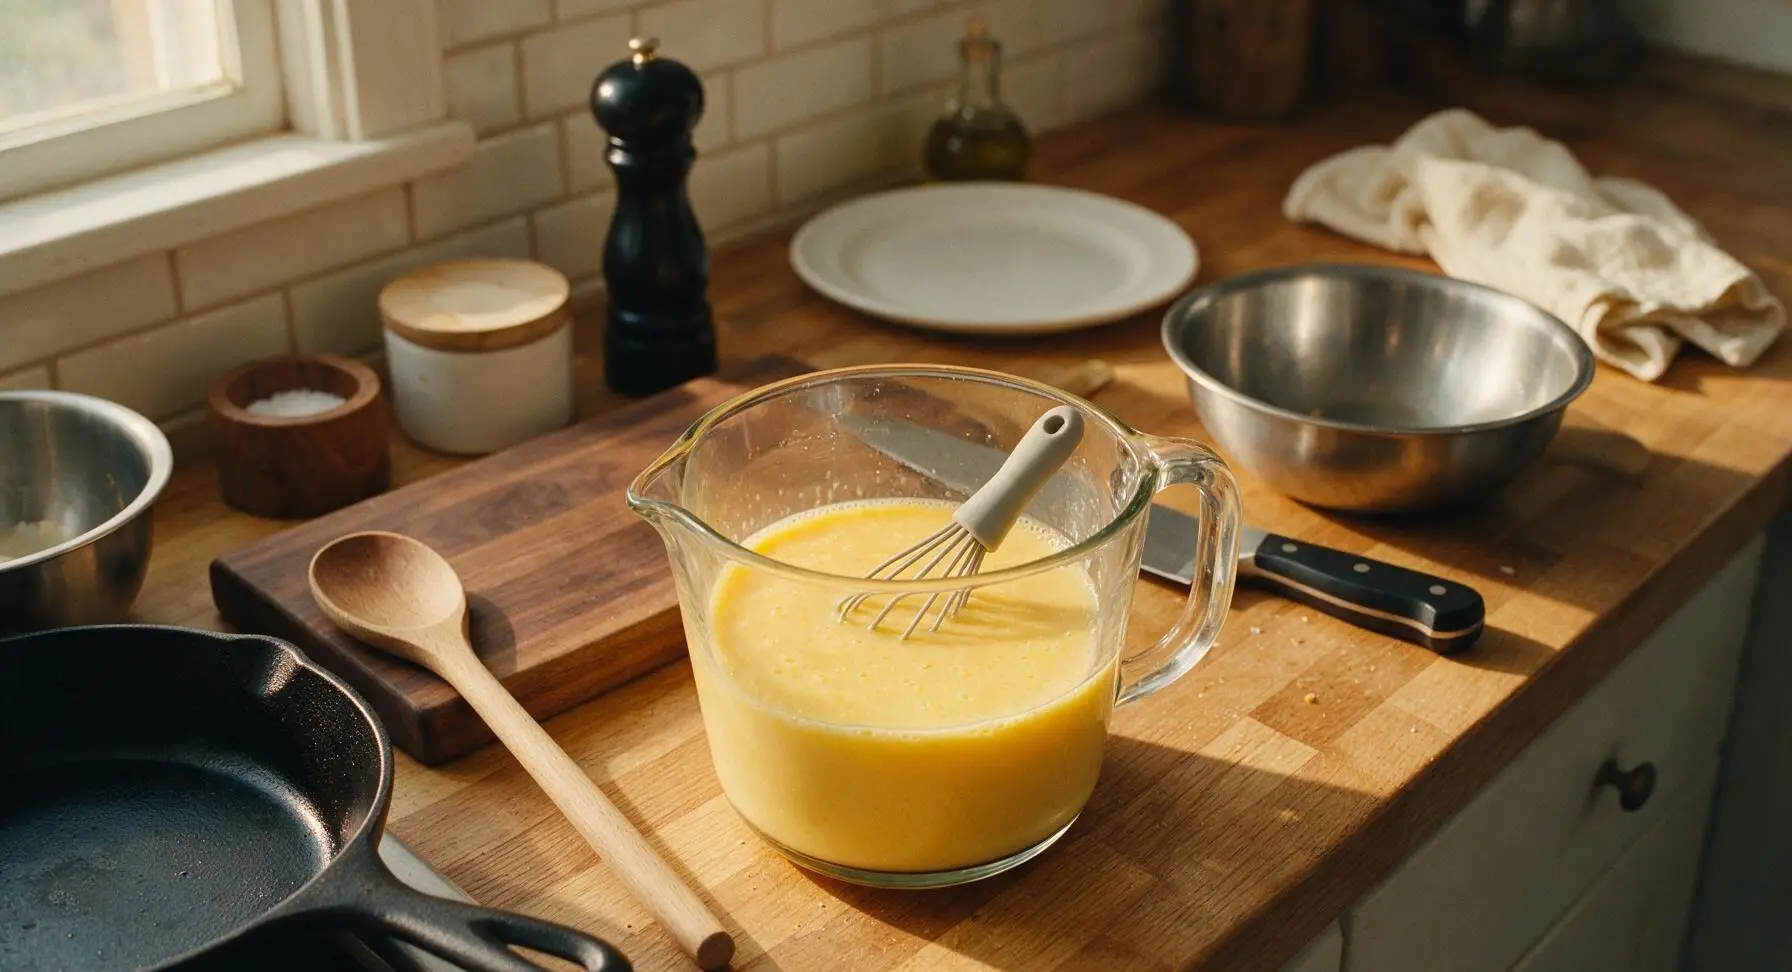
Use the small light gray silicone whisk to beat the egg mixture steadily for 20-30 seconds, until yolks and whites are fully combined into a uniform pale golden liquid, with a thin layer of tiny bubbles across the surface. Stop whisking as soon as no streaks of separate white or yolk remain—over-whisking incorporates too much air and leads to watery, tough eggs.
Step 3
step3:Whisk Egg Mixture
Step 3
step3:Whisk Egg Mixture
4

Melt Butter in Pan

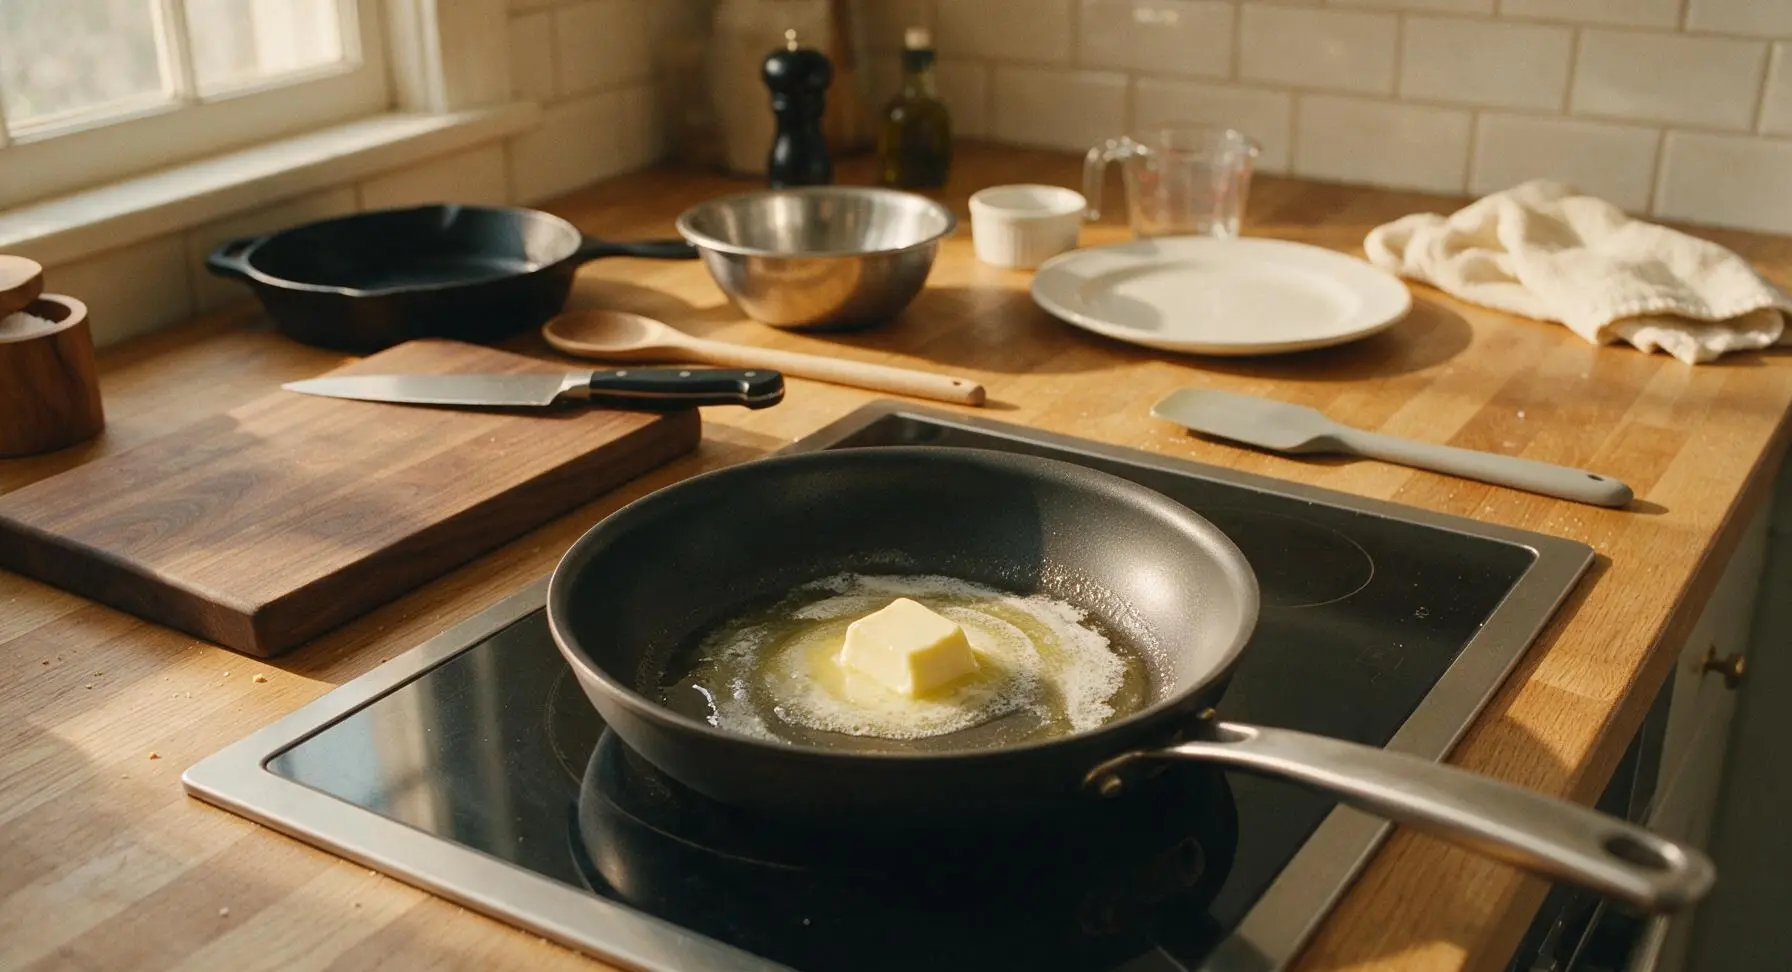
Place the 20cm matte charcoal non-stick frying pan on the flush-mounted induction cooktop, set heat to medium-low (120C / 250F). Add the 1 tablespoon unsalted butter to the pan, and let it melt slowly for 45-60 seconds, swirling the pan occasionally, until the butter is fully liquid, foaming lightly, and smells faintly nutty, but not browned.
Step 4
step4:Melt Butter in Pan
5

Sauté Minced Garlic

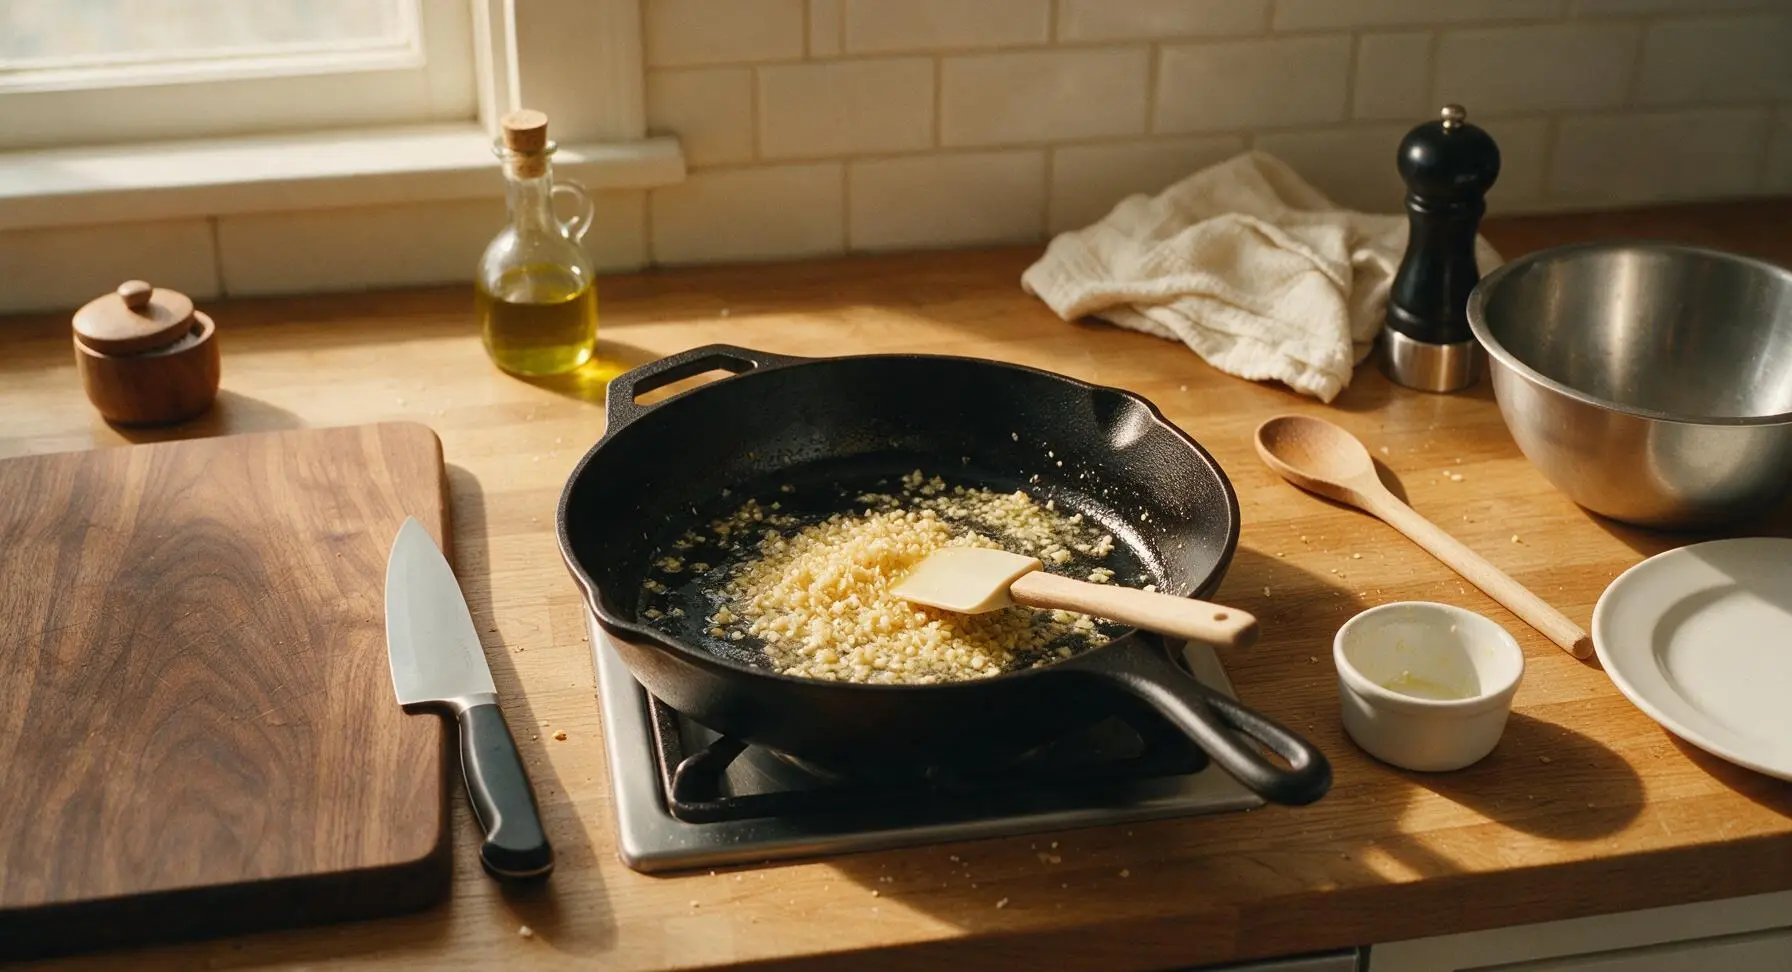
Add the finely chopped garlic from the small glass ramekin to the melted butter in the pan. Sauté for 20-25 seconds, stirring constantly with the silicone spatula, until the garlic turns pale straw-gold and releases a rich, warm aromatic fragrance. Immediately stop sautéing if the garlic starts to turn dark brown, as burnt garlic has a sharp, bitter flavor.
Step 5
step5:Sauté Minced Garlic
6

Pour in Egg Mixture

Turn the induction heat down to low (90C / 195F). Pour the fully whisked egg mixture from the mixing bowl into the pan in a slow, even stream, covering the entire pan surface over the garlic and butter. Let the eggs sit undisturbed for 10 seconds to allow the edges to start setting gently.
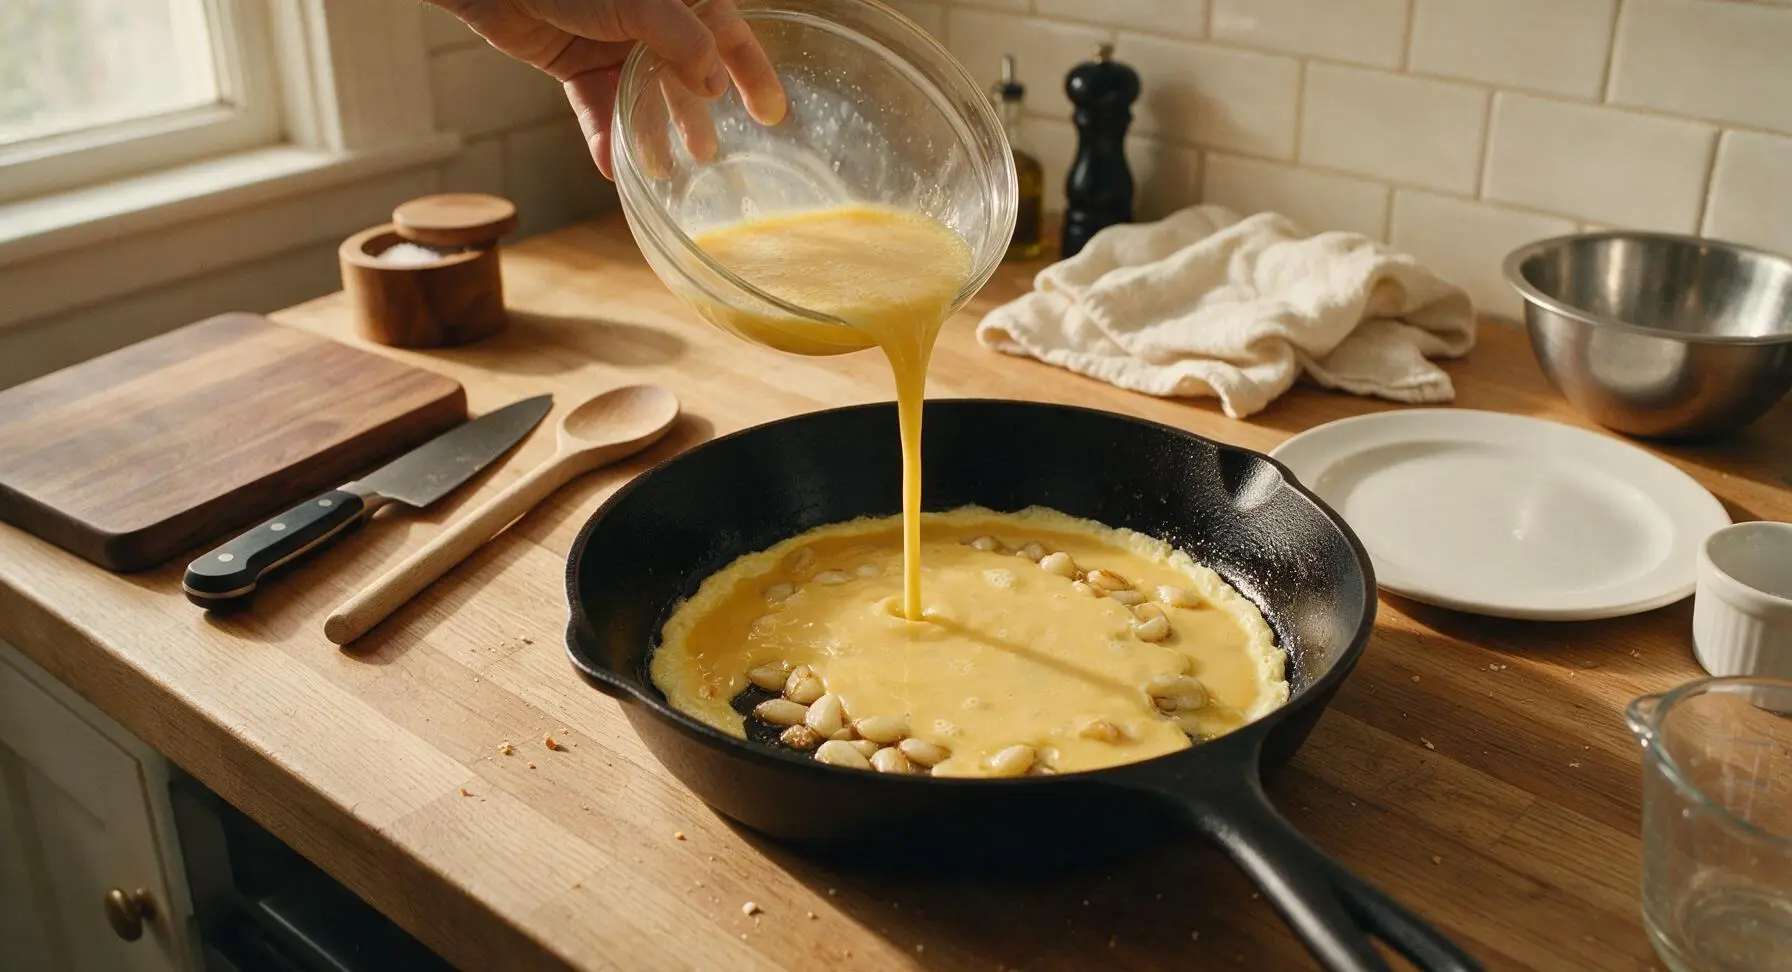
Step 6
step6:Pour in Egg Mixture
7

Gently Scramble Eggs

Use the silicone spatula to push the set edges of the egg from the sides of the pan toward the center, tilting the pan slightly to let uncooked, runny egg flow into the empty spaces left by the pushed curds. Repeat this slow, gentle pushing motion every 5-8 seconds for 1.5 to 2 minutes total, until the eggs form soft, large, moist curds and are just set with no visible runny liquid. Remove the pan from heat immediately, as residual pan heat will finish cooking the eggs in 30 seconds.
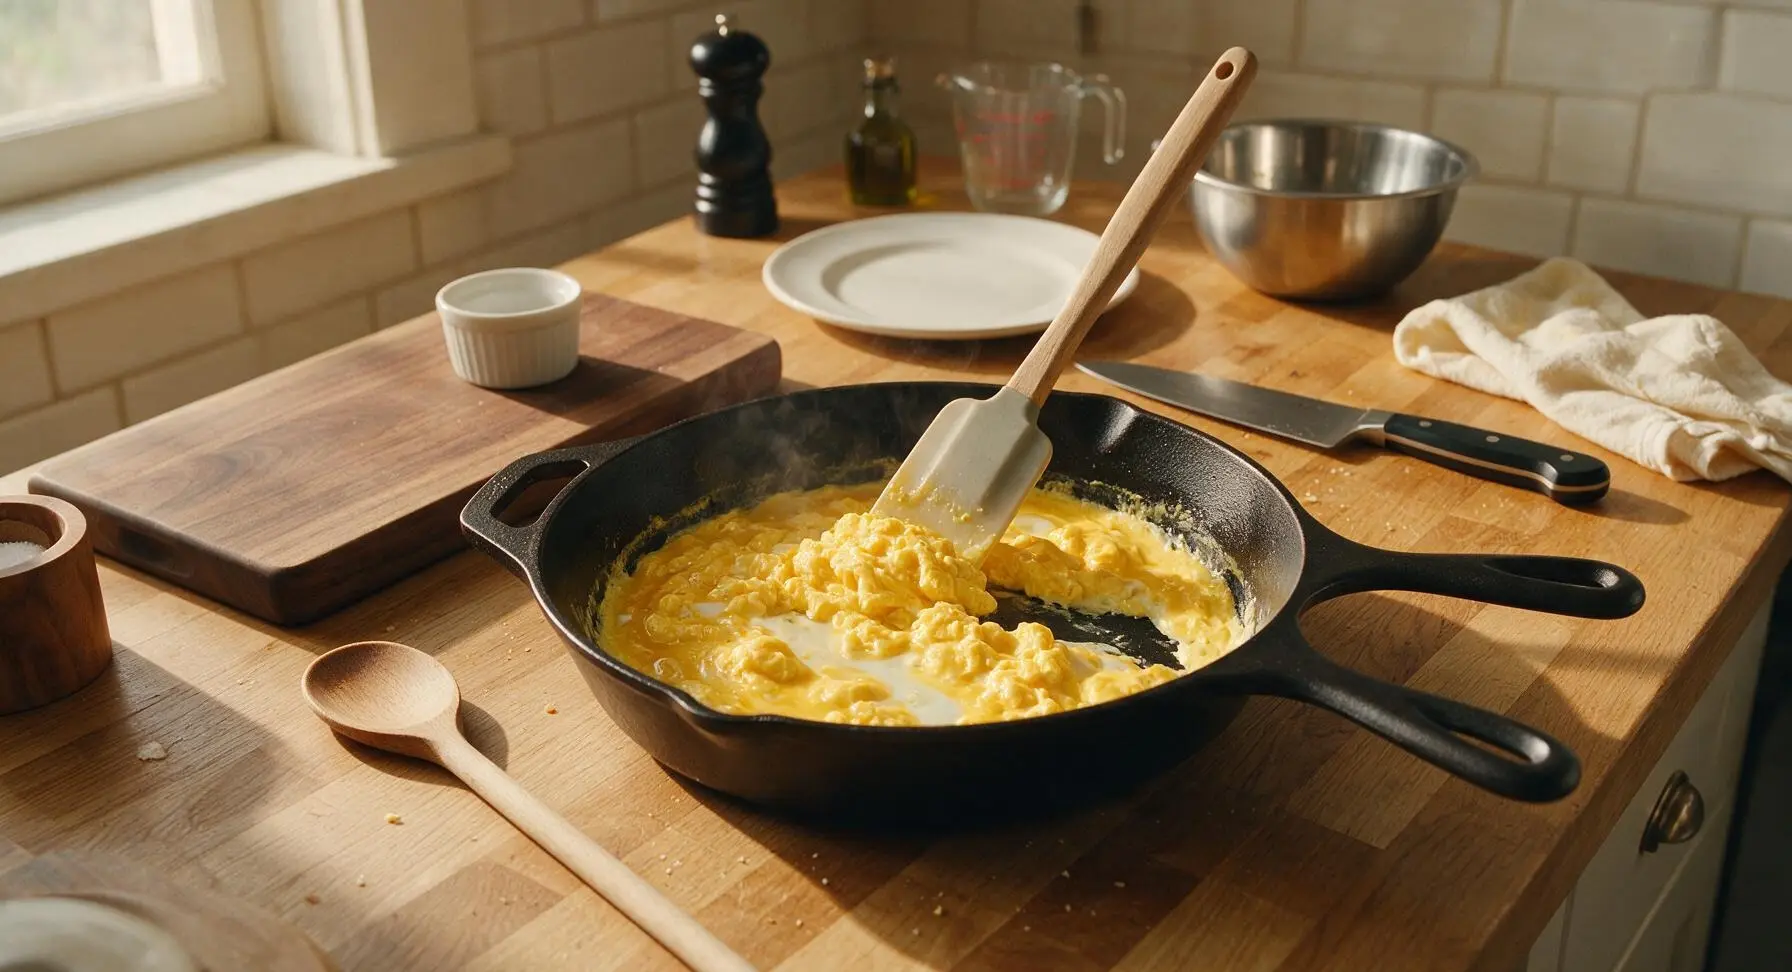
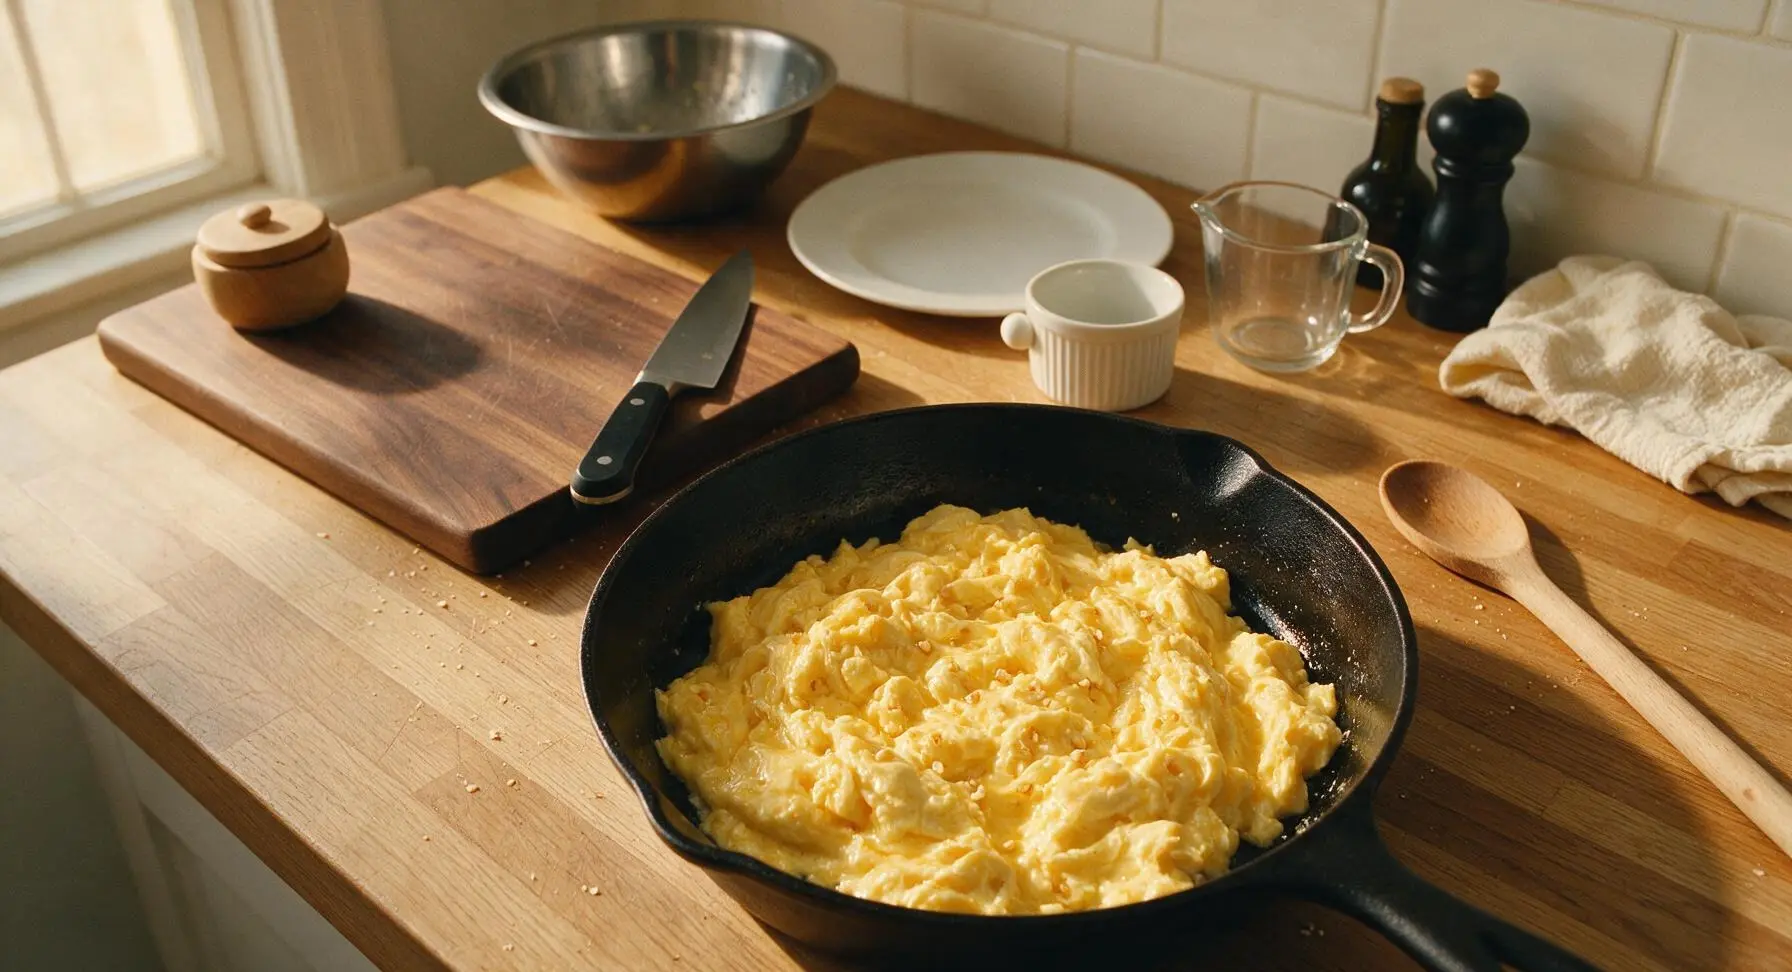
Step 7
step7:Gently Scramble Eggs
Step 7
step7:Gently Scramble Eggs
8

Plate and Garnish

Slide the finished scrambled eggs gently from the pan onto the center of the off-white ceramic breakfast plate. Sprinkle the finely chopped fresh chives over the top of the eggs as a light, bright garnish. Serve immediately, while the eggs are hot, fluffy, and at peak tenderness.
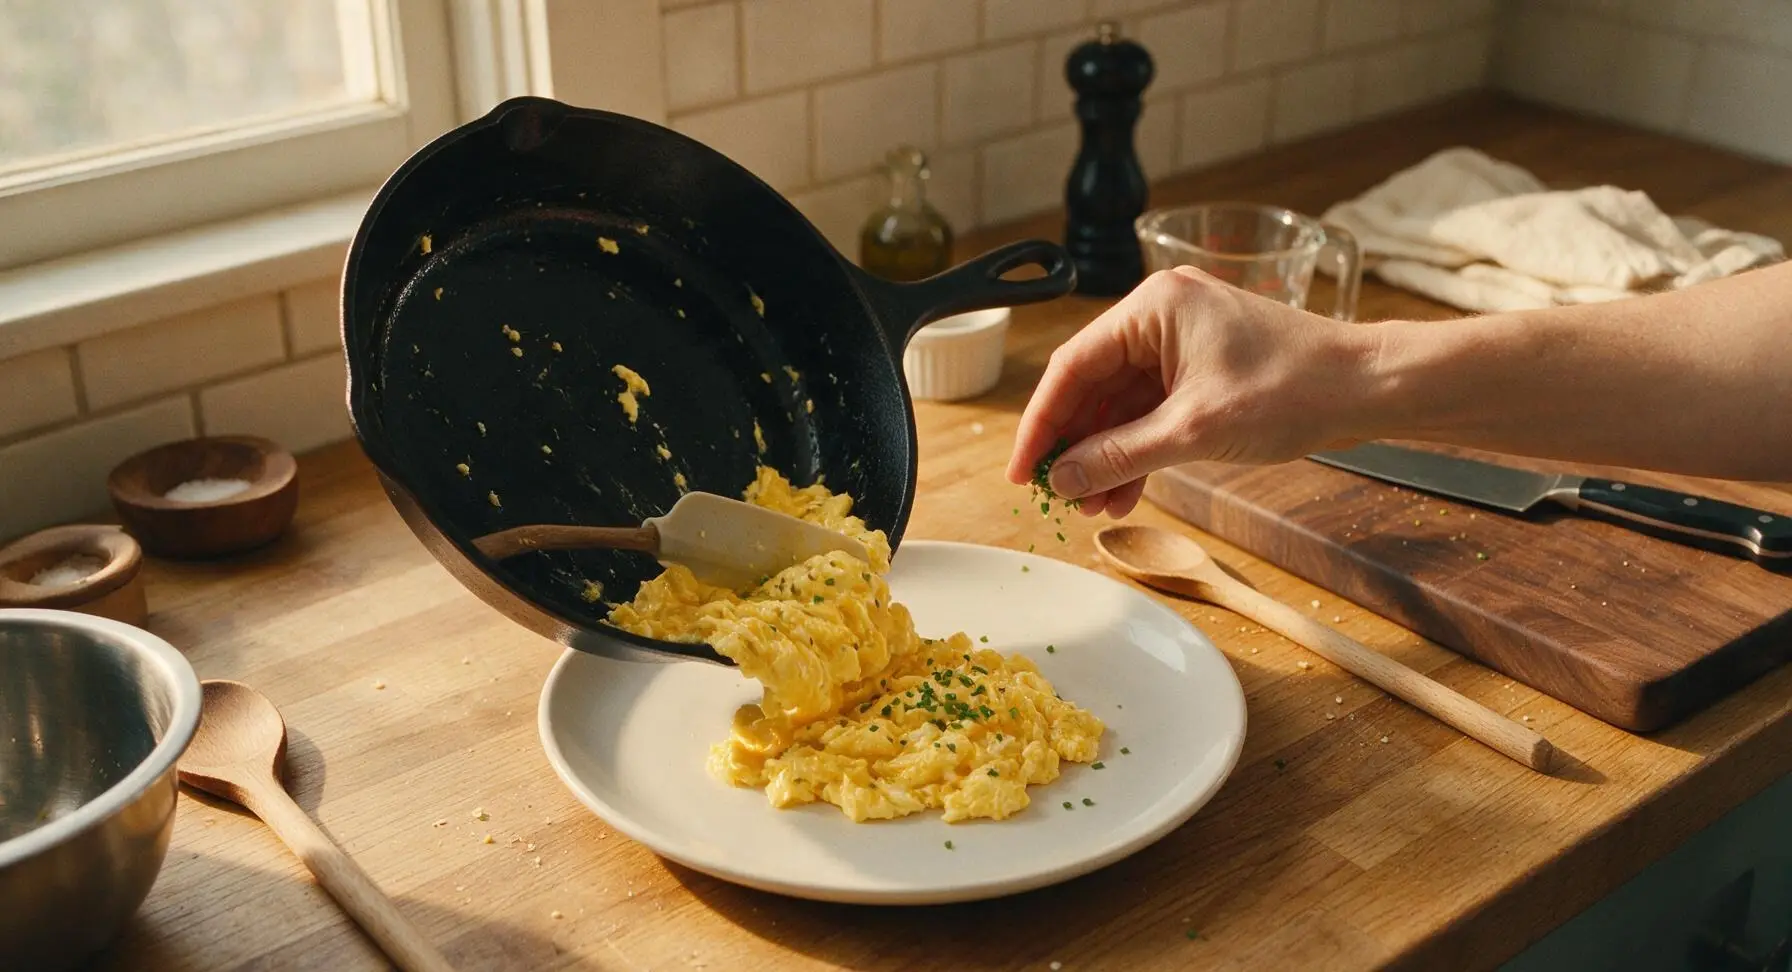
Step 8
step8:Plate and Garnish

Tips

1.Keep heat consistently low after adding eggs: High heat will shock the eggs into forming tough, rubbery curds and will quickly burn the already sautéed garlic, leading to bitter flavor. Low, gentle heat allows eggs to set slowly into soft, melt-in-your-mouth curds.
2.Remove eggs from heat just before they look fully done: Residual heat from the pan and the eggs themselves will continue to cook the curds for 30-60 seconds after you take the pan off the heat, so pulling them when they are slightly soft in the center prevents dry, overcooked eggs.
3.Don’t over-stir the eggs: Constant, fast stirring breaks curds into tiny, dry crumbs instead of the soft, large, fluffy curds that make perfect scrambled eggs. Push curds gently every 5-8 seconds instead of stirring nonstop.


✨ You May Also Like

Breakfast
🍜 United States

Crisp-edged, fluffy lard griddle cakes are a nostalgic homestyle staple, with rich savoriness from rendered lard, perfect topped with maple syrup or savory gravy.

⏱️ 25 minuteBreakfast ★ 4.8
Breakfast
🍜 United States

Flaky, buttery homemade buttermilk biscuits smothered in creamy, peppery pork sausage gravy: a beloved, hearty Southern American comfort food classic.

⏱️ 35 minuteBreakfast ★ 4.8
Breakfast
🍜 United States

Golden, custardy brioche stuffed with sweet cream cheese and fresh berries, pan-fried to crisp perfection. An indulgent, cozy breakfast perfect for slow weekend mornings.

⏱️ 30 minuteBreakfast ★ 4.7
Breakfast
🍜 United States

Flaky, buttery Southern-style biscuits stuffed with savory salty country ham, a portable, satisfying classic perfect for casual on-the-go meals.

⏱️ 25 minuteBreakfast ★ 4.8
Breakfast
🍜 United States

Iconic puffy baked pancake popularized in Seattle, with crisp golden edges and soft custardy center, served warm with classic sweet toppings.

⏱️ 35 minuteBreakfast ★ 4.6
Breakfast
🍜 United States

Fluffy, golden pancakes studded with juicy peak-summer mixed berries, drizzled with maple syrup for a bright, comforting, crowd-pleasing family breakfast.

⏱️ 25 minuteBreakfast ★ 4.7

Garlic Scrambled Eggs:Frequently Asked Questions

1.How do I keep the garlic from burning when making this recipe? ▾
Cook thinly sliced or minced garlic over low heat in melted butter for just 30 to 45 seconds, until it smells fragrant and turns pale golden, not dark brown. Pull the pan off the heat immediately if you spot dark edges—garlic burns in seconds, and burnt bits will leave your eggs with an unpleasant bitter taste instead of that mellow, sweet garlic flavor.
2.What’s the secret to getting silky, fluffy scrambled eggs instead of rubbery ones? ▾
The two biggest tricks are using low, gentle heat and avoiding overcooking. Whisk your eggs with milk just until combined (no need to whip to a froth), stir slowly with a silicone spatula as soft curds form, and pull the pan off heat when eggs are just set—residual pan heat will finish cooking them in a minute.
3.Can I substitute a different milk if I don’t have whole milk on hand? ▾
Whole milk gives the creamiest, richest result thanks to its higher fat content, but 2% milk works as a fine pinch-hit swap. Skip skim milk entirely, though—it will make your eggs watery and far less silky. For an even more luxurious texture, you can replace half the whole milk with heavy cream if you have it handy.
4.How much garlic should I use for balanced, non-overpowering flavor? ▾
For a standard 2-serving batch using 4 large eggs, 2 to 3 medium fresh garlic cloves hits that perfect mellow, sweet garlic note without being sharp or overwhelming. If you’re a diehard garlic fan, you can add one extra clove, but don’t go overboard or it will outshine the delicate, soft egg flavor.
5.Why does this recipe call for unsalted butter instead of salted butter? ▾
Unsalted butter lets you control exactly how much fine sea salt goes into your eggs, so you don’t end up with an overly salty final dish. Salted butter varies widely in sodium content across brands, making consistent seasoning tricky. If salted butter is all you have, cut the added salt by about half, and taste before adding more.
6.Is it better to mince, slice, or crush garlic for this recipe? ▾
Thinly sliced garlic gives the best mellow, evenly distributed golden garlic bits without harsh sharpness, and looks beautiful dotted through soft eggs. Finely minced garlic works too, but it burns much faster, so keep a close eye on it. Avoid crushed garlic paste here, as it can turn bitter quickly and leave uneven, harsh flavor pockets.
7.How long does this recipe take to make from start to finish? ▾
This is the ultimate quick, no-fuss meal, coming together in 8 to 10 minutes total. It takes 2 minutes to prep garlic and whisk your eggs, 1 minute to gently toast garlic in butter, 2 to 3 minutes to cook eggs low and slow, and 1 minute to plate and adjust seasoning—no fancy prep or long waits required.
8.Can I add extra mix-ins like cheese or herbs to these eggs? ▾
Absolutely, as long as you don’t overload the eggs so they stay light and fluffy. Grated parmesan, chopped chives, a crack of black pepper, or a handful of fresh spinach work beautifully. Add cheese right as you pull eggs off heat so it melts evenly, and toss in tender greens 30 seconds before eggs finish cooking to wilt slightly.
9.Why did my scrambled eggs turn out watery when I tried making them? ▾
Watery eggs usually stem from one of three common missteps: using skim or high-water non-dairy milk, cooking over too high heat which makes egg proteins separate and release moisture, or salting whisked eggs more than 15 minutes before cooking, which breaks down their delicate structure too early.
10.Do I need to whisk my eggs for a long time to get them fluffy? ▾
You don’t need to whisk eggs for minutes on end or whip them to frothy peaks for great scrambled eggs. Whisk just until yolks and whites are fully combined with milk, with no streaks of clear white left—over-whisking adds too much air, which makes eggs puff up then deflate into a dry, spongy texture as they cook.
11.What type of pan is best for making garlic scrambled eggs? ▾
A heavy-bottomed nonstick skillet is the most foolproof option, as it prevents eggs from sticking and distributes heat evenly so you don’t get hot spots that burn garlic or overcook patches of egg. A well-seasoned carbon steel or cast iron pan works too, just add a tiny extra pat of butter to prevent sticking.
12.How do I know when the eggs are done so I don’t overcook them? ▾
Pull the eggs off the heat the second they form soft, moist curds and look just slightly underdone in the center—there should be no runny liquid, but they shouldn’t be firm or dry to the touch. Residual heat from the pan will finish cooking them in 60 seconds as you plate, leaving tender, silky eggs instead of rubbery ones.
13.Can I make these garlic scrambled eggs ahead of time for meal prep? ▾
Scrambled eggs are best eaten immediately right after cooking for the silkiest texture, but if you need to prep ahead, store cooled eggs in an airtight container in the fridge for up to 2 days. Reheat gently in the microwave in 20-second bursts, stirring between each, and add a tiny pat of butter to bring back creaminess.
14.What should I serve with garlic scrambled eggs to make a full meal? ▾
These eggs pair beautifully with buttery sourdough toast, crispy roasted breakfast potatoes, fresh sliced avocado, or a side of lightly dressed arugula for a balanced, cozy meal. They also work great tucked into a warm flour tortilla for a quick breakfast taco, or served alongside steamed rice for a simple, savory lunch.

Comments (13)

2 days ago

OMG these garlic scrambled eggs are a total game changer! I made them for breakfast over the weekend and my partner kept asking what I did different to make eggs taste so fancy. 4 minutes total? No way, that’s faster than my usual sad weekday microwave breakfast. 10/10 will make every week now.

yesterday

So happy you two loved them! A quick pro tip: a tiny splash of heavy cream right before taking them off the heat makes them even silkier if you want to level it up next time.

3 days ago

Took me a second to not overcook the garlic the first time, but wow once I got it right? SO good. Brought these to a neighborhood potluck brunch last weekend and people were asking for the recipe before I even set the platter down. My 7 year old asked for seconds before he even finished his first serving, which never happens.

2 days ago

Same! I burned my garlic on the first try too, now I toss it in the pan right as the butter melts on low heat and it comes out perfect every time.

yesterday

Great call on the low heat for the garlic! Burnt garlic gets bitter fast, so keeping the temp low while it infuses the butter is the secret to that warm, mellow garlic flavor without the harsh bite.

1 week ago

Super easy recipe, perfect for meal prep! I make a batch on Sunday and add them to breakfast burritos for the whole week. They reheat way better than I thought they would, no weird rubbery texture at all. Only thing I added was a pinch of red pepper flakes for a little kick, chef’s kiss.

5 days ago

I was skeptical about garlic in scrambled eggs at first, thought it would be too overpowering for my picky kids. Boy was I wrong! The garlic is super subtle when you cook it low and slow, it just adds that little extra something that makes regular scrambled eggs feel like a restaurant meal. Served these with bacon and toast for Saturday family breakfast, clean plates all around.

3 days ago

Love that it was a hit with the picky eaters! If your kids end up liking extra flavor, a sprinkle of parmesan at the end pairs beautifully with the garlic too.

30 minutes ago

Made these last night for a quick dinner after my late class, they came together so fast! I only had garlic powder instead of fresh garlic and it still slapped, though I bet fresh is way better. Will definitely grab a head of garlic on my next grocery run to make it properly.

5 minutes ago

Garlic powder works in a pinch! I do half fresh half powder sometimes when I’m short on time, no shame in the shortcut.

just now

So glad it worked out even with garlic powder! Fresh garlic gives that warmer, nuttier flavor, but the powder version is a great quick swap for busy nights—no judgment at all.

2 weeks ago

This is the easiest, cheapest high protein breakfast I’ve found since moving into my dorm. No fancy equipment needed, just a pan, eggs, butter, garlic, and salt. I make it almost every morning before my 8am lecture and my roommates always hover because it smells so good. 10/10 for broke college students.

1 week ago

So stoked this works for dorm cooking! If you can keep a little bottle of everything bagel seasoning in your dorm, a sprinkle of that on top takes these to the next level without any extra work.

yesterday

I’ve been making scrambled eggs for 60 years and I can’t believe I never thought to add garlic before! I made these for my bridge club luncheon earlier this week and all the ladies were raving. I added a little chopped chives from my windowsill garden on top, it was just lovely. Reminds me of the eggs my husband used to make when we were first married, he loved garlic.

2 hours ago

Chives sound amazing! I grow chives on my fire escape too, I’ll have to toss some on my next batch.

30 minutes ago

We love the chive addition! Fresh herbs from the garden make every simple recipe feel extra special, so glad your bridge club enjoyed them.

5 days ago

I followed the recipe exactly and they turned out a little bland for my taste? I think I used too few garlic cloves, I only had one small one. I’ll try again with 2-3 cloves next time like the recipe says, I’m sure that’ll fix it.

2 hours ago

Game. Changer. I put these eggs on a breakfast taco with salsa, avocado, and a little cotija cheese this morning and it was the best breakfast taco I’ve ever made at home. Who knew such a tiny tweak to basic eggs could make such a huge difference? My roommate said the whole apartment smelled like garlic butter for an hour after I made them and he was jealous he didn’t get any.

30 minutes ago

The breakfast taco idea is genius! I’ve been eating these plain on toast but I’m definitely loading them into tortillas this weekend.

5 minutes ago

The breakfast taco version sounds incredible! Cotija and avocado are the perfect pair for these garlicky eggs, we might have to steal that idea for a future recipe variation.

3 days ago

Super quick, super tasty! I made these for my little sister when she stayed over last week and she said they’re “the fanciest eggs she’s ever had”. I didn’t have the heart to tell her they only took 4 minutes and literally 4 ingredients. Will be making these for sleepovers from now on.

2 days ago

That’s the best part of simple recipes, right? They feel so fancy without any of the hard work. Hope your sister comes over for more egg breakfasts soon!

1 week ago

I meal prep these every Sunday along with roasted veggies and turkey sausage for weekday breakfasts. They hold up so much better than regular scrambled eggs in the fridge, the garlic flavor doesn’t get weird when you reheat them in the microwave. Saves me so much time during the work week when I’m running out the door.

5 days ago

Do you reheat them for 30 seconds at a time? I tried reheating scrambled eggs once and they got rubbery, would love to get it right!

yesterday

I made these for brunch with my friends over the weekend and everyone thought I spent forever on breakfast! I added a little parmesan and black pepper on top and served them with sourdough toast and fresh berries. It was so simple but felt like a fancy weekend meal, I’ll be adding this to my regular rotation for sure.

just now

Solid basic recipe, nothing mind blowing but exactly what I needed for a quick weekday breakfast. I like that it doesn’t require a ton of random ingredients I don’t already have in my fridge. I’ll probably add a little hot sauce next time to give it a bit more zing, but it’s great as written too.



