
gas station bbq burrito

title 1
gas station bbq burrito
⏱️ cook time 20 minutes
🍽️ servings 4
⚡ Difficulty easy

intro

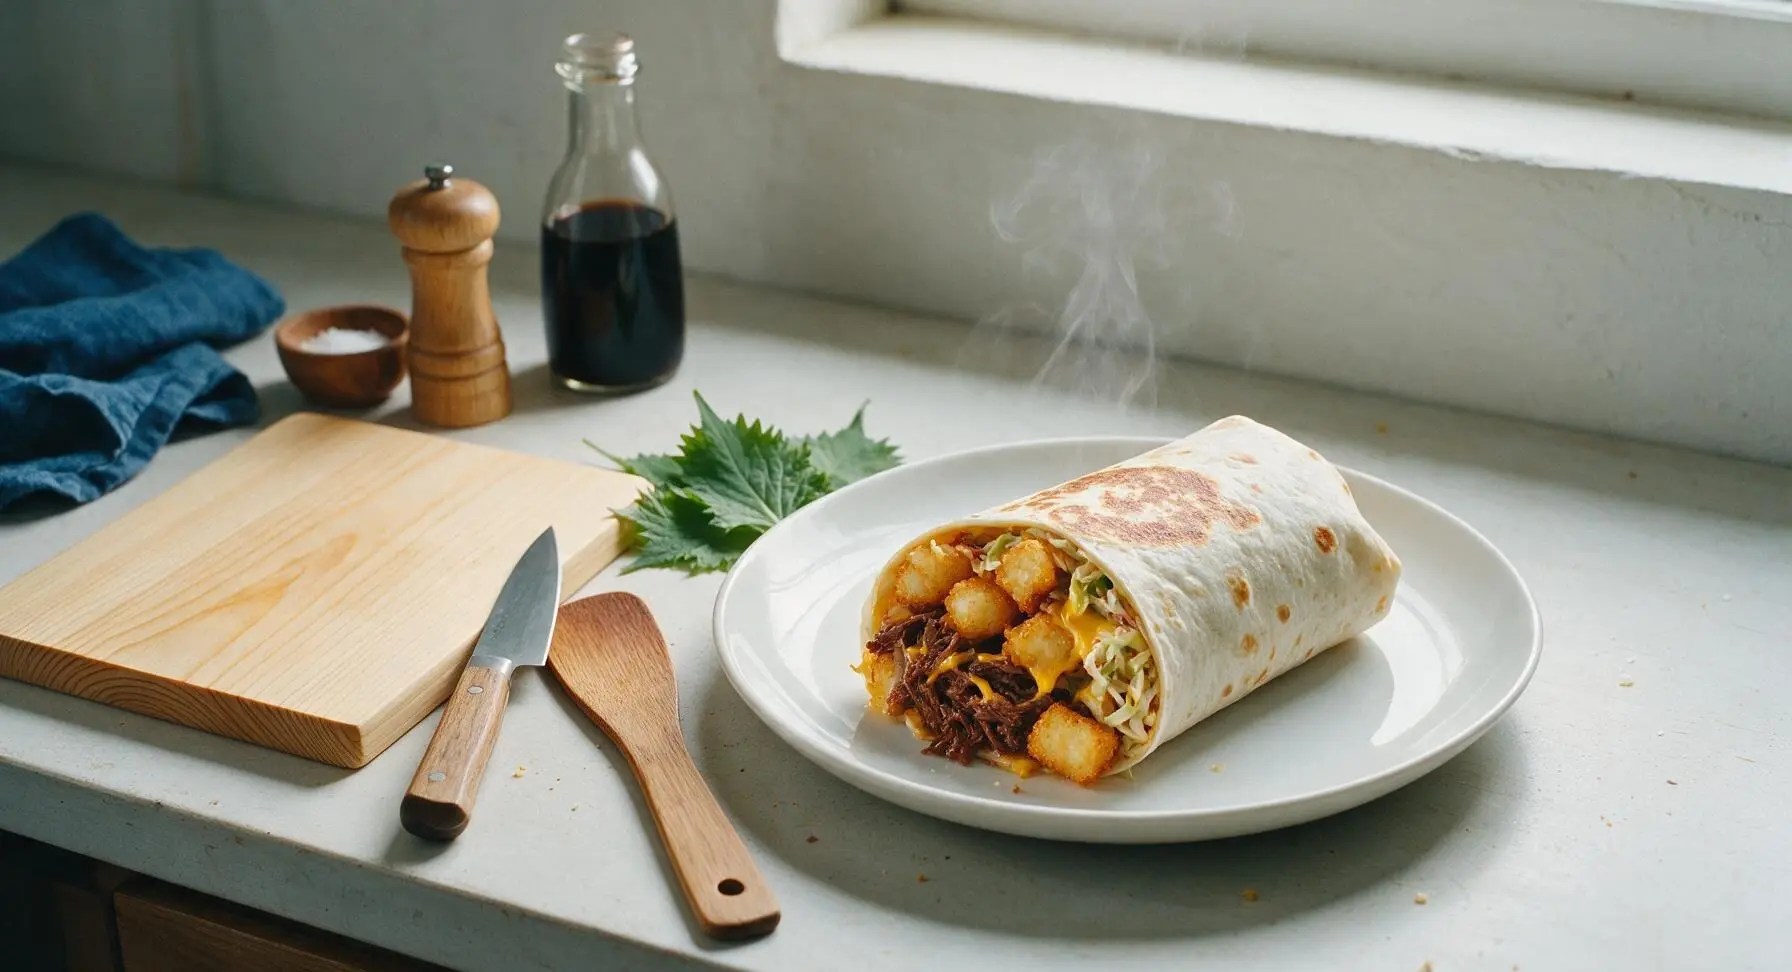
The iconic messy, hearty road-trip staple: smoky BBQ beef, crispy tater tots, melty cheddar, and tangy slaw wrapped tight in a seared tortilla, built for grab-and-go eating.

Ingredients
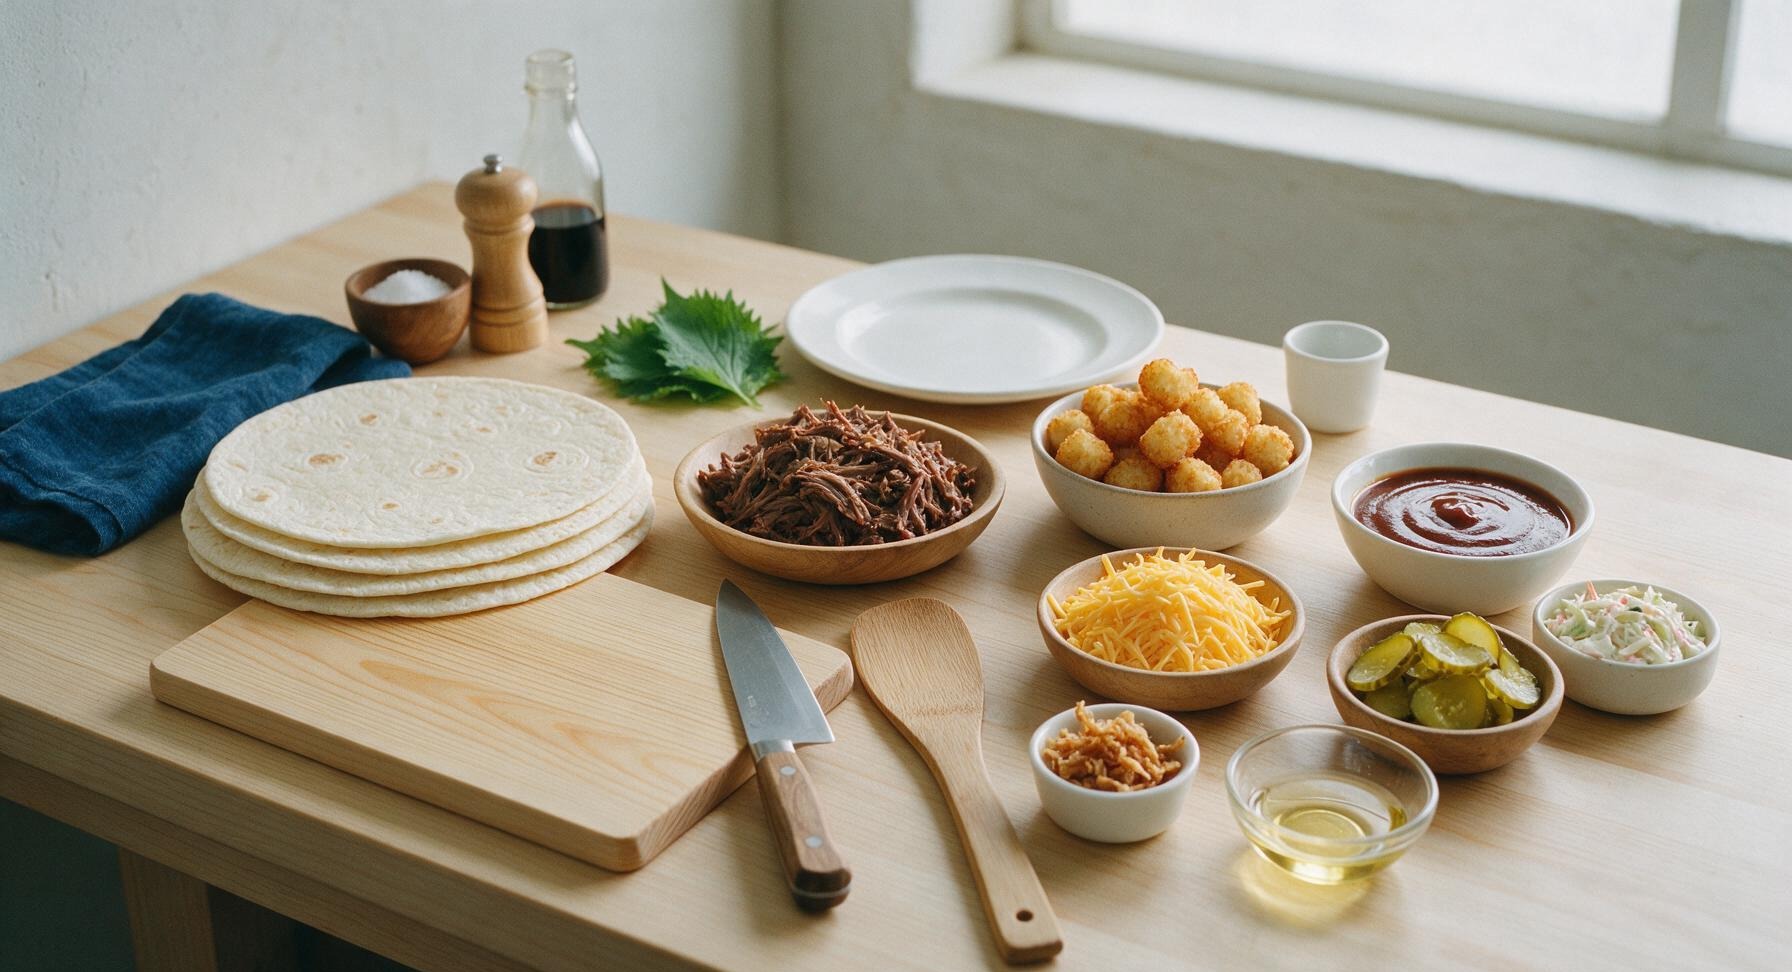
12-inch flour tortillas 4 each
Slow-cooked shredded BBQ beef 350g
Frozen tater tots 200g
Shredded sharp cheddar cheese 150g
Creamy tangy coleslaw 120g
Smoky sweet BBQ sauce 120ml
Dill pickle slices 40g
Crispy fried onions 30g
Neutral cooking oil 1 tbsp

Steps

1

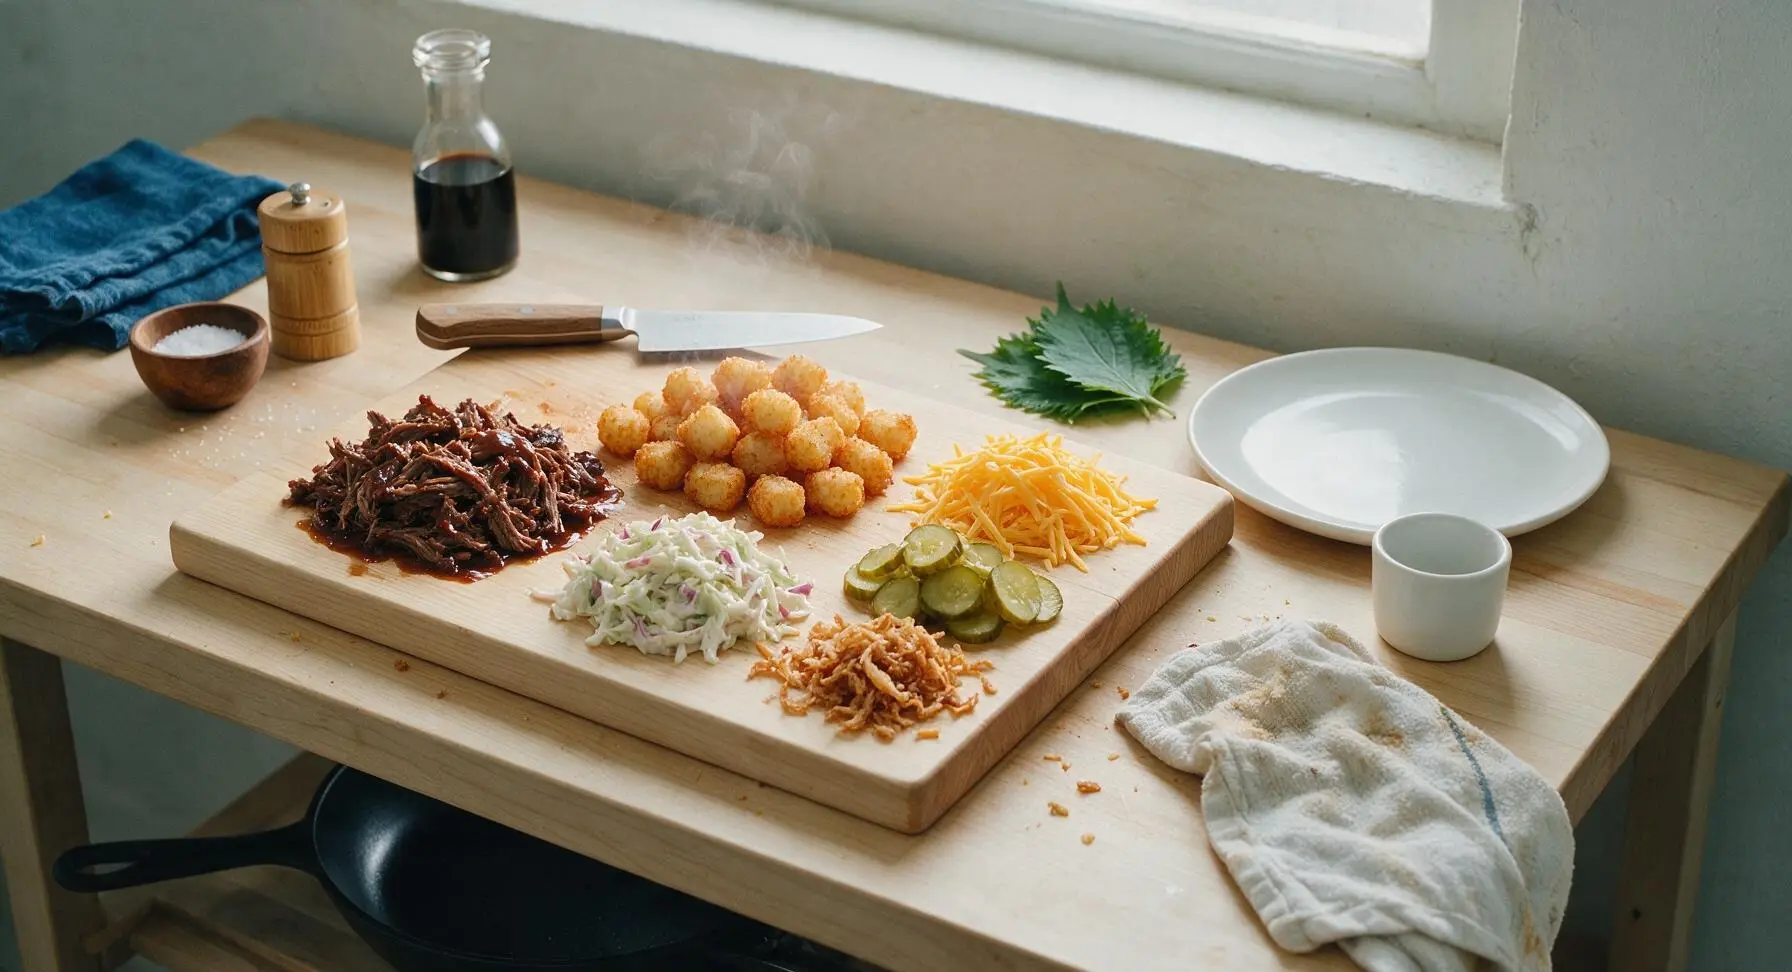
Prep Filling Assembly Line

First, bake frozen tater tots on a sheet tray for 12 minutes at 425°F/220°C until golden and crunchy. Lay the light brown birch wood cutting board flat on the center-left counter area. Arrange all pre-portioned fillings within arm's reach: shredded BBQ beef tossed in 60ml of smoky BBQ sauce, cooked crispy tater tots, shredded sharp cheddar, drained creamy coleslaw, dill pickle slices, and crispy fried onions. Organizing fillings in a line prevents overstuffing and torn tortillas during rolling.
Step 1
step1:Prep Filling Assembly Line
2

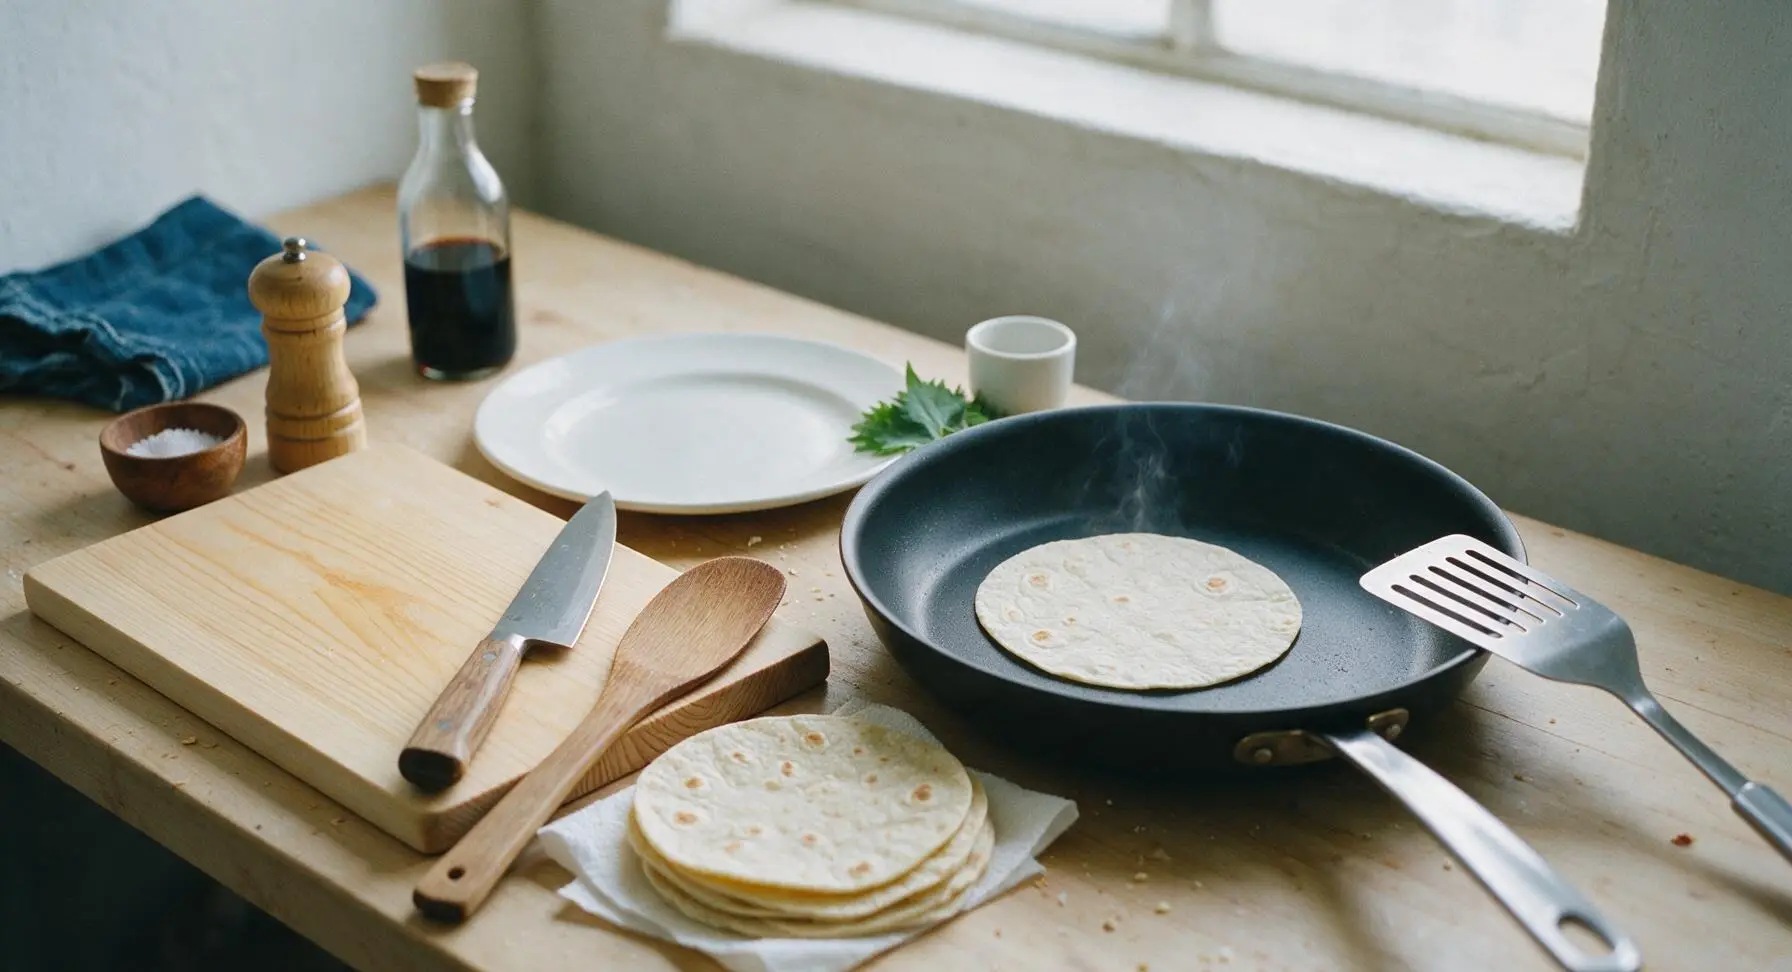
Warm Tortillas for Rolling

Retrieve the 12-inch matte black non-stick skillet from under the counter and place it center-right on the counter, heating over medium-low heat (325°F/160°C). Take the slotted stainless steel turner spatula from its wall hook. Warm each flour tortilla for 10 seconds per side in the dry skillet, until soft and bendable with no crisp spots. Stack warmed tortillas on a paper towel from the matte black wire napkin holder to trap steam and keep them pliable; cold tortillas crack easily when folded tight.
Step 2
step2:Warm Tortillas for Rolling
3

Layer Fillings Evenly

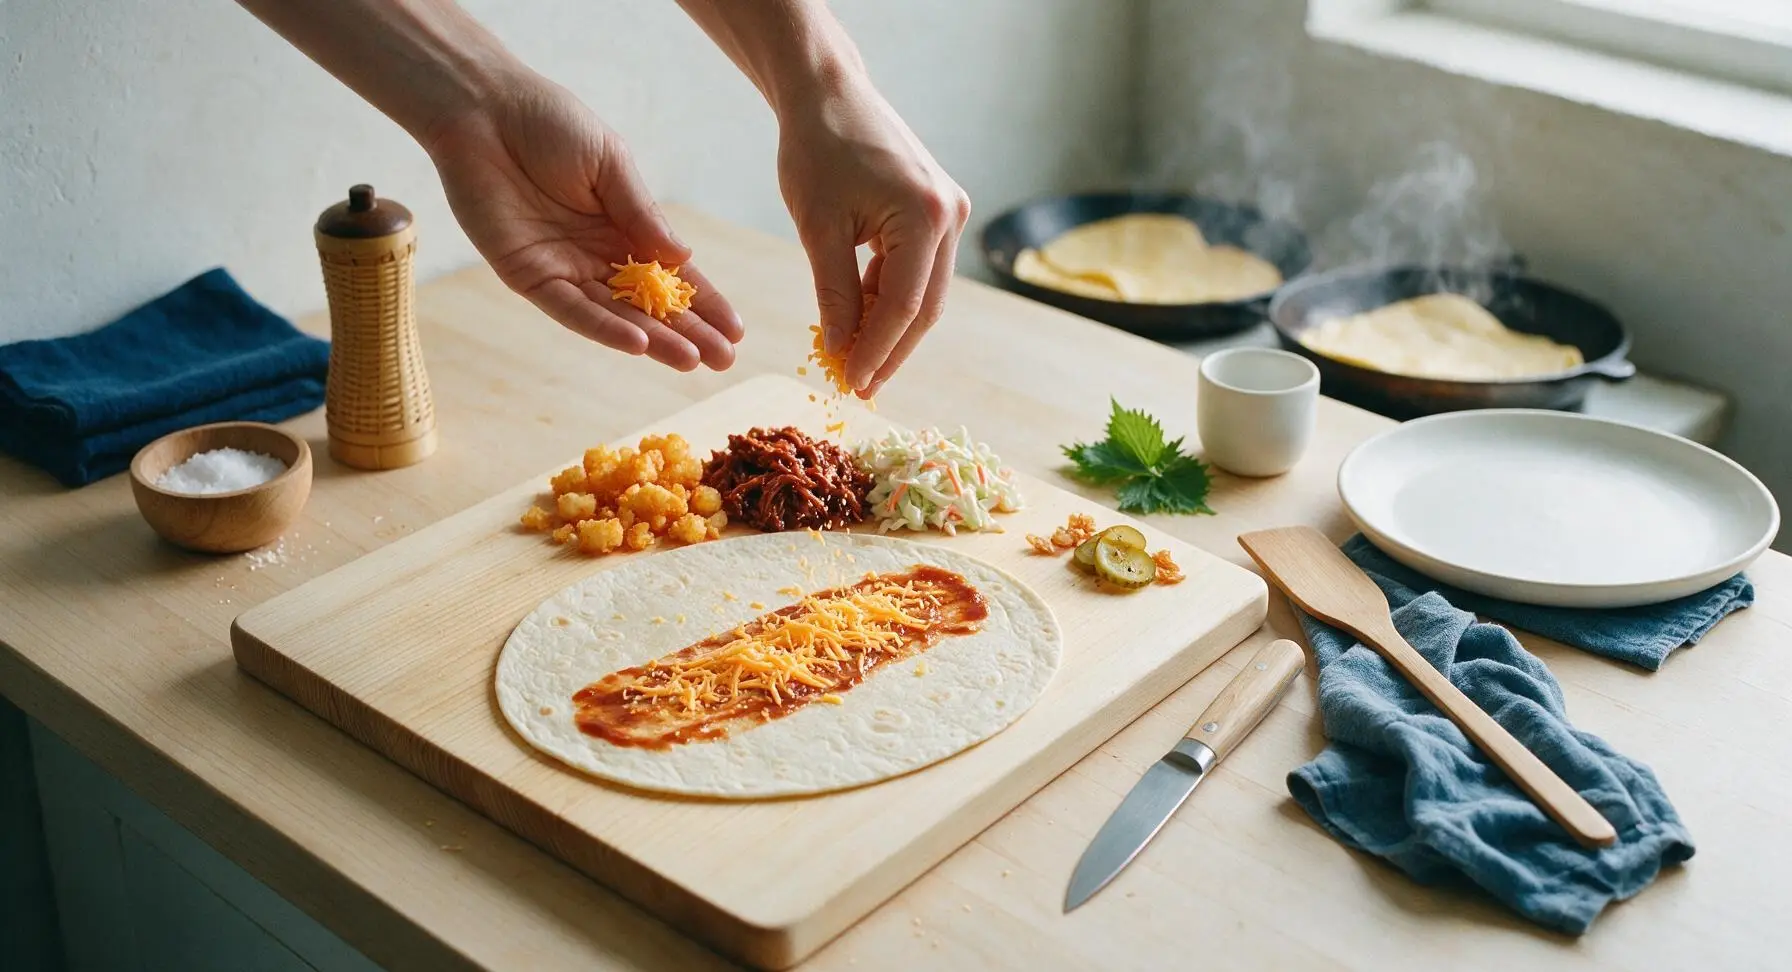
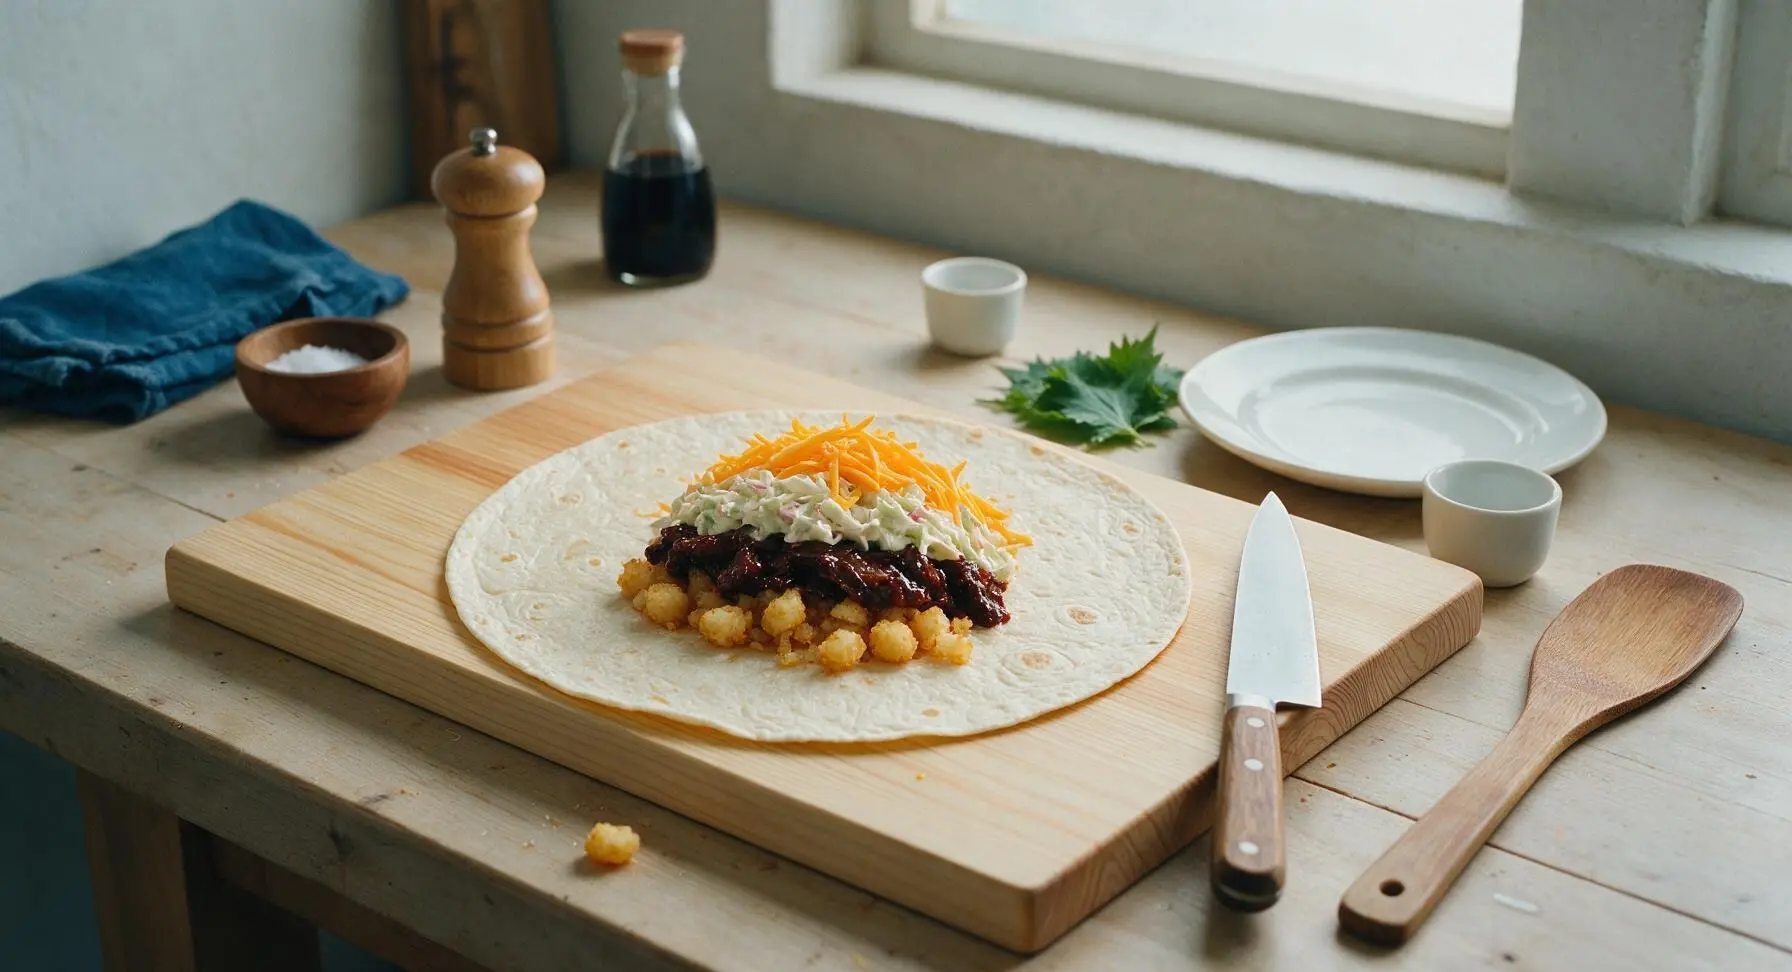
Lay one warm tortilla flat on the birch cutting board. Spread 1 tbsp of remaining BBQ sauce down the center third of the tortilla, leaving a 2-inch clear border at the top and bottom edges. Layer fillings in order down the sauced line: 35g shredded cheddar, 85g sauced BBQ beef, 50g crispy tater tots (lightly crushed with the back of the turner to lay flat), 30g drained coleslaw, 10g pickle slices, and a small pinch of fried onions. Do not overfill—excess filling causes burritos to burst during searing.
Step 3
step3:Layer Fillings Evenly
Step 3
step3:Layer Fillings Evenly
4

Fold Burrito Tight

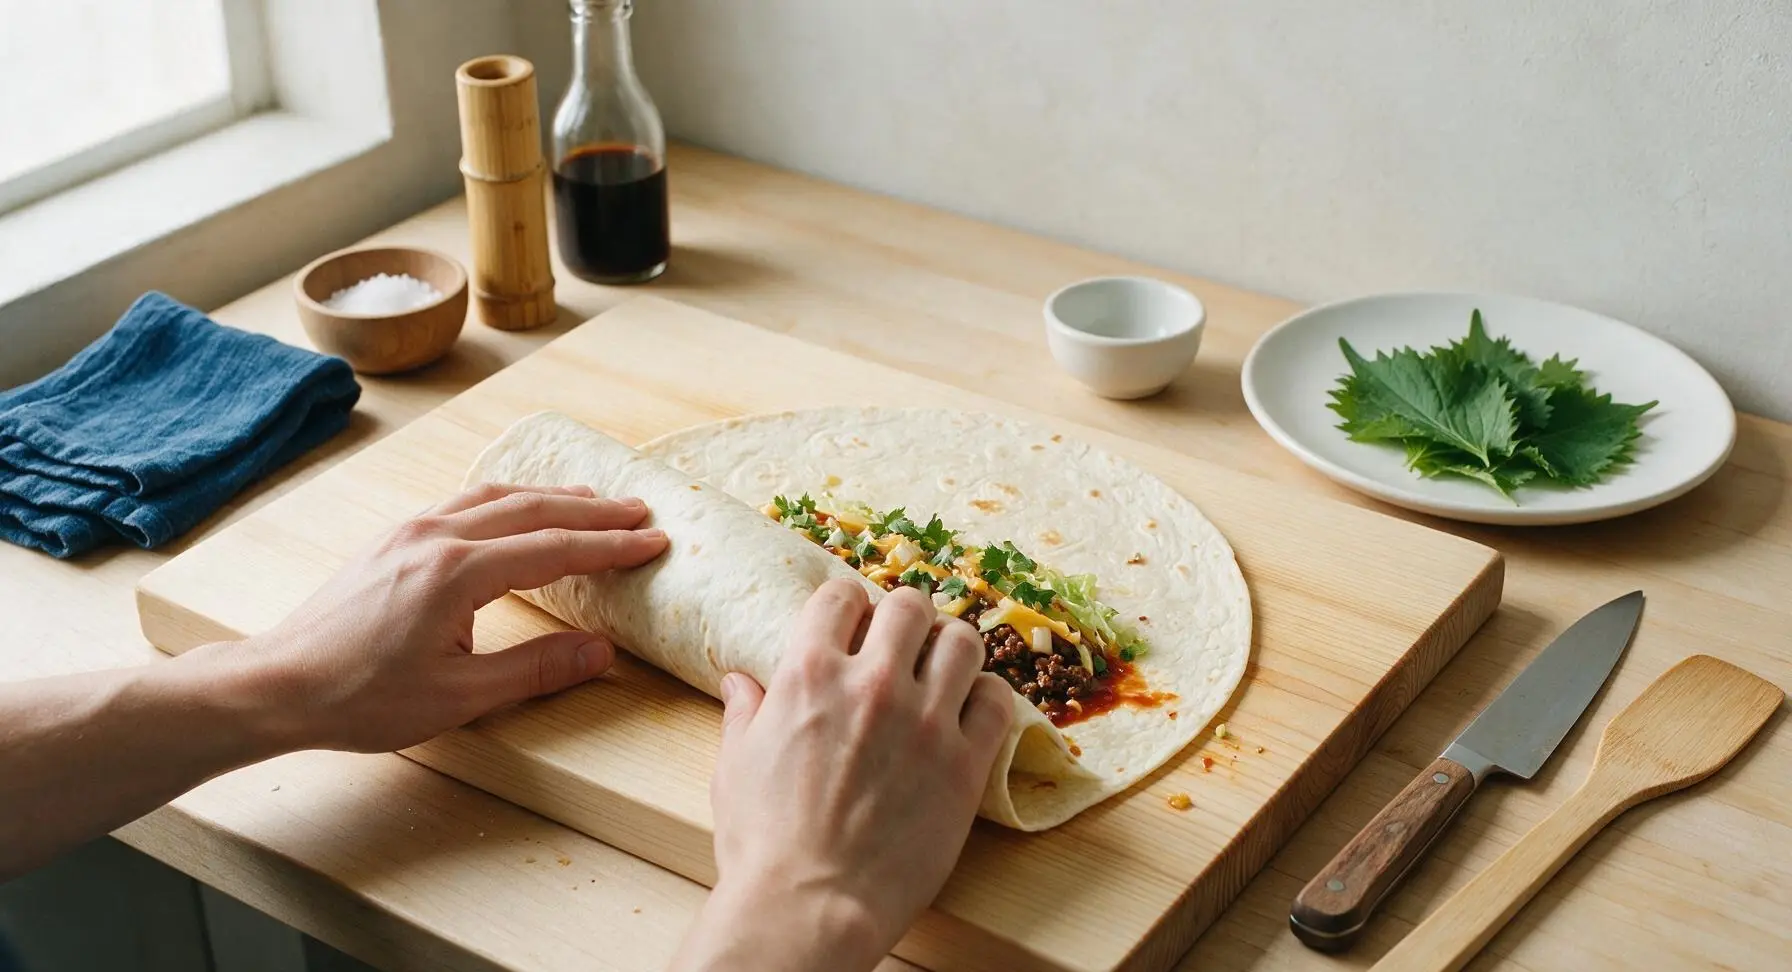
Fold the 2-inch top and bottom edges of the tortilla in over the fillings. Hold the folded edges down with one hand, then roll the tortilla tightly from the left side over the fillings, tucking the leading edge under the filling as you roll to create a sealed, firm cylinder. The burrito should hold its shape without filling spilling out the ends; if filling oozes out, unroll and remove a small amount before re-rolling.
Step 4
step4:Fold Burrito Tight
5

Sear Burritos Until Crisp

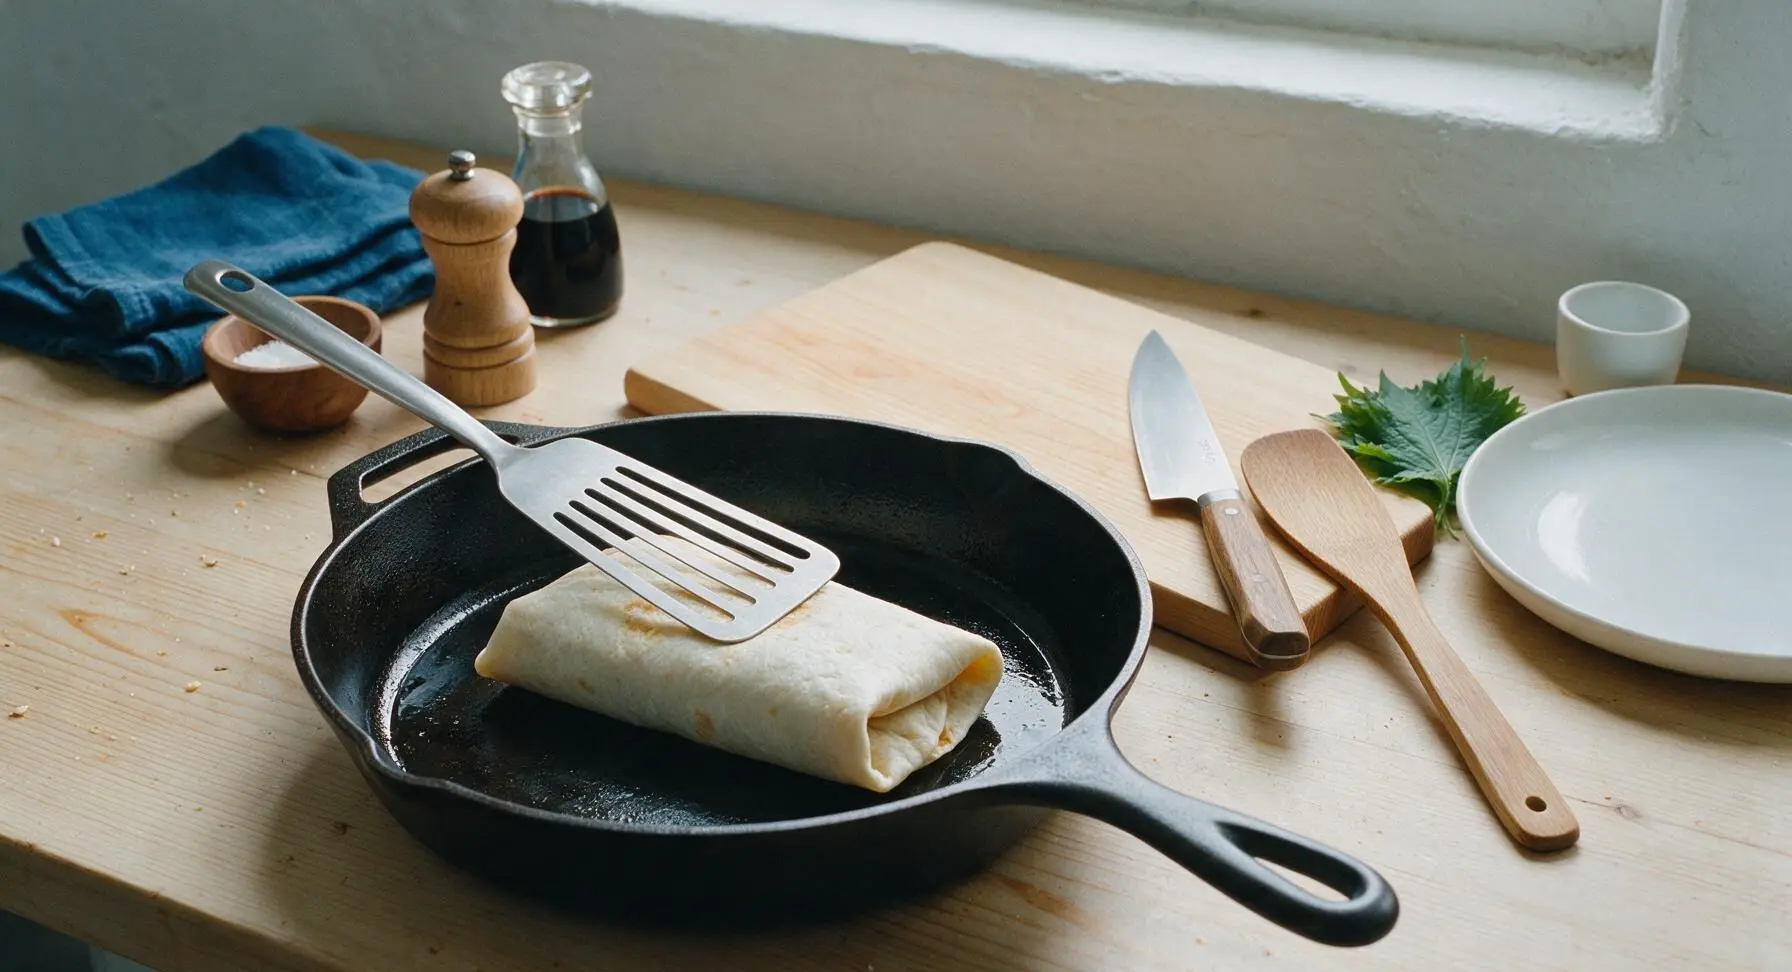
Add 1 tbsp neutral cooking oil to the 12-inch skillet, increase heat to medium (350°F/175°C). Place folded burritos seam-side down in the skillet, cooking 2 minutes per side, until the tortilla is golden brown and slightly crispy on all sides, and the cheese inside is fully melted. Press gently on the top of each burrito with the slotted turner as it cooks to help the burrito hold its sealed shape.
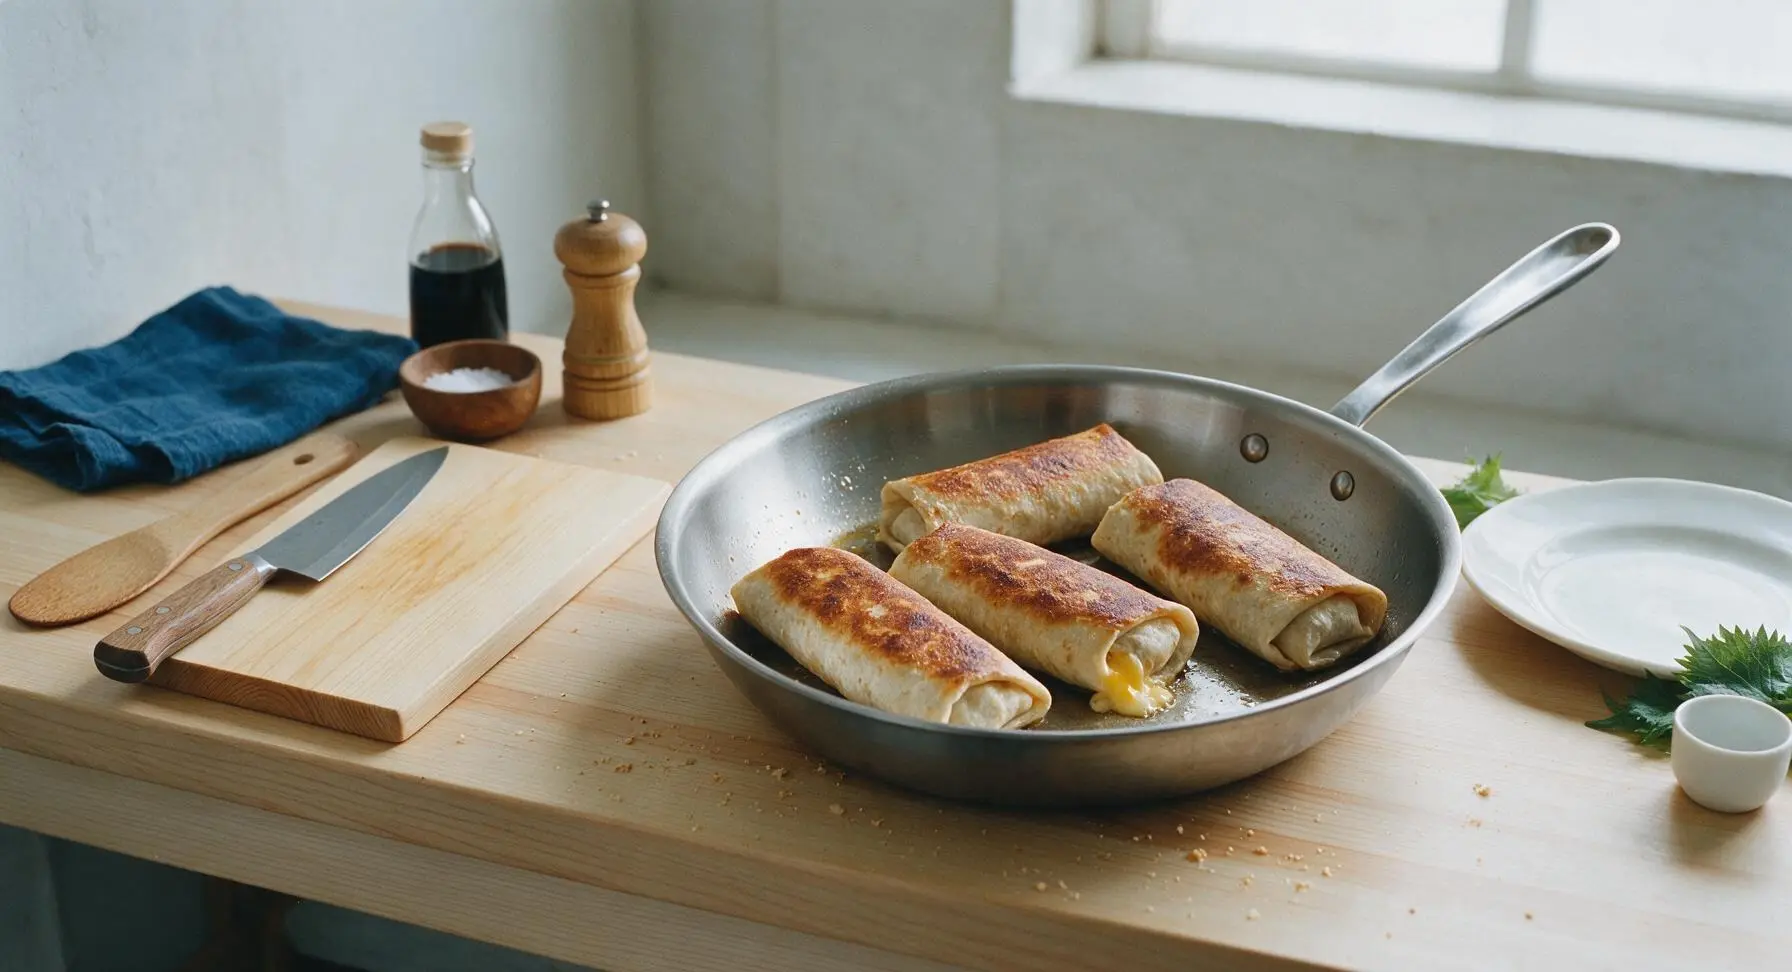
Step 5
step5:Sear Burritos Until Crisp
Step 5
step5:Sear Burritos Until Crisp
6

Rest Burritos Briefly

Use the slotted turner to transfer seared burritos to a clean paper towel from the napkin holder, and let rest for 2 minutes. Resting allows the melted cheese to set slightly so fillings do not pour out when cut, and lets excess surface oil drain off the tortilla exterior for a less greasy bite.
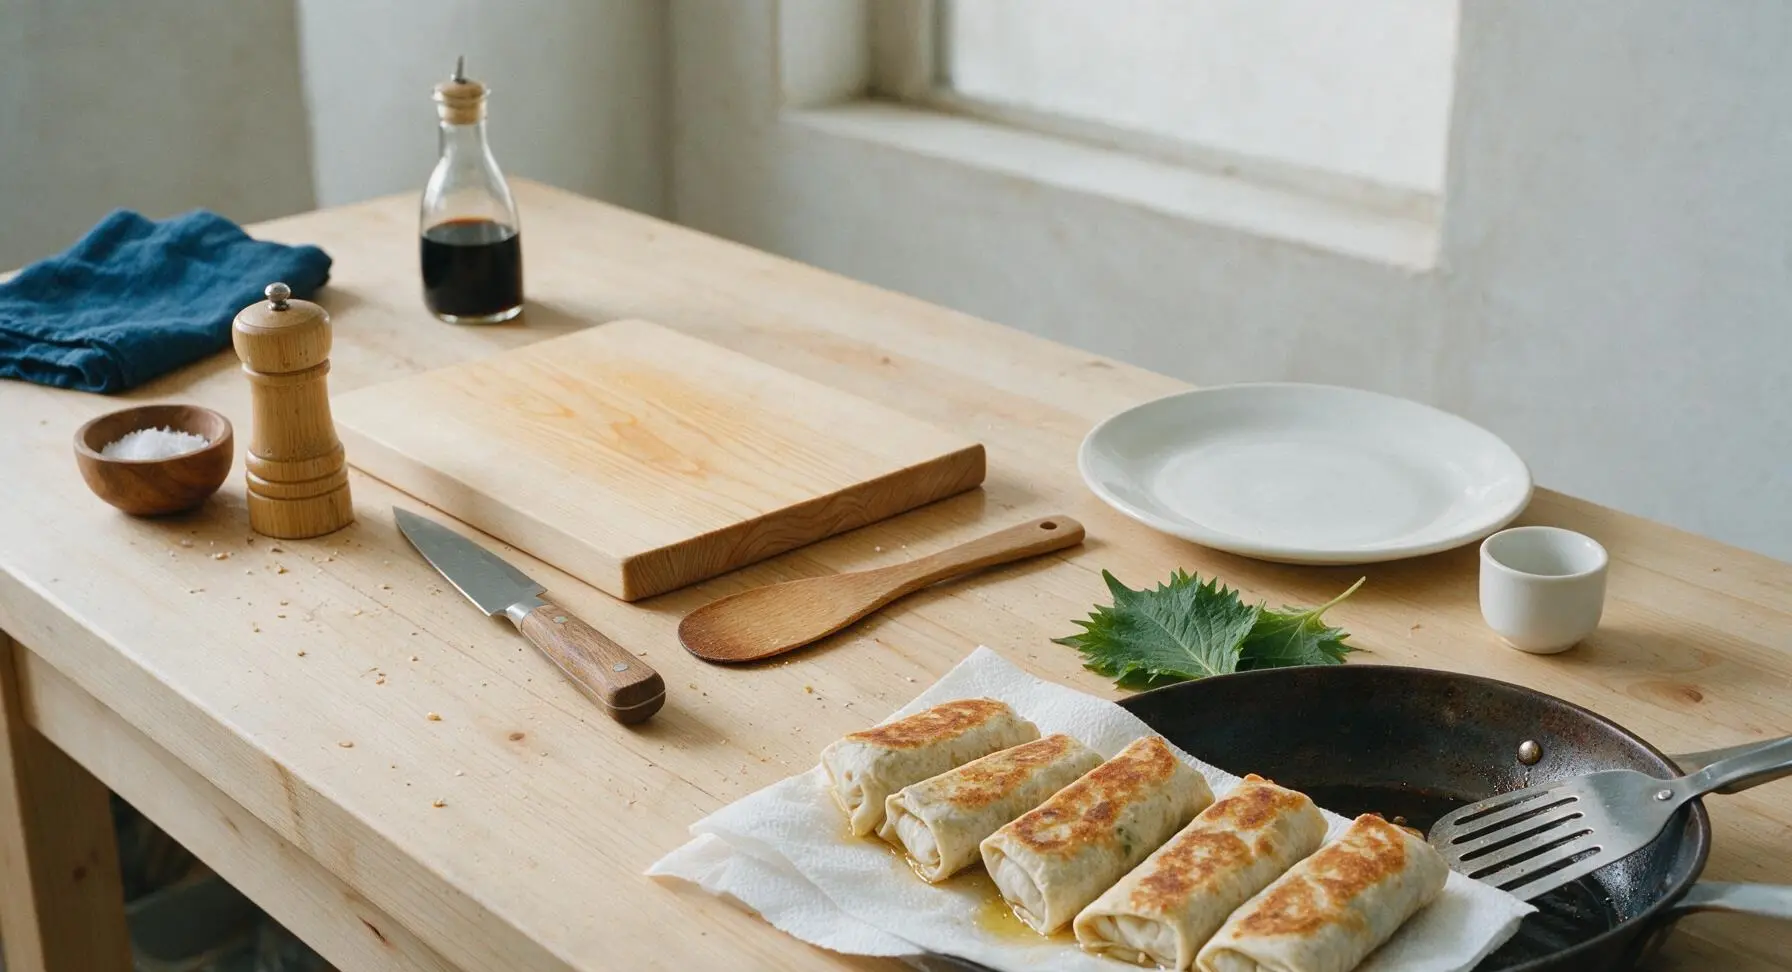
Step 6
step6:Rest Burritos Briefly
7

Plate and Garnish

Place one rested burrito on a cream white matte melamine dinner plate from the stacked set. Cut the burrito diagonally in half with the chef's knife, tilting the cut halves to expose the layered filling cross-section. Drizzle 1 tsp of remaining BBQ sauce over the cut edge, sprinkle a pinch of crispy fried onions on the plate next to the burrito, and fill the small brushed stainless steel sauce cup with extra BBQ sauce for dipping.
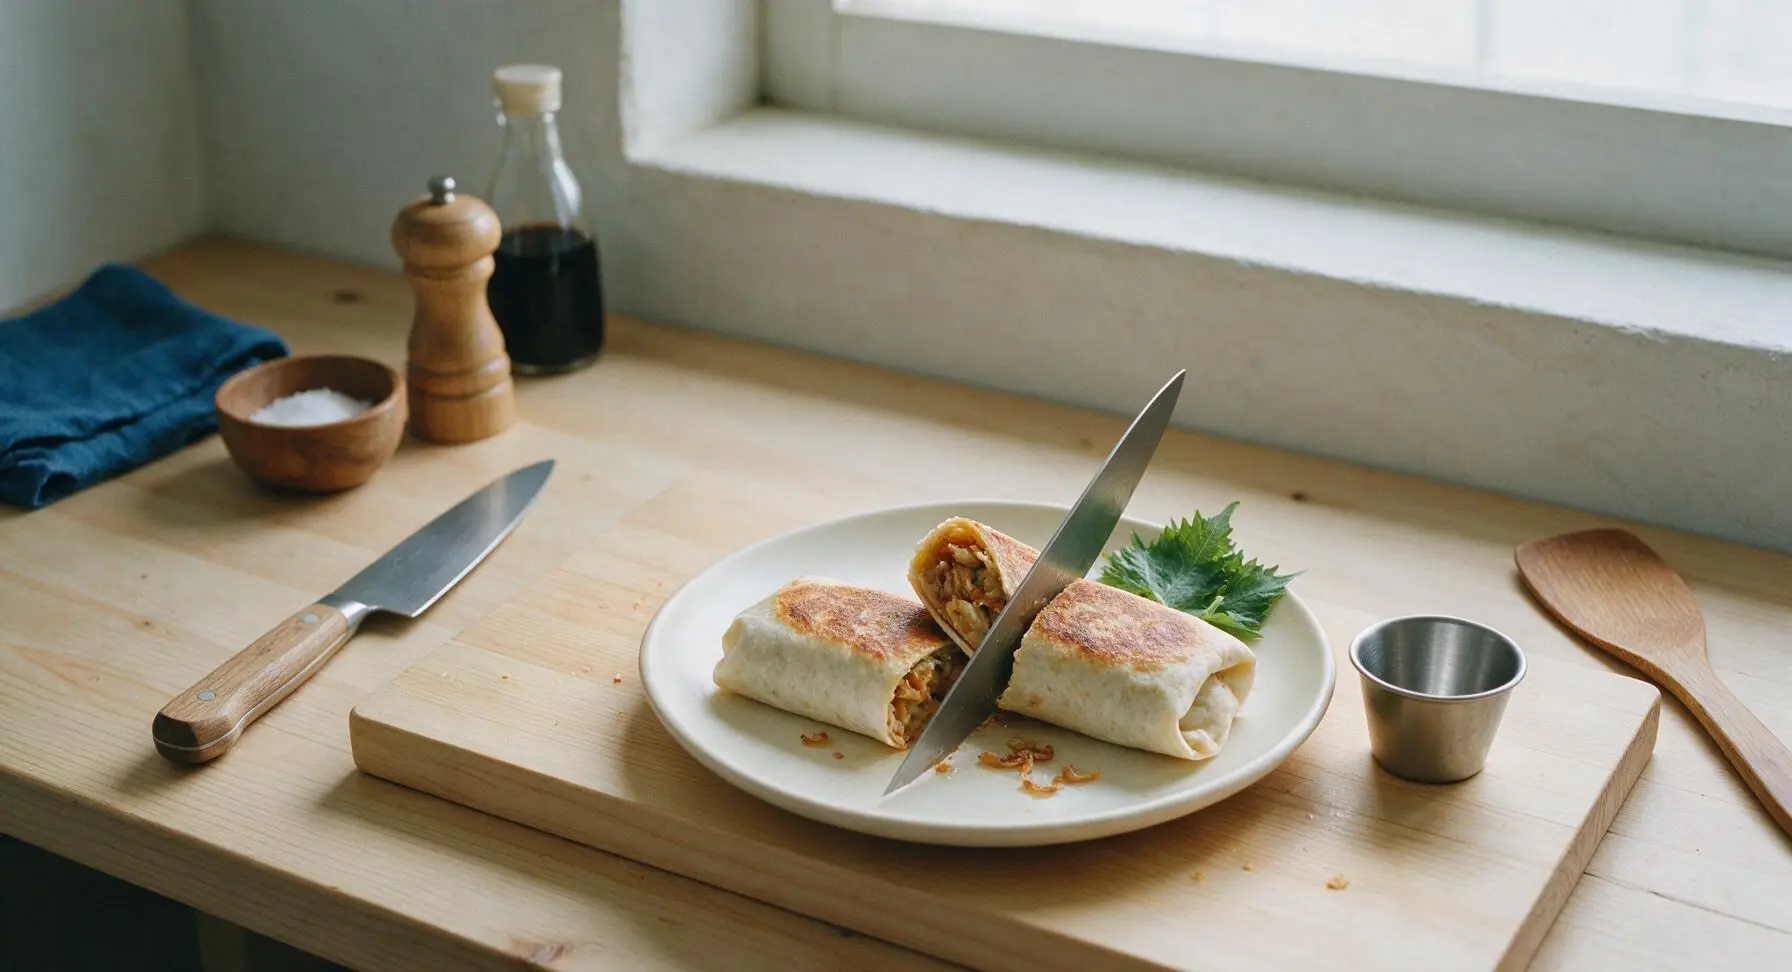
Step 7
step7:Plate and Garnish

Tips

1.Always warm tortillas before folding: cold, room-temperature tortillas crack and split when rolled tight, leading to filling leakage during searing and eating. The 10-second per side dry-skillet warm-up makes them flexible enough to tuck tightly without tearing.
2.Lightly crush tater tots before adding them to the burrito: whole round tots create gaps that prevent a tight roll, while gently crushed tots lay flat and distribute their crispy potato texture evenly across every bite.
3.Cook burritos seam-side down first: the direct pan heat melts the tortilla layers together at the seam, creating a natural seal that prevents the burrito from unrolling while cooking the remaining sides, and stops hot fillings from spilling out.


✨ You May Also Like

Main Course
🍜 United Kingdom

A showstopping classic of tender seared beef, savory mushroom duxelles, and crisp prosciutto wrapped in flaky golden puff pastry, baked to juicy perfection.

⏱️ 2 hours 1Main Course ★ 4.7
Main Course
🍜 India

Tender charred marinated chicken simmered in a rich, spiced creamy tomato sauce, this iconic Anglo-Indian curry pairs perfectly with basmati rice or warm naan.

⏱️ 50 minuteMain Course ★ 4.6
Main Course
🍜 Thailand

Classic tangy, sweet, and savory Thai stir-fried rice noodles with shrimp, tofu, and crunchy garnishes, balancing all five core Thai flavor profiles.

⏱️ 30 minuteMain Course ★ 4.5
Main Course
🍜 United Kingdom

Crispy golden beer-battered cod and fluffy double-fried chips, served with tangy tartar sauce and malt vinegar: the timeless, beloved British pub comfort classic.

⏱️ 45 minuteMain Course ★ 4.7
Main Course
🍜 Mexico

Smoky, chile-marinated pork tacos with caramelized pineapple, fresh cilantro, and lime: a beloved classic Mexican street food perfect for casual summer gatherings.

⏱️ 1 hour 45Main Course ★ 4.8
Main Course
🍜 United States

Crunchy Fritos corn chips layered with savory beef chili and melted cheddar, topped with cool, zesty fixings for a beloved, cozy Tex-Mex comfort food.

⏱️ 35 minuteMain Course ★ 4.8

gas station bbq burrito:Frequently Asked Questions

1.Can I make these burritos ahead of time for road trips or weekly meal prep? ▾
Absolutely—this recipe is built for grab-and-go eating! Prep all components ahead, but hold off on adding coleslaw until right before you eat to avoid soggy tortillas. Wrap assembled (slaw-free) burritos tight in foil, store in the fridge for up to 3 days, and reheat on a skillet or camp grill for 3-4 minutes per side before tucking in slaw.
2.How do I get crispy tater tots in the filling without them turning mushy? ▾
Skip microwaving your tots entirely! Bake them on a rimmed sheet pan at 425°F for 20-25 minutes, flipping halfway, until they’re deep golden and shatteringly crisp. Let them cool for 2 minutes before adding to the burrito, and don’t overstack them—trapped hot steam from too many tots will turn them soft fast.
3.Can I swap the slow-cooked shredded BBQ beef for a quicker or different protein? ▾
Totally! If you’re short on time, pick up shredded smoked brisket from your local BBQ joint, use pulled pork, shredded rotisserie chicken tossed in BBQ sauce, or even seasoned crumbled ground beef. Just make sure your protein is drained of excess sauce so it doesn’t soak through the tortilla and make a mess.
4.How do I roll the burrito tight so filling doesn’t spill out when I eat it one-handed? ▾
Start by warming your tortilla for 10 seconds on a dry skillet so it’s pliable and won’t crack. Pile fillings in a tight line down the center, leaving 2 inches of space on both ends. Fold the short ends in over the filling, then roll the long edge tight, tucking as you go, and sear the seam side down for 30 seconds to lock it shut.
5.The recipe says to sear the wrapped tortilla—can I skip that step if I’m in a rush? ▾
Searing does two key things: it melts the cheddar evenly against the warm fillings, and it creates a slightly crispy, sturdy tortilla shell that won’t tear or leak when you’re eating on the go. You can skip it in a total pinch, but it adds so much texture and structure that it’s worth the extra 1 minute of cook time.
6.Can I use vinegar-based coleslaw instead of the creamy tangy version called for? ▾
Creamy slaw is the classic gas station pick, but vinegar-based slaw works great if you prefer a brighter, less rich bite. Just make sure whatever slaw you use is well-drained—squeeze out any excess dressing or brine before adding it, otherwise you’ll end up with a drippy, soggy burrito halfway through your meal.
7.Can I freeze these burritos for quick, heat-and-eat meals later? ▾
You bet! Assemble the burritos without the coleslaw, wrap each tightly first in plastic wrap then in foil, and freeze for up to 3 months. When you’re ready to eat, unwrap the plastic, reheat in the microwave for 2 minutes then sear on a skillet for 1 minute per side to crisp the tortilla, then add fresh drained slaw.
8.My cheddar never gets fully melty in burritos—what am I doing wrong? ▾
Shred your own sharp cheddar off the block instead of using pre-shredded cheese, which is coated in anti-caking agents that prevent smooth, even melting. Layer the cheese directly against the warm BBQ beef and hot tater tots before rolling, so residual heat starts melting it right away, and the final sear will finish the job.
9.What are the best low-mess add-ins to customize this burrito? ▾
Stick to low-moisture add-ins to avoid soggy tortillas! Pickled jalapeños for heat, crispy fried onions for extra crunch, a thin smear of sour cream mixed with extra BBQ sauce, or a handful of crushed corn chips all work beautifully. Skip watery add-ins like fresh diced tomato or runny hot sauce that will soak through the wrap.

Comments (3)

2 days ago

OMG this is such a game changer! I was skeptical a gas station-style burrito could hit this hard at home, but it came together in 20 minutes flat, and my two teenage boys devoured three each before I even sat down for dinner. I loaded the filling up with extra pickled jalapeños just like we get at our local corner gas station, and it tasted exactly like the late-night runs we used to make in college. SO good, I already added this to our regular weeknight dinner rotation!

yesterday

The pickled jalapeño add is non-negotiable for me! I tossed in some crumbled chicharrones into the filling last time I made these and it tasted exactly like the burritos I grab at the gas station off I-35 on my way to Austin. Absolute perfection.

yesterday

Love that chicharron hack! We’re so glad your family enjoyed these — pro tip: a quick drizzle of hot honey on the filling takes the sweet-savory BBQ vibe to a whole new level if you want to test it out next time.

1 week ago

Total meal prep game changer! I whipped up a whole batch of these on Sunday in like 20 minutes, wrapped each tight in foil, and they reheat like an absolute dream for work lunches all week. The smoky BBQ ground beef and bean filling is so much better than the boring frozen burritos I used to stock my freezer with. Full transparency, I’m a terrible cook who burns frozen veggies half the time, so if I can nail this, literally anyone can.

3 days ago

I made these for our neighborhood block party potluck last weekend and I swear I got asked for the recipe no less than 12 times! I set up a little build-your-own station with sour cream, guac, extra BBQ sauce, diced red onion, cilantro, and pickled jalapeños so people could load theirs up how they wanted. Even the super picky 7-year-old who only eats chicken nuggets went back for a second burrito. My only regret is not making a double batch — they were gone before I even got to try the second one I’d stashed for myself!

2 days ago

That build-your-own station idea is *chef’s kiss* for potlucks! I can’t believe they disappeared that fast — definitely double (or triple) the batch next time, we’ve never had leftovers when we bring these to group gatherings either. So glad everyone loved them!



